Offbeat Bikes Magazine
Clarke Instant Garage Review
UPDATE: After the best part of 7 years, the instant garage is no more. It was looking tired in places and the door zips were dodgy (although a rub with bees wax helped to lubricate them) but you could still have patched it up and got another few years out of it. It was taken down purely because I moved house and it became surplus to requirements. All in all, though, it was a worthwhile buy and served it's purpose well.

MACHINE MART now do a range of sizes of this type of garage, certainly worth a look if you're running short of space.

  I once (and only once) made the mistake of sanding the patterns I used to produce some GRP moulds inside the garage. This was a really bad move. I don’t know how dust travels so far. It got everywhere and took me hours and hours to clear up. (There is still stuff up in the roof of the garage covered in a layer of body filler dust.) It was therefore decreed that other facilities must be made available for the dirty jobs (sanding, painting, laminating etc.).
  For about 18 months this job was fulfilled by an old tent. It was a bit small, but is was free and it did the job. Gradually, however, the weather took it’s toll. Strong winds started to rip the peg loops off one by one until it was just left with a peg on each corner. Then the roof started to sag, allowing large puddles to gather and the frame started to bend under the load. Eventually a really strong storm dumped it in a heap on the floor. Not being someone who parts with money easily, the frame was straightened, repaired, and the tent went back up again. It lasted a while before the sheer weight of water pooling on the roof during an overnight downpour was enough to pancake it again. This time it was only fit for the skip, and the search for a replacement began.
  After trawling the internet, trying to find a suitable replacement, the one that had the most and consistently good reviews was the Clarke Garage. So I stumped up for the purchase of the 15ft x 10ft x 8ft version.
Clarke Garage arrives in big, heavy box
  These are available in various sizes, this being the smallest of the garage versions. (There are also motorcycle storage and shed versions that are smaller, but the small garage seemed to provide the best ground space to cost ratio.) Machine Mart is a good source for Clarke products.
  The instructions say that the garage needs to be assembled by two people. I can report that it can be safely achieved by one determined woman and a reluctant 12 year old. The frame hoops are assembled first (instructions are clear, and all components are stamped with numbers to aid identification and assembly). The only time that a second pair of hands really makes life easy is when it comes to joining the hoops together to complete the frame.
   Some of the tubes are required to fit inside others. There were problems here in that some of the tube ends had been slightly squashed out of round. Careful use of a vice managed to squish them back to a round enough shape to allow them to fit.
Clarke Temporary Garage Assembly
Clarke garage framework
  The garage comes complete with ground anchors for use on grass. If you plan on using a different base, you need to provide your own suitable fixings. I put this up in the summer when the ground was rock hard, and getting the ground anchors in was the hardest job of the build.
  With the framework complete and anchored to the ground, the end panels go on next. It should be noted that the cover fixes to the frame, it is not pegged to the ground, so the only things stopping this blowing away in strong winds are the ground anchors, so make sure they are securely fixed.
  The garage has a zipped door at one end and a solid panel at the other. These wrap around the frame hoops and are tensioned by means of ratchet straps. (All required straps are provided.)
   With the end panels fixed and tensioned, the main cover can be heaved into place. It’s hard work with just one of you, but I got it in place in the end. Main cover wraps around either end of the frame and is (again) tensioned using ratchet straps attached to the foot of the frame. The cover also has pockets for the bottom frame rails to fit through. These frame rails can be pushed down to tension the cover before being fully tightened. And that’s it, garage built. 
Clarke garage end panel
Conclusion

  Well, the frame and cover seem to be very sturdy enough, and the tensioning mechanism works well. But, because the cover isn’t pegged to the ground, the bottom edges do flap around in the wind and the frame creaks ( a lot!).

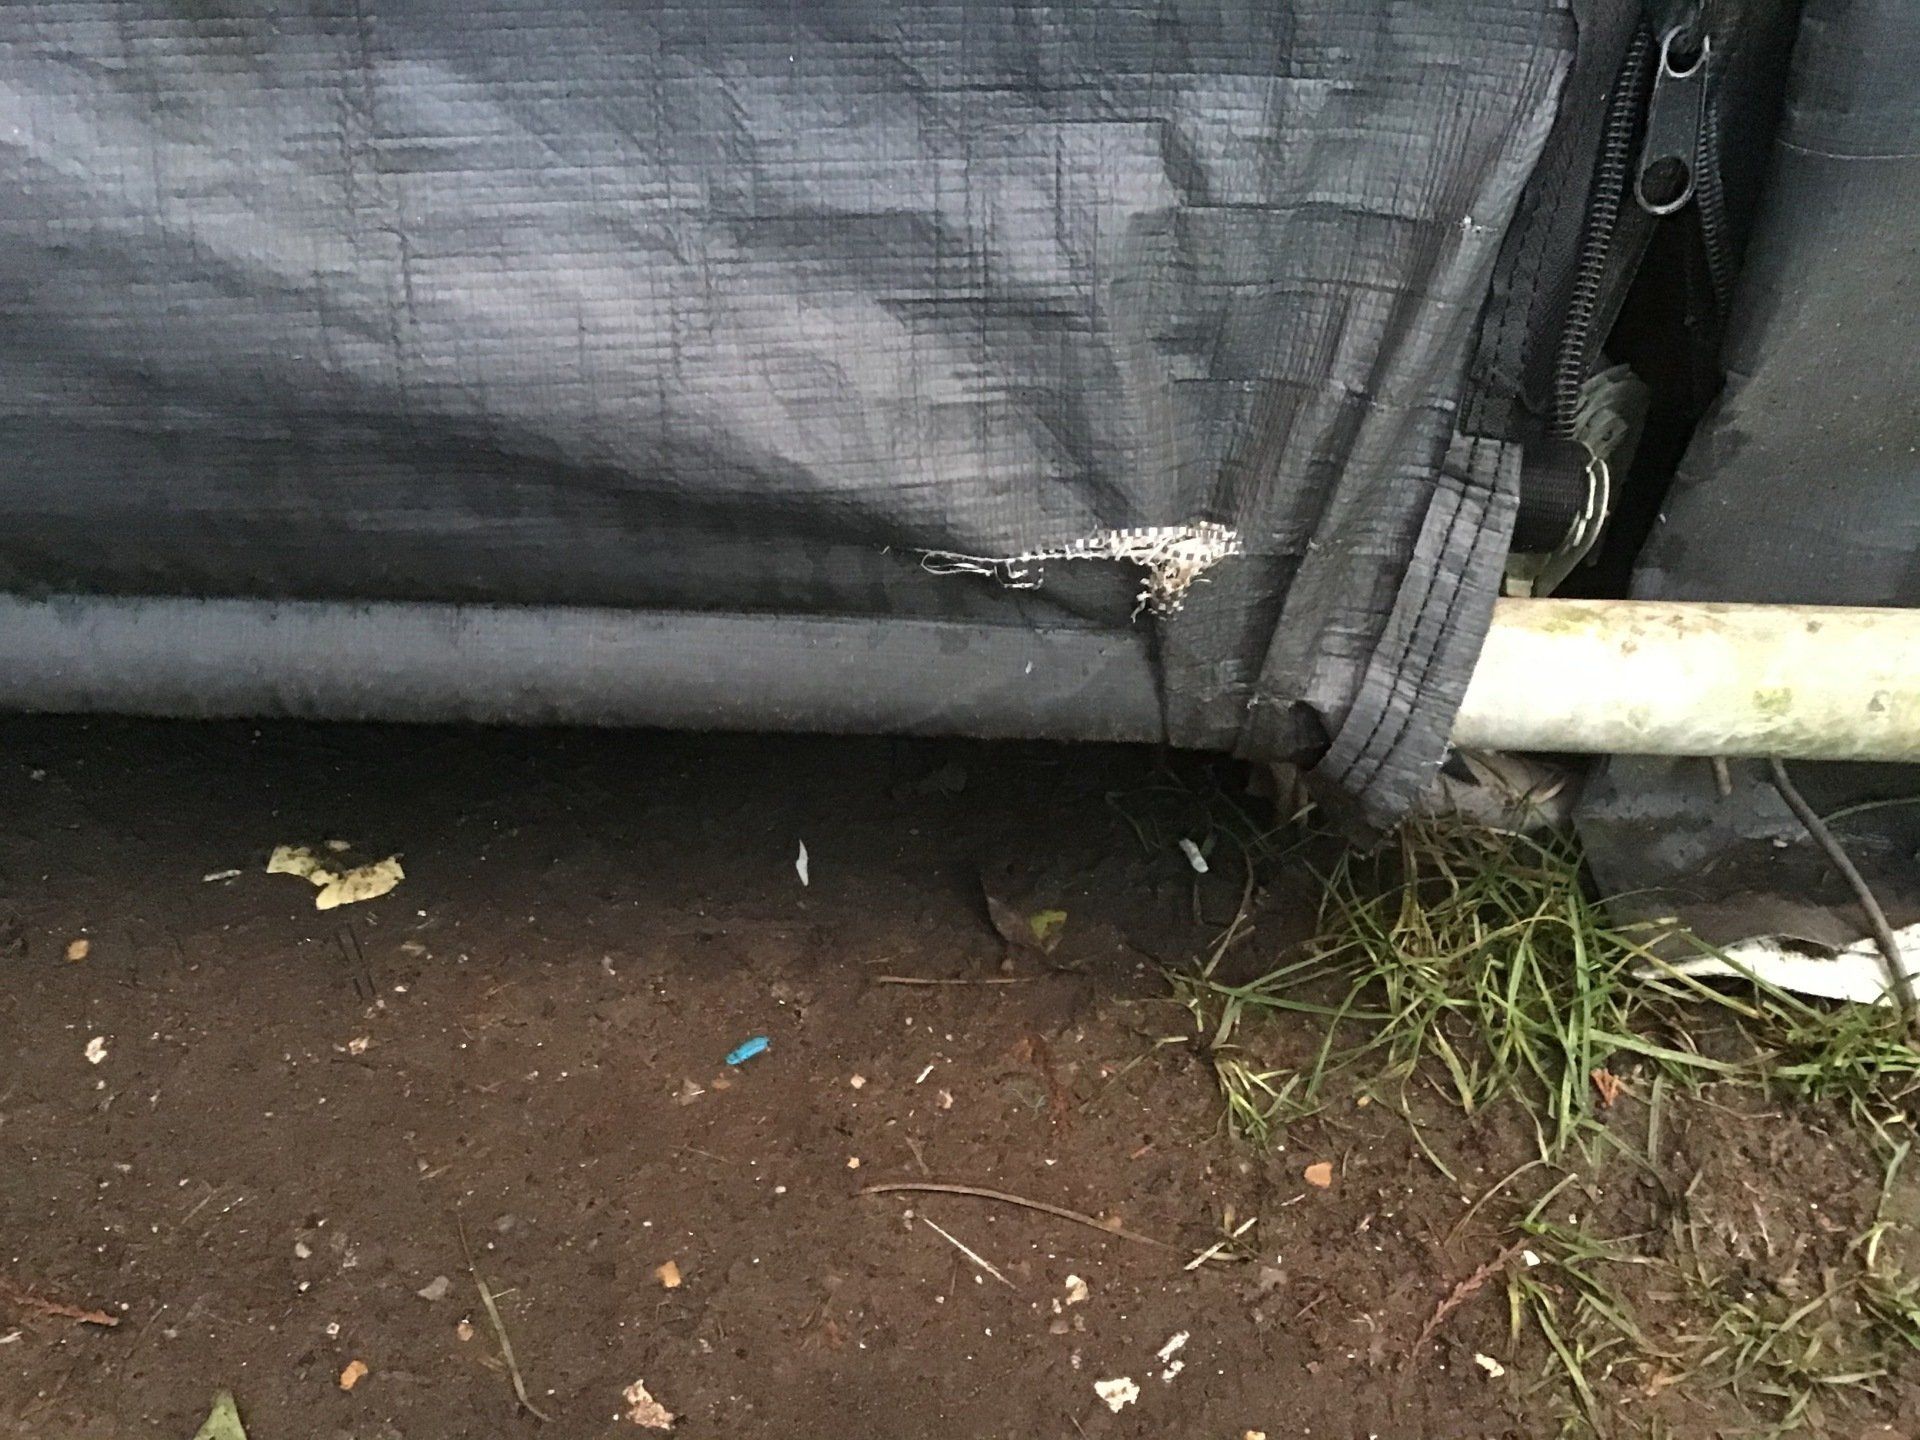
   End panels also bow inwards in the wind. This can be reduced by sliding a length of plastic waste pipe through the pockets sewn at the bottom of the end panels. (I used 40mm diameter, it’s a snug fit though, so a slightly smaller diameter maybe better if you can find it.)

   There’s also quite a gap at the bottom of the end panels - so expect a through draft at ground level and leaves and other garden rubbish will be blown inside the garage. It does, however, keep you out of the wind and rain, and it has often been warmer in the ‘tent’ (as it is known here) than the brick garage this winter.

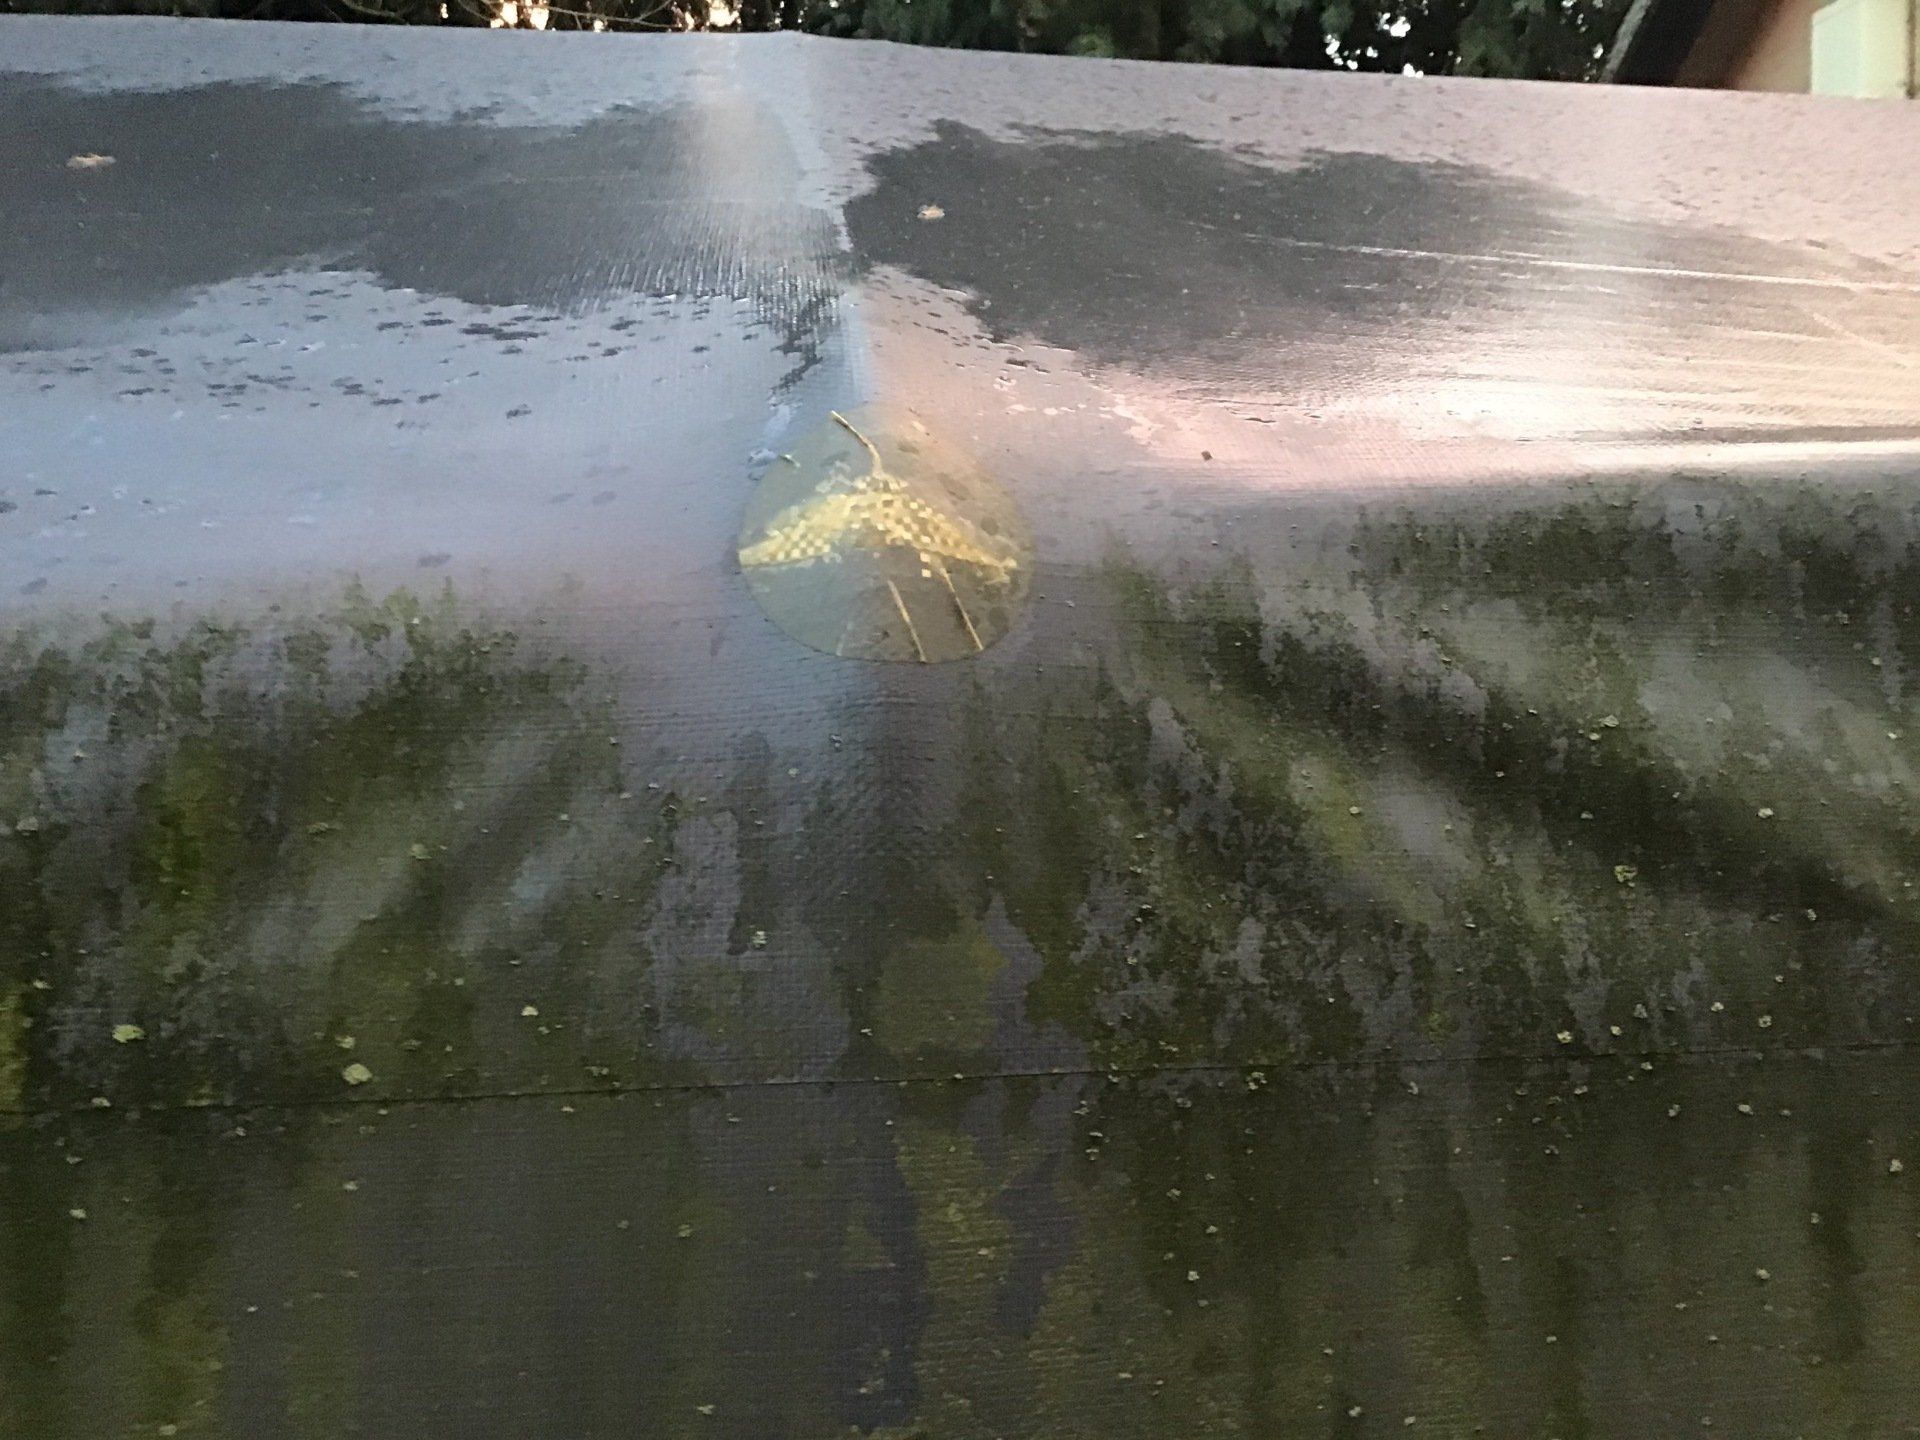
   Winter did show up a couple of problems. Firstly, the frame (mostly the centre ridge pole) does get some condensation on it which then drips on whatever you have stored below. I used some old tarpaulins slung inside the roof to double line it (see pic below). I don’t know if it’s stopped the condensation forming on the frame, but at least now it doesn’t drip on my stuff!

   Secondly, whilst the garage had withstood most of the strong winds over winter without problems, the gales we had in the New Year did cause some issues. The supplied ground anchors are fixed to the frame using a wire rope and clamp system. The design means that it’s really difficult to get them to fit without any free play. During the gale the whole structure moved a couple of inches. Extra anchors have now been fitted and the middle legs of the frame pegged down. (No mention of pegging these is made in the instruction manual and no pegs are supplied, but as the feet already have holes in them and given how far these legs were moving in the wind, I subsequently decided to peg them. Clarke does recommend that the garage cover be removed if severe winds are forecast - not too hard a job, but hardly convenient, and what are you supposed to do with the all things you have inside the garage?)

   Dropping nuts and bolts in the grass, and the subsequent frustration of trying to locate them as they scurry to find cover, will soon lead you to the conclusion that some kind of flooring would be useful (at least for part of the floor-space). I’ve gone for 8ft x 4ft sheets of ¾ inch thick OSB3. (OSB apparently stands for oriented strand board not odds ‘n sods board - which is what it looks like it’s made from!) 

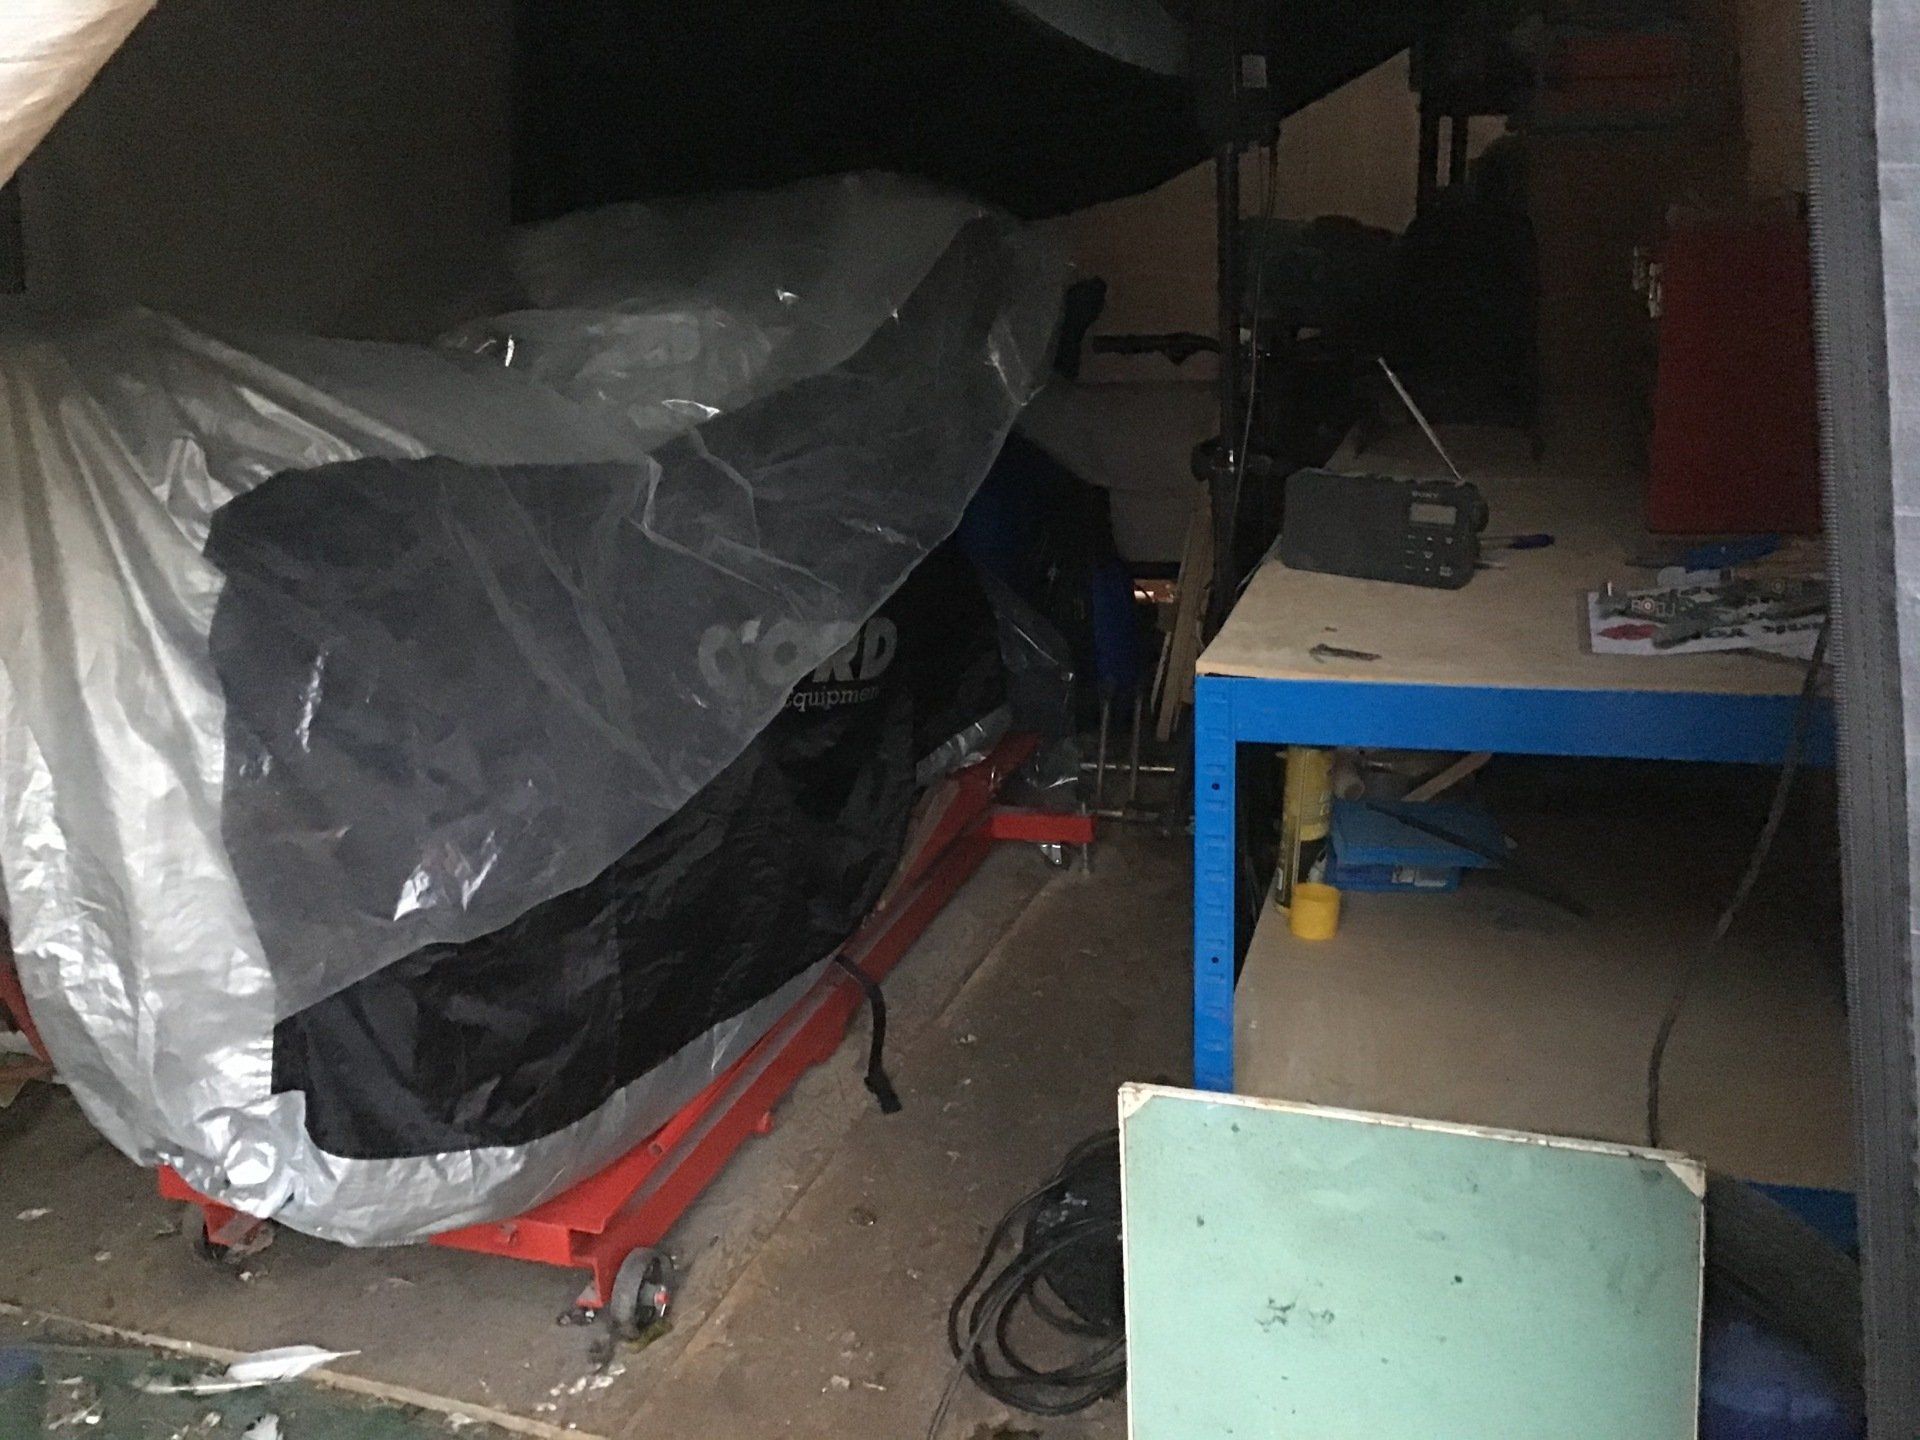
   The other draw back is security (although it’s no worse than keeping a bike outside under a cover). It’s not exactly burglar proof, is it? If you were going to keep bikes in it (or other valuables), I would recommend concreting in some ground anchors or finding some other cunning ways of being able to lock stuff up or bolt it down. I tend to use it just as a work area, and try not to leave anything of value in it overnight. 

   Having said all that, an instant garage like this is a fairly economical and quick way (you could put it up in a day) to get yourself some extra work space.
Modified Clarke Temporary garage

 Update December 2020

The garage has generally performed really well and withstood several windy winters. The cover has split in a couple of places, notably where the main cover is stretched over the hoops (see photo below). It's only happened on one side, though. This is the side that gets the most sun (the other side remaining in the shade of a tall hedge for much of the day). I don't know if the sun is a significant factor, but it just seemed strange that it only occurred on one side. After unsuccessfully trying the tape the gap, I tried this stuff 'Stormsure Tent Awning & Groundsheet Repair Kit'. It doesn't look pretty, but it seems to have done the job.

Clarke Instant Garage After Three Years

 There's also a small tear at the bottom of the door which I need to attend to before it gets worse.

Clarke Temporary Garage After 3 Years

 Other than that, the 'tent' has done well and now houses a ramp and a workbench. It's also very popular with my free-range bantam who will insist on roosting on the handlebars of whatever bike is parked there. That would be OK if it didn't produce so much poop!

Clarke Temporary Instant Garage Review
Share by: