At some point during your build, you’re probably going to need to make a bracket, mounting plate etc. out of sheet or plate material. Unless you’re lucky enough to have access to a laser cutter, water jet cutter or CNC mill, you’re probably going to have to break out the hacksaw and files, or (my favourite tool) - the angle grinder.
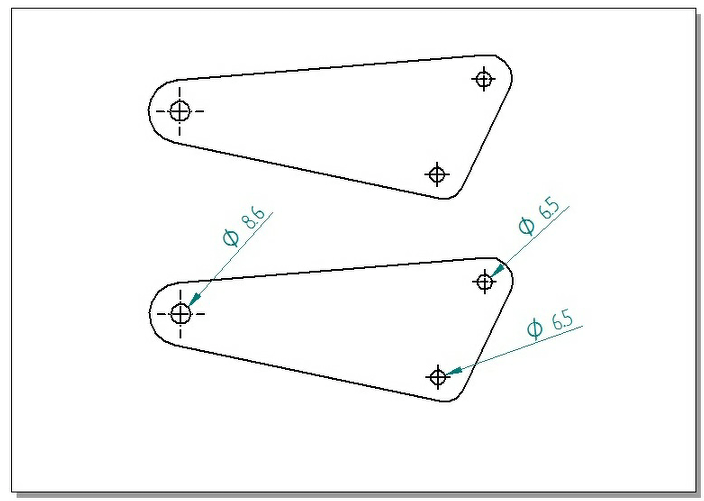
If you’re old school (and did metalwork rather than resistant materials as it’s now called) you painted the metal in marking dye, and then used your trusty scriber, rule and calipers to mark out the shape you require. If you’ve got CAD, you can shortcut through a lot of this. Draw out your required shape, print it out (making sure that it is printing full scale), cut carefully around the outline and stick it to the required material.
Centre punch, centre drill and drill any holes to final size. Then start cutting away the excess material. Finish to final shape using files or an angle grinder fitted with a flap disc. Trial fit it and once you’re happy, you can start finishing the surface ready for paint or polishing as required.

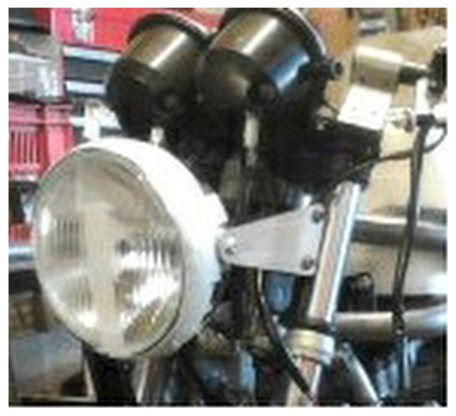
CAD drawing (above) used to produce mounting brackets (to the right).


