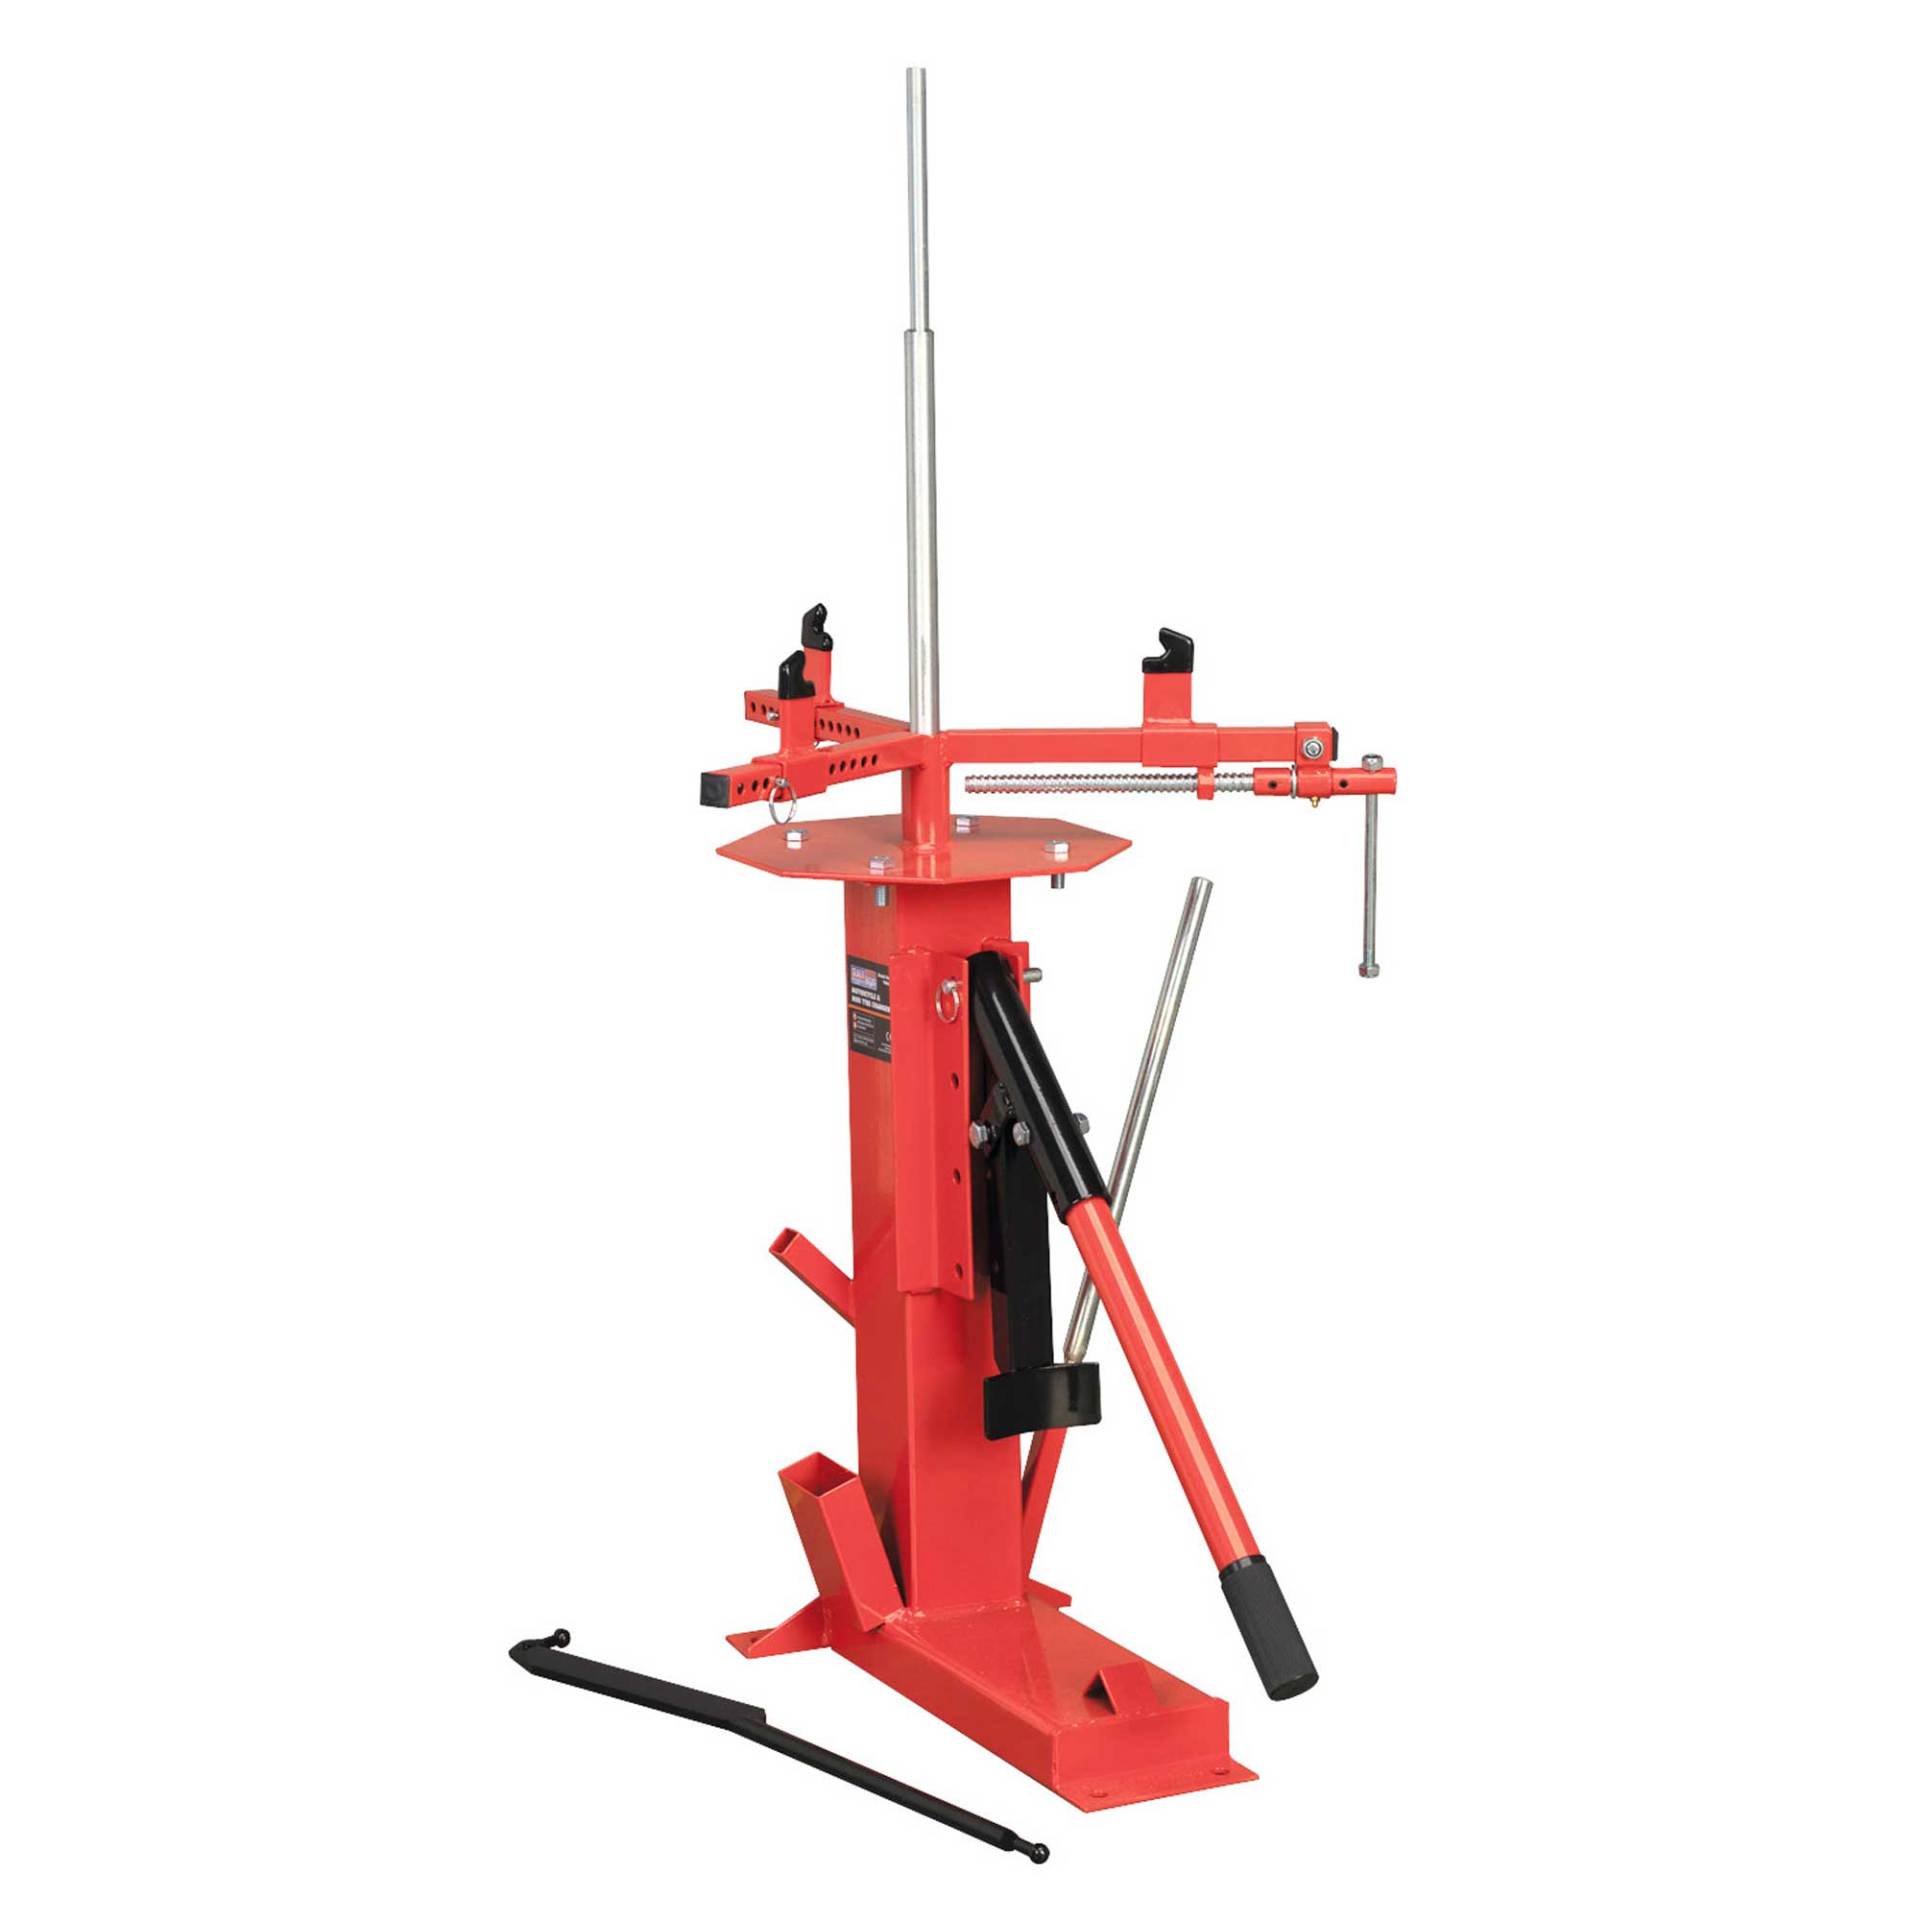
TOOL REVIEW
SEALEY TC965 TYRE CHANGER
I was lucky enough to receive one of these tyre changers as a birthday present (it’s far more useful than flowers and jewellery) mainly, I think, because of the swear words that used to emanate from the garage as I struggled with traditional tyre levers.
Out of the box, there is very little assembly to be done, just 4 bolts and their corresponding washers and nuts to fit the top to the stand. You will also need to fix the unit direct to the floor, or to a large heavy base to stop it moving when you use it. As its operation relies on rotating the tyre bar around the centre post, you do need a fair bit of space around it as well. Instructions that come with the unit are simple and fairly easy to understand. You can find a pdf copy on Sealey’s website if you want to have a look.
I tried the unit out on an old GS500 wheel and tyre. Bead breaker easily did the job and the wheel was ready to mount on the top of the unit. The three clamps are plastic coated and as far as I could tell (given that the wheel was already fairly battered and bruised) didn’t damage the rim although I did find it impossible to set the wheel up centrally in the clamps and so allow the centre bar to pass through the wheel and drop into the hole on the top of the unit. Adjustment of two of the clamps is a pin through hole affair. The third is screw adjusted to allow it all to be clamped up tight. I ended up making a slight modification to allow the wheel to be centrally mounted.
Current prices (2024)
£235 from Amazon
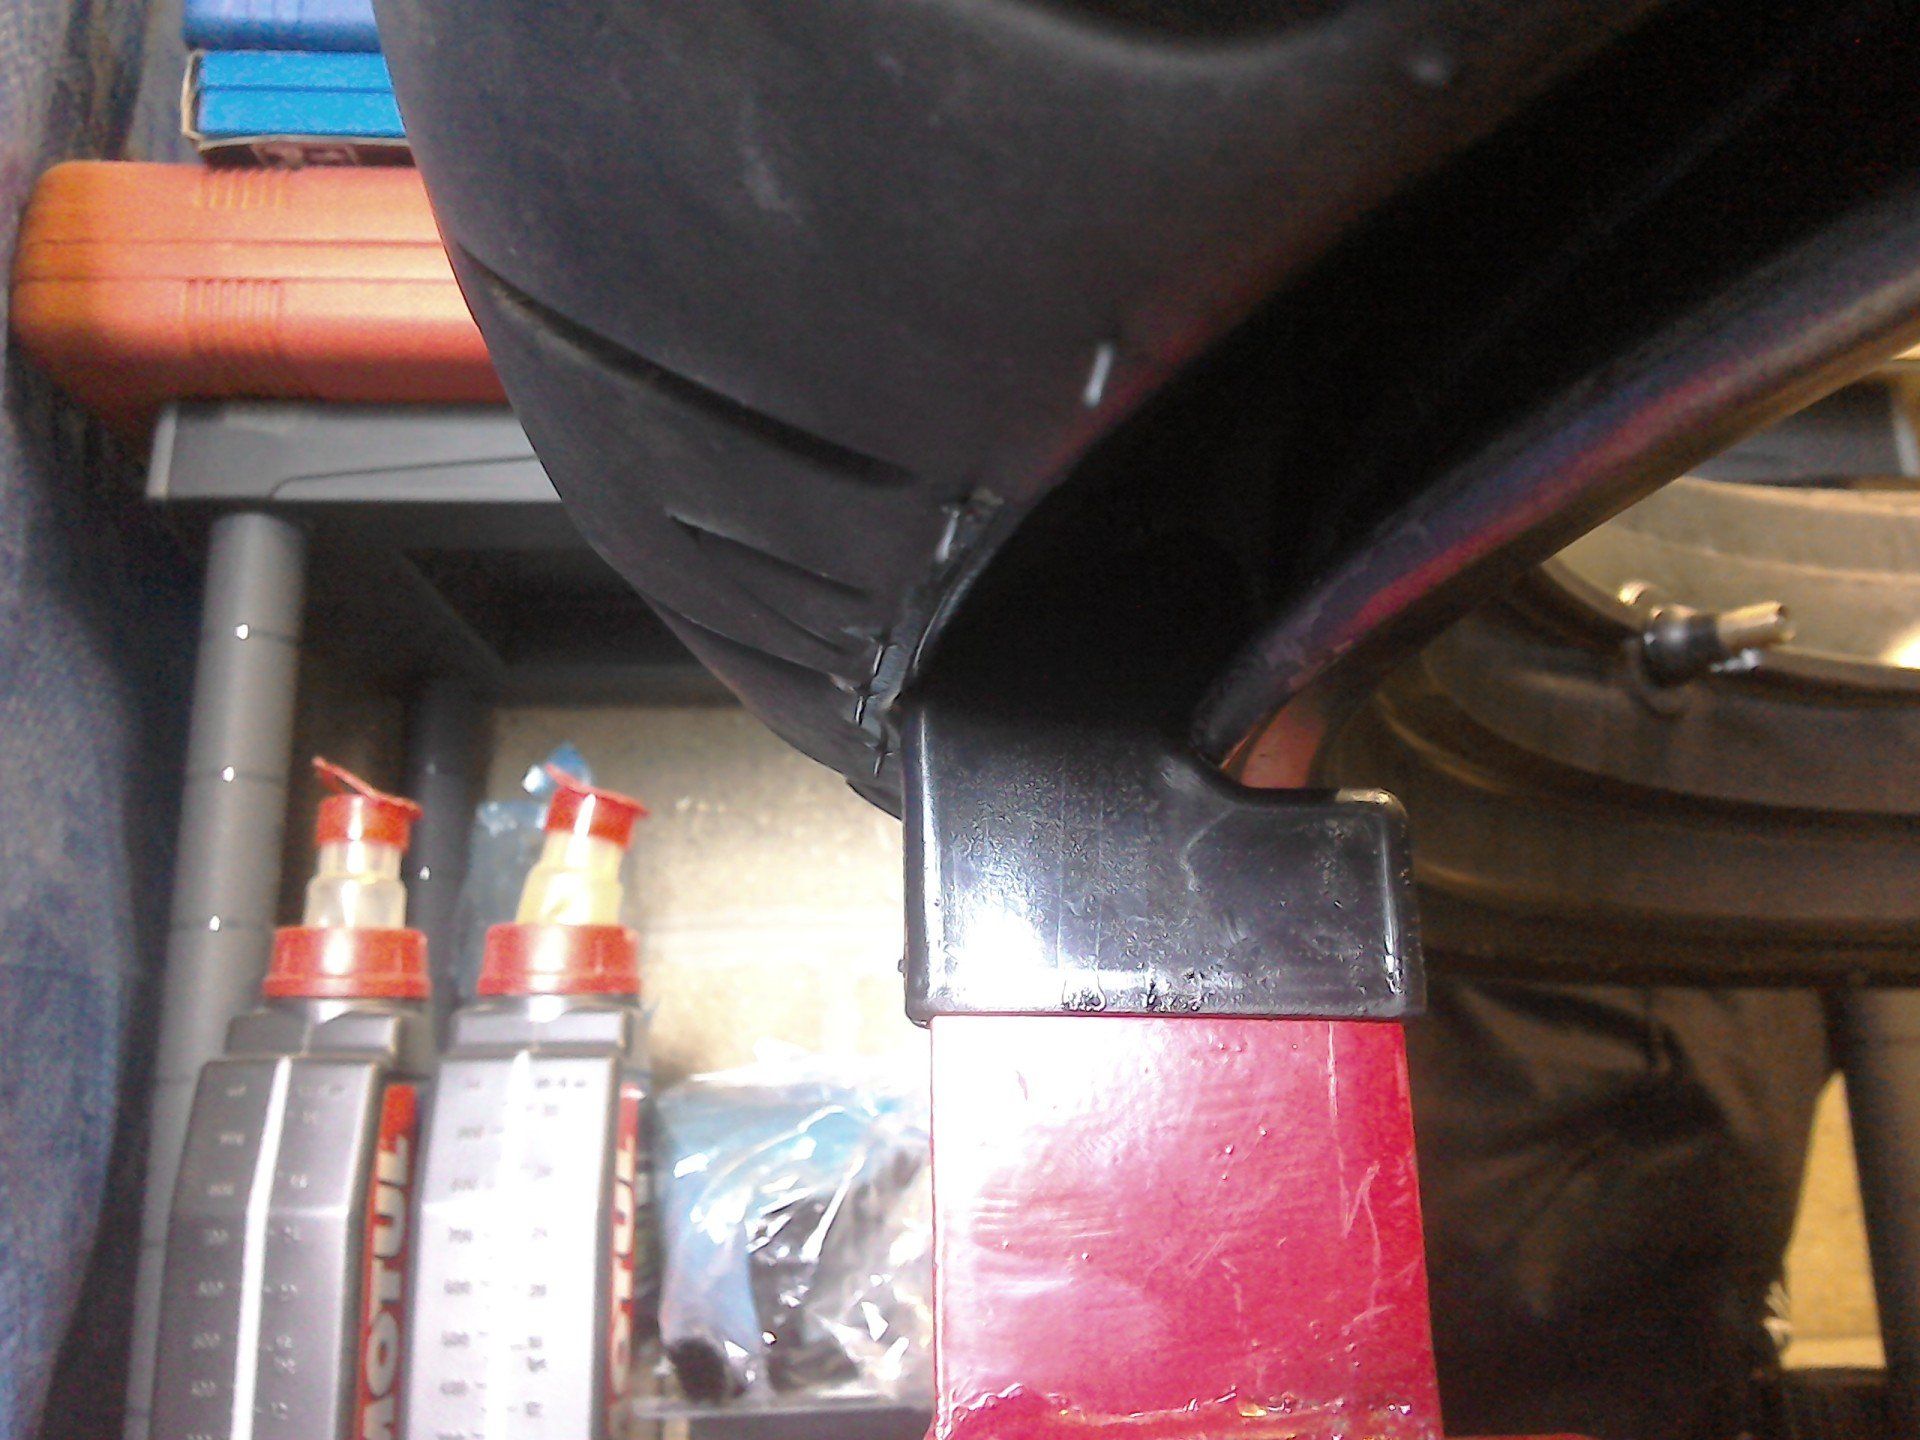
Plastic coated clamps gripped wheel firmly without any apparent damage to the rim.
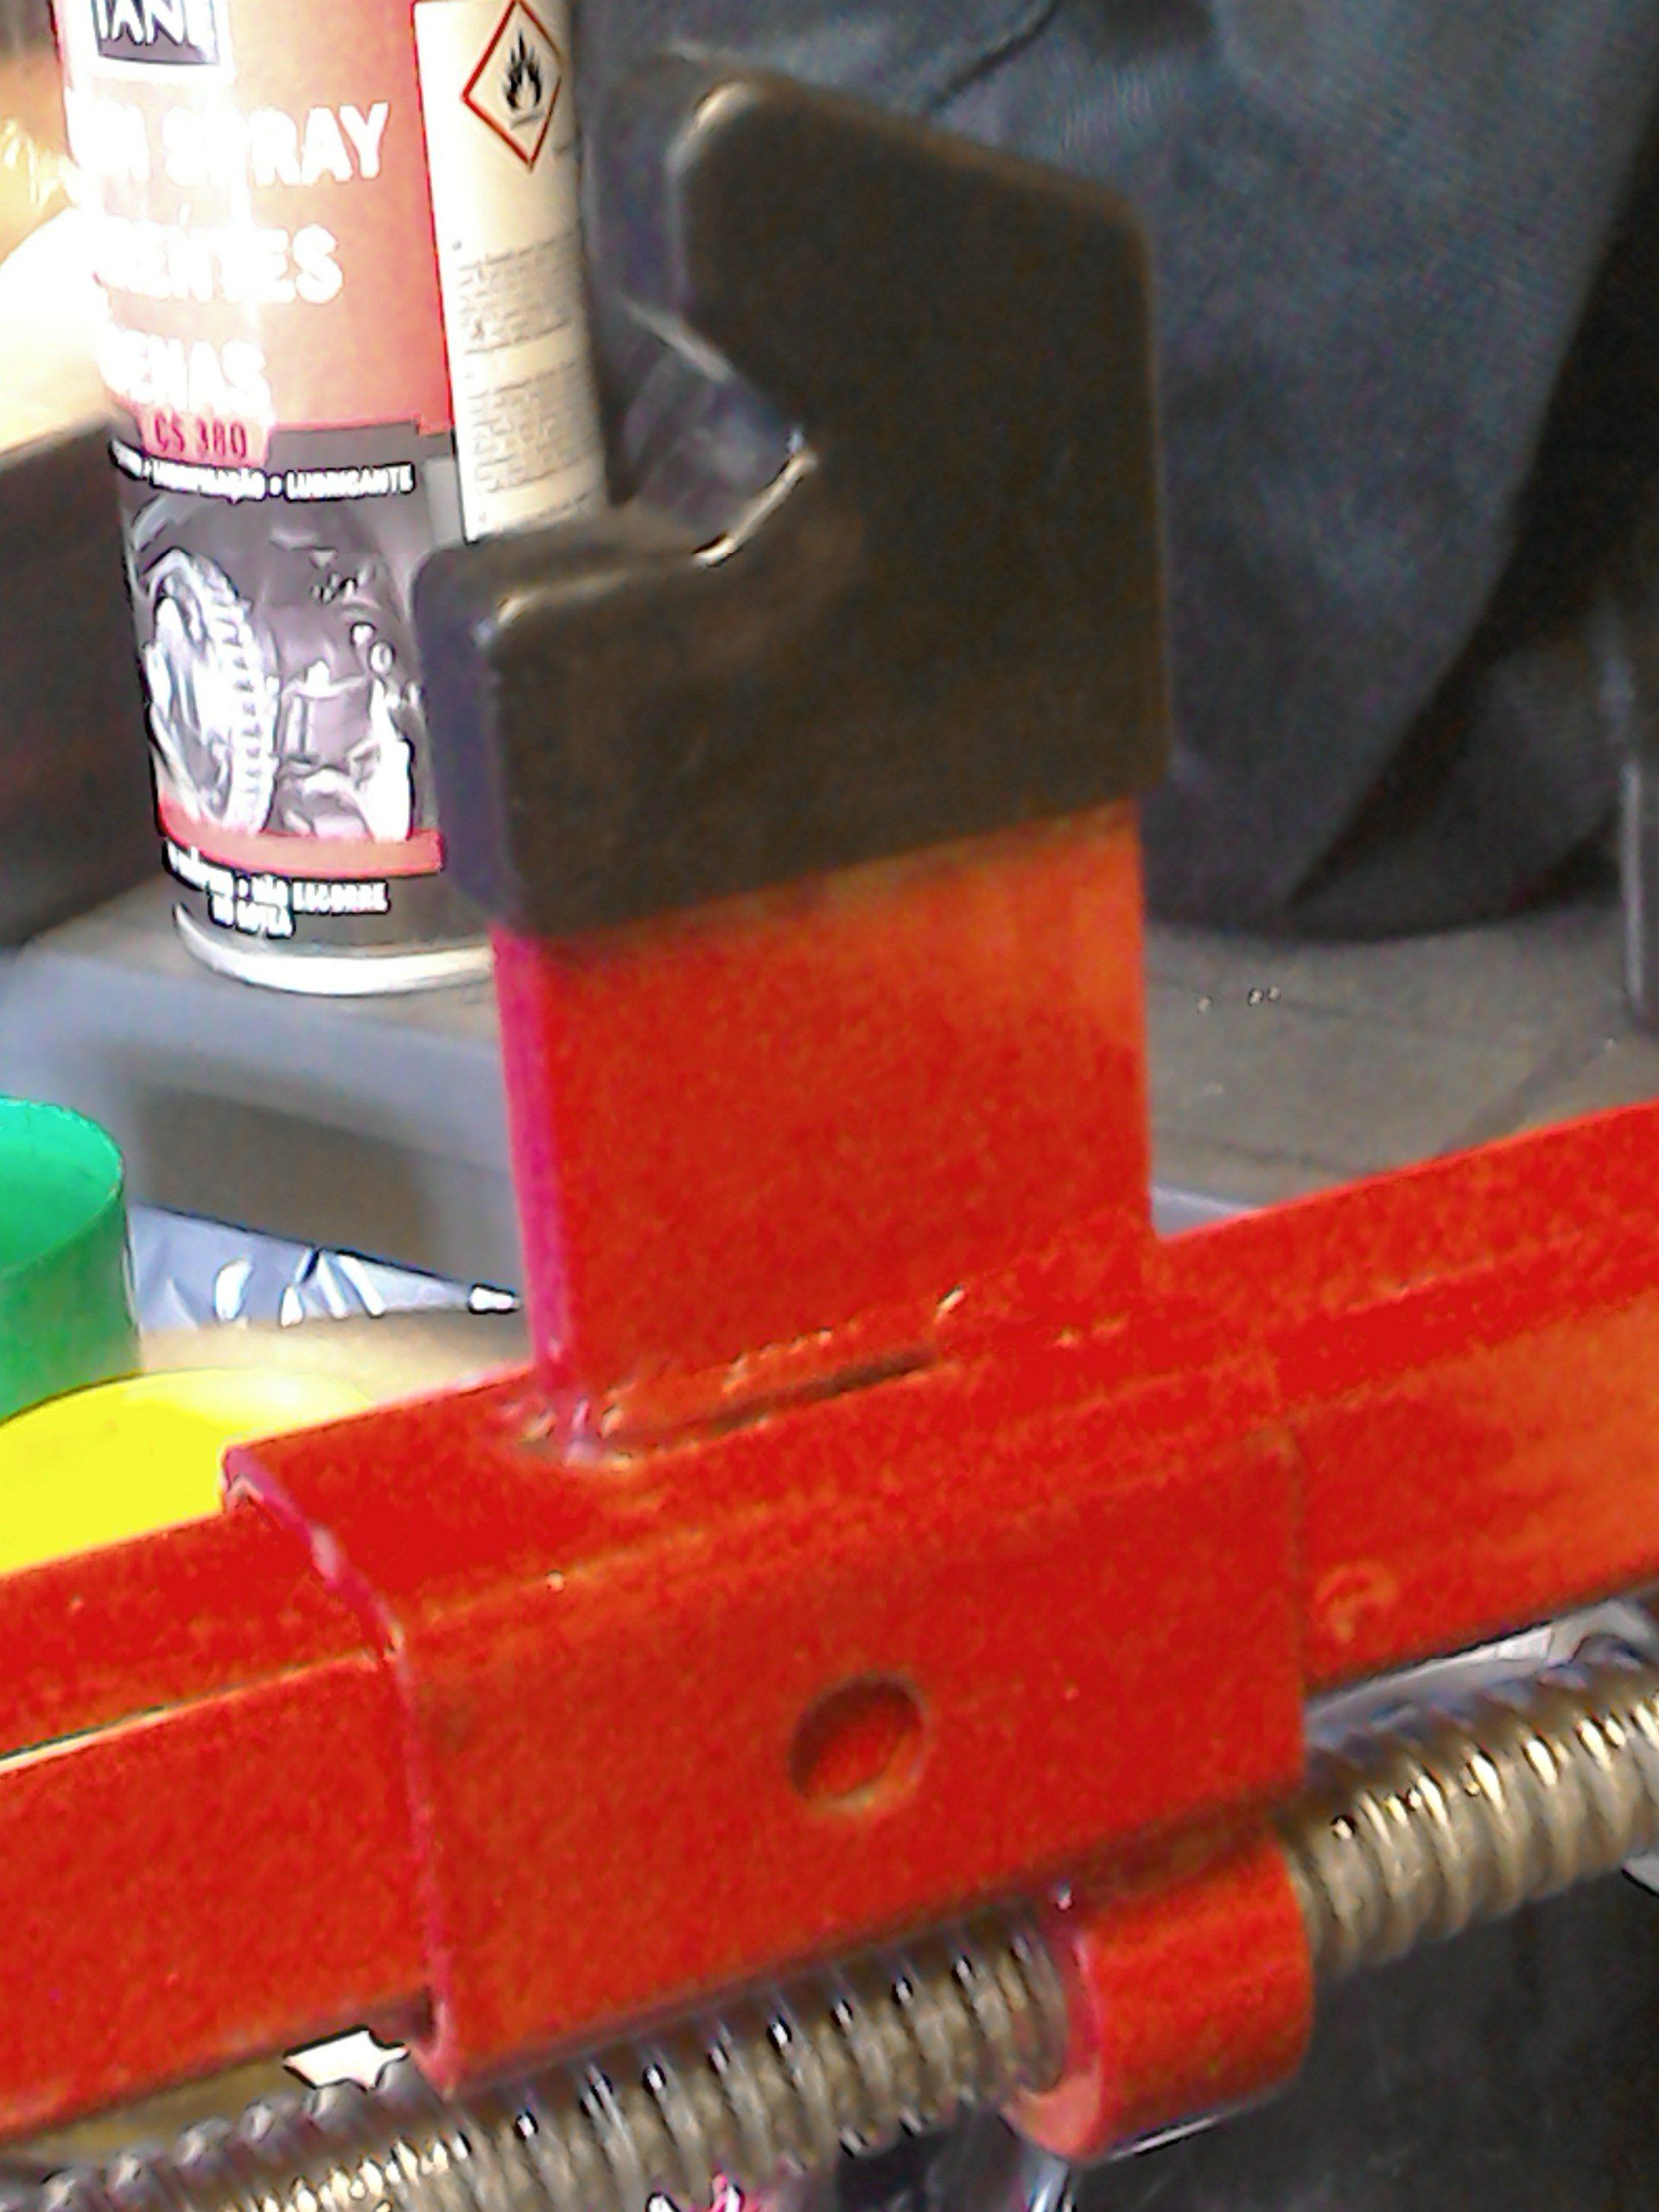
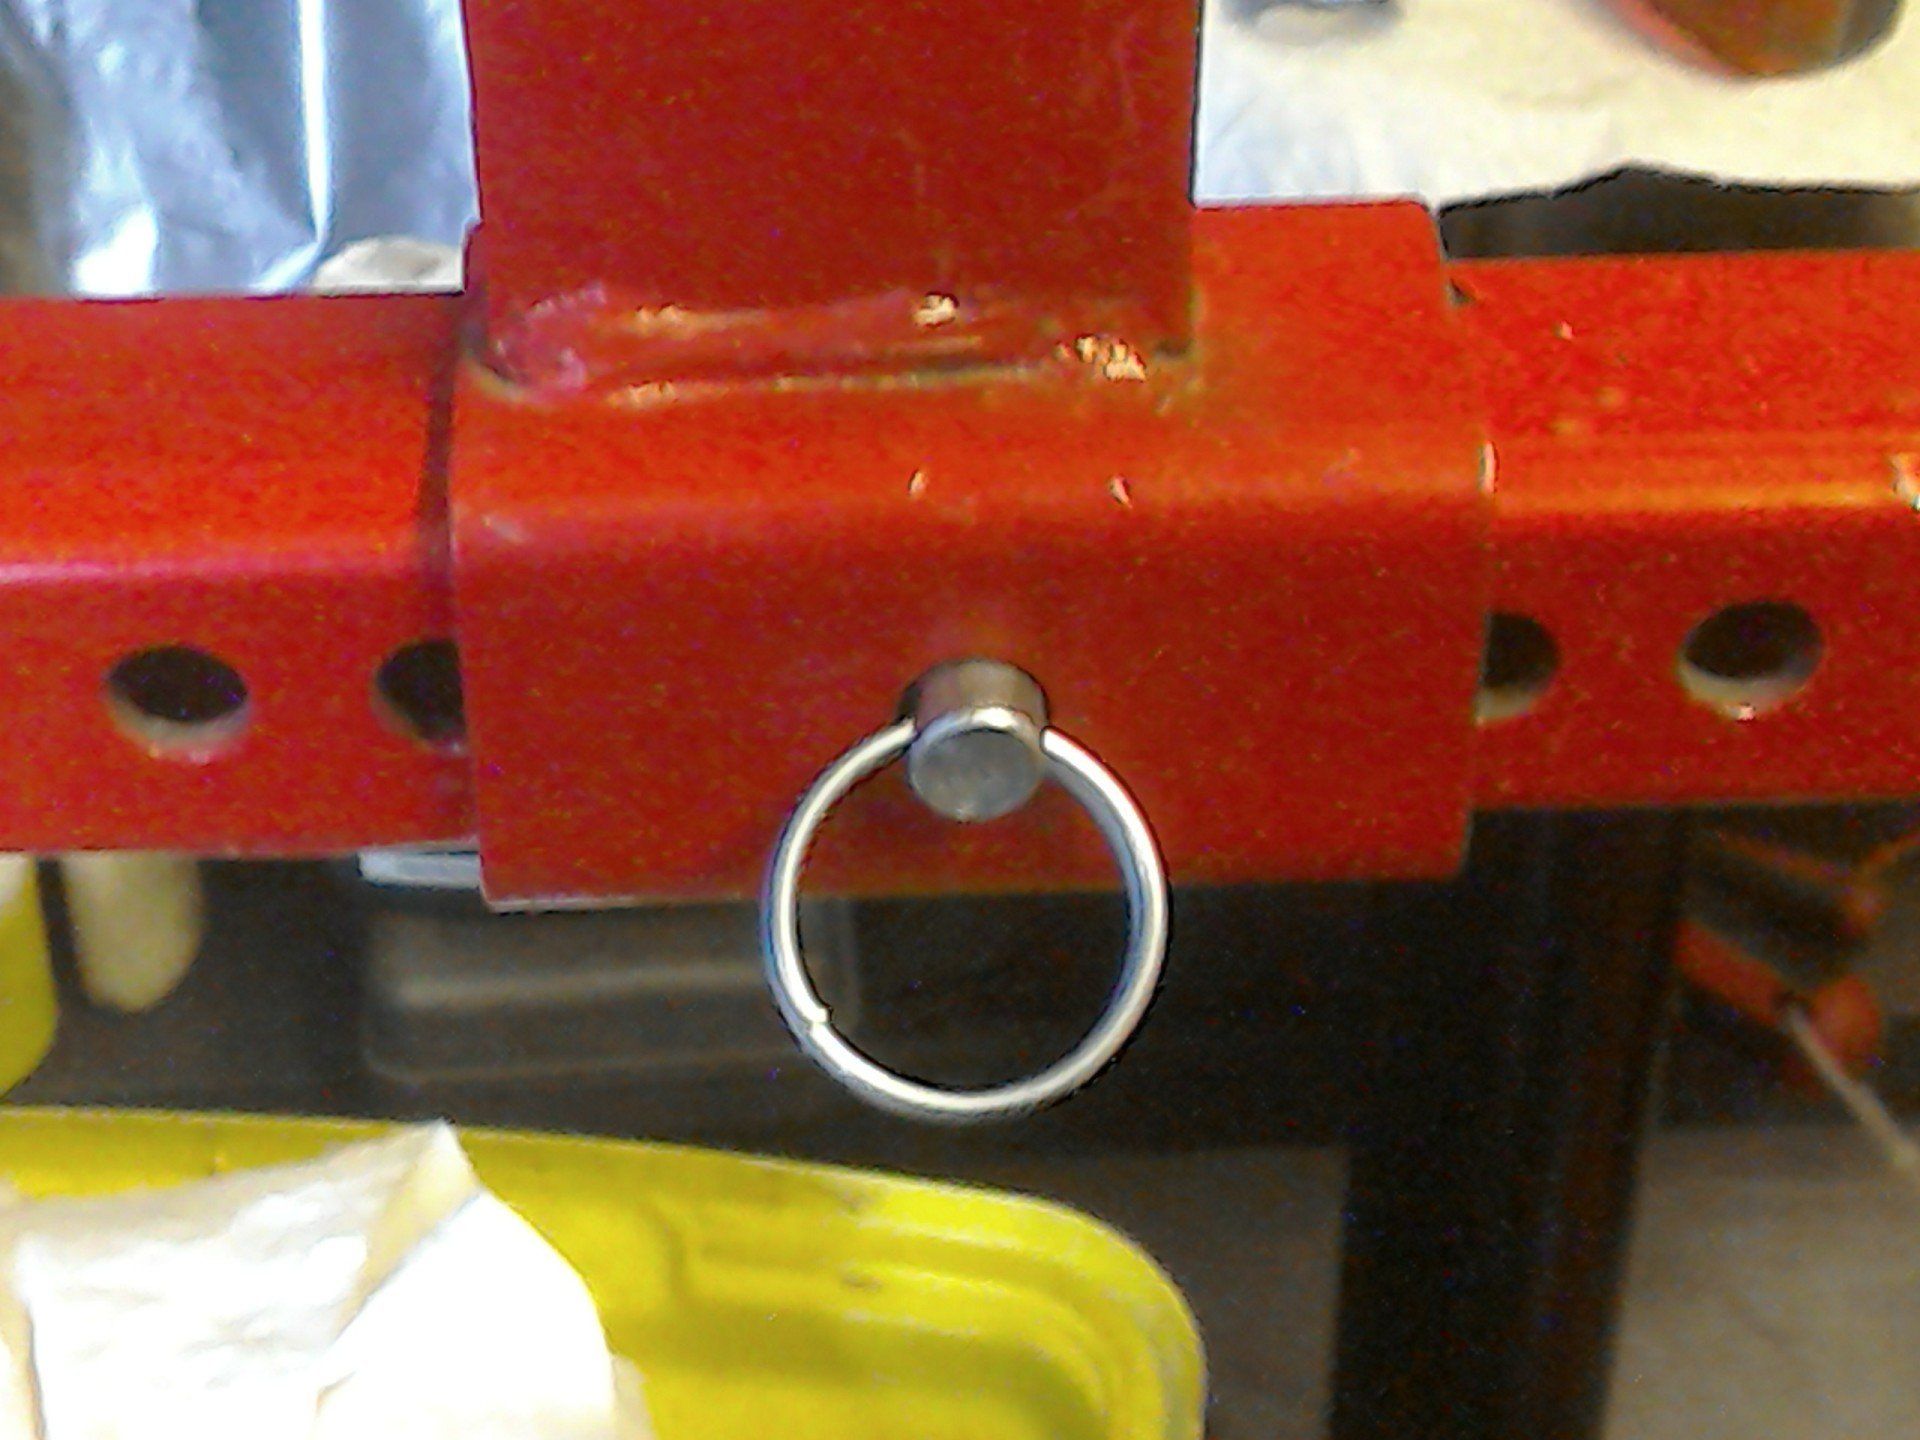
Pin is designed to go through clamp, but hole spacing meant that the wheel couldn’t be mounted centrally.
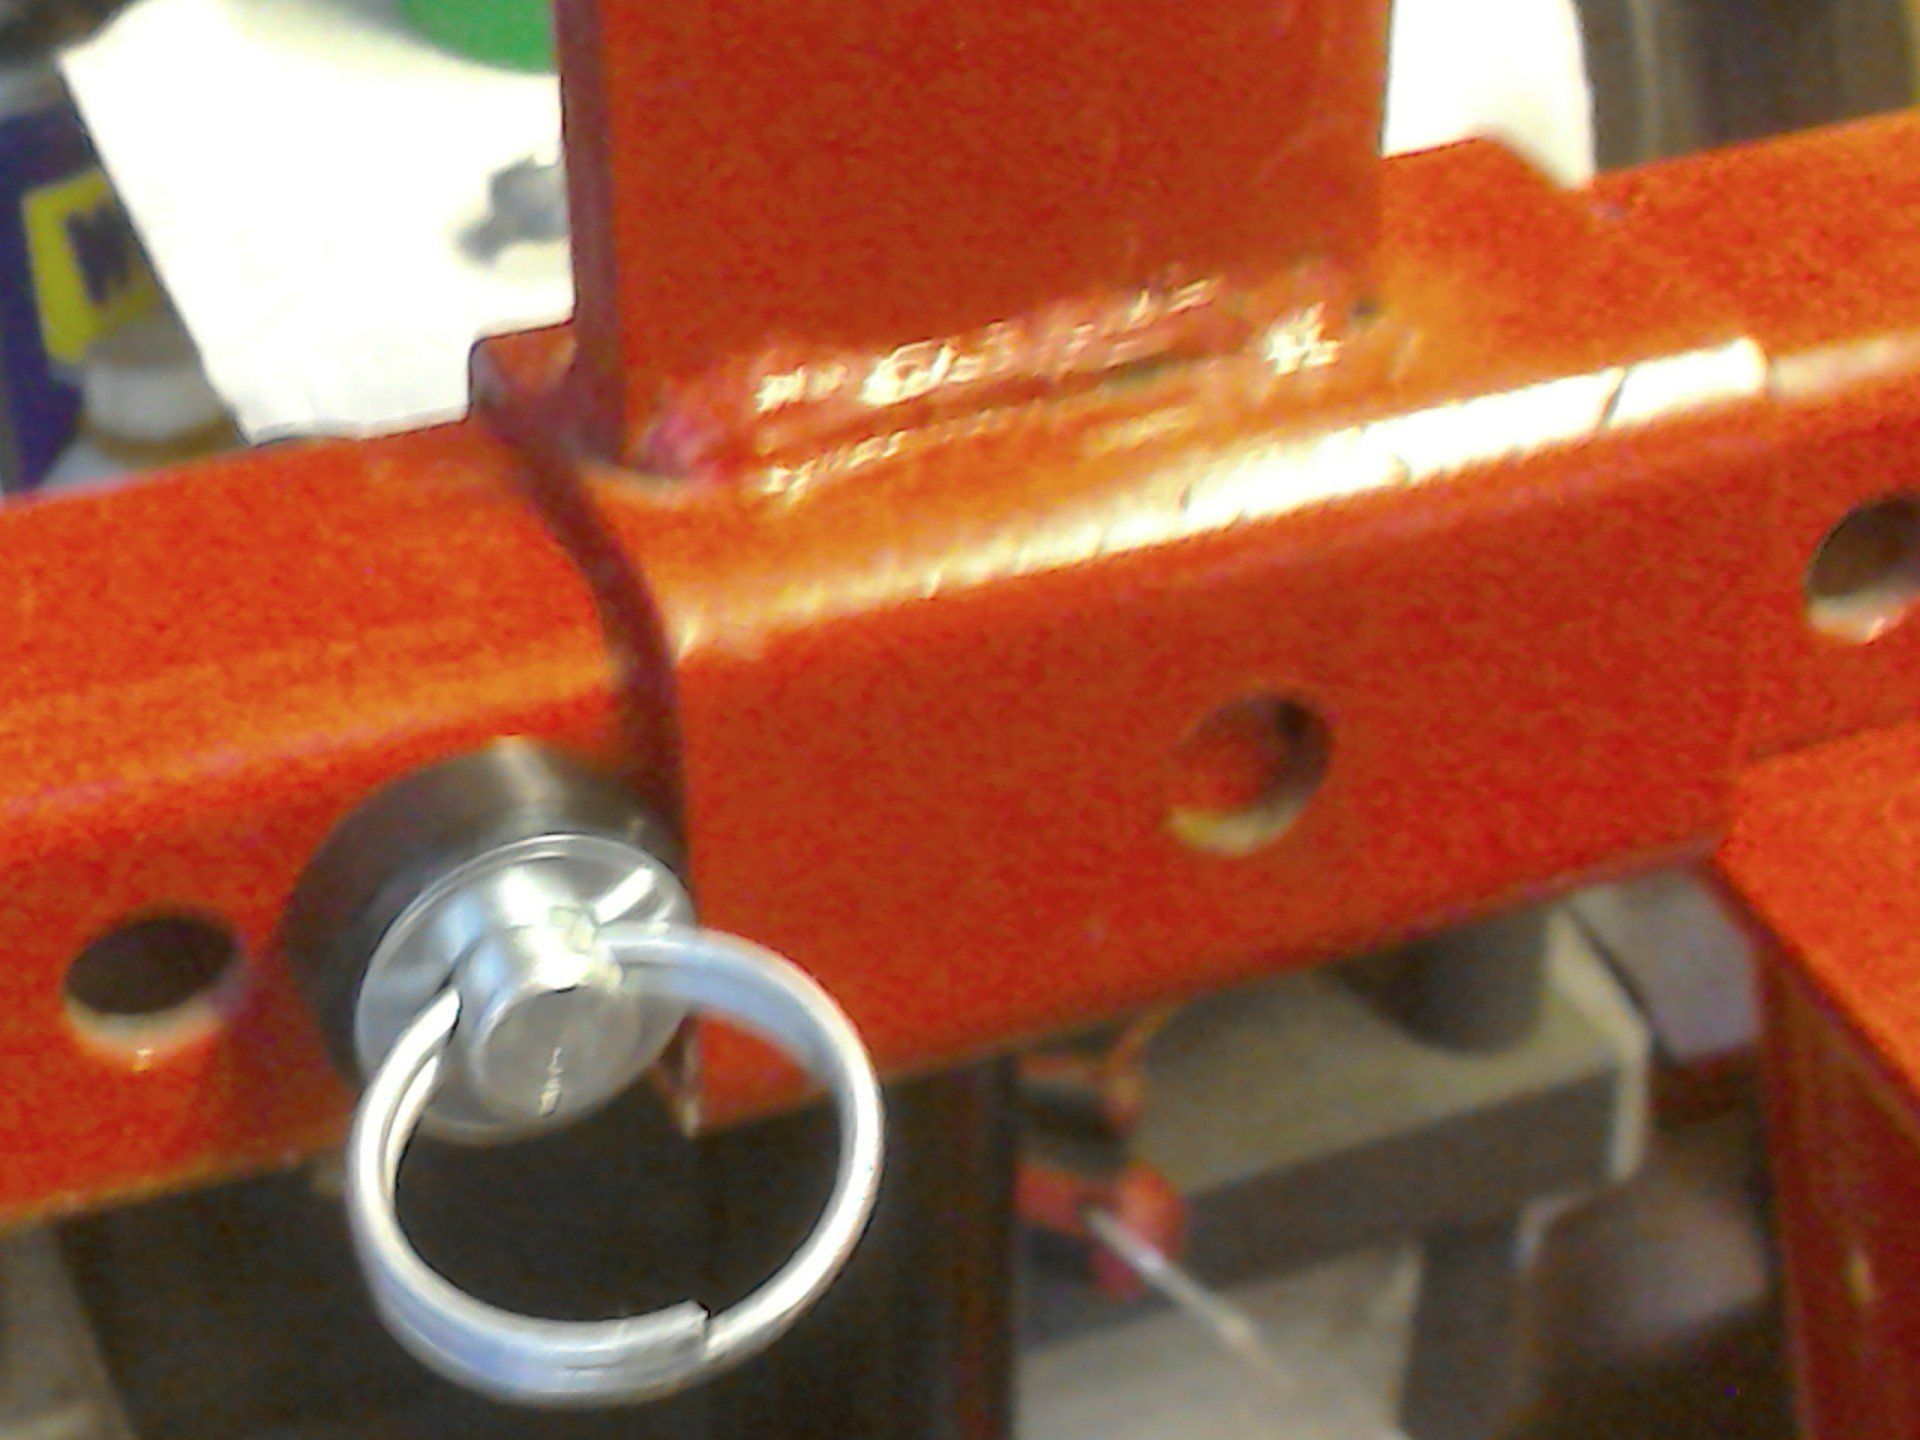
To enable the wheel to be centralised, the pin was placed through a hole behind the clamp and spacers made (of the appropriate diameter) to fit the pin and take up the slack.
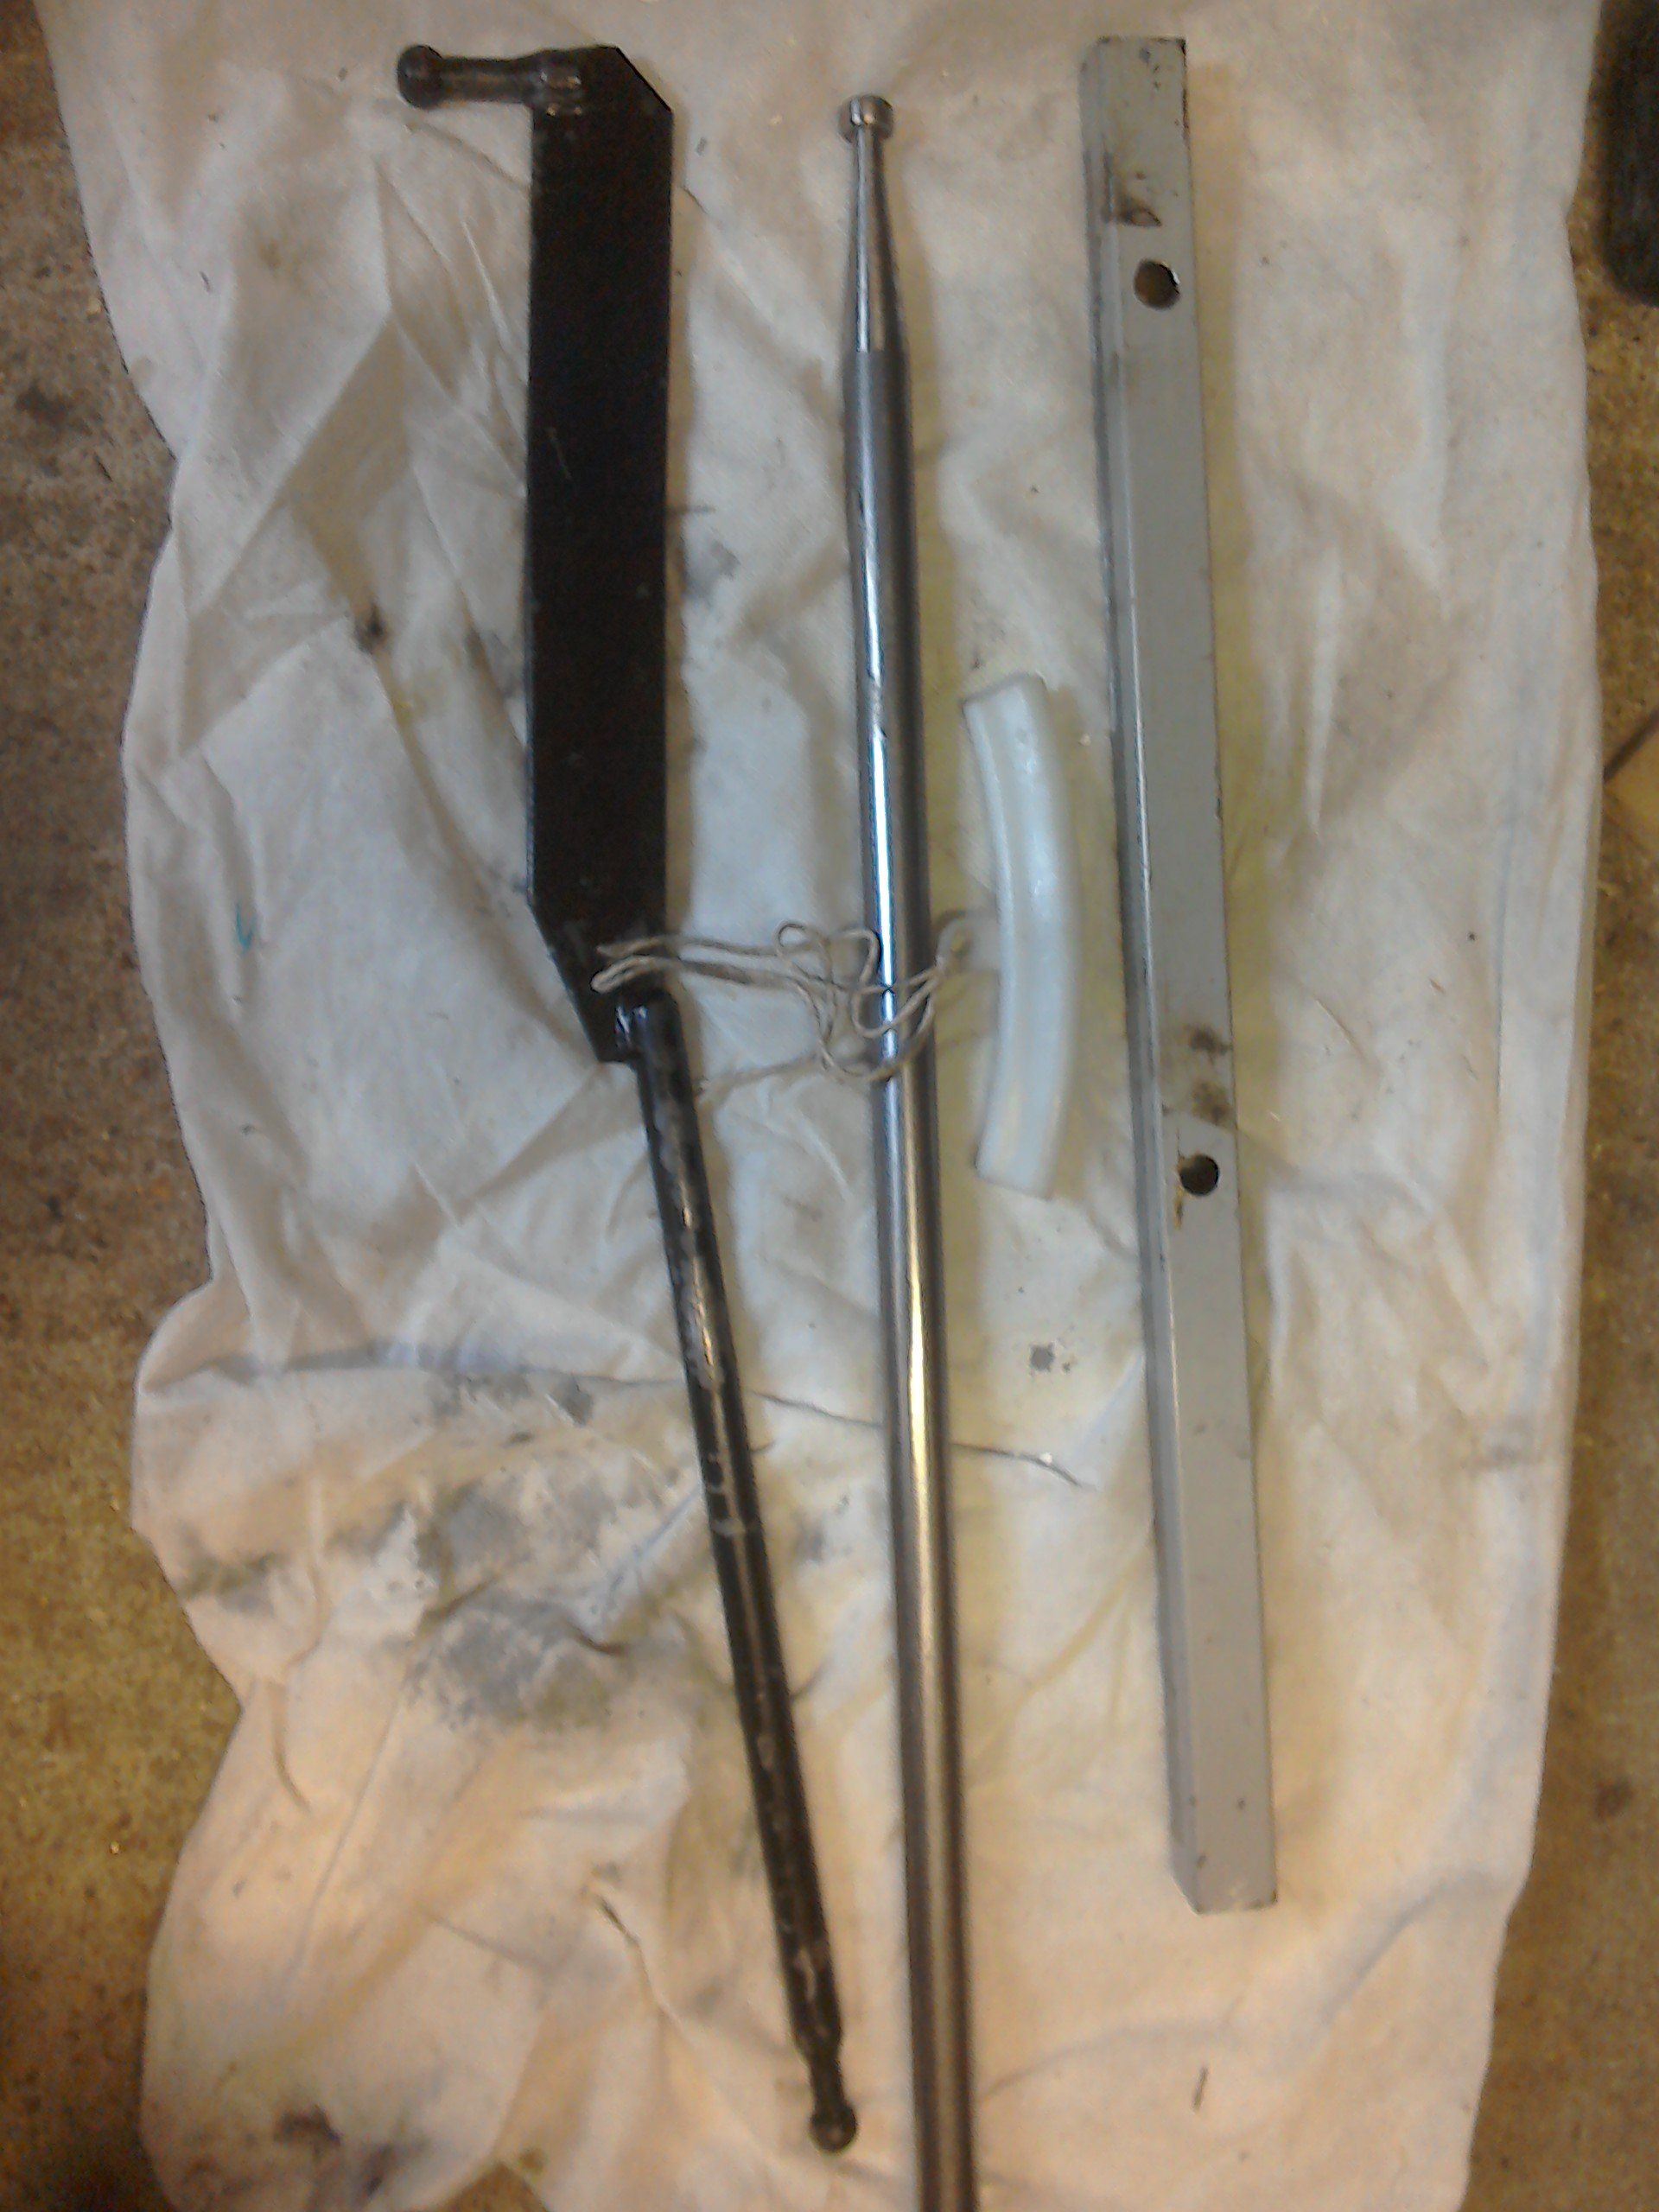
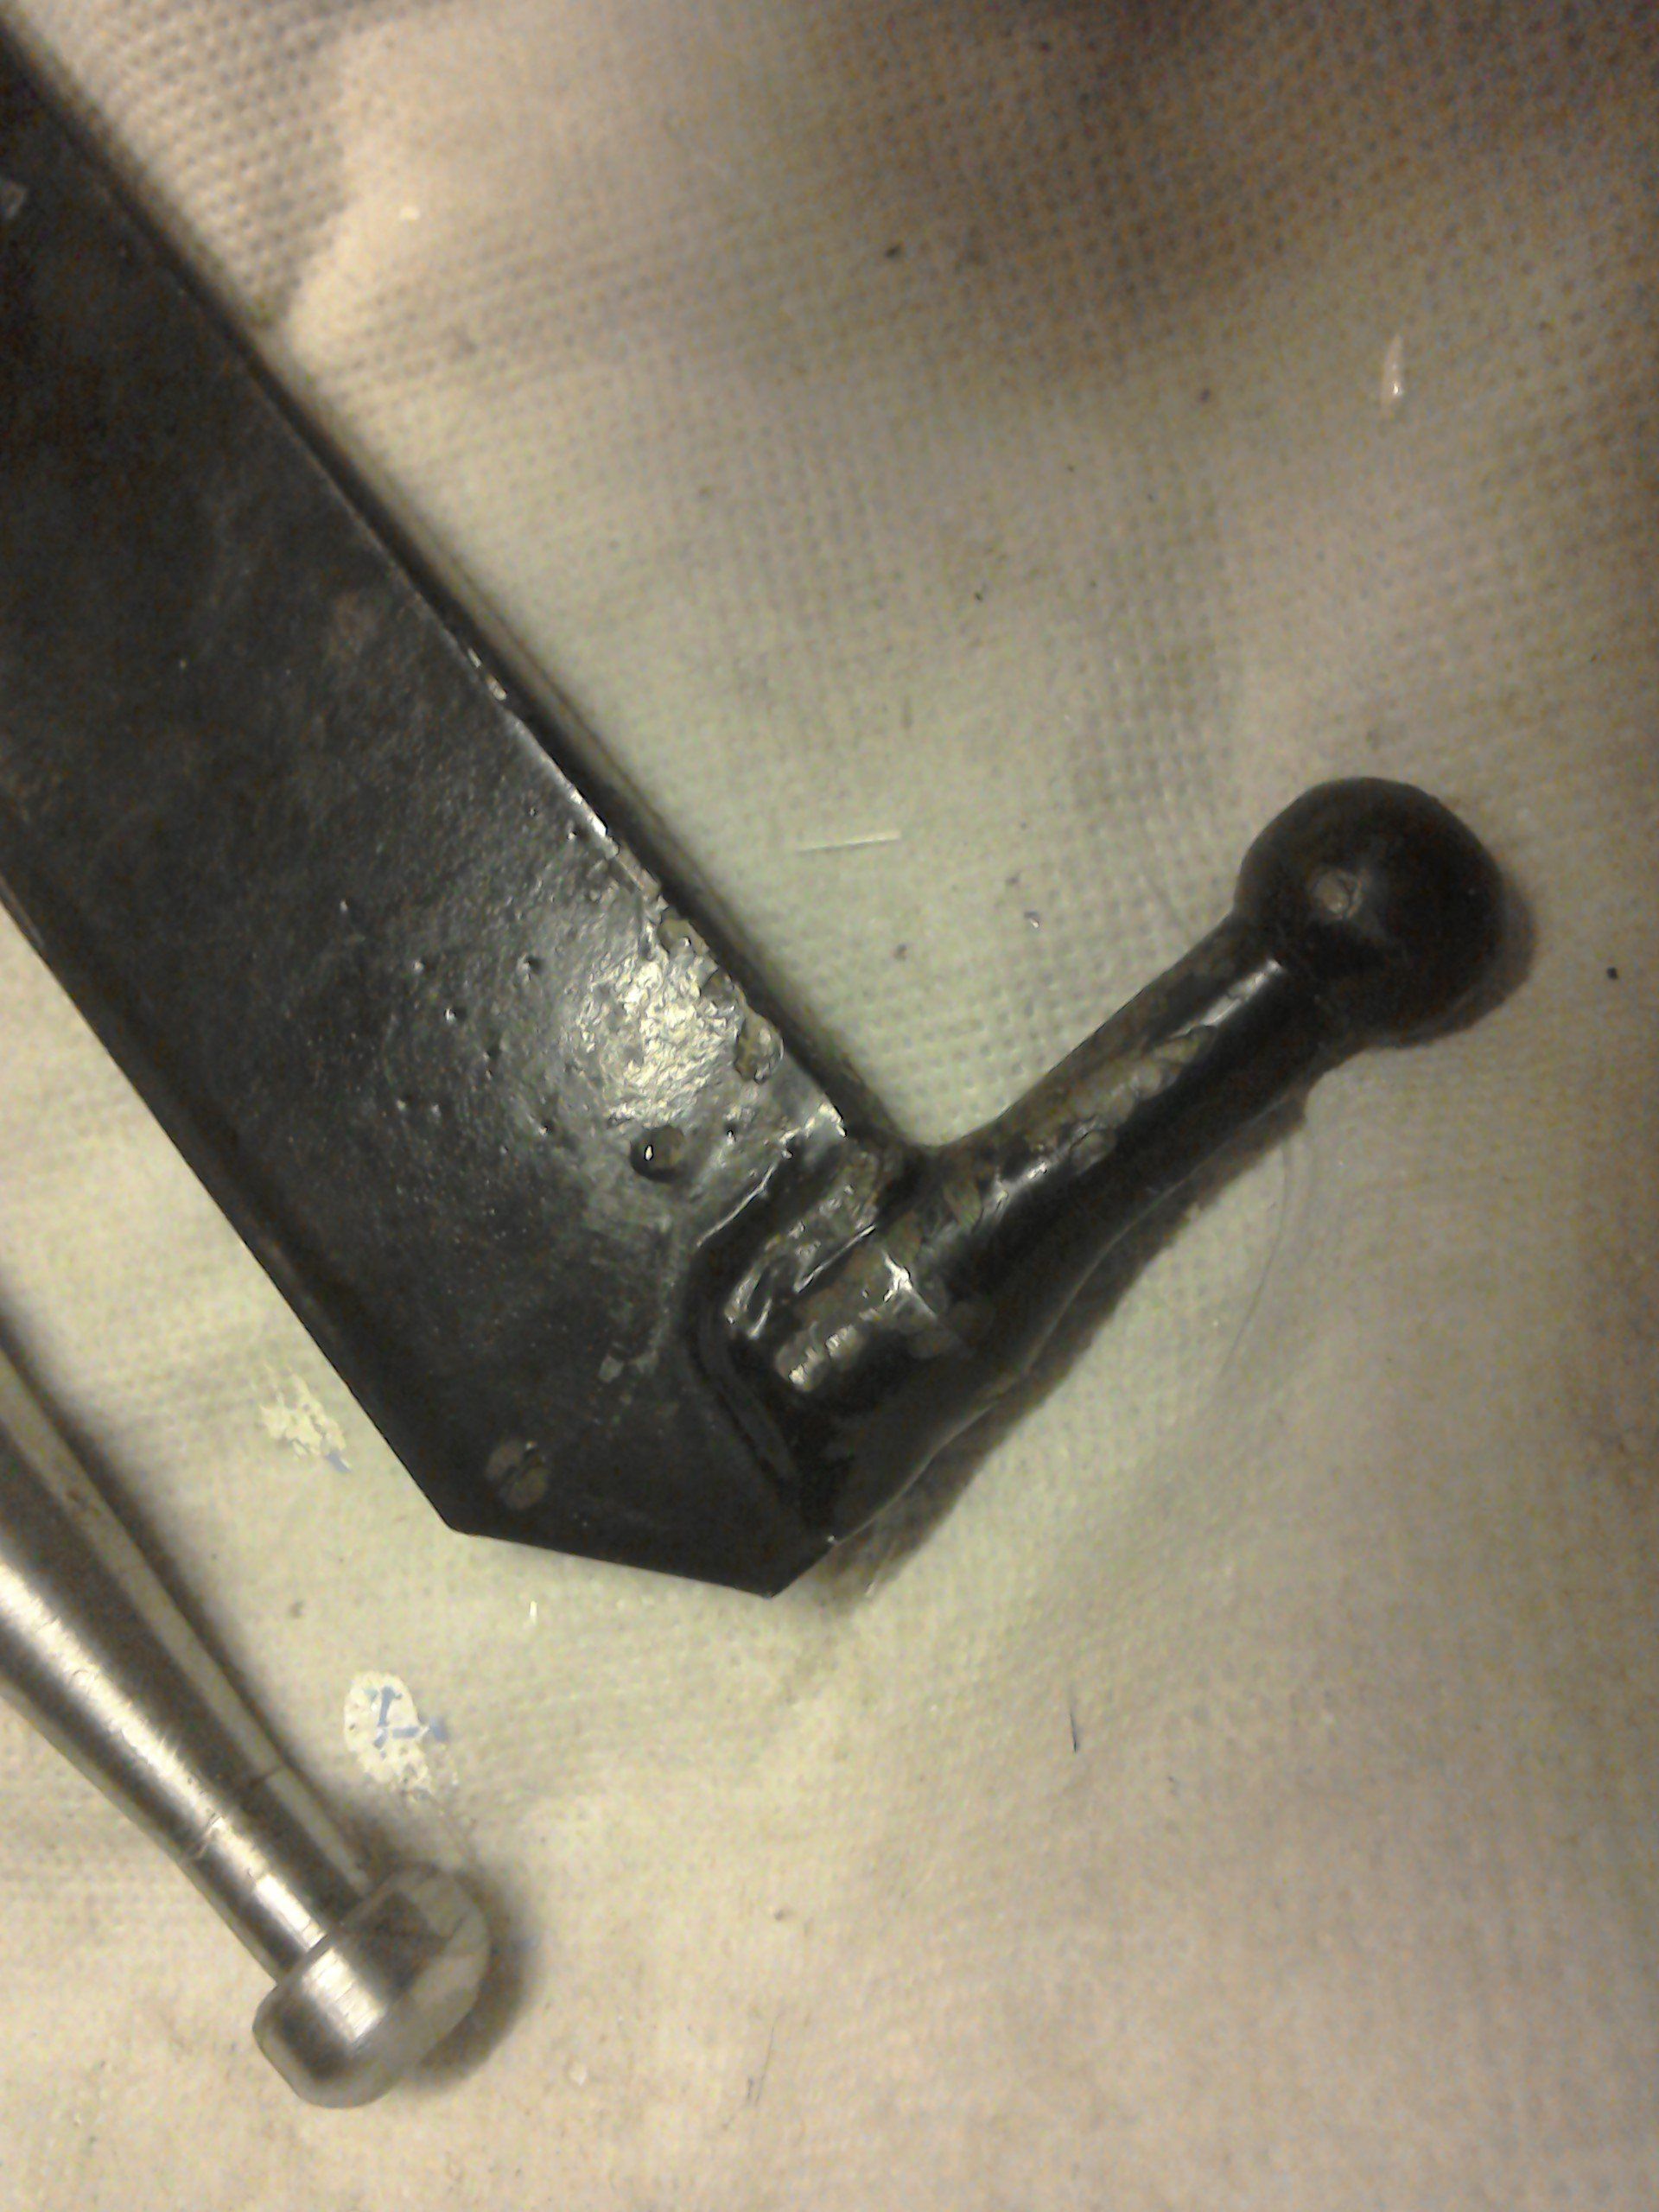
Standard Sealey tyre bar is a fairly short, all metal affair (black bar, far left). It does the job, but may cause damage to your rims. I found I needed a little extra leverage at times, so made a slightly longer de-mount bar (the silver one) and used a length of square tube to provide extra leverage when mounting tyres. If you start to need really large force, something is probably not right and you should stop and check before you damage wheel, tyre or yourself. Usually, applying more tyre lube and making sure that the beads of the tyre are pushed down into the well of the rim will free things up
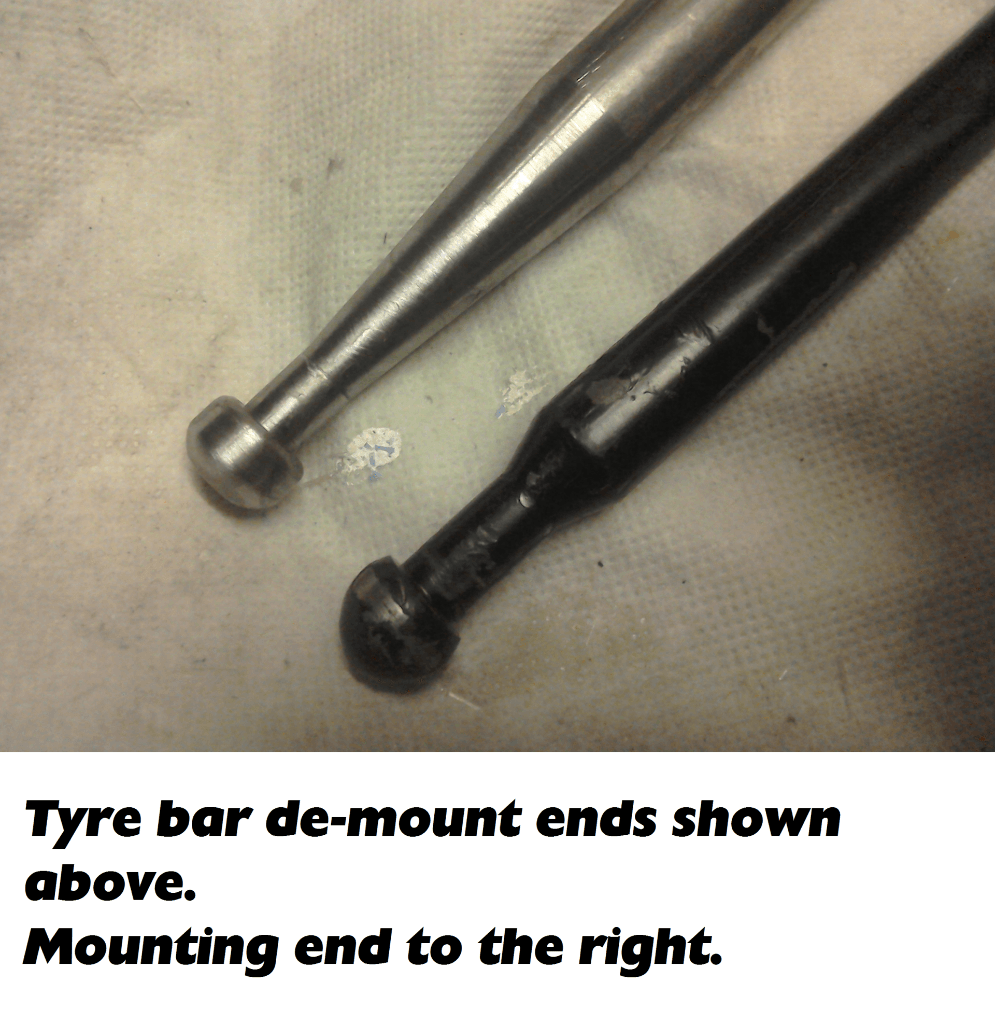
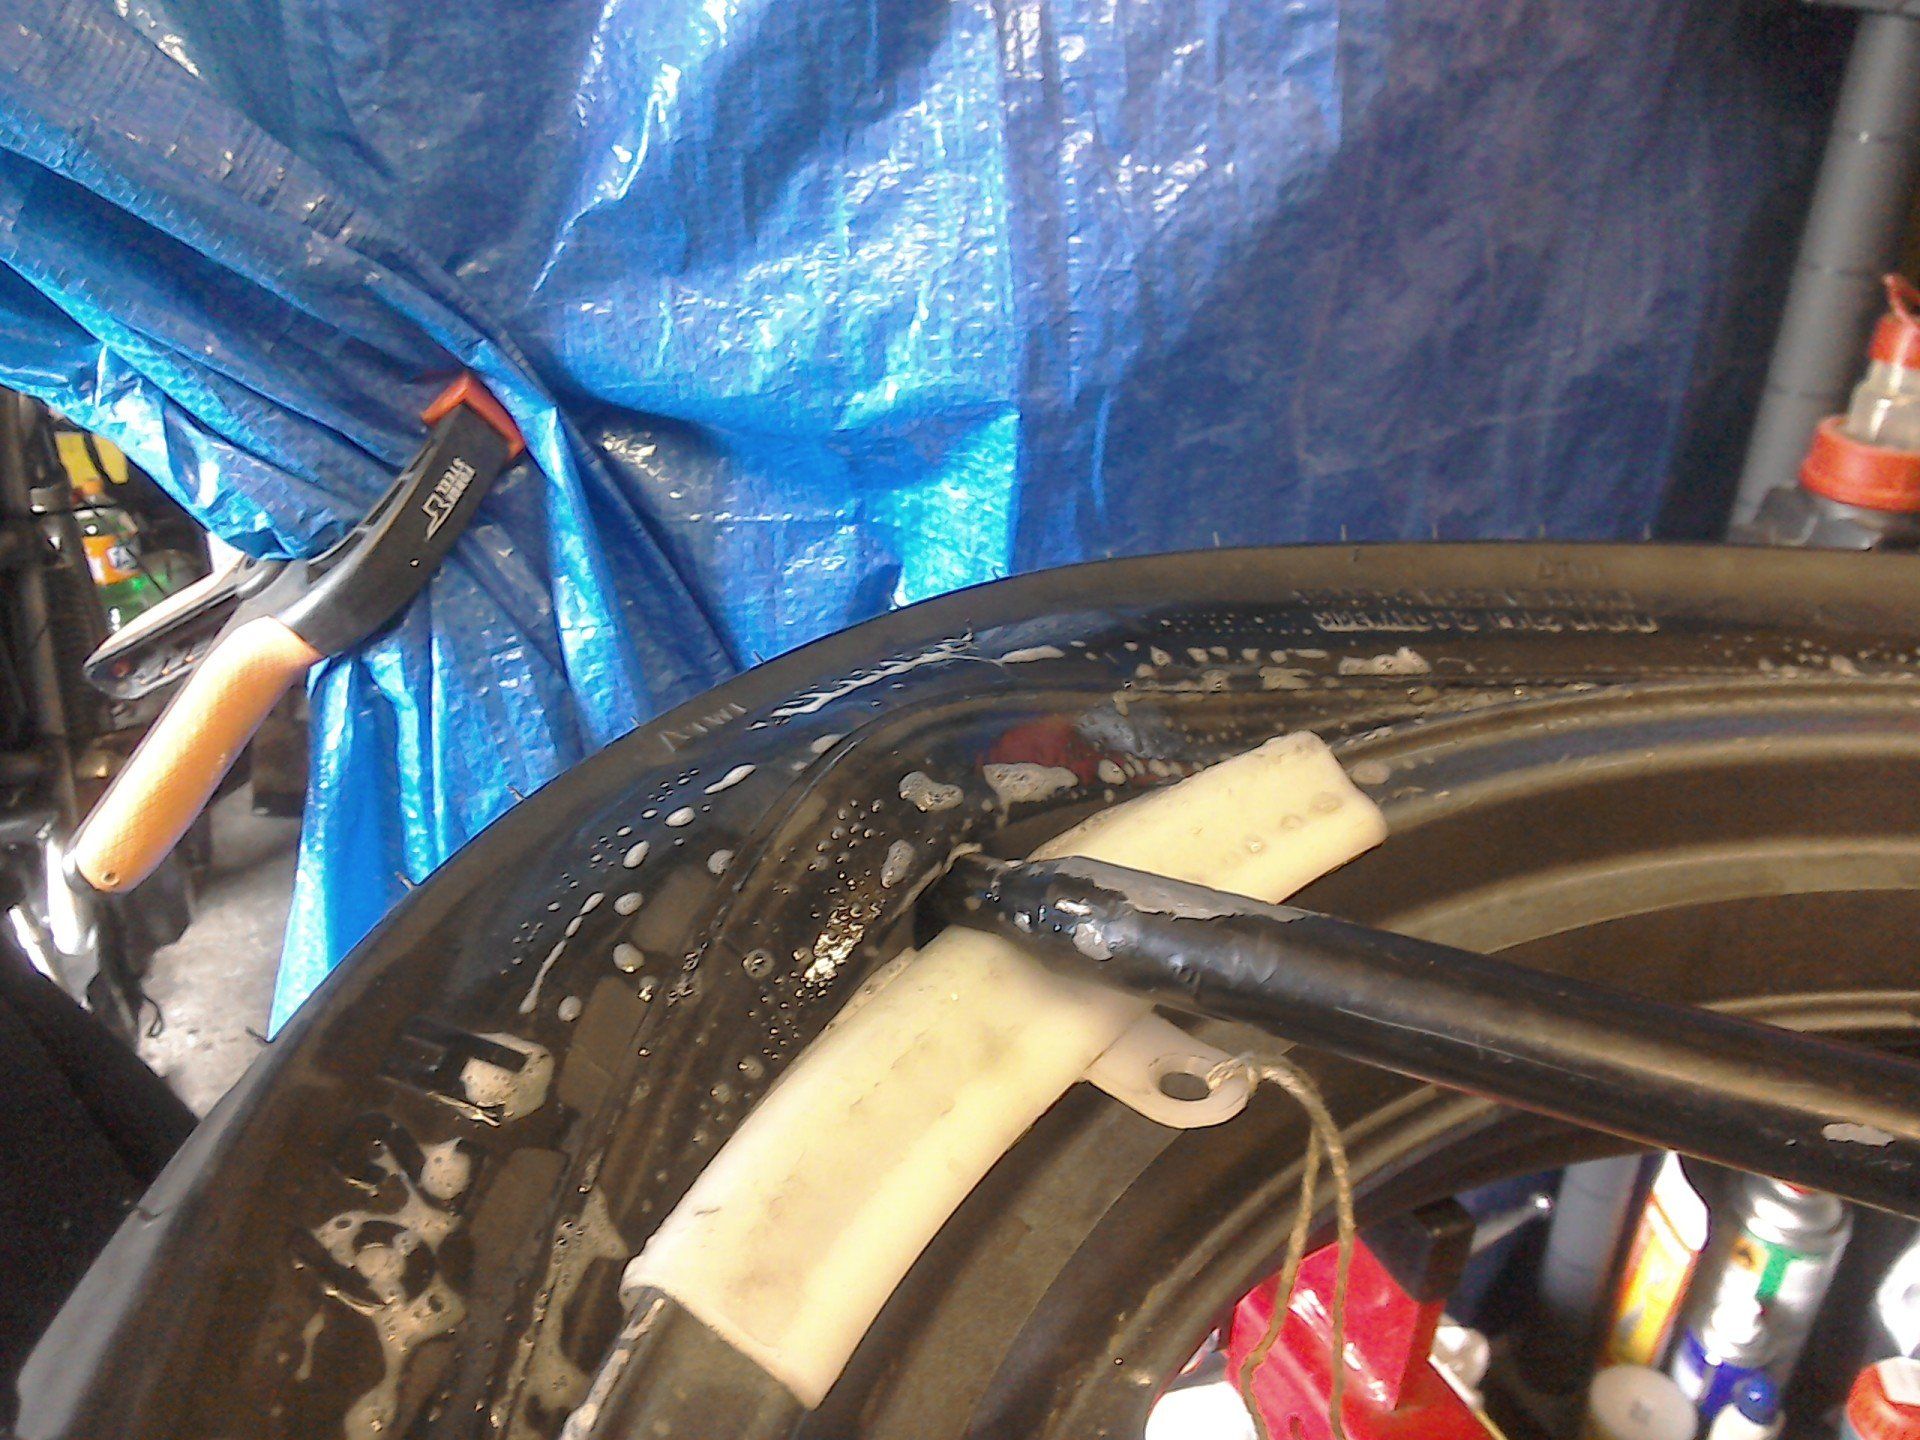
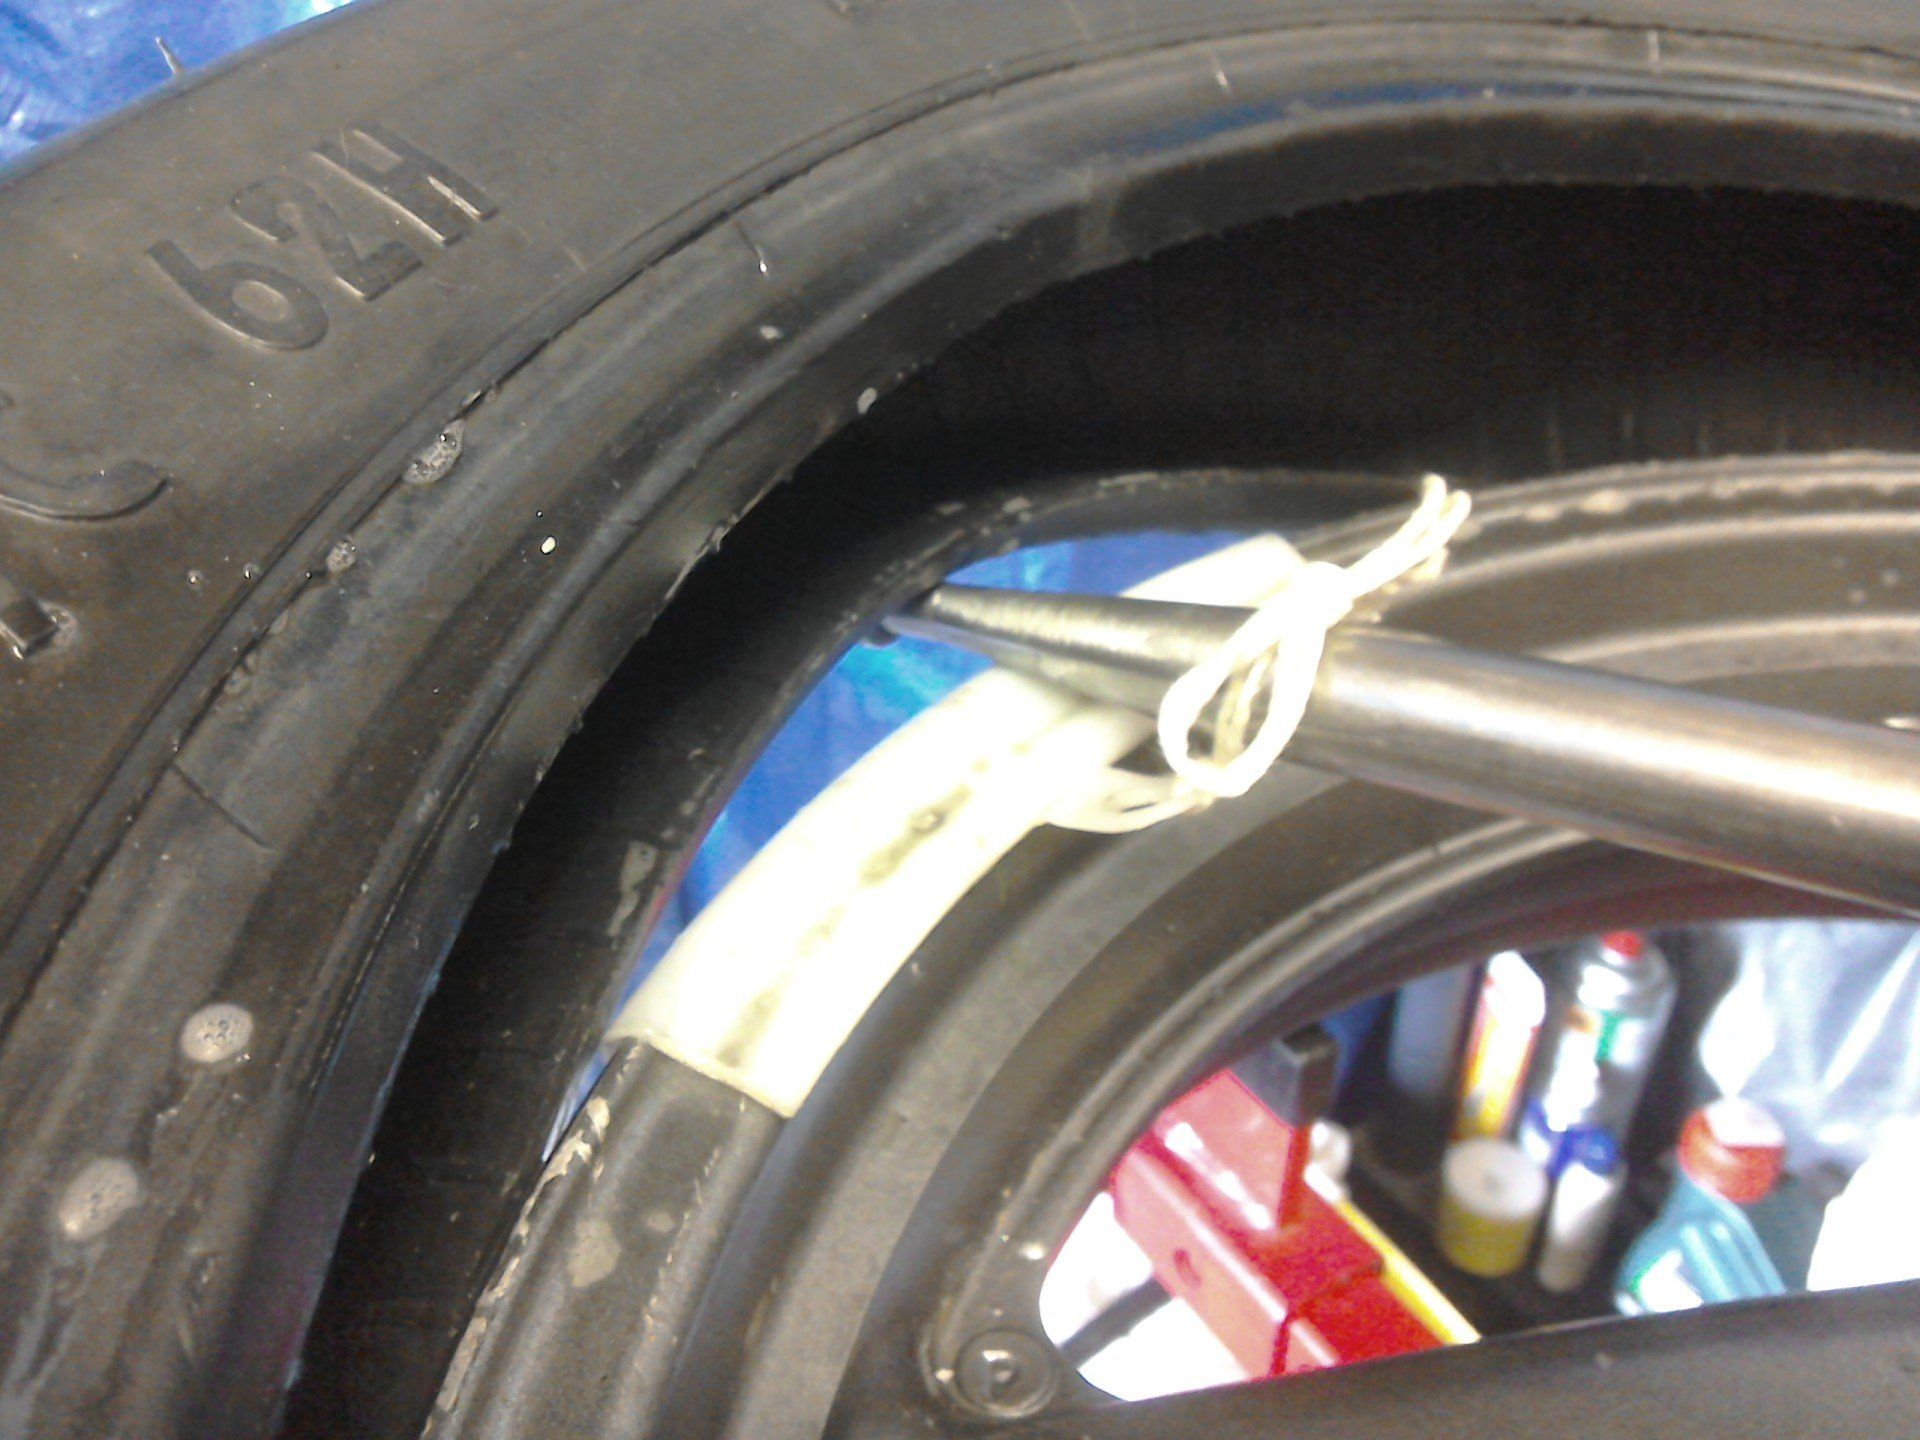
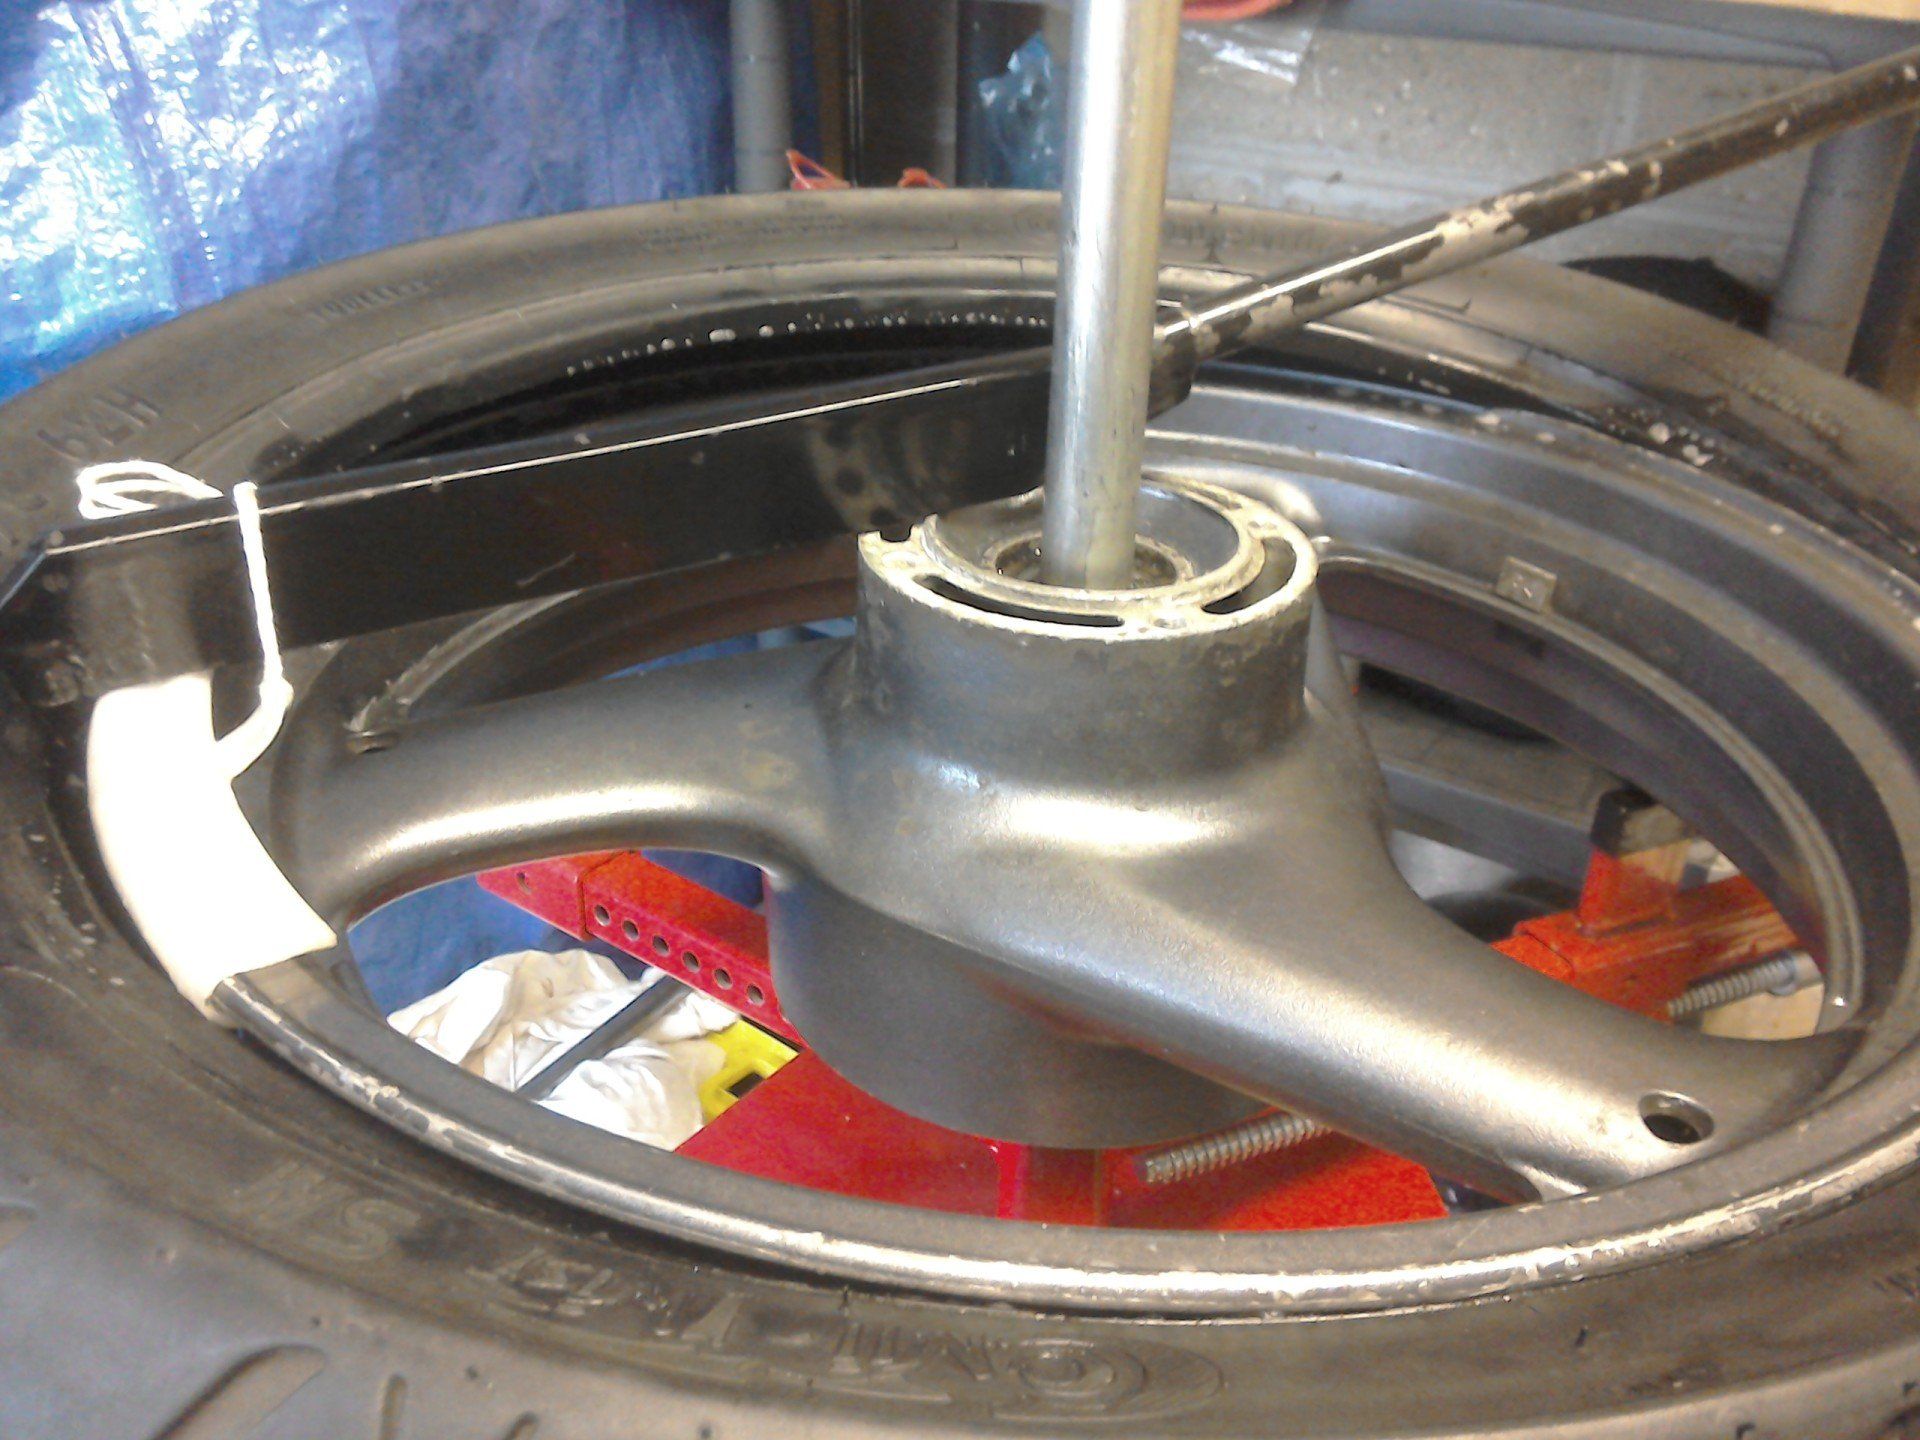
Standard de-mount bar (above) starting to remove tyre, note added rim protector in a bid to minimise damage.
Similar picture (below) but using a homemade (slightly longer) de-mount bar. If you work the bar (so that the tyre has been lifted over most of the rim protector) you can then tie the rim protector to the tyre bar and it will rotate around with the bar and help prevent rim damage. Radius and smooth edges of rim protector to minimise scratching of wheel finish.
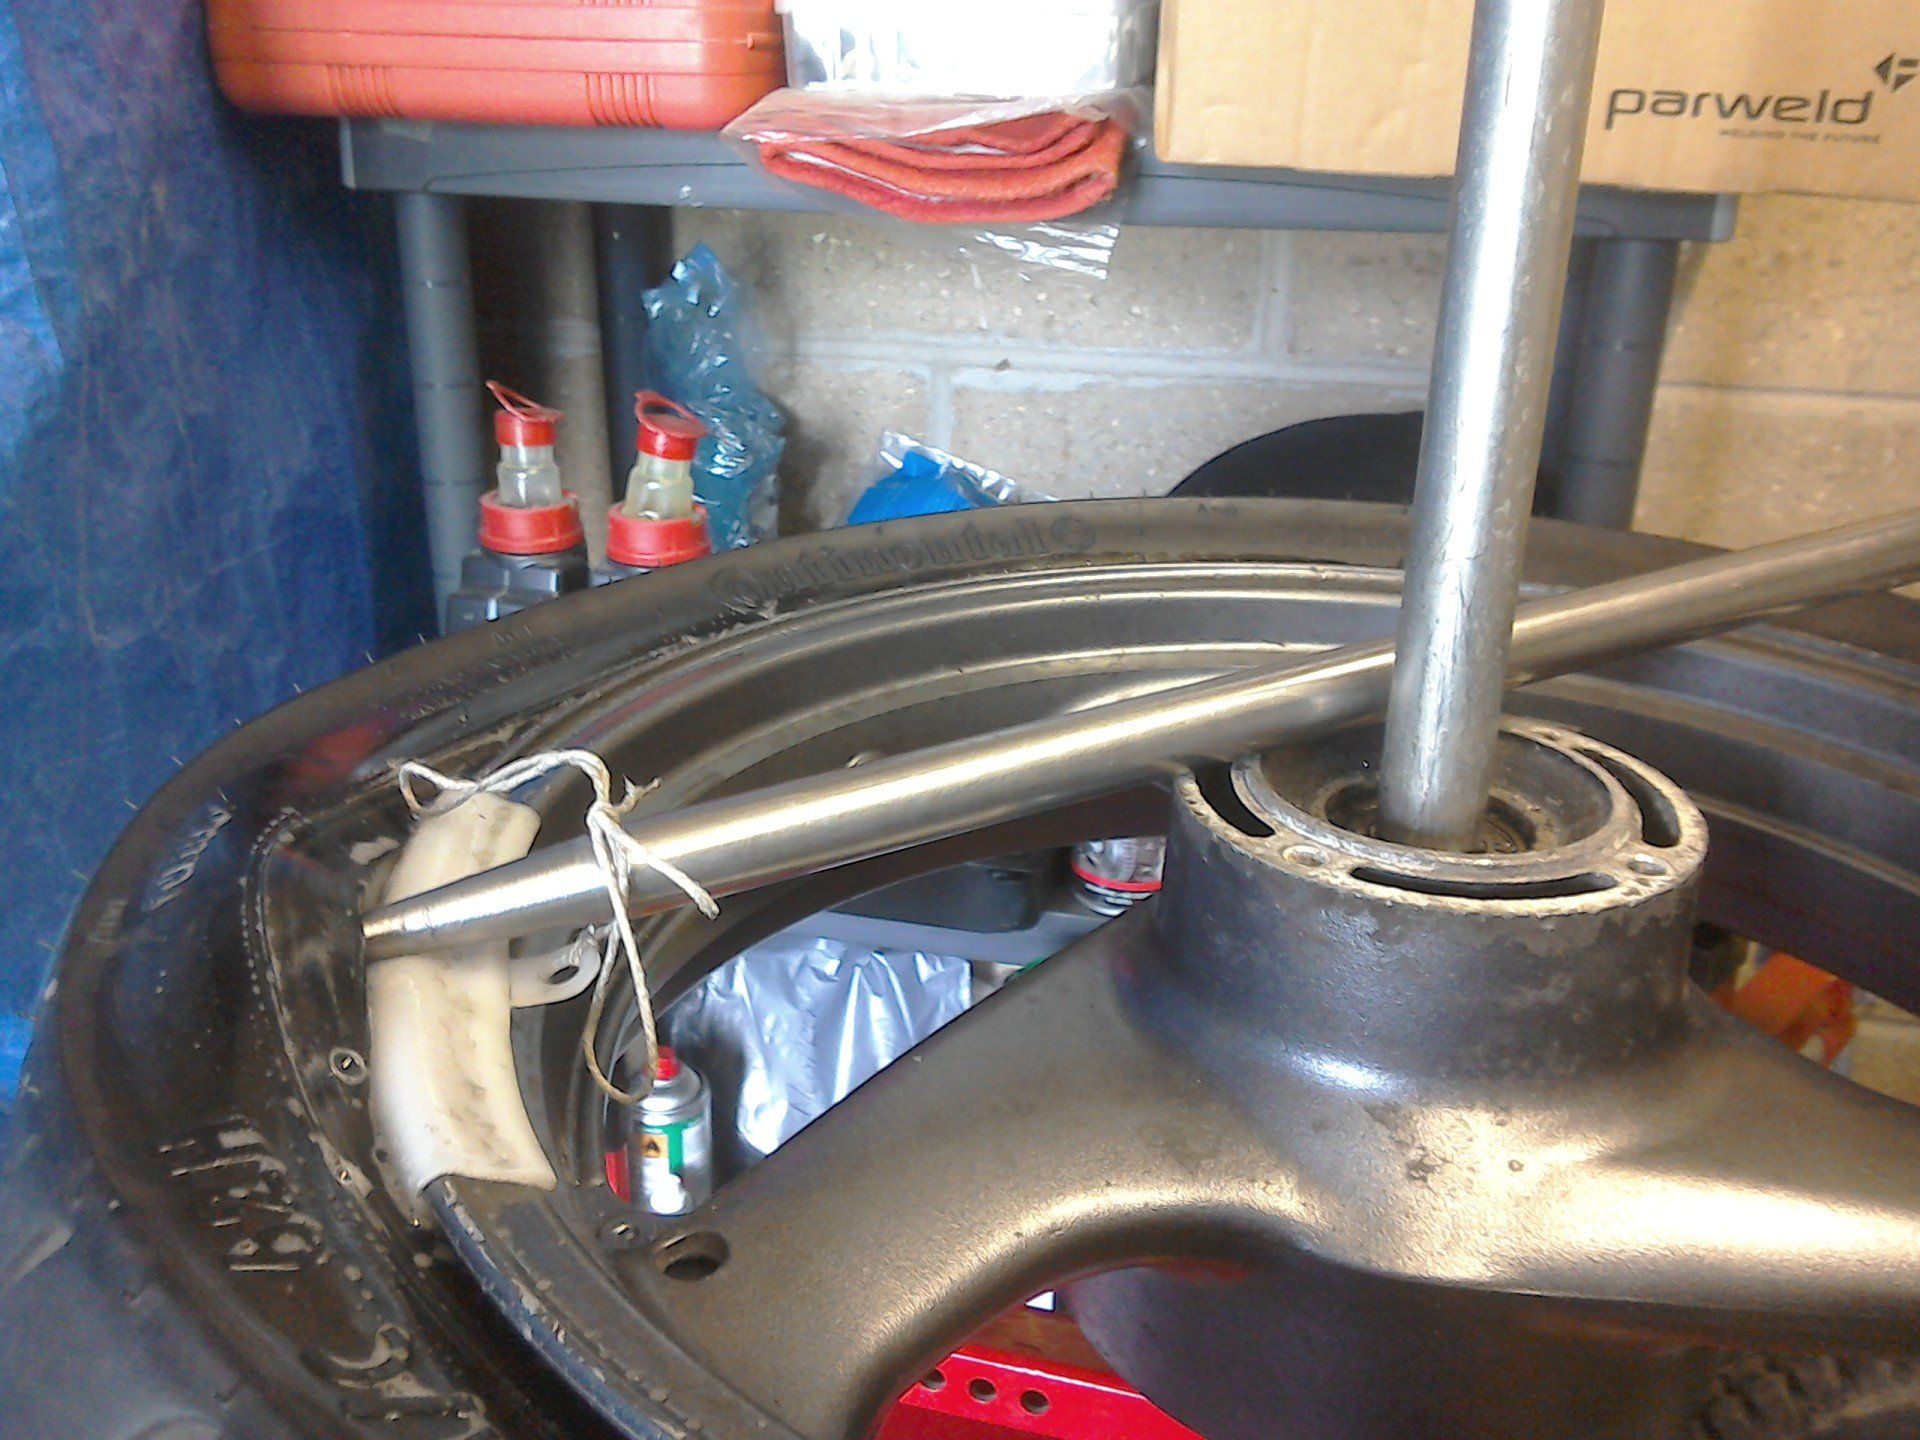
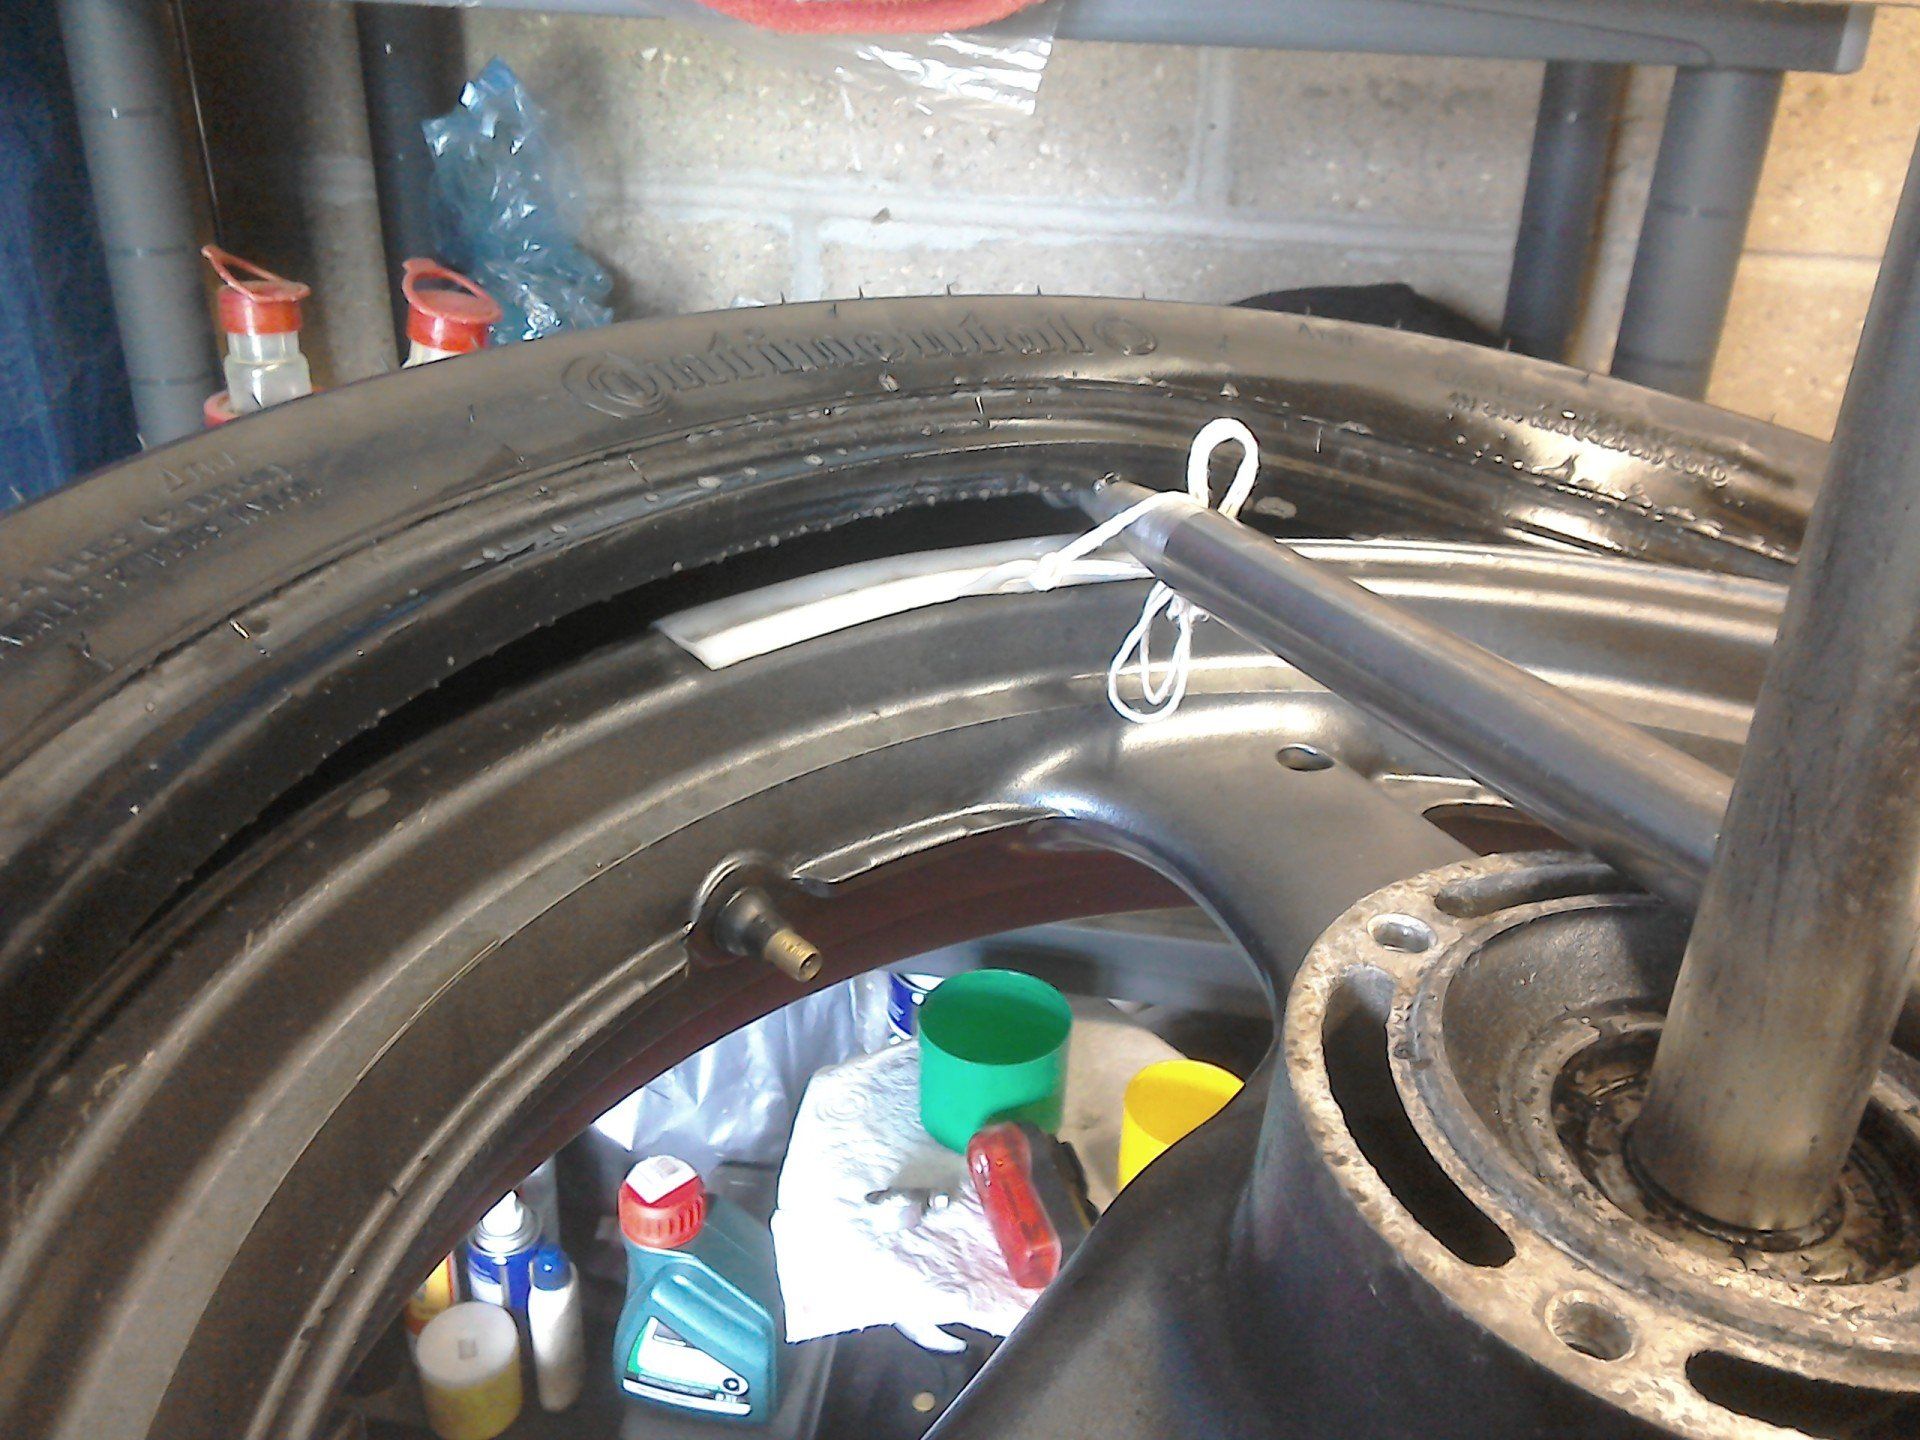
First side almost off.
Closely followed by the second.
This is usually much easier.
To mount the tyre, add plenty of lube and you will probably find that you can push most of the first side on by hand, if you remember to make sure that the other side of the tyre is in the central well.
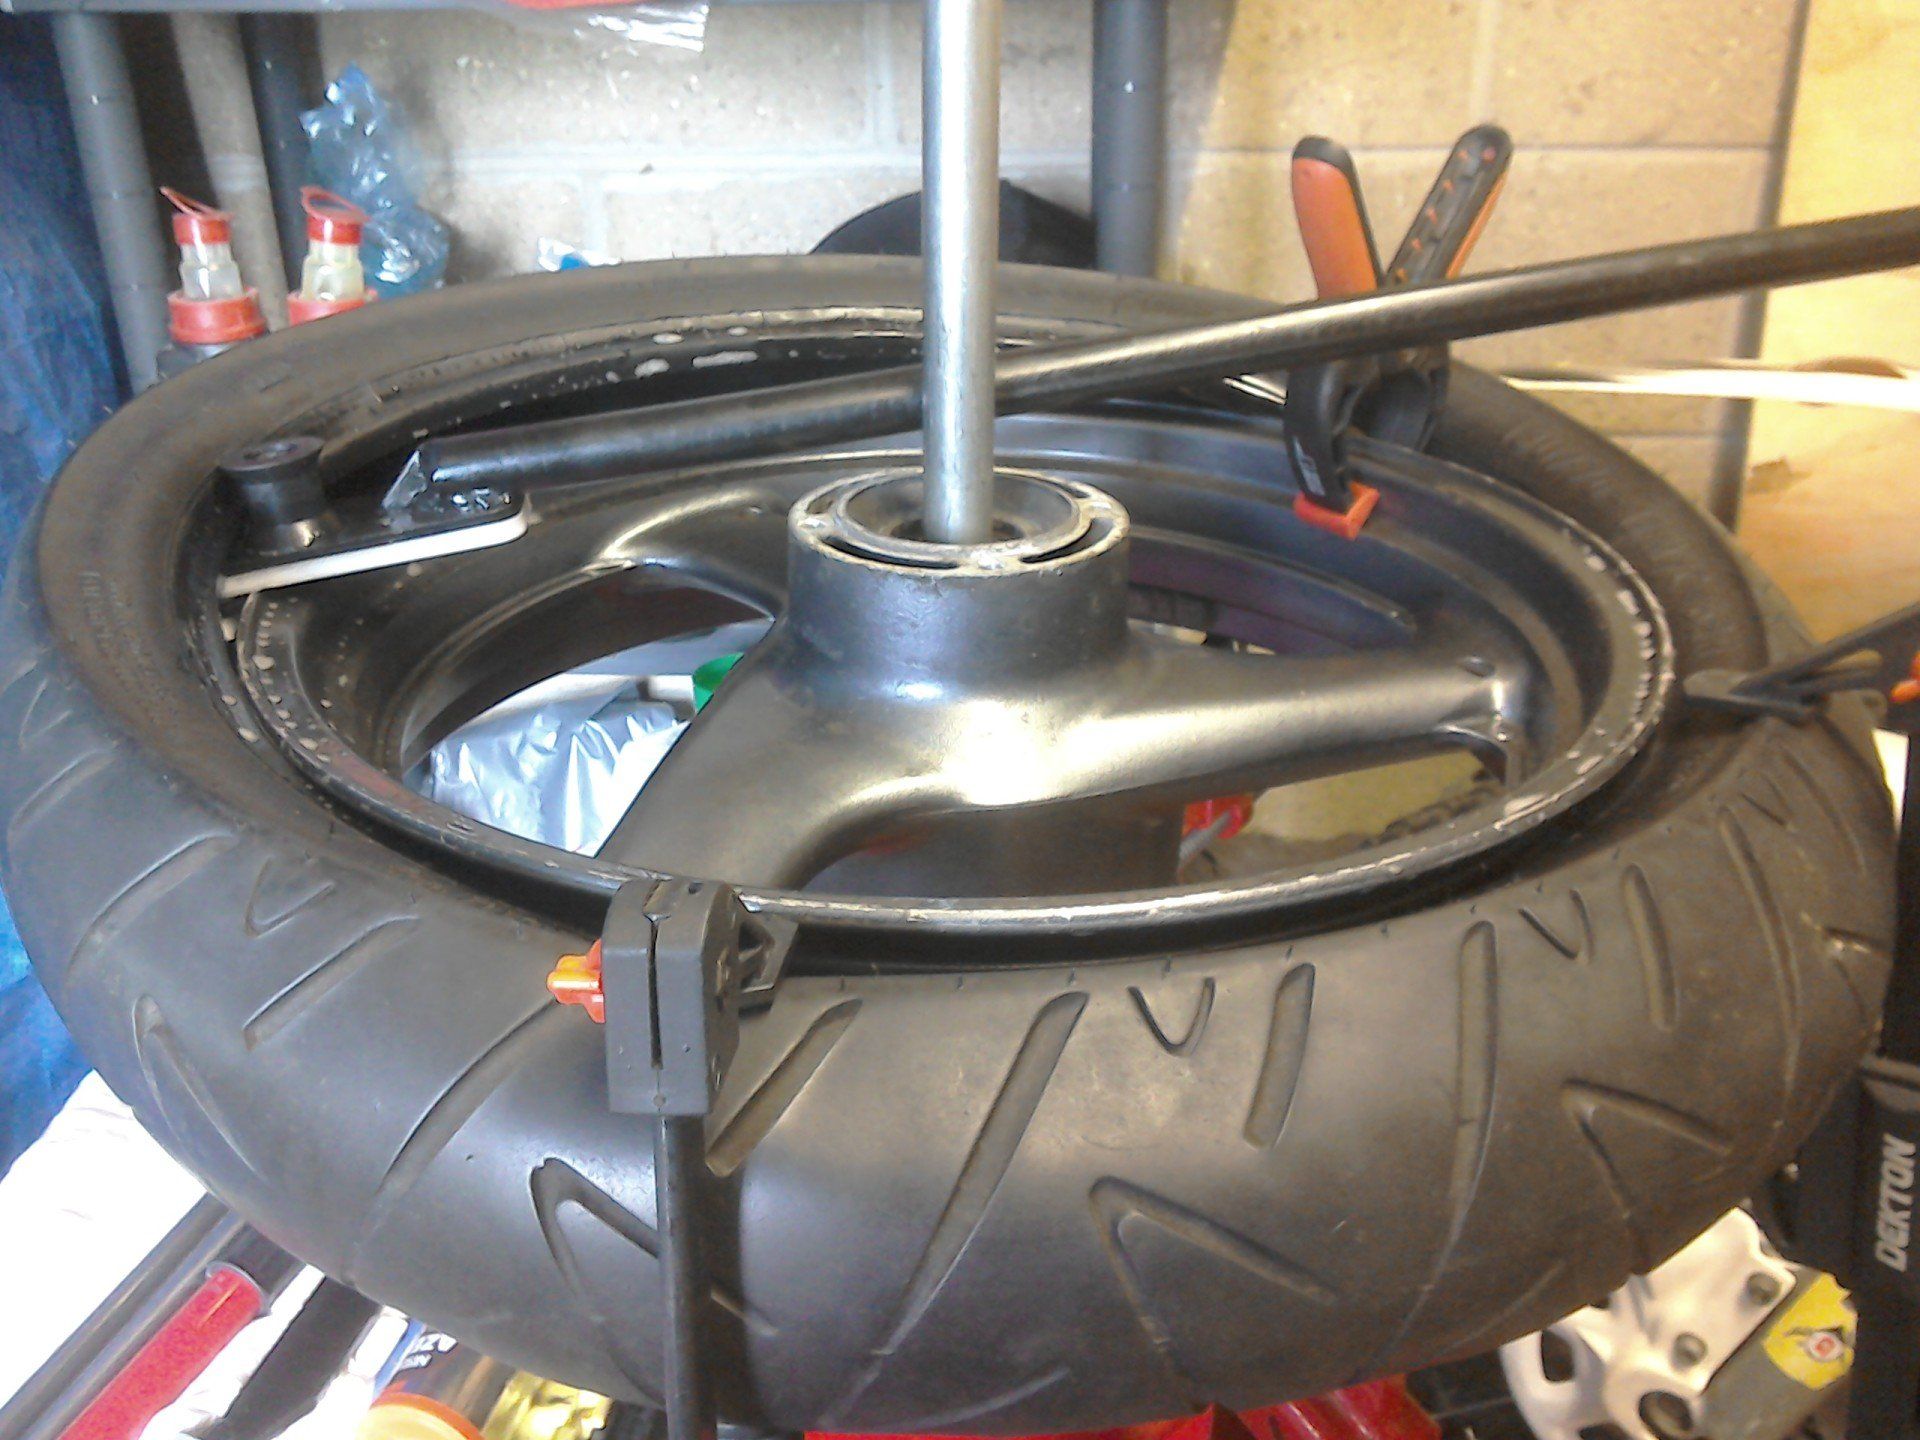
For the second side, lube up and grab the mounting bar. Again I’ve used a rim protector tied to the bar to try and minimise rim damage. You can push a fair bit of the bead onto the rim manually before you need to use the bar.You’ll get to a point where everything gets really tight, stop and push the opposite side of the tyre down into the centre well. If you can’t do this by hand, use a clamp on the tyre to pop it down
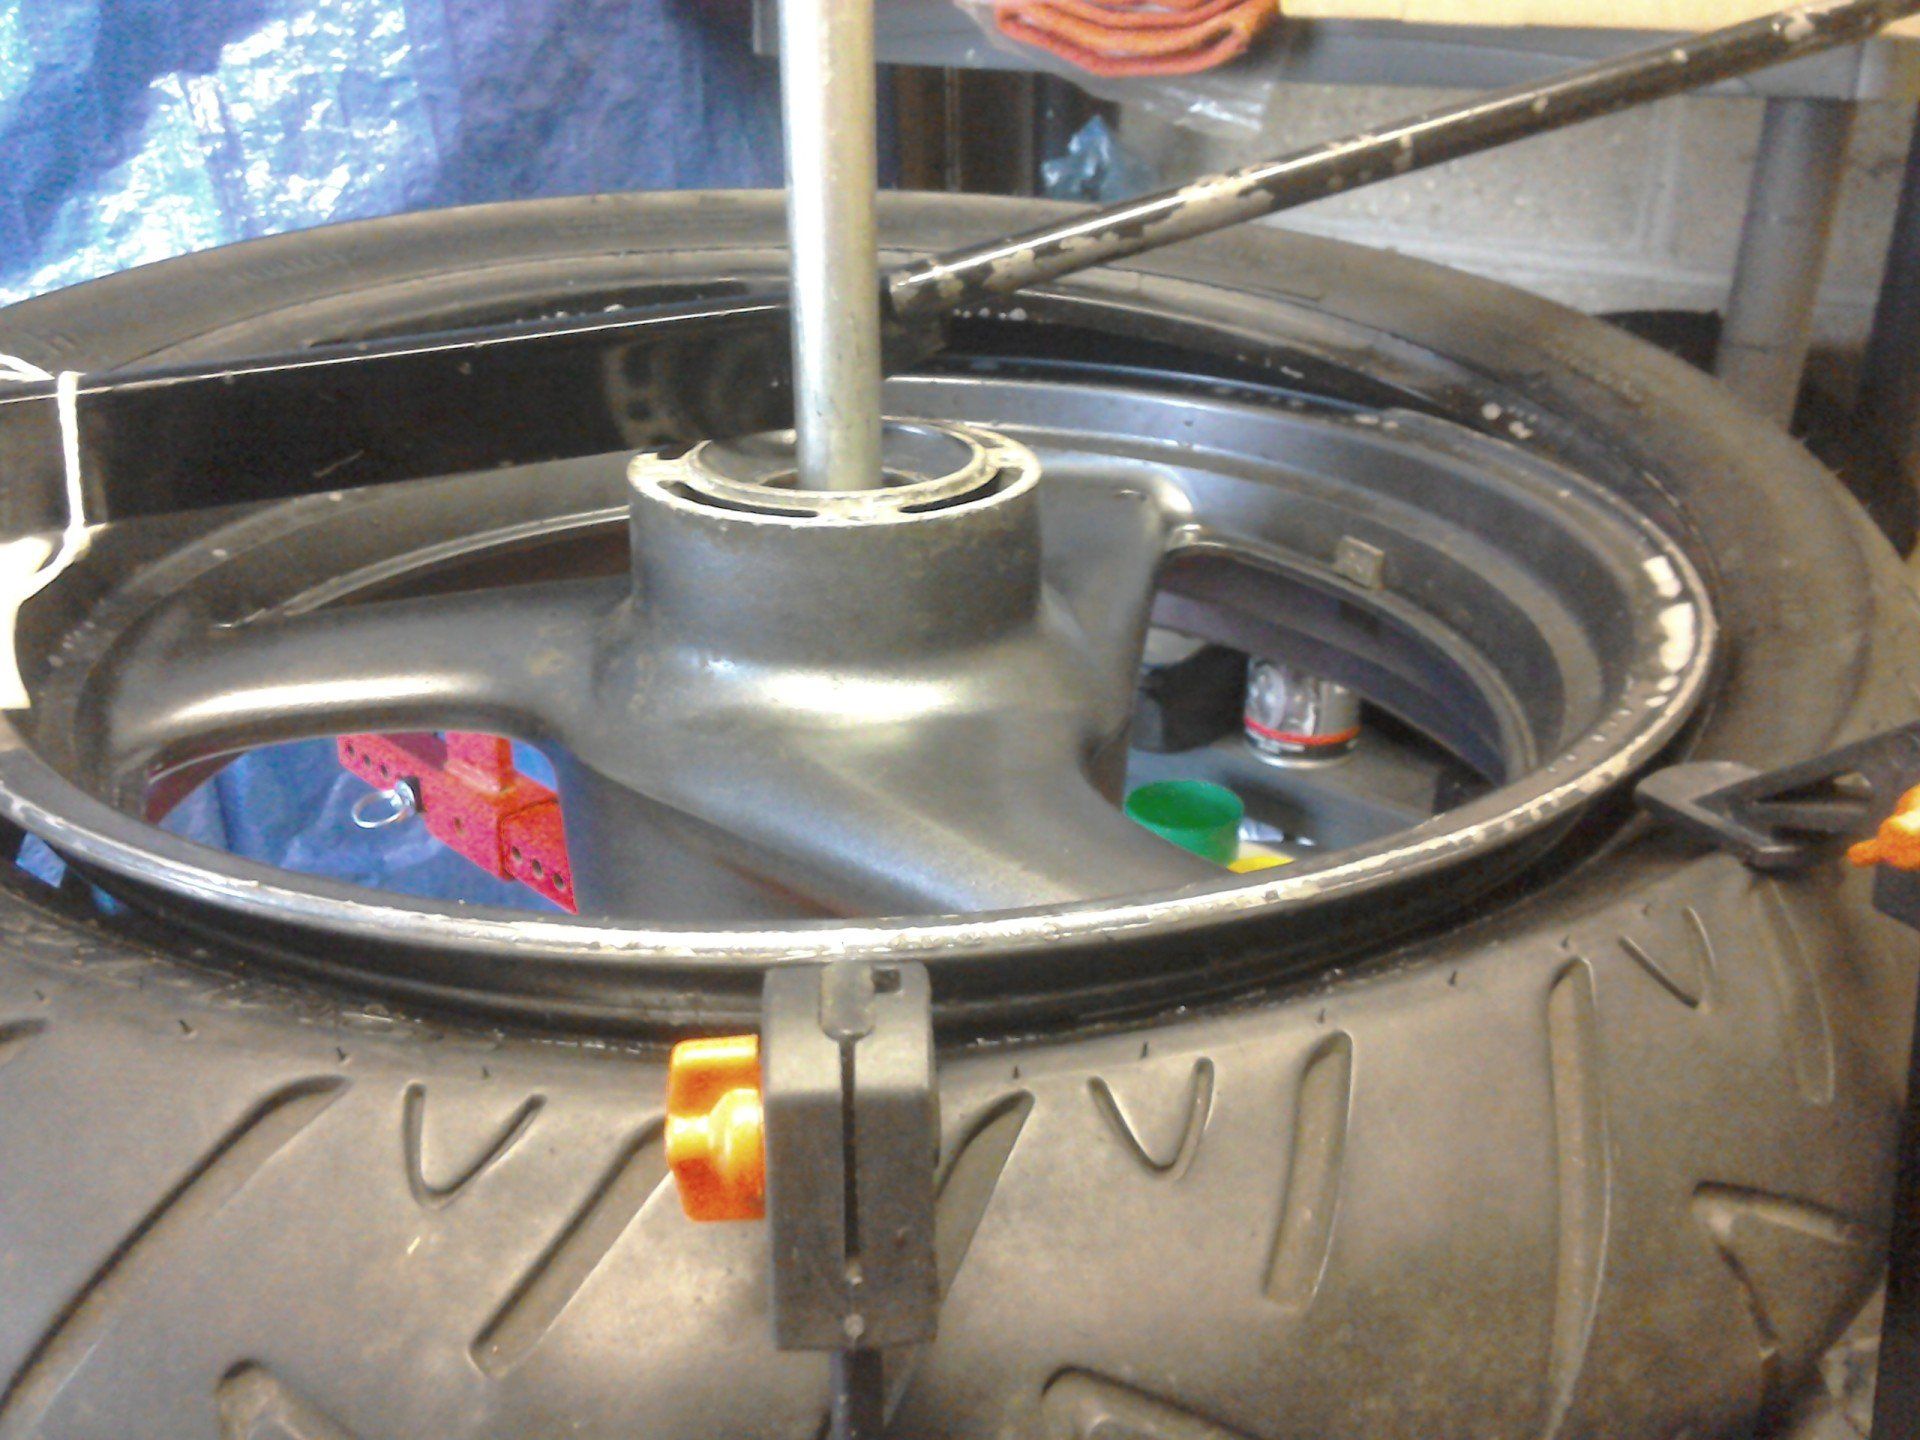
There we go, tyre back on the rim.
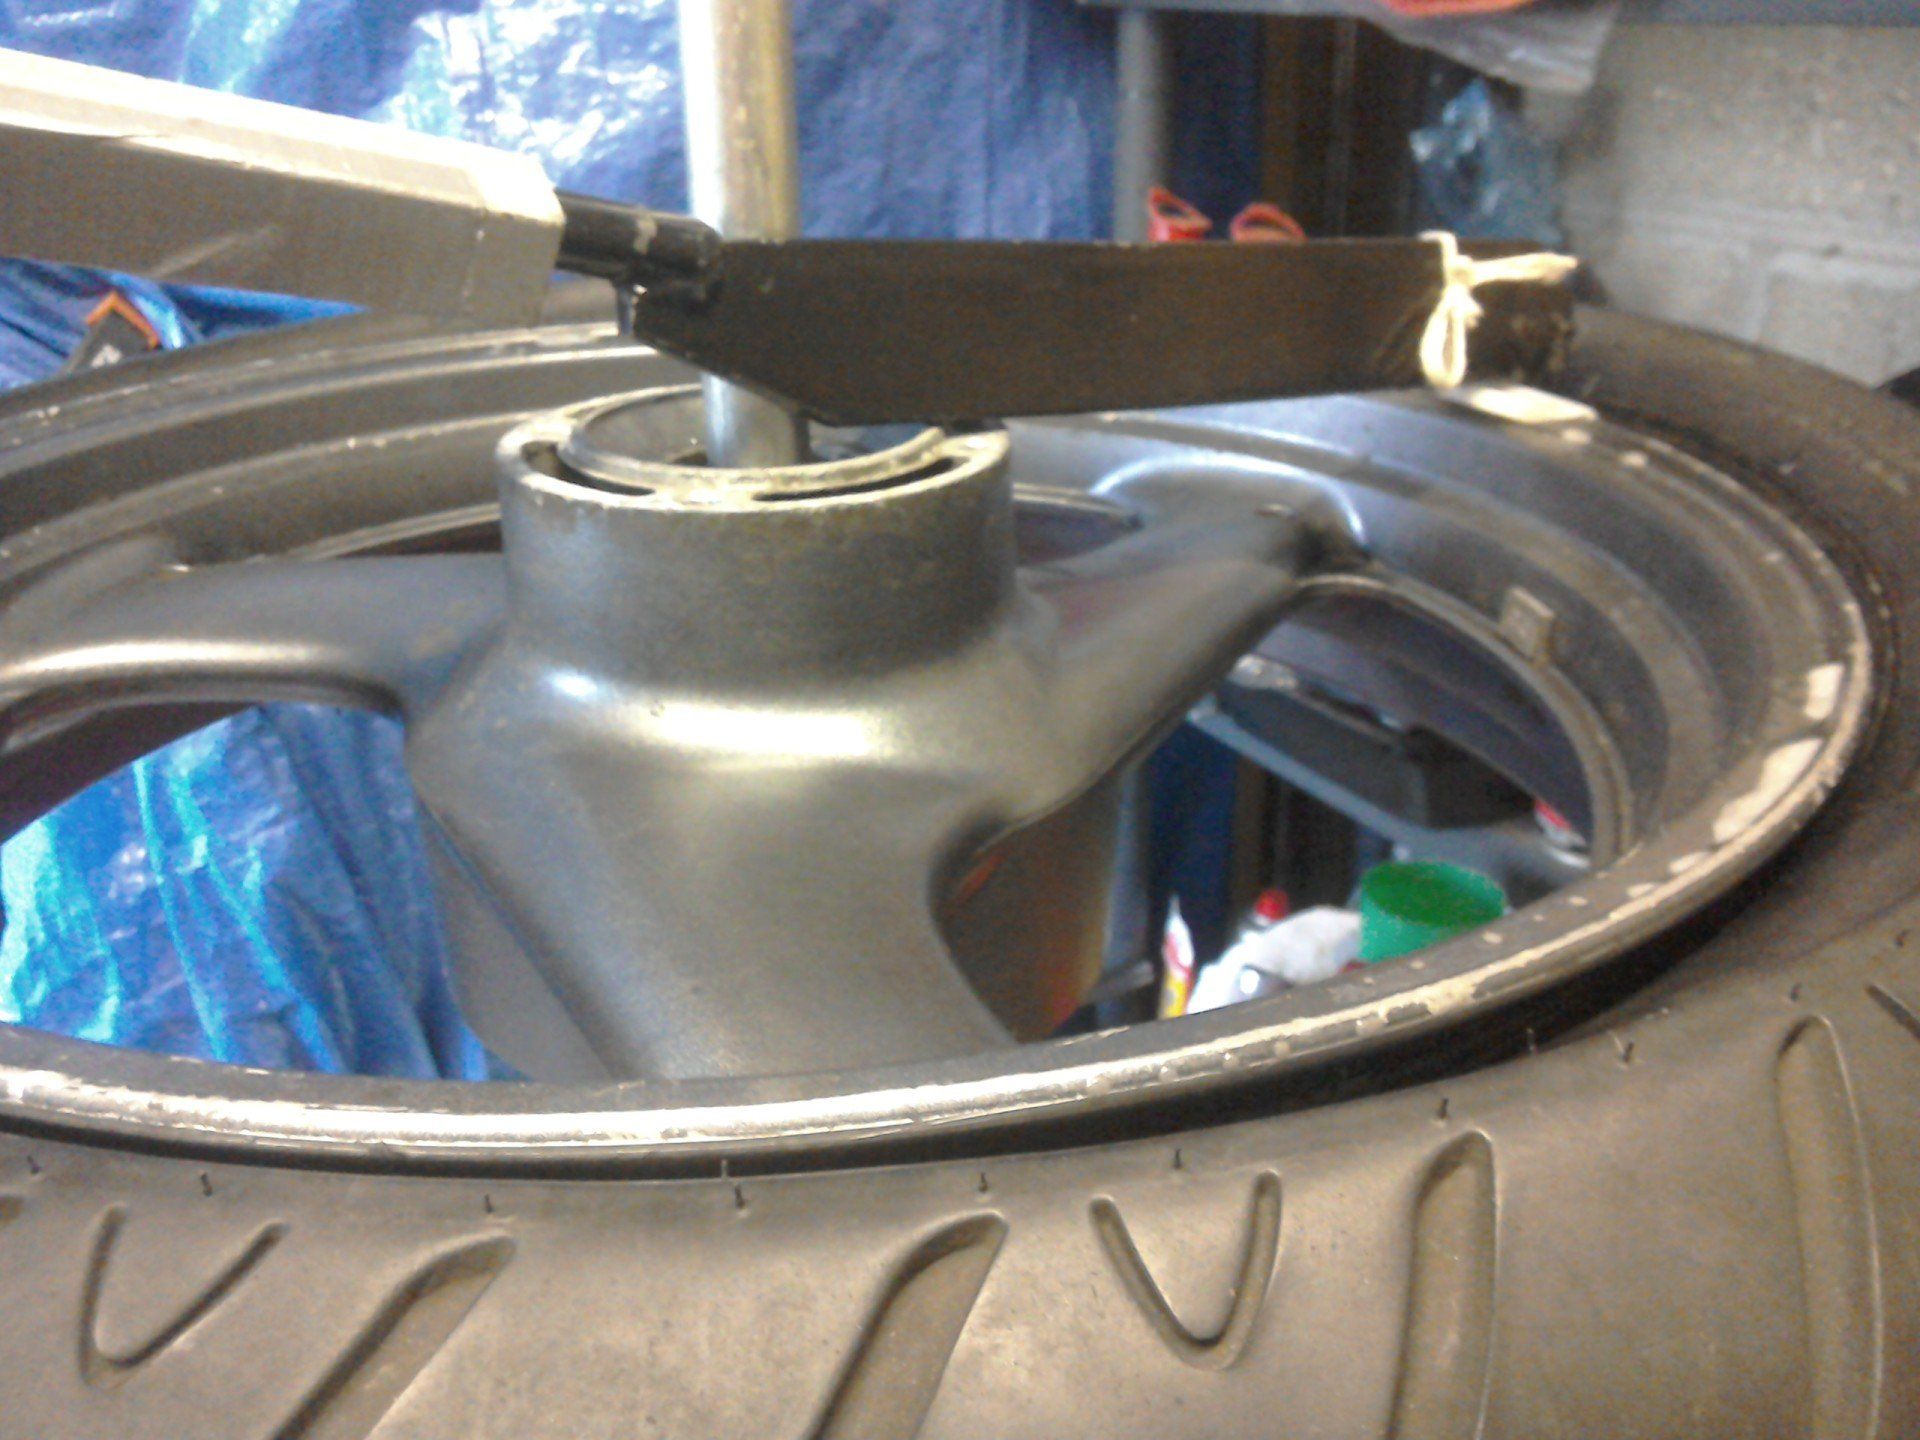
Sealey TC963 Tyre Bar
The plastic end is designed to rotate as the lever is moved around the circumference of the wheel, it could do with being longer and tapered towards the handle end, which would make levering the bead up and over the rim easier.
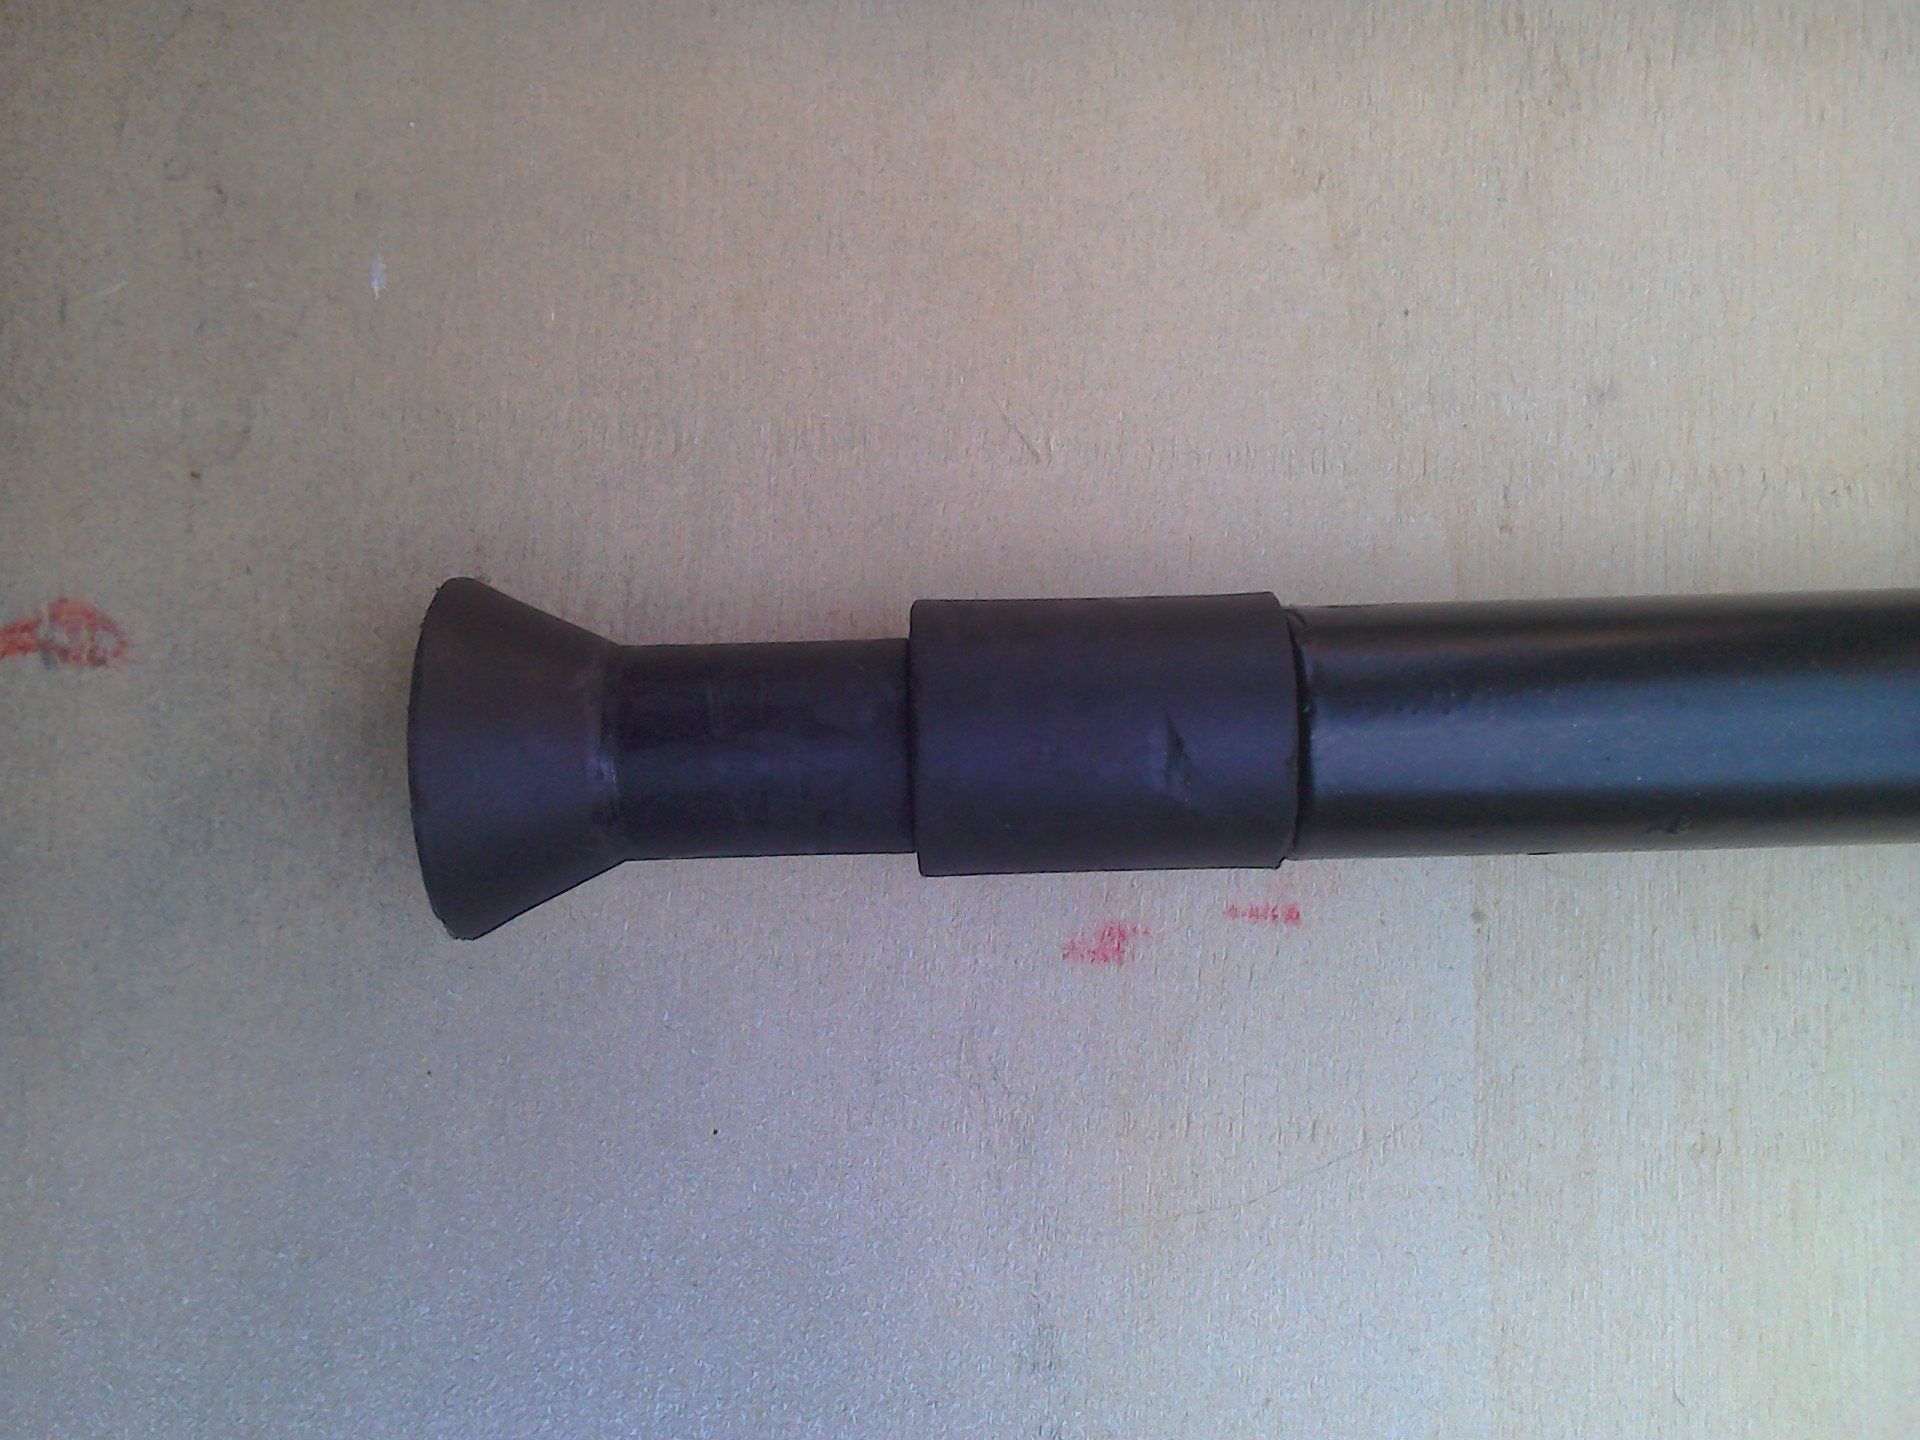
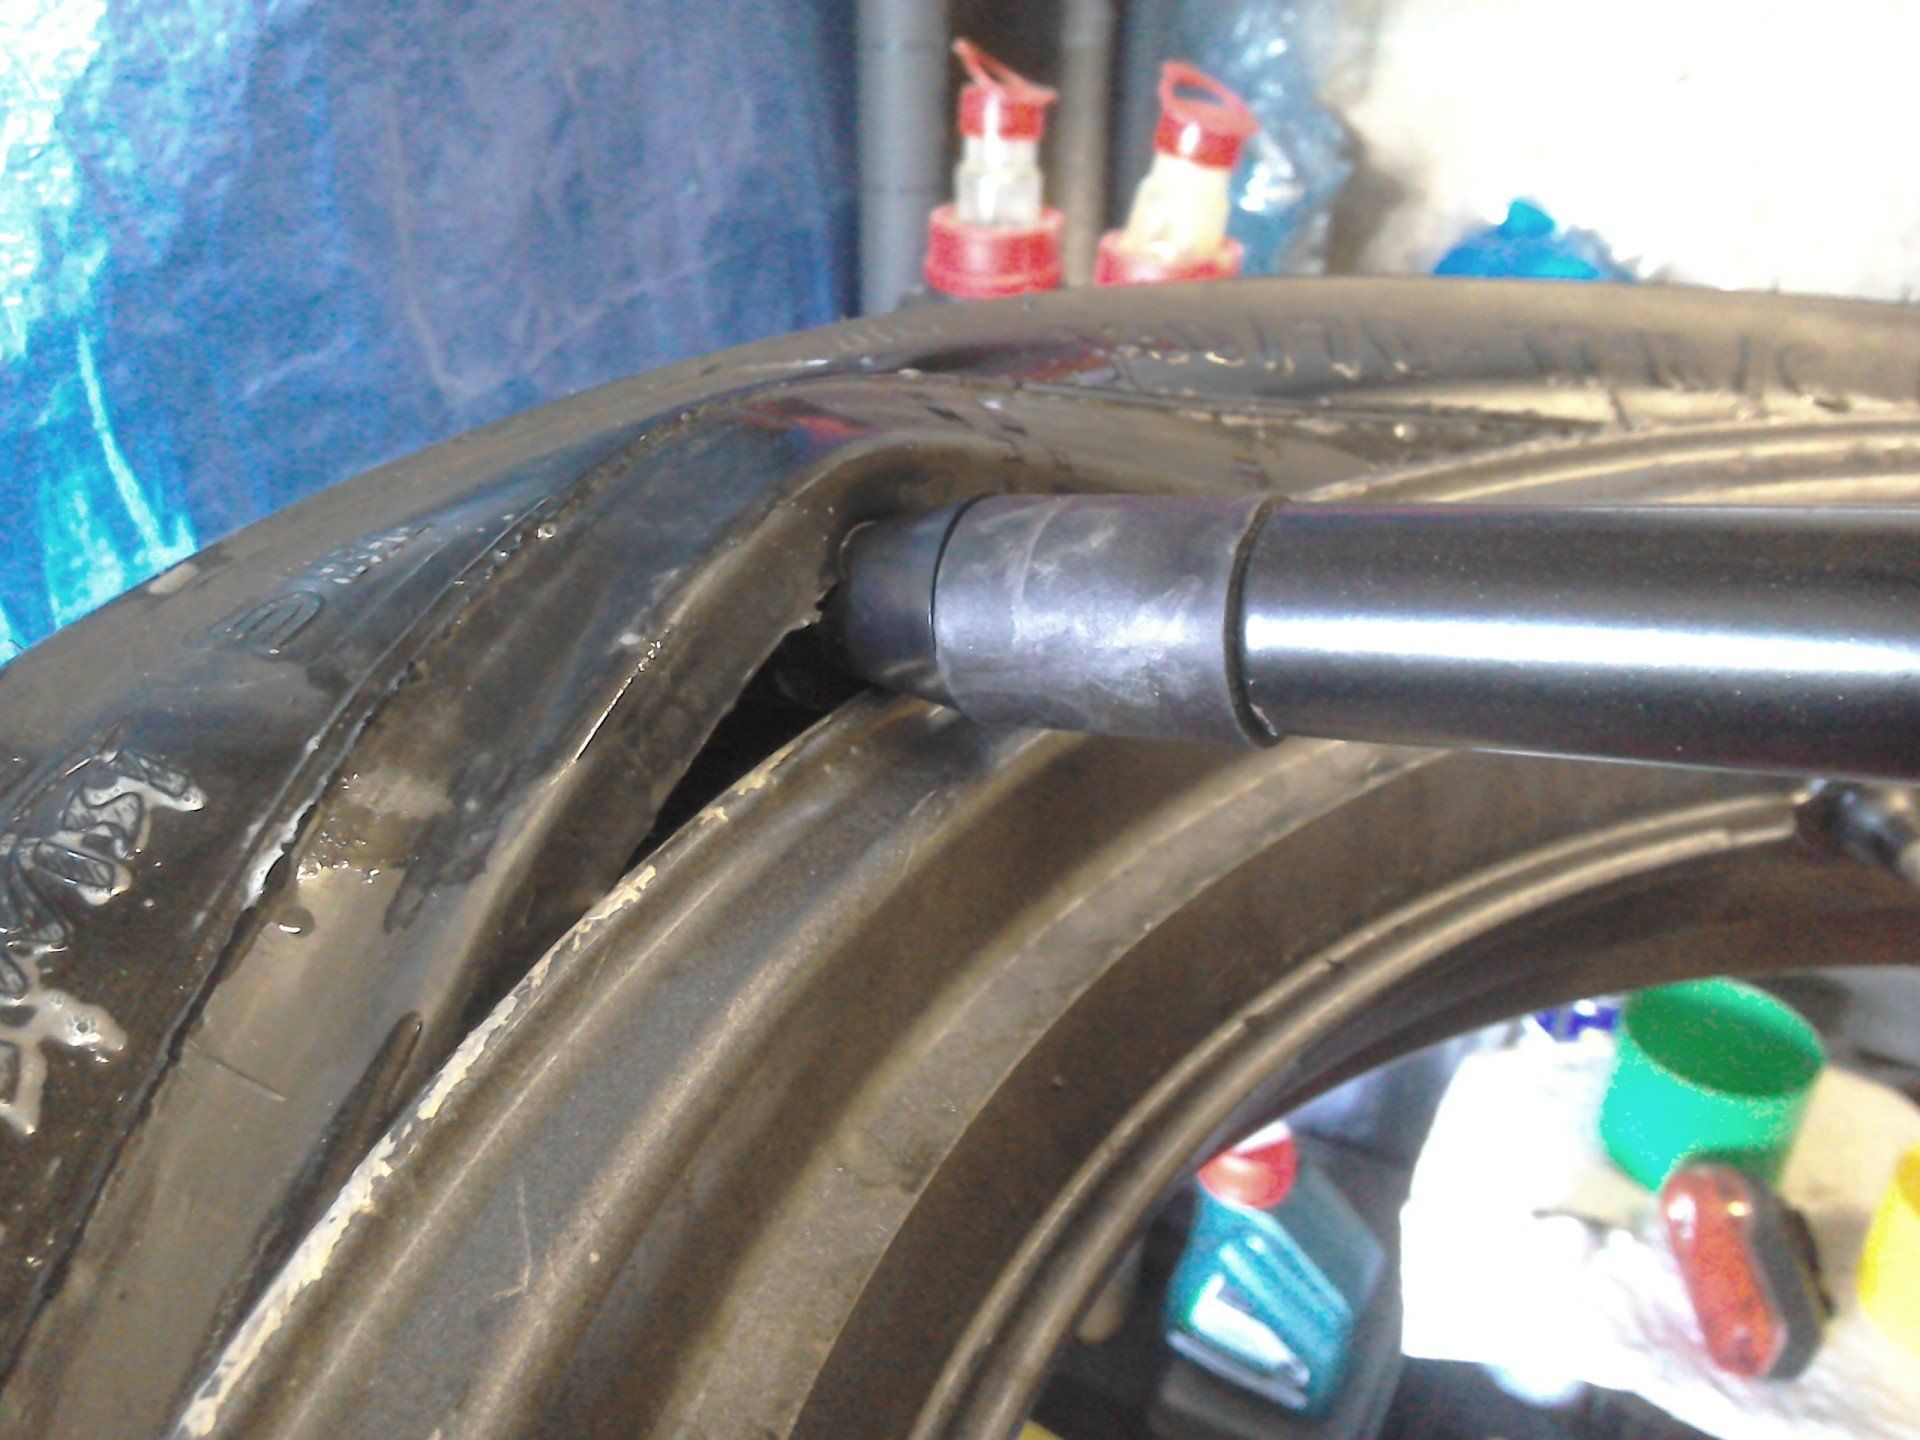
De-mount end inserted and first part of tyre levered over the rim. The initial rolling of the lever around the tyre takes some force, once things are moving it gets easier until the last part pops off the rim.
Repeat for second side. Again, the hardest part is getting the tyre bar end inserted and the first part of the bead up and over the rim.
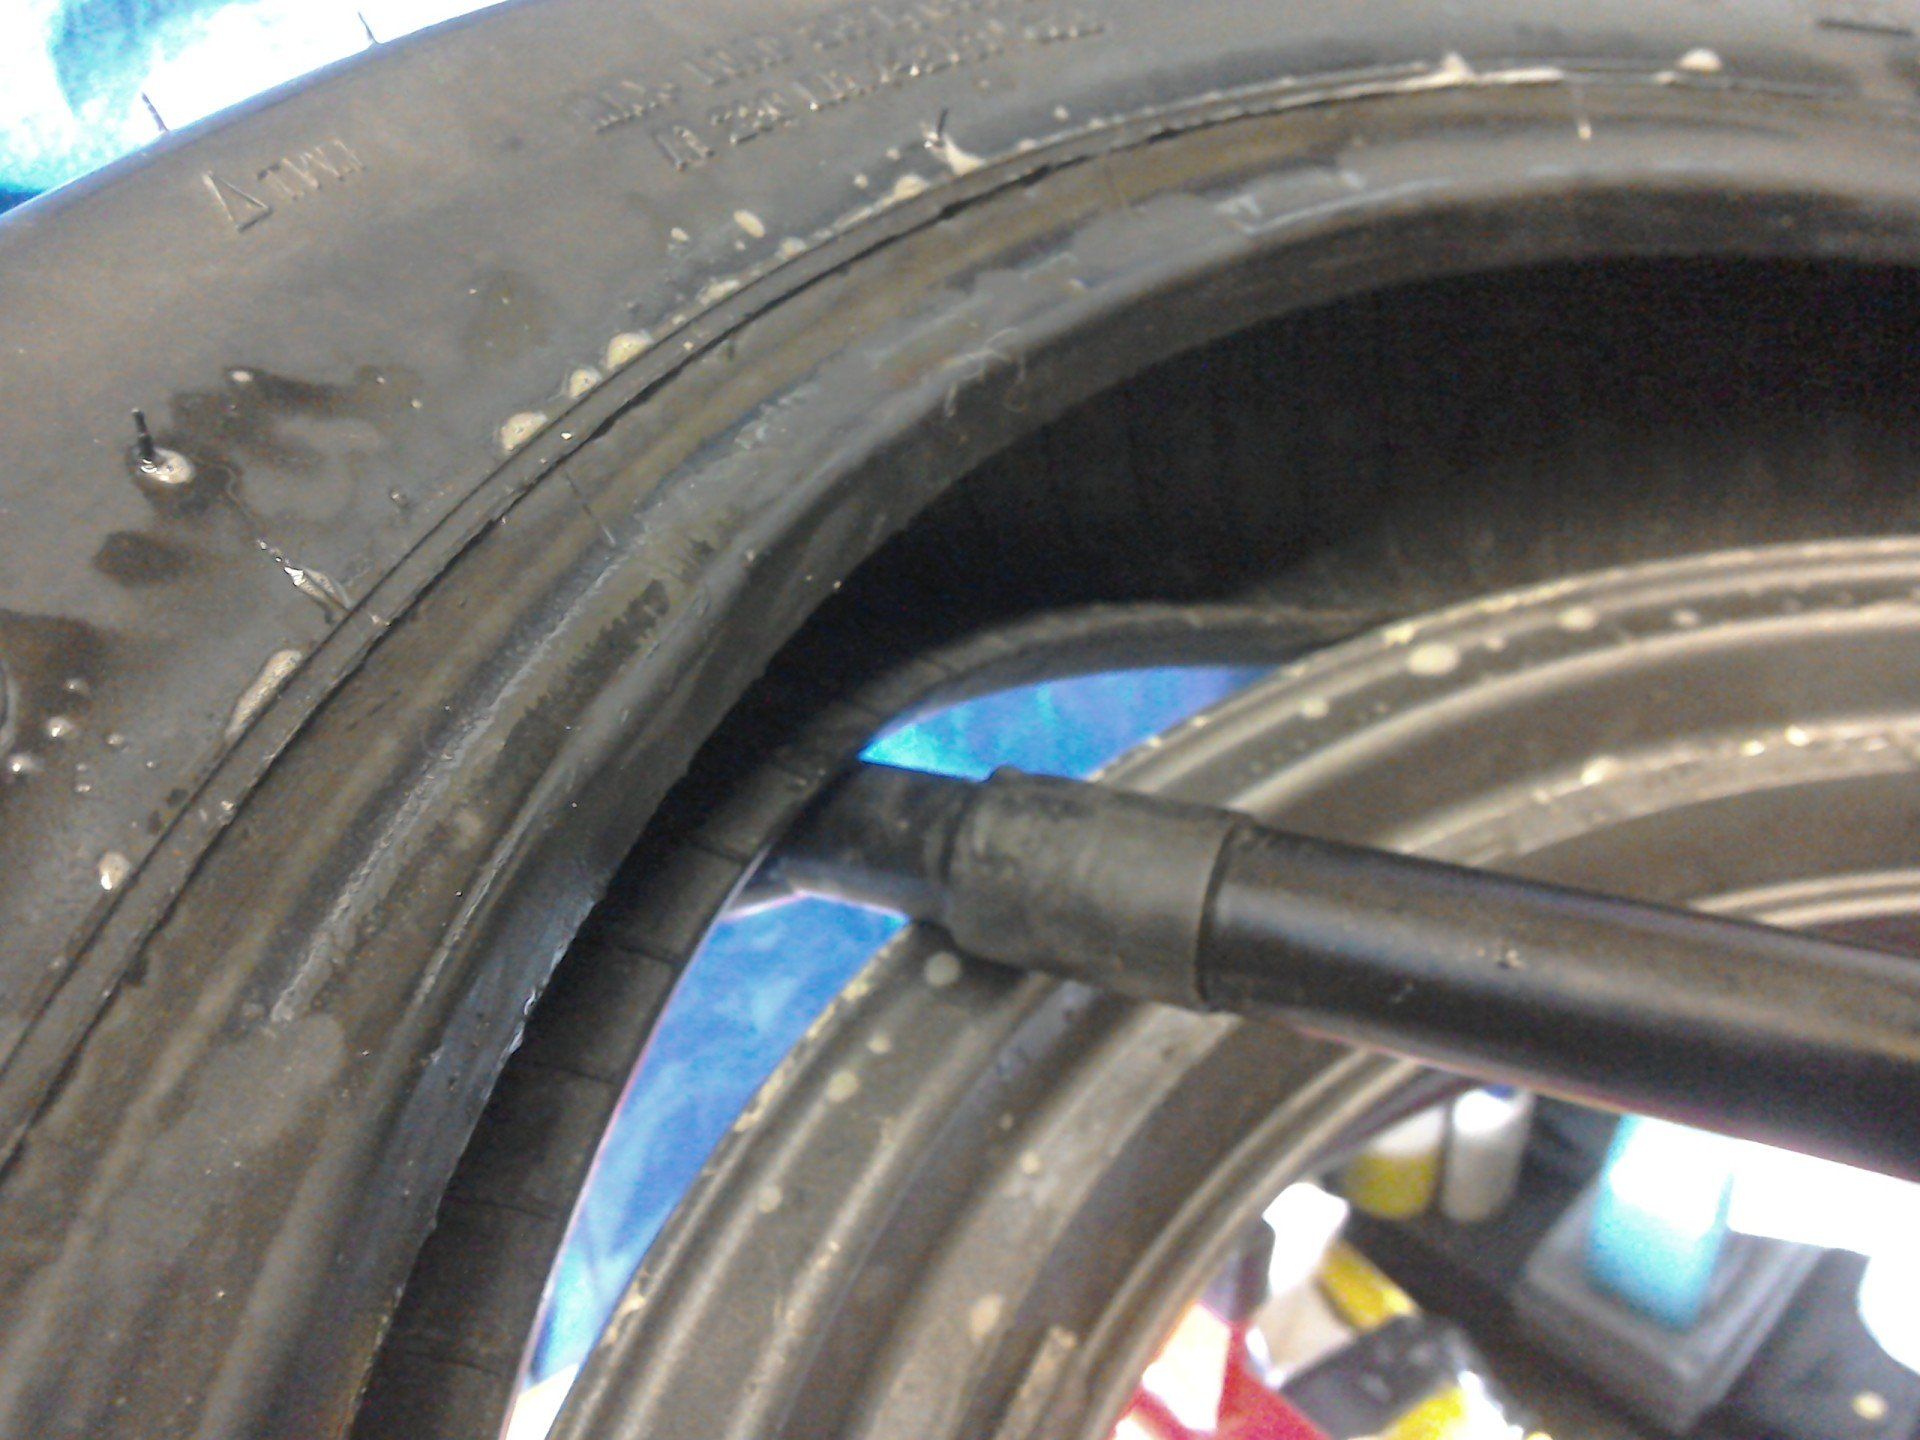
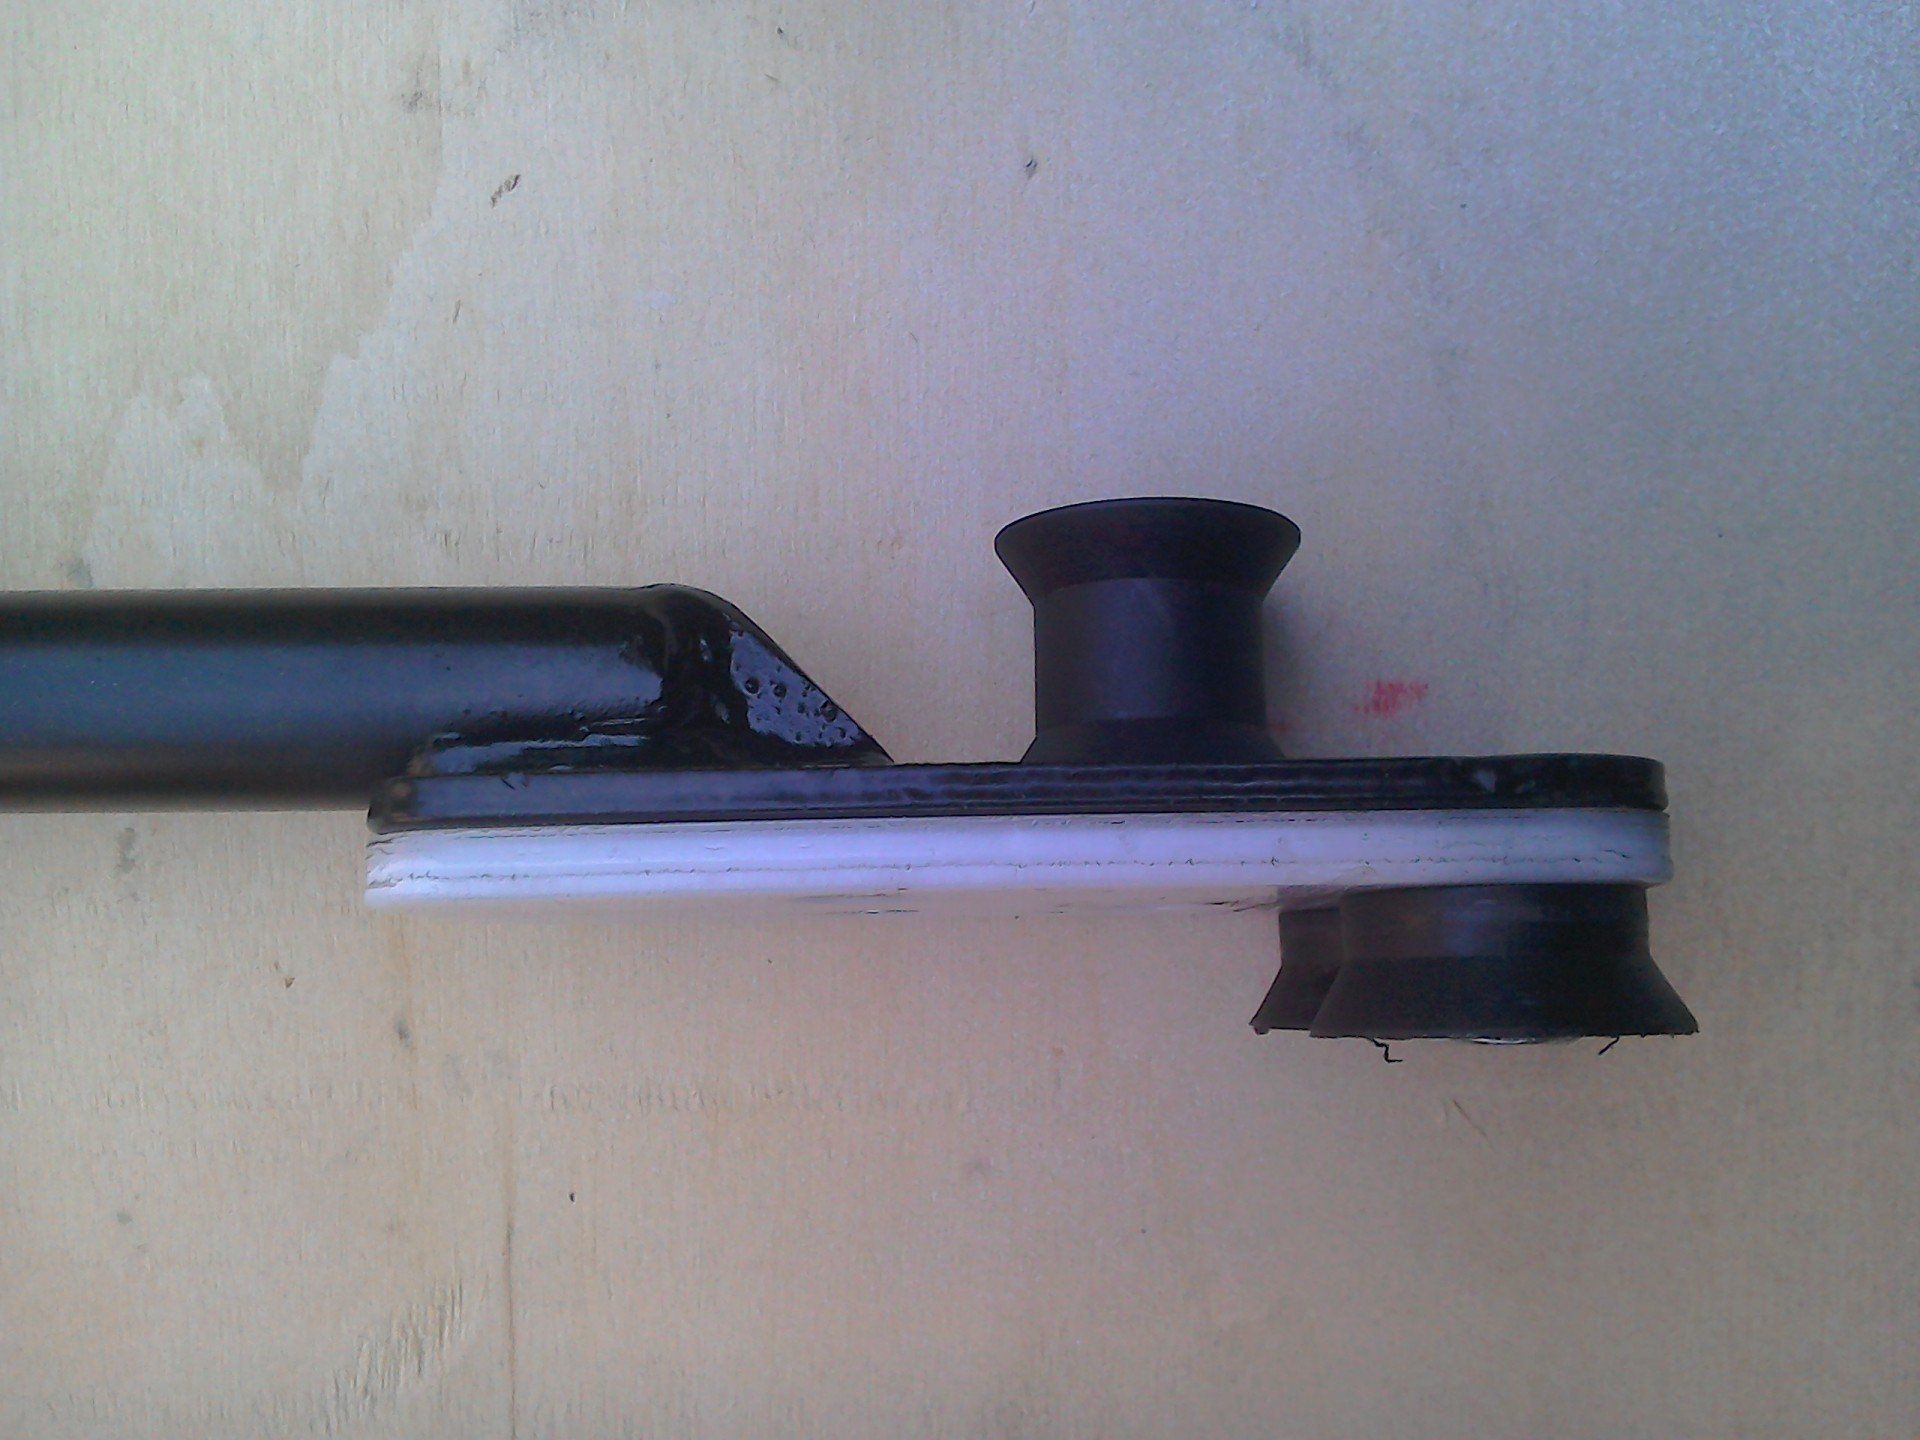
The mounting end of this lever is a completely different design to the standard lever supplied with the tyre changer and consequently requires a slightly different technique.
Most of the first side of the tyre can be pushed onto the rim by hand. For the last part, use the mounting bar. Hook the two bottom wheels over the rim, the tyre bead rests against the top roller. Use a rolling / levering action to seat the last bit.
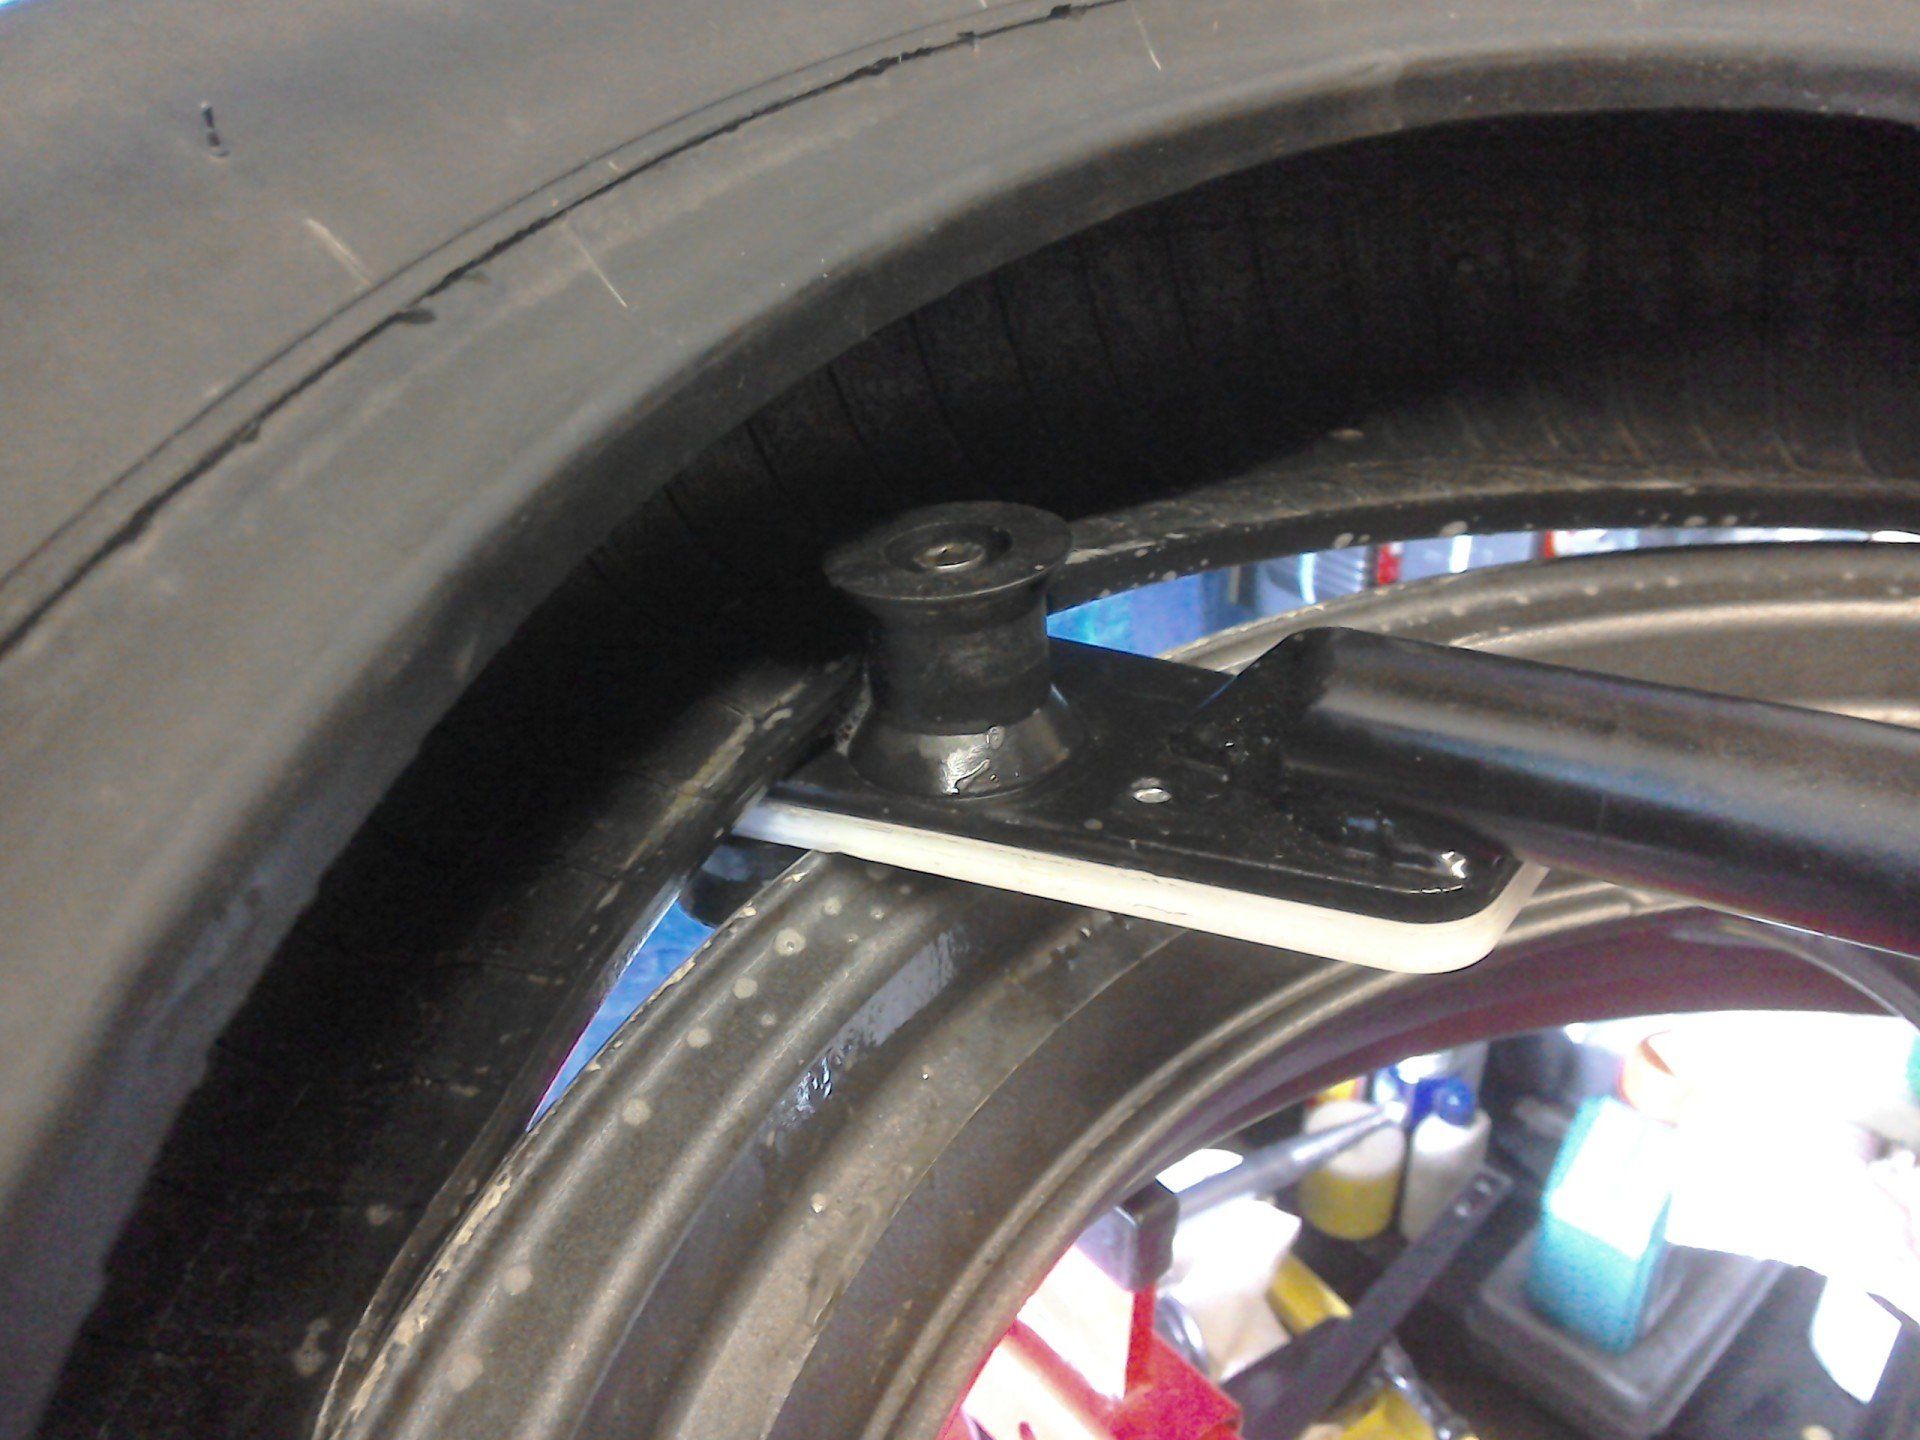
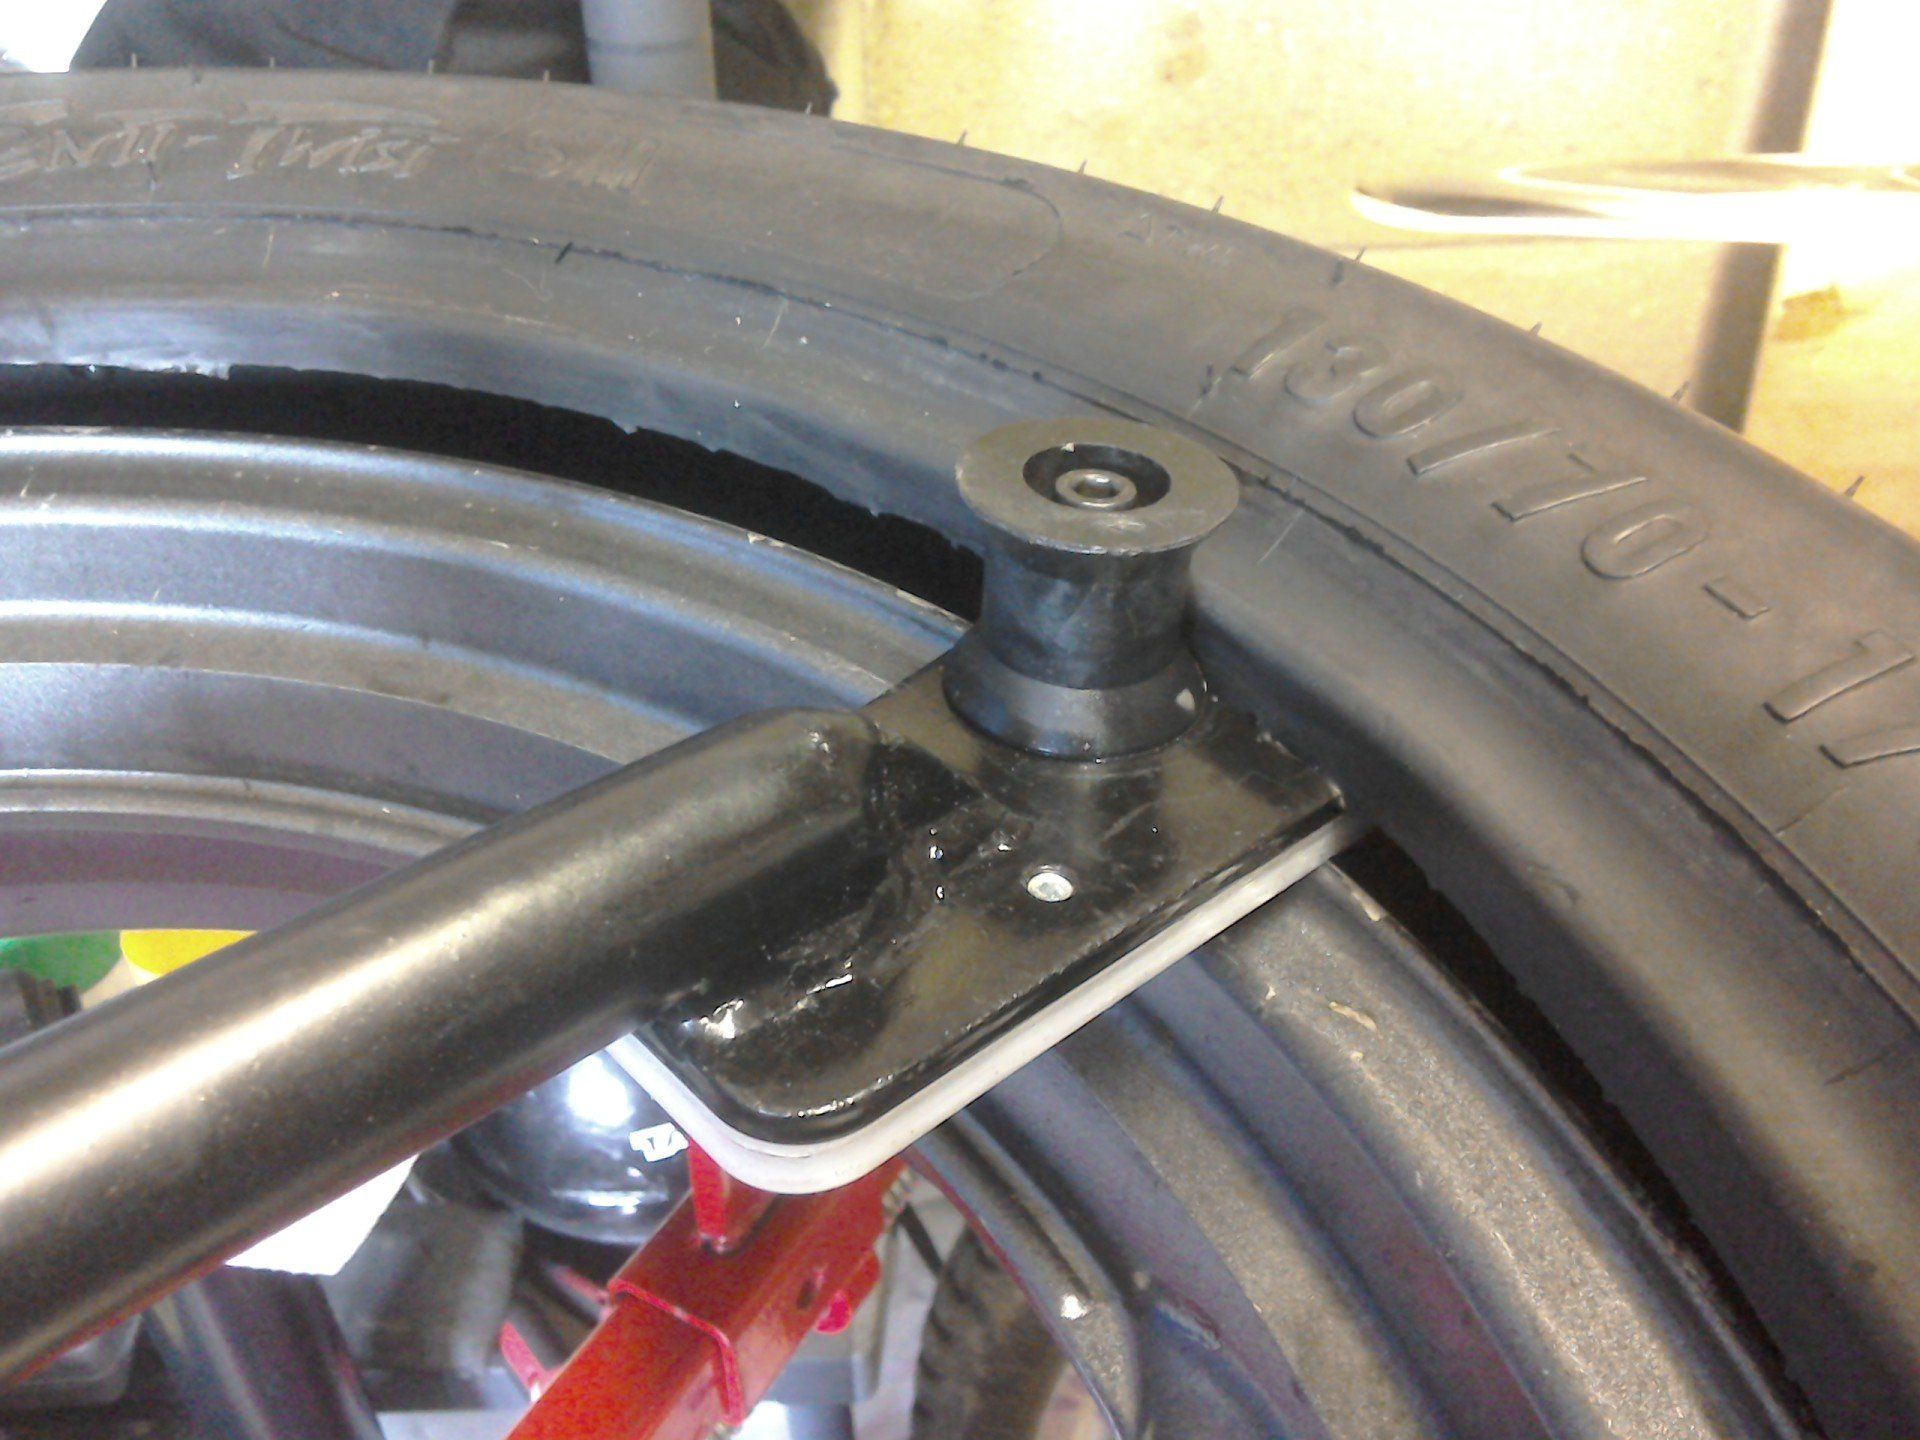
First side of tyre has been fitted. For top side, the mounting end is again inserted between rim and tyre. Using the tyre bar like a conventional lever, press bead down so that a spring clamp can be fitted to the rim. This helps stop the tyre from spinning on the rim.
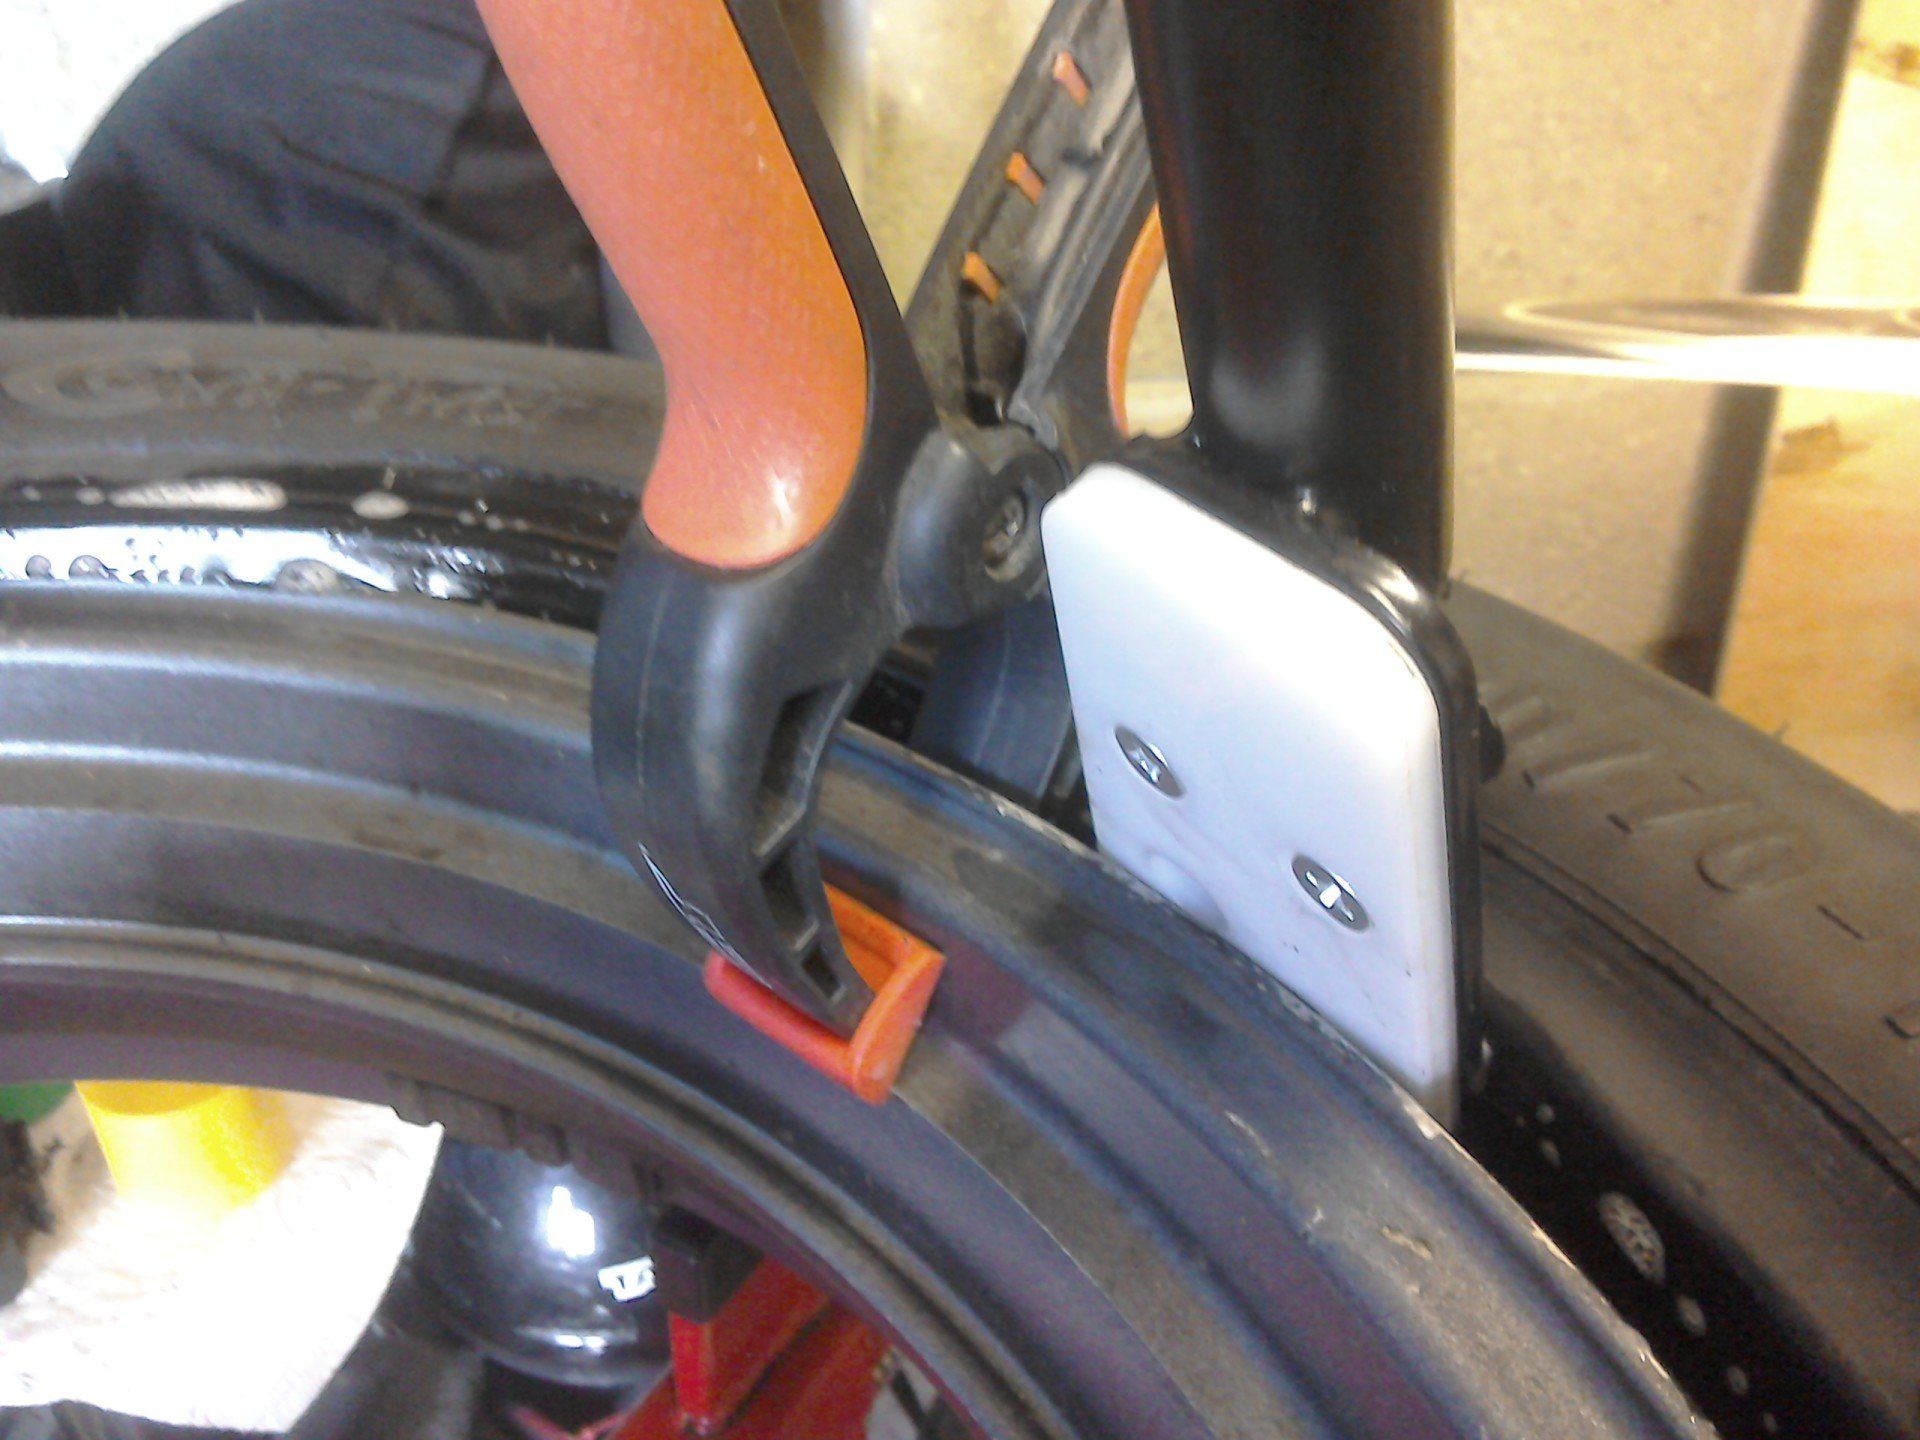
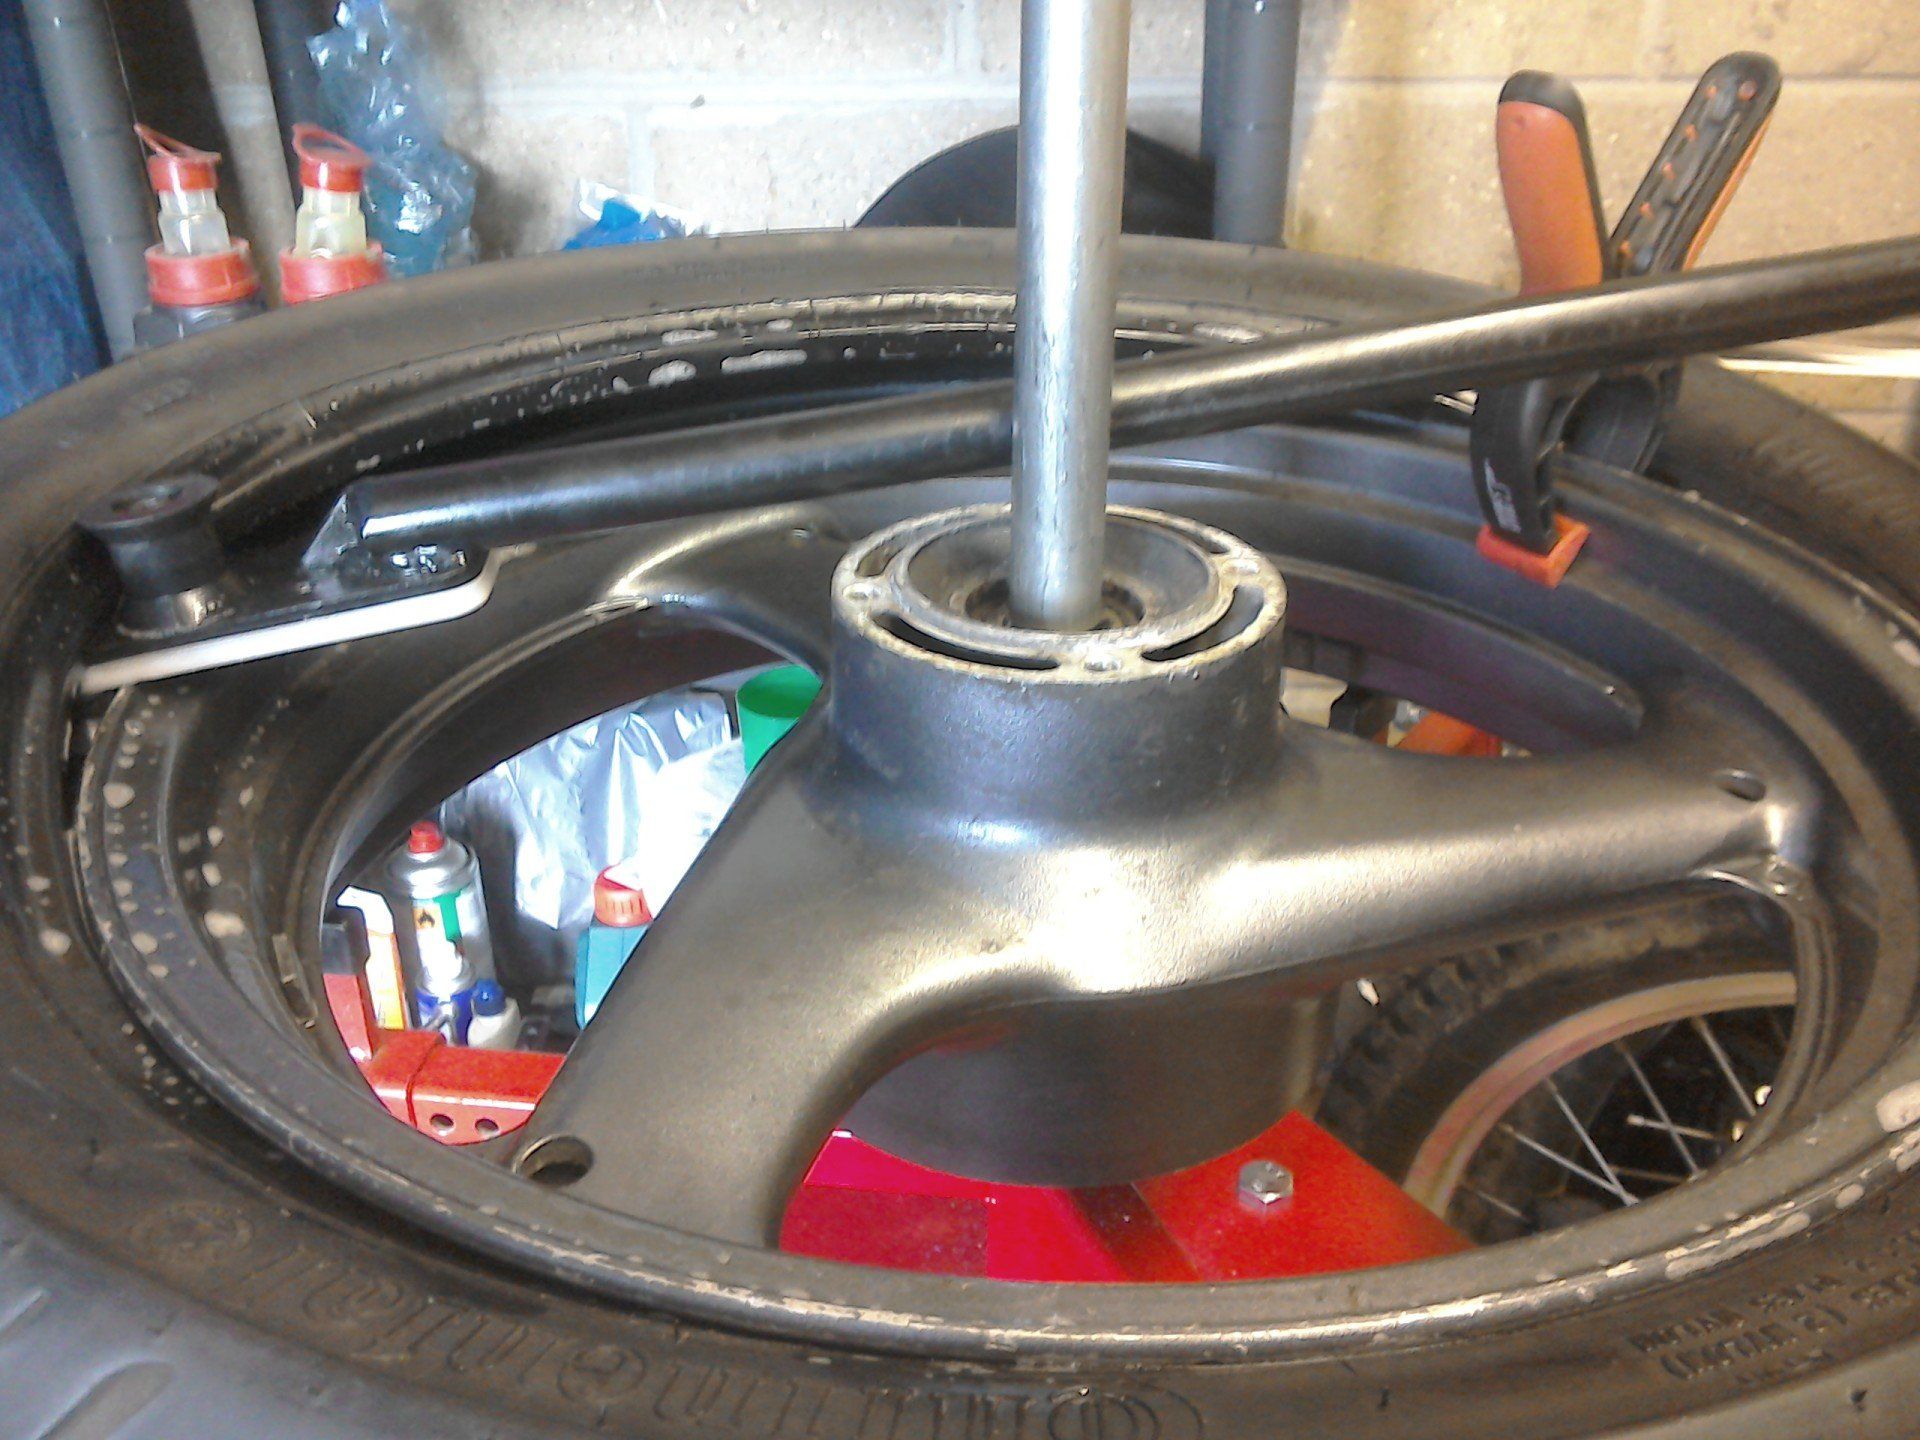
Rotate the bar. You'll need to follow behind with your hand to keep the bead on the rim. Eventually it’ll get really tight, add some more lube and then make sure the beads are pushed down into the centre of the rim. You may be able to do this by hand. I prefer to add a couple of clamps to the tyre.
The last part is fitted by rolling and levering the tyre over the rim using the tyre bar. Remove the tyre bar and all the clamps, and the tyre’s on the rim. All you need to do now is fire up the air compressor and seat the beads on the rim - but that’s another story.
SUMMARY
Well does all this kit make the tyre fitting job easier? Yes, but at a price. I think the best bit for me is having a firmly clamped wheel to work on without having to worry about damaging brake discs etc. (if still fitted). Once clamped, I think you could then do the removal / refitting job with a decent set of tyre levers and rim protectors. Or, use the standard bar and try to protect the rim from damage, both of which would be much cheaper than the TC963 tyre bar. It is worth noting that some pictures of the TC963 tyre bar on the internet have ends that look different to the one that I own. They may work differently, I don’t know. There are also other companies selling tyre bars for use on alloy wheels, but apart from the American made No-mar tyre bar, I haven’t found a video showing these being demonstrated on motorcycle wheels, so can’t comment on their suitability.
Tyre Changer Review – Update
When I first wrote about the Sealey tyre changer (Issue 3) I was practising on an old wheel with old tyres. Now I’ve had the chance to go live, with freshly painted wheels and new tyres, and this is how it went:-
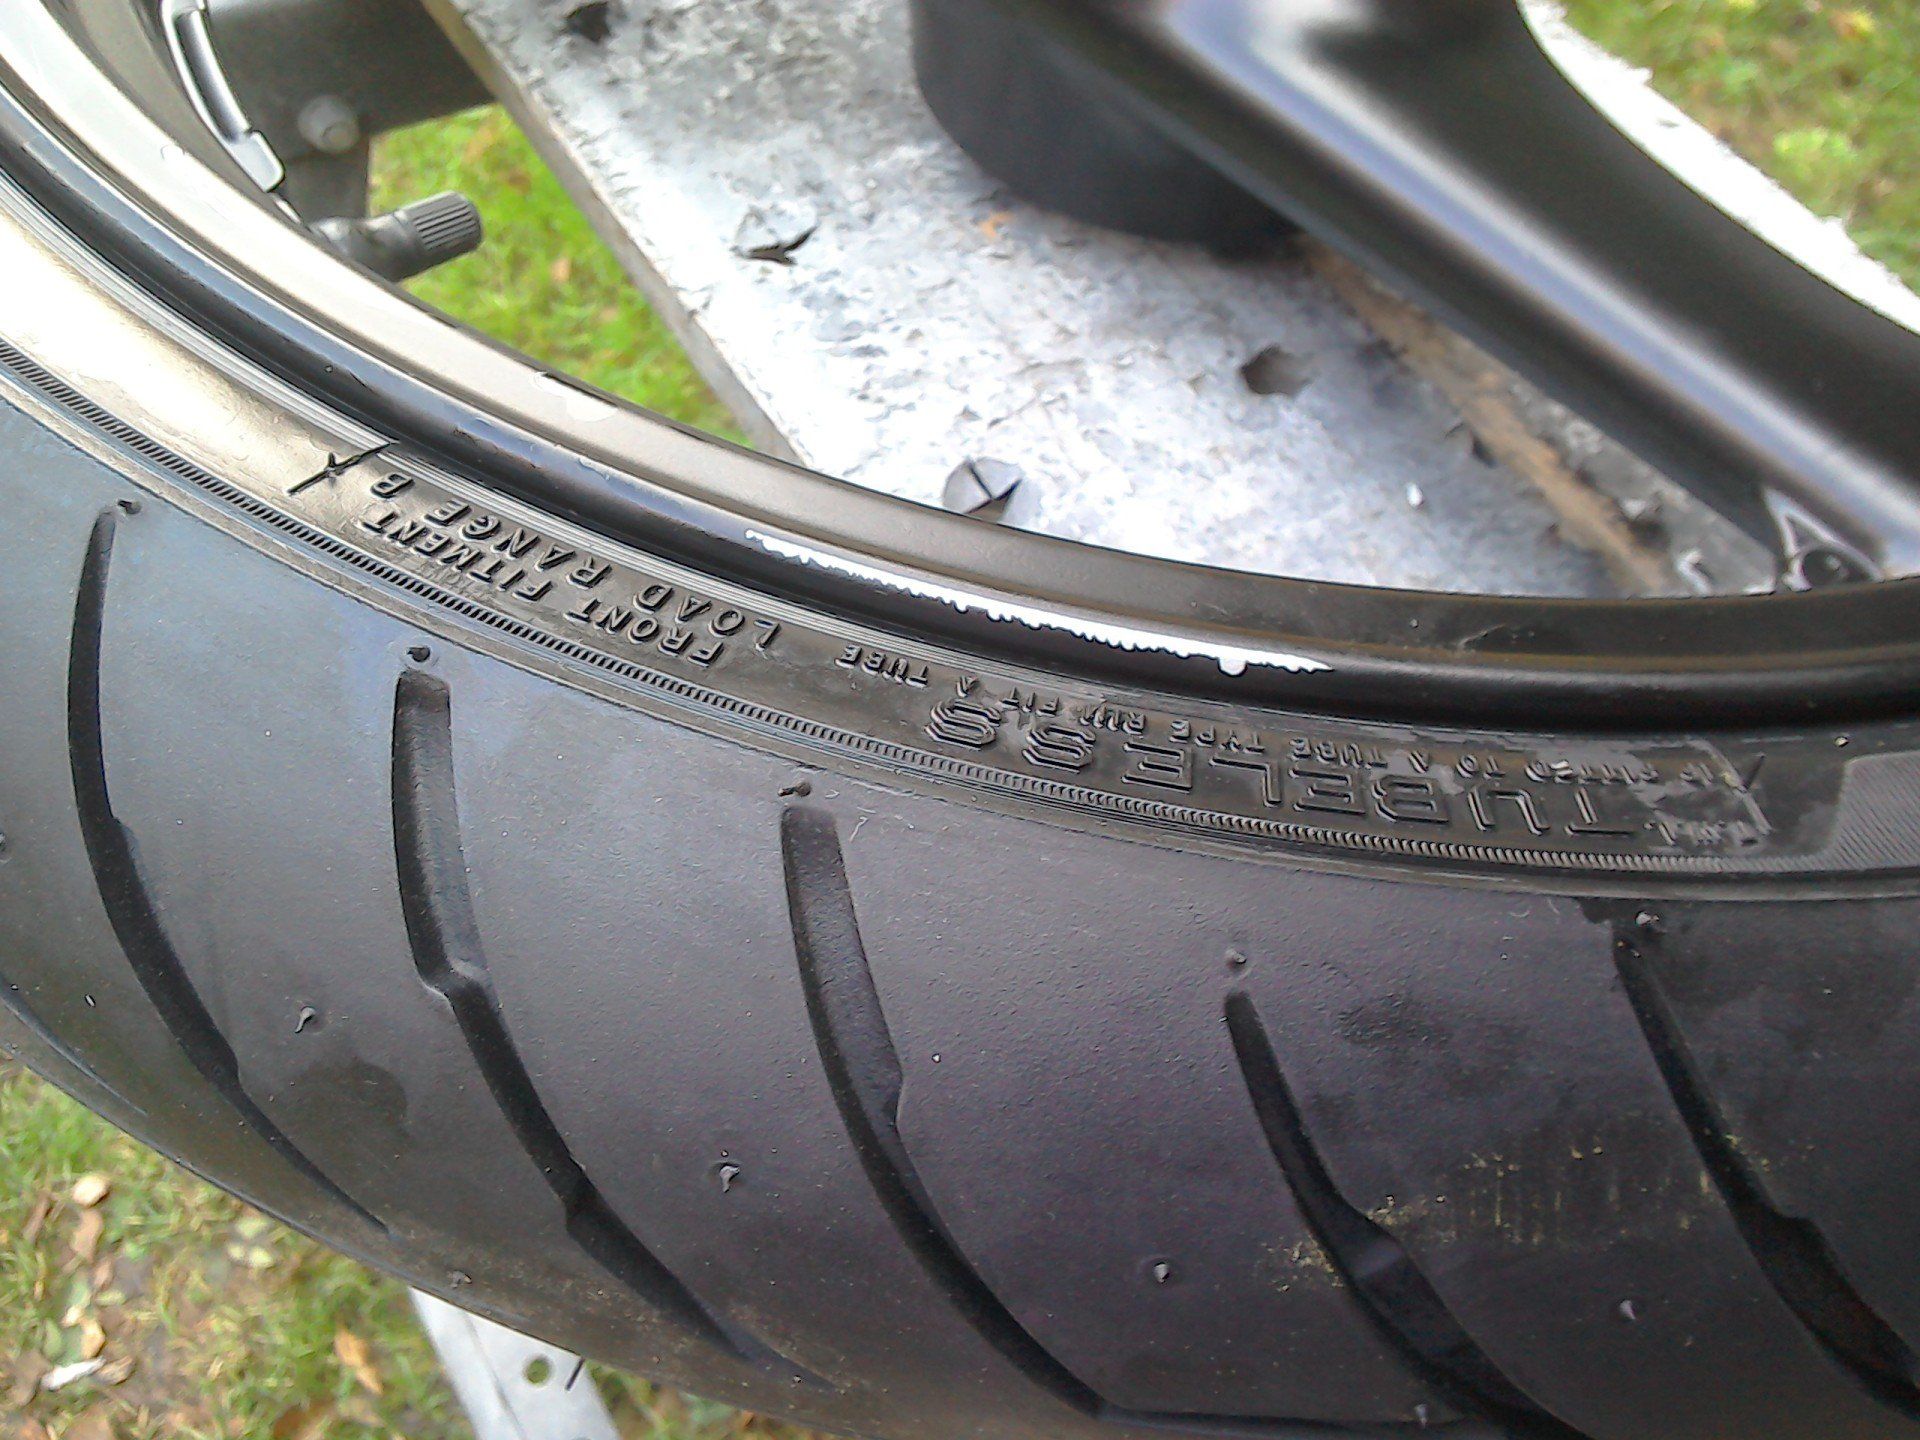
Starting with the front wheel, I tried putting this tyre on using the Sealey tyre bar for aluminium wheels. This has plastic (I assume nylon) fittings to avoid marking the aluminium, but I was unsure if it would also avoid damaging the paint. Well I know the answer now, and my freshly painted wheel did sustain some damage (see photo). It is worth noting that this was a rattle can paint job, if your wheels have a tougher finish (powdercoat etc.) then they may fare better. But anyway, the tyre went on and my weedy air compressor also managed to get the bead seated quite easily.
For the rear wheel, I ditched the tyre bar, and just used the tyre changer to hold the wheel securely while I put the tyre on using old fashioned rim protectors and tyre levers. I have to say that this proved easier than using the tyre bar and the rim survived without any damage to the paint. Unfortunately my compressor couldn’t get the tyre to seat properly onto the rim, so I had to resort to using my Yoomee tyre beader. This is just a foam rubber ring that fills the gap between the tyre and the rim and then pops out as the tyre goes on to the rim. It’s meant for use on trials bikes (whose tubeless rear tyres are notoriously difficult to seat) but seems to work fine on road bike tyres. (Rumour has it that it is possible to seat tyres using just the tyre beader and a foot-pump, but I’ve never tried it!).
So in summary; I find the tyre changer very useful for holding the wheel securely, especially if the brake discs / sprockets are still in place. But, I much prefer to use rim protectors and levers than the tyre bars, and I certainly wouldn’t bother paying for the expensive aluminium wheel bar. Is it worth paying the £160 for the Sealey tyre changer? Probably not, but there are some copies available on ebay that are very similar (very, very similar) and at half the price, they would be a much more tempting proposition.
