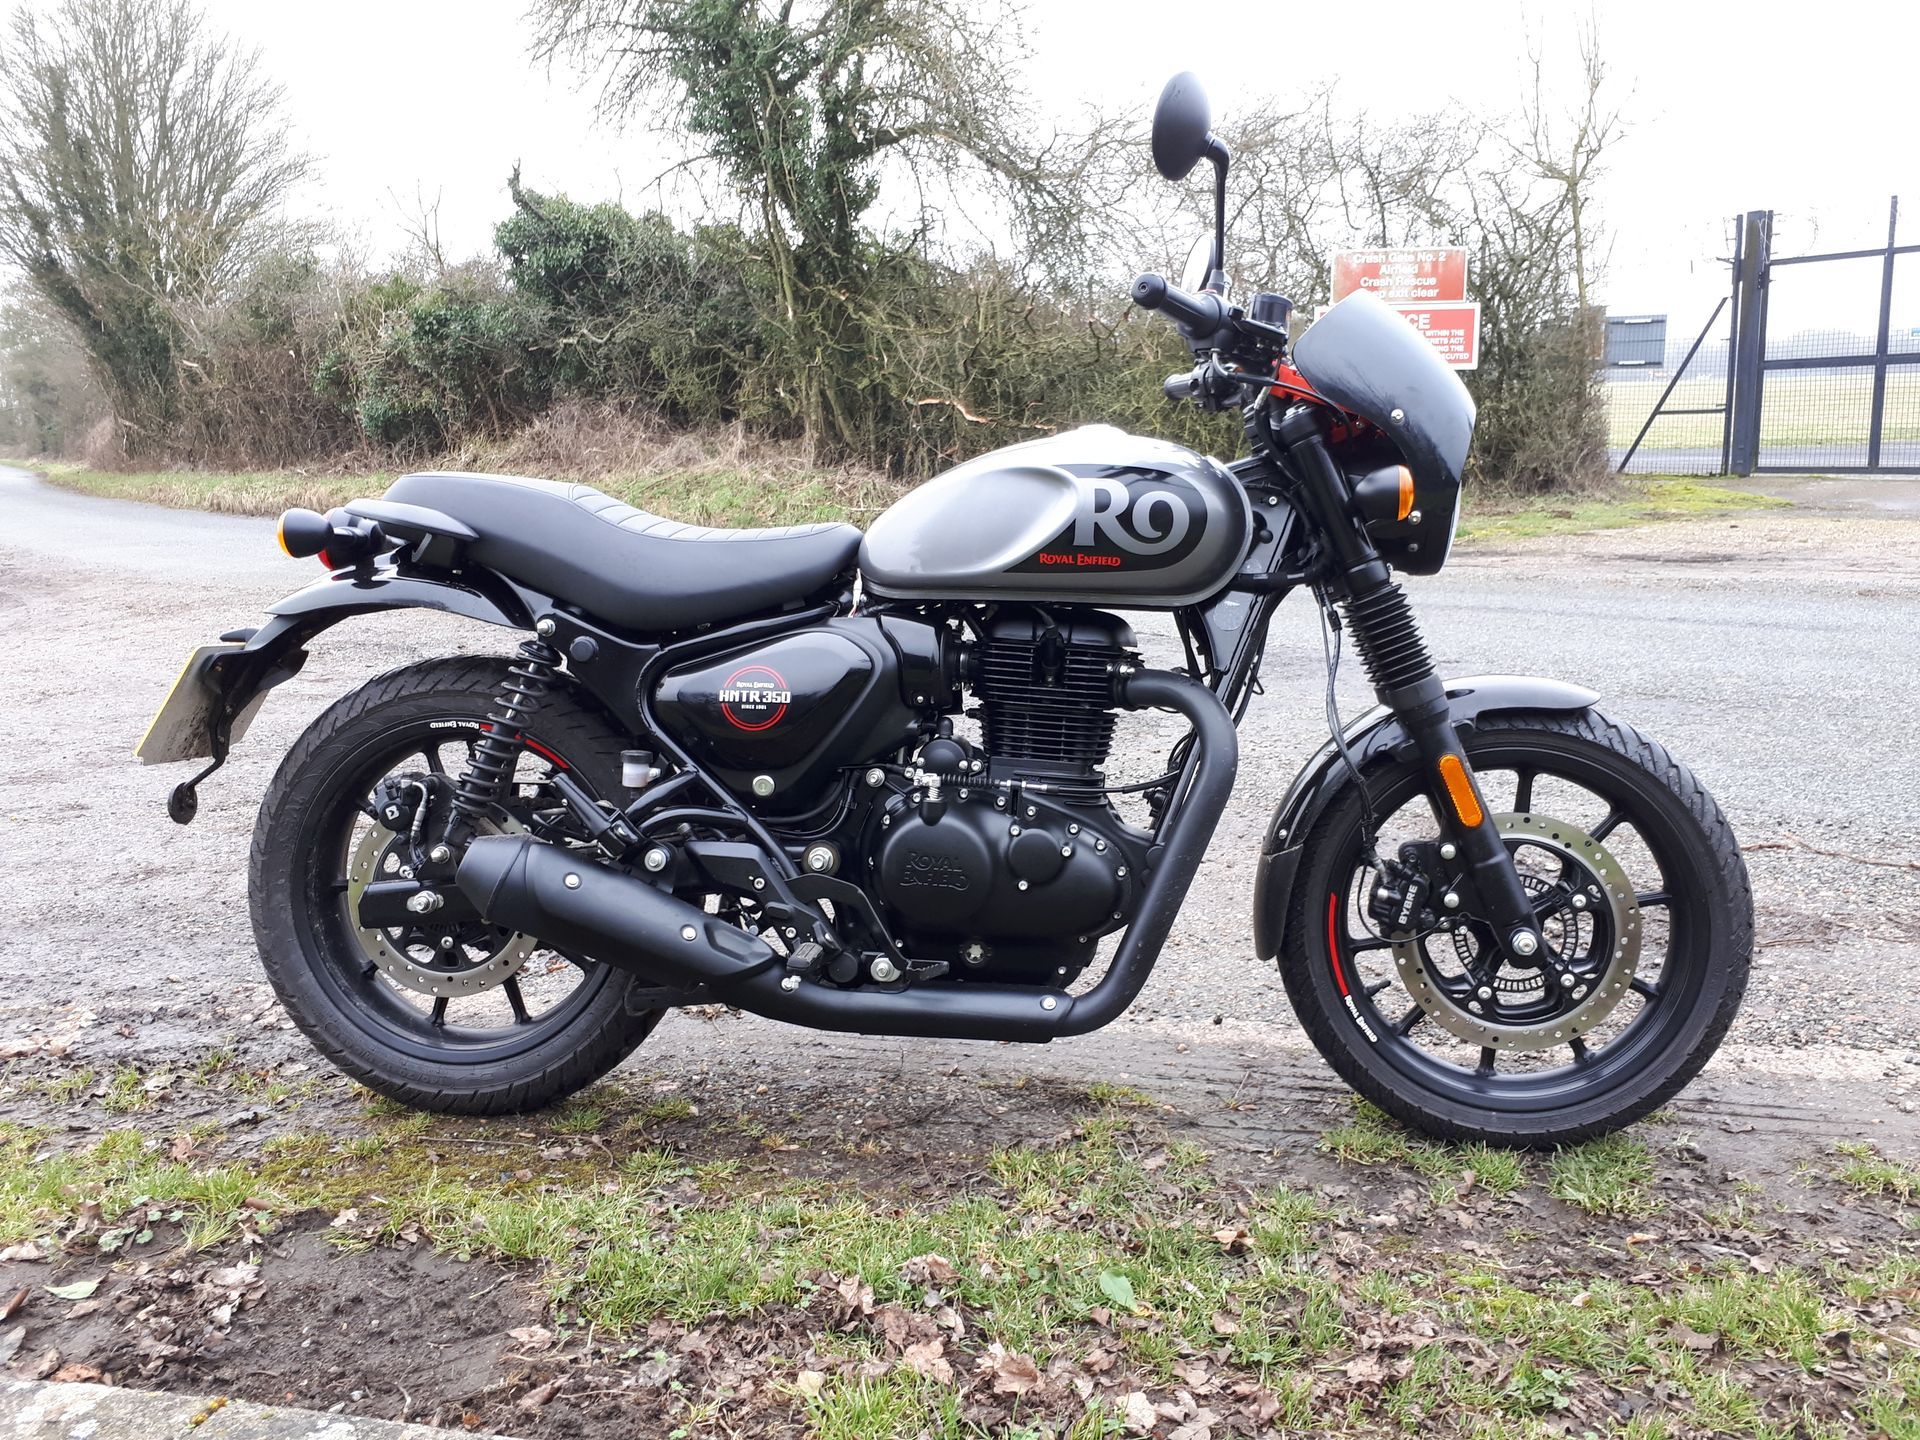
Royal Enfield Hunter First Service Notes
Updated to now include second service...
There's more Hunter stuff that you may also be interested in:-
A test of the DNA air filter and cover
Performance testing exhaust / silencer systems
Testing the FuelX Pro+
Fitting a handlebar fairing
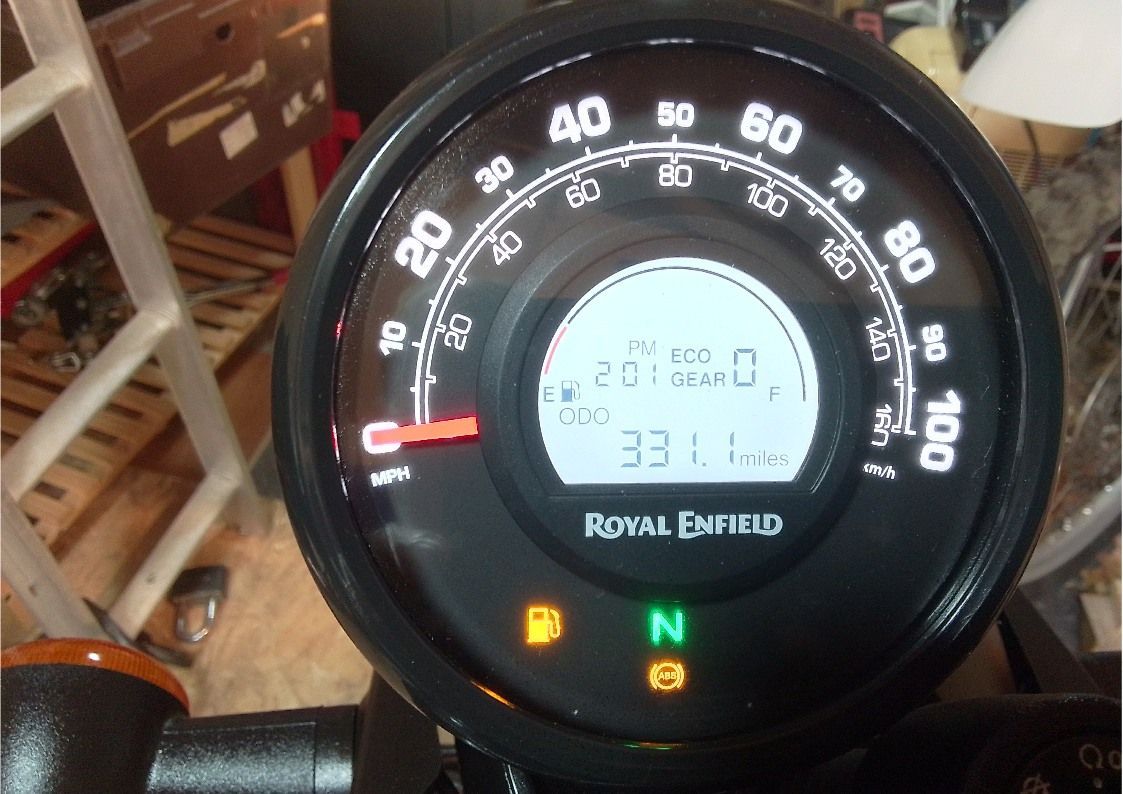
Just over 300 miles done means that the Hunter requires his first service.
The two main items on the schedule for the Hunter’s first service are changing the oil and setting valve clearances. As you will find out (if you’ve bought a modern Royal Enfield) they’re no longer very willing to share the service manuals. Owner’s handbooks yes. Service manuals no. It is possible to find online via the Royal Enfield forums (Google is your friend) to find copies of manuals for the Meteor and the Classic, and since these share many similarities, the details in these will probably suffice for most jobs.
No doubt, in time, some enterprising soul will post up a proper Hunter manual. Until then, we make do with the ones that are available and the many youtube videos that also cover servicing of these engines. At the time of writing these were filmed using either the Meteor or Classic, I’m not going to repeat the information contained in those, but I will just add my findings when doing the job on the Hunter.
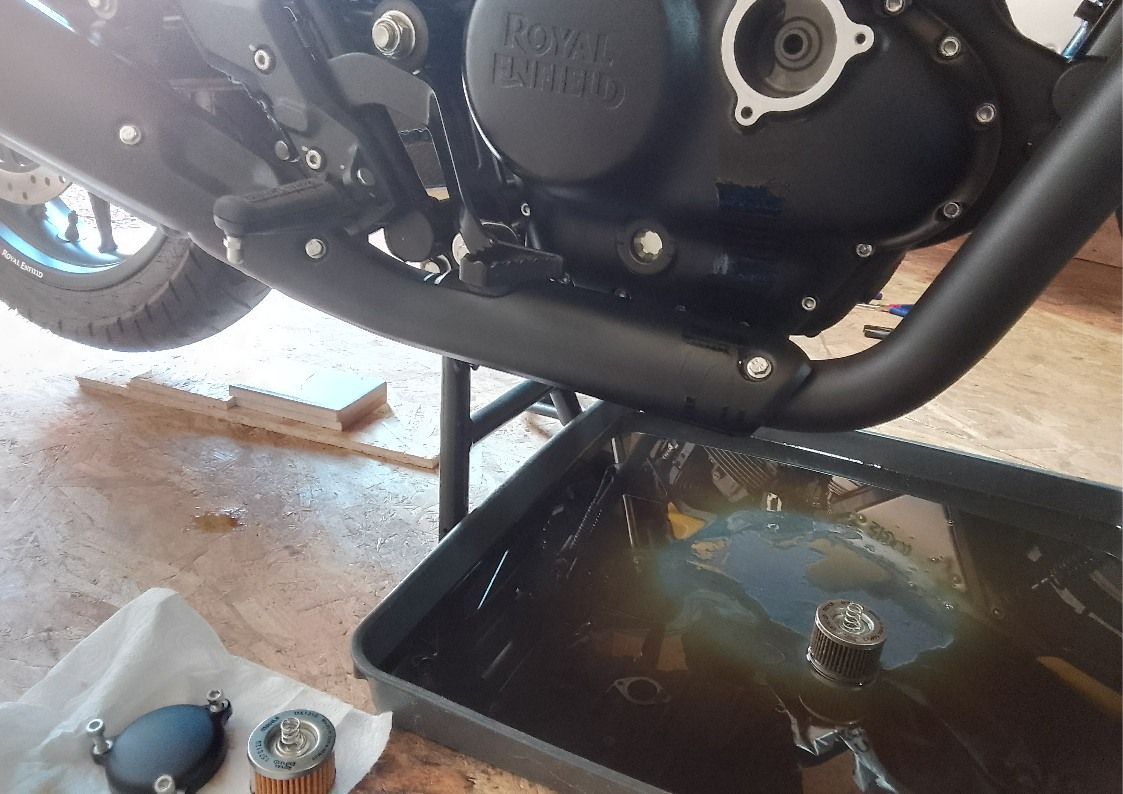
First up, changing the oil. This is the same for all the models and the procedure is well covered in many youtube videos (including one from Royal Enfield themselves). The manual states the overall oil capacity at being 2.2 litres, with an oil change typically requiring 1.7 litres. I measured the oil that came out of my Hunter at being almost 2 litres and that’s what it required to get it back up to the full mark. Perhaps doing the filter as well requires a little more than their stated 1.7 litres, I know that’s the case with the elderly Yamaha. Or perhaps my measuring jug is wildly inaccurate!
Valve clearances are a little more involved as first you have to get the seat and the tank off.
The seat on the Hunter is easy to remove and the process is detailed in the owner’s manual, but basically remove the right hand side panel and pull the little toggle, then slide the seat up and back. Side panel has lugs pushed into rubbers (and you’ll need the key to unlock). Go gently as they’re not the thickest of panels.
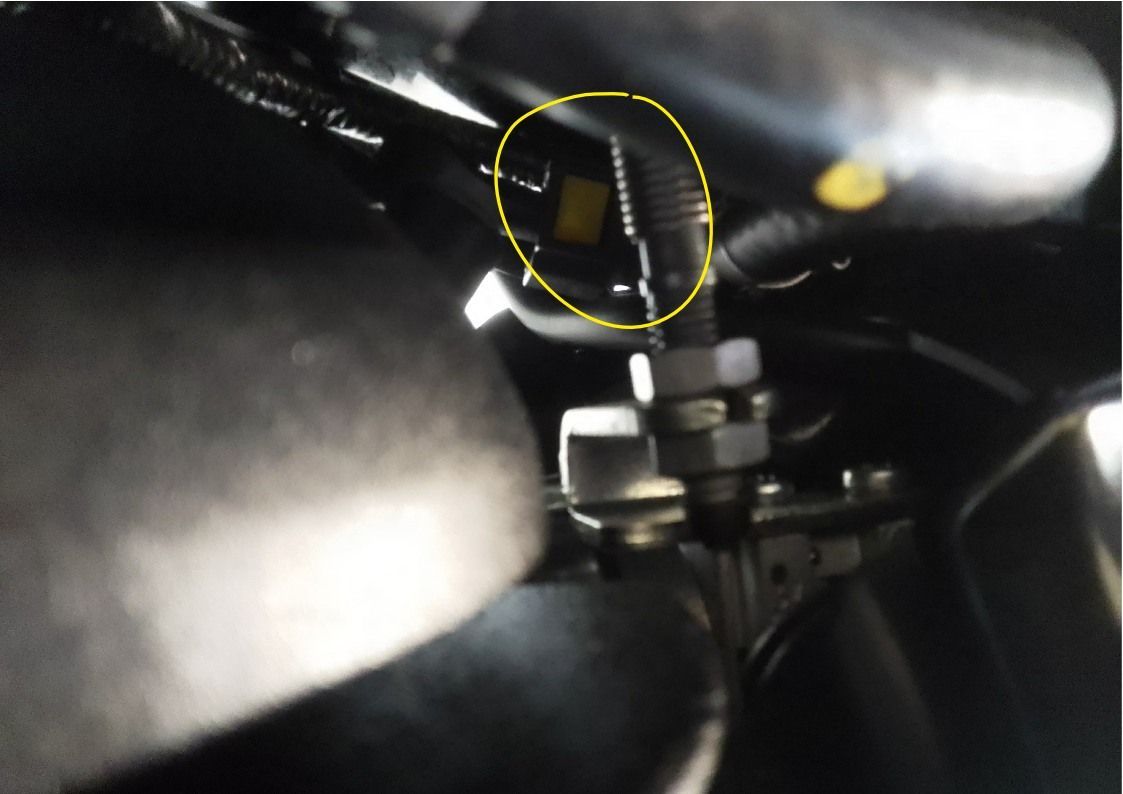
Tank just has one bolt at the back, then you can lift the tank up at the back and remove the fuel line. It’s the connector with the yellow lugs both sides. Push them in and then pull the connector off. There will be some fuel leakage.
The connector is ringed below.
And looks like this when disconnected
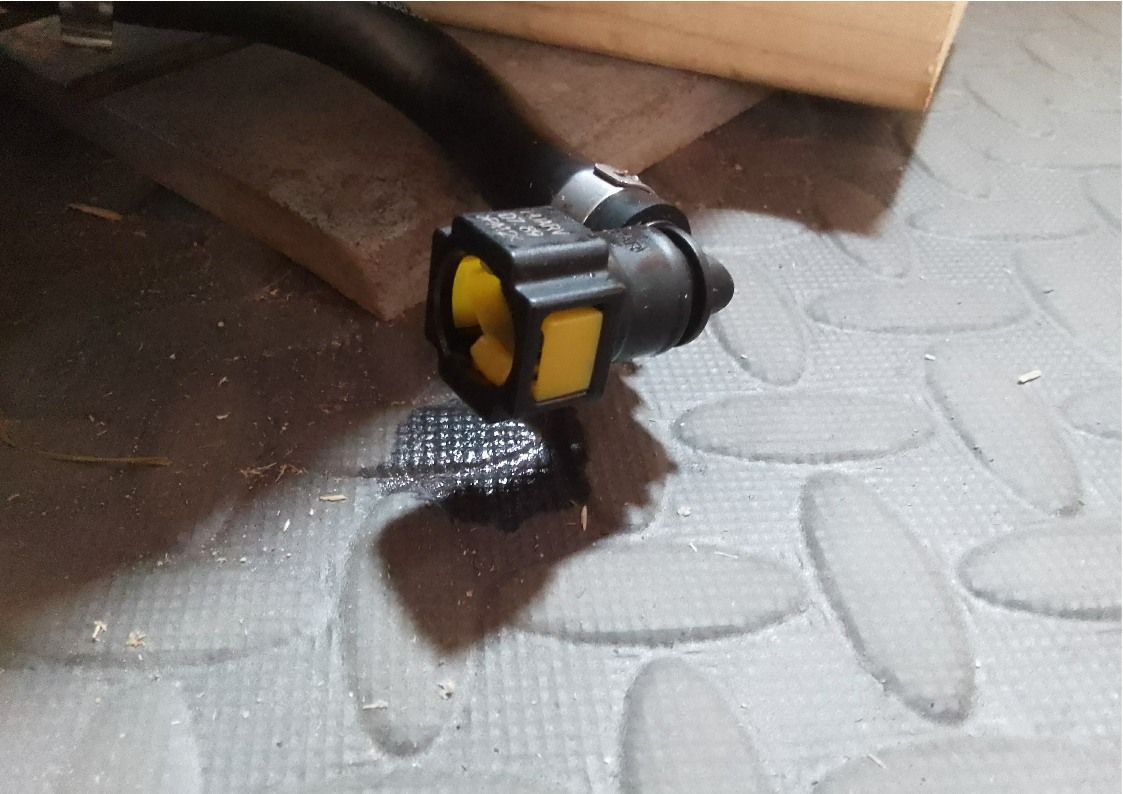
And this is the spigot that it was attached to.

You can now lift the tank up a little higher (and pull it back a little too) to access two push fit hoses. They’re right up in the tunnel of the tank. They are two different sizes, so you shouldn’t get them muddled up when it comes to putting them back on.
That just leaves the fuel pump connection. With everything else released, there’s a fair bit of slack in this cable, so you can lift the tank up higher for better access (it’s still a fiddle!). Press the release tag (it’s just on one side) and then pull the connector off. Did I mention it’s a fiddle, there’s not much room for fingers. The out of focus picture below shows the connector and its release tab. If you have an assistant available to hold / manipulate the tank, this will make your life easier. Otherwise, cover the frame with cloth to avoid damage and use some appropriately sized pieces of wood to hold the tank up a bit. Things could get a bit precarious, so be careful, you don’t want the tank to fall off and get damaged. Eventually after you’ve sworn a bit, you’ll have everything free and the tank can come off completely. (Lift the back up slightly and then slide it backwards until it’s free of the mounting rubbers). Now find somewhere safe to leave it while you continue.

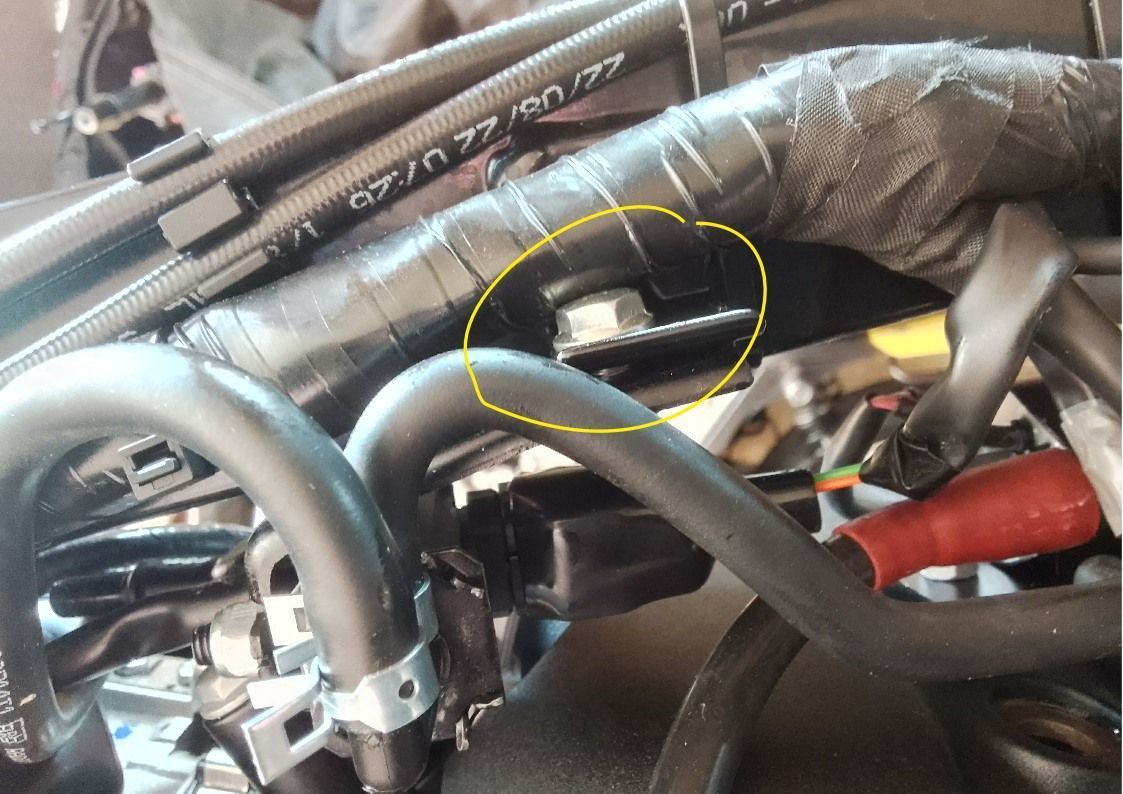
The actual valve clearance bit is also well covered in various videos. I undid the frame mounted coil pack etc. as shown in the videos, but I also undid this bit as well (I think it’s part of the EVAP system?). This seemed to be more in the way than the coil and its associated gubbins and in the end wasn’t sure that I really needed to have unbolted the coil. I’ll have a closer look next time.
I left the gasket in place, so as not to break free the area that has been sealed at the factory, carefully removing it from the cover, before wiggling the cover off. This is fine, but when you put it back together, trying to feed that gasket back into the groove of the cover may try your patience a bit.
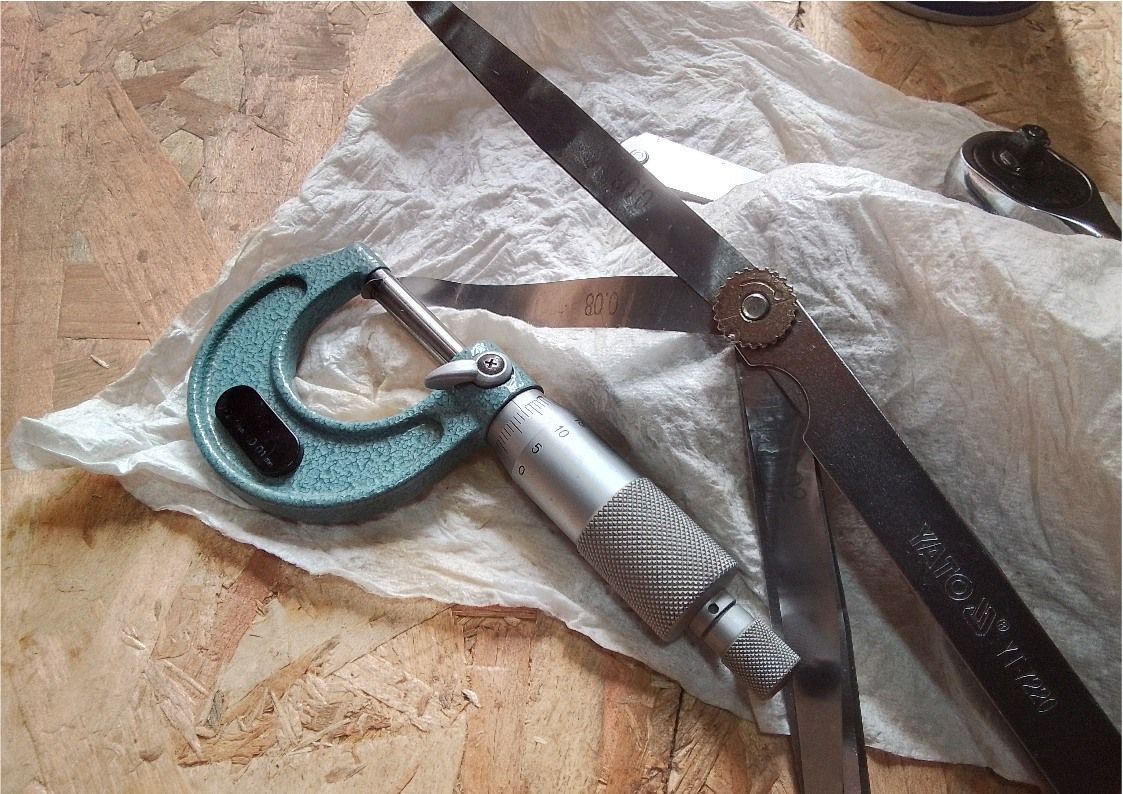
Was pleased to find a use for these little thumb wrenches (£4 from Amazon), they fit nicely under the frame rail when it comes to adjusting the valves.

And one final tip although it’s only of any use if you own a micrometer. It’s always a bit subjective how much drag there should be on a feeler gauge. I had a Google about this and it threw up setting a micrometer to the required gap and then feeling how much drag this caused on a lightly oiled feeler gauge of the appropriate size. Genius idea.
If you want to check the air filter as well, it’s under the left hand side panel. This panel is held on by two bolts. Once these are removed, it just slides off the fixed mount at the back. (Should have taken a photo of the mount, sorry).
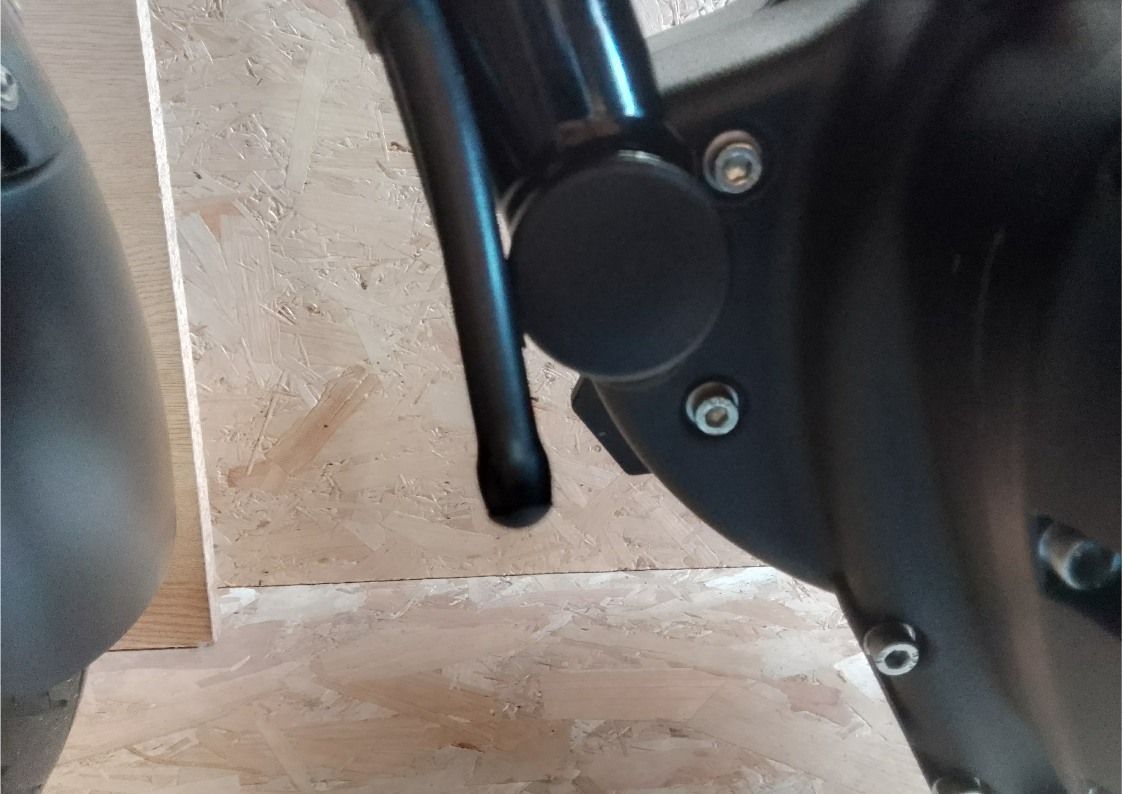
And a last little note, item 6 on the service schedule, Evaporative emission equipment rubber hoses & drain the overfilled by removing plug. I think the plug they’re referring to is this one (it’s located down the left hand side frame down tube)…well I pulled it out and a little fuel drained out…
The second service.
By the book, my Hunter should now be on it's third service, but given it's low mileage (it's managed just over 1000 miles in 12 months) I skipped the 6 month service and waited until 12 months was up.
Knowing what to expect made this second service a slightly less daunting proposition.
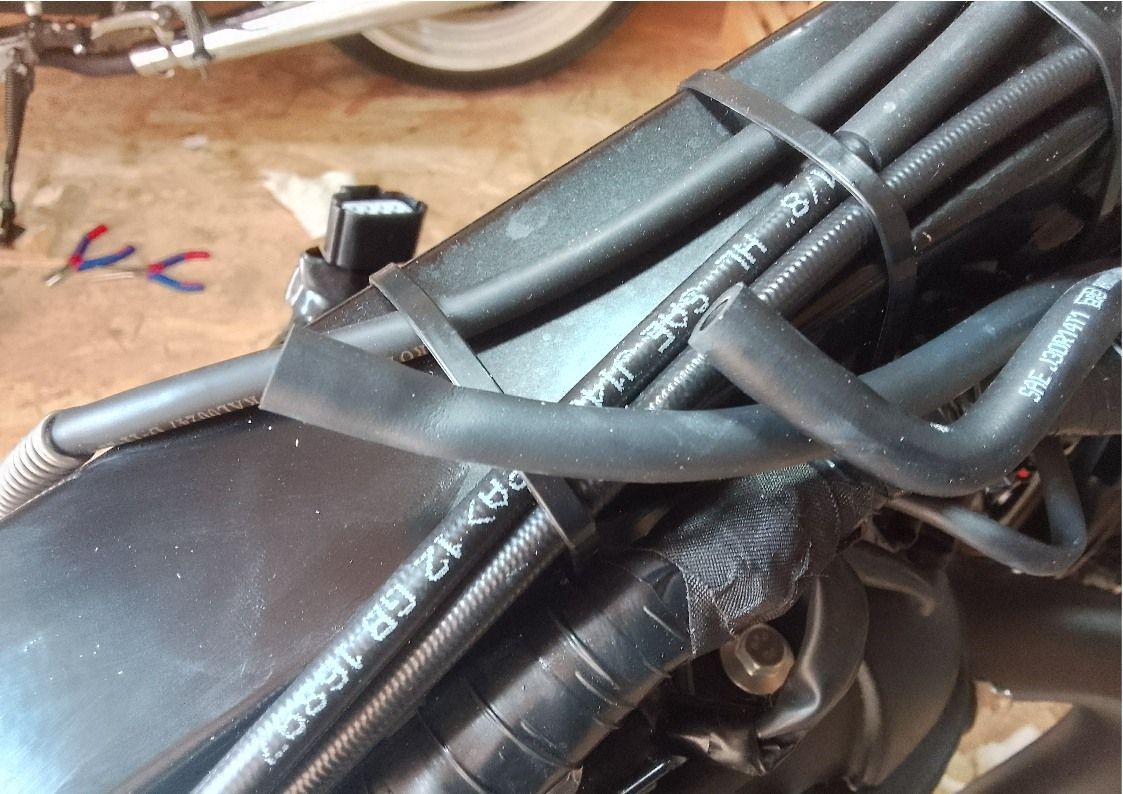
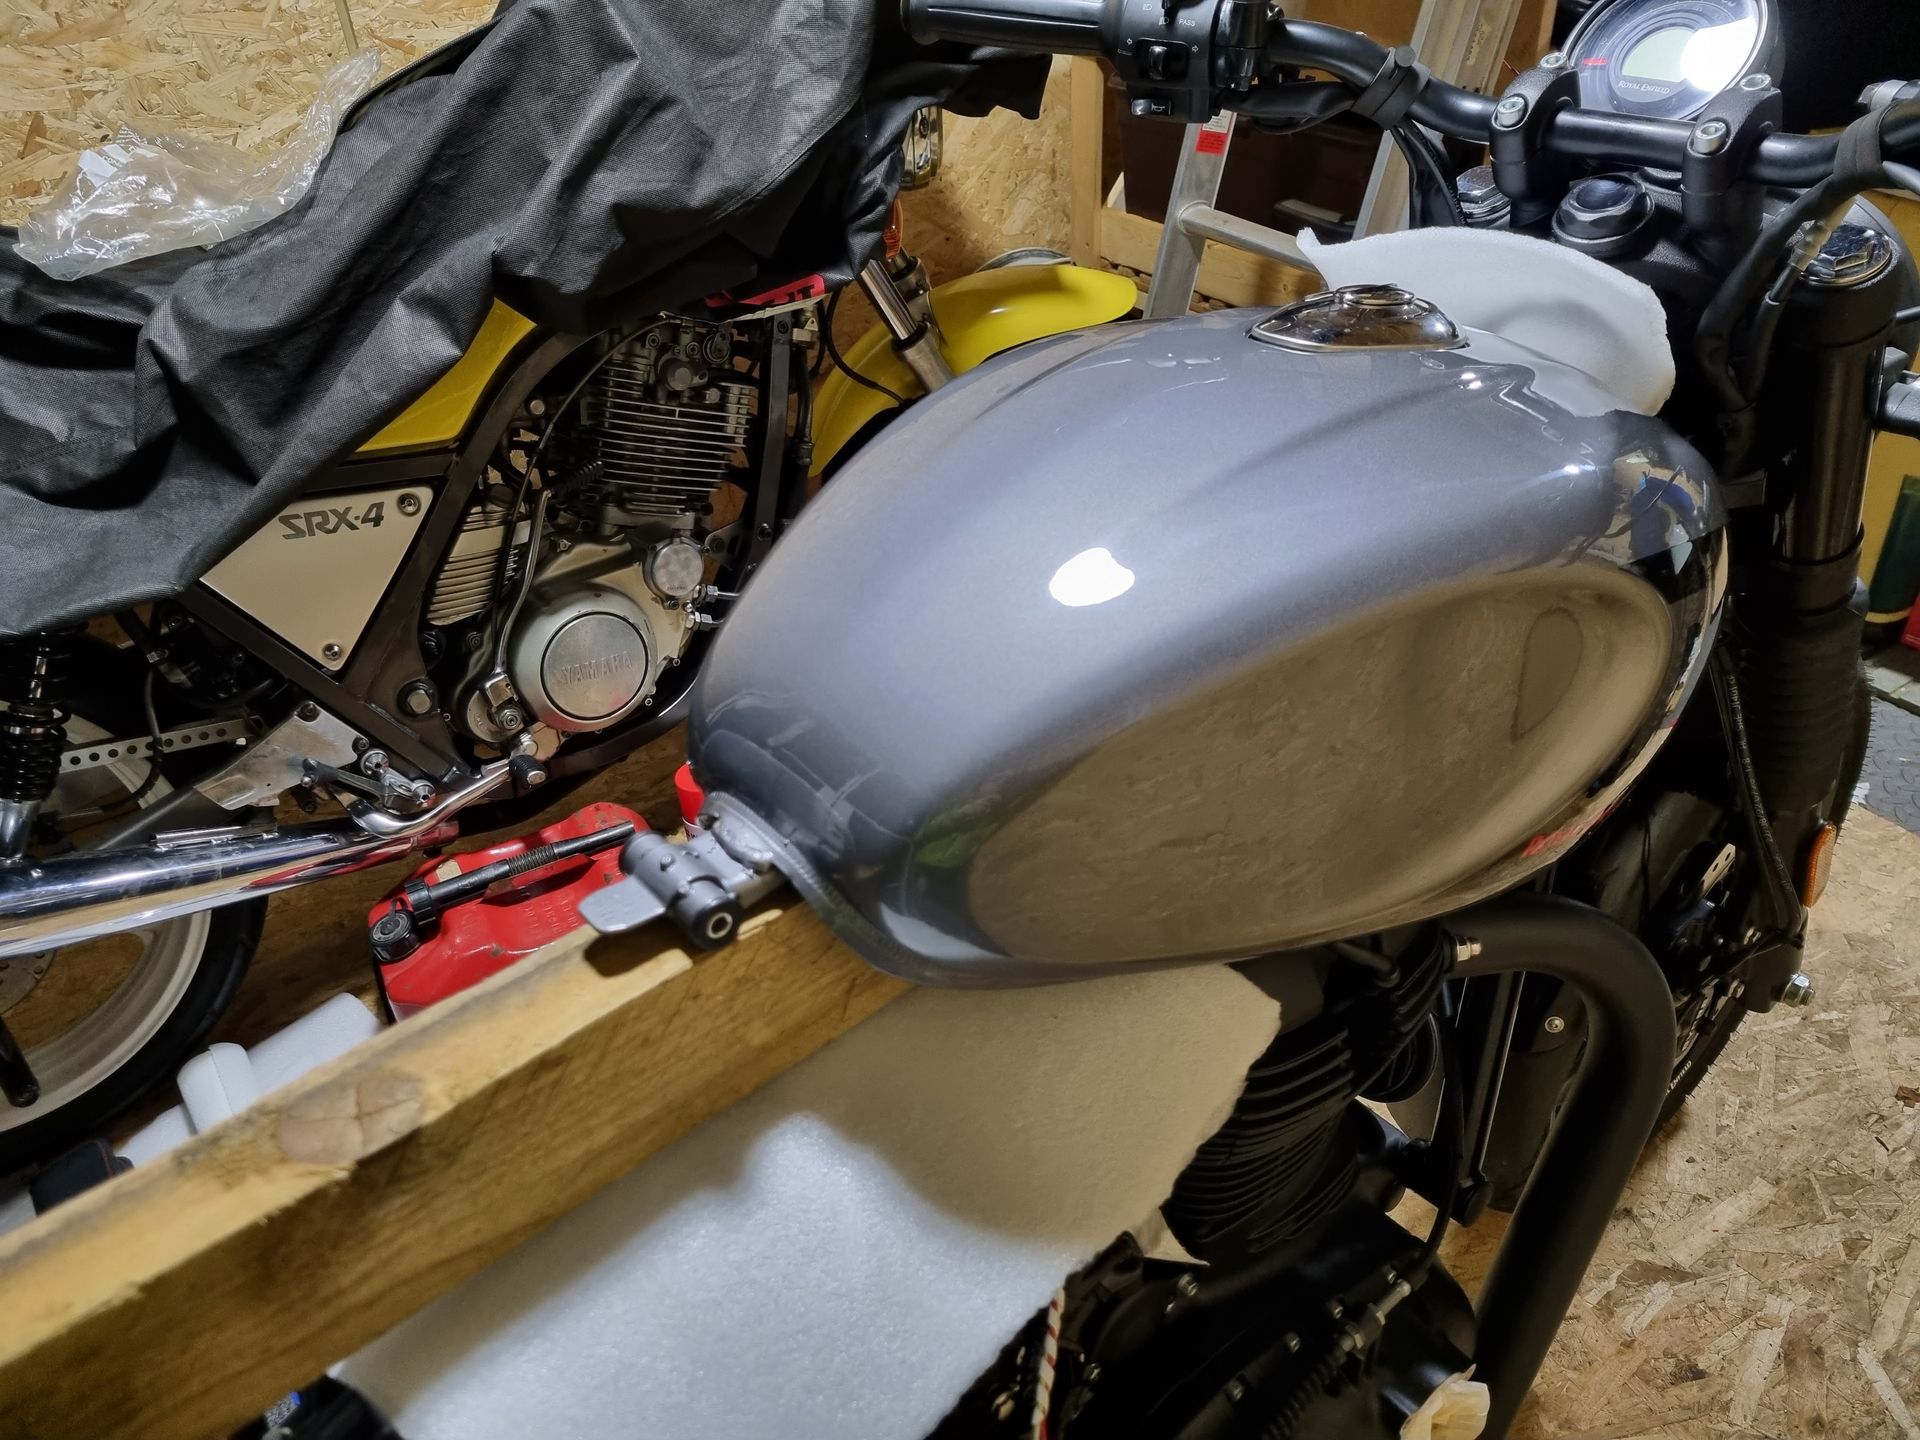
This is now my preferred method of tank support for removing pipes and electrical connectors. The wood is around 70mm tall, wedges firmly under the tank tunnel, so the tank still feels secure, and with padding everywhere that things might touch, provides enough height to release the electrical connector and fuel pipe.
After the first service, I thought I might be able to get the rocker cover off without unbolting the coil pack. I had a good try, but there's just not quite enough wiggle room. Unbolting it and sliding it forward does the trick.
I struggle with releasing the fuel connector using just finger power. These pliers helped, although it was quite tricky to manoeuvre them in place. Angled versions may be better?

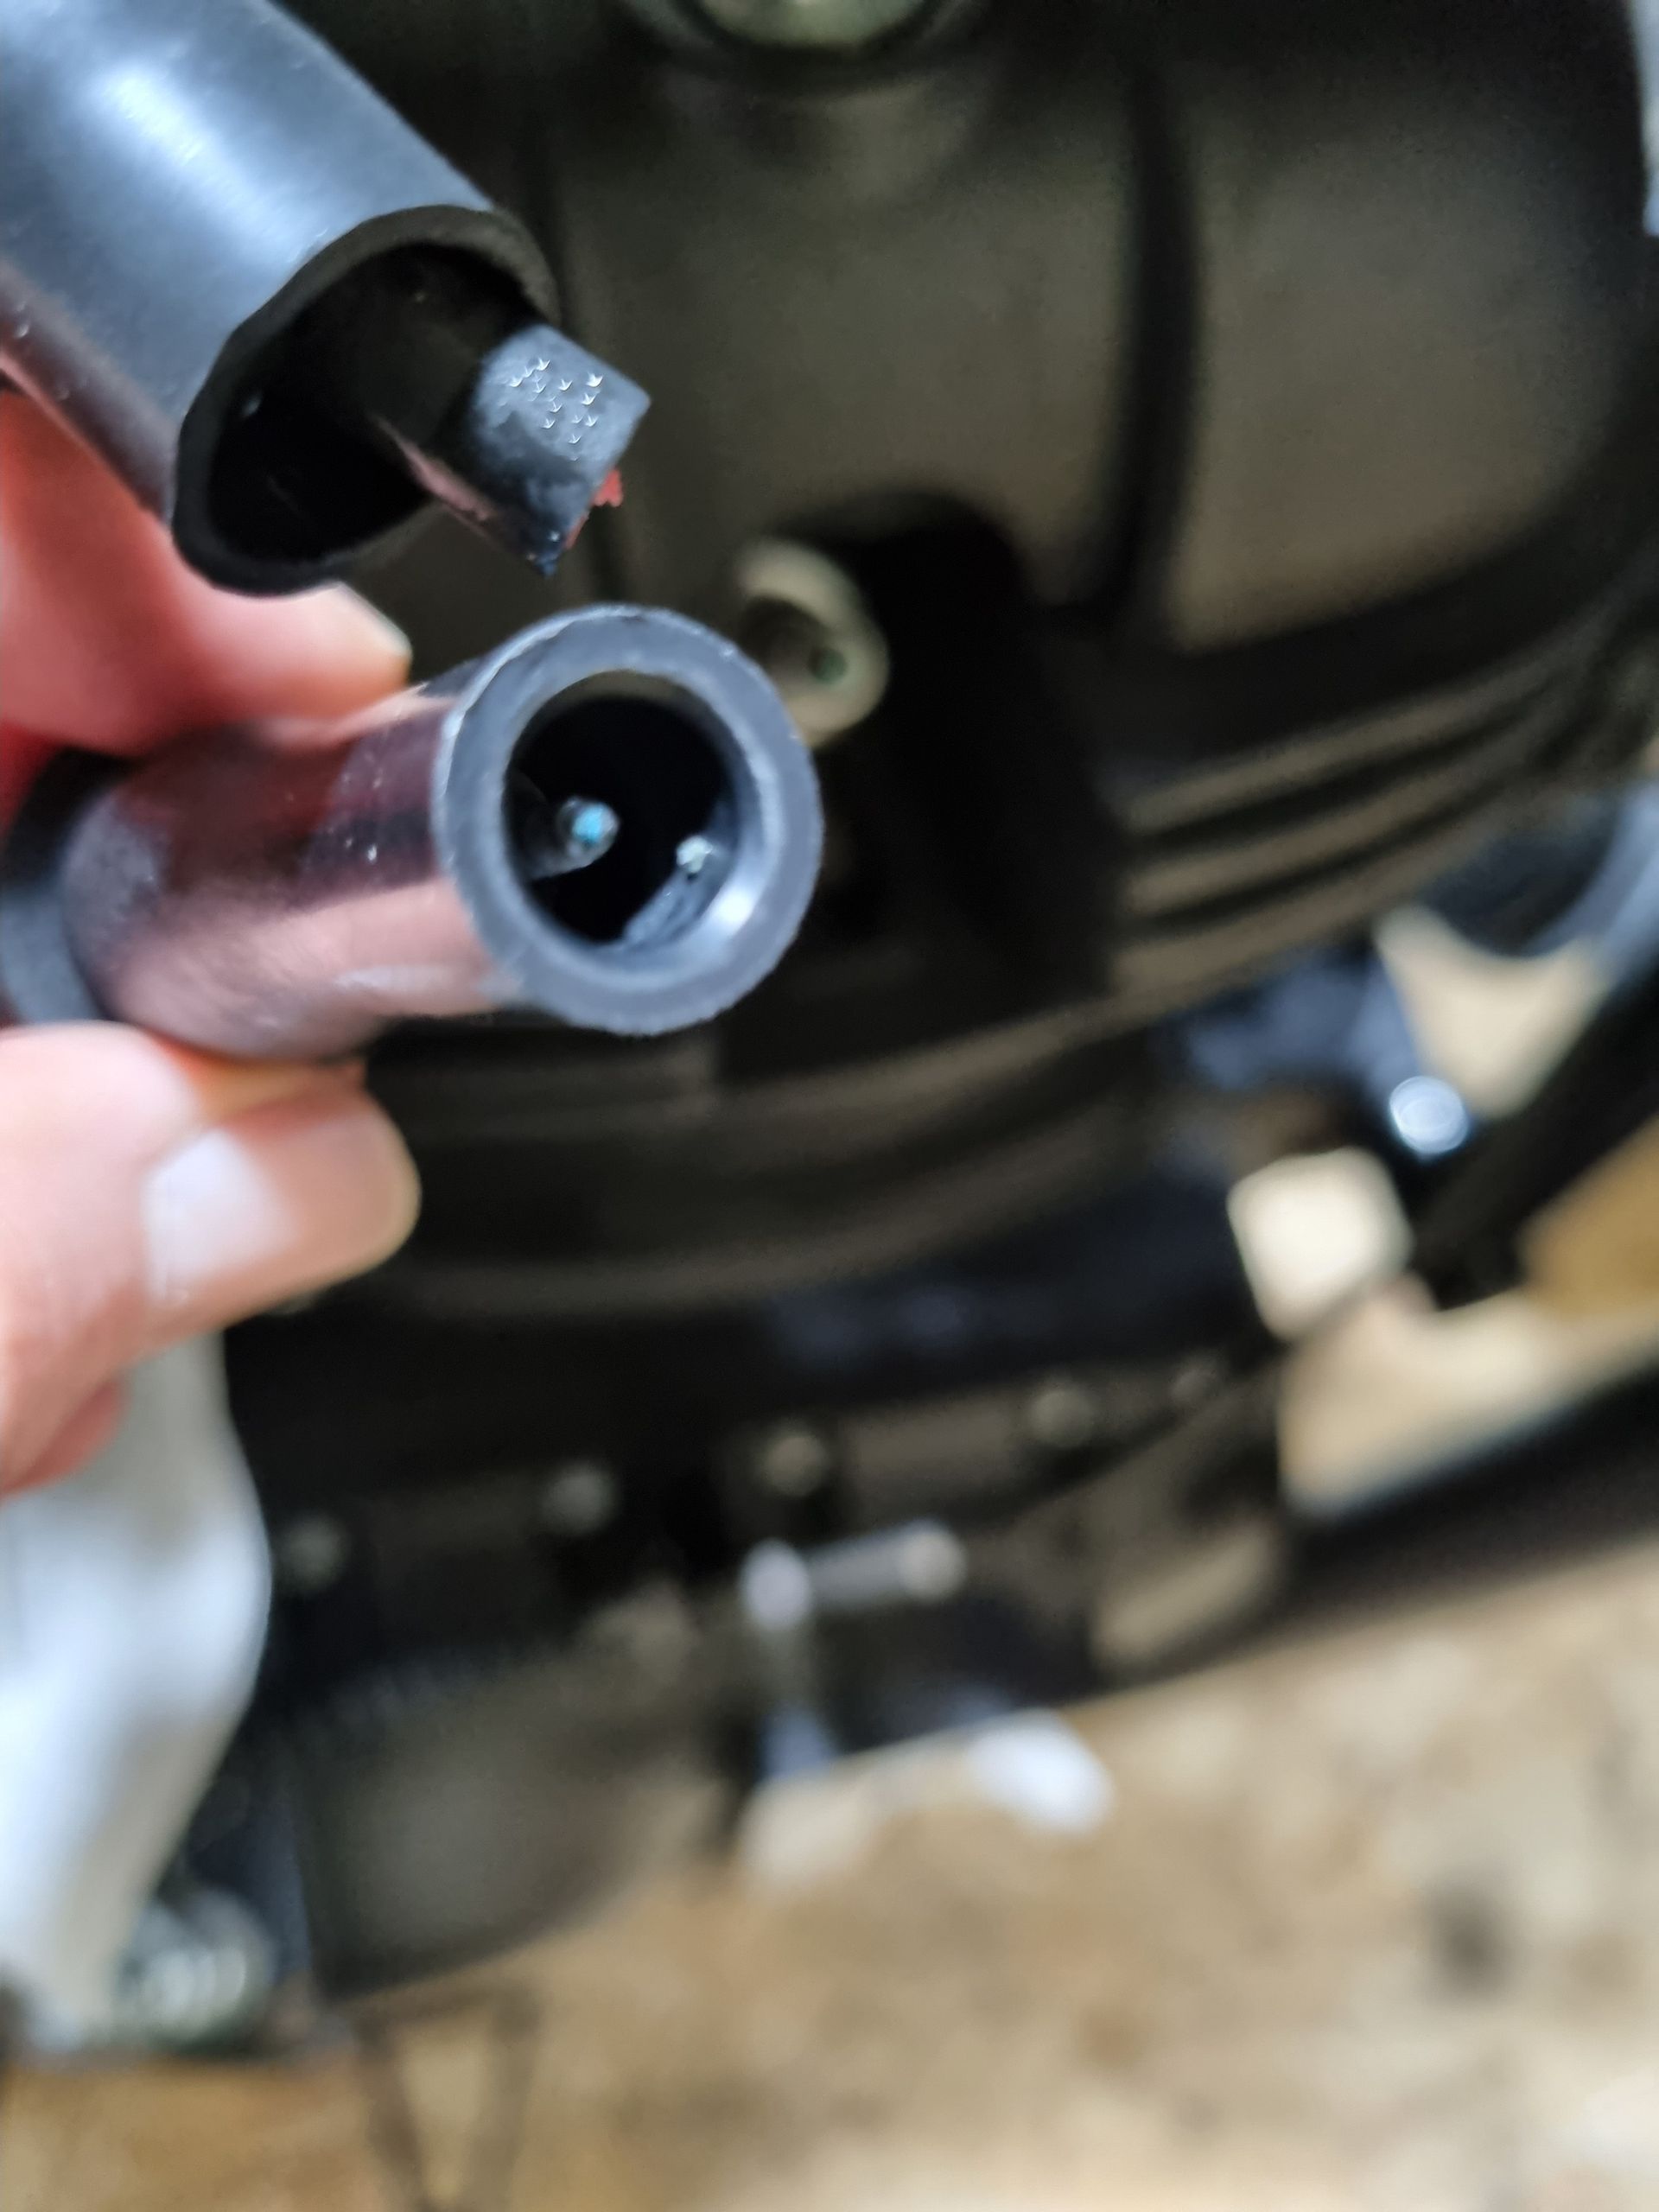
Very surprised when I removed the plug cap to find that it literally fell off the HT lead! Closer inspection revealed that the cable core was off centre and the cap had been screwed into the surrounding insulation, only partly making contact with the copper core. I have now made sure that it is now firmly screwed into the core.
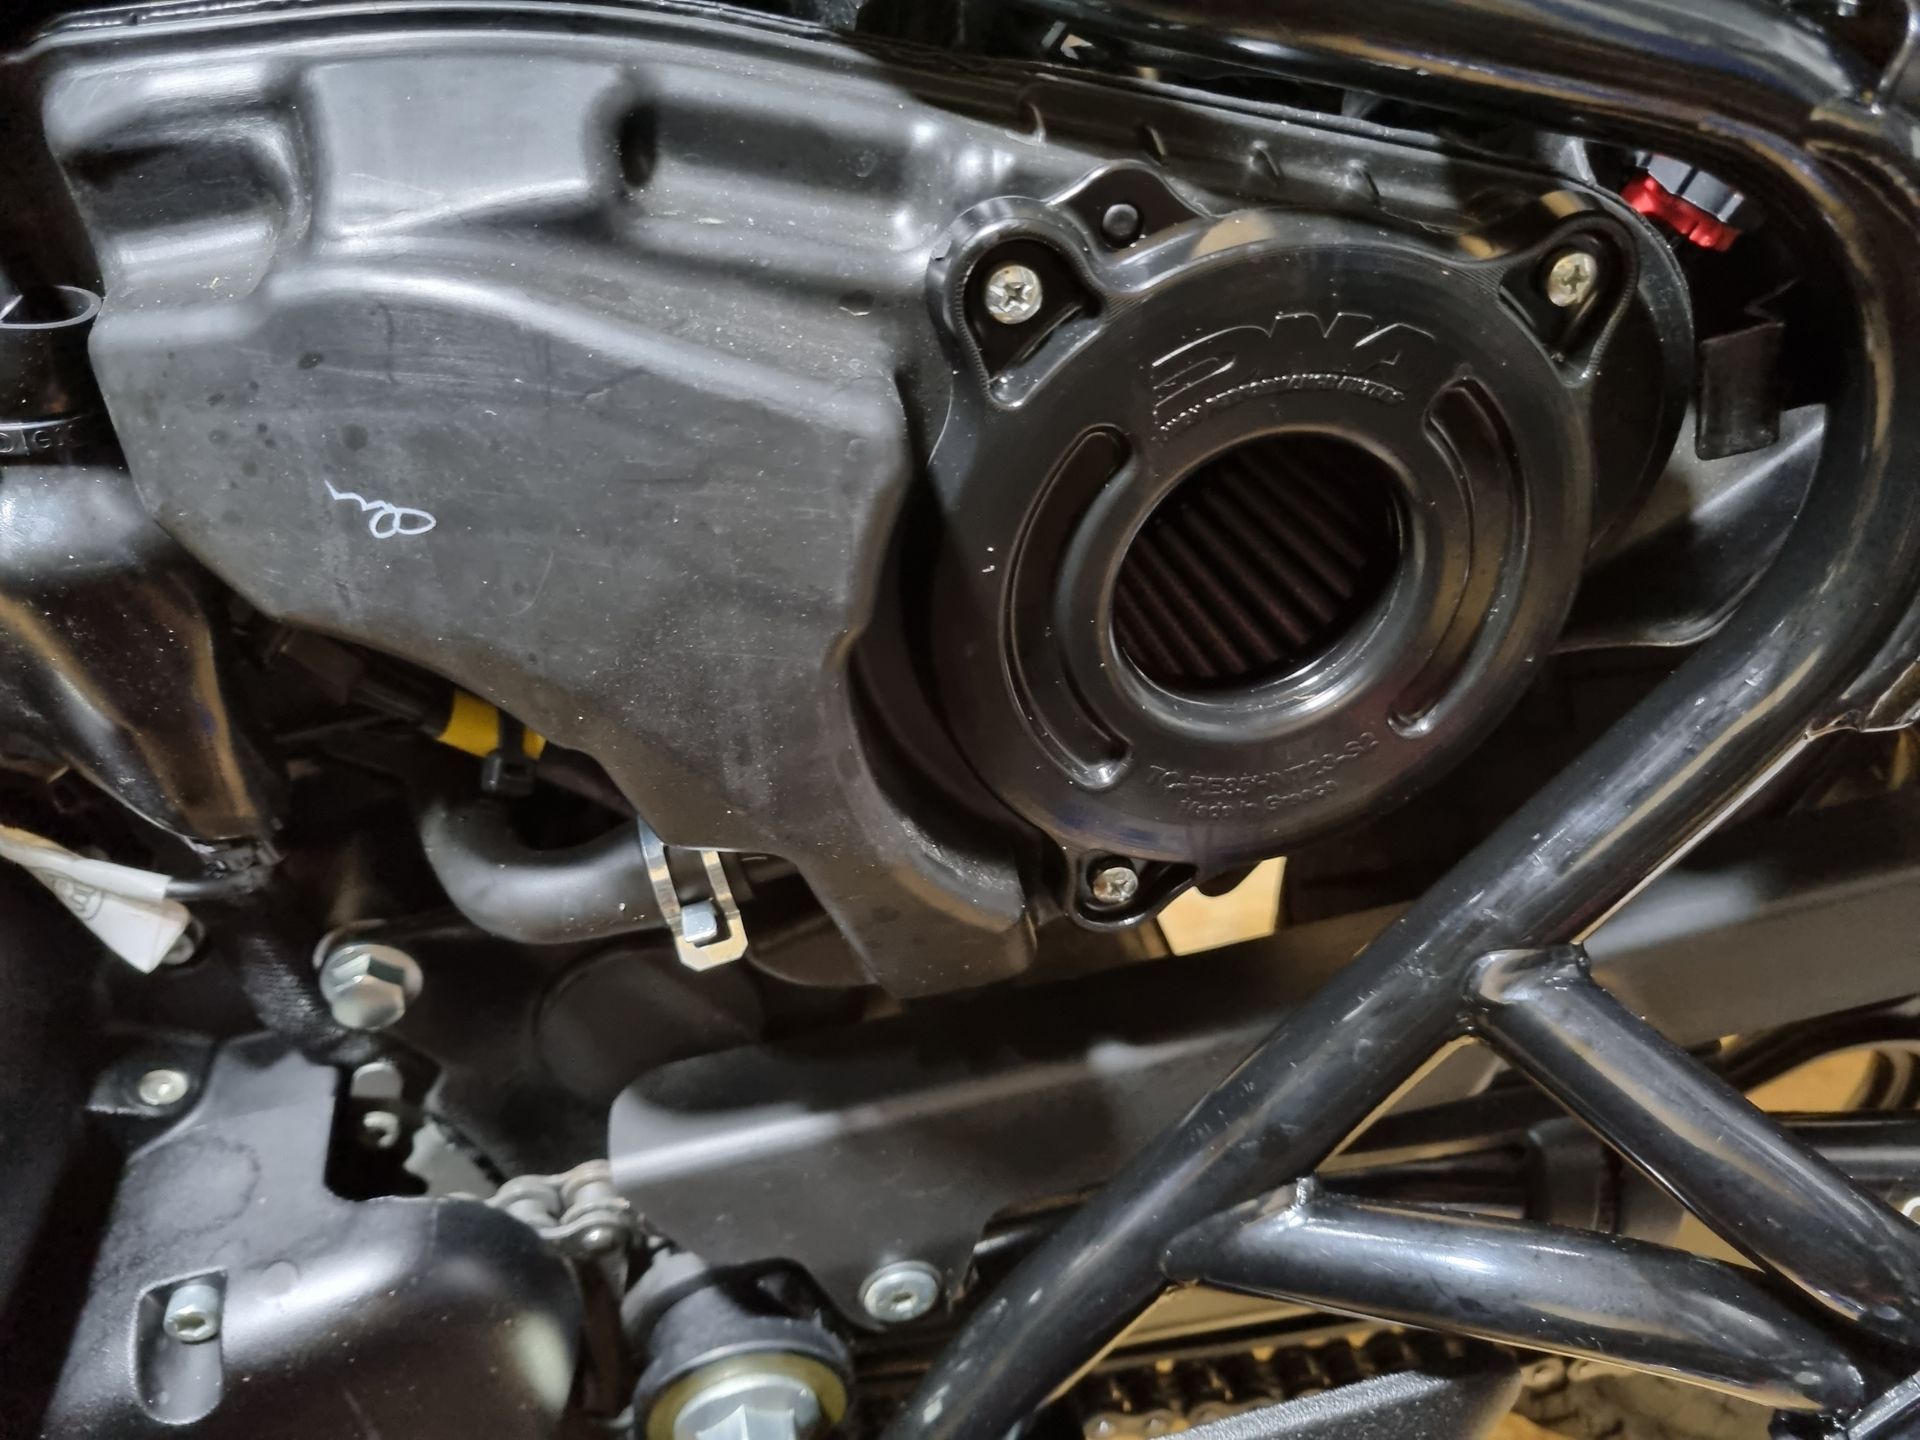
I watched Hitchcock's video of a before and after dyno test of the Hunter and so now I'm the proud owner of a DNA filter and cover and hopefully an almost extra 2bhp!
I can't tell if it's really made any difference, but you do get more induction noise when you're on the throttle which gives it a nice rorty noise that I quite like.
I've now done some testing of performance gains using the DNA filter and cover. You can find more about that
HERE.
And, there are also tests of the Delkevic downpipe
HERE and the FuelX
HERE.

The cover replaces the standard snorkel and is available to buy separately but I didn't think to try it to see if it fits with the standard air filter, sorry.
Those of you with 3D printers might like to experiment with making something similar...