
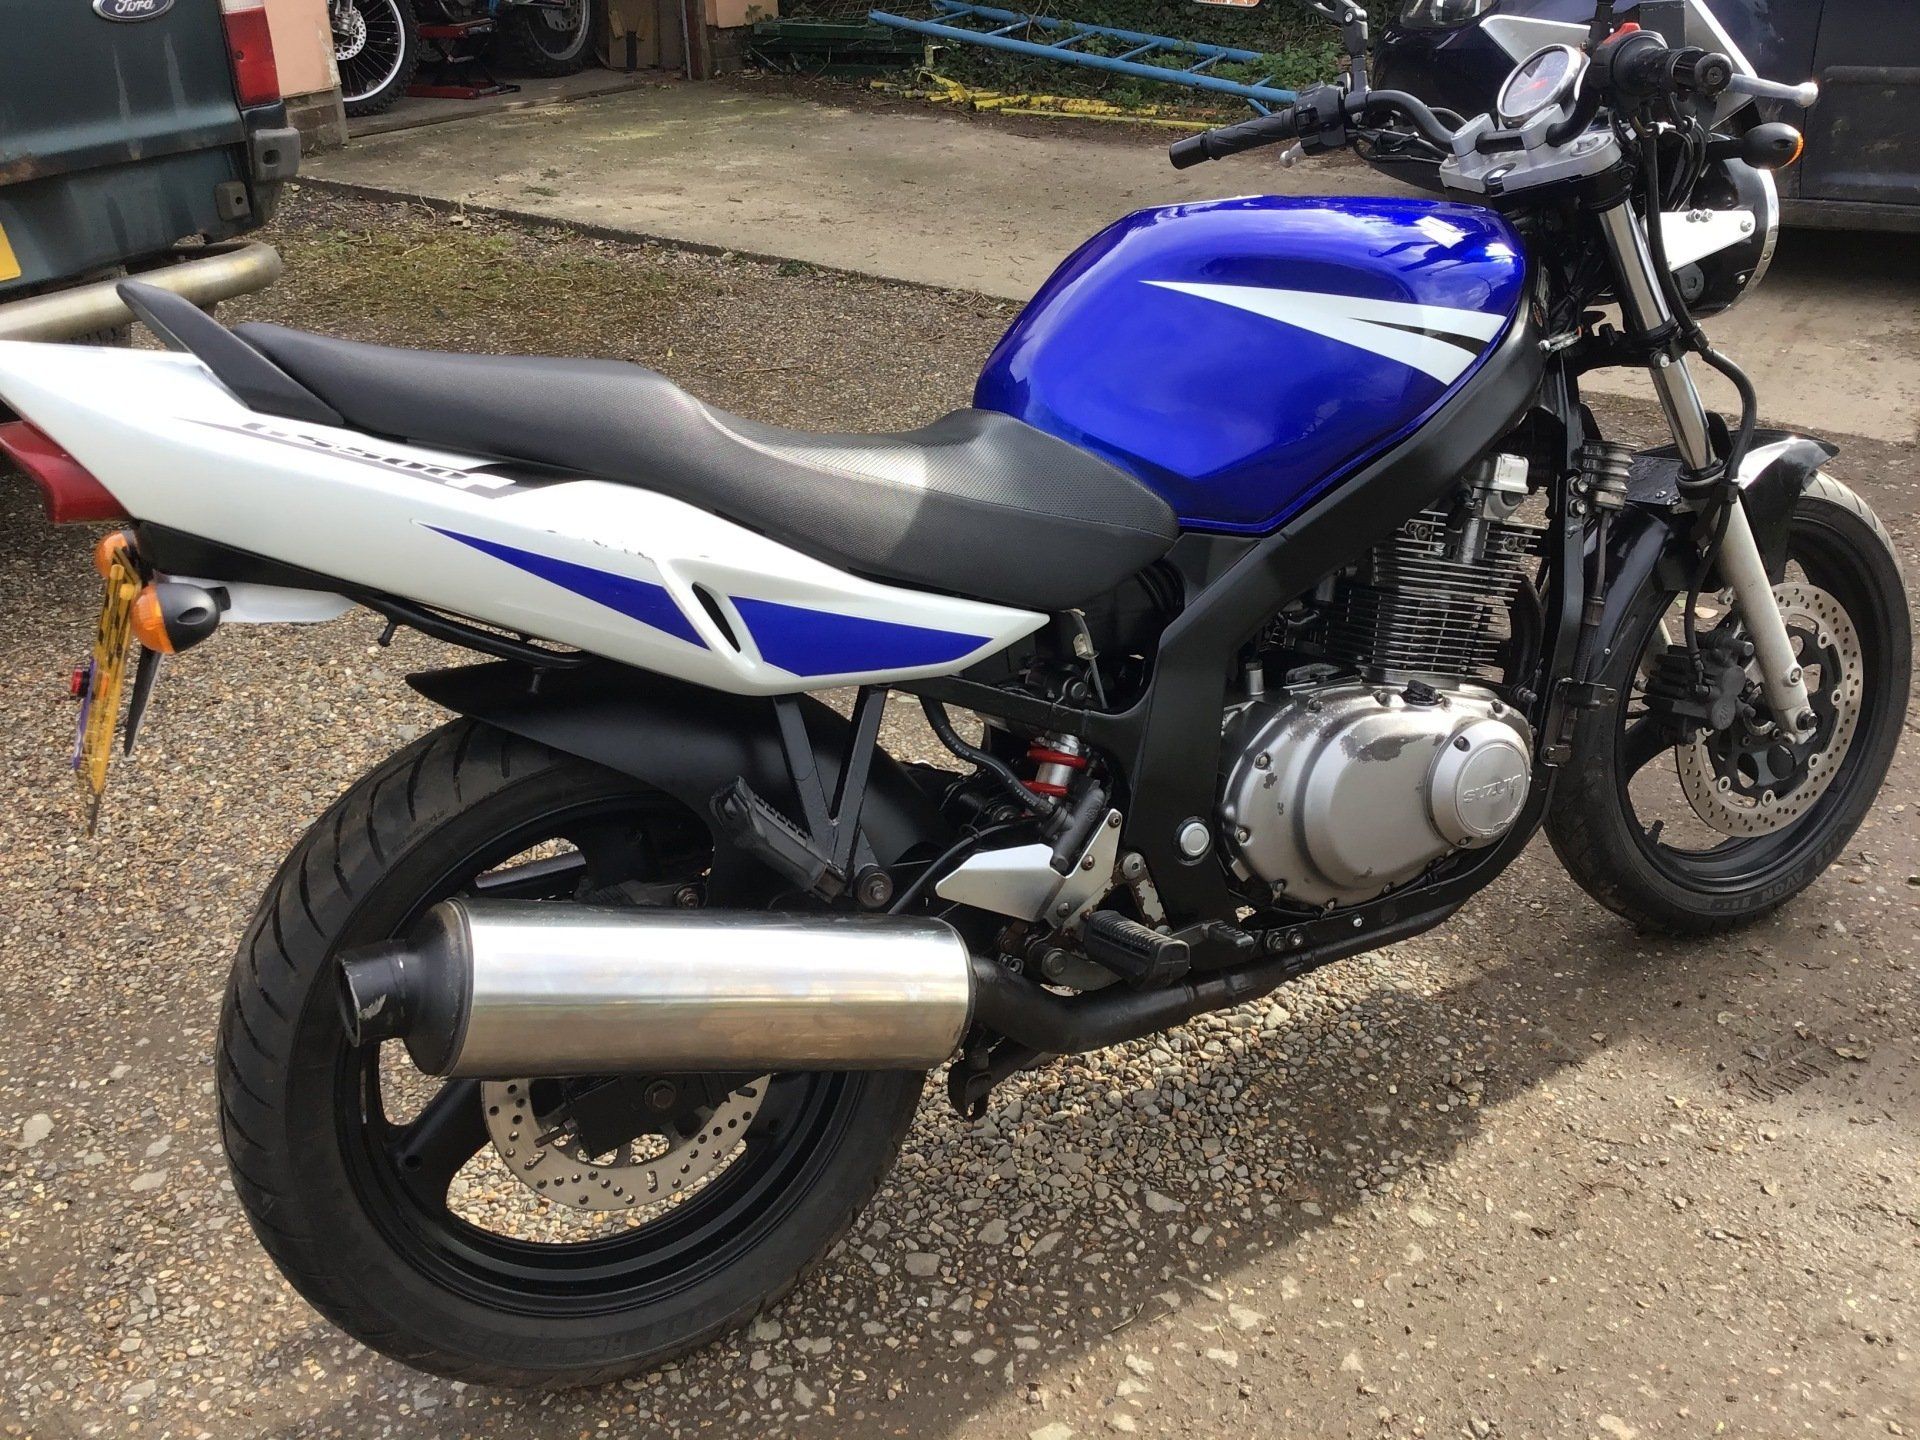
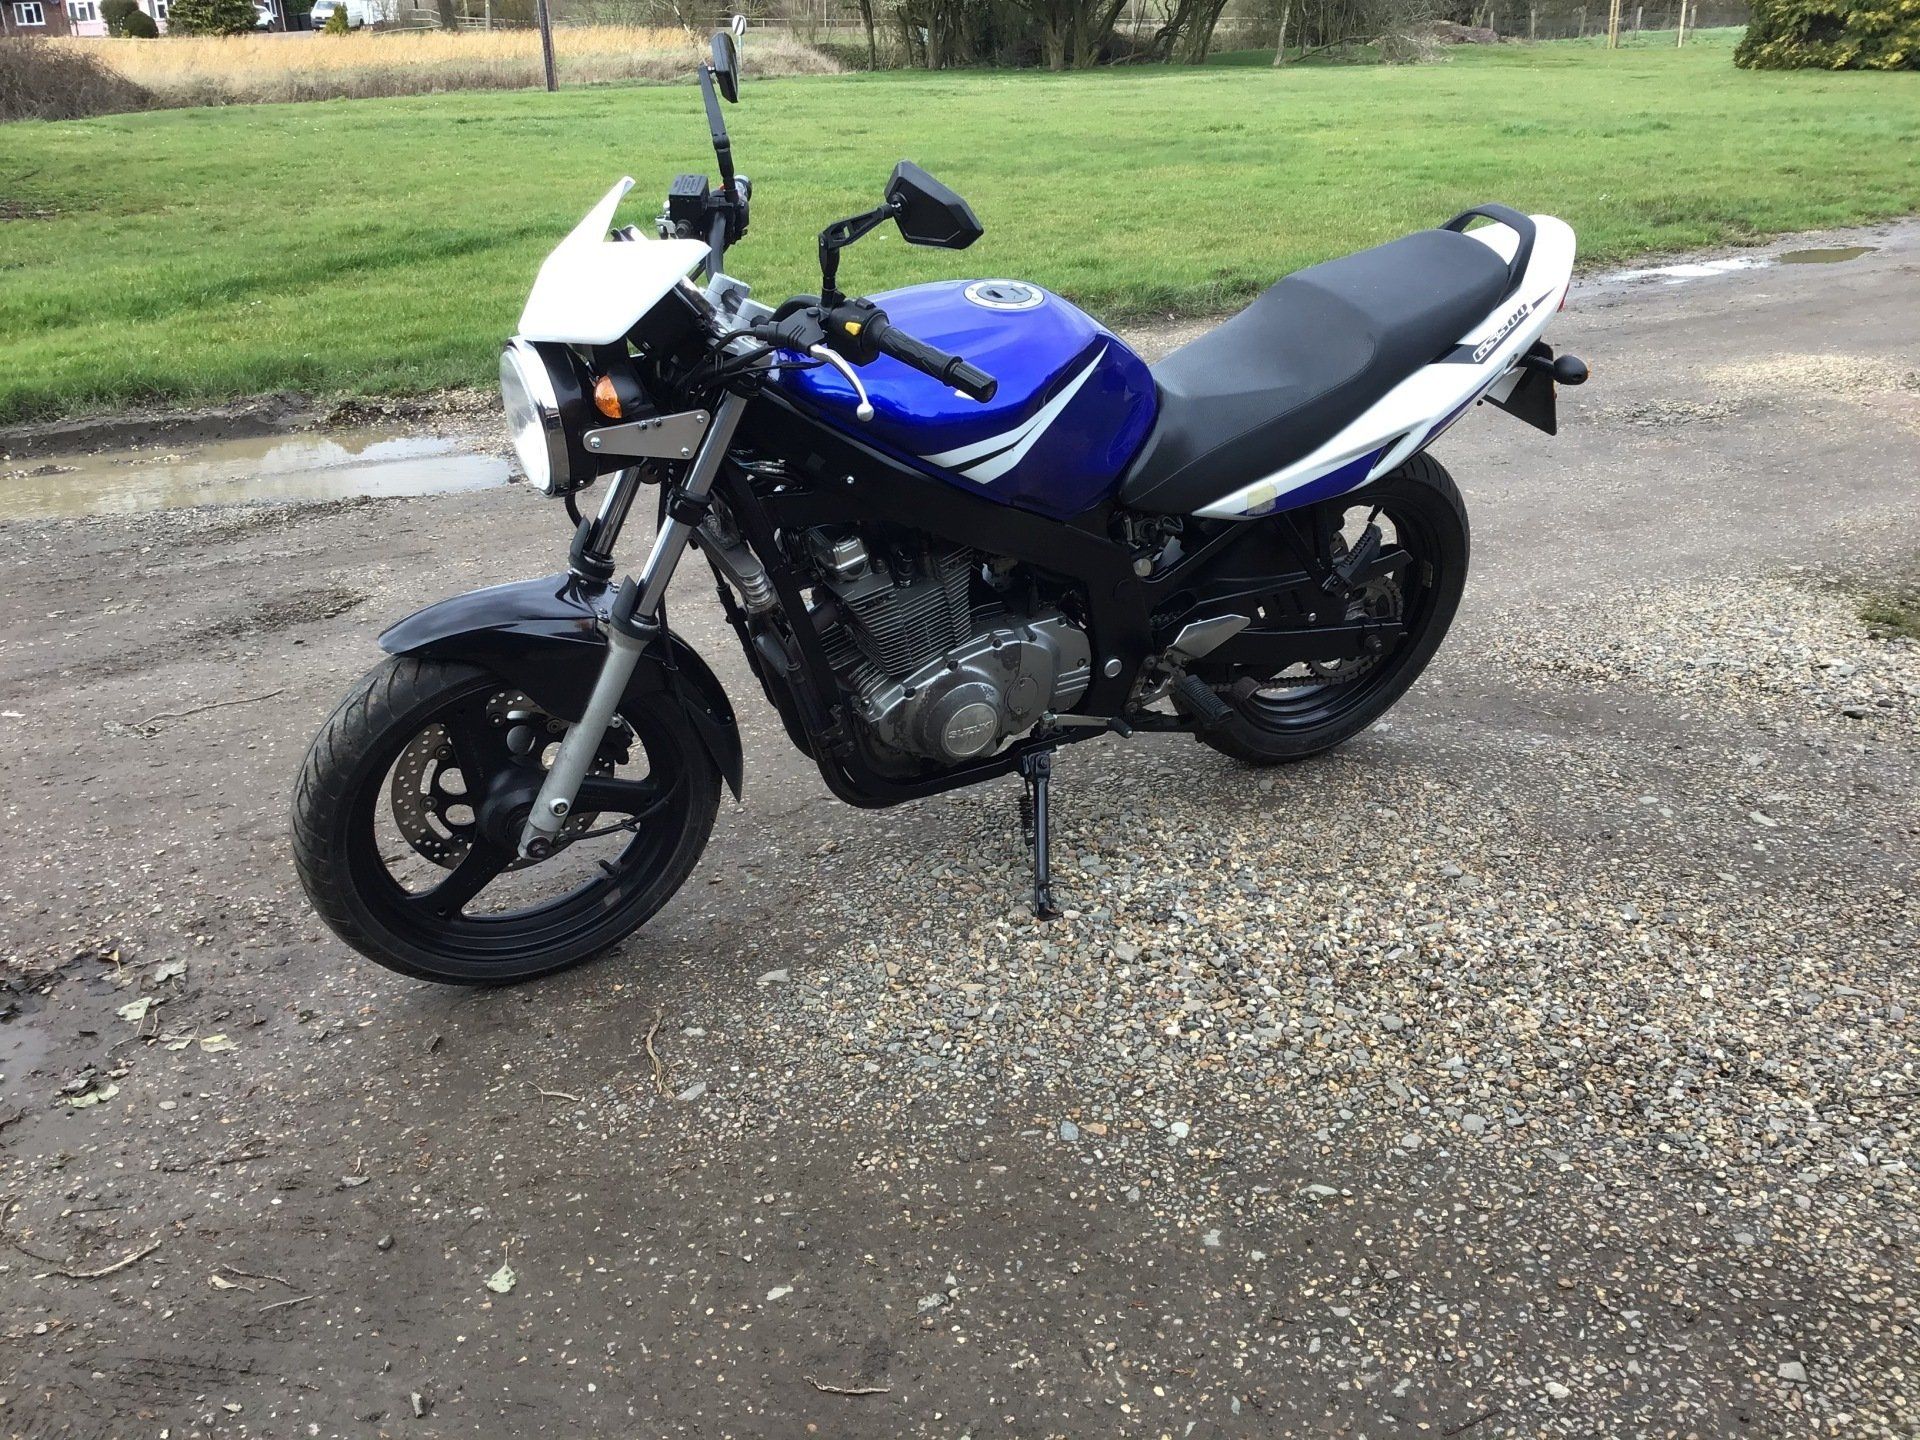
This is the offending bike from the compression test article. She looks quite good in the photos and so obviously proves that ‘the camera never lies’ statement is a complete fallacy, as in reality she’s a scabby old girl. She hadn’t had an easy life before she arrived in my garage, suffering from routine maintenance neglect and the after effects of being side swiped on a roundabout. Her looks didn’t matter to me, I only wanted the engine and running gear for another project - except, after I’d ridden her around for a bit we started to bond and she became the winter hack. After 6 years of winter weather, her looks haven’t improved, but that doesn’t matter, what did matter was (as the compression test confirmed) mechanically she was also getting a little tired. So, this year, with lockdown restricting riding activity to the journey too and from work, she got to spend the best part of 3 months sitting on the workbench and I got a lot fitter by cycling to work.
The original intention was just to remove head and cylinder, fit new rings, make sure the valves were seating, fit new valve stem seals / gaskets etc. as required, and then bolt it all back together. Unfortunately, the project got bigger and was eventually christened ‘Project Snowball’ as in addition to the engine work, I also decided to try life naked, so the fairing has gone and has been replaced with a round headlight and small front cowl. At the back, the standard shock made way for a Yamaha R6 item and also gained a modified Suziki Bandit 400 hugger. The rear also got a new undertray. The refurb has been covered in the
Monday Articles on the website, so this is a brief overview of the work, follow the link above if you want further info. She’s still not pretty. The copious rust on the frame has just been treated to a slap of black direct to rusty metal paint (Smoothrite or similar). To look her best, she really needs you to be socially distanced from her!
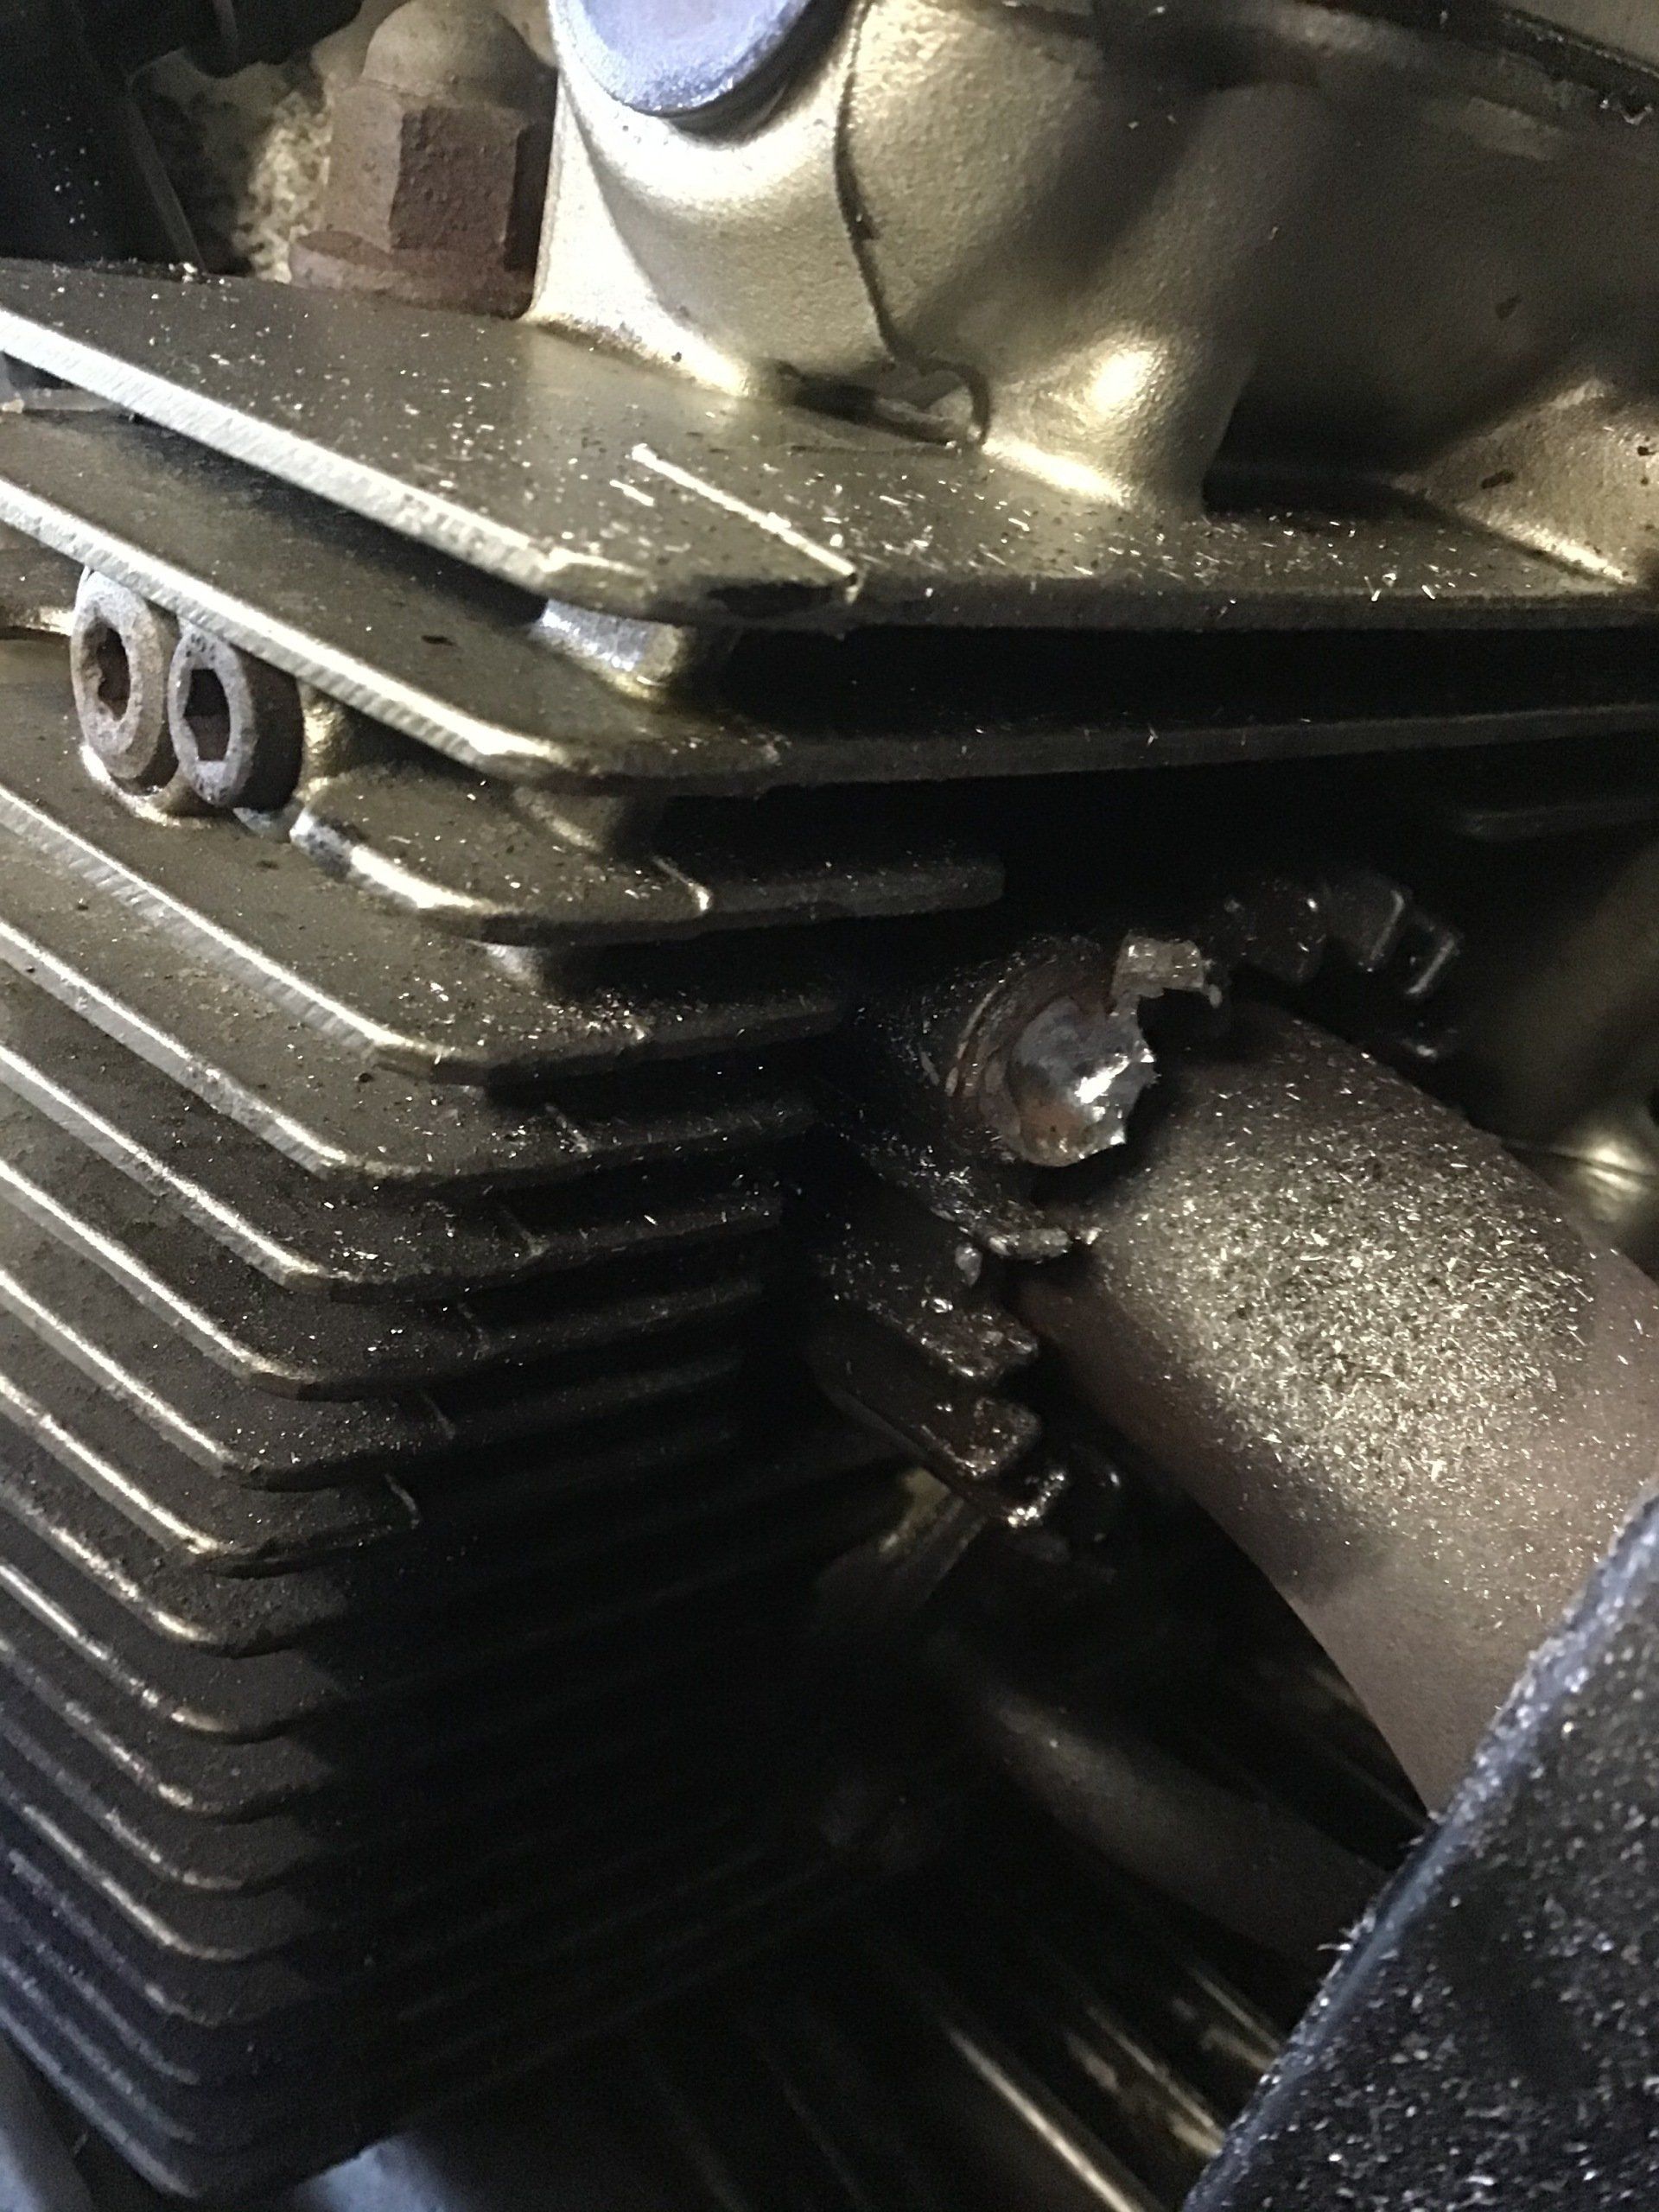
First job (and one of the reasons why I had put this off for so long) was to remove the exhaust bolts. They didn’t want to leave. In the end I ground the heads off using a carbide burr, so that the exhaust could be removed and decided to deal with the remainder of the bolt once the head was off.
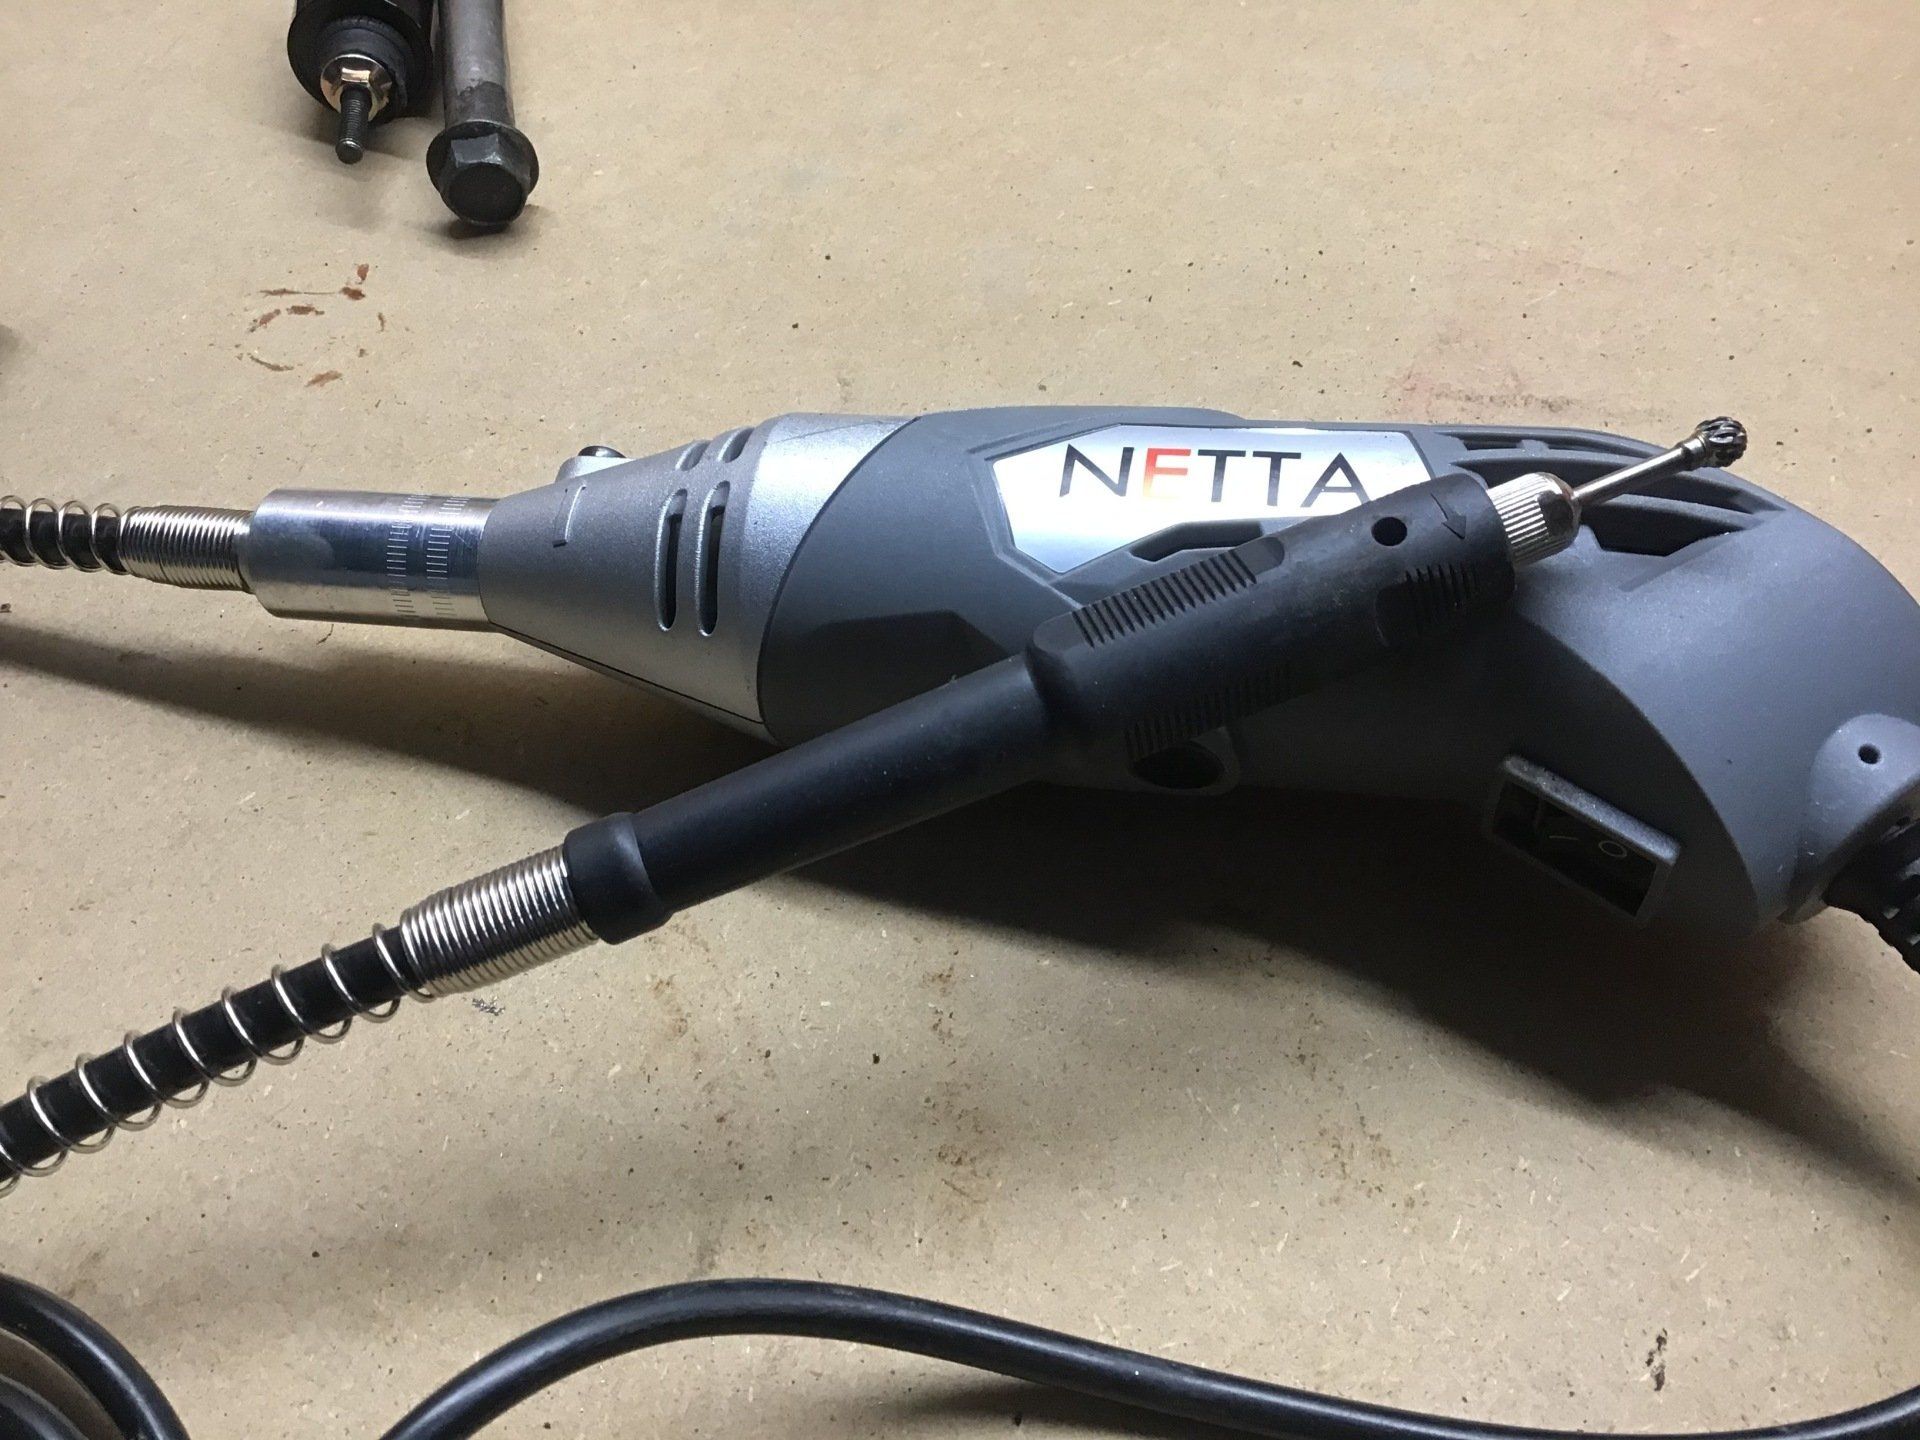
The carbide burr, rotary tool and flexidrive set-up that managed to remove the bolt heads without too much trouble.
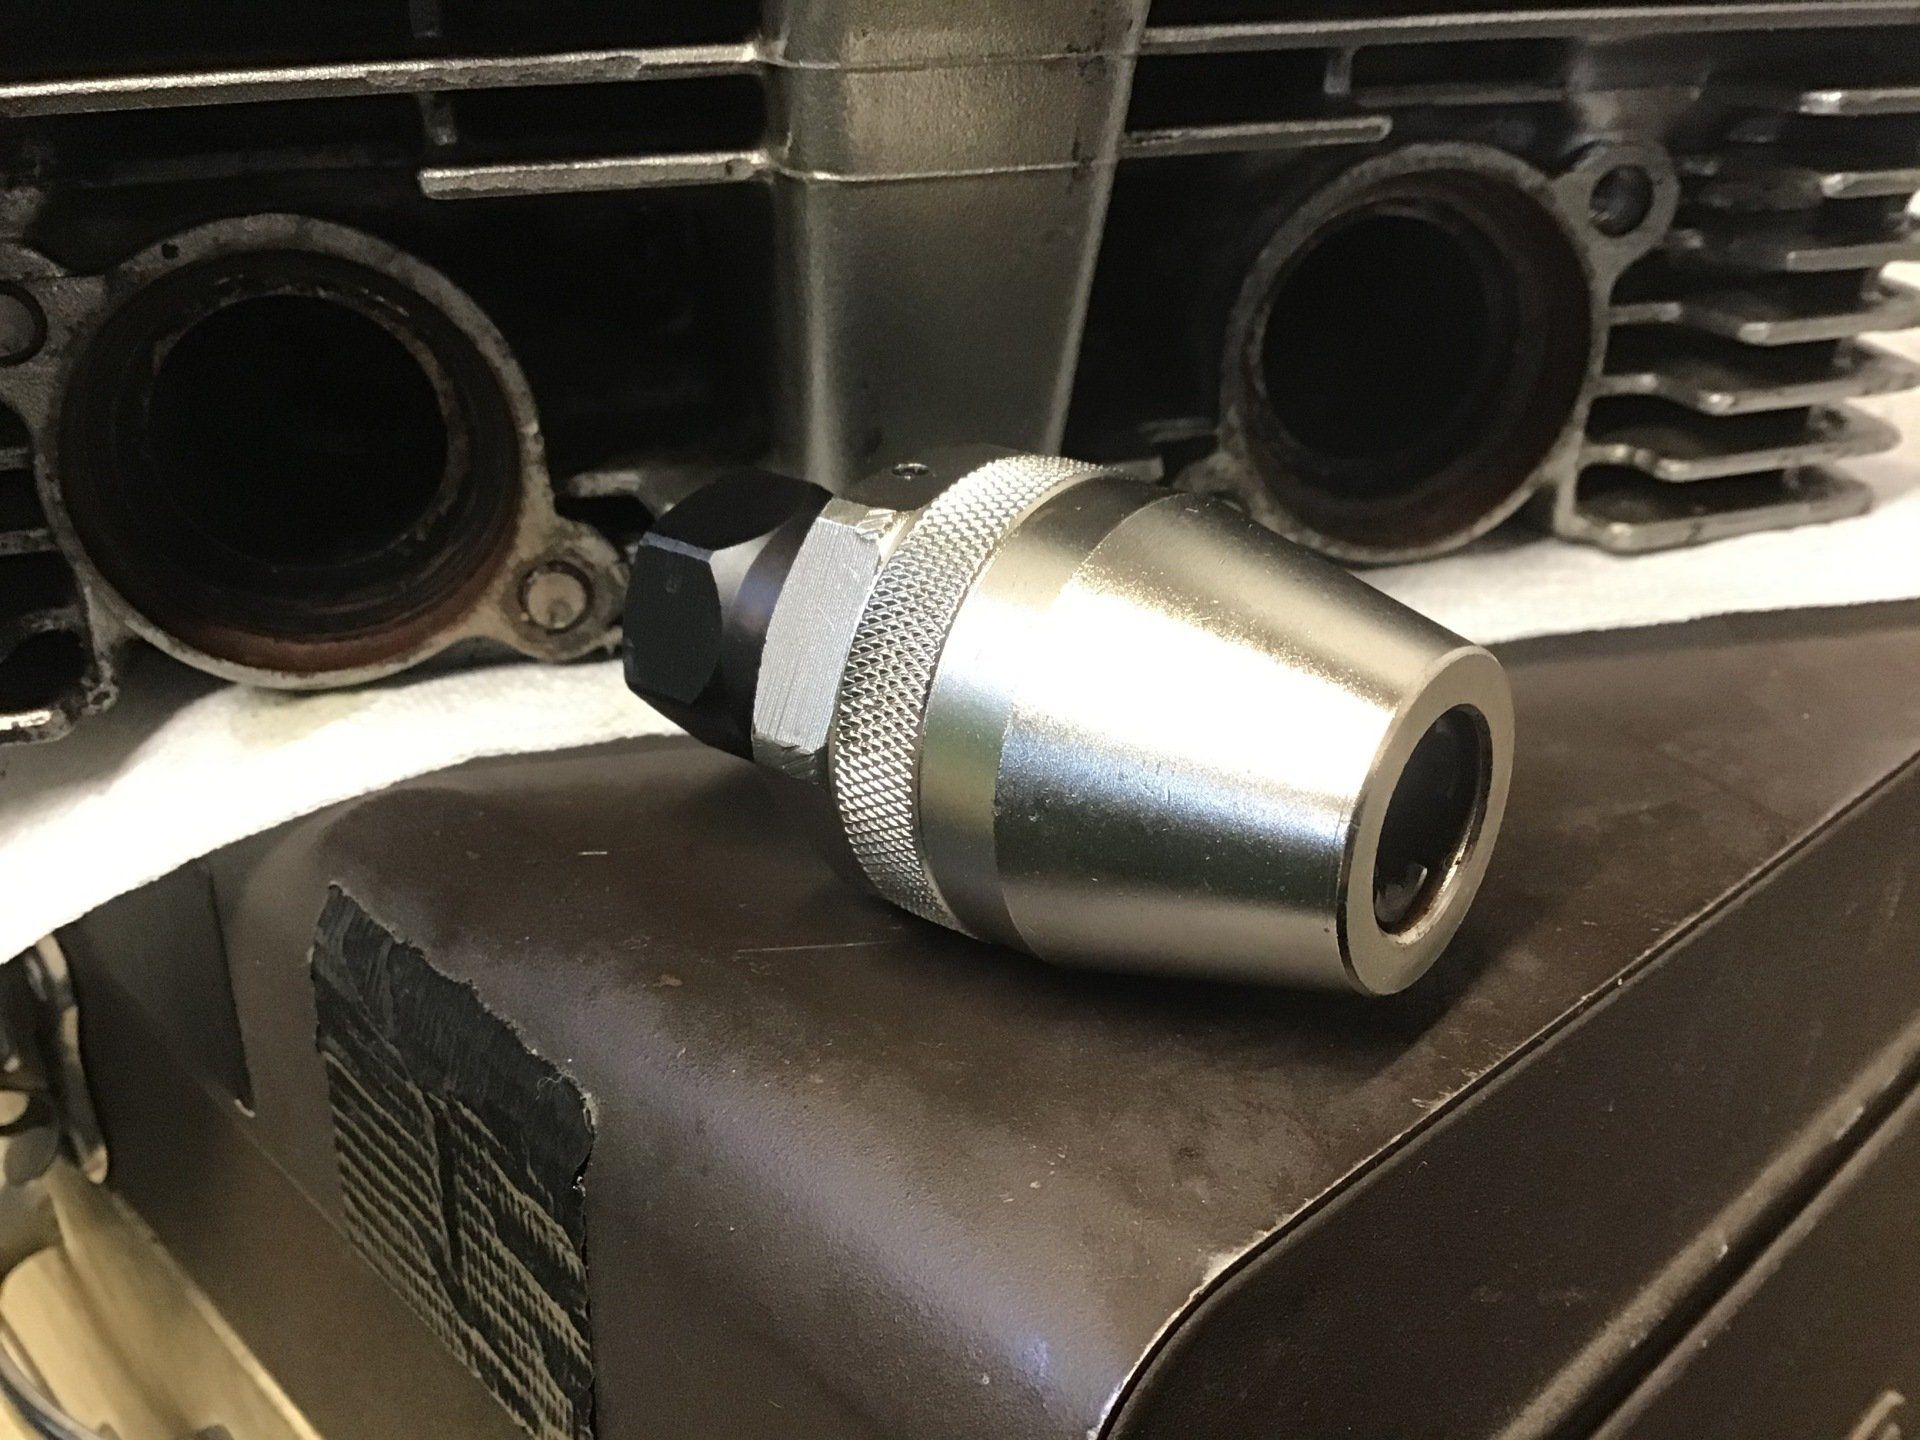
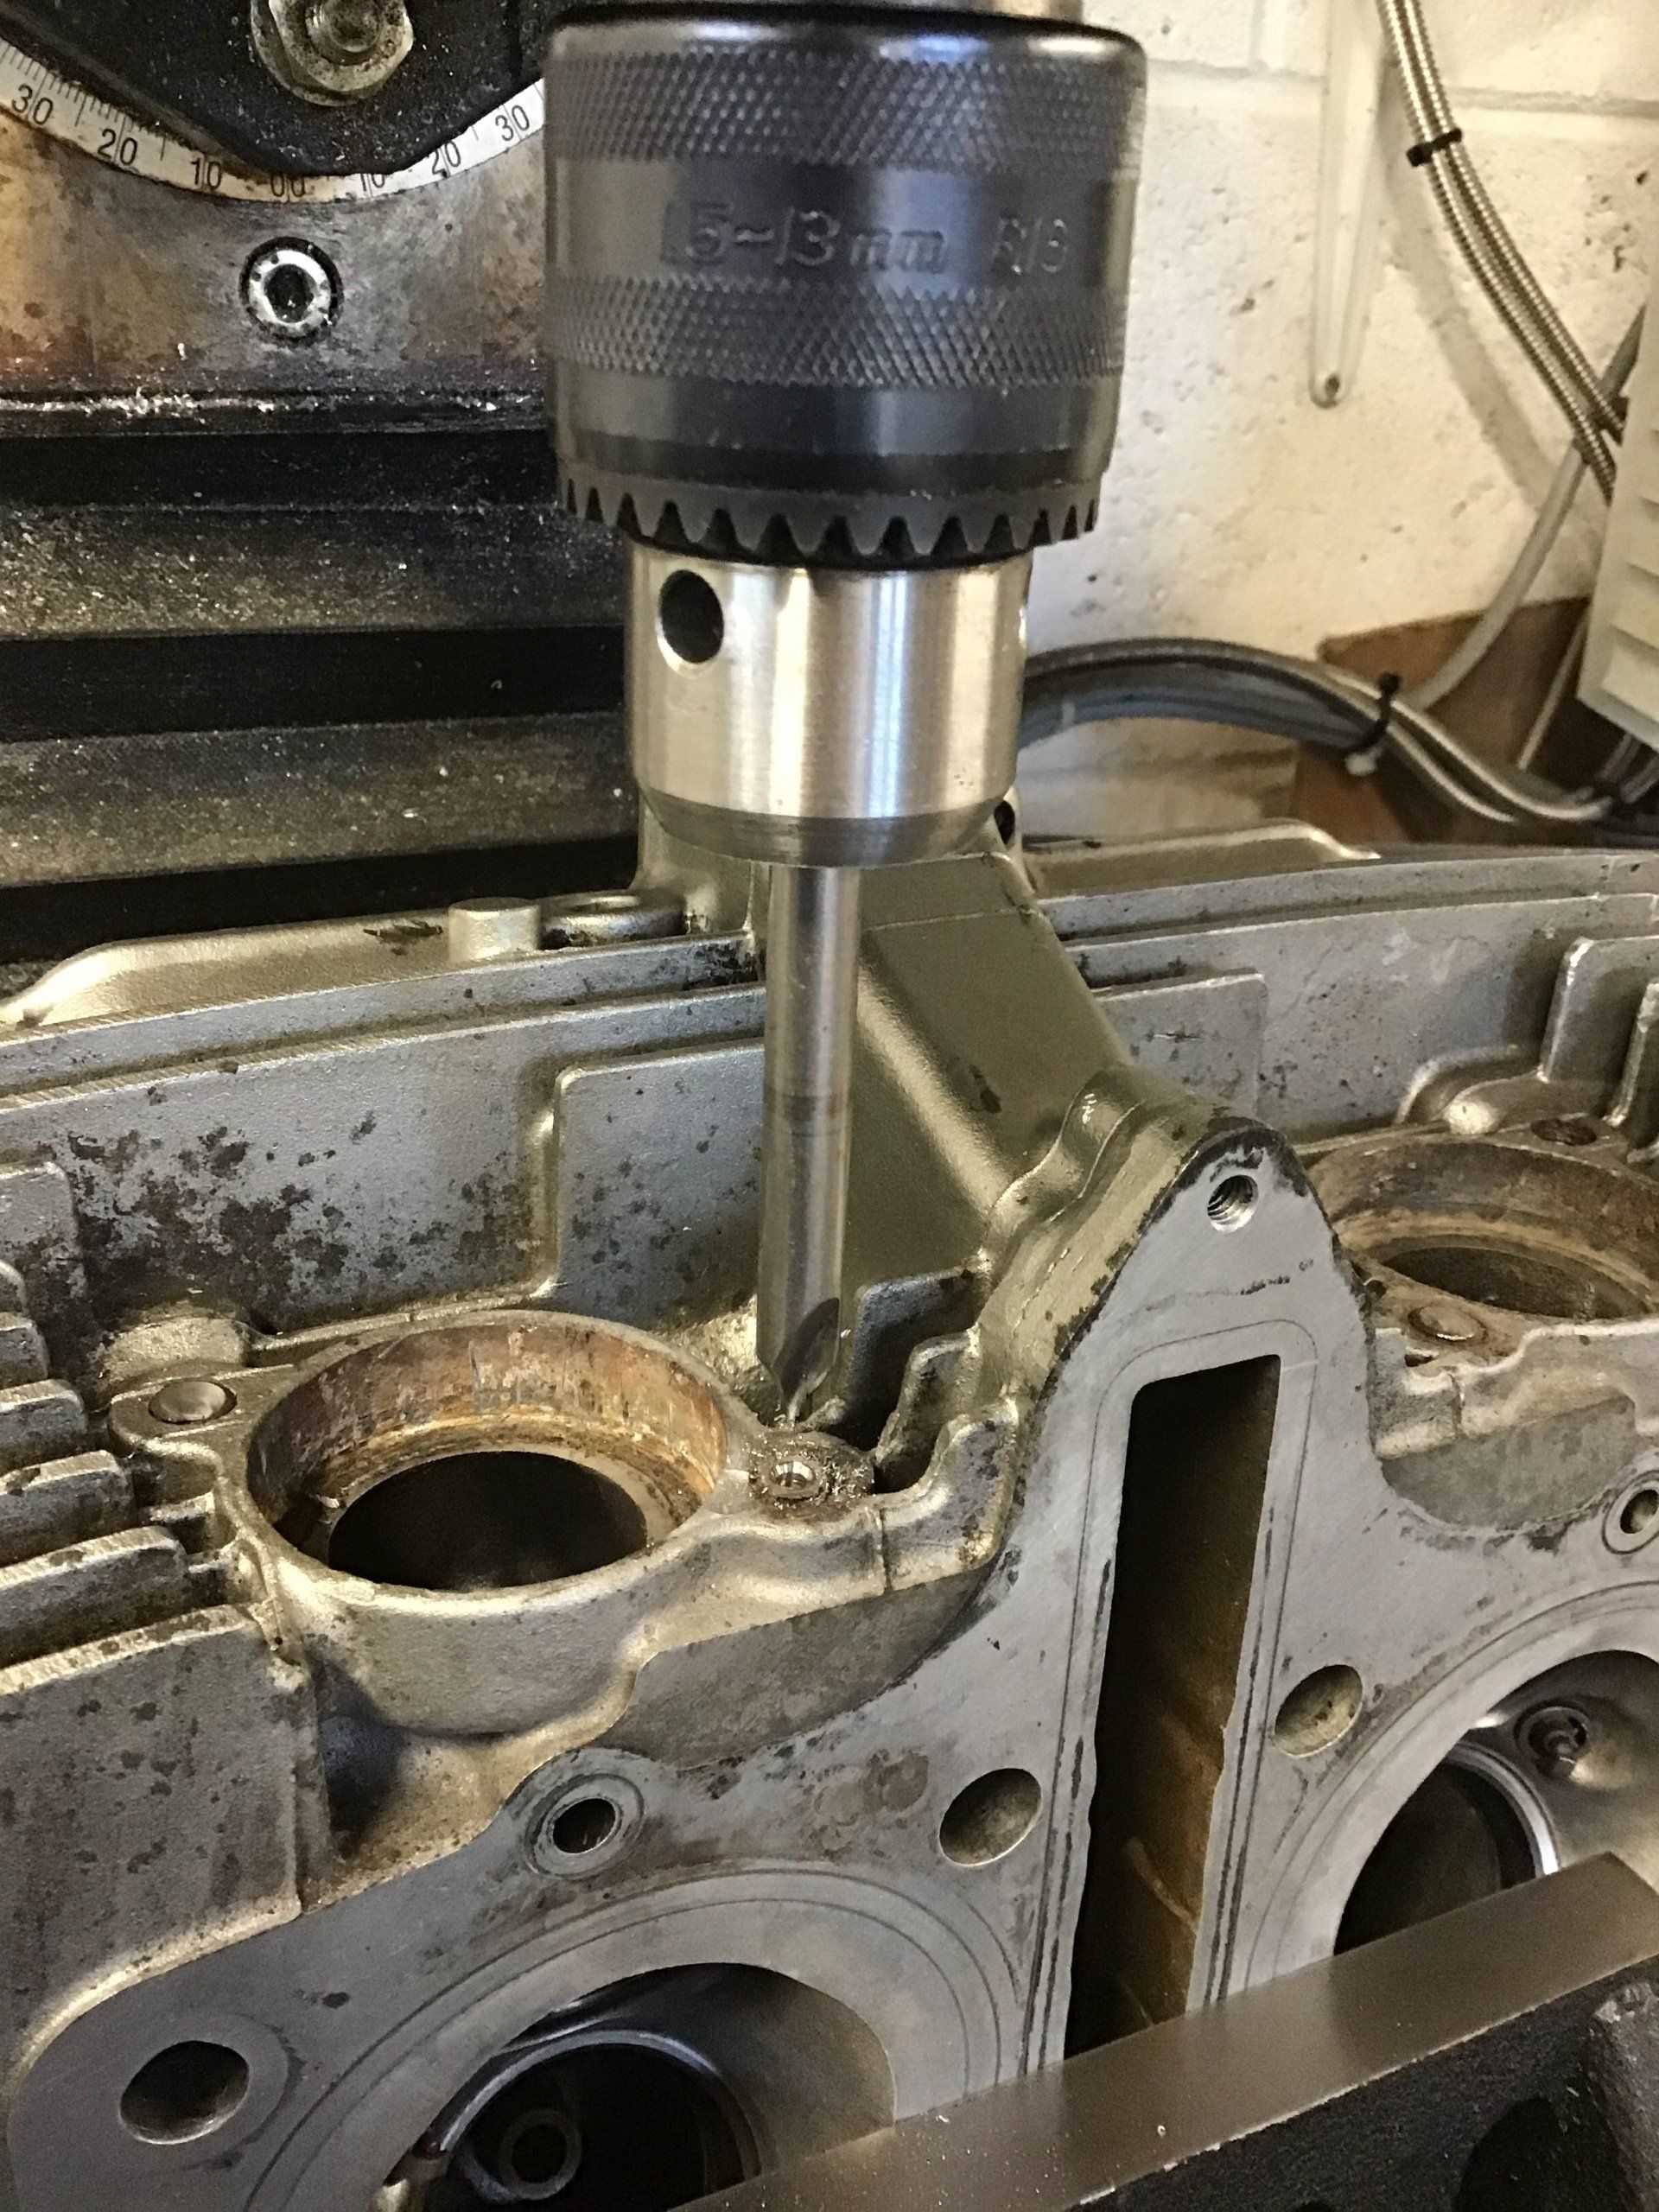
A stud extractor gripped the remains of the bolt well but unfortunately they just snapped off close to the head. I ended up having to drill them out and fit inserts.
The extractor was an
EBAY purchase and had I been able to use it with an impact driver, rather than just a large spanner, it may well have got the studs out.
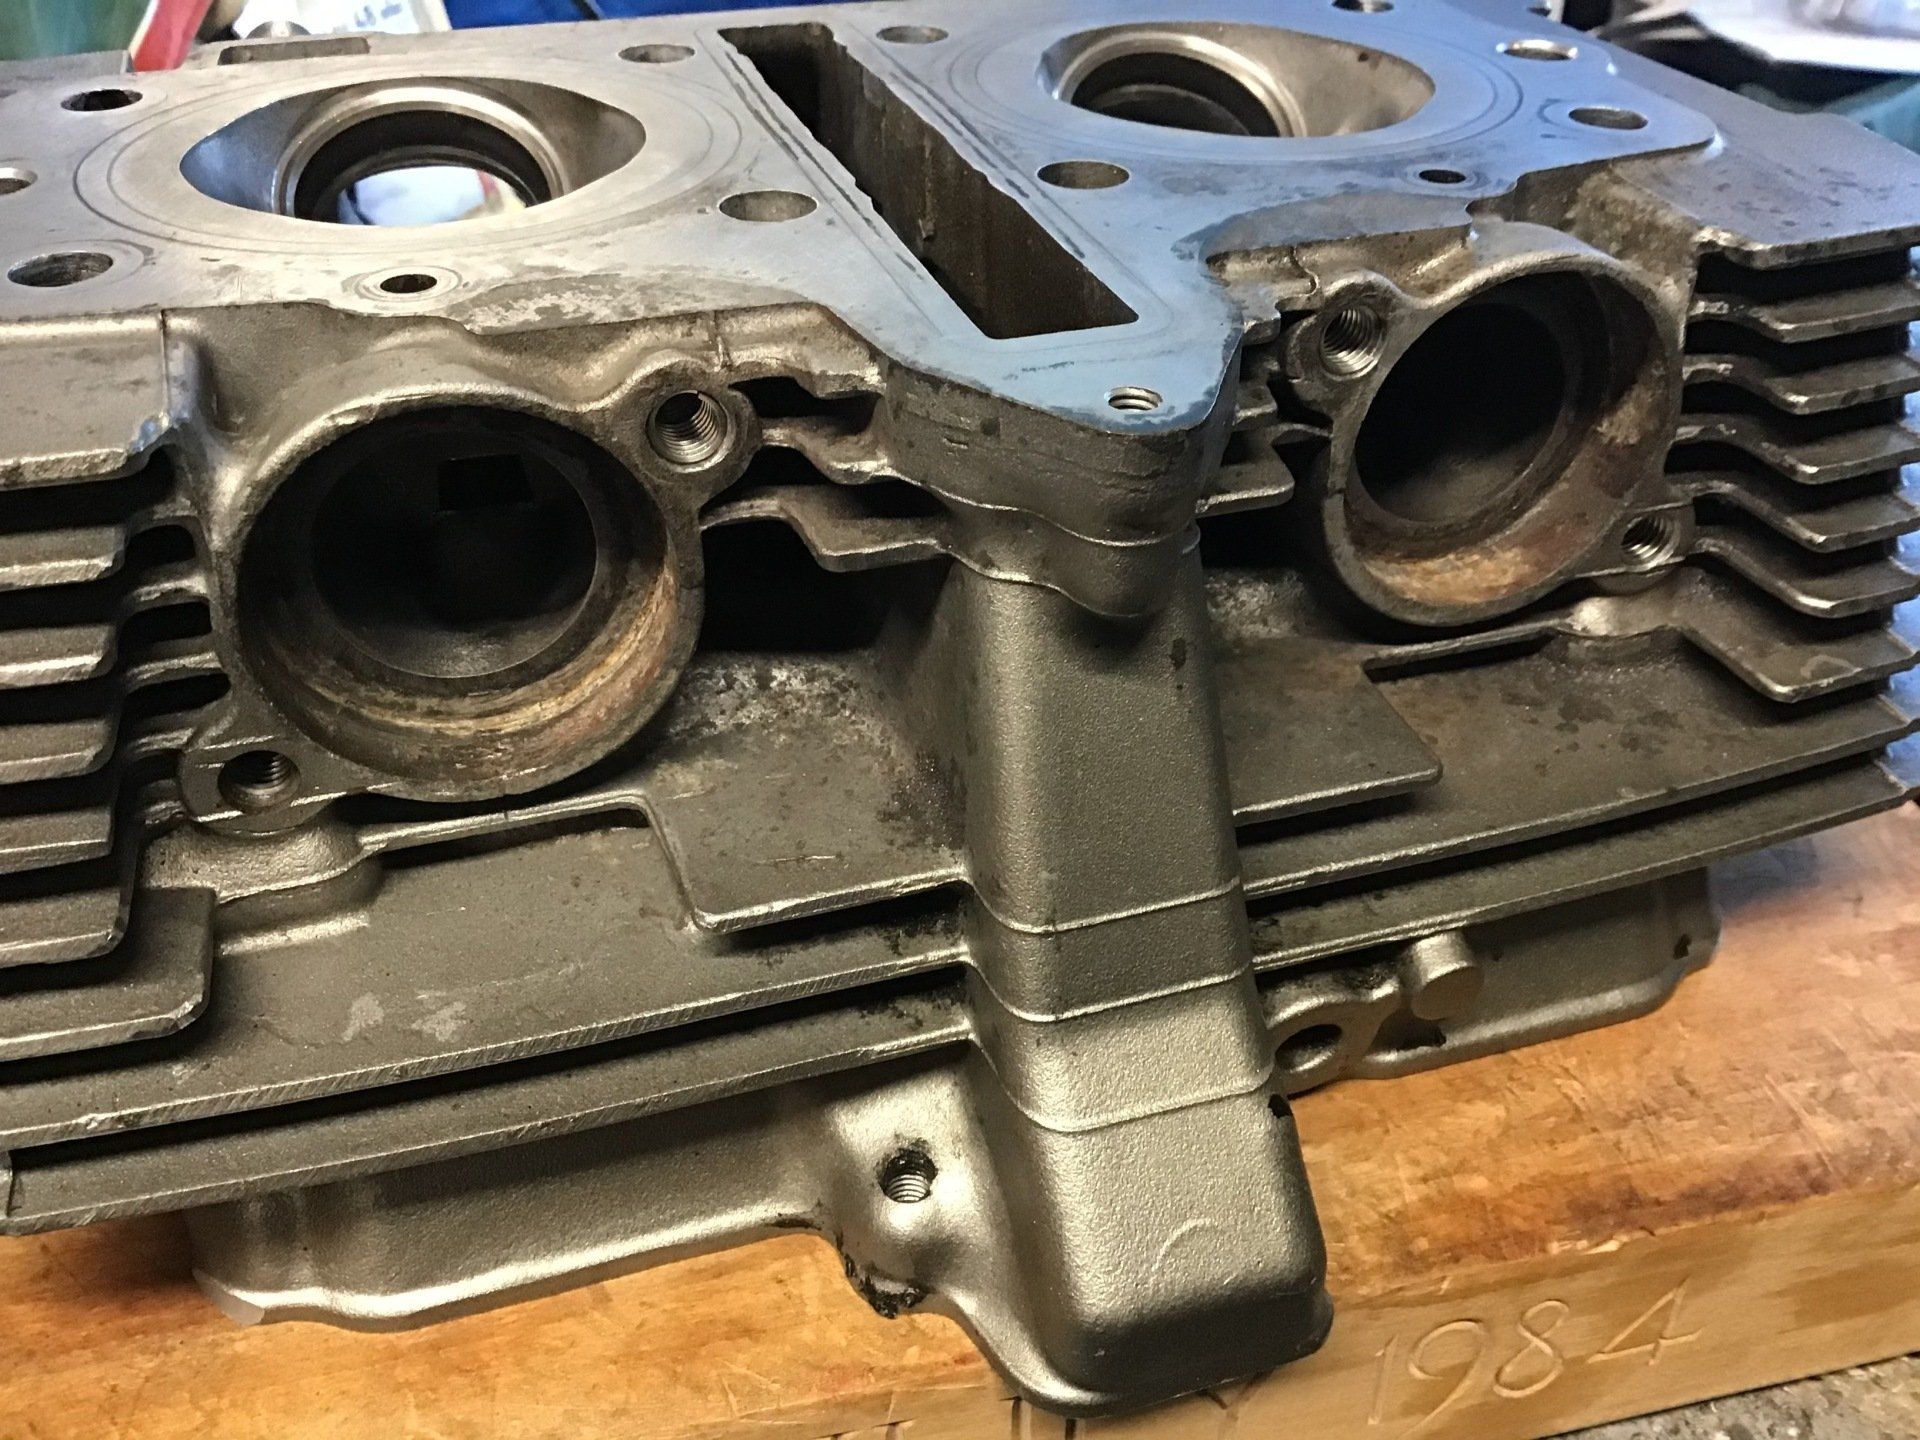
Anyway, after some time drilling, tapping and fitting inserts, the threads in the head were sorted.
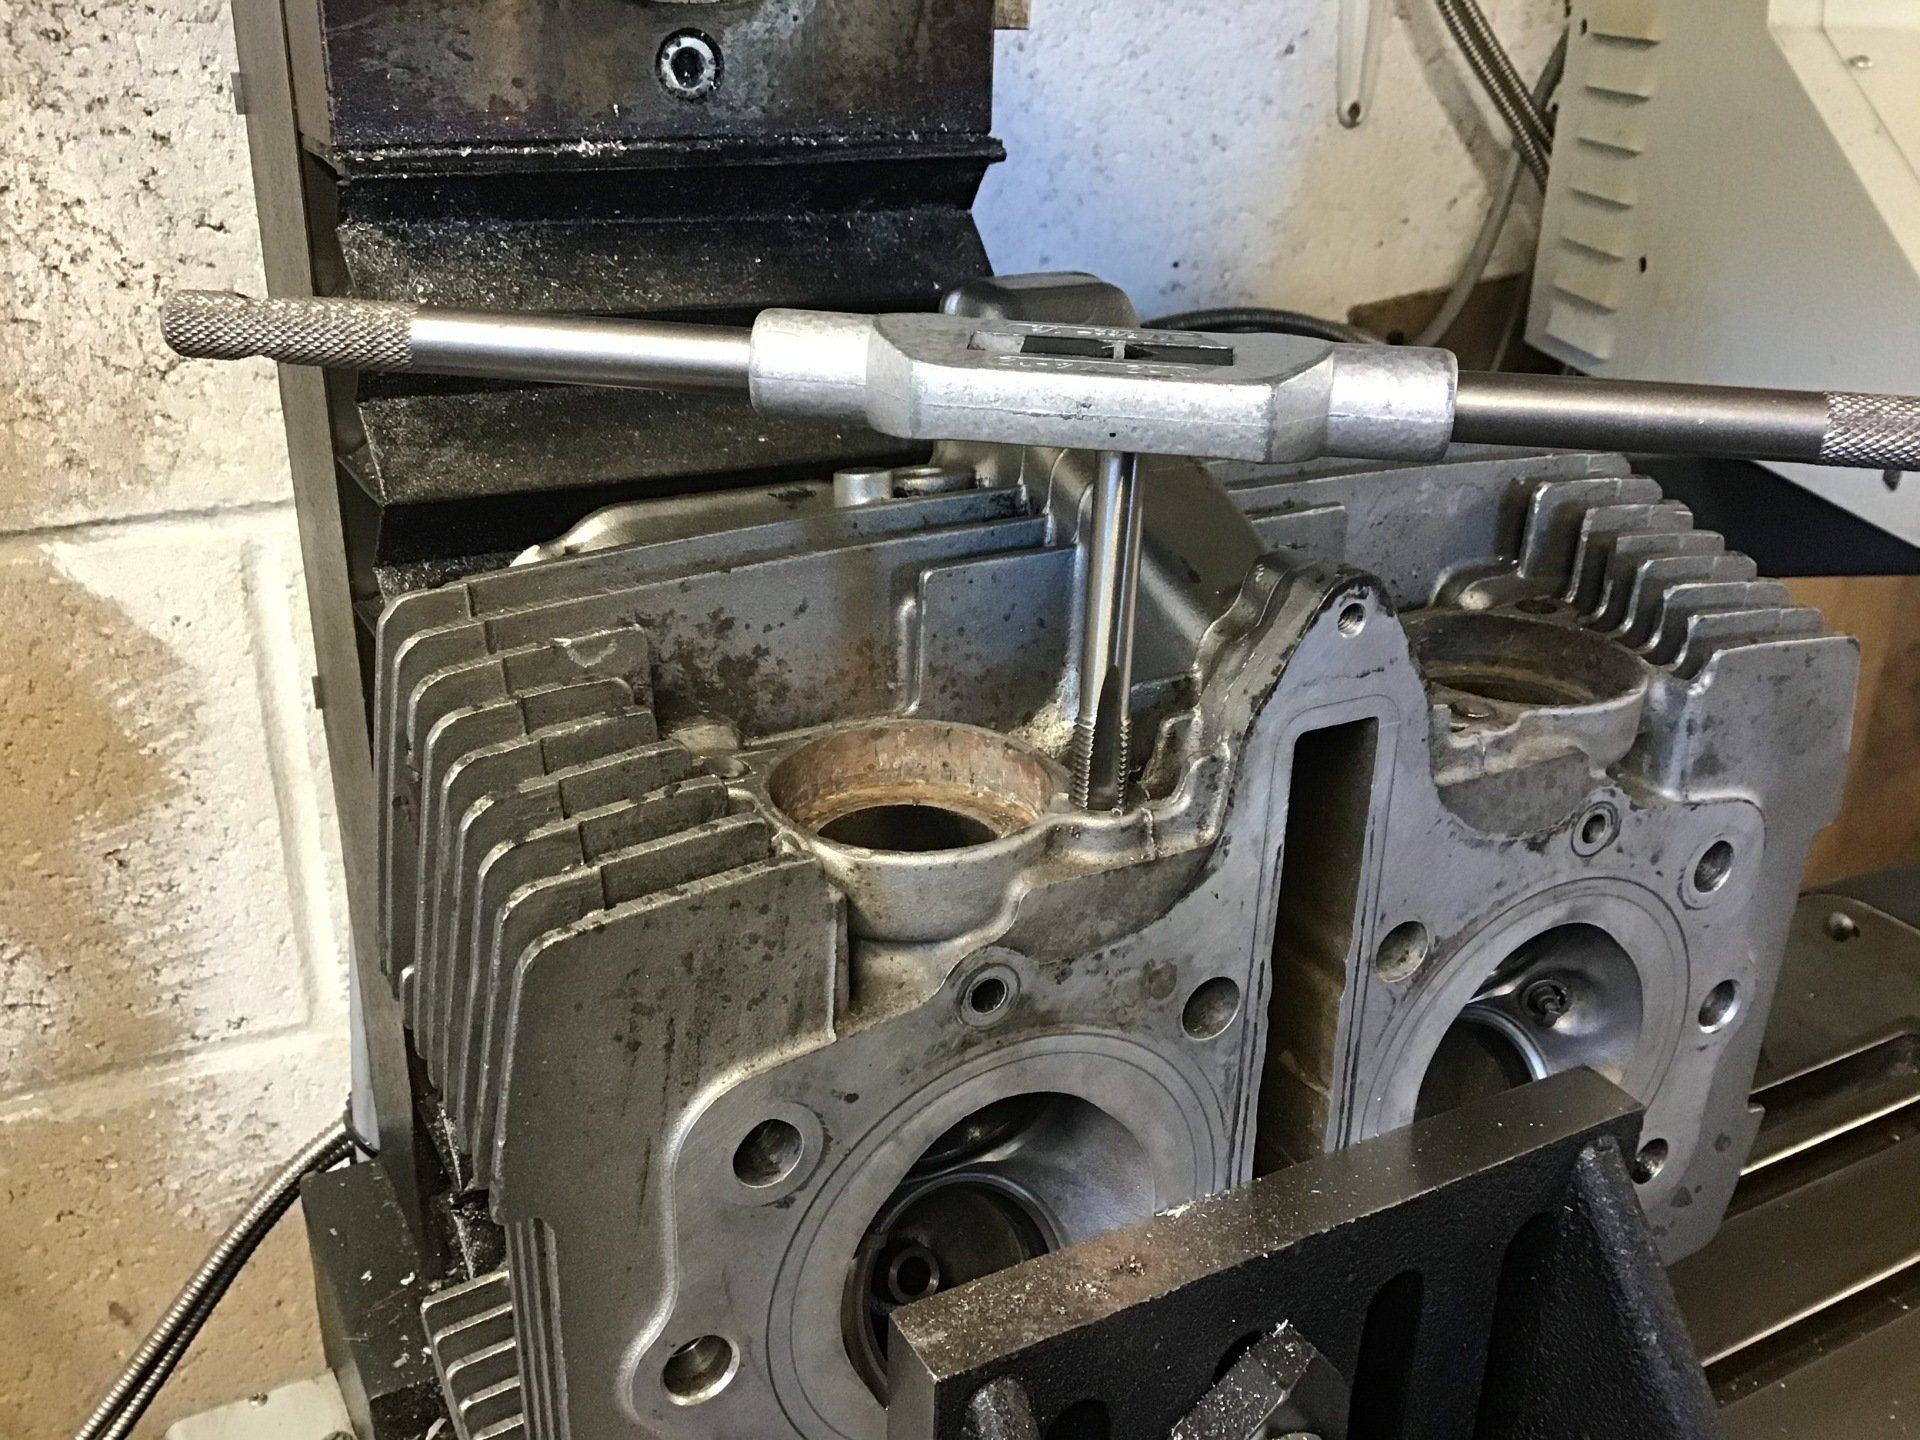
I used a cheapish thread insert kit from AMAZON, you can find a review of it HERE. You can also get smaller sets that just cover the more popular M6, M8, M10 thread range on EBAY a more expensive option is the Clarke CHT675 kit.
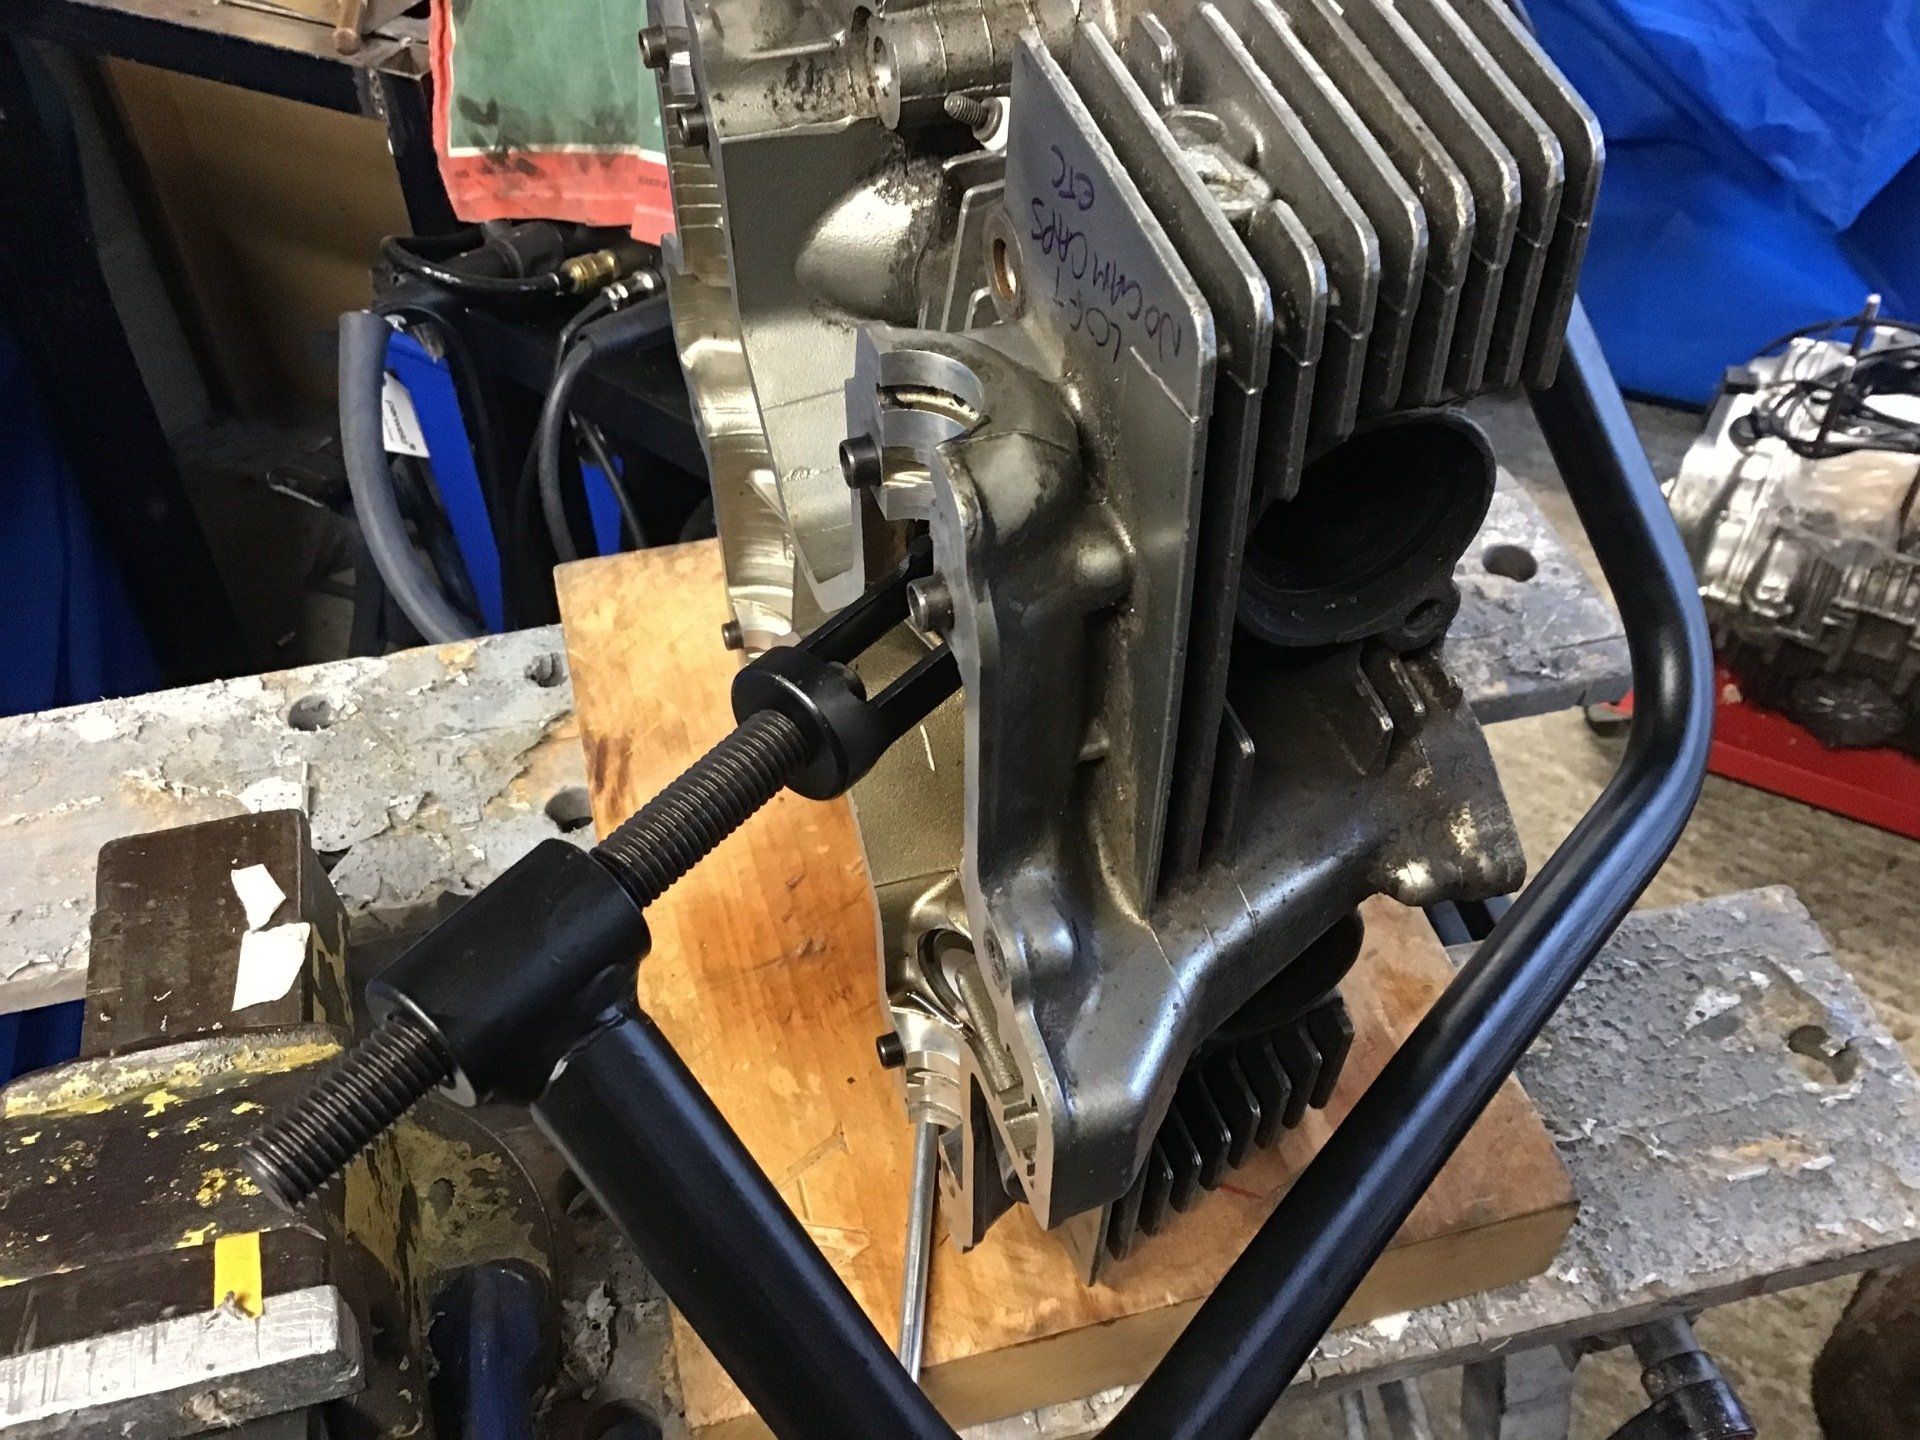
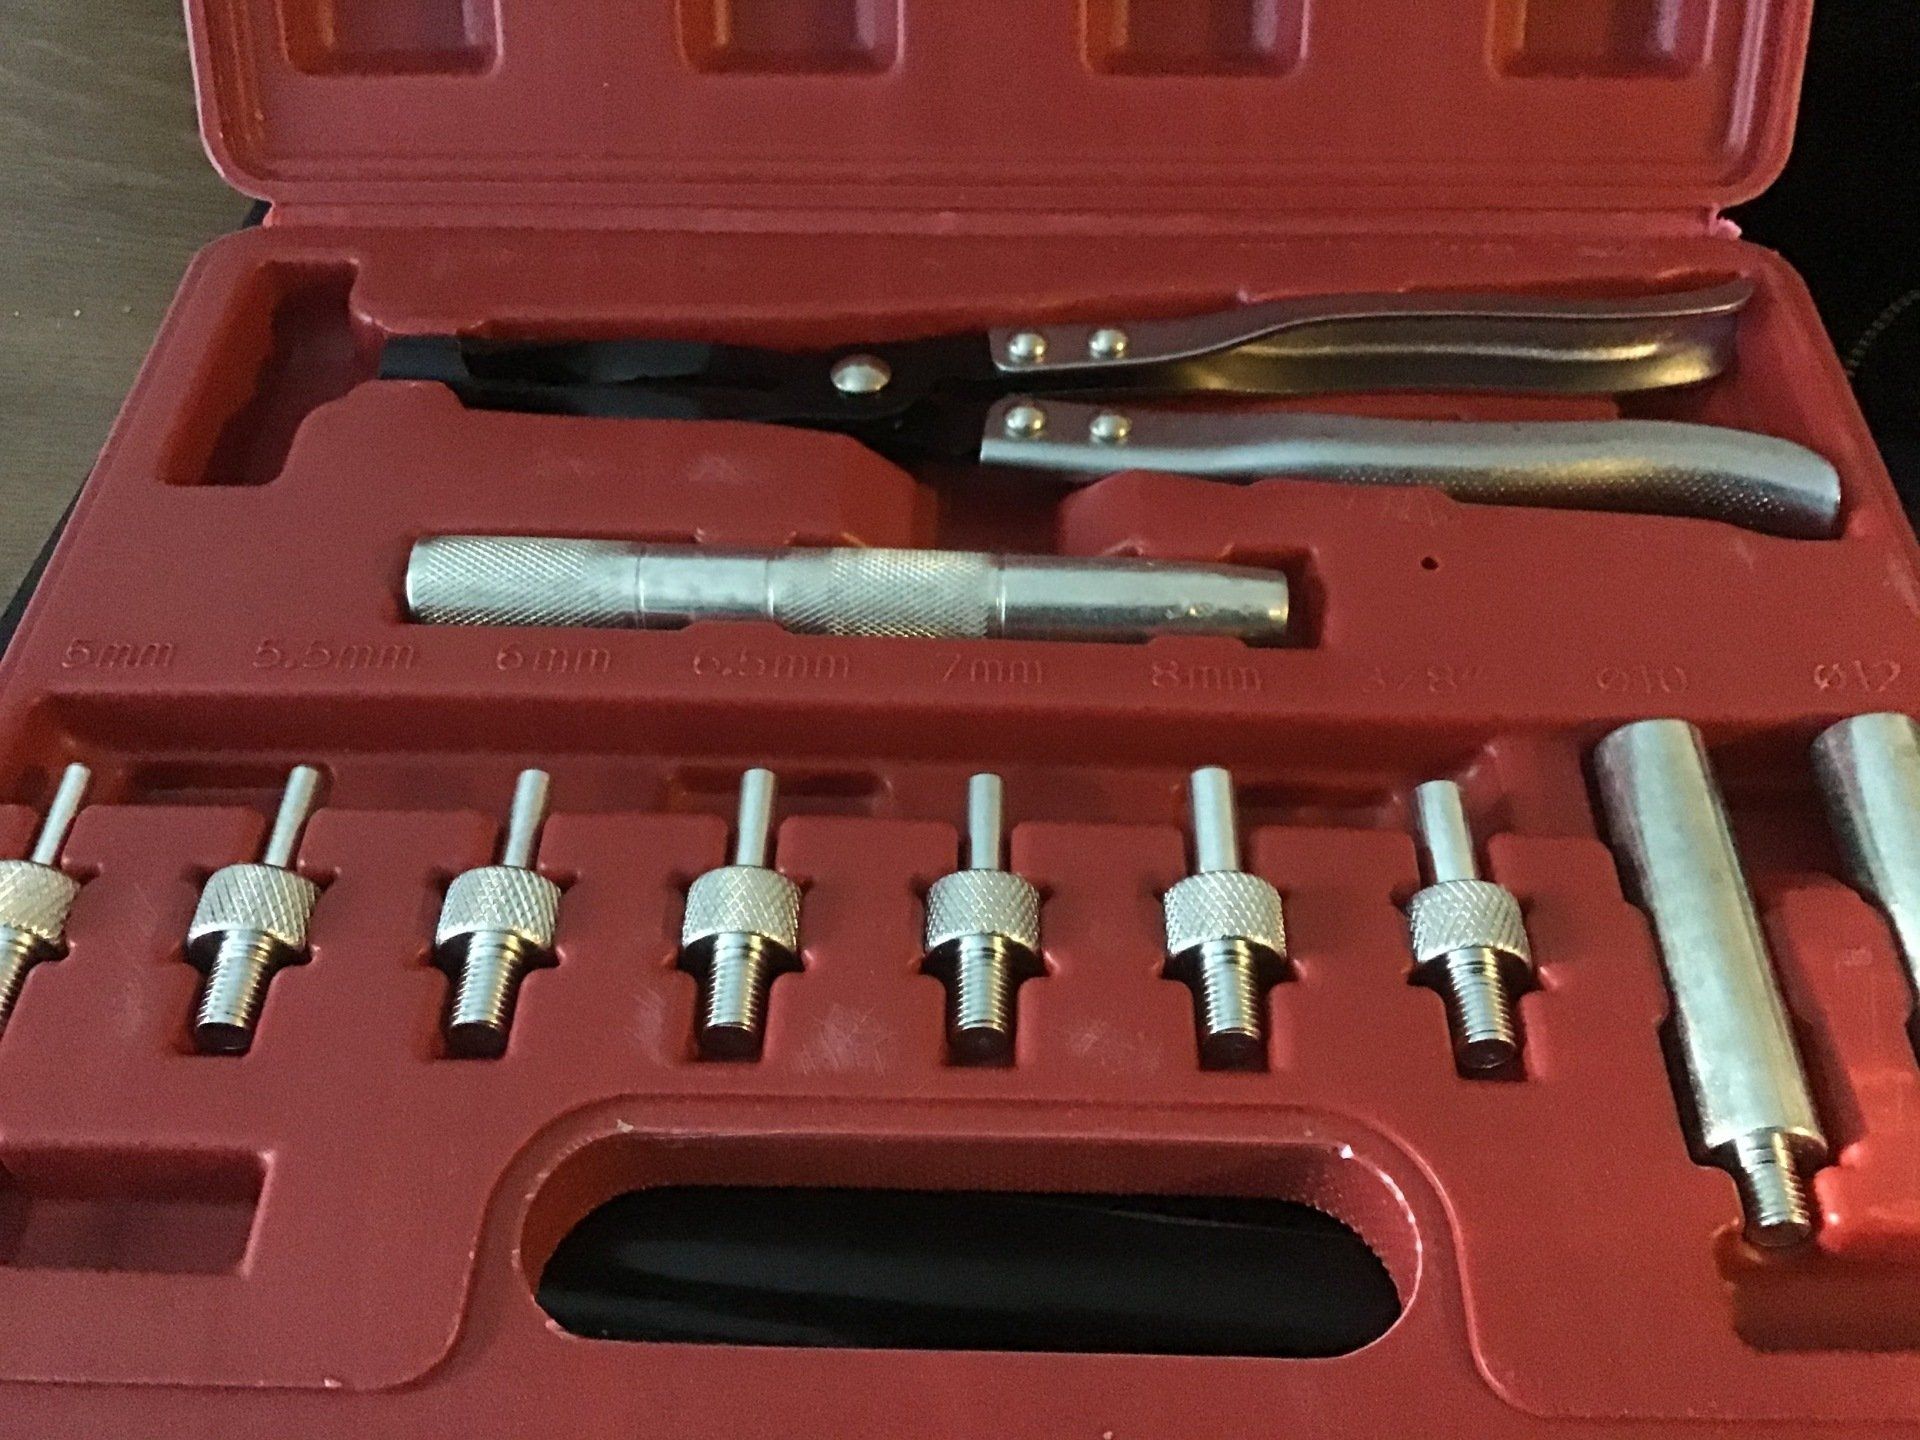
The required top end engine work also justified the purchase of some other new tools; a
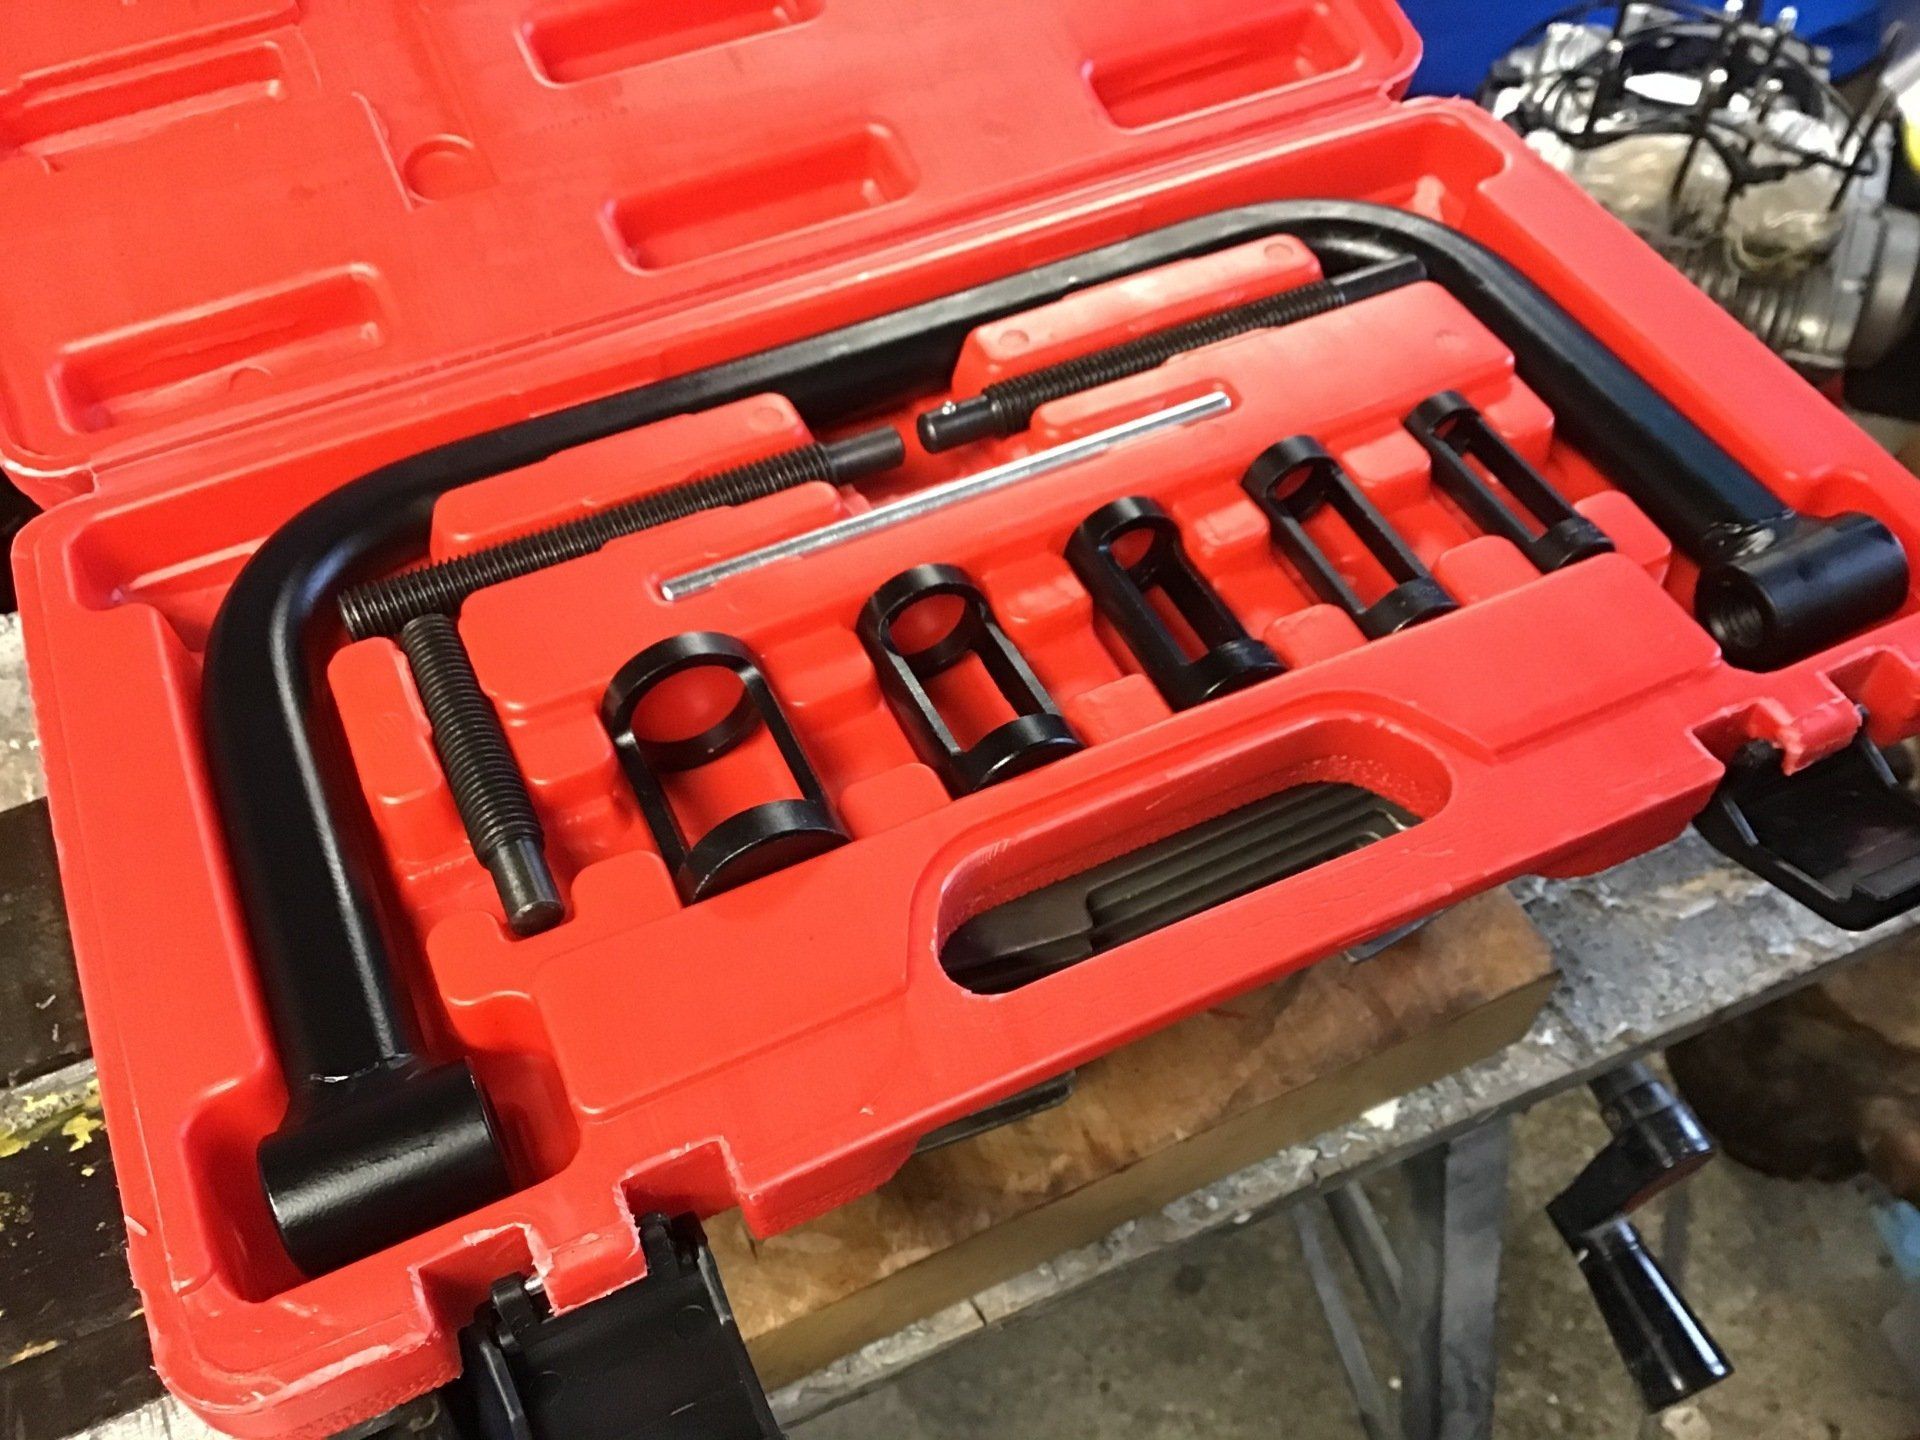
valve spring compressor set,
valve stem seal remover / installer and
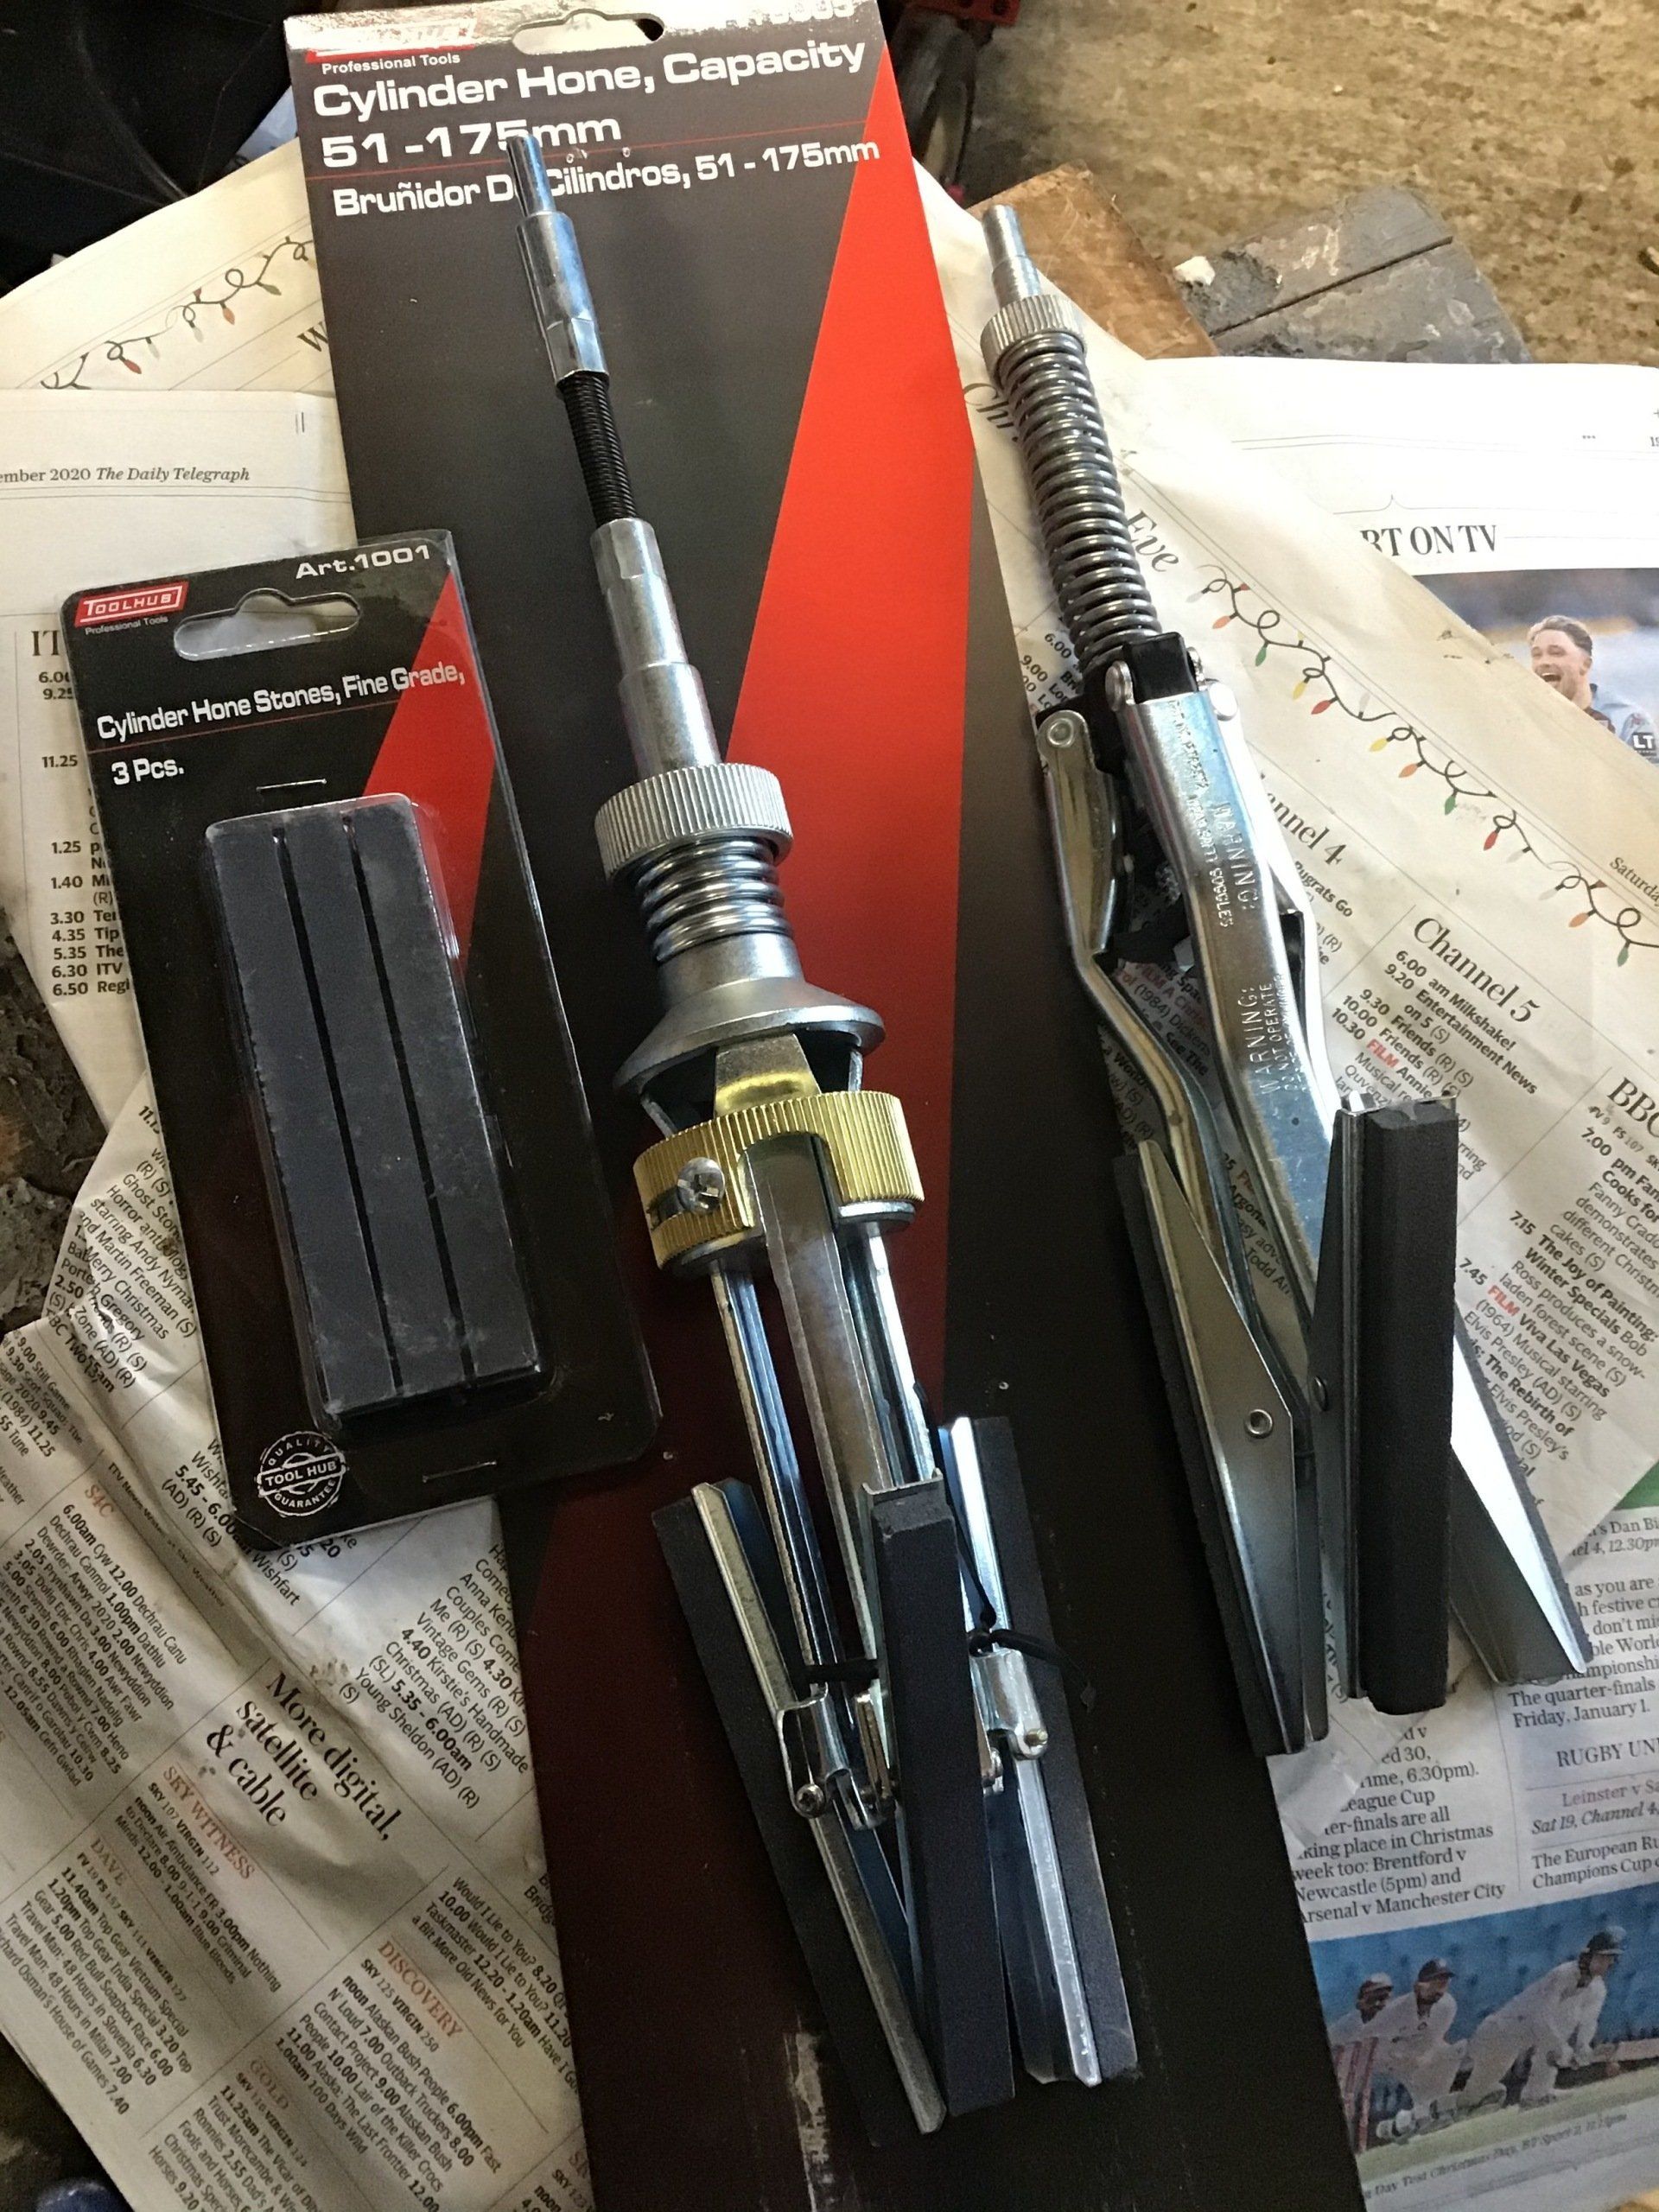
cylinder hone all now live in my tool cabinet.
This is the cheap and cheerful valve spring compressor set that's available widely on Amazon and Ebay. If you want to go up market,
Laser tools do a similar, but more expensive, set.
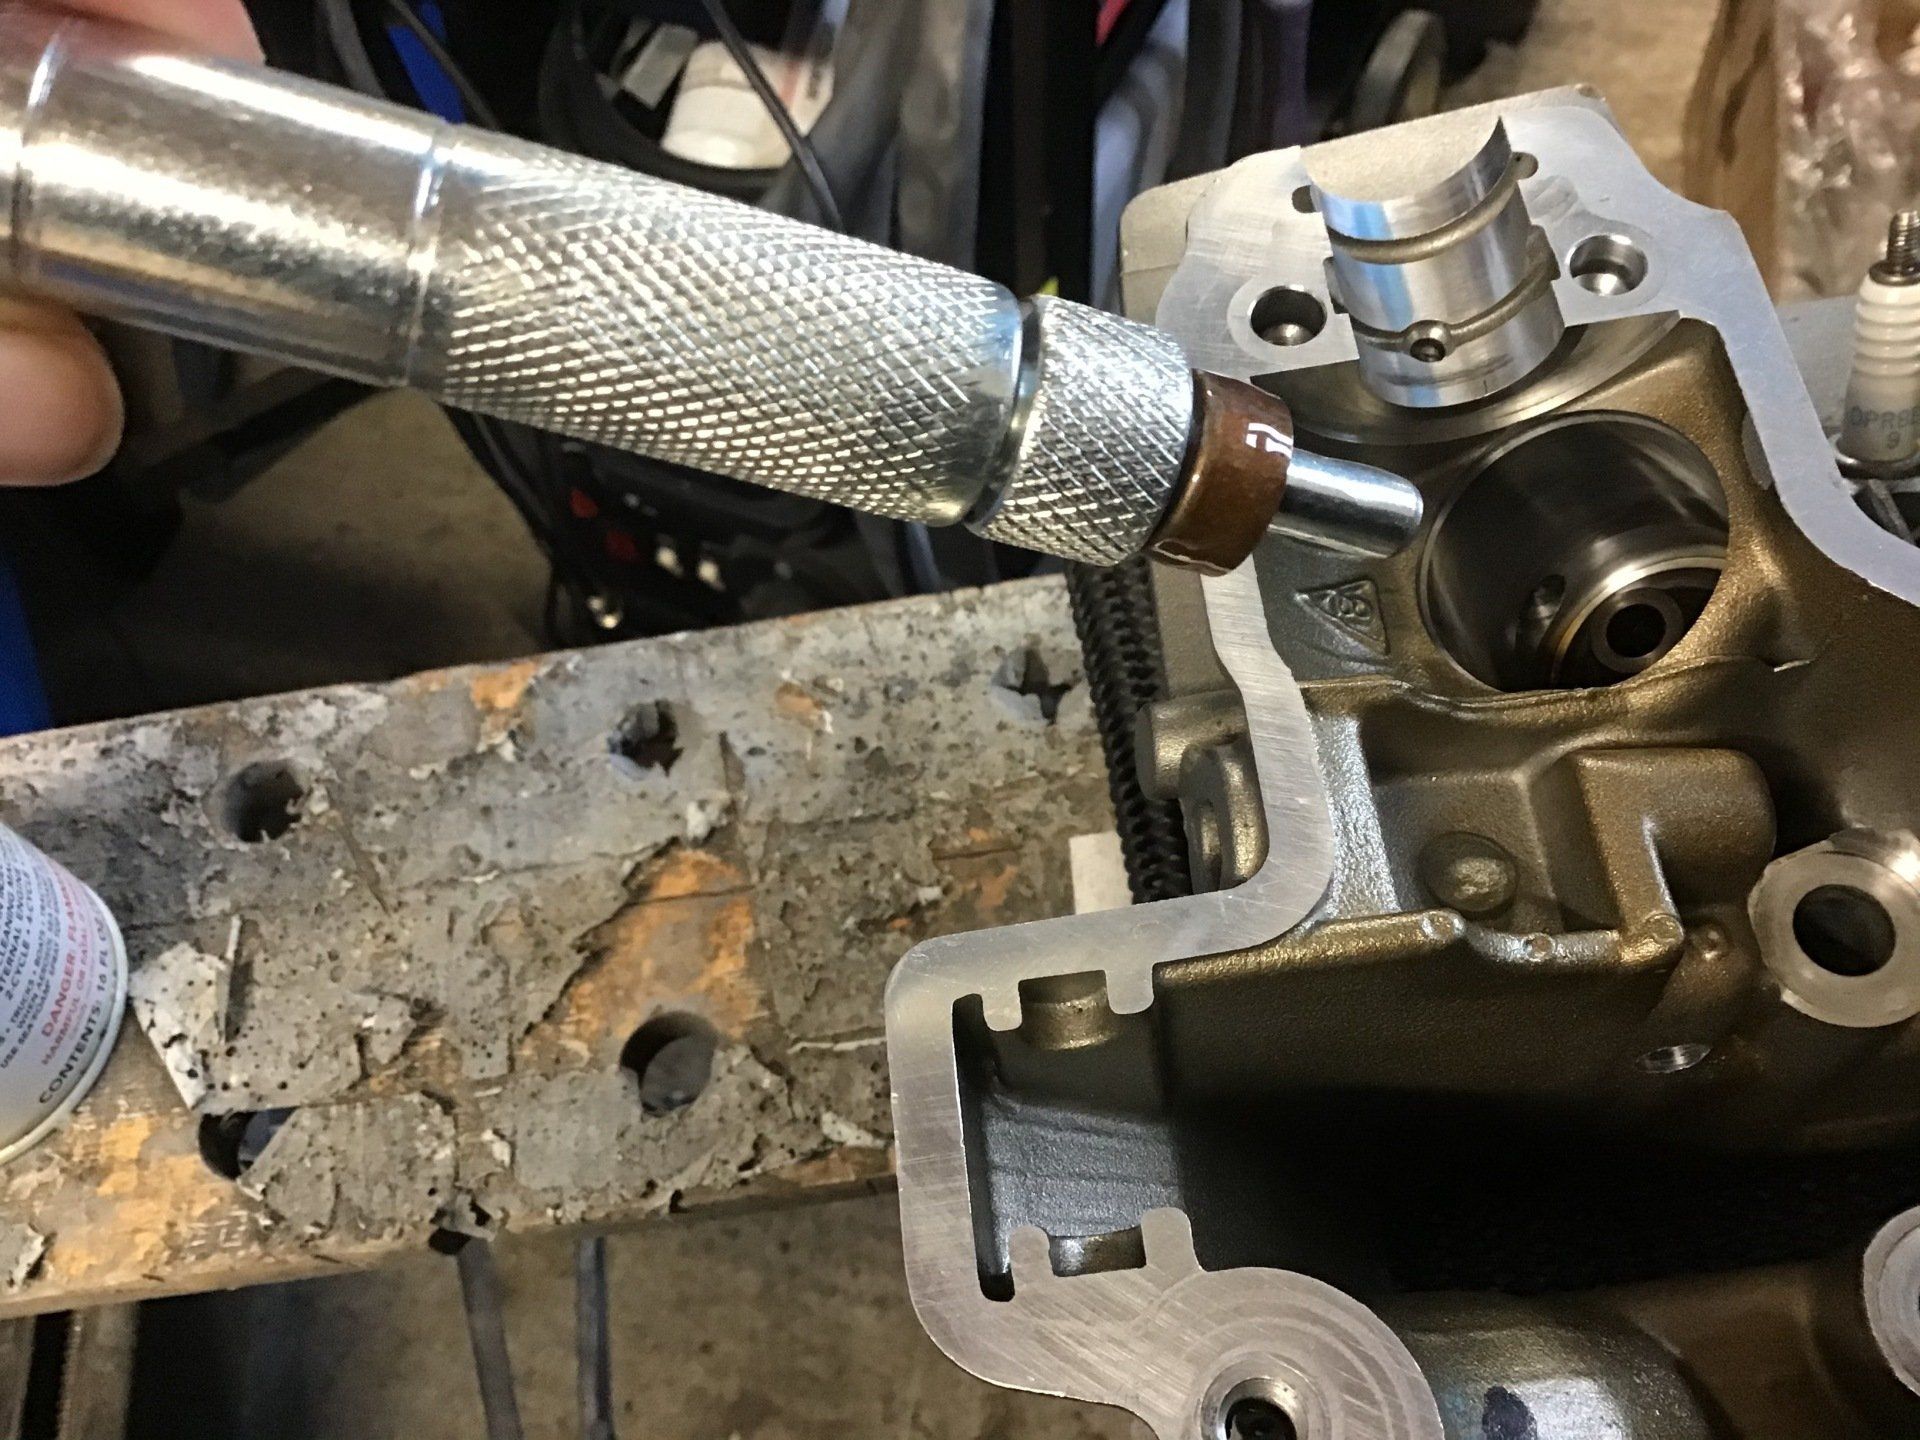
The valve stem pliers and seal installer set. The Haynes manual made the job of removing the old seals sound easy - just remove with pliers. After having an unsuccessful furtle around with ordinary pliers, I decided to buy the proper tool before I caused any damage. They did the job with ease.
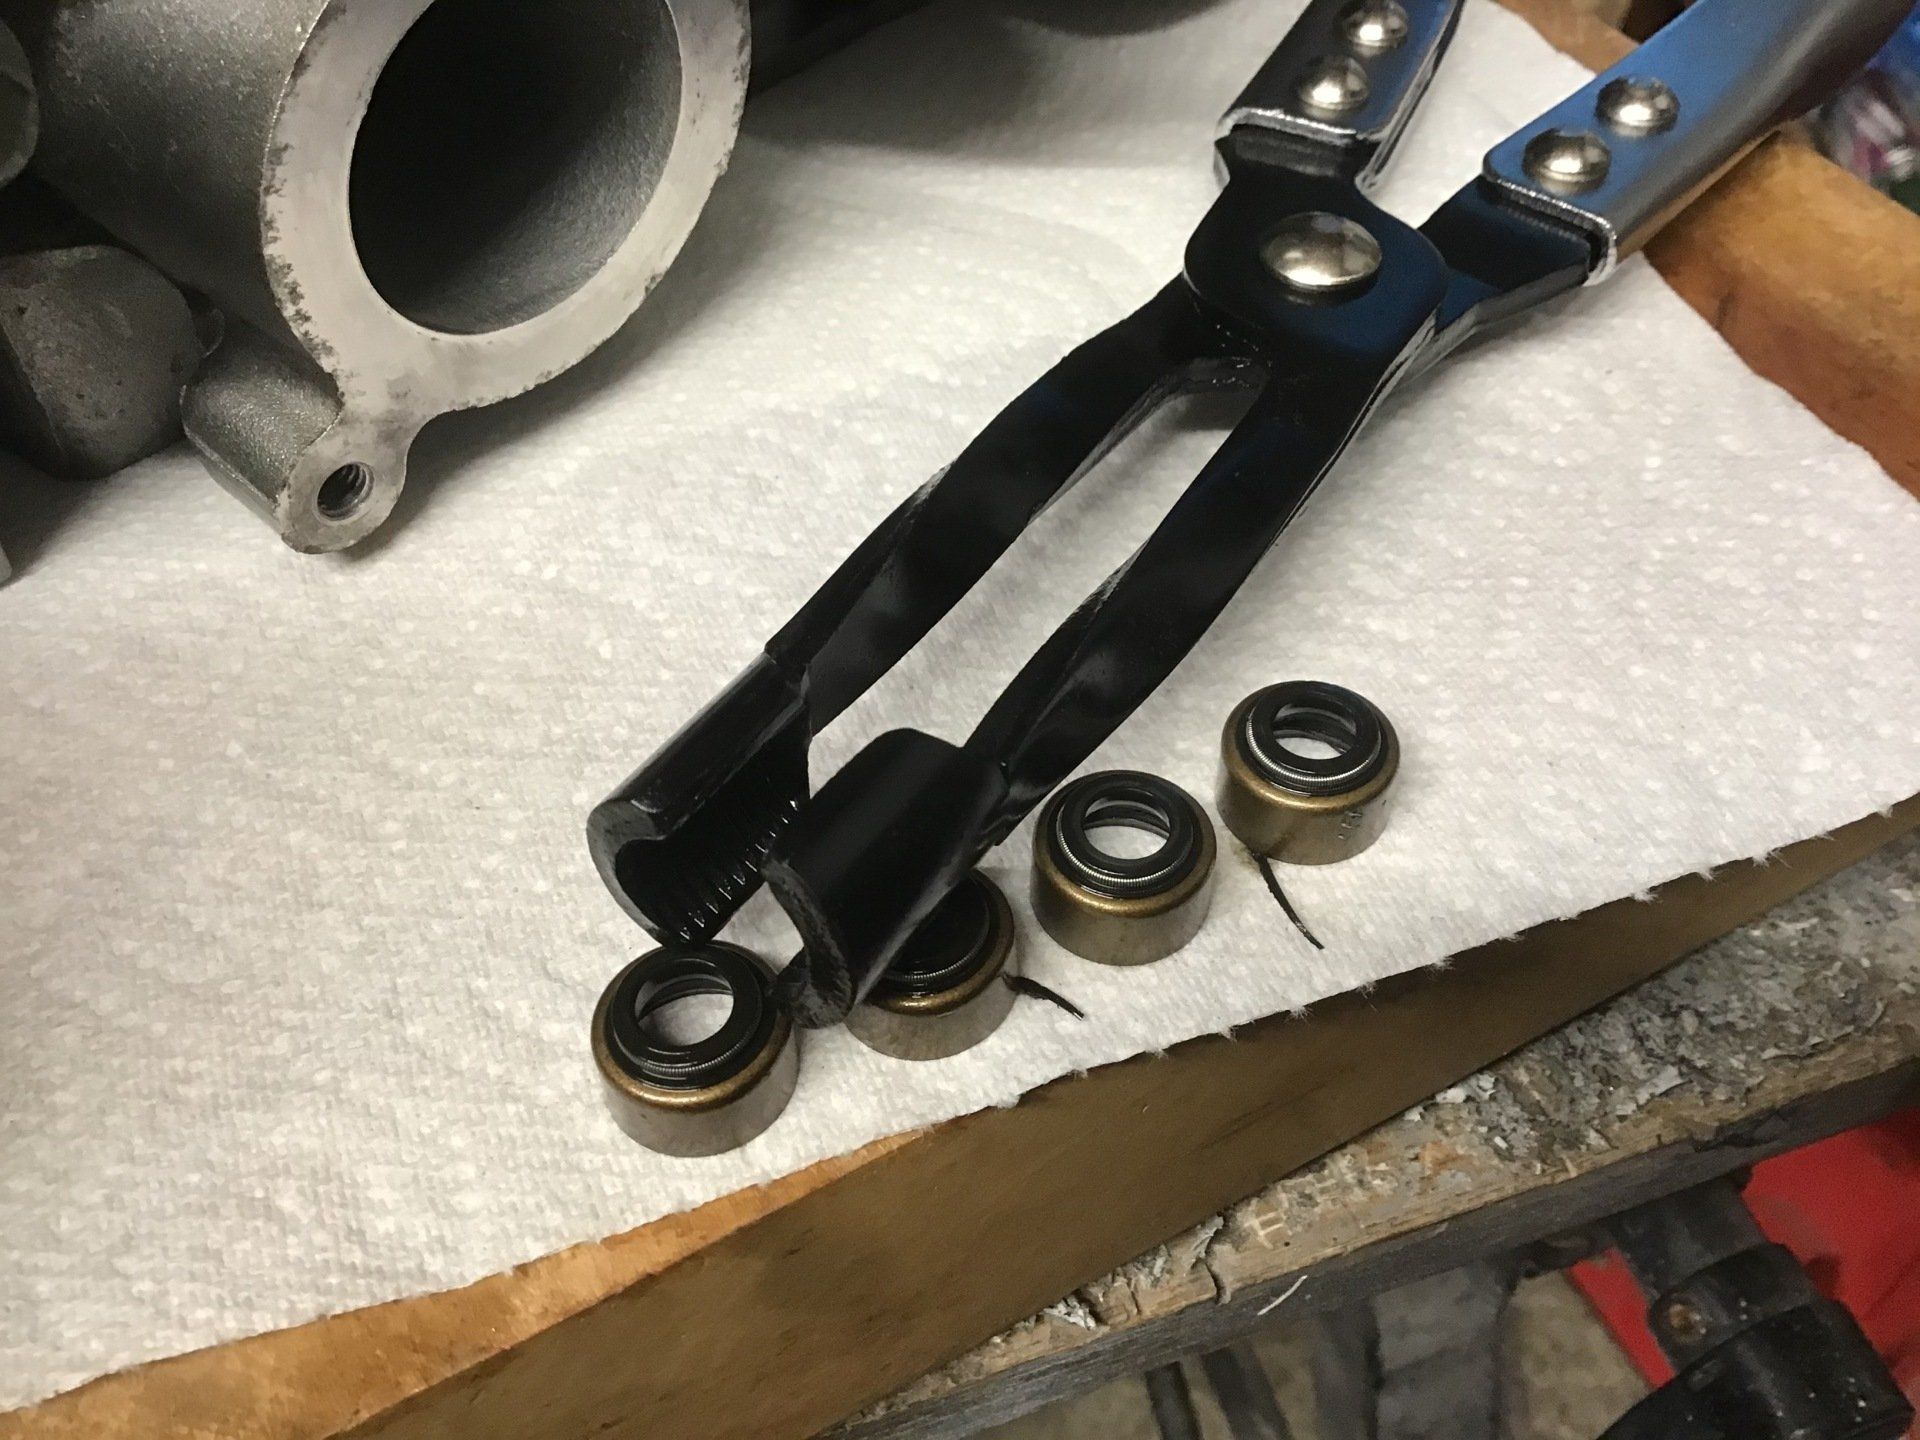
And the installer tool made putting the new ones on a breeze as well.
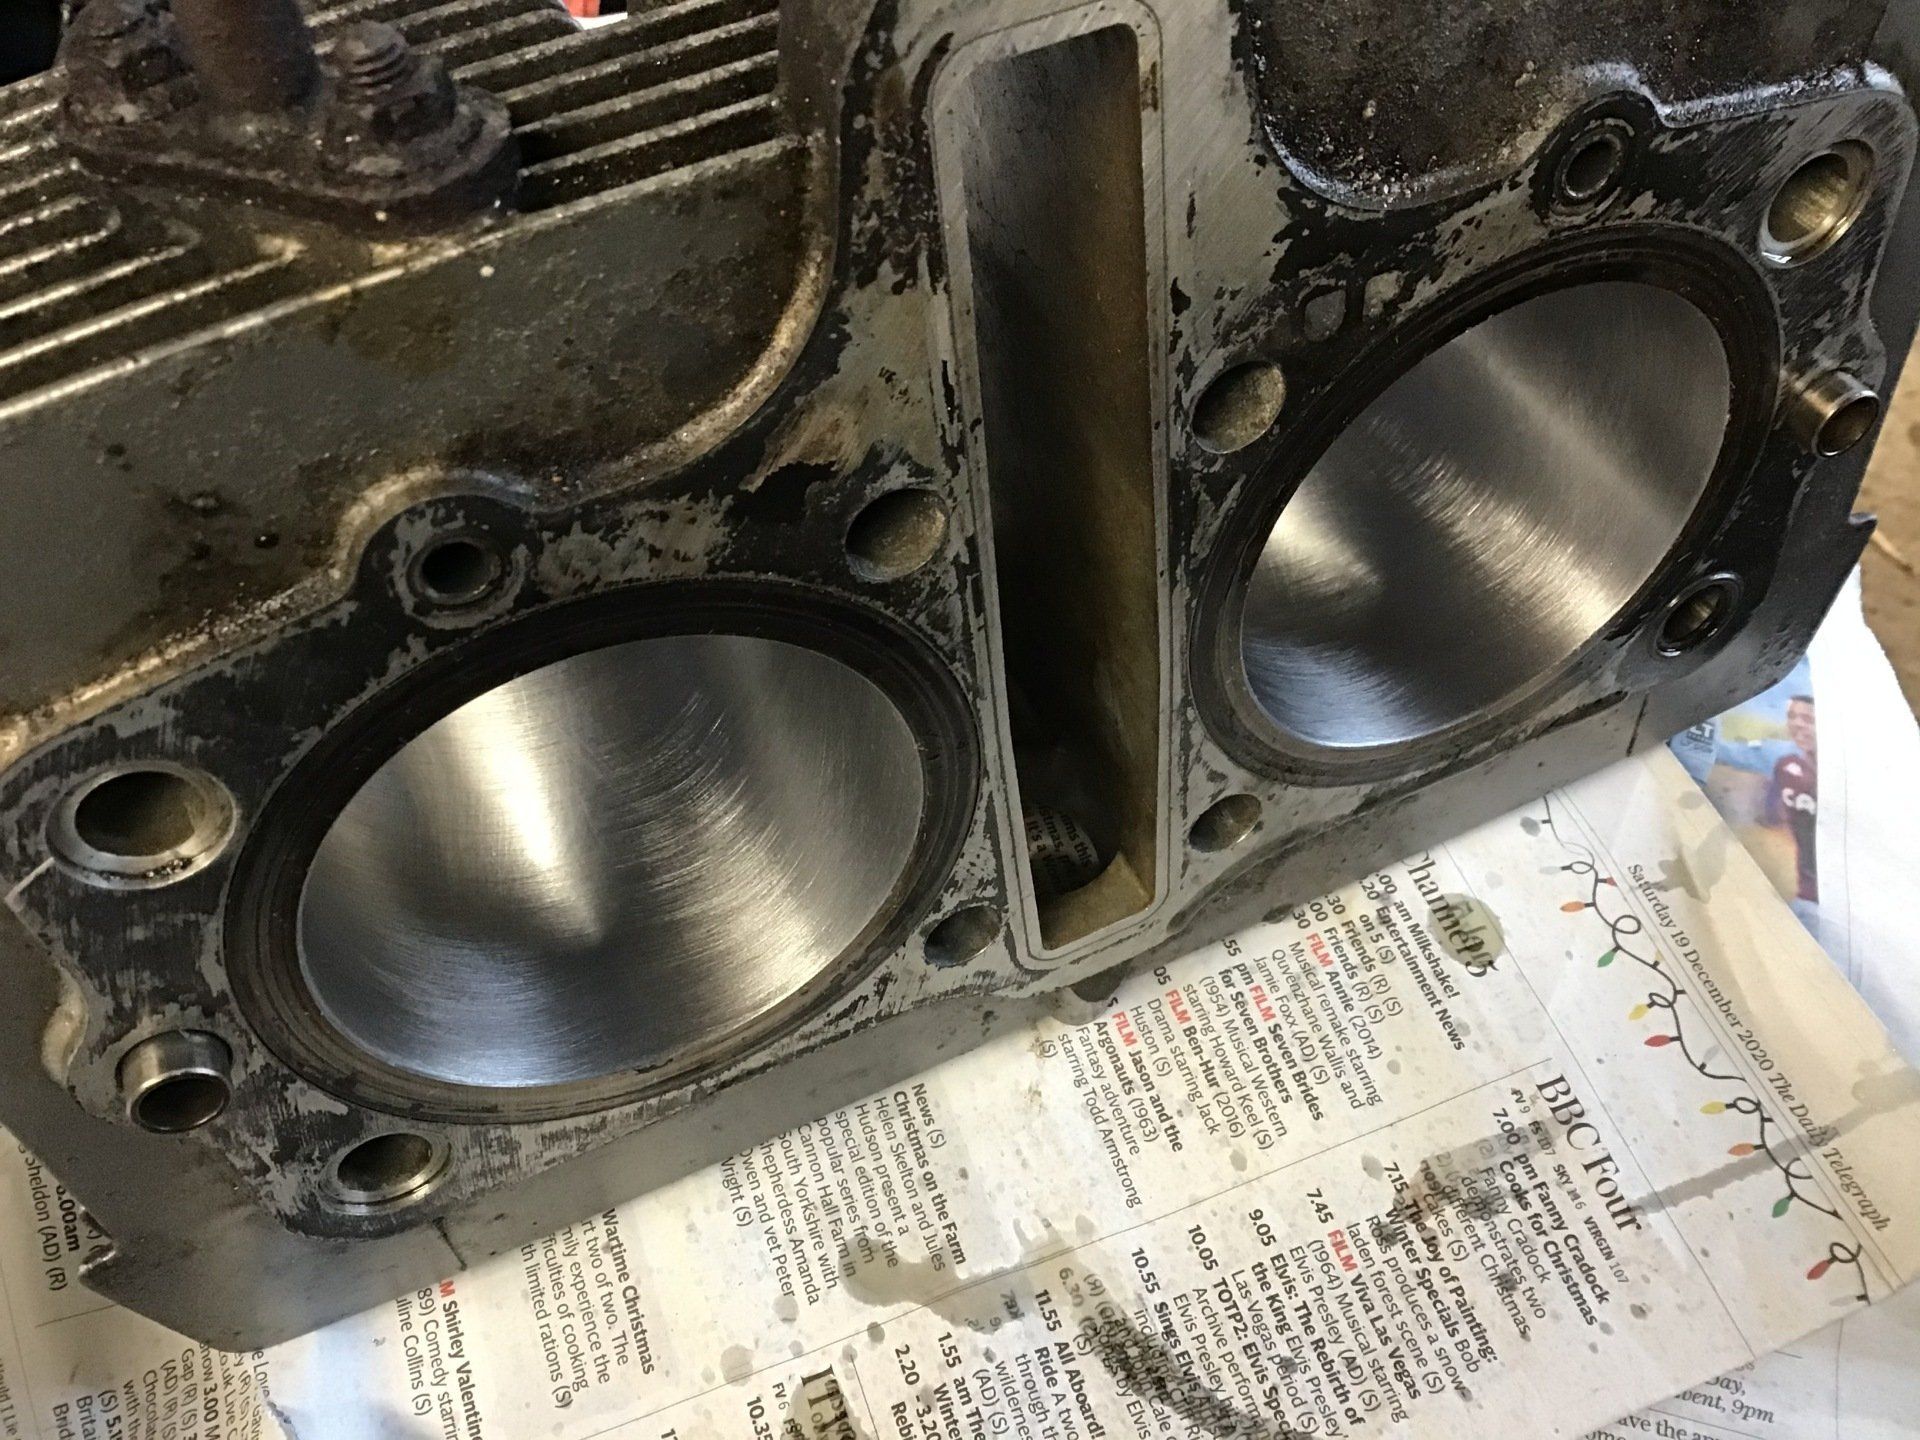
As I was fitting new piston rings, the cylinders really needed to be deglazed as well. I used an old hone that had been sitting on the shelf for years (right of picture) with a cordless drill and managed to bugger up a perfectly usable cylinder! The stones were too rough, I had the tension adjuster screwed down too tight and I ran the drill at too high a speed. So then I purchased the TOOL HUB hone and some fine stones to fit it and, after slowing down the drill, managed to do a better job on the spare cylinders that I (luckily) had up in the loft.
At the time of writing the TOOL HUB ones were out of stock, but
MACHINE MART do one that looks very similar!
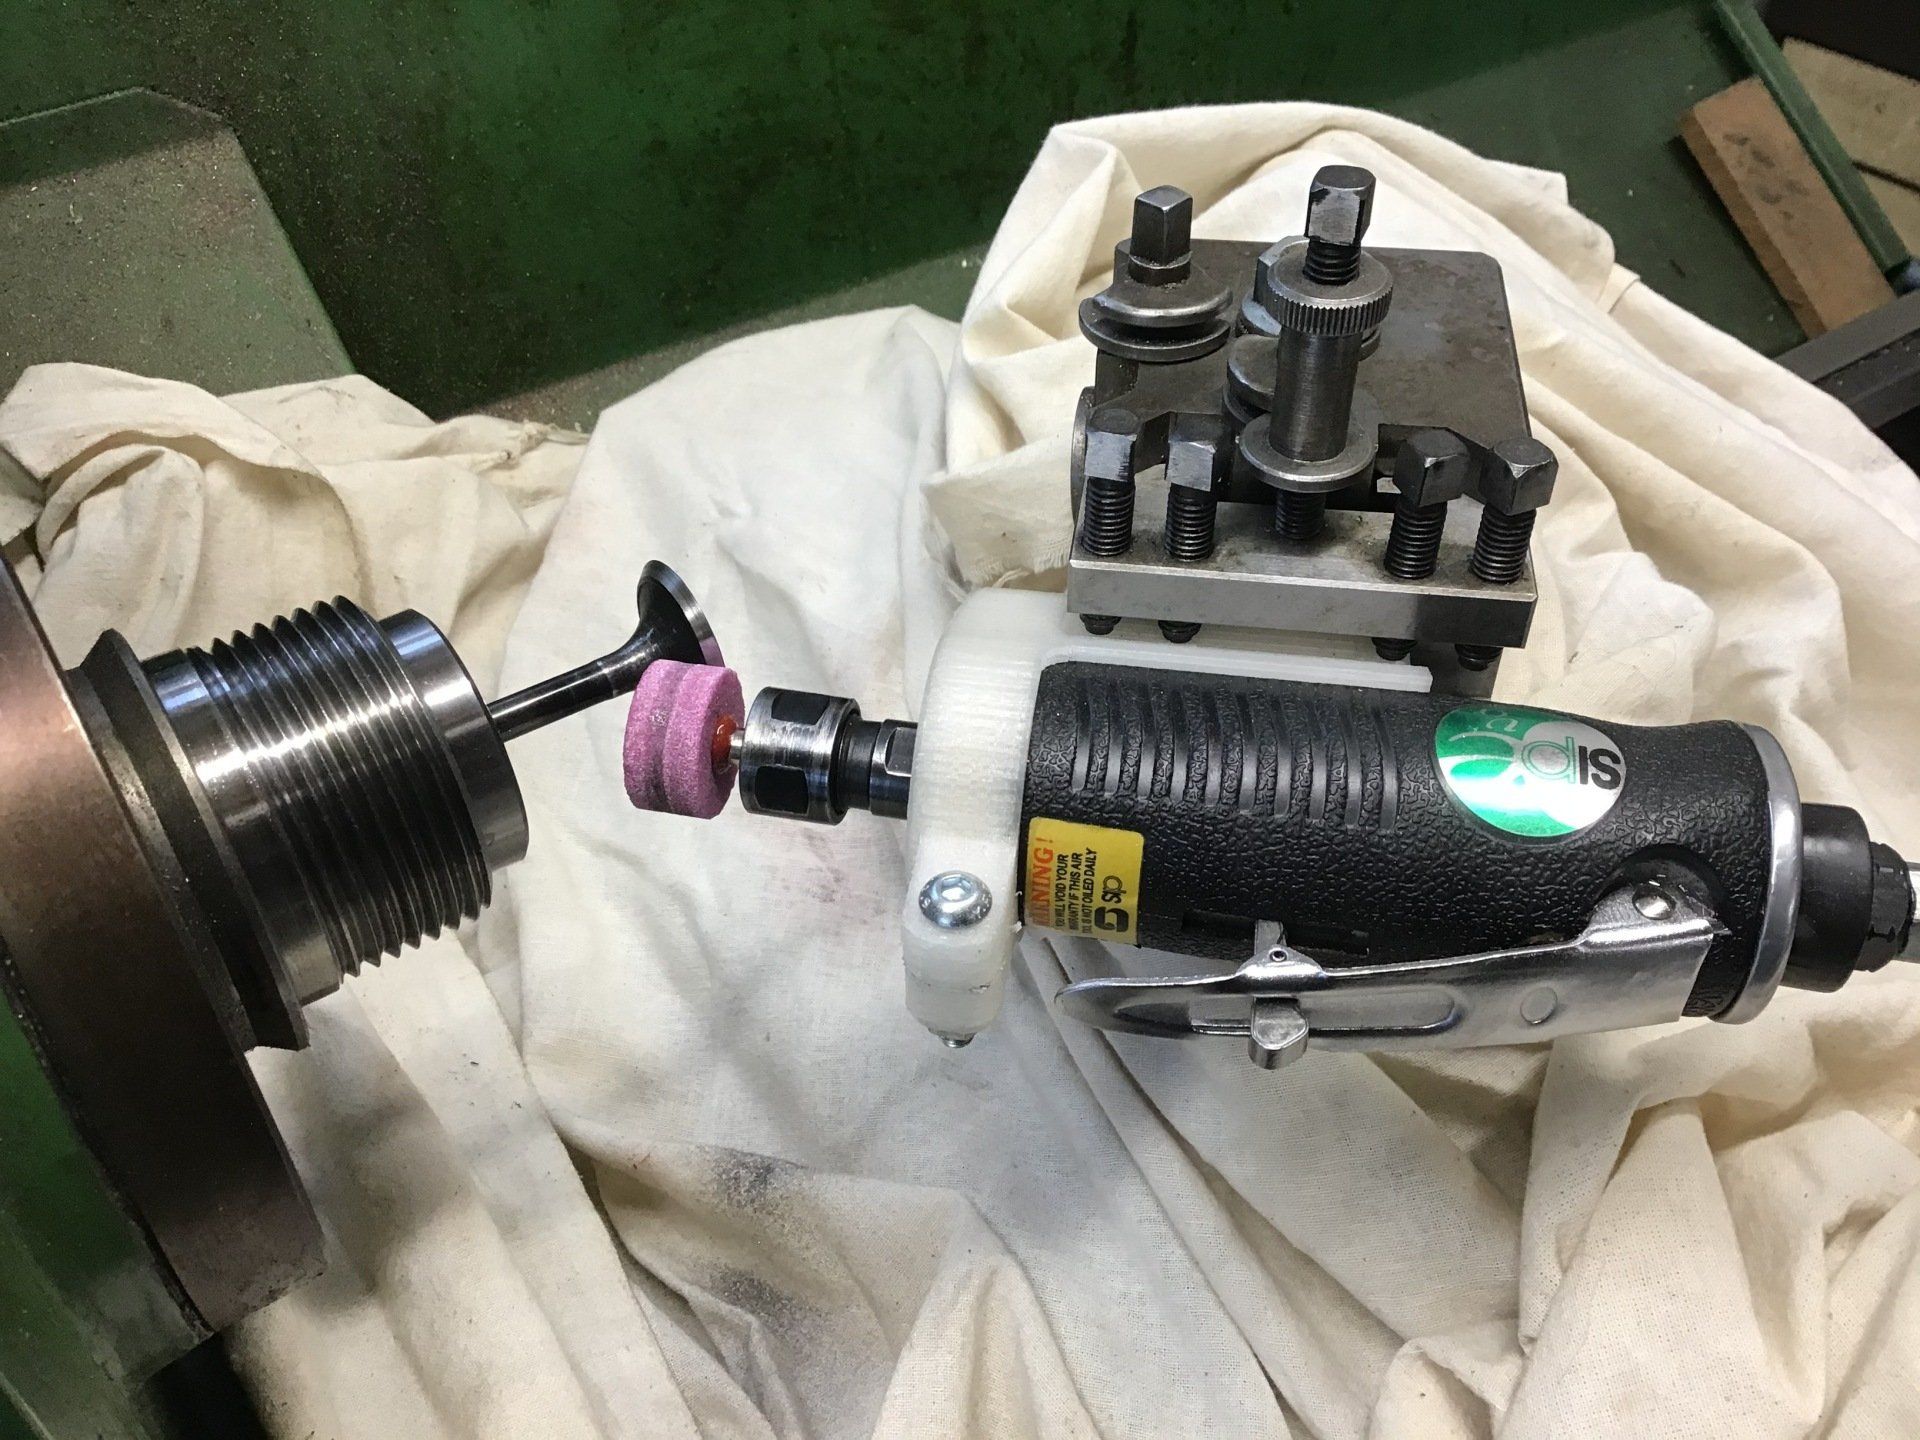
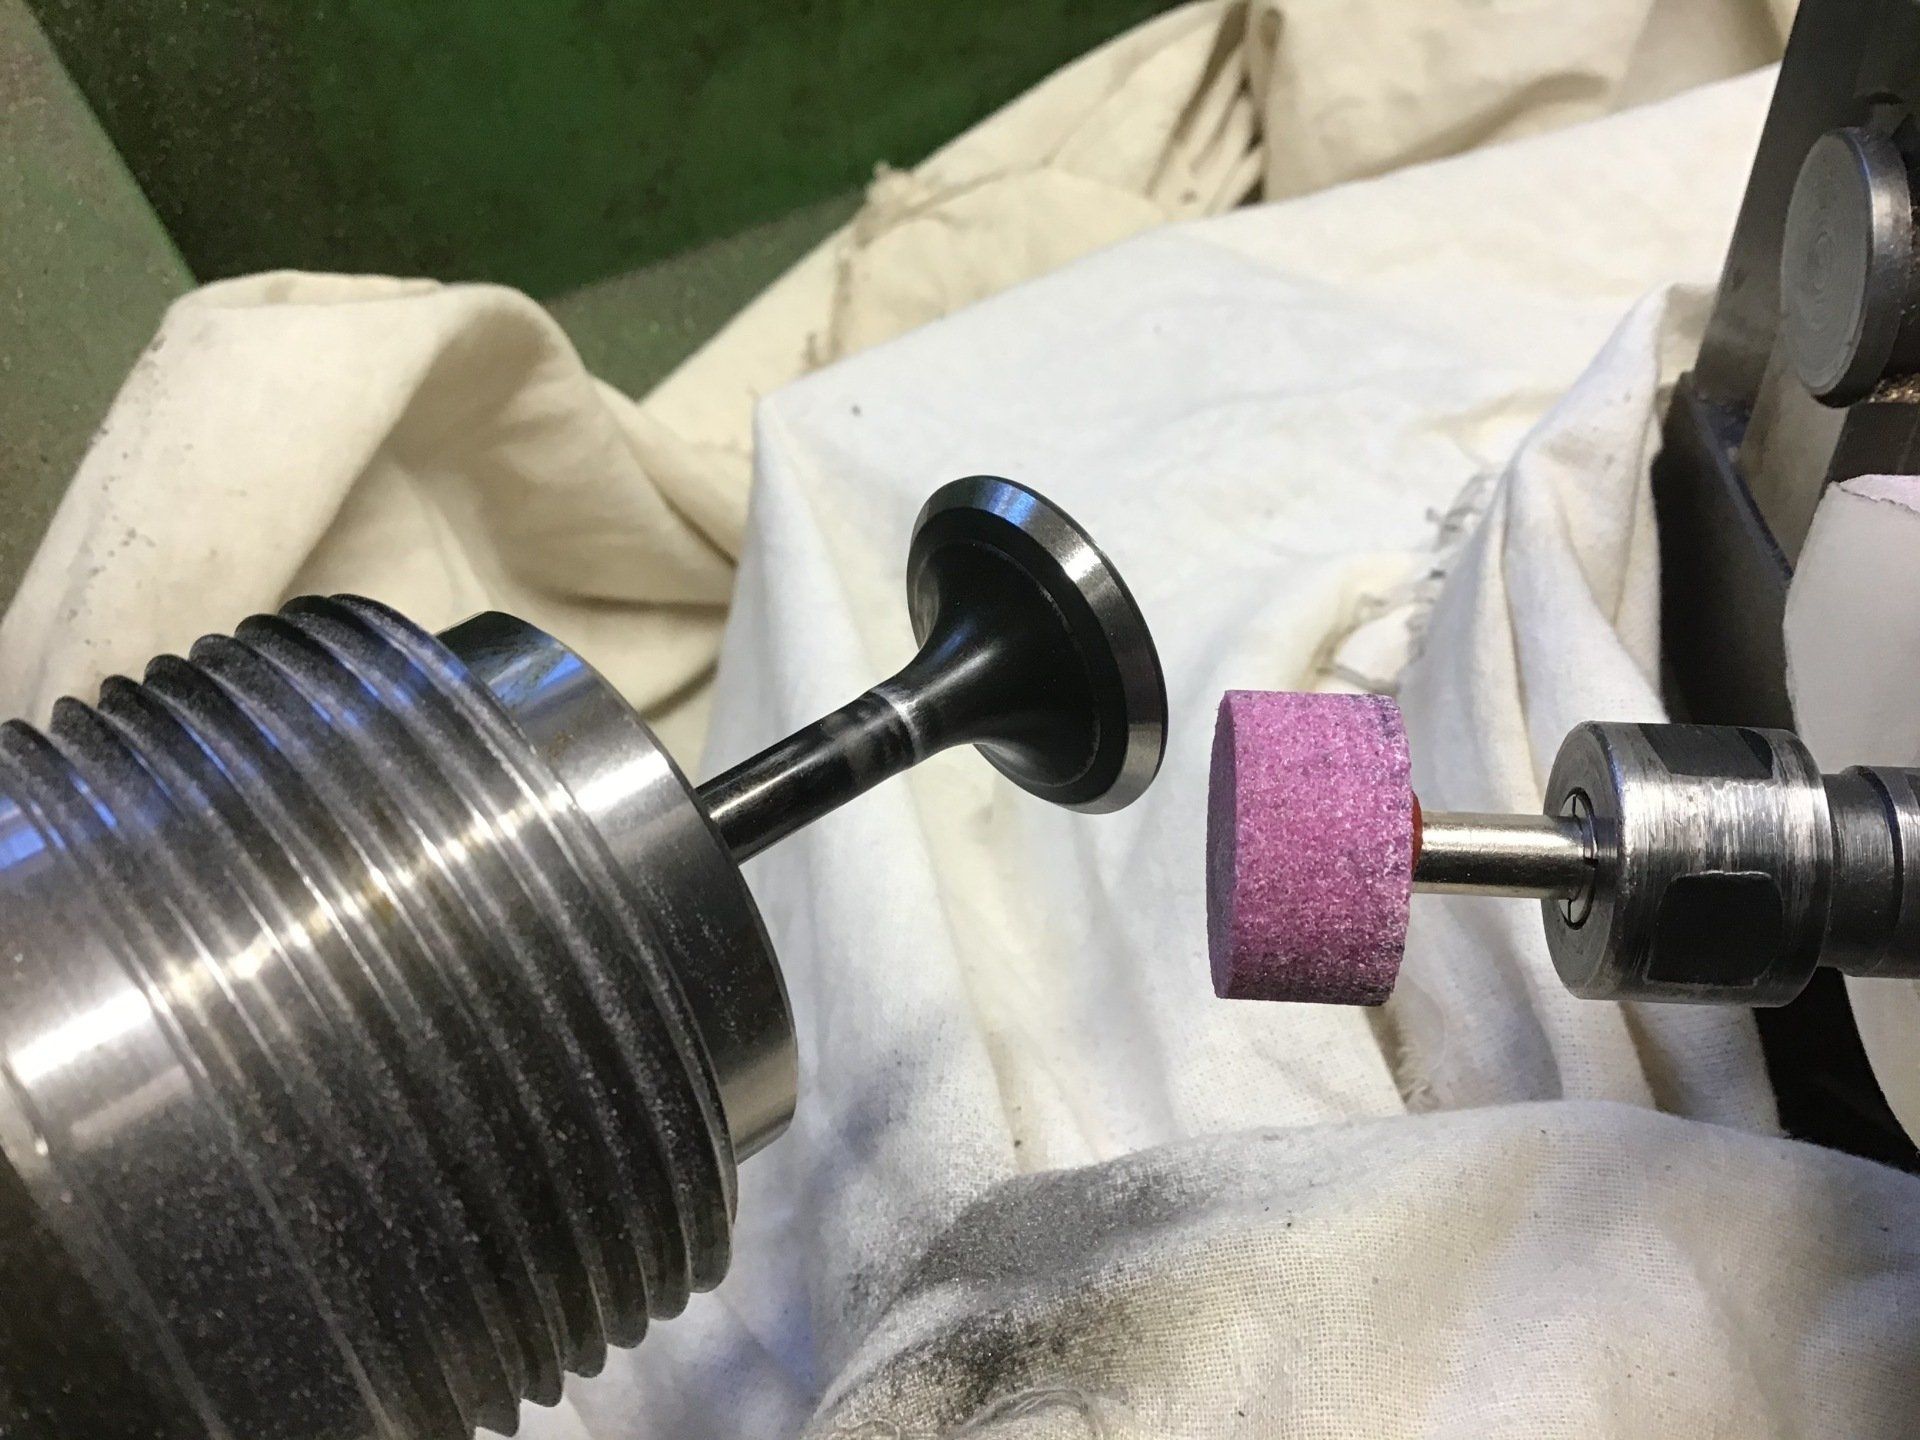
Although the valve seats were OK, the valves themselves really needed refacing. It's not an expensive job to have them done professionally, but given that I had some spare valves laying around, I thought I'd have a go at DIY refacing. It seemed to work OK, so I had a go at the ones that were going back into the engine. With minimal lapping, they produced a nice seal and so they were deemed acceptable.
With everything now refaced, honed, measured etc. it was time to rebuild the engine, bolt the exhausts back on and hope that it ran. Thankfully it did!
But, while it was on the workbench, I thought that I might as well fit the R6 shock that had been on the shelf for years. And without its fairing, it would also mean a new headlight, mirrors, indicators etc. That's when project snowball really got out of hand...
Shiny R6 shock next to manky GS original.

Fitting an R6 shock to a GS sometimes requires a bit of fettling to get it to fit. Mine's no exception, requiring a tickle with the angle grinder at the front of the swingarm to get the bolts to go home.

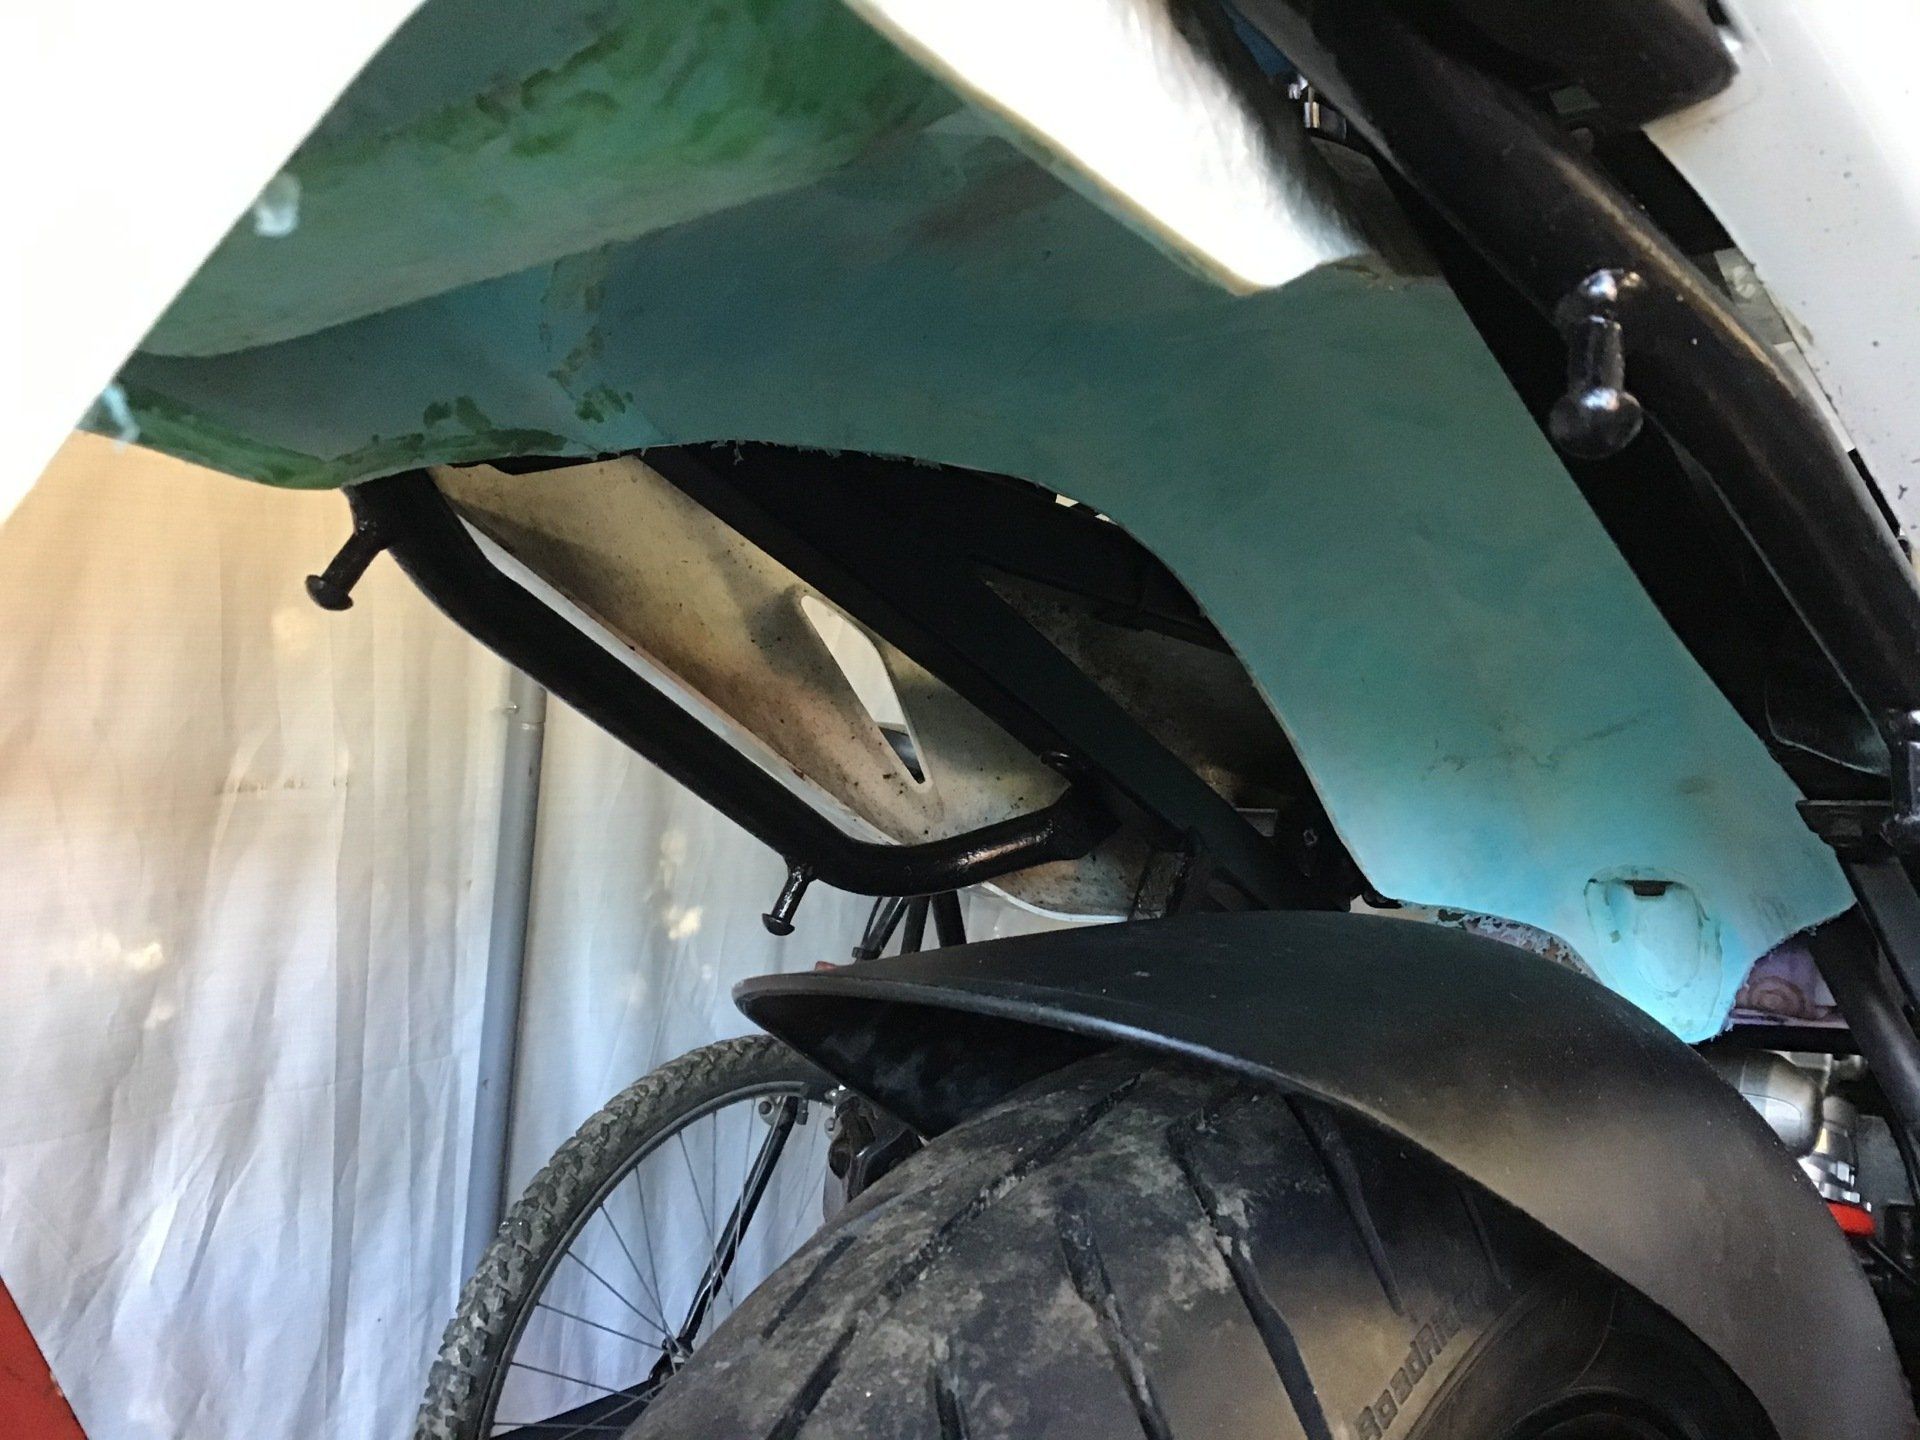
And because I didn't want that shiny shock to get dirty, on goes a Bandit 400 hugger.
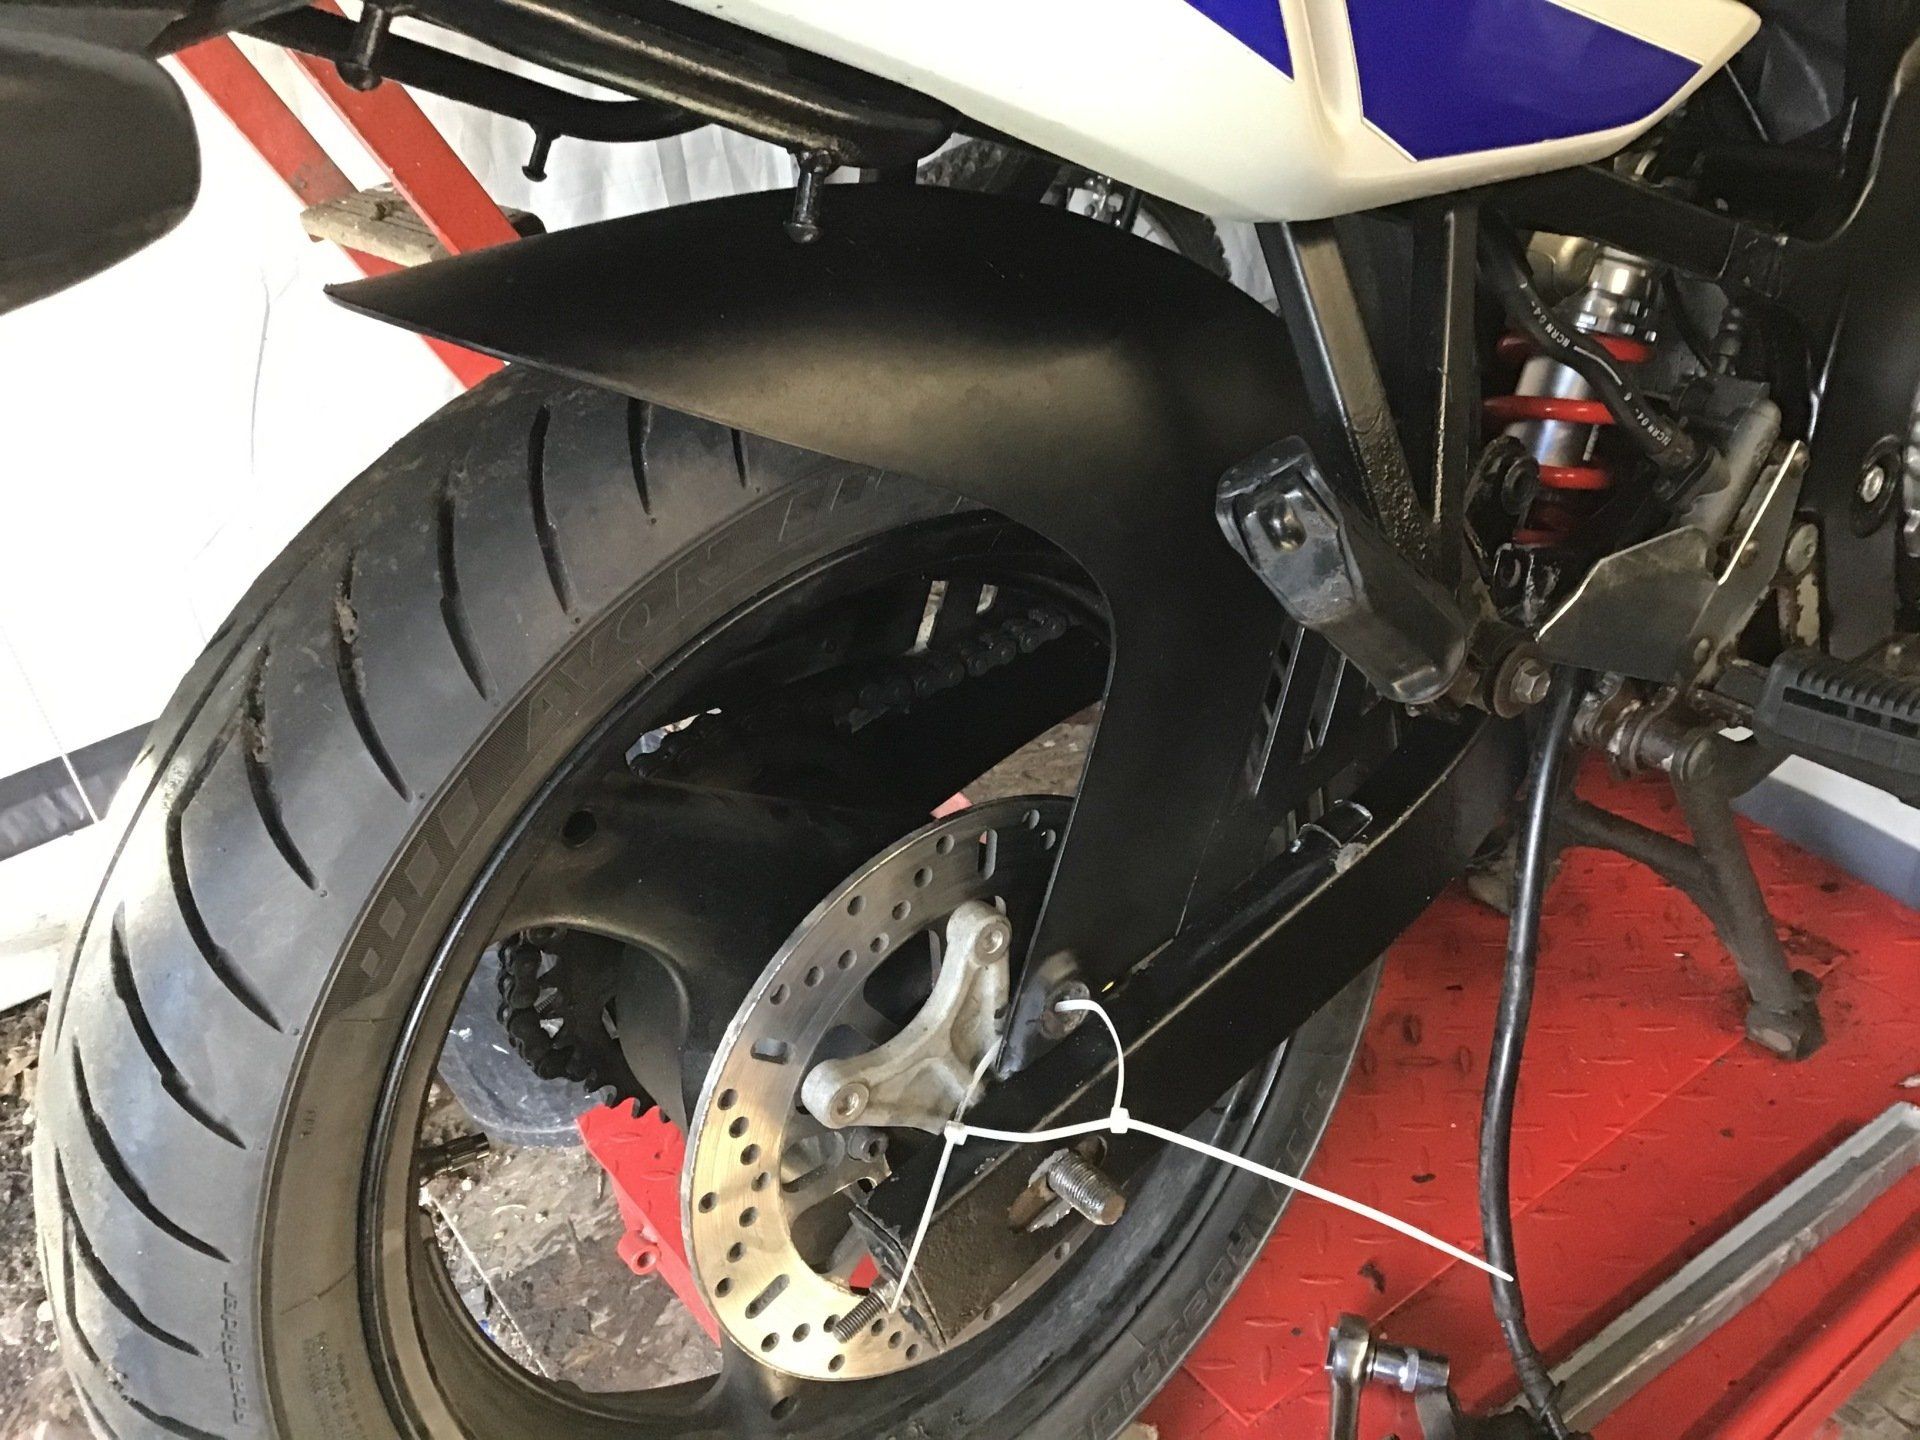
Unfortunately with the rear suspension at full compression, hugger and original undertray would collide.
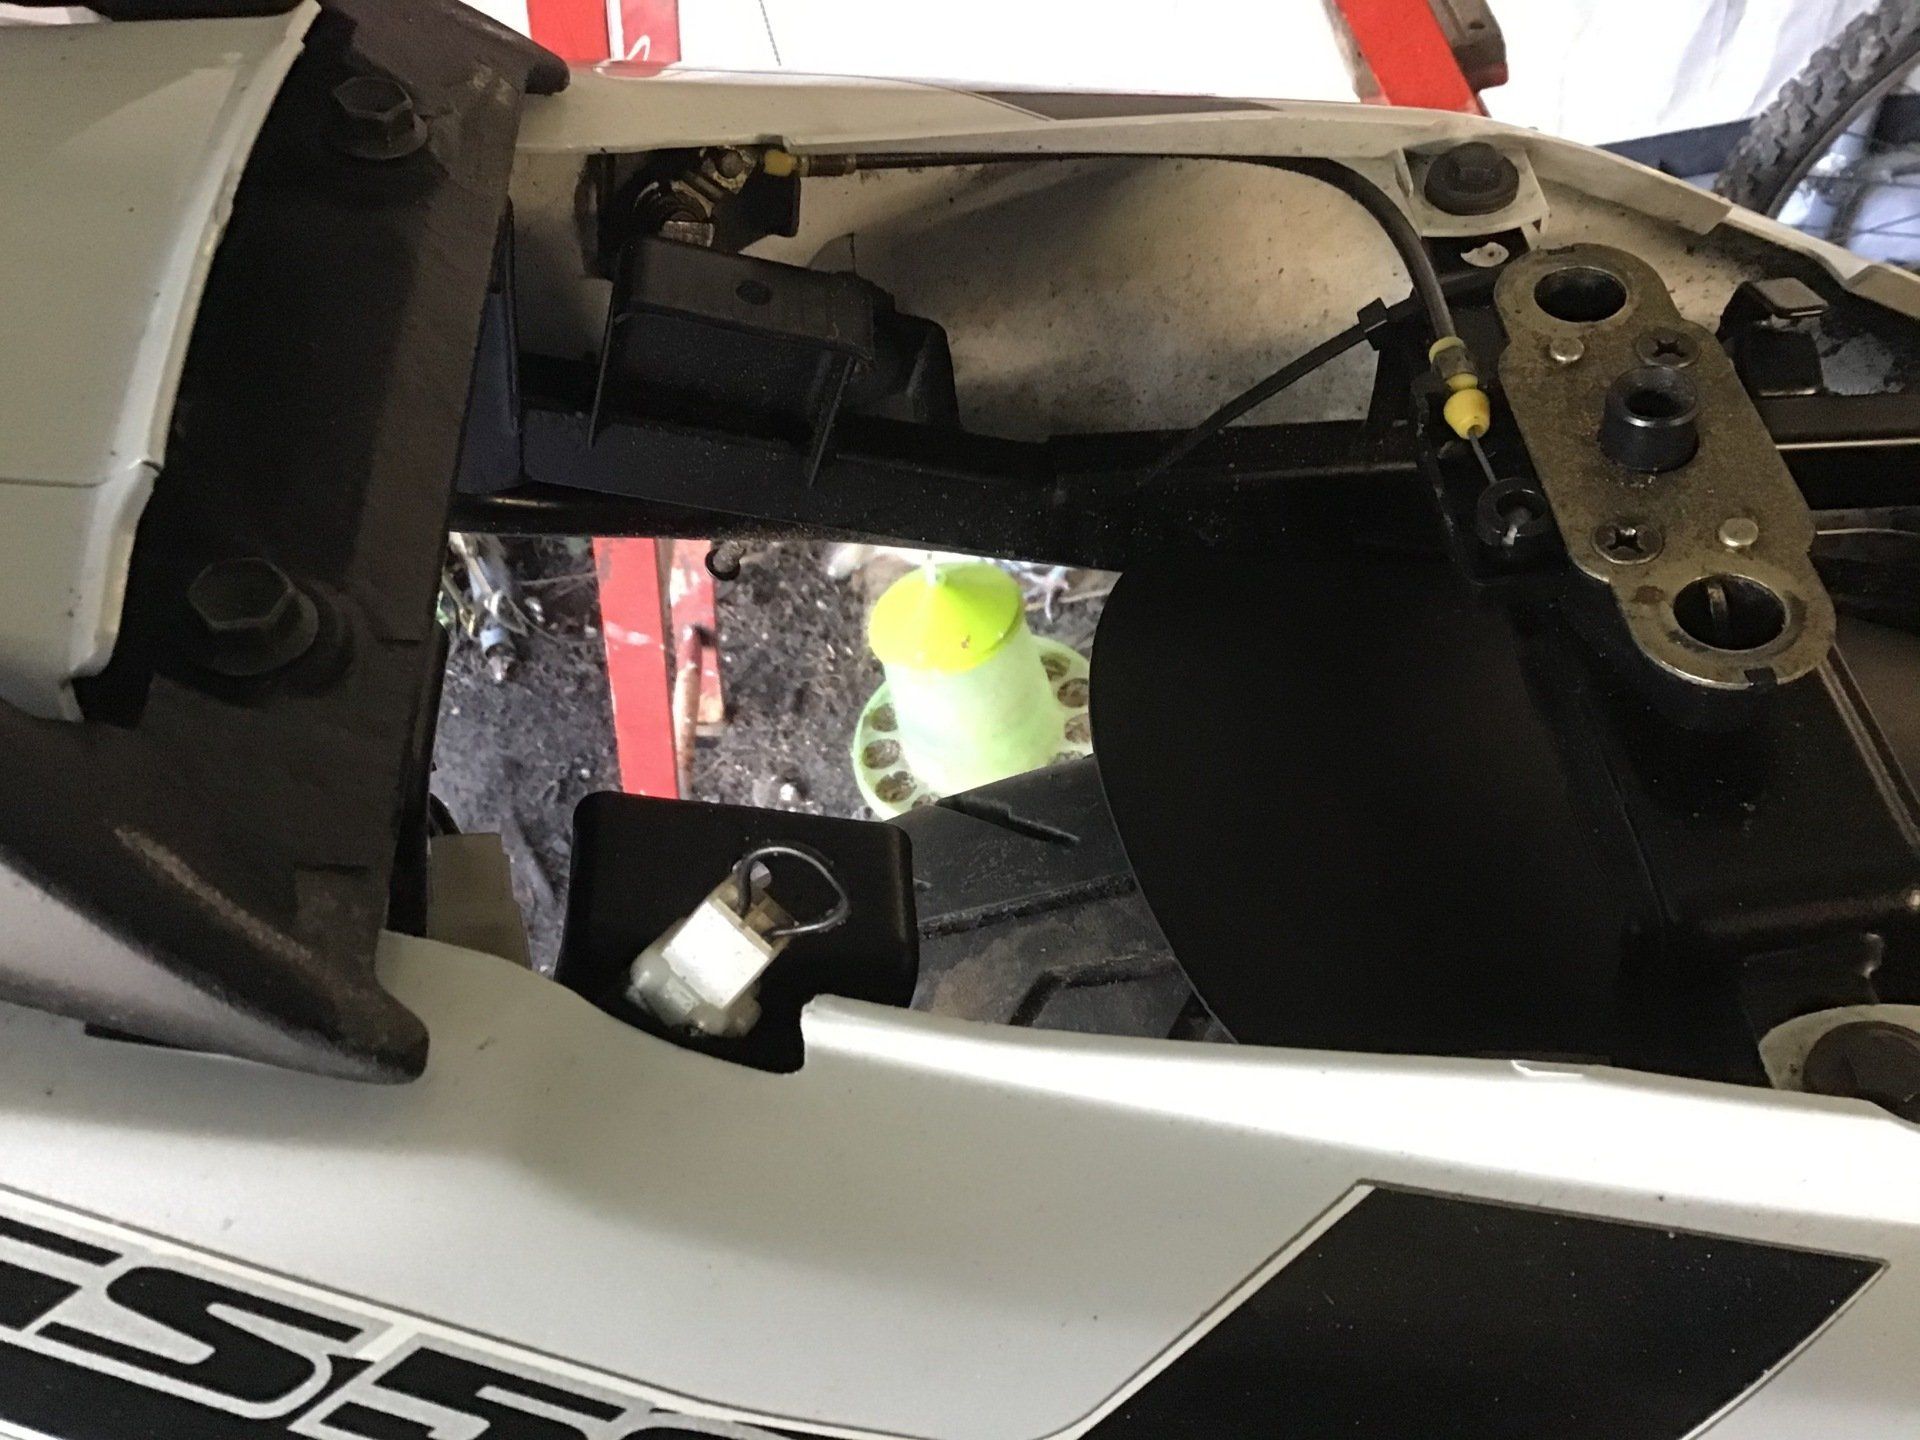
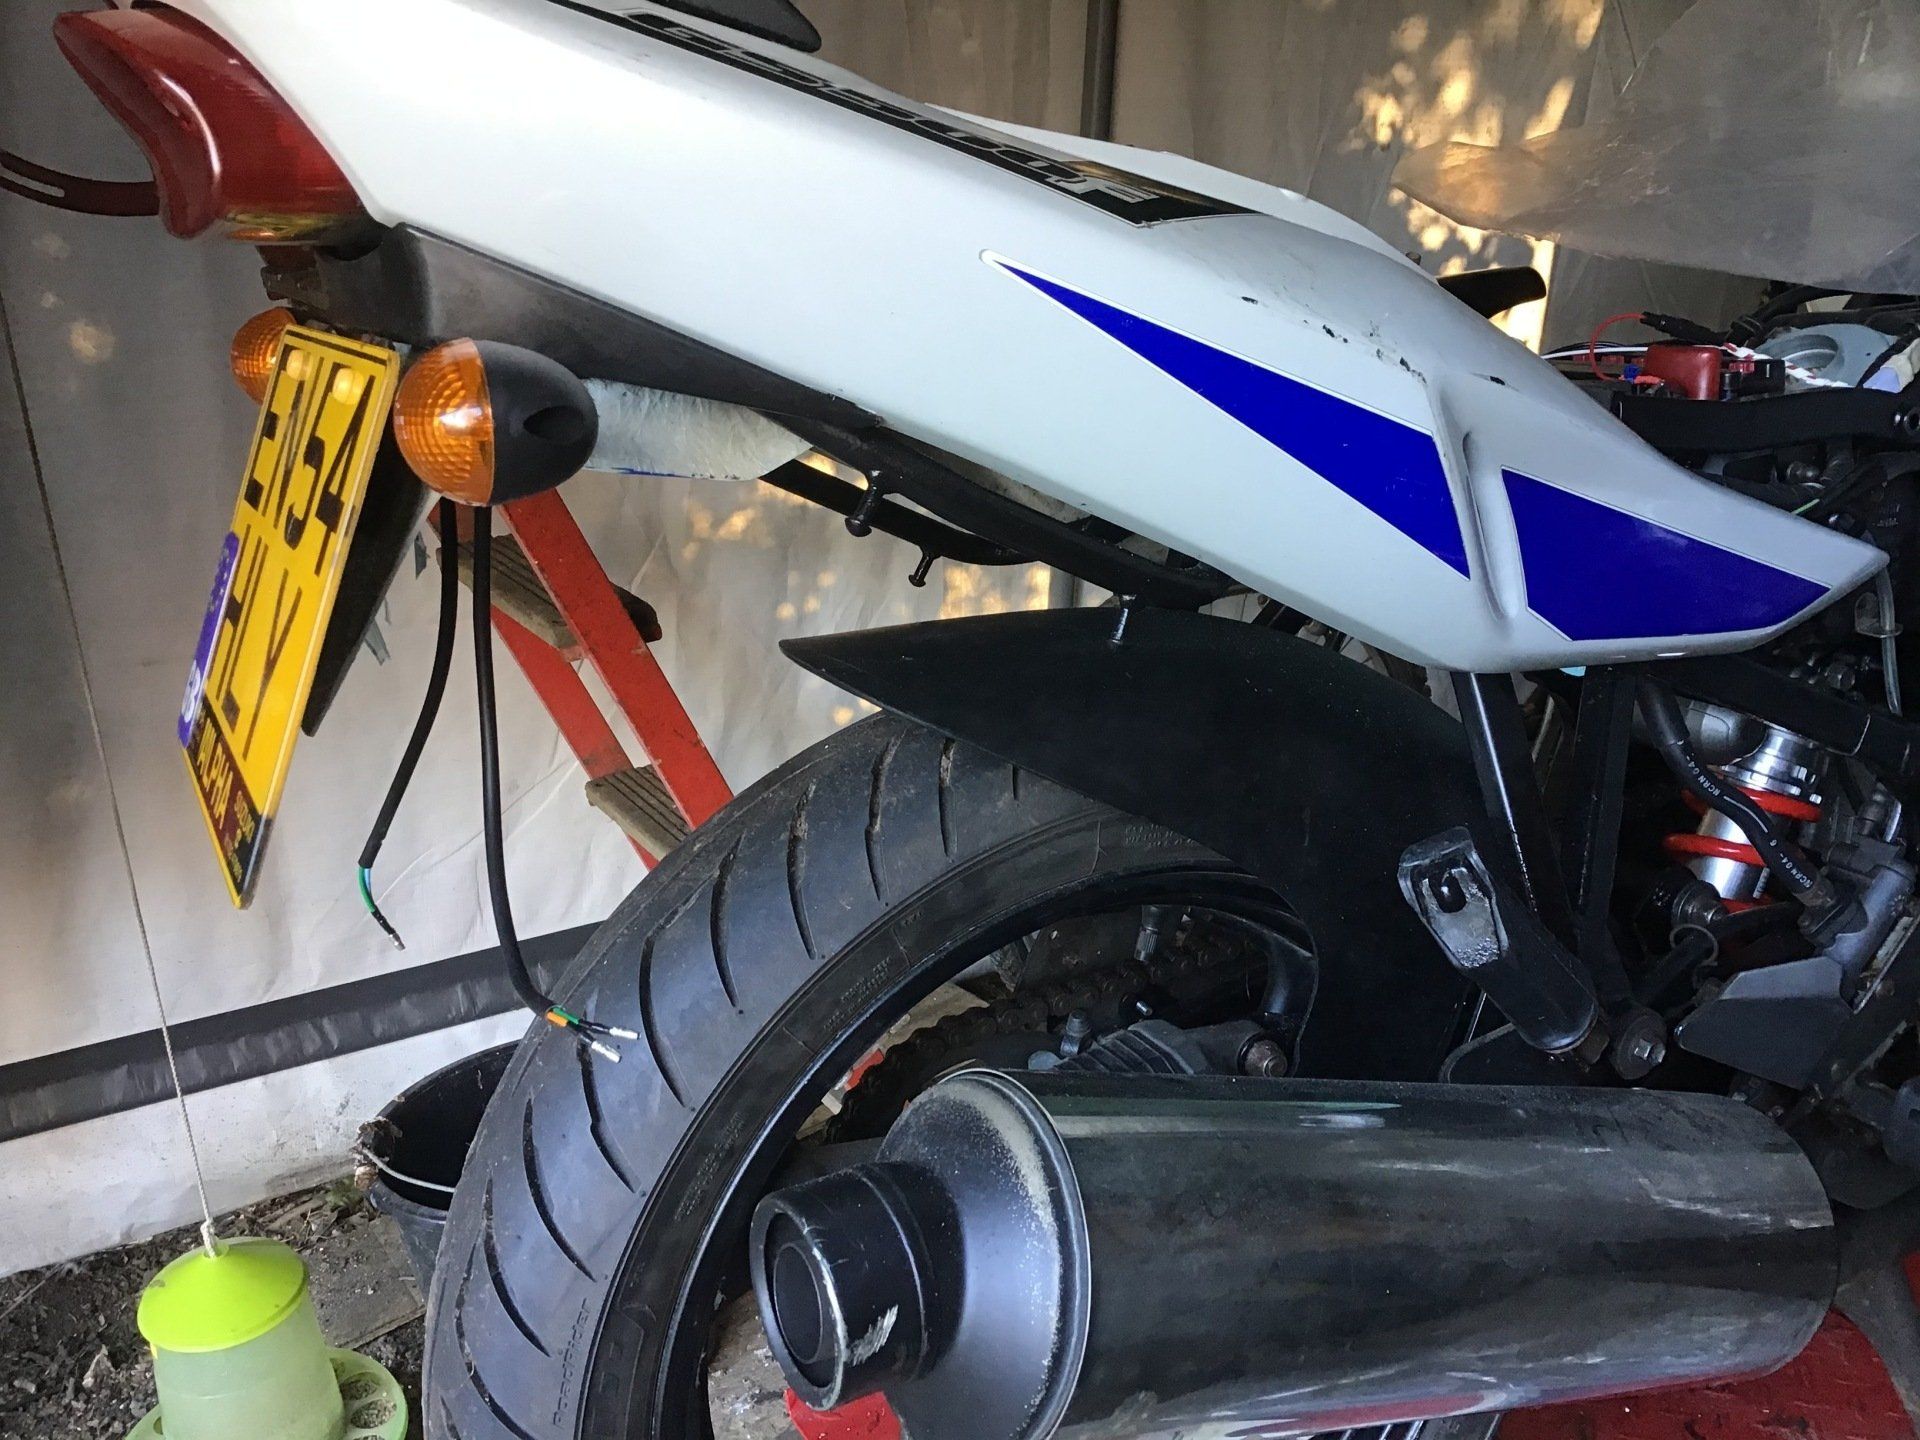
So a new one was fabricated.
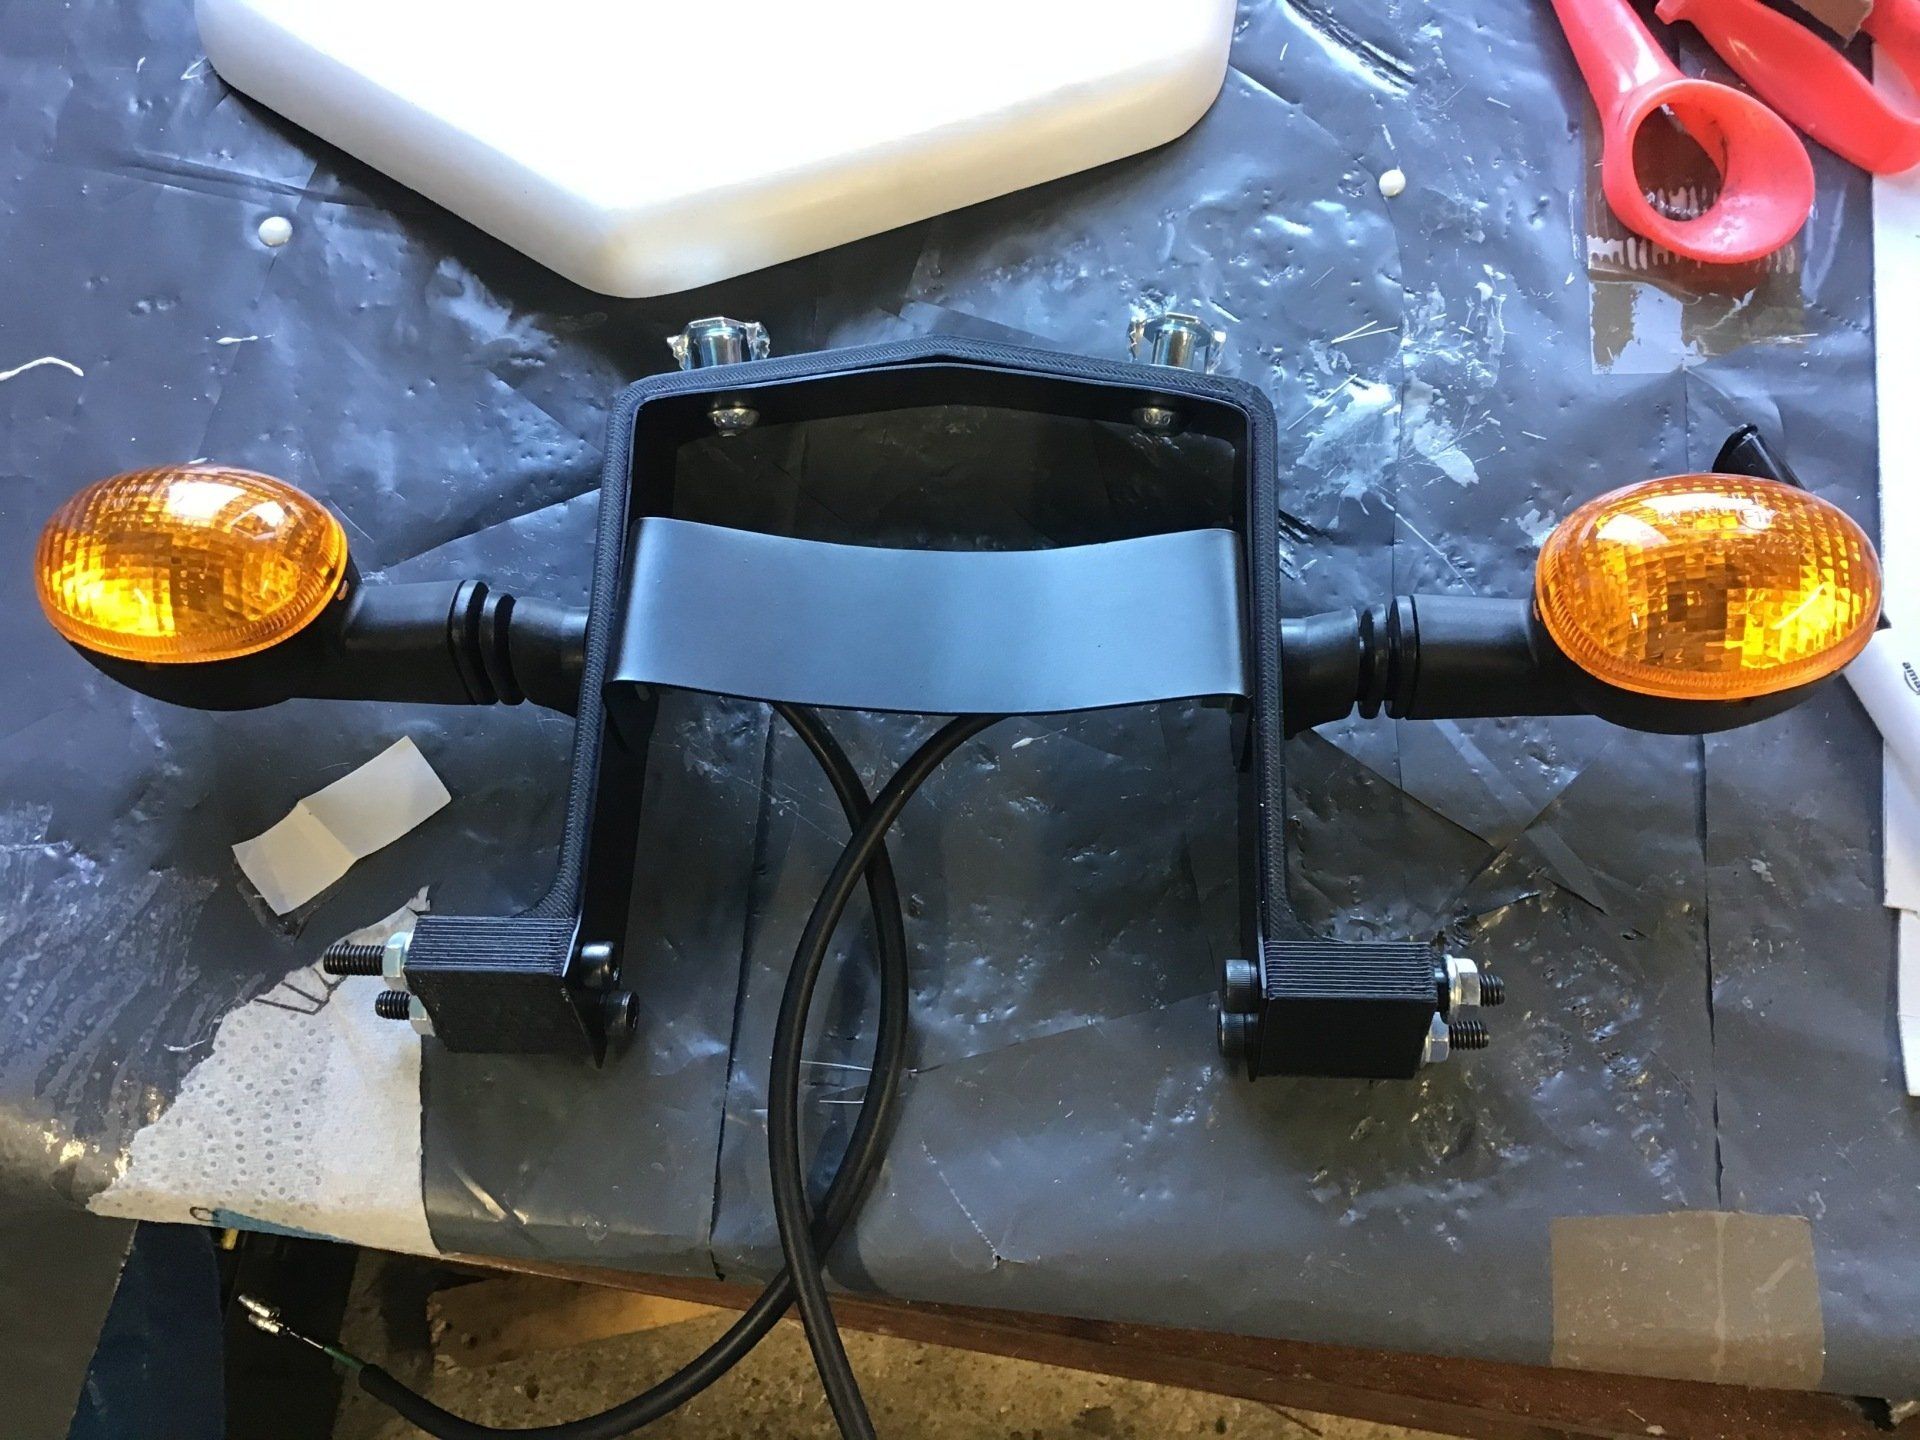
And numberplate mount added, along with smaller indicators.
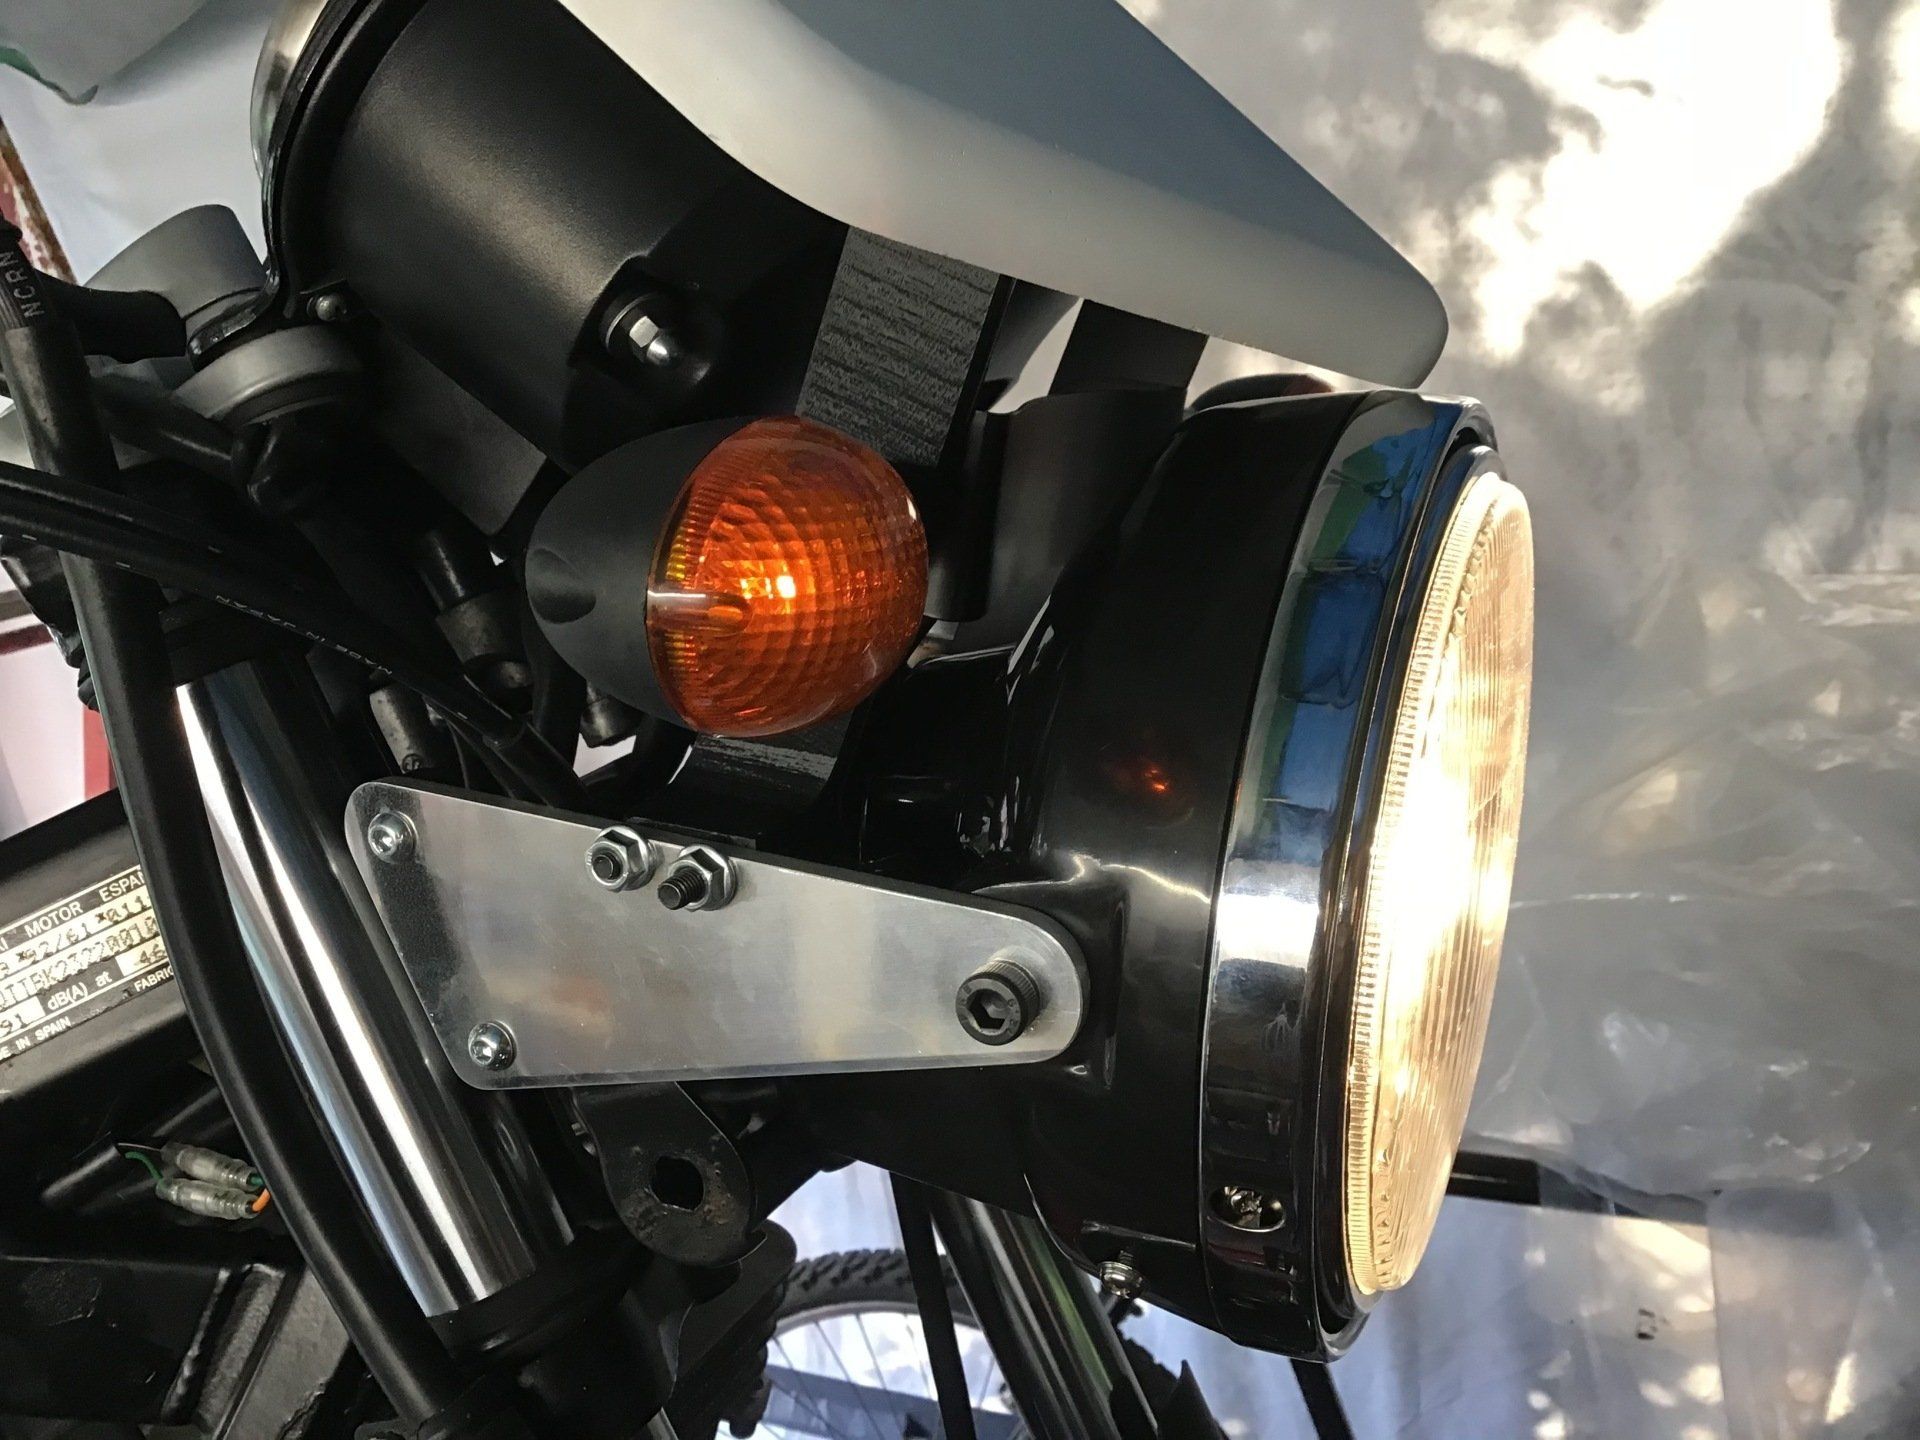
The front gets a small cowl / flyscreen, the mount for which also holds the front indicators.
An RD pattern front headlight was used, but it did need mounts fabricated to get it to fit.
Eventually, though, she was once again ready to ride.
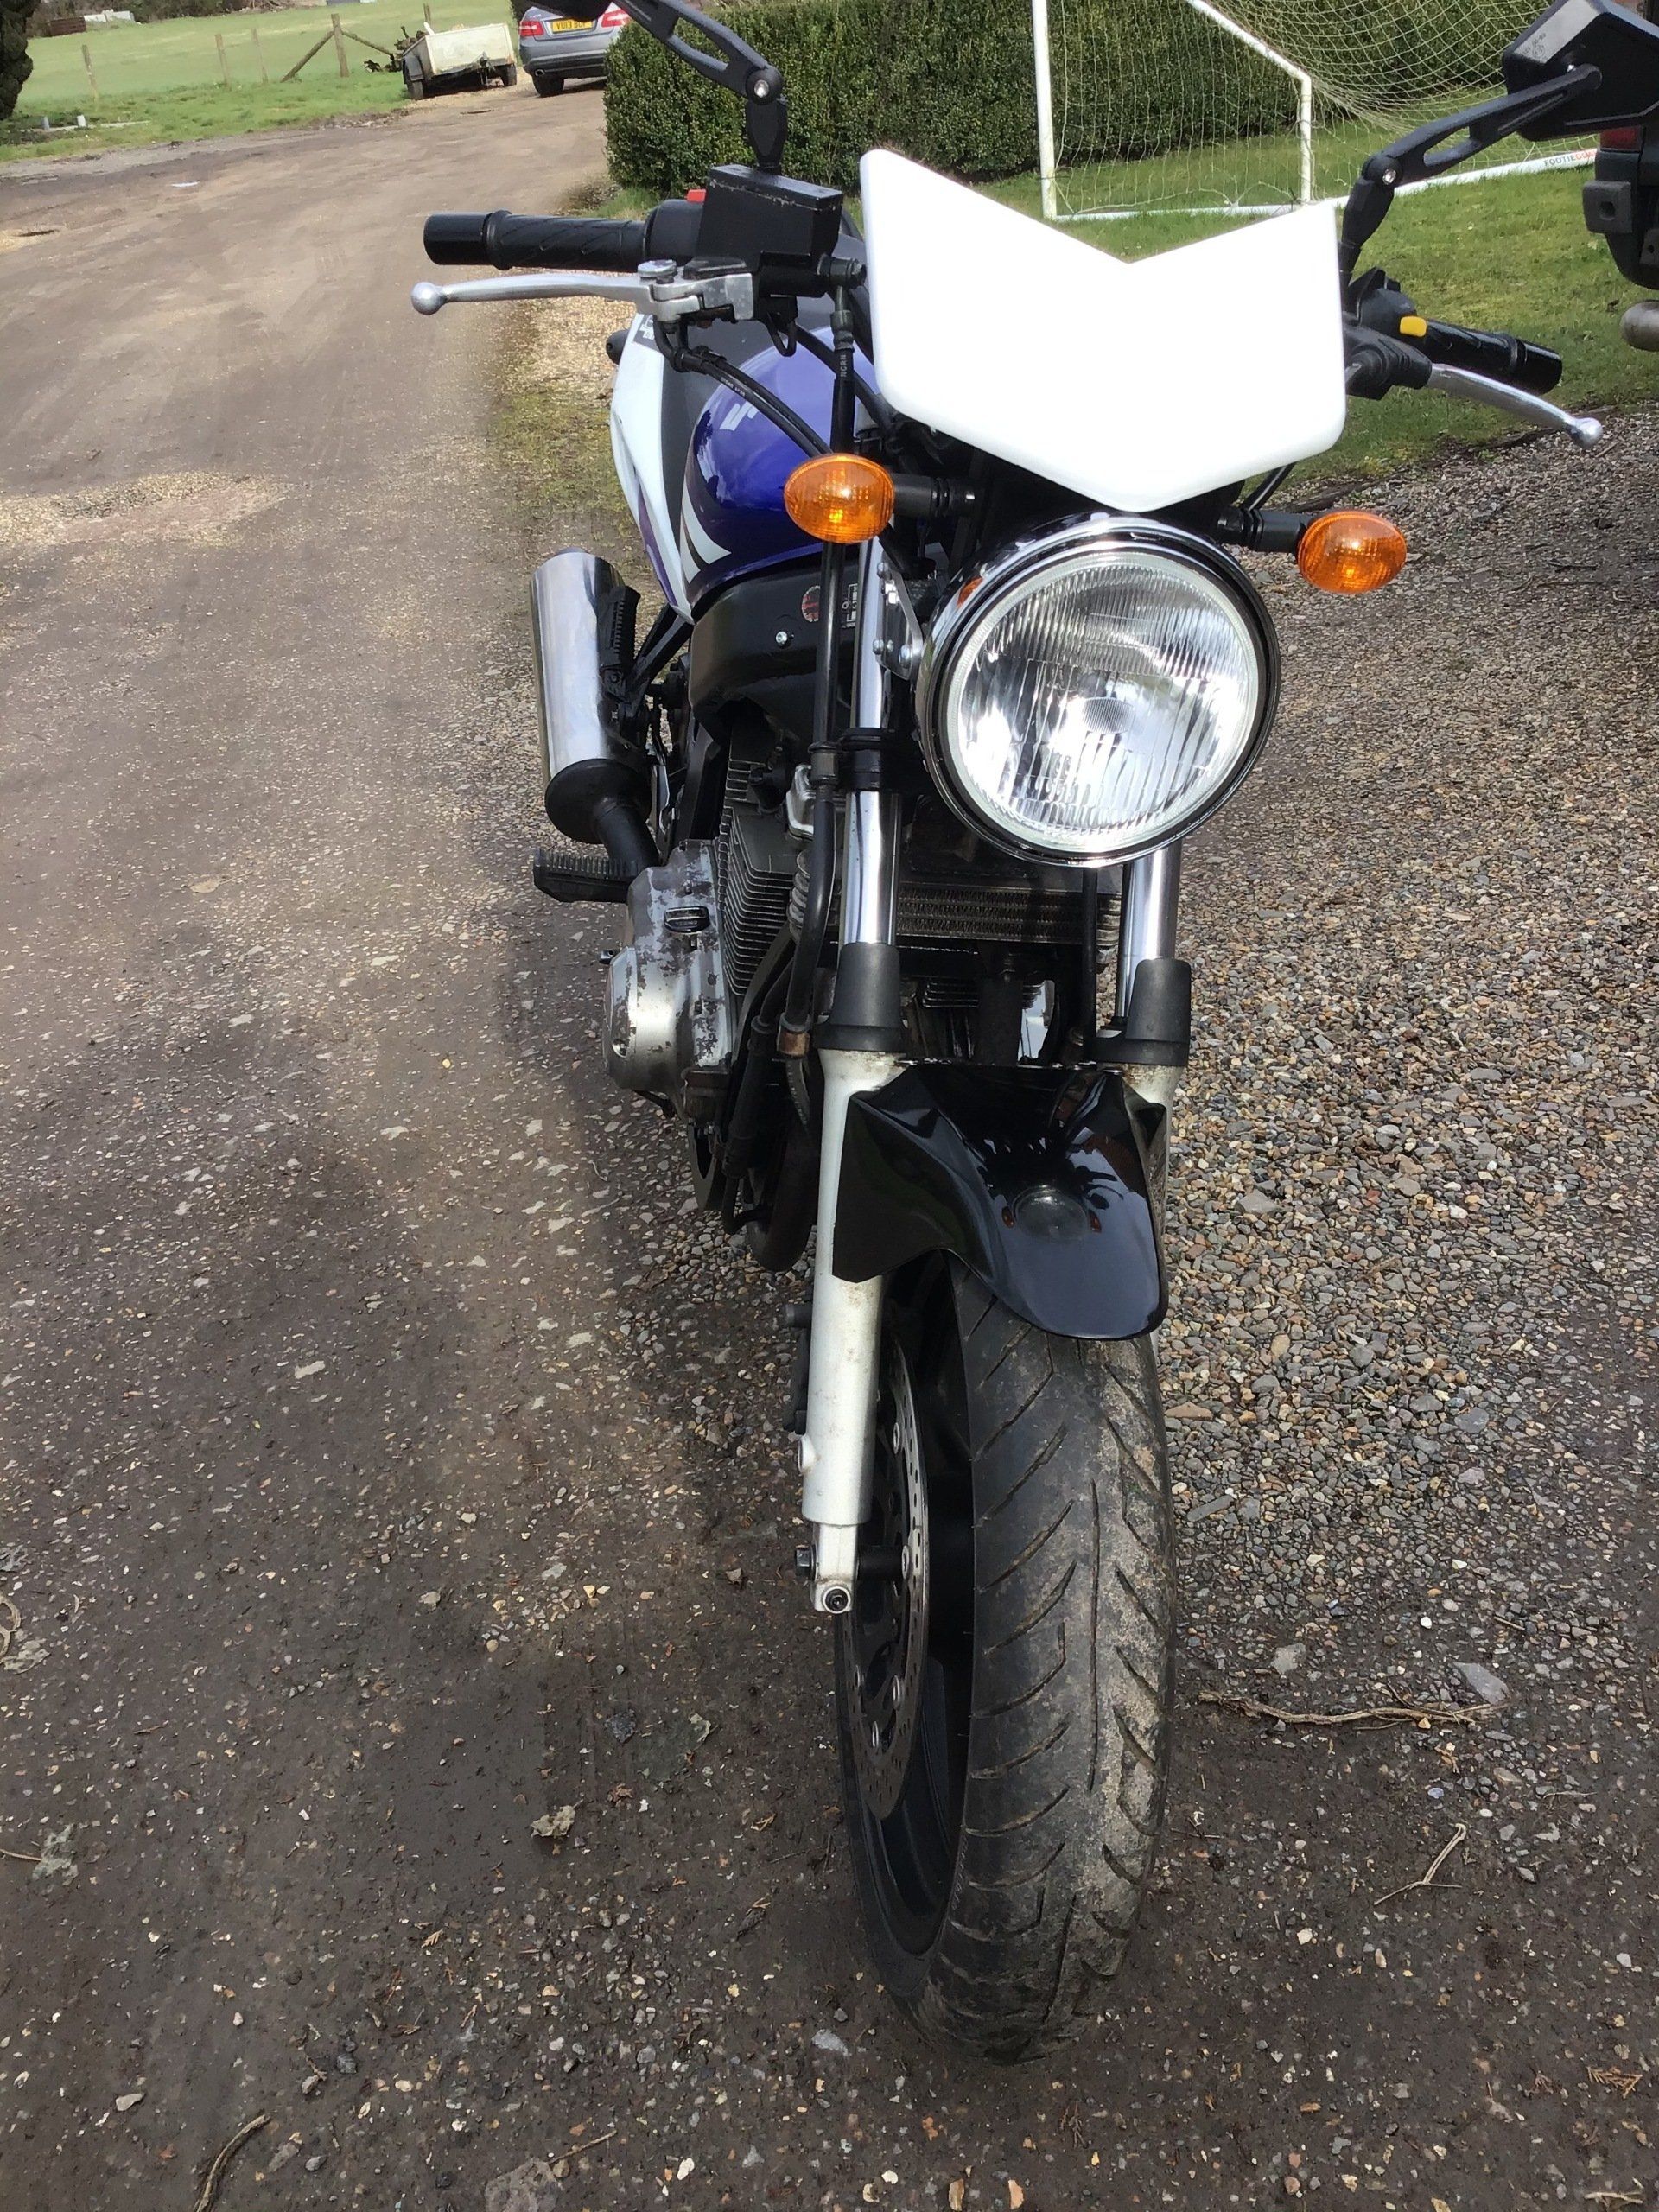
There she is already for another few years of service (hopefully). What the picture doesn’t show is that having finally finished the refurb, I dropped it when I attempted to remove it from the workbench. Thankfully, damage to the bike was minor (some more black paint sorted that) but the shelf unit that broke its fall needed repairing. Having sorted that, I started the bike up only to find that it was now running on one cylinder. This was quickly traced to the absence of a spark and so seat and tank had to come off again to expose the relevant electrics. The loom on this bike isn’t pretty. At some point in its life it had an alarm system fitted. That’s since been removed, but the loom still bears its scars. I was worried that I was going to have to spend ages tracing and replacing wires, but a quick substitution test highlighted the issue as being with the ignition coil / plug cap assembly. So with some replacements fitted, the bike now realises that it's a twin again and is running sweetly.