
Monday Articles - April 2022
Scroll down for latest instalment
Being heartily sick of painting the new workshop, this weekend I was determined to do at least a little work on the project bike. It didn’t all go to plan. You should now be seeing pictures of a newly 3D printed rear rack, but the printer didn’t want to play. Hours of frustration eventually narrowed the fault down to a circuit board. Unfortunately, a direct replacement is no longer available. There are many other control boards, that with a bit of thought and effort could be made to work, but I don’t want a 3D printer project at the moment, I want to build a bike. And so, I’ve bought a new printer…
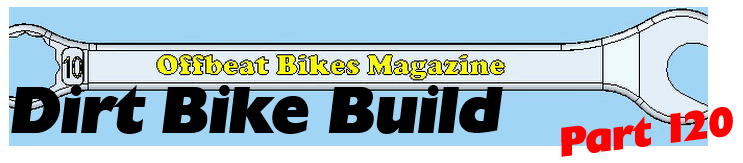
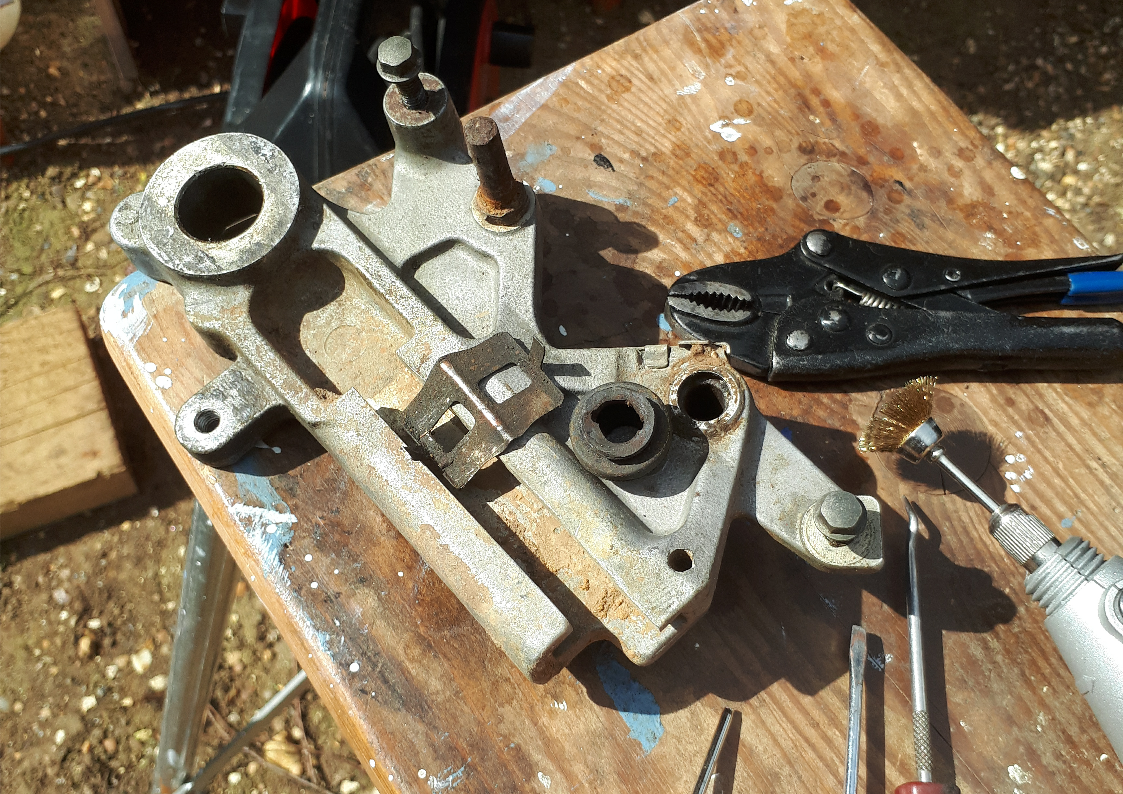
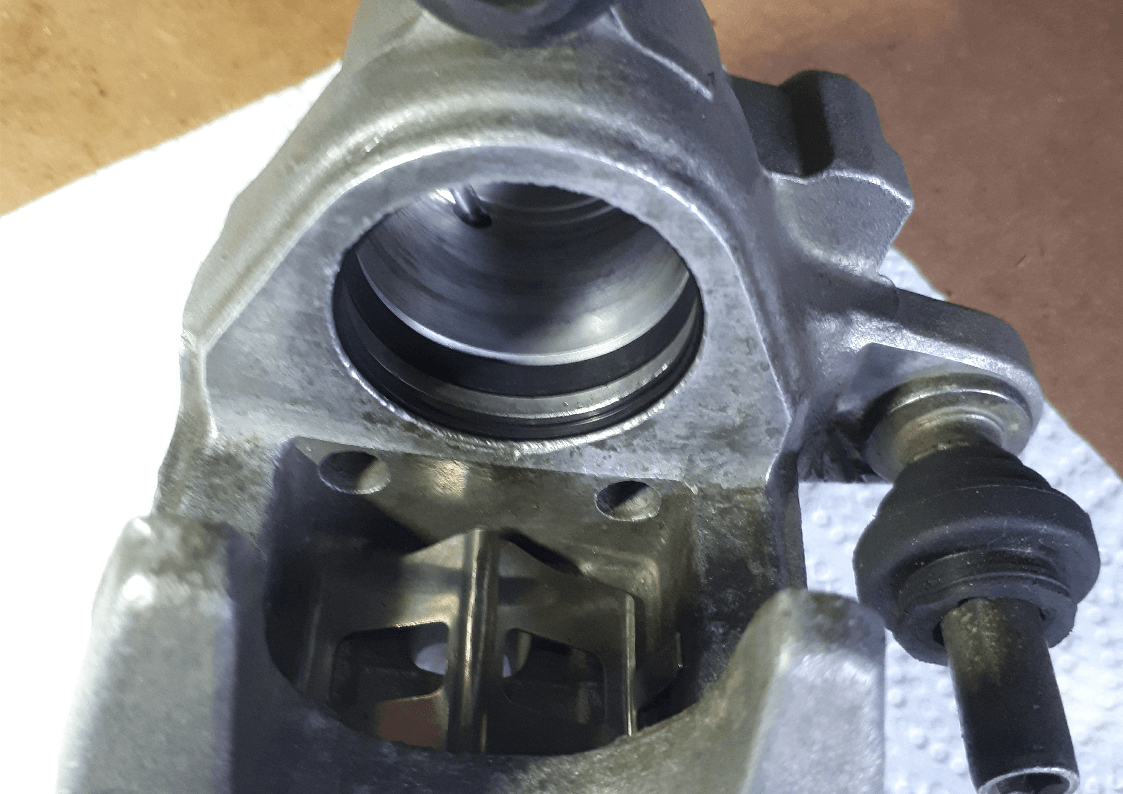
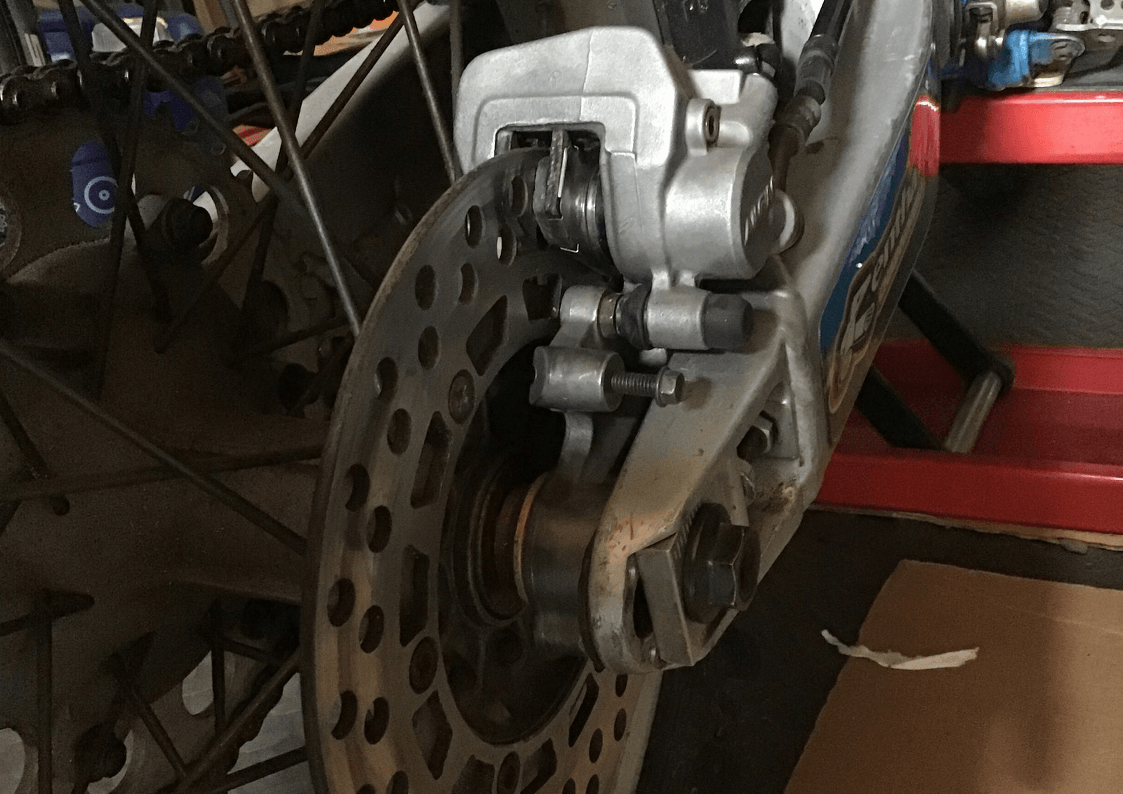
Until that arrives, I have at least made a start on the rear caliper and carrier. First off it needed a good clean and some new seals. Here it is at the start of the day.
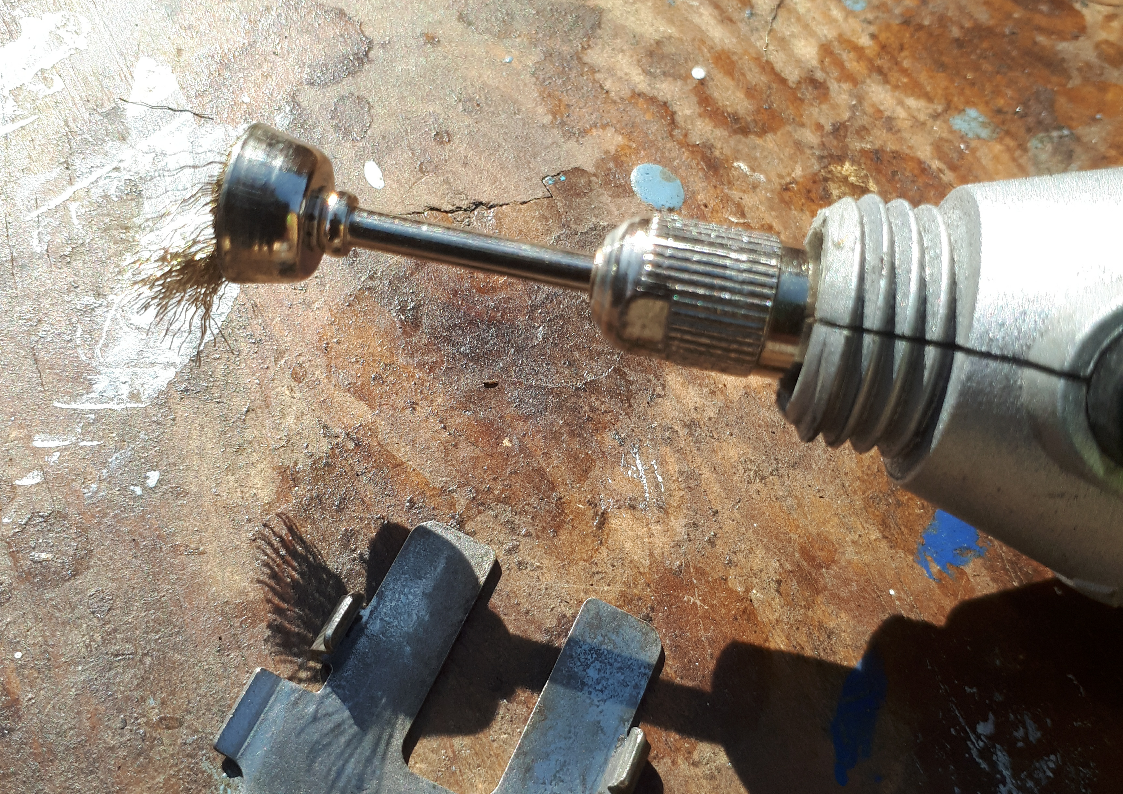
With the seals out, it doesn’t look much better. All the grot needs cleaning out and today, the weapon of choice is a rotary tool and some brass brushes. These brass brushes are stiff enough to remove the crud without damaging the aluminium and it’s crucial not to inflict damage on the machined bore of the caliper or it’s associated seal grooves.
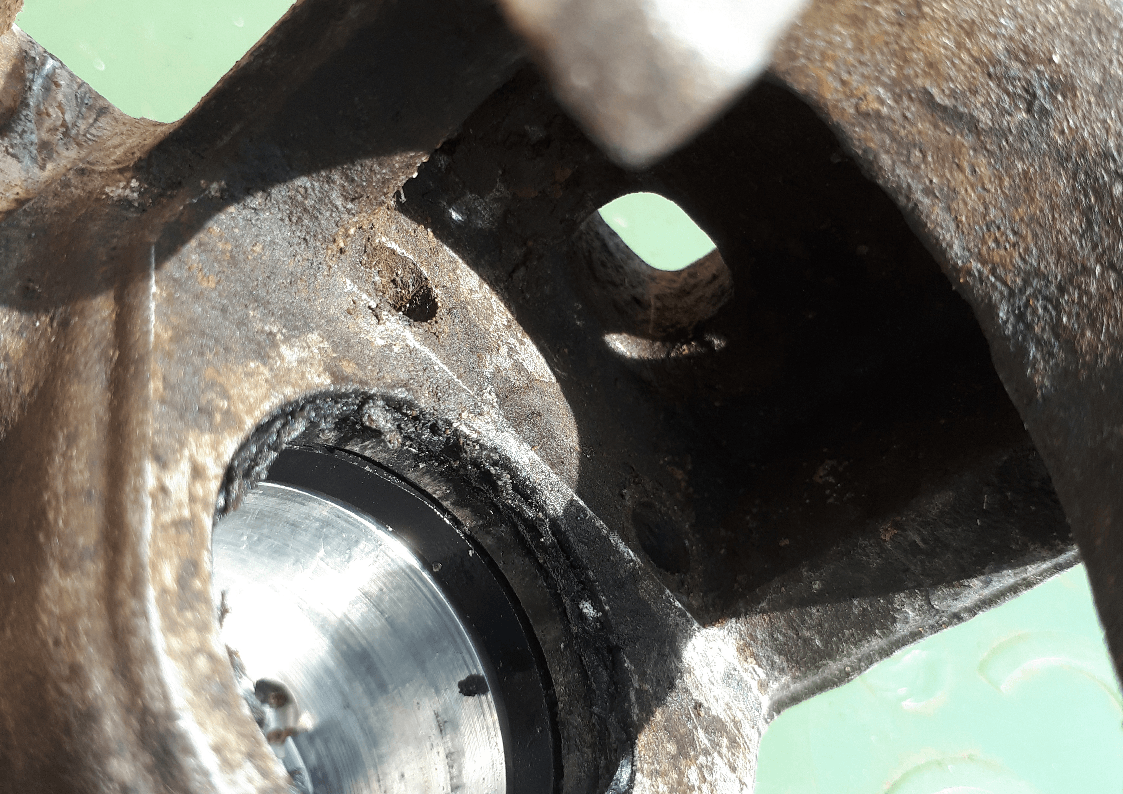
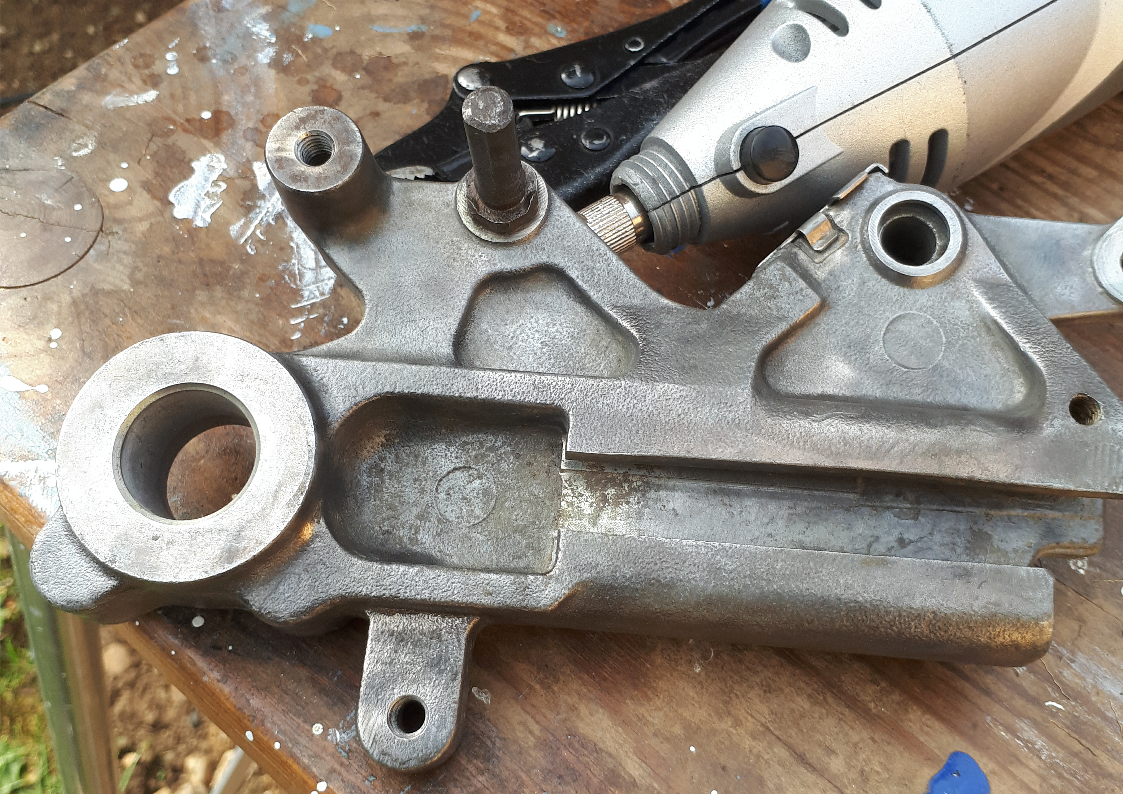
And after a bit of work, it does look much better.
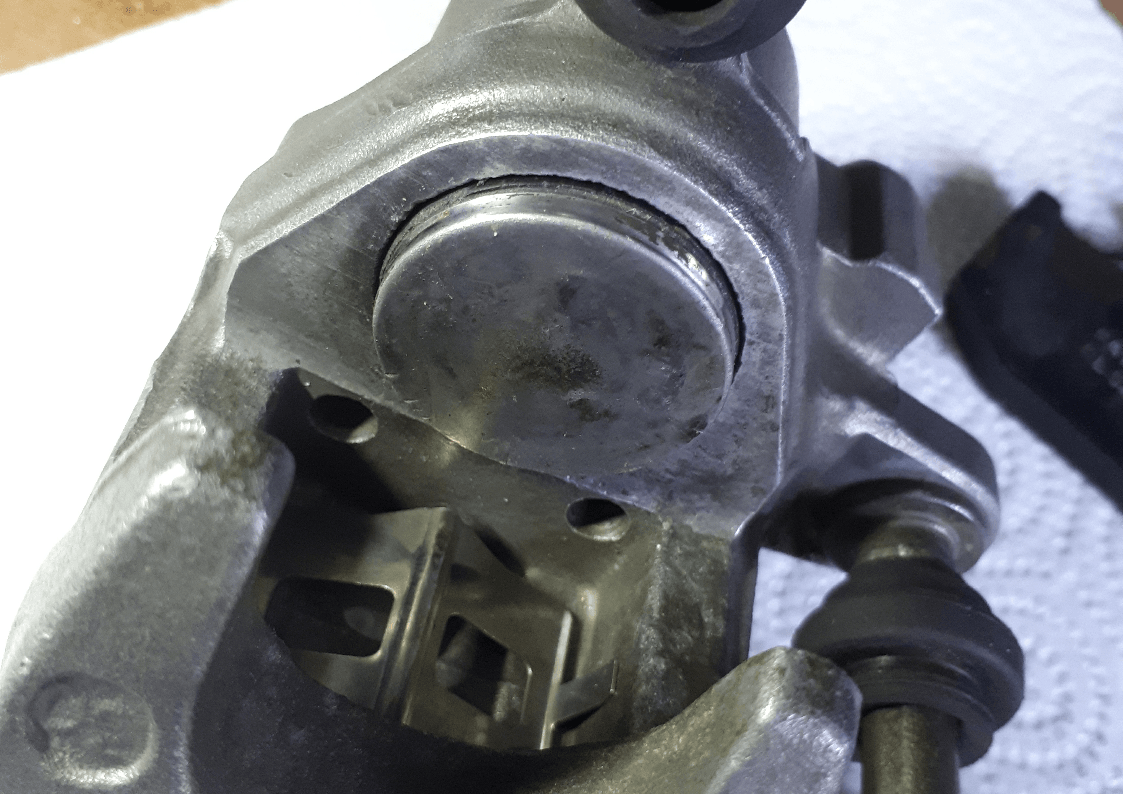
Now it’s the carrier’s turn. The brushes were fine enough to also clean up the rubber boot without damaging it.
Behold, a cleaner carrier.
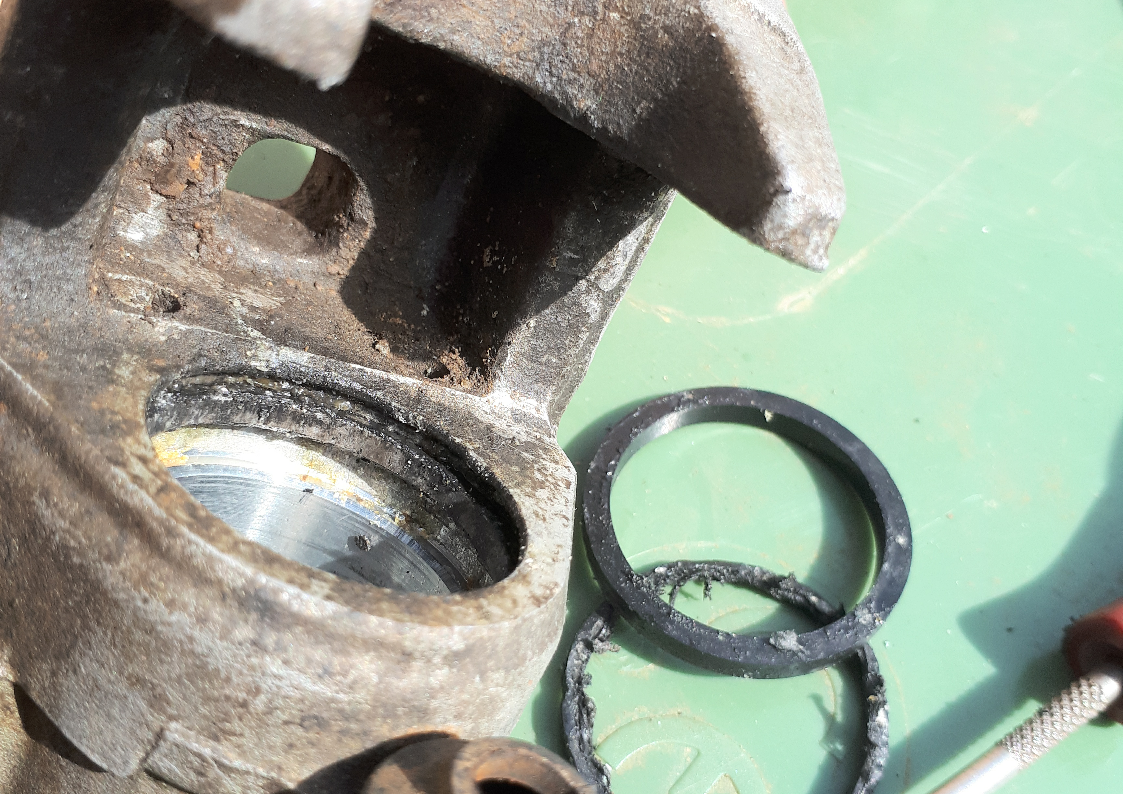
The brushes are good but they lose their bristles quite quickly. Wear safety glasses, or even better a full face visor if you value your eyesight.
Hopefully, by next week, the new 3D printer will be here - although really should be painting the shed…
I also think that I may have come up with a solution for the seized chain adjusters…
My cunning plan for sorting out the seized chain adjusters required the head of the bolt to be cut off and my cheap rotary tool managed it much easier than I expected.
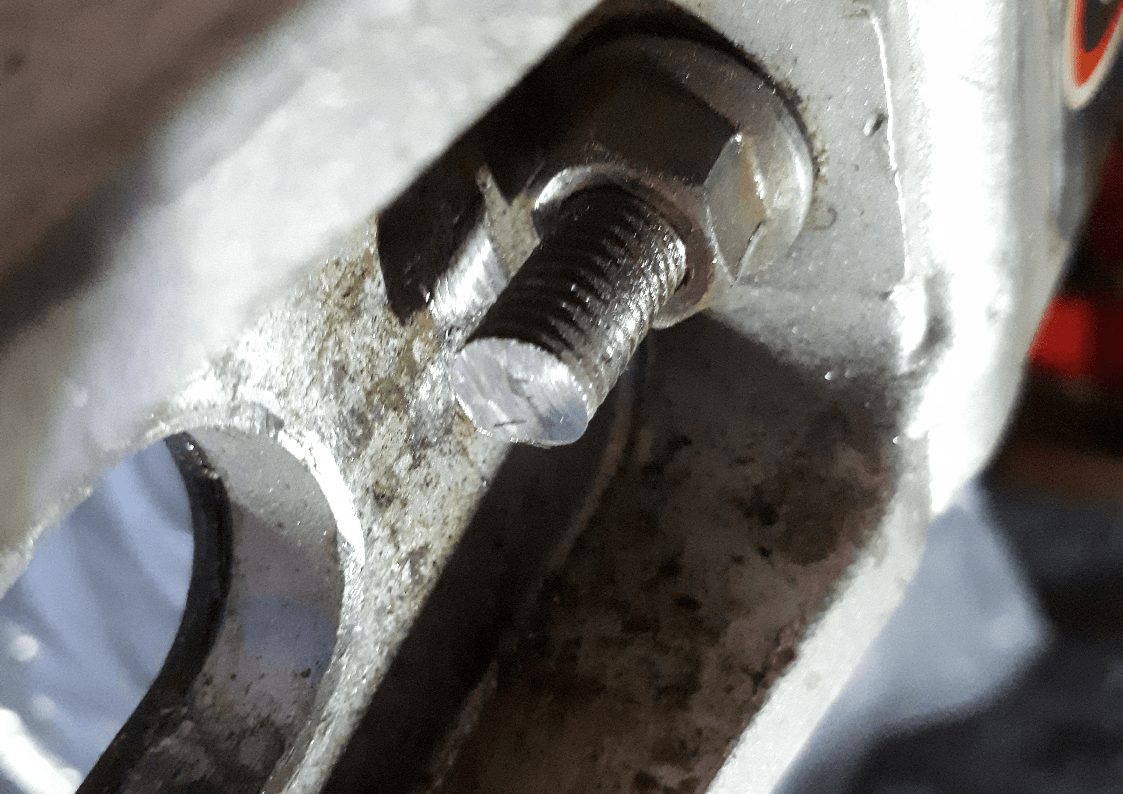
It only required one of these little cutting discs which surprised me as they usually wear out or break quite quickly. The curved aluminium went behind the bolt to stop me gouging the swingarm should the cutting disc slip.
Top tip if you need to shorten a bolt:- Thread a suitable nut on first. Cut off the bit of thread you don’t want. Tidy up the cut end and then remove the nut. It’ll clean up the threads at the cut end nicely.
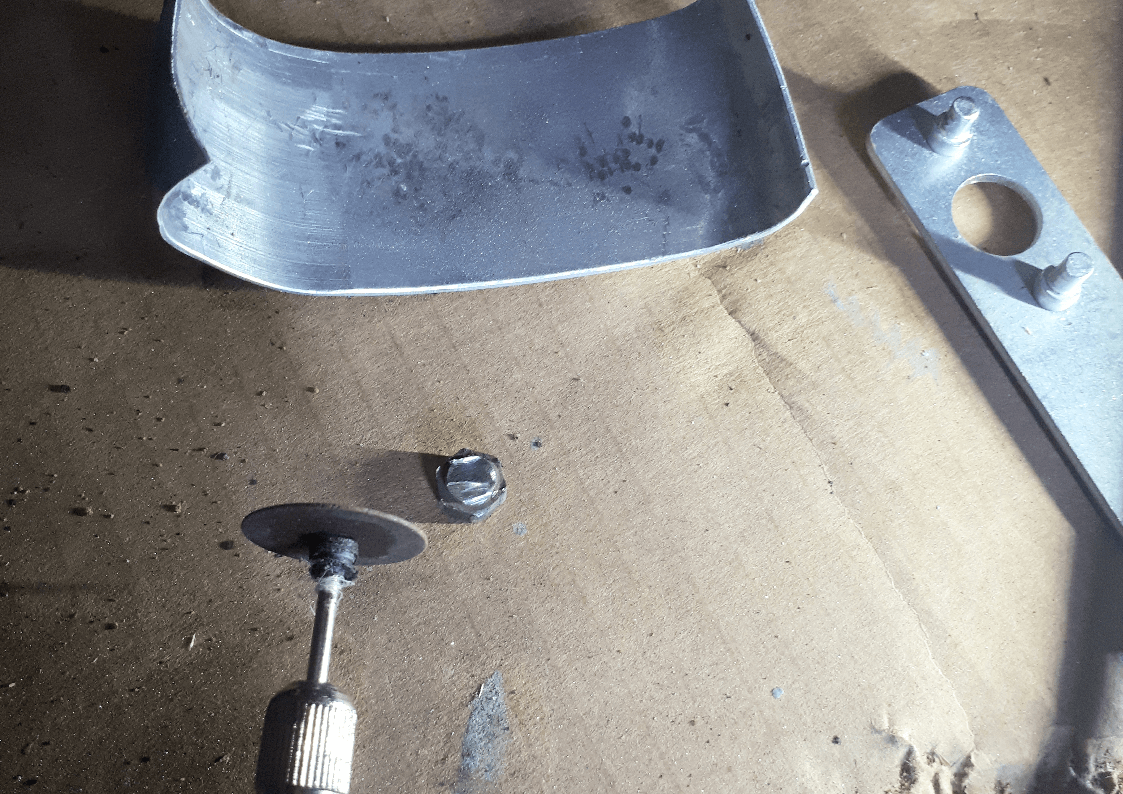
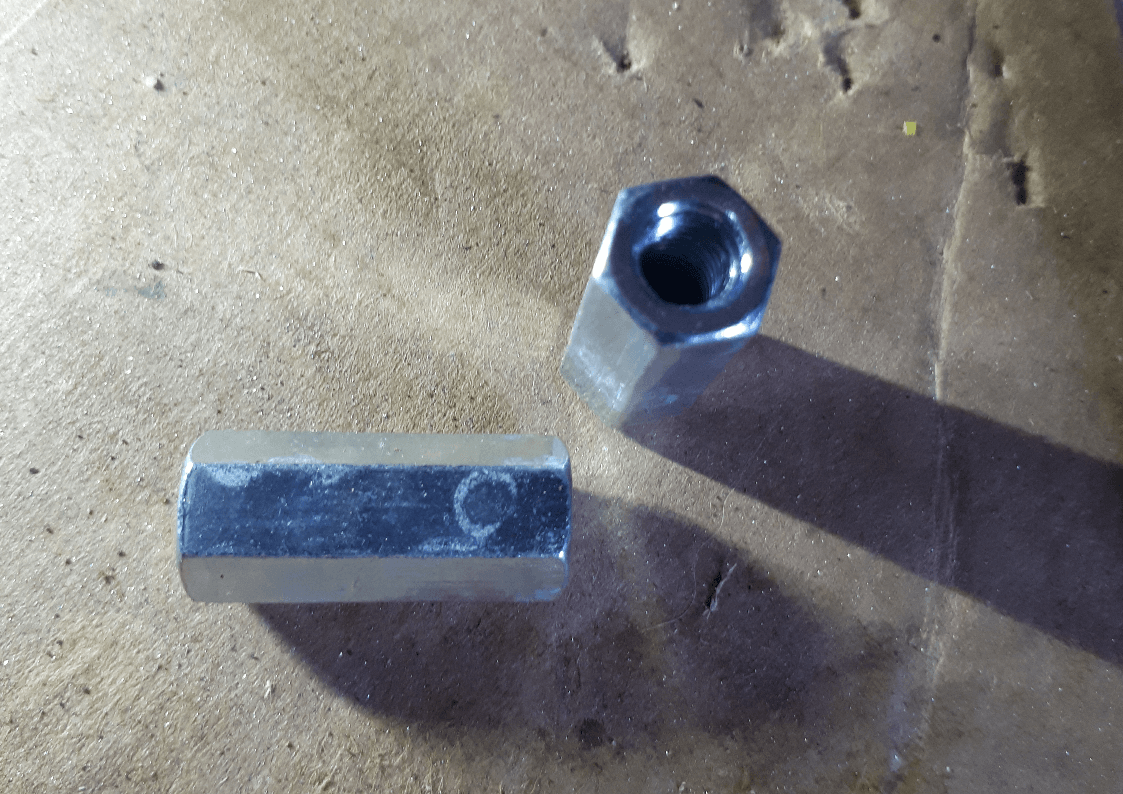
These long nuts were then supposed to be screwed on the (now headless) adjuster bolt. Screwing these up and down the thread will then adjust the chain tension. It would have worked except some idiot ordered M6 rather than the required M8 nuts!
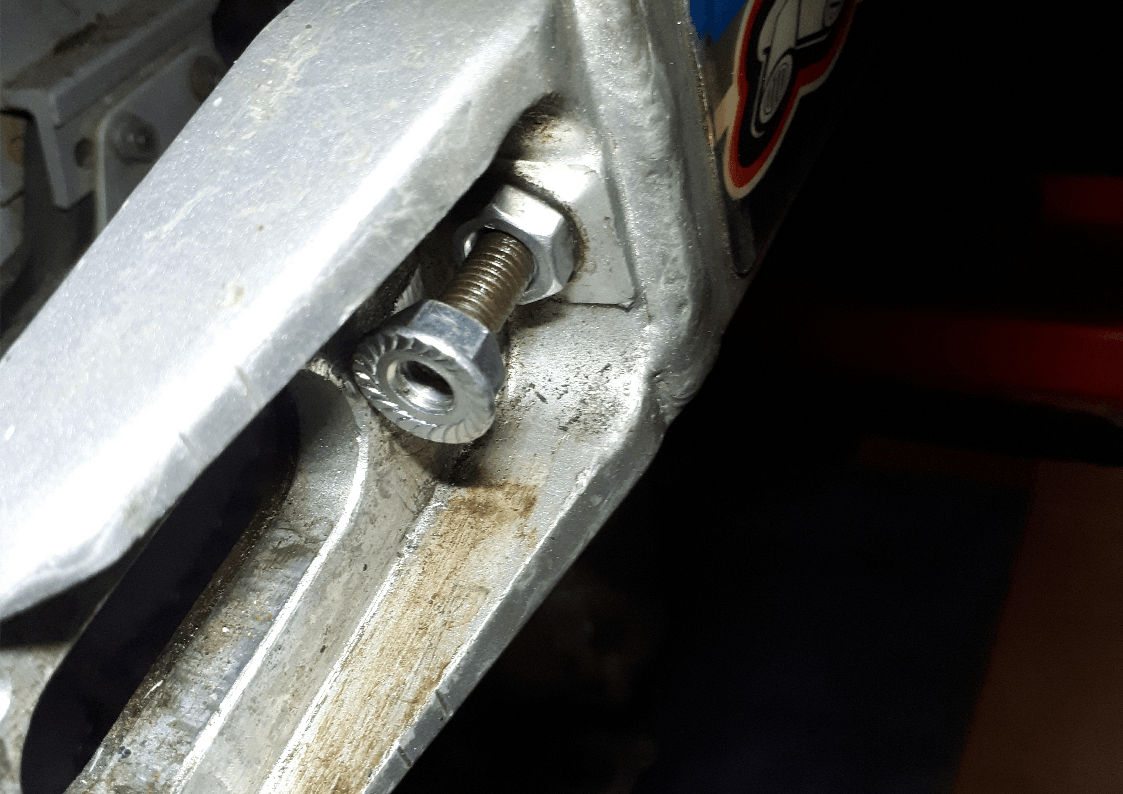
As I wanted to get the wheel back on the bike (so that I could move it!) I needed to find a substitute and so a couple of M8 flange nuts were used temporarily. The correct M8 long nuts have now been ordered!
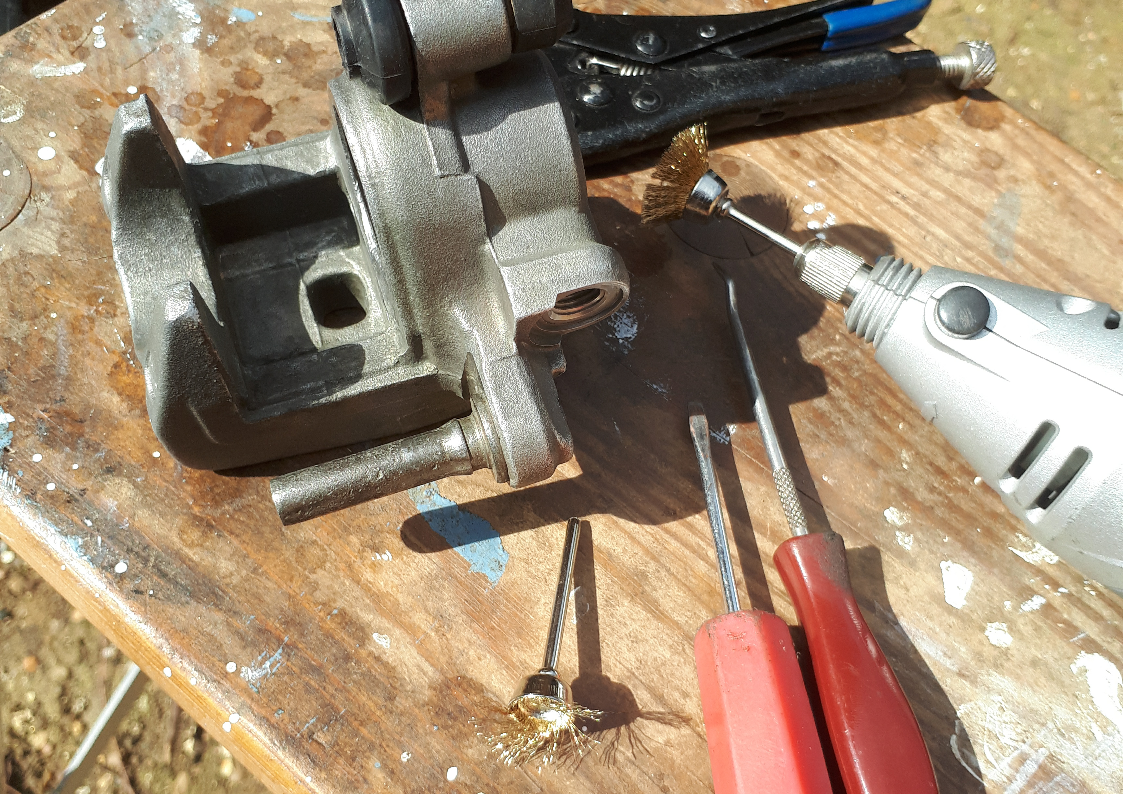
The new seals were put in the cleaned rear caliper…
…followed by the also freshly cleaned up original piston (lubricated with brake fluid).
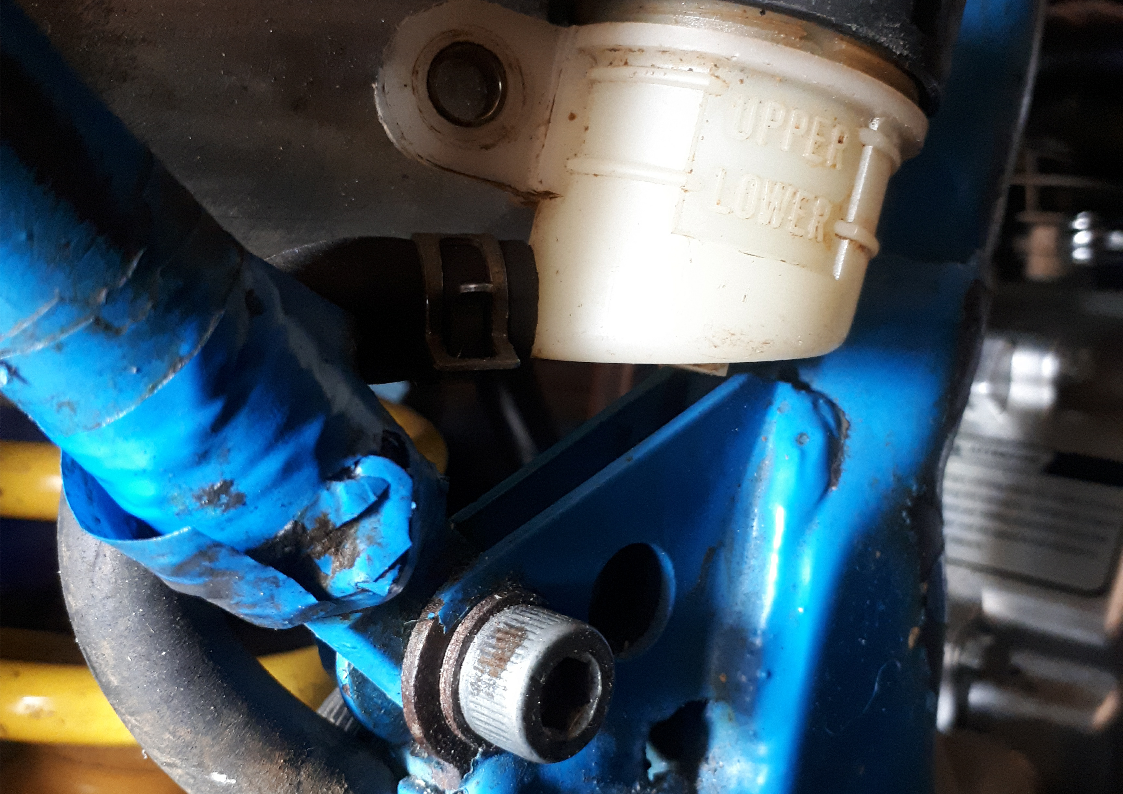
Finding a home for the master cylinder reservoir was a little tricky. In the end I decided it could go here. It tucks in reasonably well without ending up too close to the exhaust. I may make a little guard to protect it from accidental damage. What I will definitely have to come up with is a bracket to hold the reservoir in place - that subframe mounting bolt looks like it might be used to facilitate that.
With the pads and the pins back in, the brake system can go back on. It bled up easily with the Laser bleeding tool. I’m getting the hang of using this now. It does seem to use a lot of fluid to get the job done but as even the smallest bottle of brake fluid contains far more than you need, it’s not really a problem.
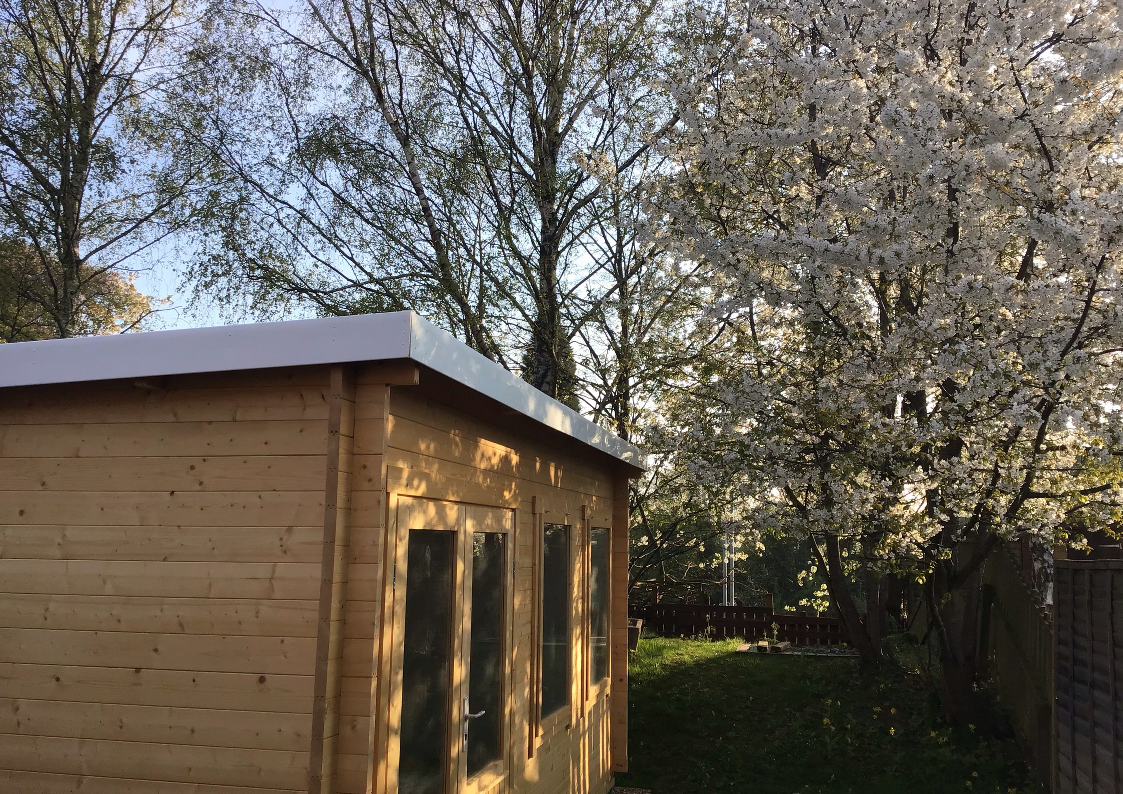
I didn’t escape completely from working on the shed. It now sports some shiny fascia boards, but as you can see, I still haven’t painted the outside.
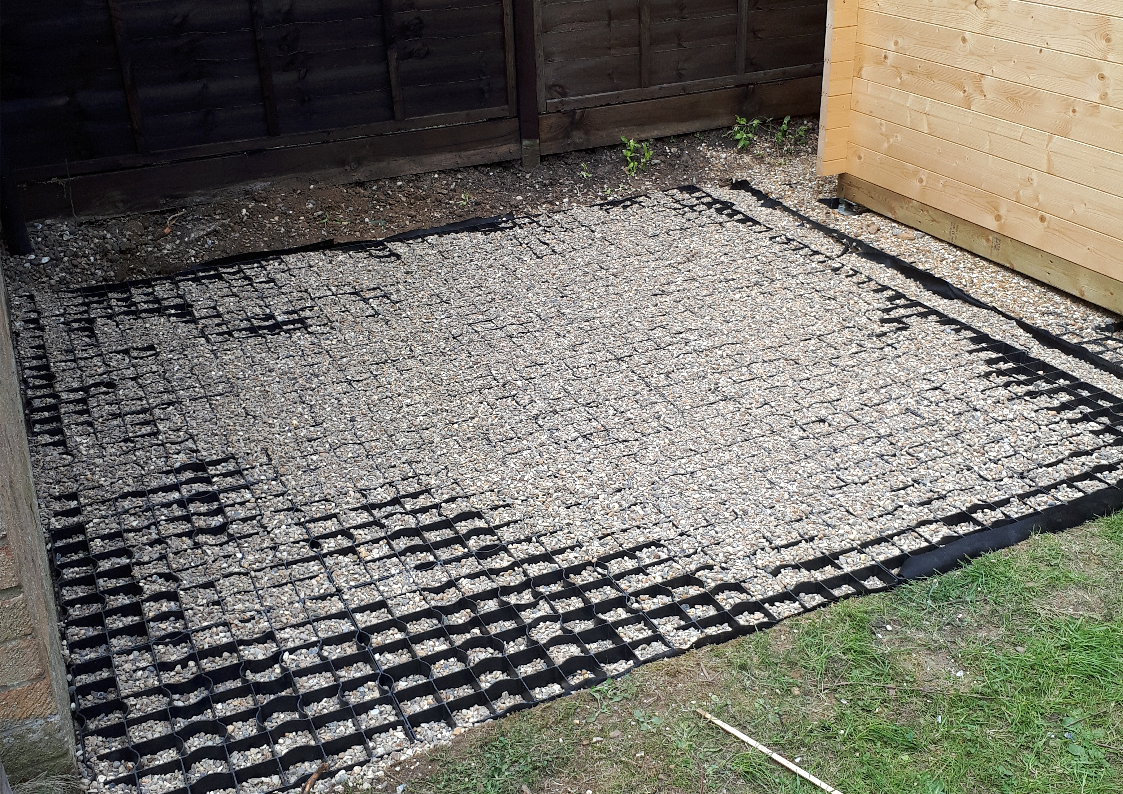
And here’s the start of shed number 2. This isn’t as big or as fancy because it’s only got to house the bicycles and they don’t quite get the same level of care that their motorised brethren do!
The new 3D printer has also arrived but as yet I haven't had an opportunity to have a play with it.
Maybe next week...