Monday Articles - March 2022
Scroll down for latest instalment
A little progress on the dirt bike build this week as the weather has been too wet to allow me to continue working on the shed.
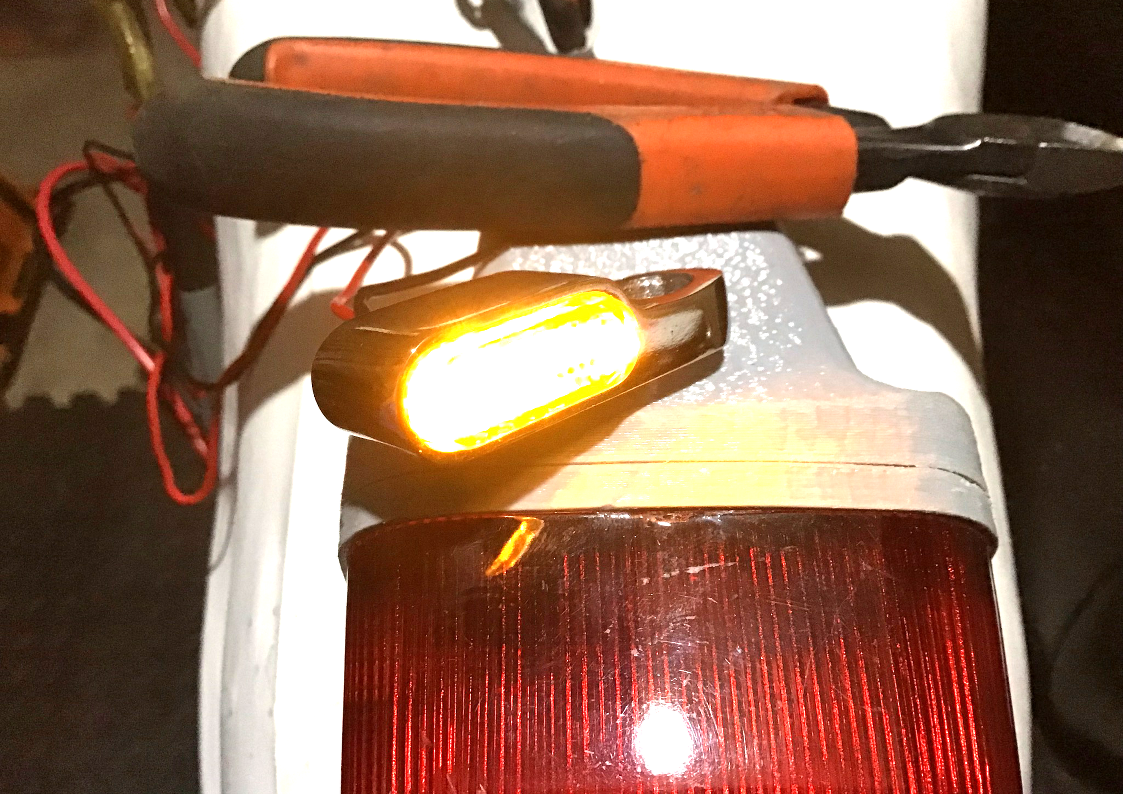
Much searching of the internet finally resulted in finding some led indicators that I actually liked! These are tiny, with nicely made aluminium housings. I’m hoping to incorporate them in the headlight / front number board unit at the front and on a small tool bag rack at the back.
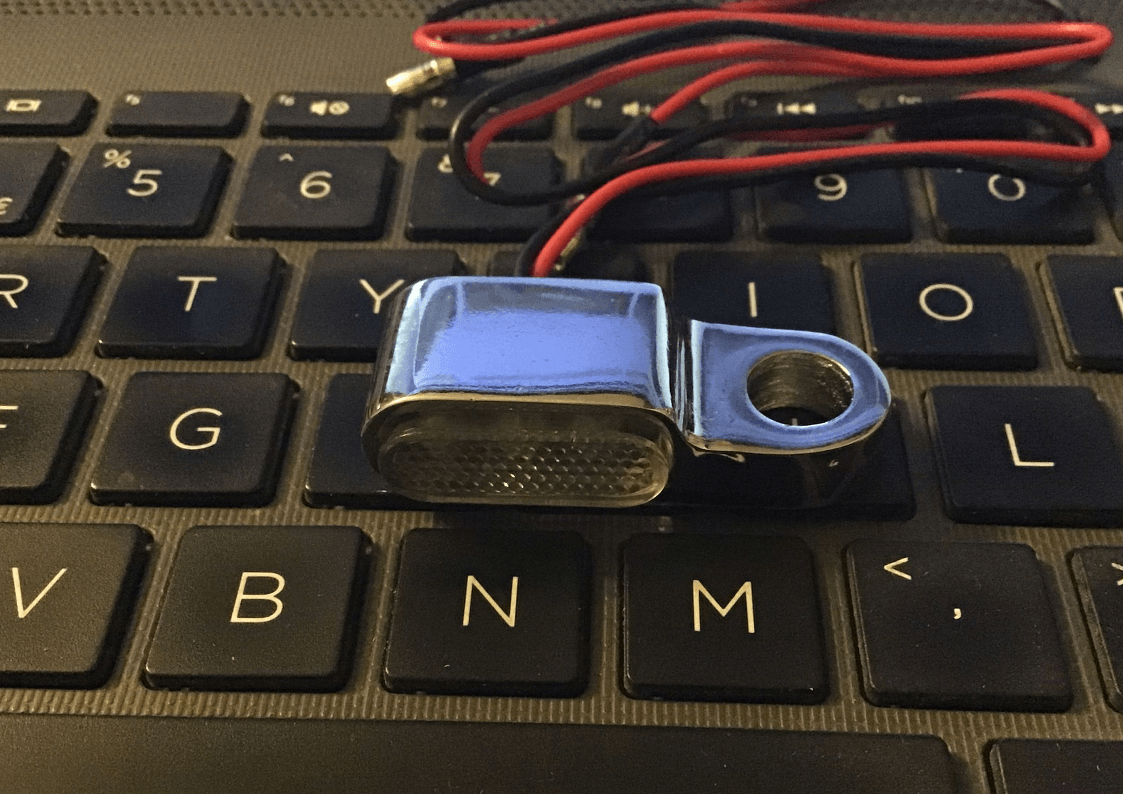
They seem bright enough despite their small size.
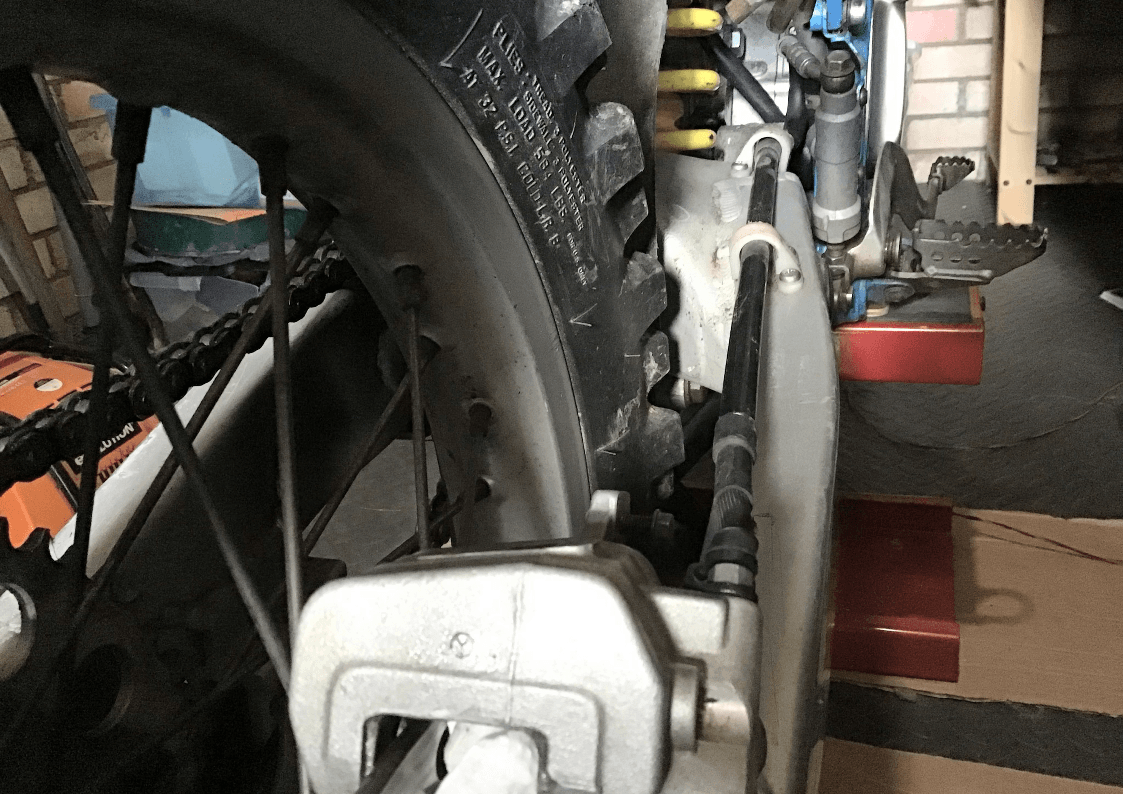
Back to the rear brake. I couldn’t pump the piston out from the rear caliper because the master cylinder had seized. It’s not a pretty sight! Some circlip pliers are needed to remove the actuator rod.
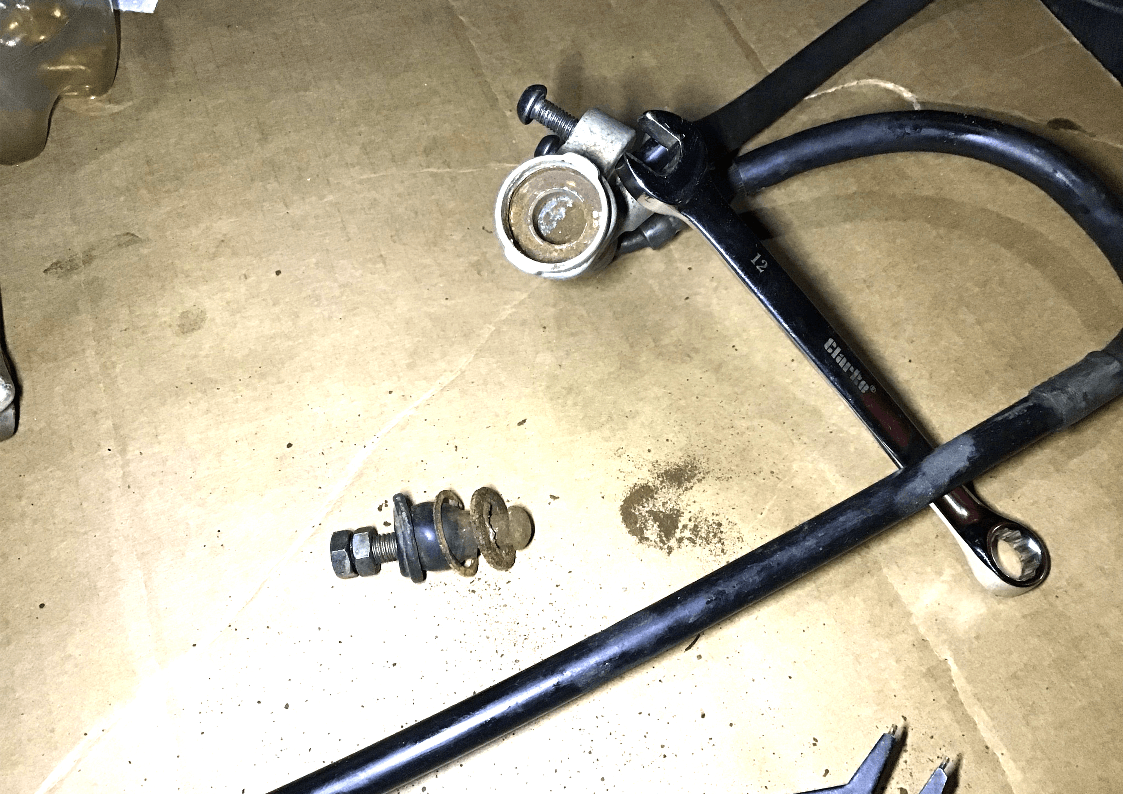
A bit of brute force was required to then remove the piston.
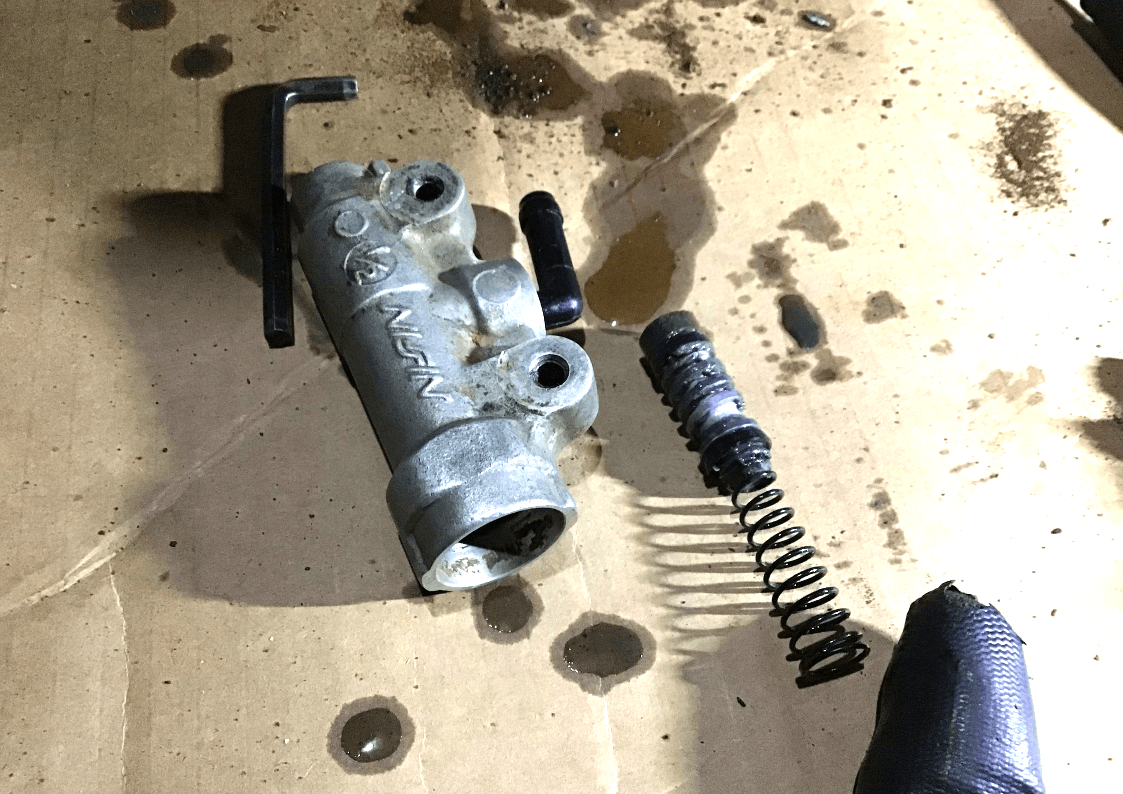
All of the parts were then cleaned up and stuck back together just to see if it would work…
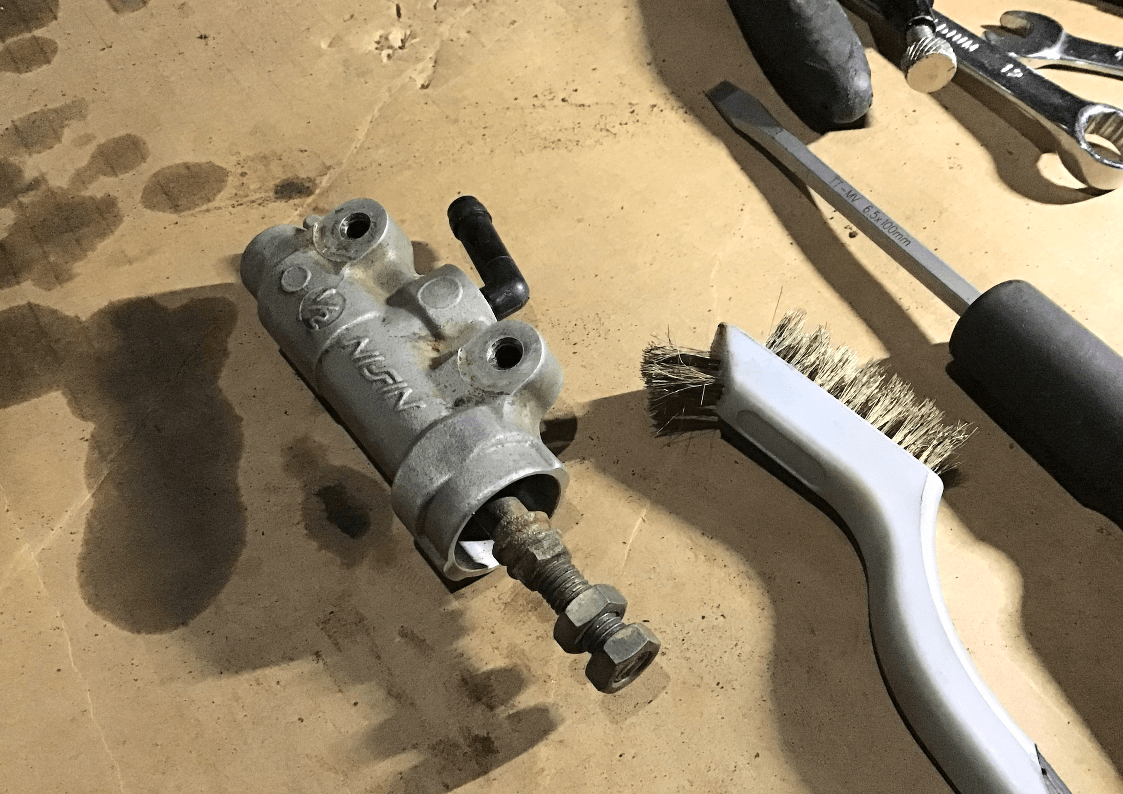
… and, with the master cylinder and caliper connected back together, surprisingly, it worked and pumped the piston out. I even got on better with the Laser brake bleeding tool this time. Piston looks like it will clean up okay. The caliper will get new seals, but as the master cylinder seems to be working, I’ll leave it as it is, for now.
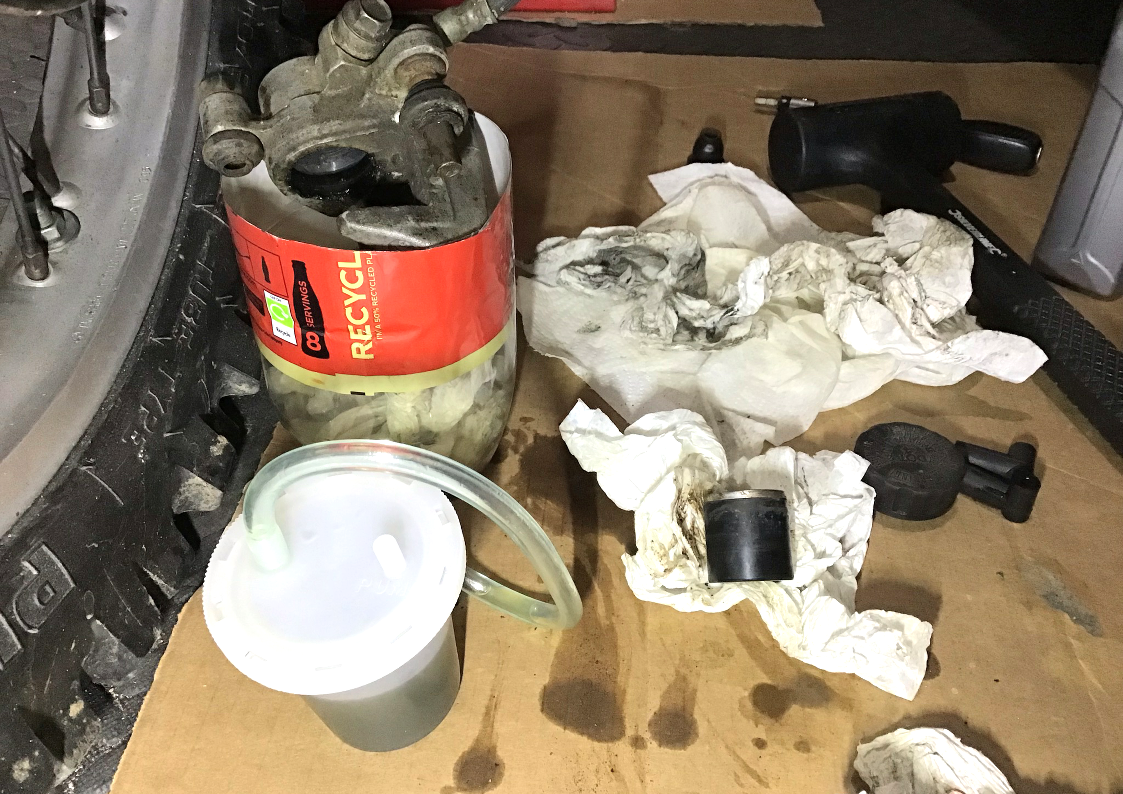
Initially I thought the rear brake hose would be too long, but, correctly routed, it looks like it will be fine. It’s a 26 year old rubber hose though, so it’ll be changed in due course. So far it’s looking like the rear brake isn’t going to cause as many problems as the front…
New workshop is starting to take shape…
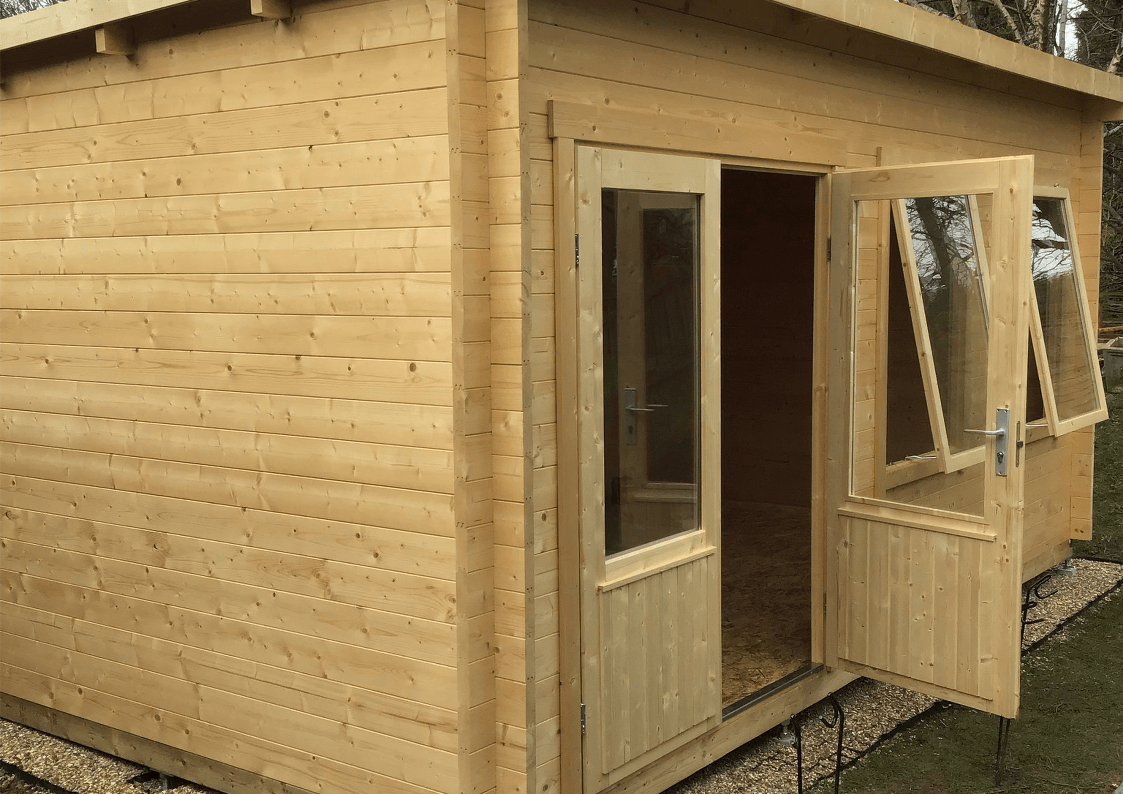
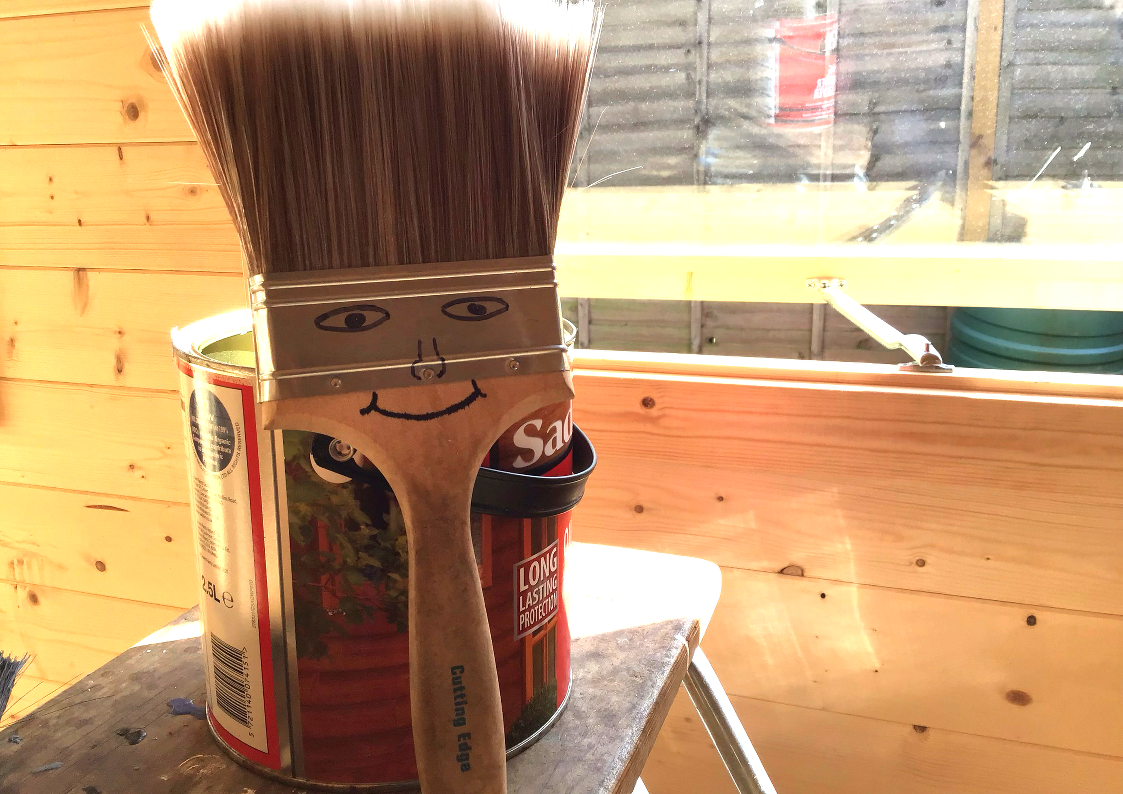
…but I’ve still got to spend a lot of time with Mr Brushie here as everything needs two coats of wood preserver, followed by at least two coats opaque wood protection. Hopefully this should mean that it will last a long, long while.
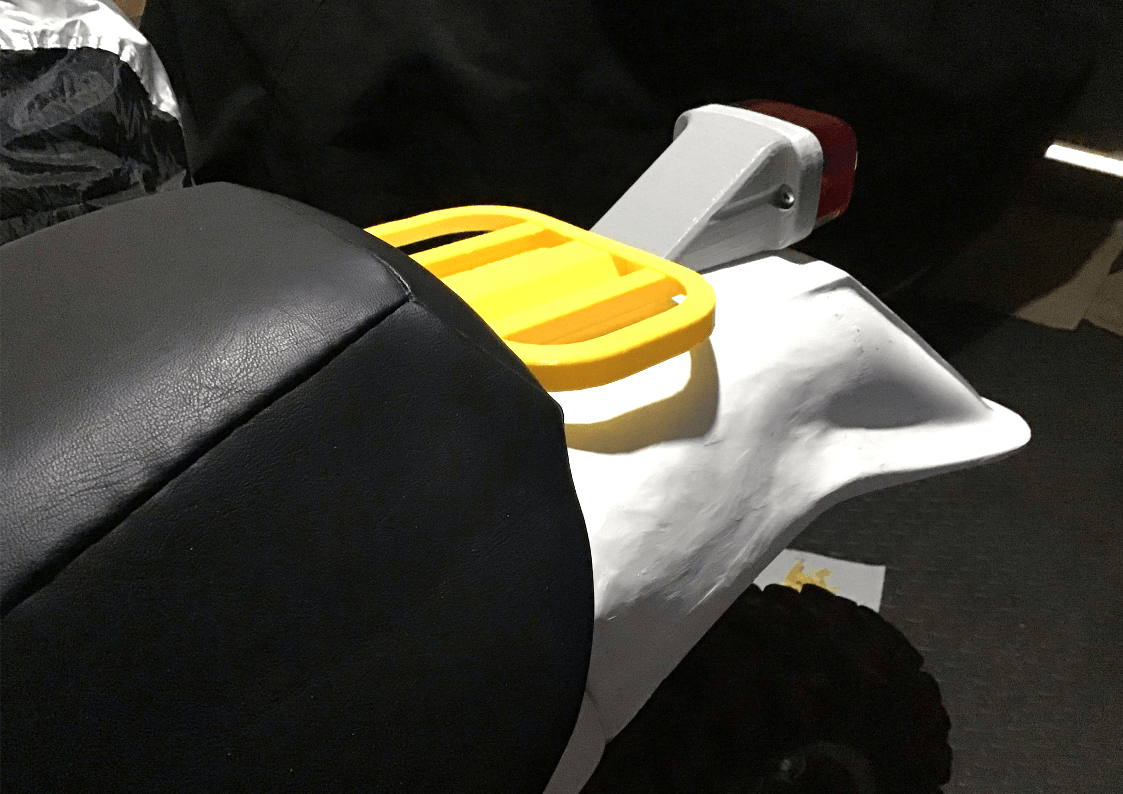
In the spare moments (between coats of wood preserver) a prototype rear rack has been designed and printed. The intent was to replicate the final design in steel, but the plastic is pretty rigid, so I may just go with that. I do, however, need to modify the design. It’s the right size and shape (ish) but the bag I’ve subsequently chosen doesn’t fit.
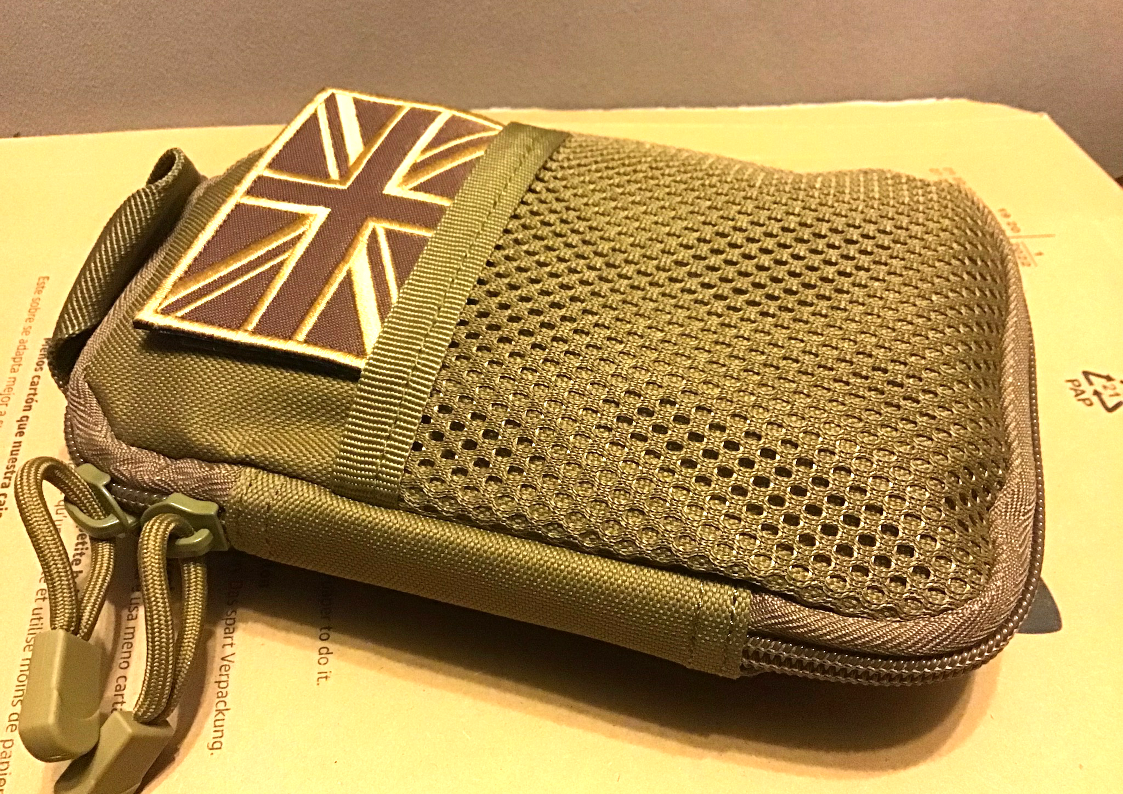
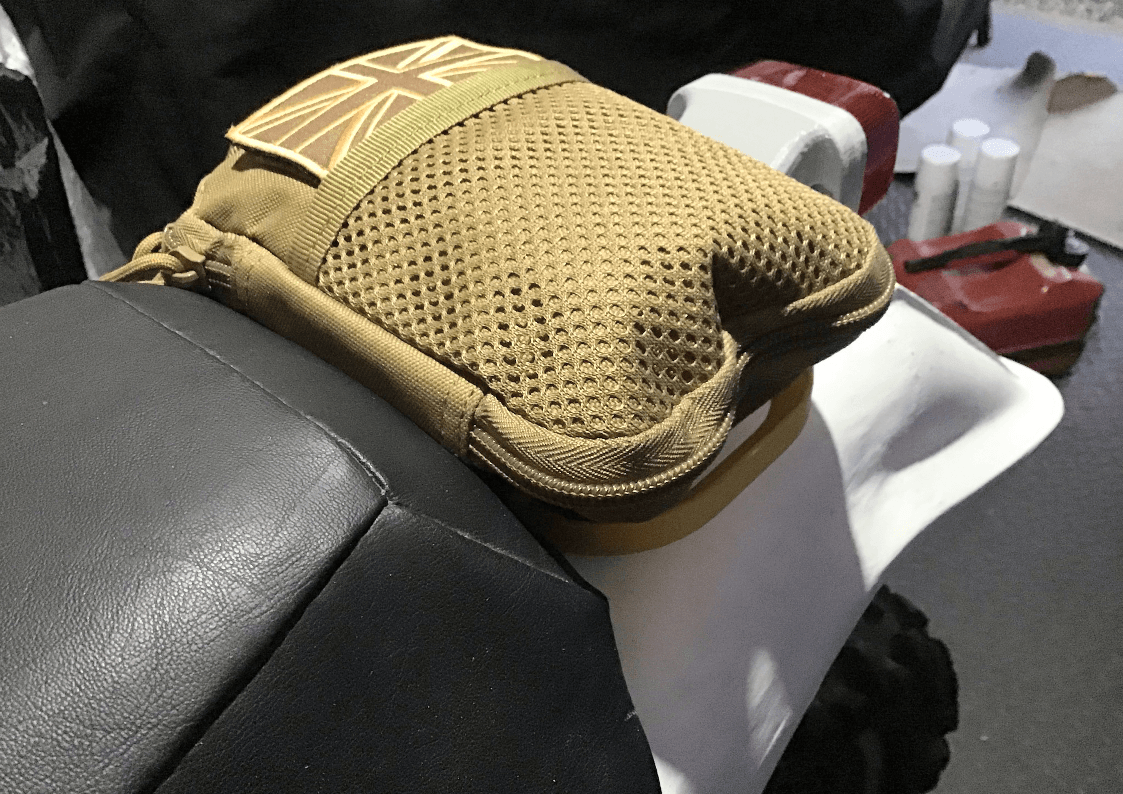
I looked at a lot of rear mudguard (fender!) bags, but didn’t find one that met my size/ shape/ budget requirements. Instead I chose a cheap rucksack pouch compatible with the MOLLE system (that doesn’t matter much here, but it does mean that it comes with a couple of snap fitting straps that I intend to use to mount it to the rack). It was cheap and cheerful at £6.99 from Amazon.
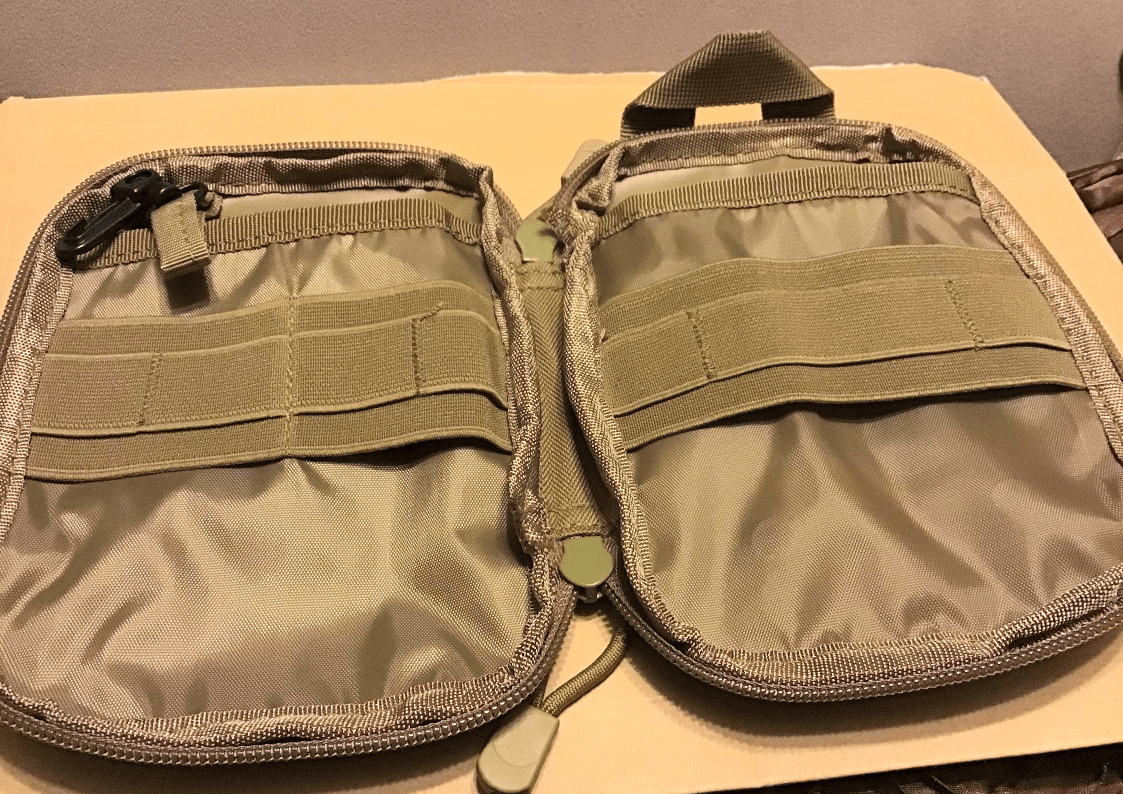
Inside it’s got a couple of pockets and some elastic straps and should be big enough for a rudimentary tool kit.
Unfortunately, it doesn’t fit the rack as I’ve currently designed it!
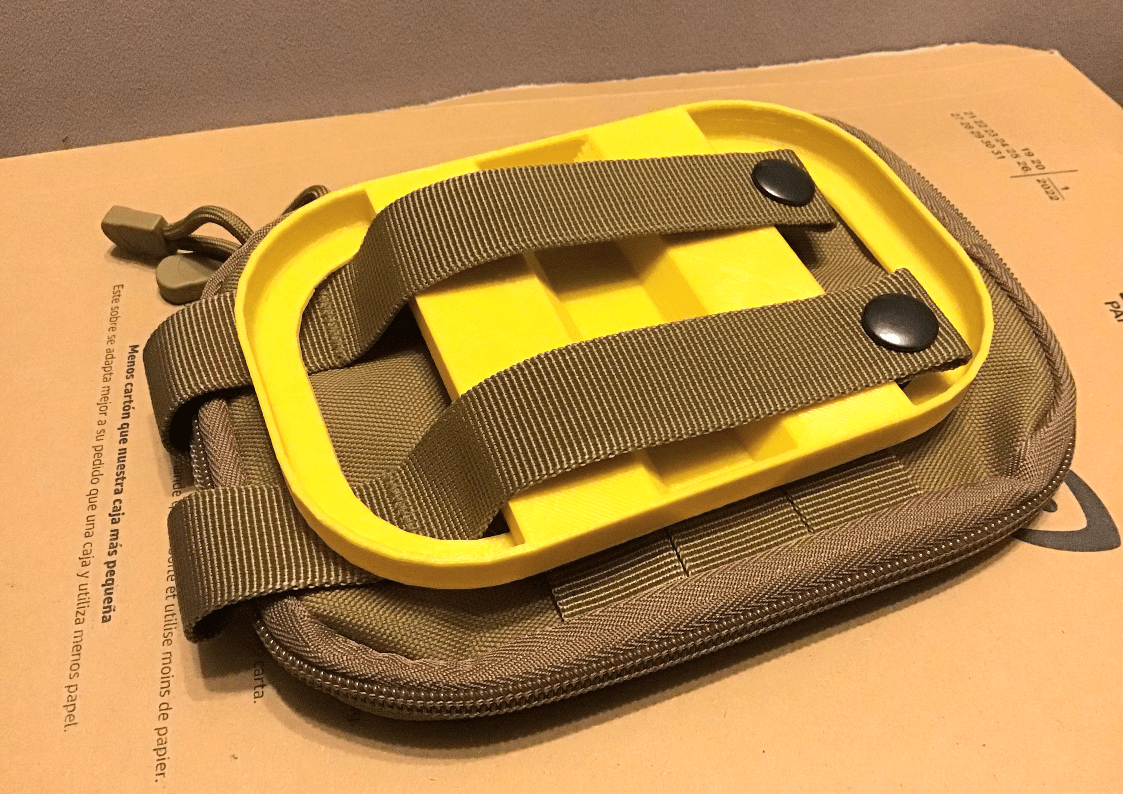
But, if I turn the rack the wrong way up, it will snap on, so I can at least offer it up to the bike and see how it looks.
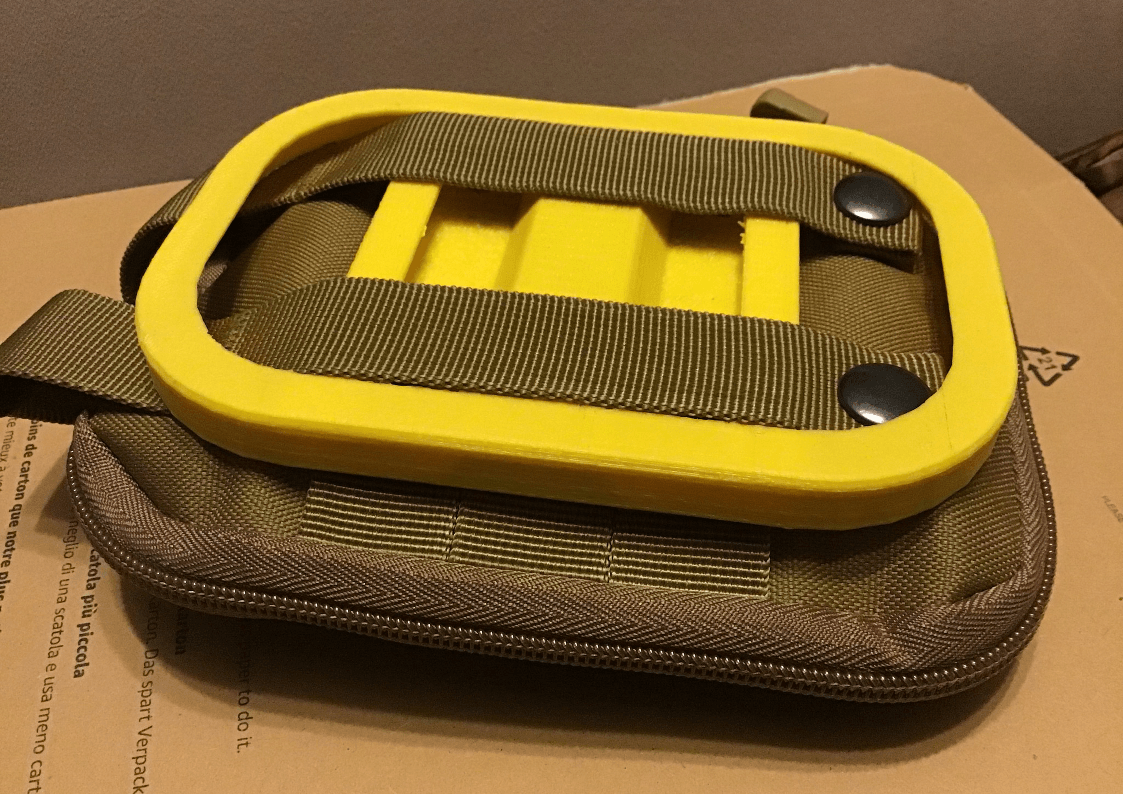
It will look okay and it fits the gap, but probably the yellow plastic needs to be replaced with a more suitable colour and the webbing loop at the top needs removing. Otherwise, it’s looking promising.
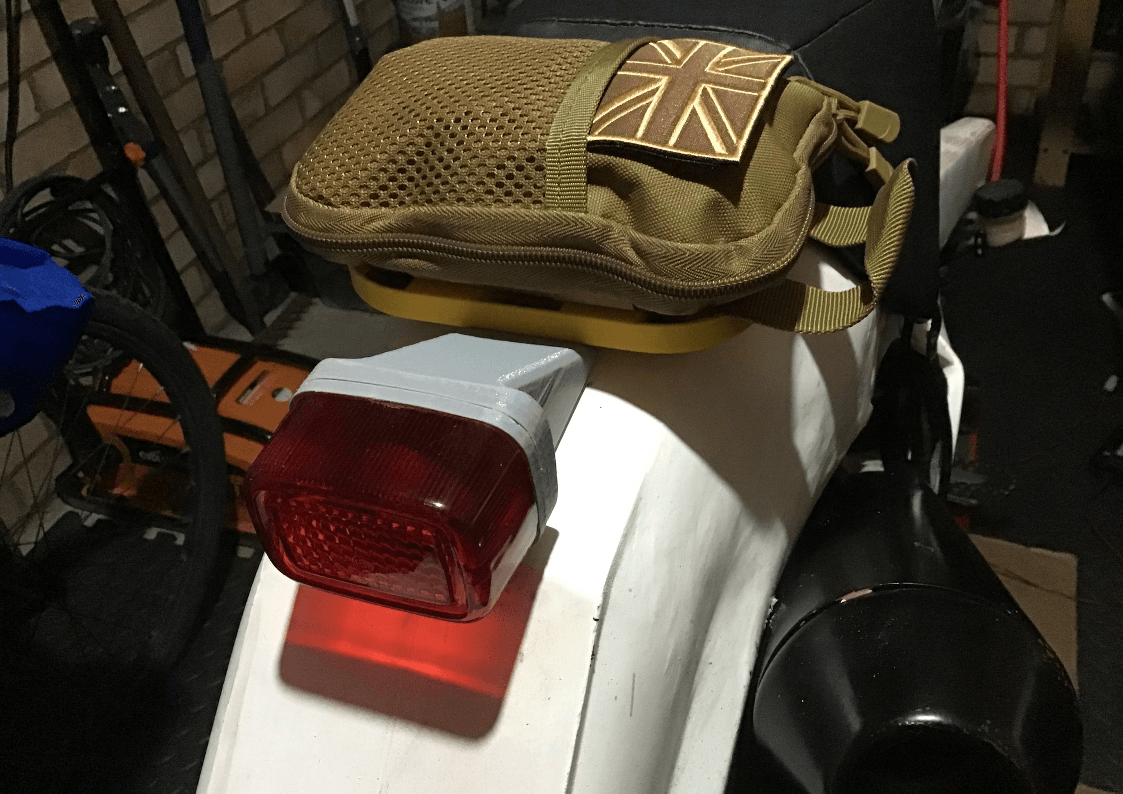
I like the look of the bag. I might get another to mount on the front mudguard…
Now I need to work on the rear rack design to better accommodate the bag and perhaps also the indicators. The MSVA test has several stipulations on their positioning. Height should be between 350mm to 1200mm. They must be a minimum of 180mm apart and a maximum of 300mm from the rear of the bike.
Plenty to think about while I’m painting the shed…
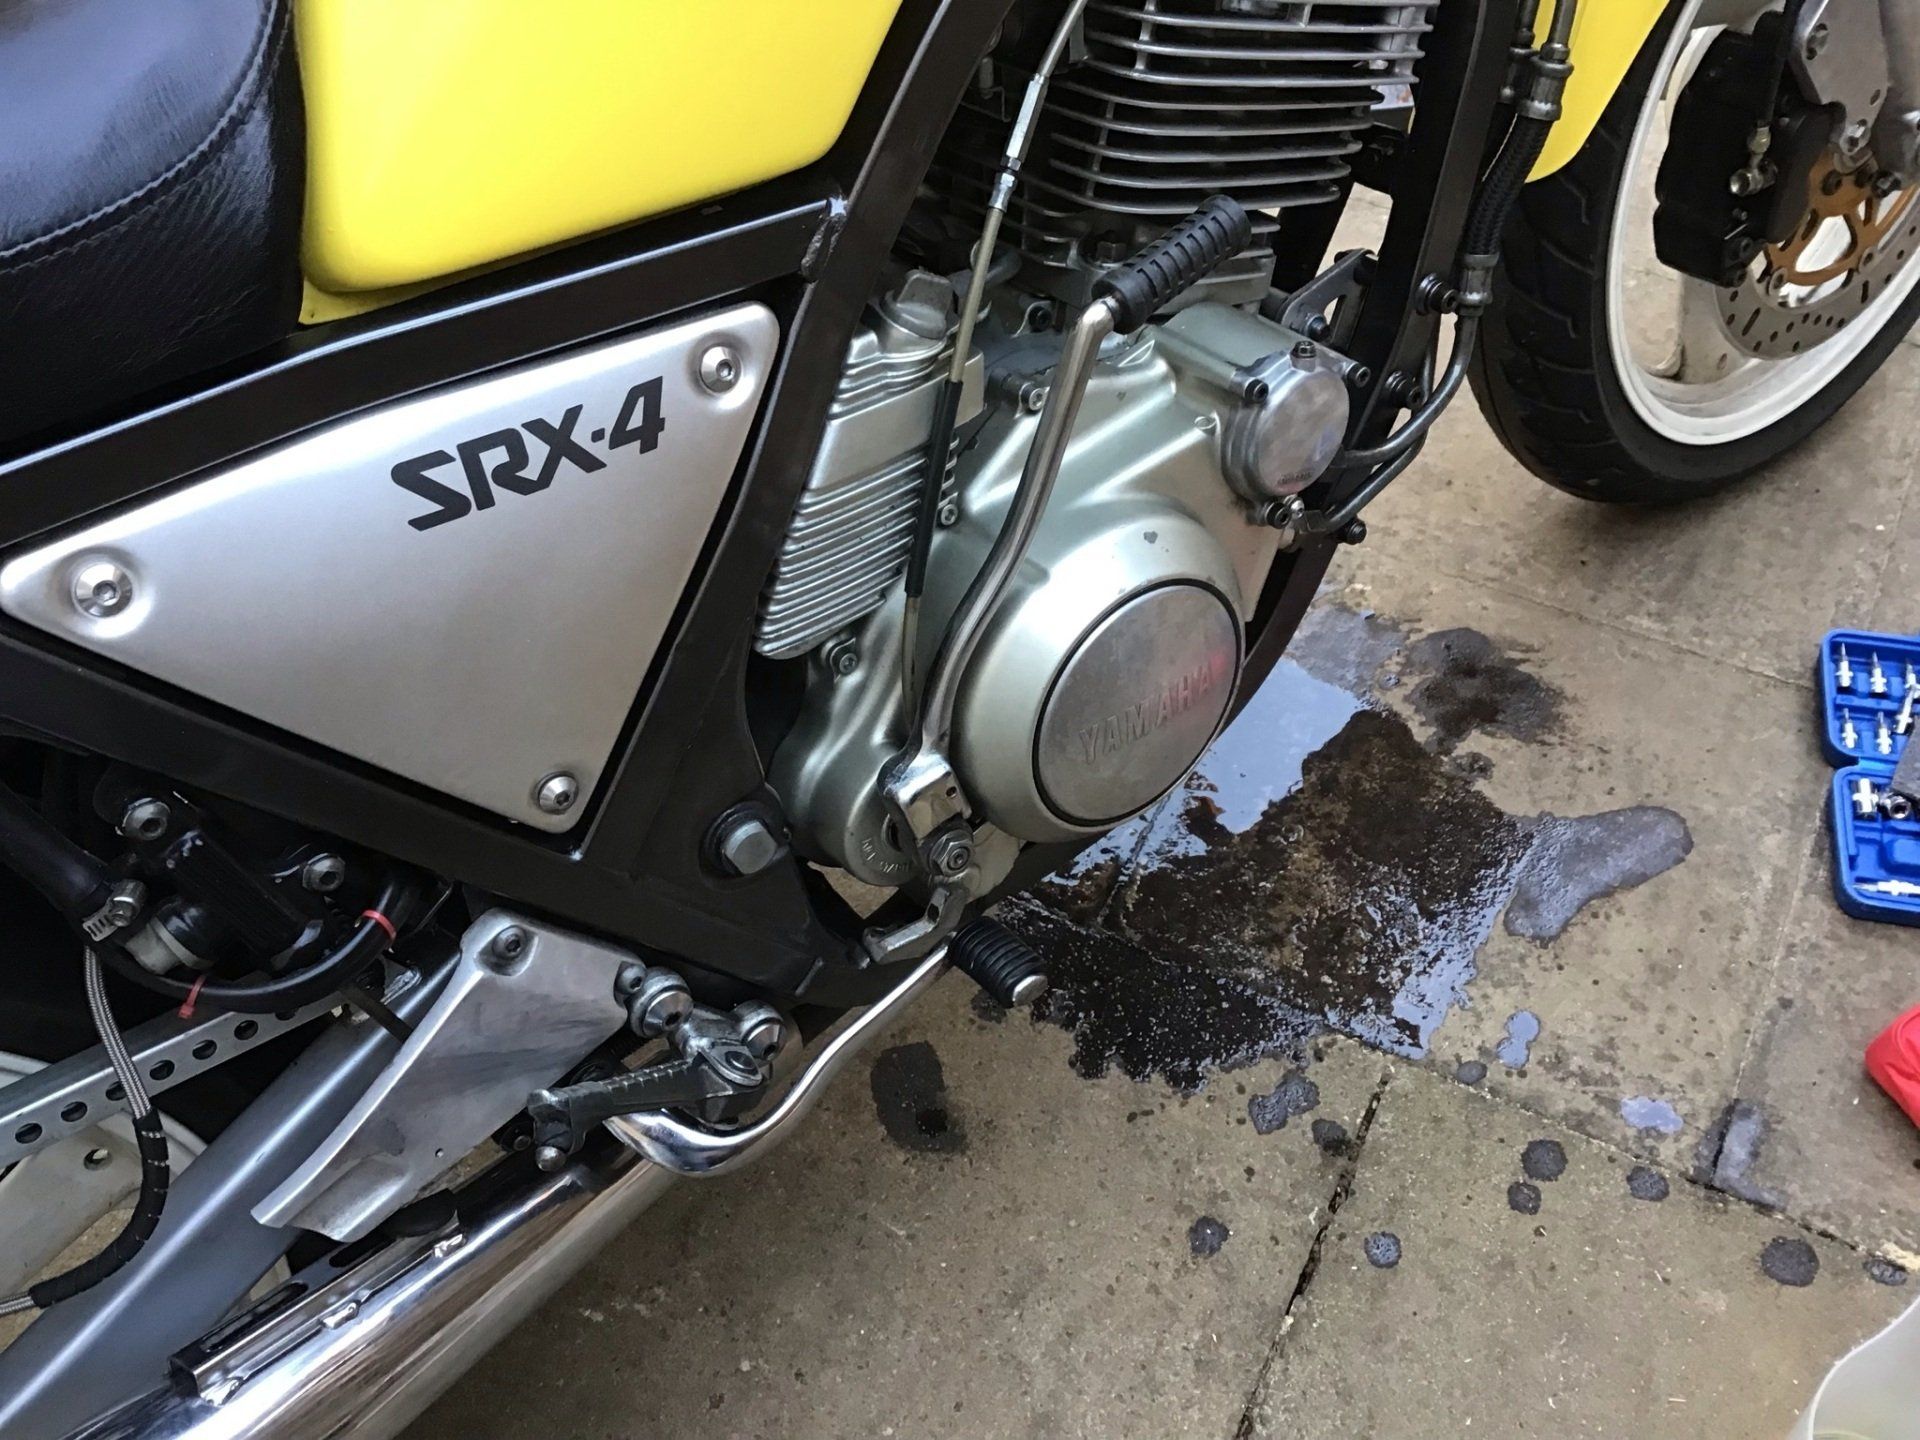
Not much progress to report this week, but the new workshop now has its EDPM roof covering fitted and the elderly Yamaha has had an oil change. Twenty six years I've had this bike. You might have thought that by now I'd be able to do this without making a mess, but apparently not!