Workshop Blog
August to November 2023
At last I’ve managed to not only do some work on the project bike, but now, I’ve actually managed to write about it too!
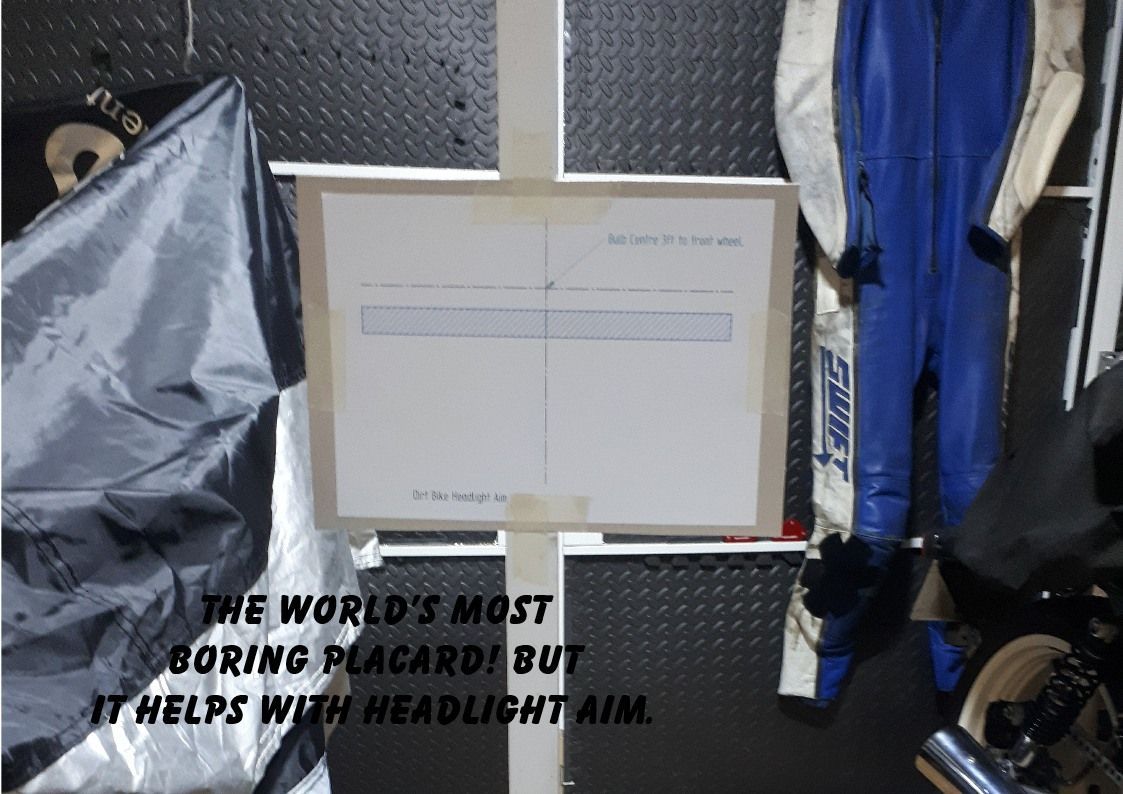
The latter part of the year in the UK has seen a lot of marches and demonstrations and, not to be outdone, I’ve made my own placard.As you can see, it’s message is illuminating. Well it is when I turn on the headlight of the project bike, because this placard is all about trying to set the dirt bike’s headlight aim.
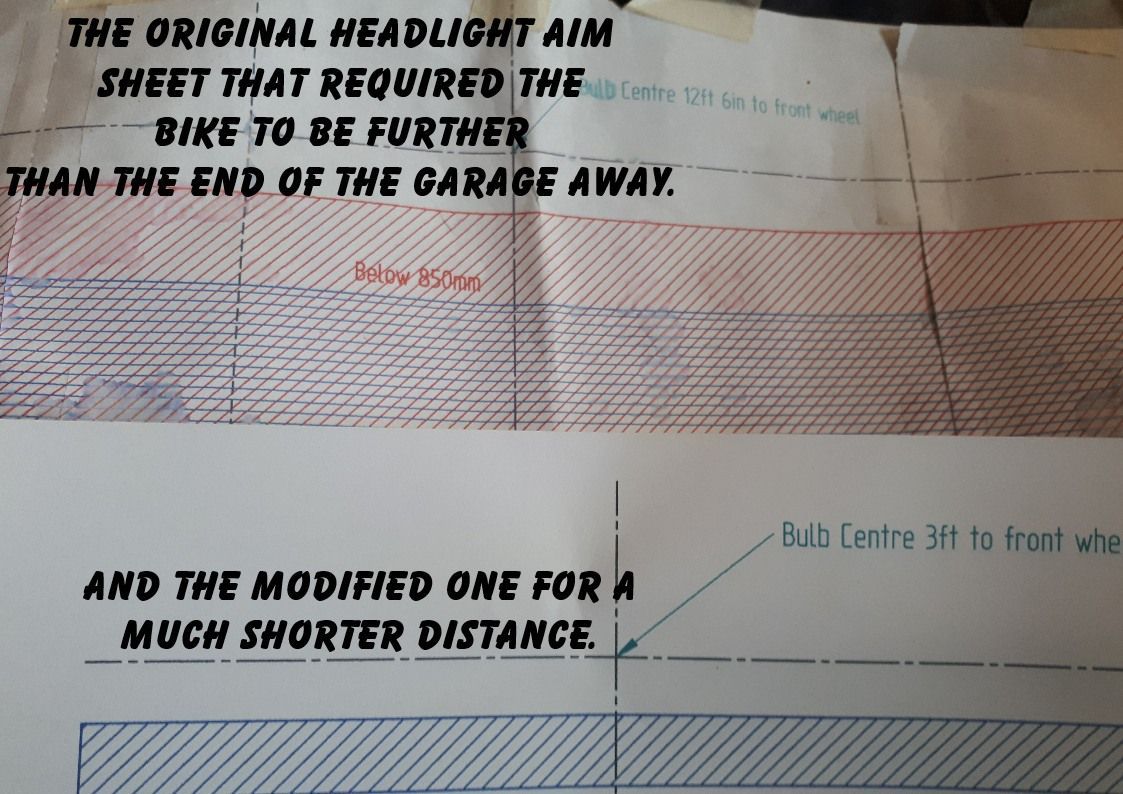
I had a sheet that I made up after watching a youtube video from Delboy’s Garage explaining headlight aim. This worked well when setting up the IBiiS project and has been used numerous times since when headlights have been swapped etc., but it requires the bike to be positioned 12 and a half feet (or 3.81m) away and currently the dirt bike is tucked in the corner of the garage. Reluctant (too lazy) to move it, I set about working out what that drawing would look like if it was a mere 3 feet (0.91m) away. The result was a very narrow band, but hopefully it’ll give me some indication as to whether my headlight is pointing in the right direction.
Long story short, it isn’t, but before I could even get to that conclusion, I needed to set the suspension sag to suit my lardy weight. (Actually now less lardy after a visit from the diarrhoea and sickness bug. It’s an extreme form of dieting which I don’t recommend!) The dirt bike has been left with approx. 9 inches (229mm) of suspension travel (having been lowered to suit my short little legs). Ballpark figures suggest that unladen sag on a dirt bike should be around 10% of available travel, with laden sag at around 33% for the rear, 25% for the front. Trying to measure laden sag without an assistant involves tape measures, cable ties, excellent balancing skills and bodily contortions, but I think I now have the suspension adjusted close enough for this purpose and it confirmed that I need to make the front cowl position (and hence the headlight) adjustable to get the light aimed where it needs to be. So that’s another thing to add to the list of things to think about...
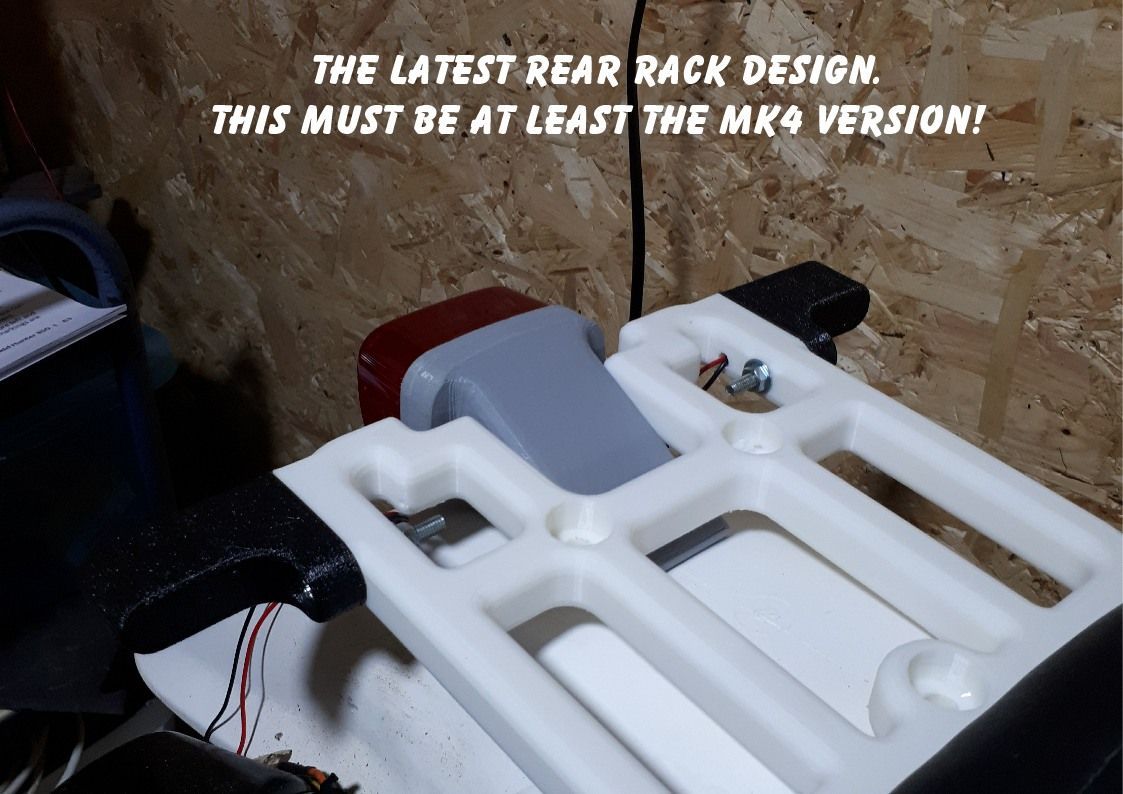
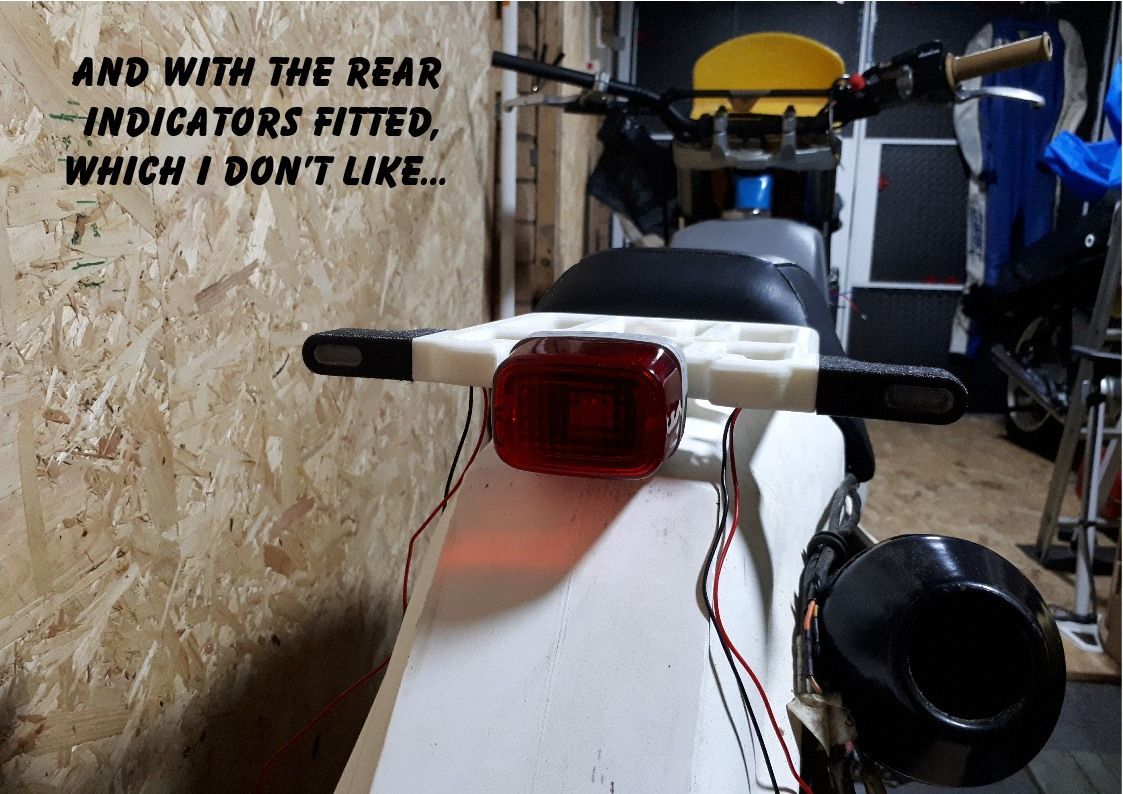
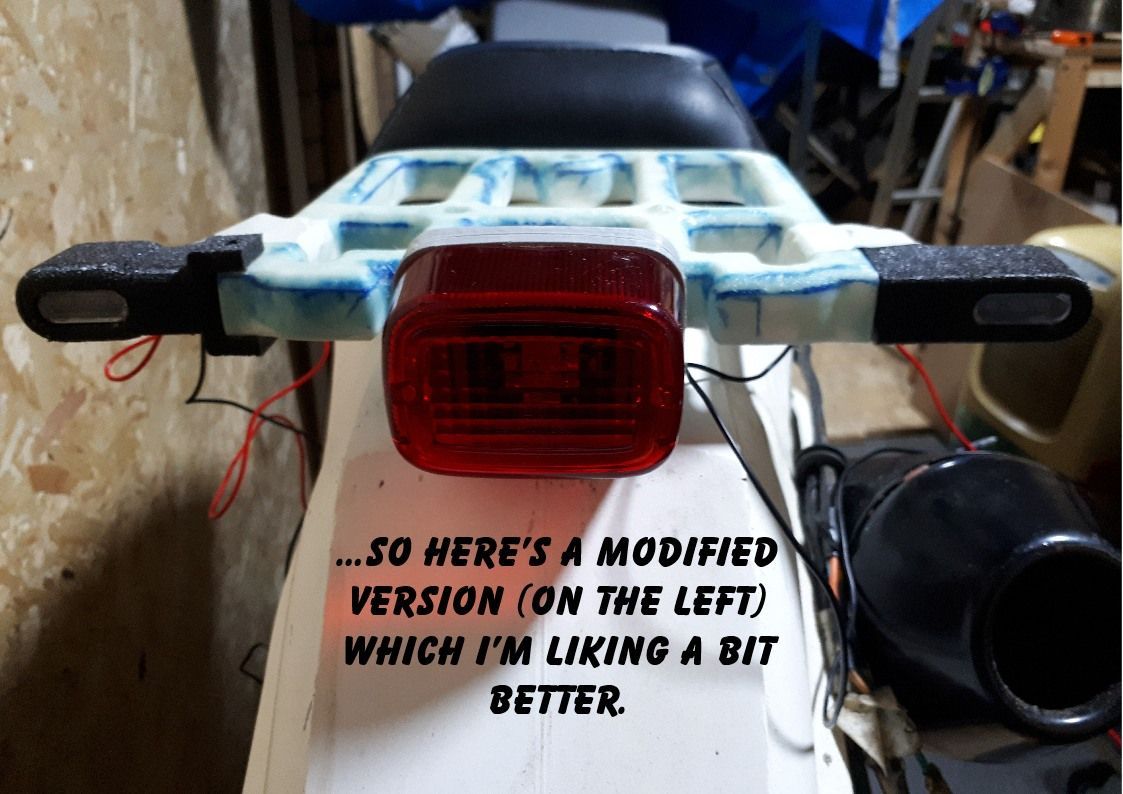
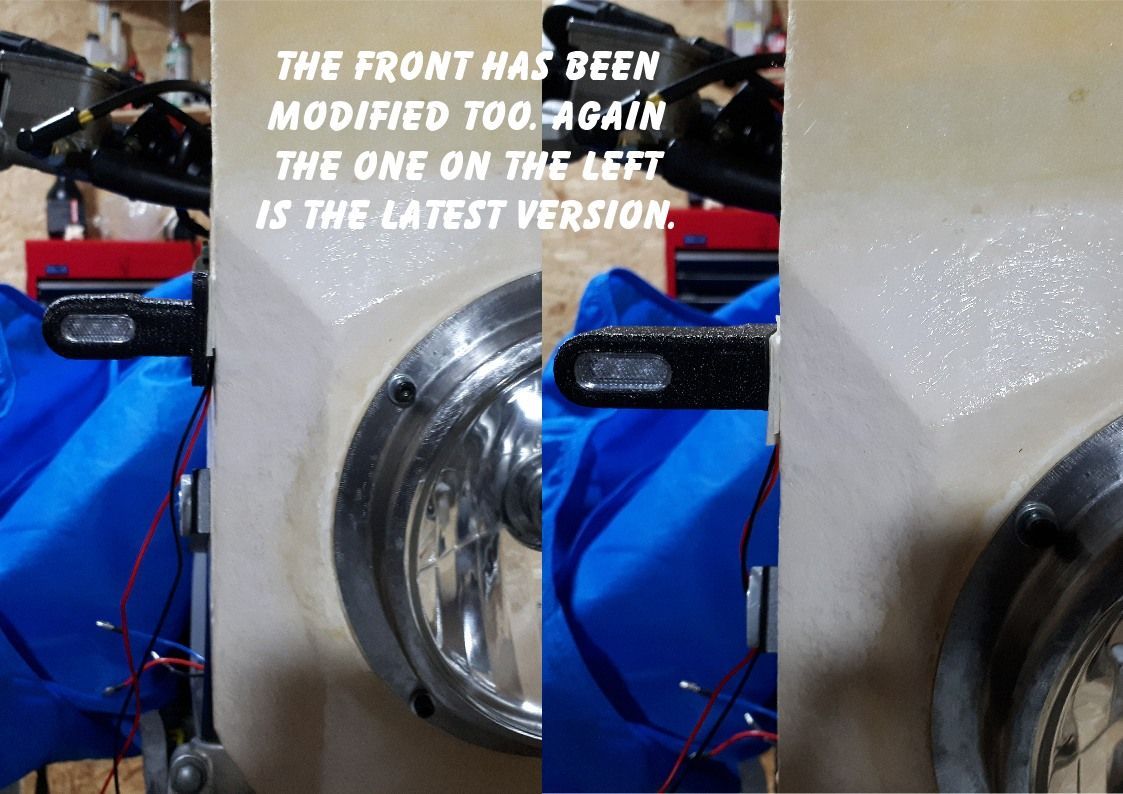
Elsewhere, time has been spent revisiting bits of the bike that I’m not happy with. In this case it’s the indicators, the rear rack, the front brake (for performance) and all of the brakes for cosmetic reasons (condensation issues in the garage last winter sent them all furry!)
To this end, I have 3D printed yet another rear rack design and a couple of different indicator designs.
I’ve also purchased a rebuild kit for the front master cylinder and a small quantity of Cerakote to try painting the calipers with.
Now I need to actually get on with these jobs. But it’s cold outside and time spent in the garage or shed is a chilly occupation. Hence I have bought a heated waistcoat to make life I outside more tempting. (Watch out for a review of that soon - if I get time, maybe…)
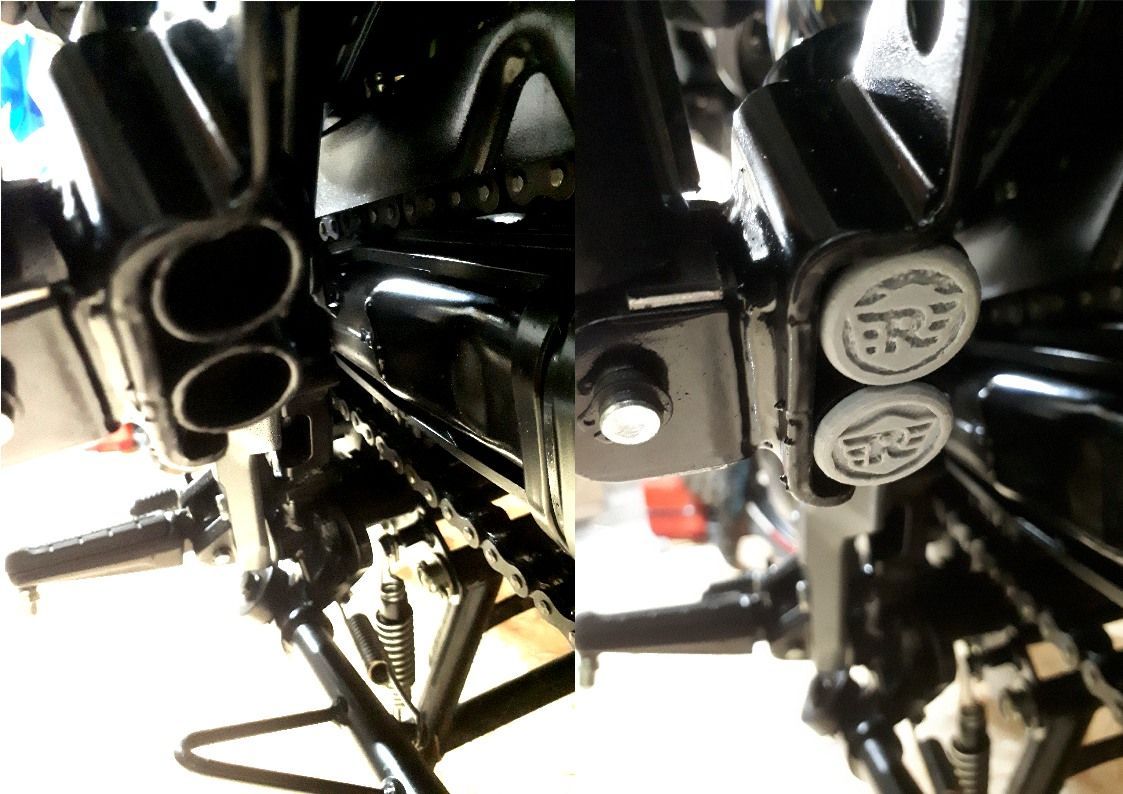
The Royal Enfield Hunter has also had a little attention, apart from having it’s pre-winter wash and application of ACF50 (one day I will get the hang of spraying this stuff on!) I also made some little bungs to go in the open ends of the frame rails under the seat to compliment those that I previously made to go in the ends of the pillion footrest hangers. I’m also working on some other bits for the Hunter that may / or may not ever get finished! So you may, or may not get to see them one day...
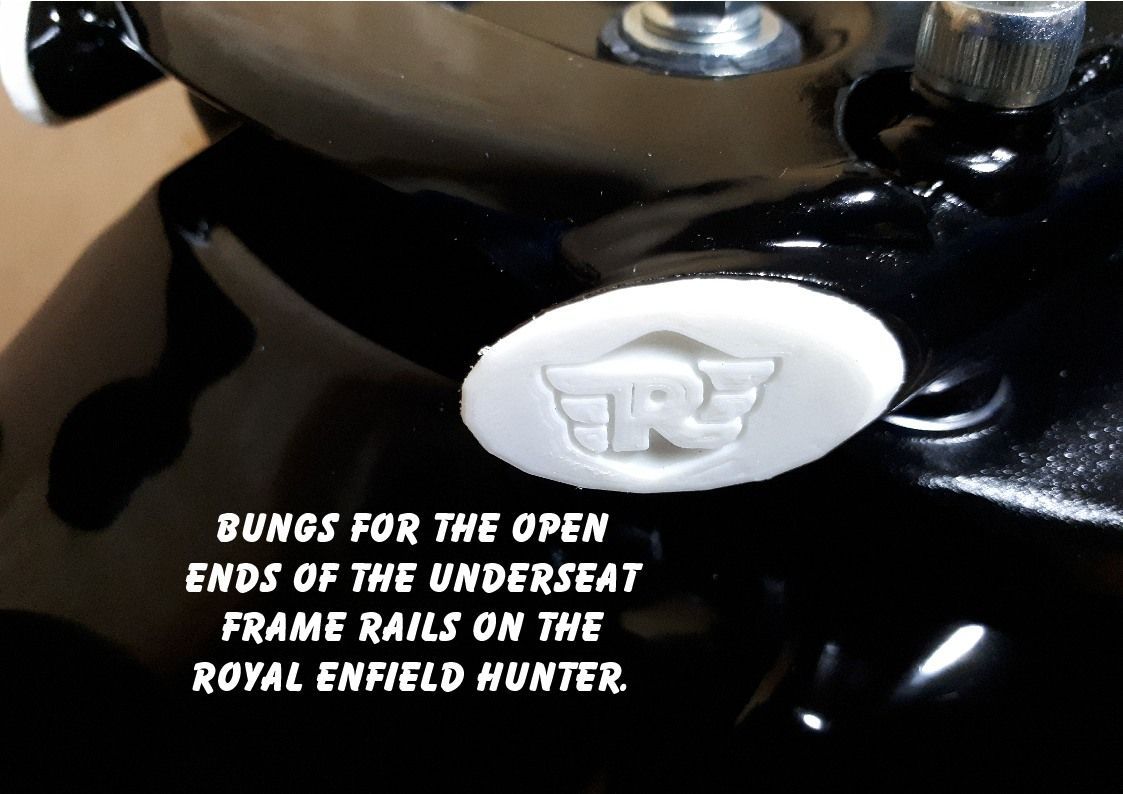
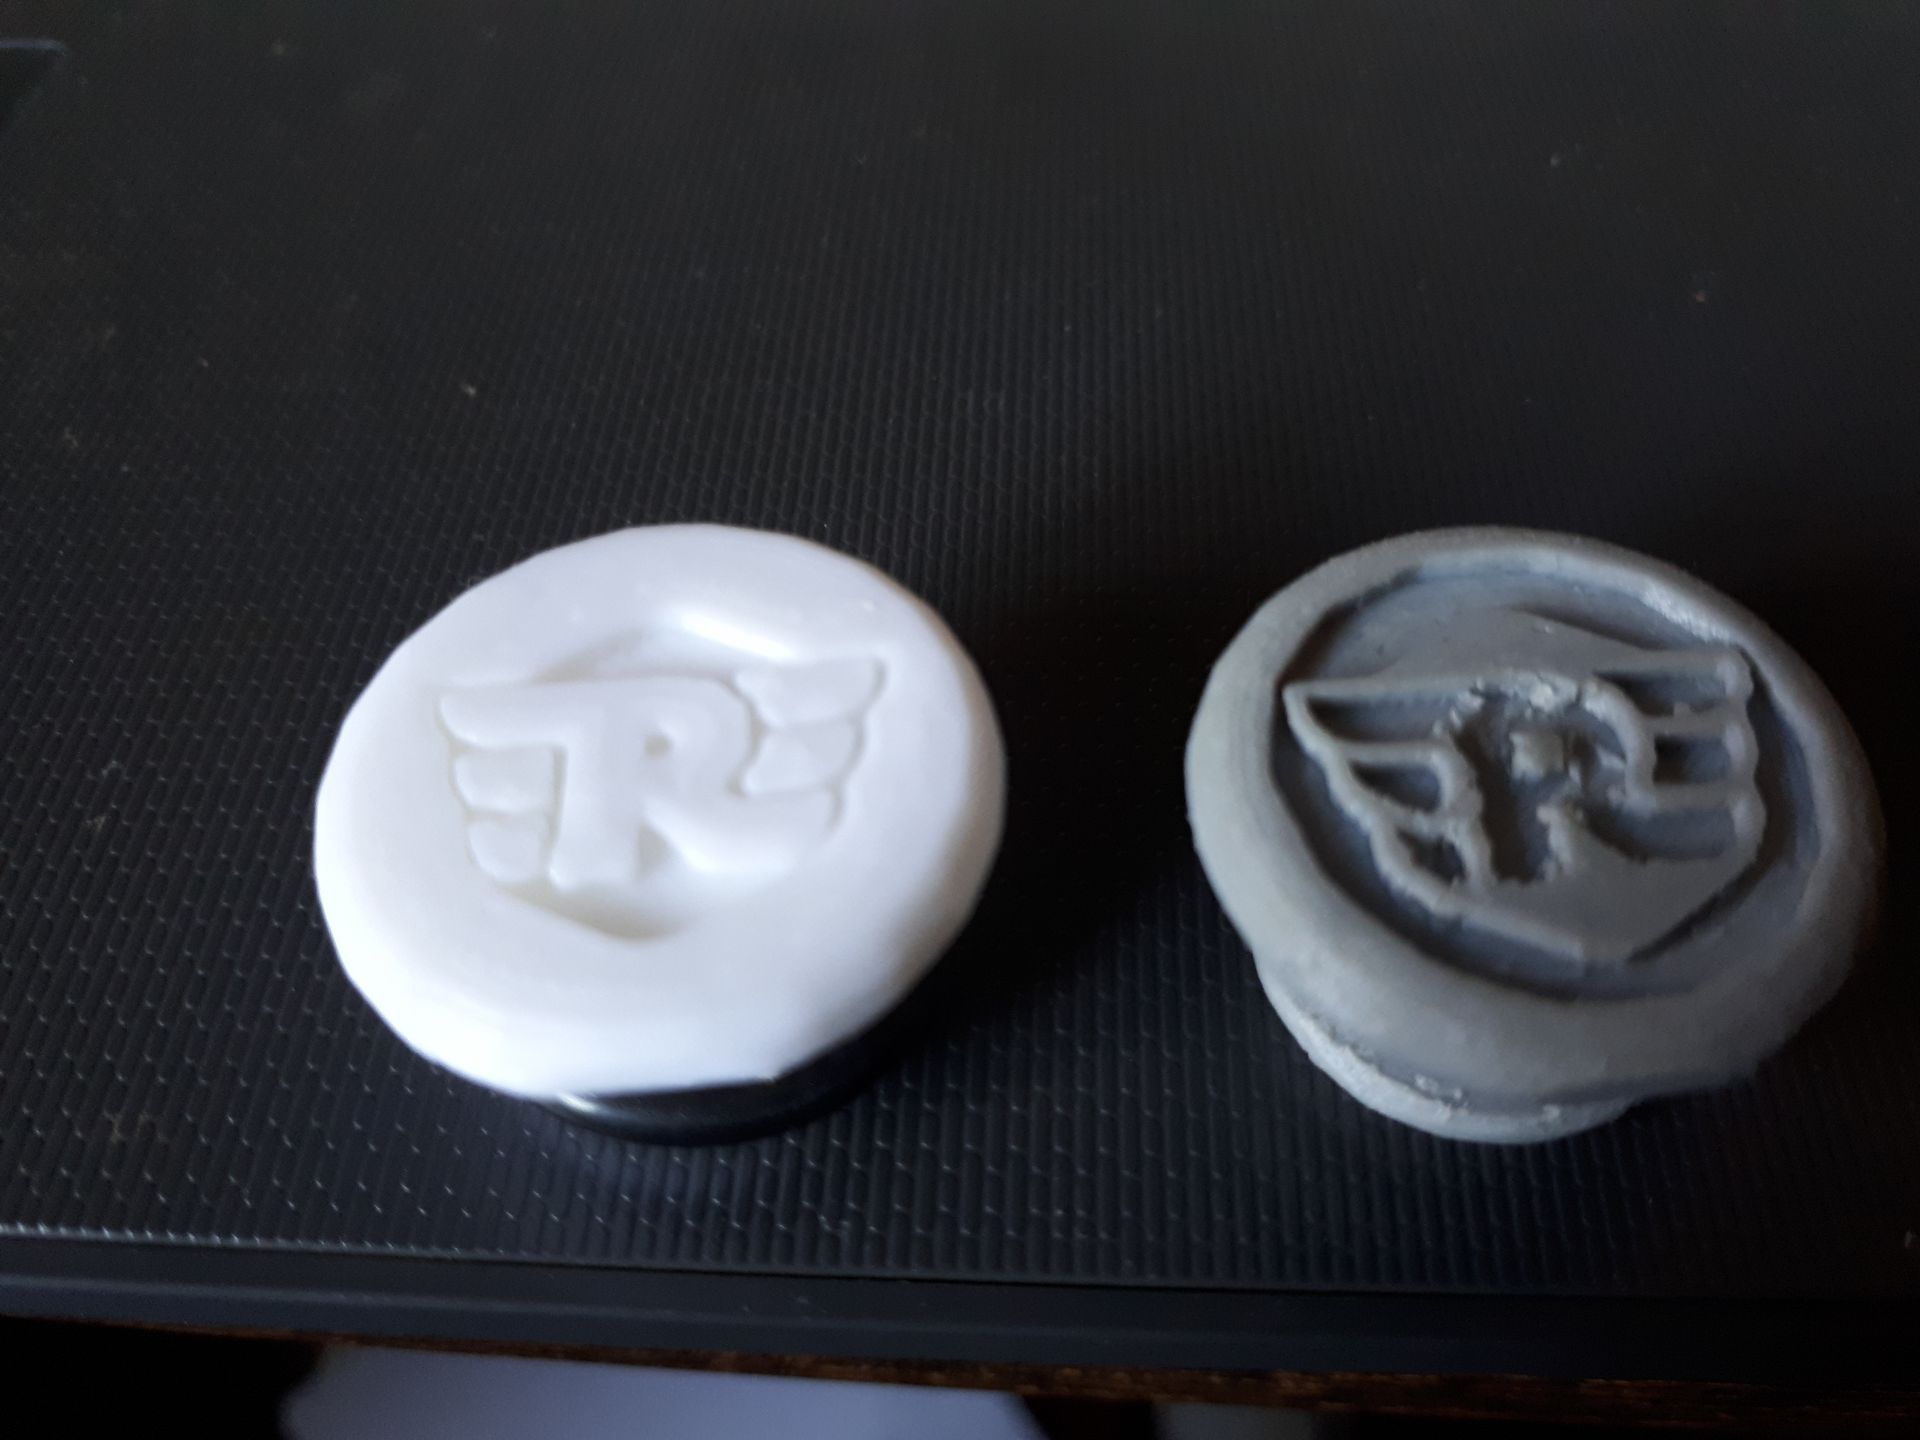
The original pillion peg mount frame bungs. Open tubes on the left. 3D printed bungs on the right.
Which may eventually get replaced by the white version with the modified logo that prints better.