Monday Articles - February 2022
Scroll down for latest instalment
Just when I thought that the front brake on the project bike was sorted, I walked past it the other day and noticed a drip of liquid on the floor below the brake caliper. The ‘sniff test’ confirmed that it was indeed brake fluid, so of with the caliper, again!
It looked like the same piston was still leaking. The piston looks fine, so this time I opted to change the seals. Previously I used the seals that came with the piston, but the All Balls rebuild kit also came with new seals, so as I already had them to hand, I bunged them in and had another go.
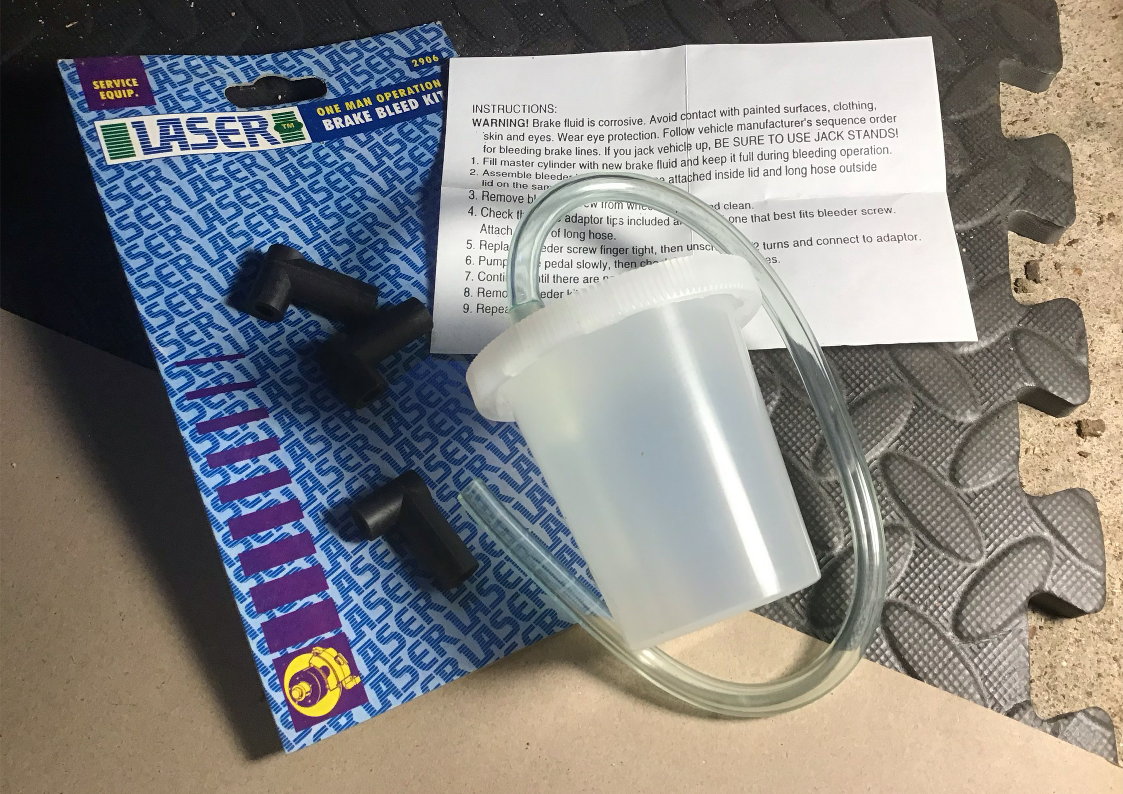
To ease my bleeding issues (brake bleeding that is!) after much window shopping on the ‘net, I purchased the Laser one man brake bleeding kit in the hope that it would be quicker and less messy. Basically it’s a tube and a pot that incorporates a one way valve to let fluid out, but not air / fluid back in. You can leave the bleed nipple open and just pump the lever until the fluid coming out is bubble free.
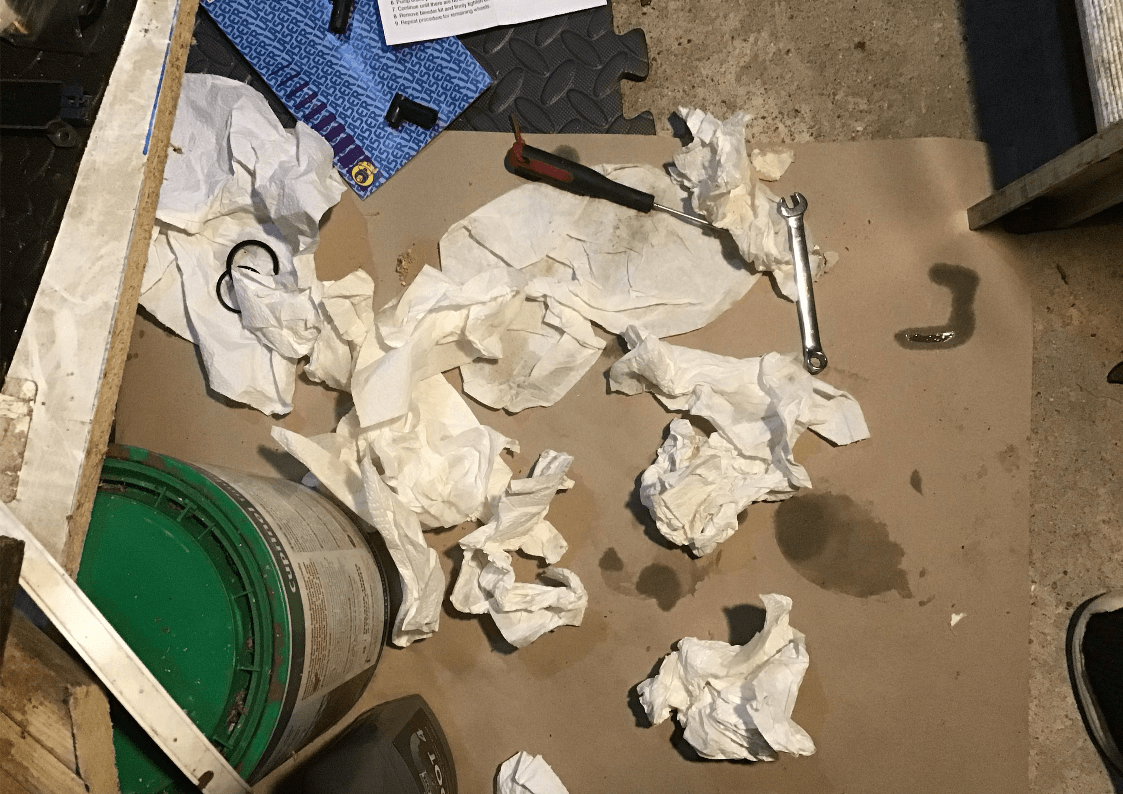
This was my set up. It’s a fairly short length of hose, so I chose to fashion a stand (for off-cuts of old decking!) to support the pot. Did it work? Well, yes, but it did run through a lot of fluid before it was bubble free.
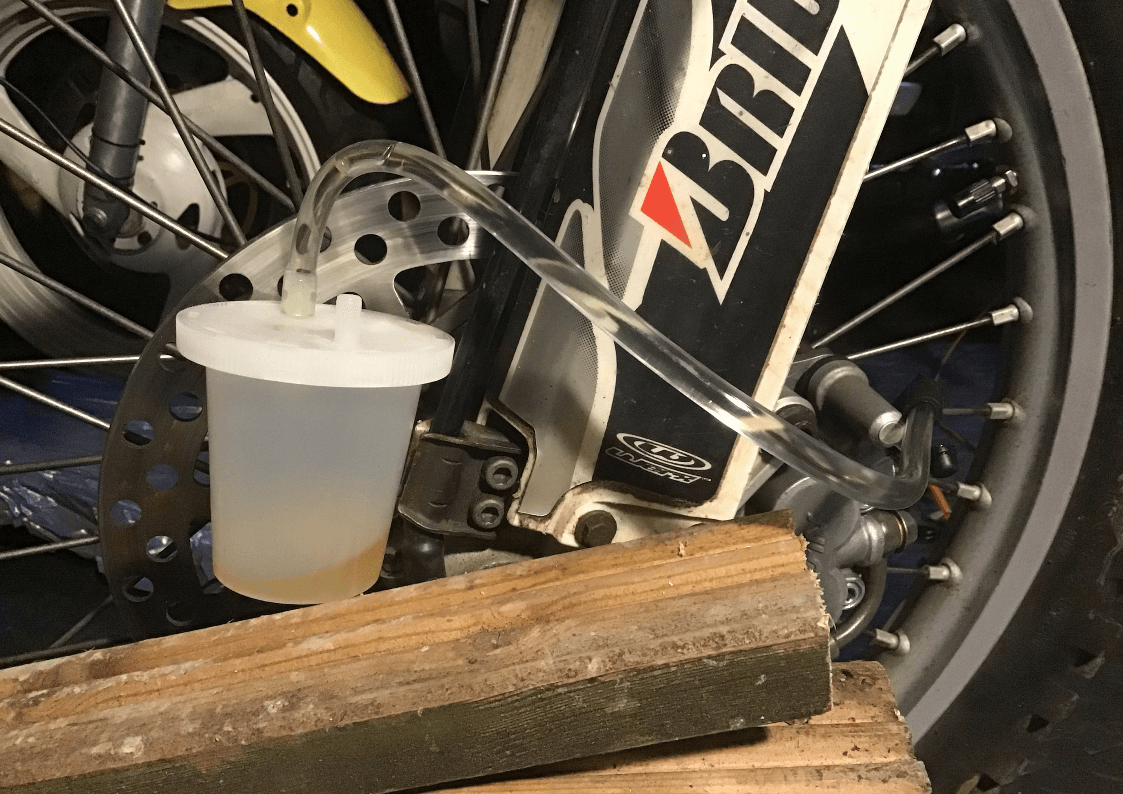
Still made a mess, though! And I’m still not totally happy with that front brake. We’ll just have to see if we leak again…
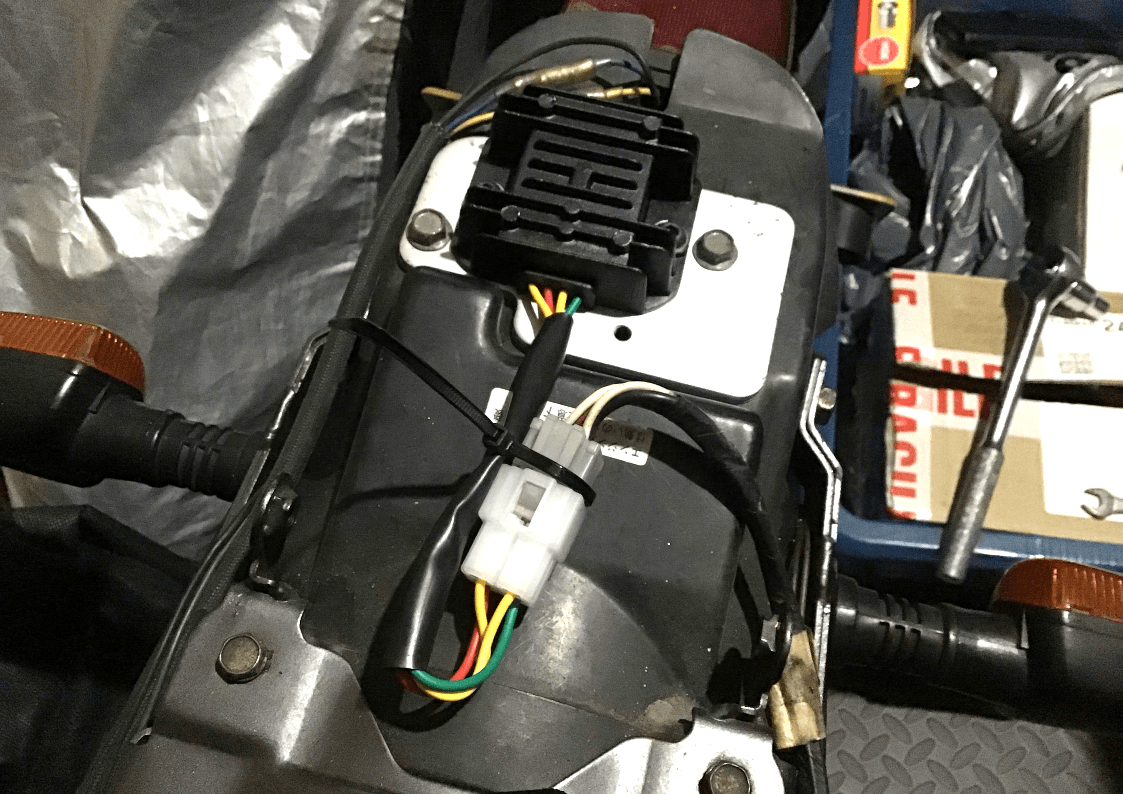
Back now to the troublesome Yamaha with its wrecked rectifier…
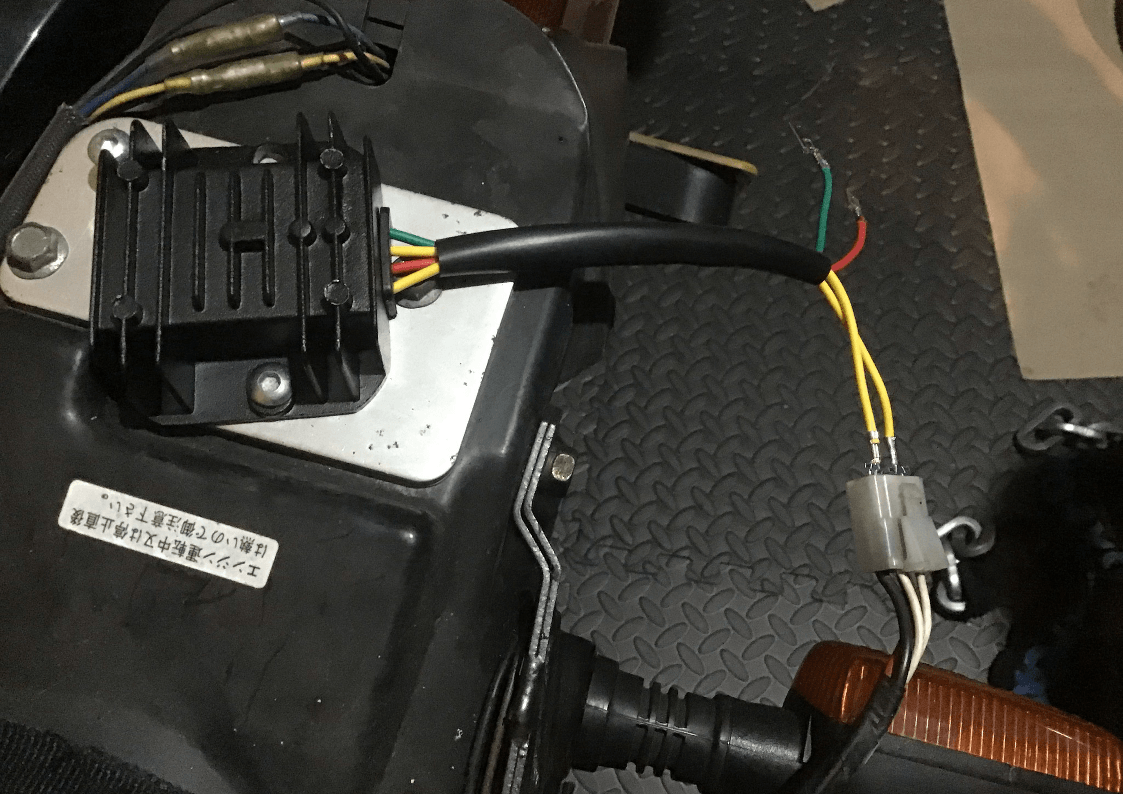
The universal reg/rec came with a 4 way connector that didn’t mate with the one on the loom. Using a very small screwdriver, the retaining tags on the individual spade connectors can be pushed in, allowing them to be removed from the plastic housing.

As a test, the two wires from the alternator were connected to the reg / rec unit, and the bike fired up. (It’s a big four-stroke single that hadn’t been started for a couple of months, it took more than a few prods on the kickstarter to fire it into life!) Once running, the multimeter confirmed that the reg / rec unit was producing an appropriate voltage, so all I needed to do was find a connector that would mate with the one on the loom.
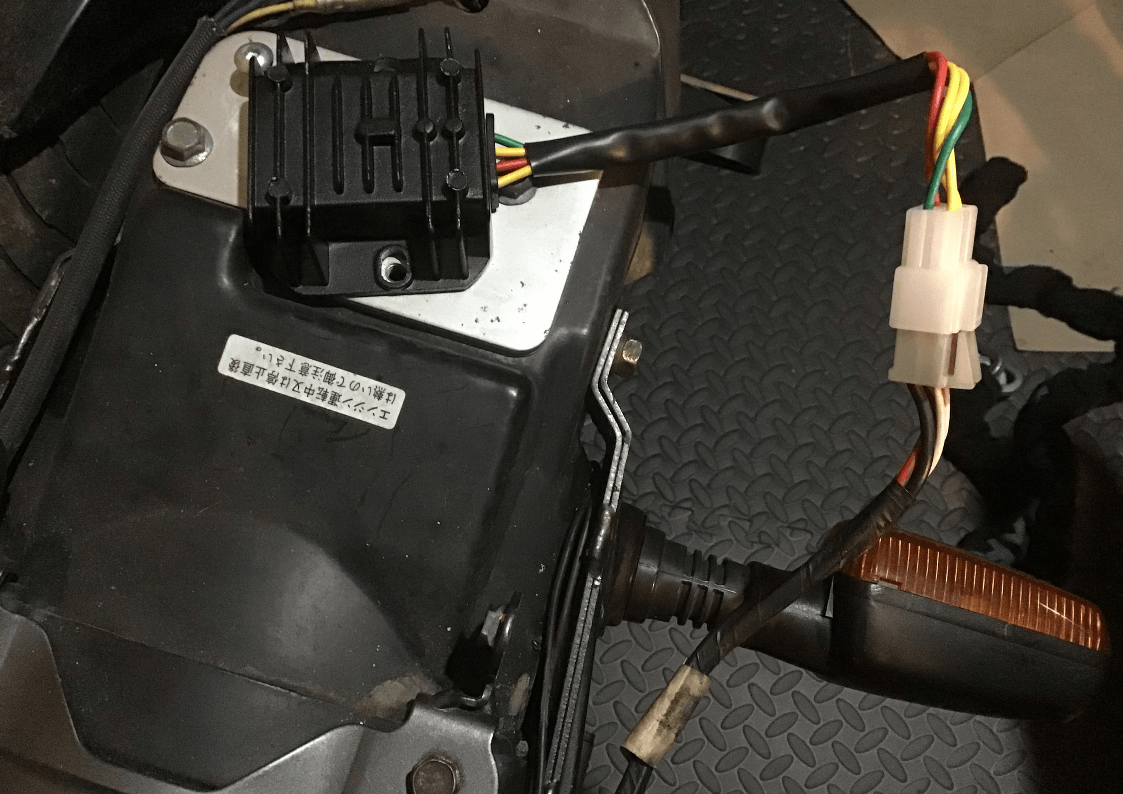
Luckily, my box of spare electrical bits produced a connector block that would fit, so it was just a case of shoving the spade connectors back in the appropriate positions. Starting the bike up again (more kicking!) confirmed that it was working as expected. All that remains is to remove the aluminium mounting plate and drill some new mounting holes to accommodate the new reg / rec.
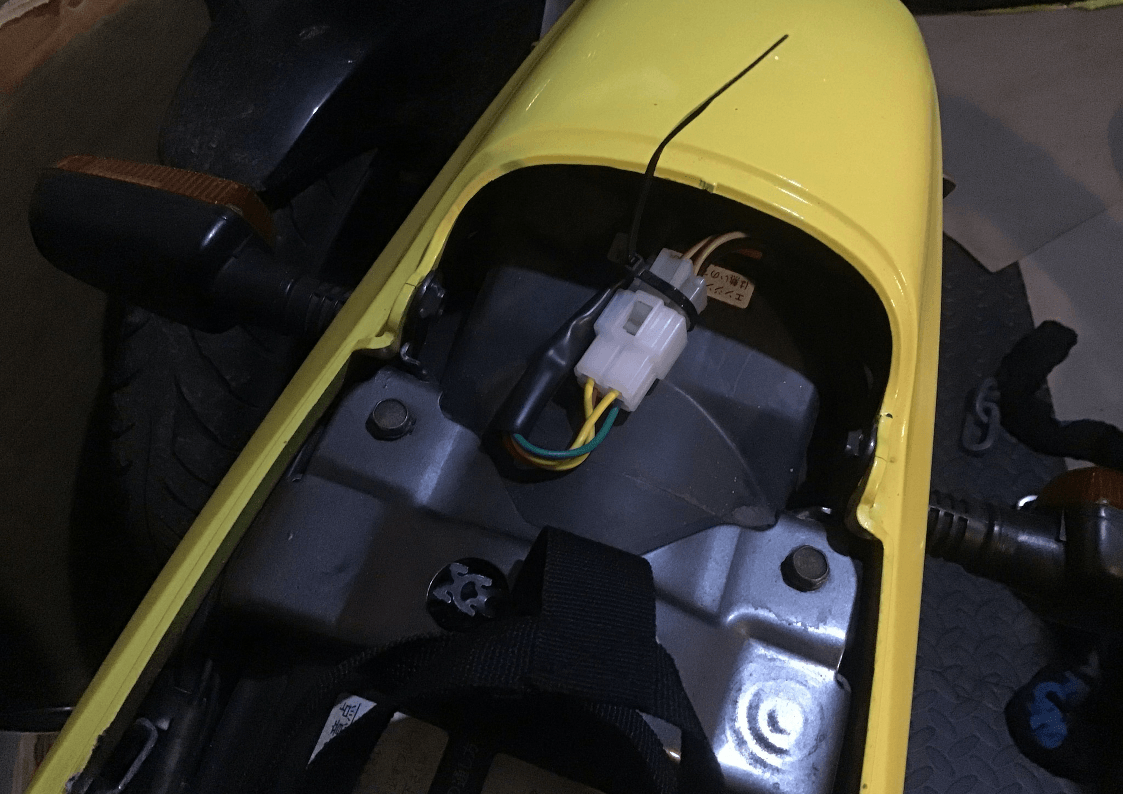
Wiring should fit safely under the seat.
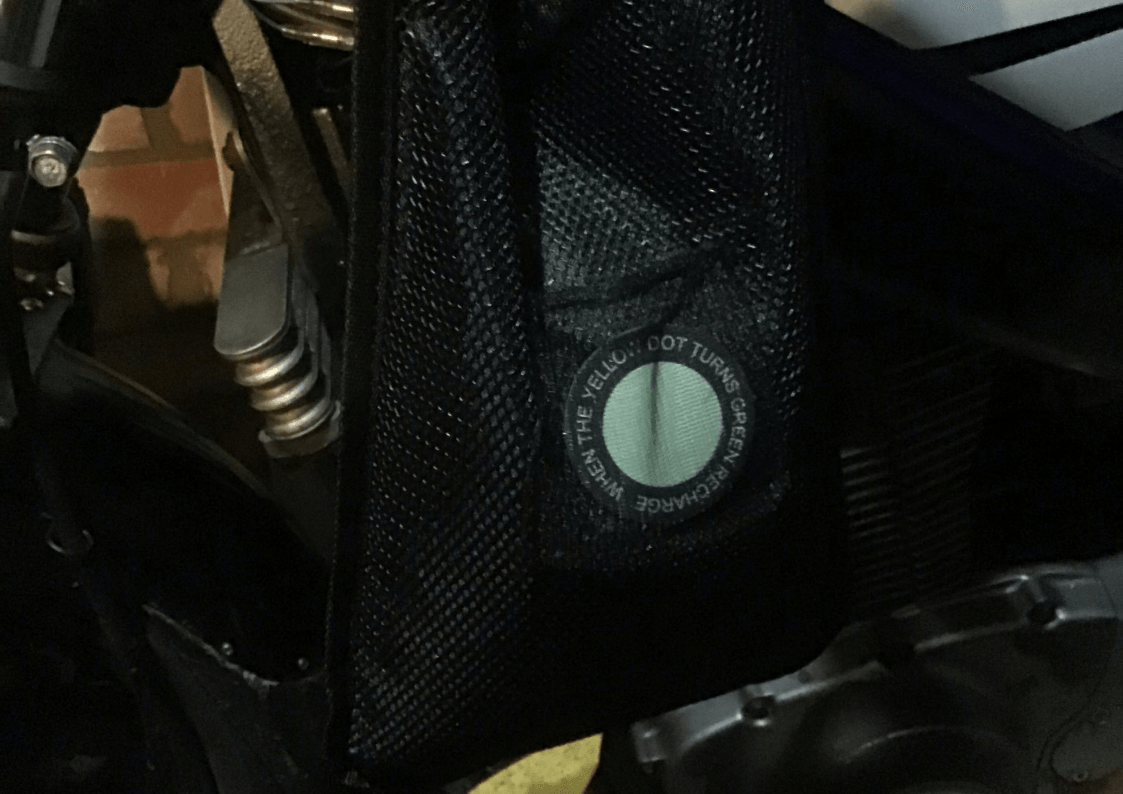
One other purchase that I made for the garage are these bags of desiccant. They’re designed to go in cars and reduce condensation on the windscreen etc. by absorbing the moisture in the air.
My new garage seems to be a bit damper than the old one. The bikes are covered and I’ve hung one of these desiccant bags on the handlebars, so hopefully they’ll have their own (hopefully drier) micro climate. I don’t really know if they’ve made any difference, but I feel a bit happier…

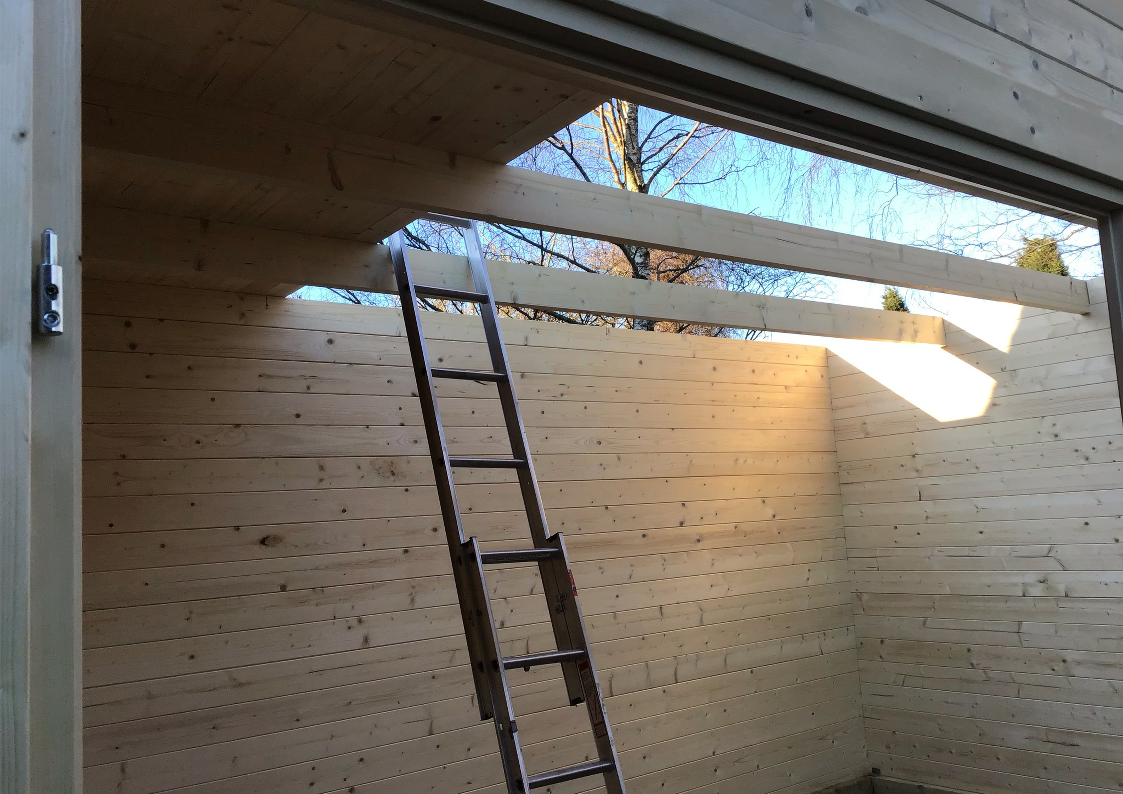
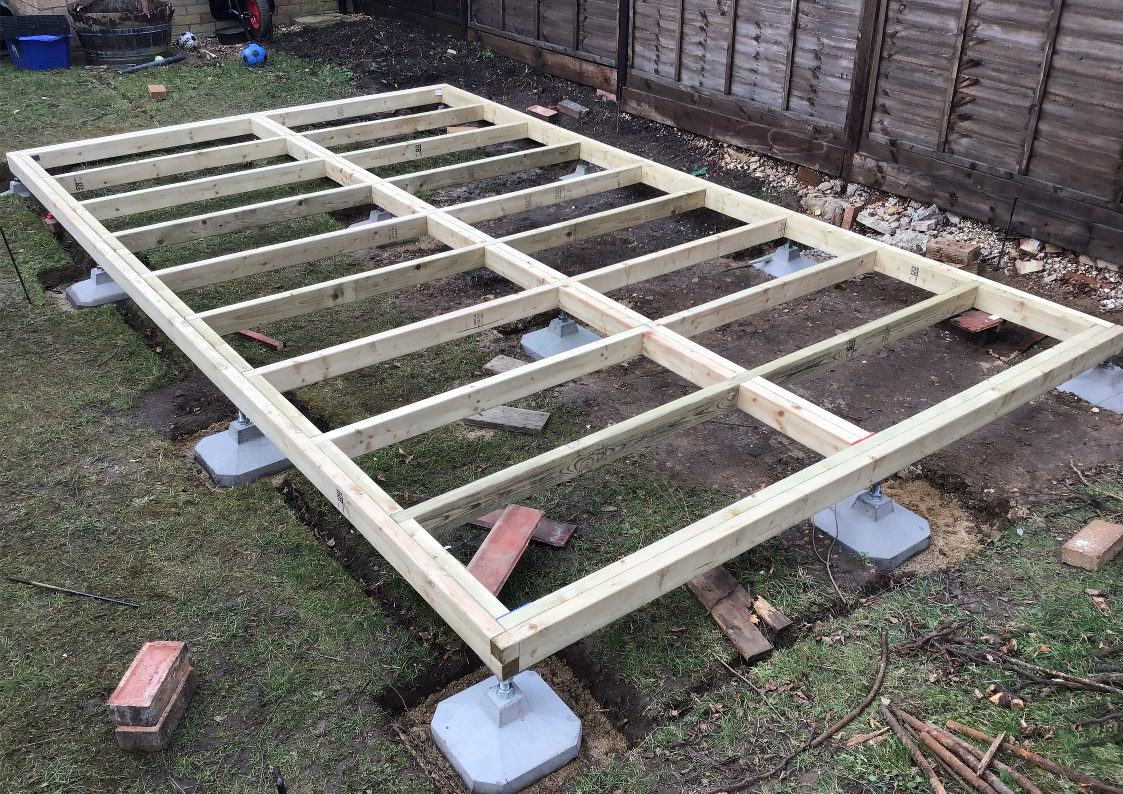
The wet and windy weather that has been battering the UK did have a positive, it meant that I couldn’t work outside building the new workshop. And so, instead, I’ve actually been able to do some work on the bikes! Only for a day though as I do really need to get the workshop built. The base is nearly done and the shed (log cabin actually - I’ve gone posh!) itself is here, so once the wind drops, bike tinkering must once more stop.
This is what the new workshop currently looks like, there's a long way to go...
In preparation for some nice, dry sunny weather (there may be some this year!) the first job is to get the new regulator / rectifier on the old Yamaha. New M6 mounting holes have been drilled and tapped in the aluminium mounting plate and everything bolted back together. Weather permitting, it’ll get a test ride soon.
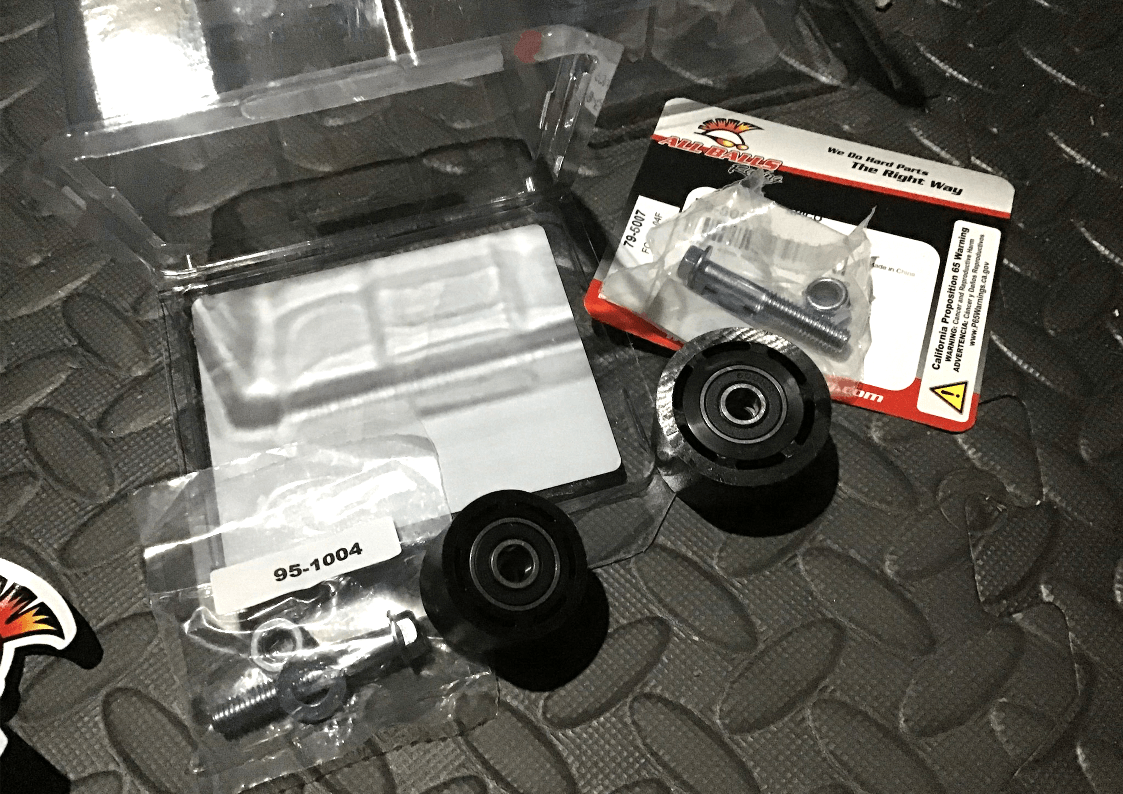
Back to the dirt bike and in an attempt to make it seem as if I’ve actually achieved something, I started by bolting on the new chain rollers. That should have been an easy job, except one of the supplied fixing bolts wasn’t long enough. Don’t know why, these should have been a direct replacement. But never mind, I found a suitable one so I could eventually tick that job off.
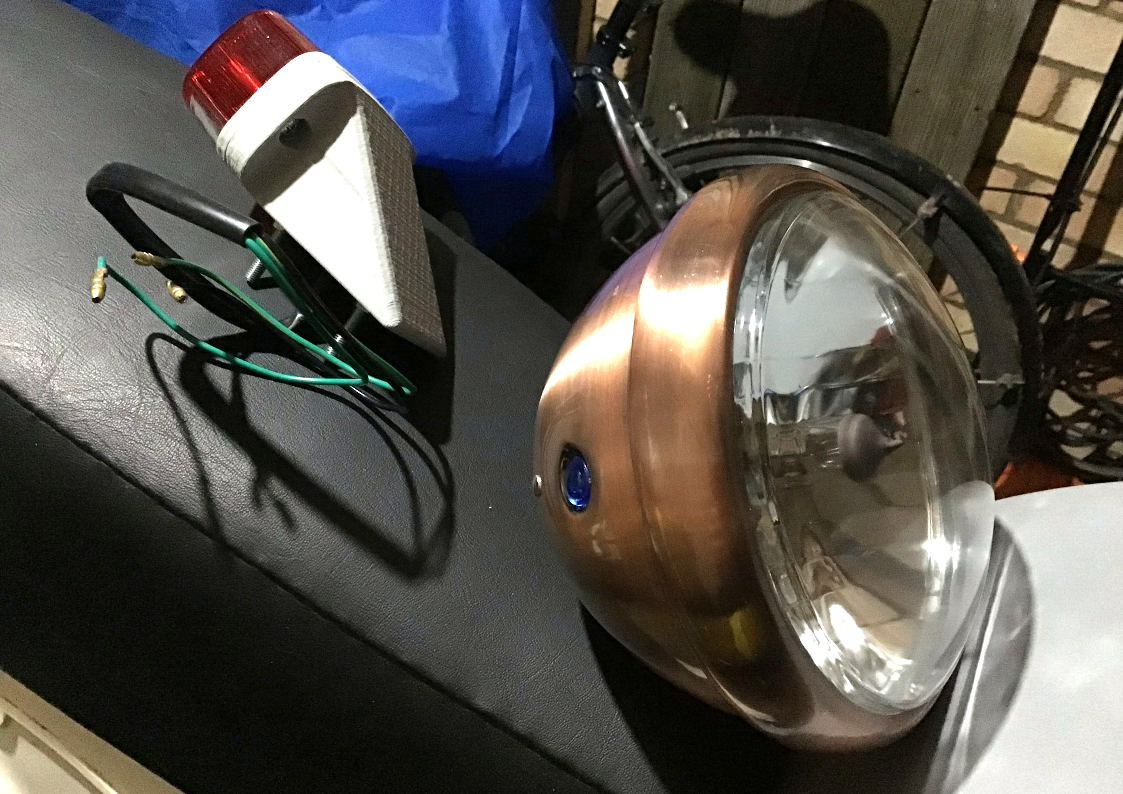
Lights! Going to be needing some of those. I made the rear light some time ago, and the front light has been sitting in a box for ages. I don’t really like the copper finish, but it was cheap and the correct size. I think I’ll cannibalise it for the glass, reflector etc. and make a more suitable housing. It needs to also incorporate a front number board (it is a dirt bike after all) and the speedo and ignition switch. That’s something to ponder.
Fitting the rear light also allowed me to feel as if I was making progress. It only required 3 holes to be drilled, so that was easily accomplished. Eventually the 3D printed housing will be sanded smooth (as will the rear mudguard!).
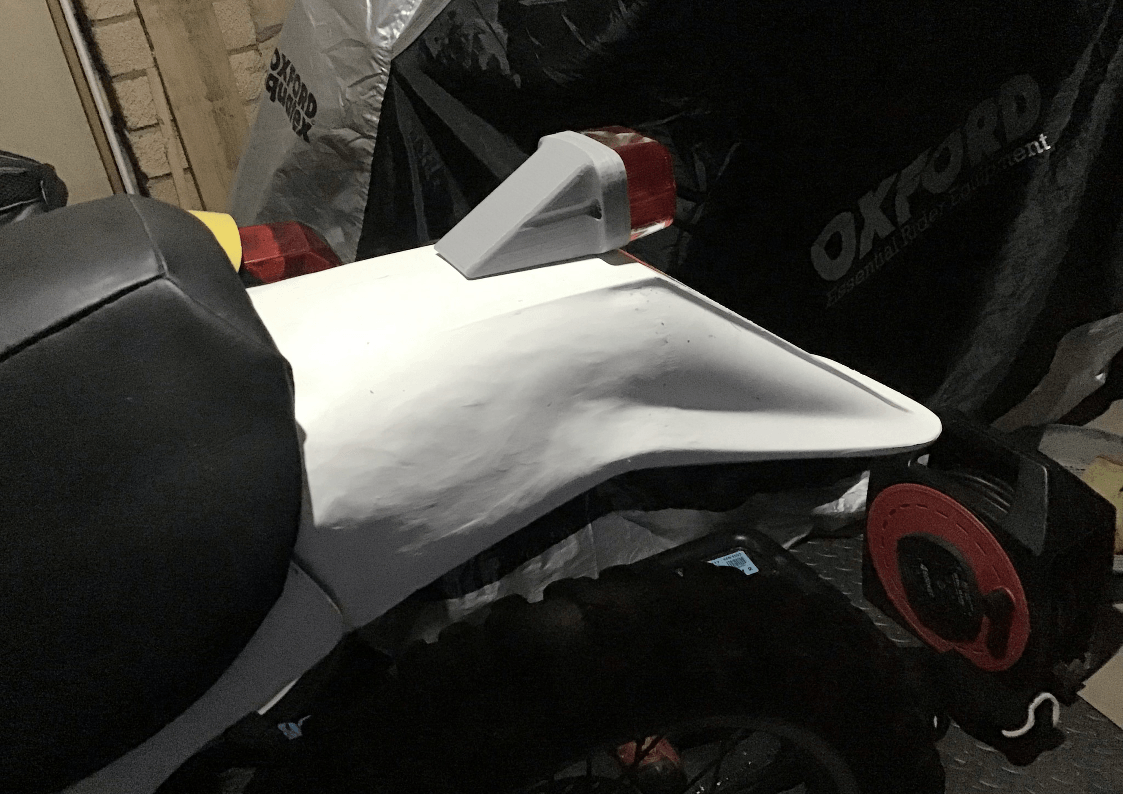
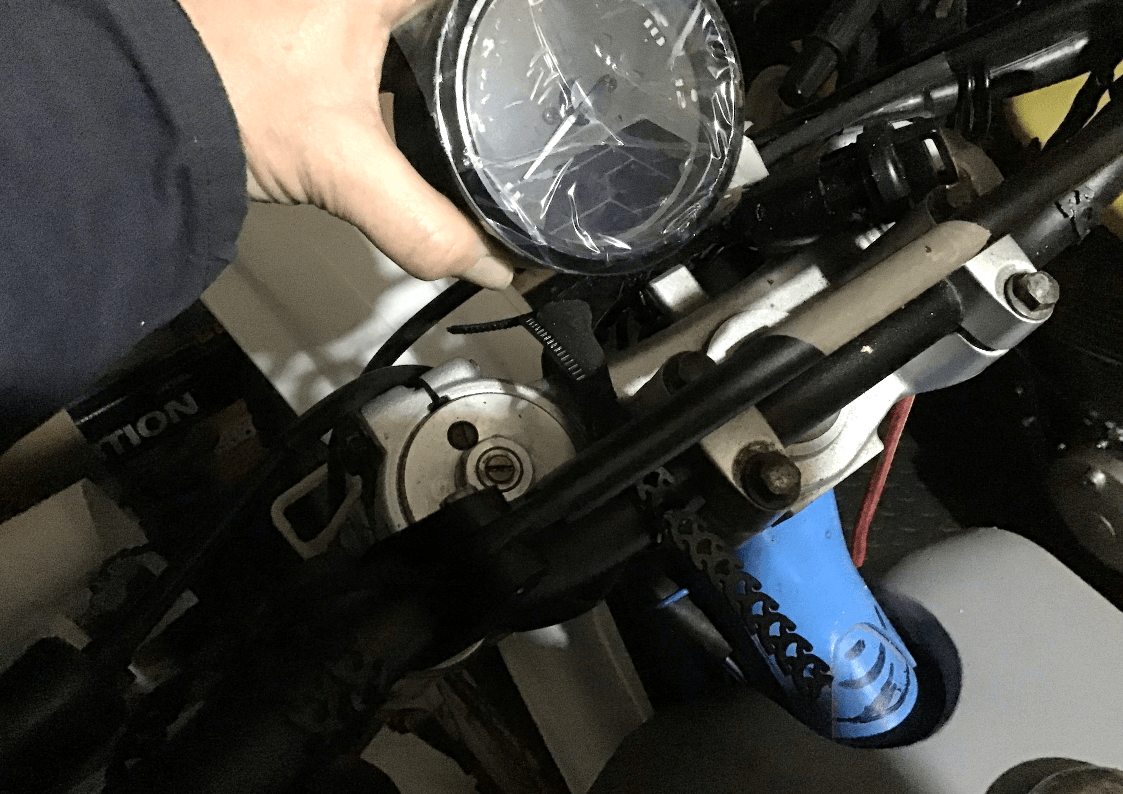
Speedo needs to go somewhere here and be magically held in place by some brackets that I’m yet to design.
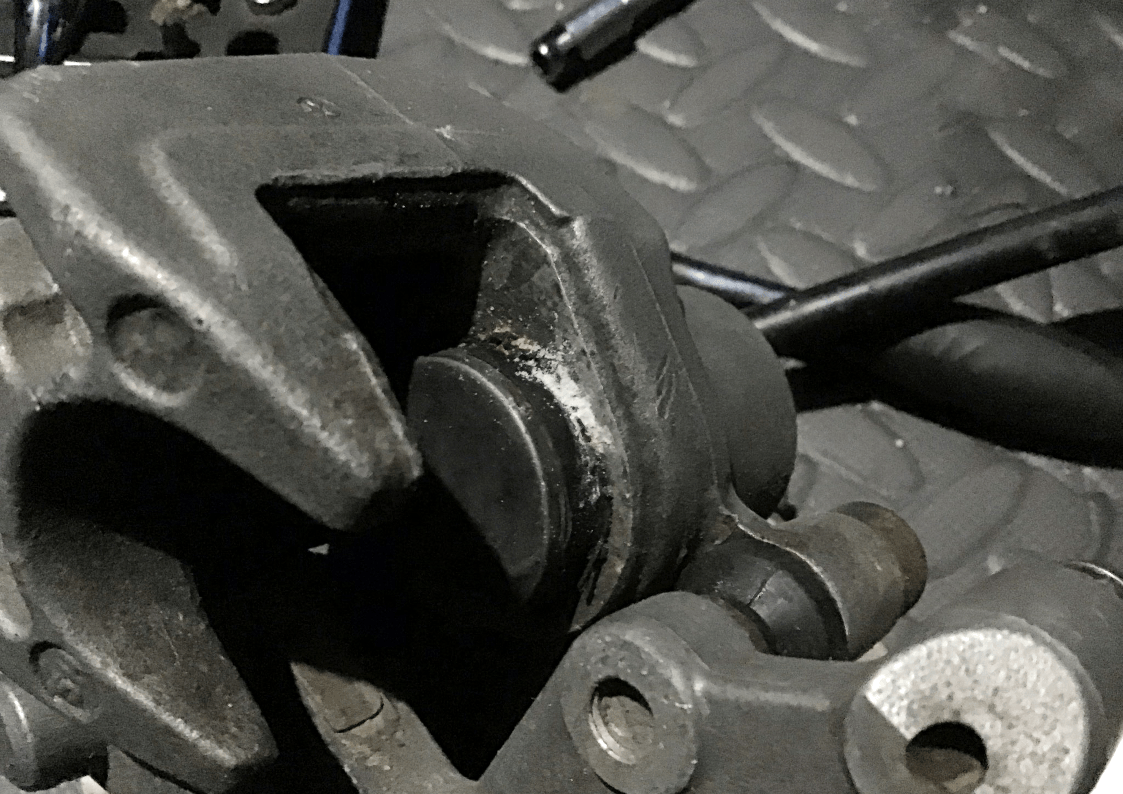
Found the entire rear brake system in my box of bits. I’m hoping that it isn’t as problematical as the front…
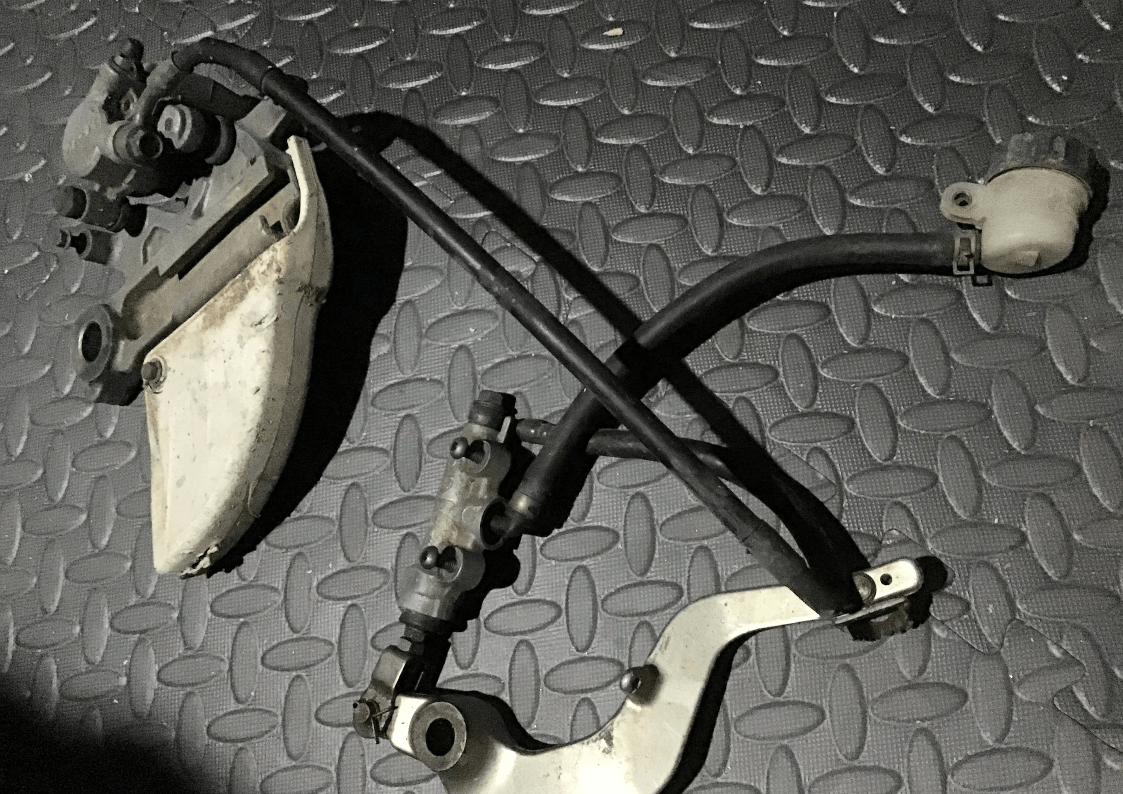
…but looking at the state of the caliper, it looks like it’s going to need some tlc. Next job, then, is to see if the piston will come out.
Very little actual progress on the dirt bike, but the new workshop is progressing well. It looks quite different to the last picture that I posted of it.
In the meantime, I have, however, been doing a lot of thinking and a bit of internet research…
I wrote a whole long list of bits that still needed sorting. It’s not exhaustive, but here goes:-
Side stand - the bike’s going to be used on the road, so occasionally I might need to park it and anyway it’s a requirement for the MSVA test. Mr Google threw up universal MX stands (around £35) or stands designed for the YZ125 (over £100) neither of these would fit without modification since the bike is lowered. I don’t like the universal ones (and I’m not sure that they would actually fit) and I’m not paying out over £100 for something that I may cock up while modifying. Looking at the pictures, the model specific ones use a bracket bolted to the chain roller mounts - so that’s given me some ideas to follow up.
Rear brake - for a start the piston needs to come out and the caliper cleaned. Then I’ll be able to see if I need anything more than just new seals. I already know I’m going to need a shorter brake hose. I visited Venhill’s website and found a couple of options for the DIY mechanic. Their self-assembly lines allow you to build custom lines yourself using compression fittings. I was tempted, but then did a bit of Googling, where everyone was against using them, so I had second thoughts. Venhill is a well respected company, so I’m pretty sure that if you followed the instructions to the letter, everything would be fine. Instead, I’m going to go for their half-way house solution and try their Powerhose Plus system. Here you pick yourready made line length and then select screw of fittings to suit your application. I need to finalise hose routing and length before proceeding any further, though.
On the subject of the rear brake, the master cylinder reservoir needs to be mounted somewhere - or I could use a master cylinder from a later model YZ which has an integrated reservoir. That would mean finding a secondhand unit or trying one of the very cheap (Chinese) copies available for under £20. Another thing to ponder.
Also added to the list of things to think about are a new gear lever design, some kind of steering lock (another MSVA requirement) a small rear rack - to hold a tool bag and the rear indicators (indicators that I haven’t purchased yet because I can’t find any I like!) and of course the speedo / headlight / ignition switch / number board / front indicators unit. Plenty still to think about, then…