
Hot Stapler Review
I didn't know that these gizmos existed until I was Googling for ideas on how to join some extra plastic pieces to a plastic seat base (see
May's Monday Articles
for more on this). As is often the way with tools nowadays, there are professional versions, which are quite expensive, or there are unbranded versions (usually of Chinese origin) which are much cheaper. I couldn't justify the expense of a professional version, but would my money be well spent on the cheap EBAY
tool? There was only one way to find out.
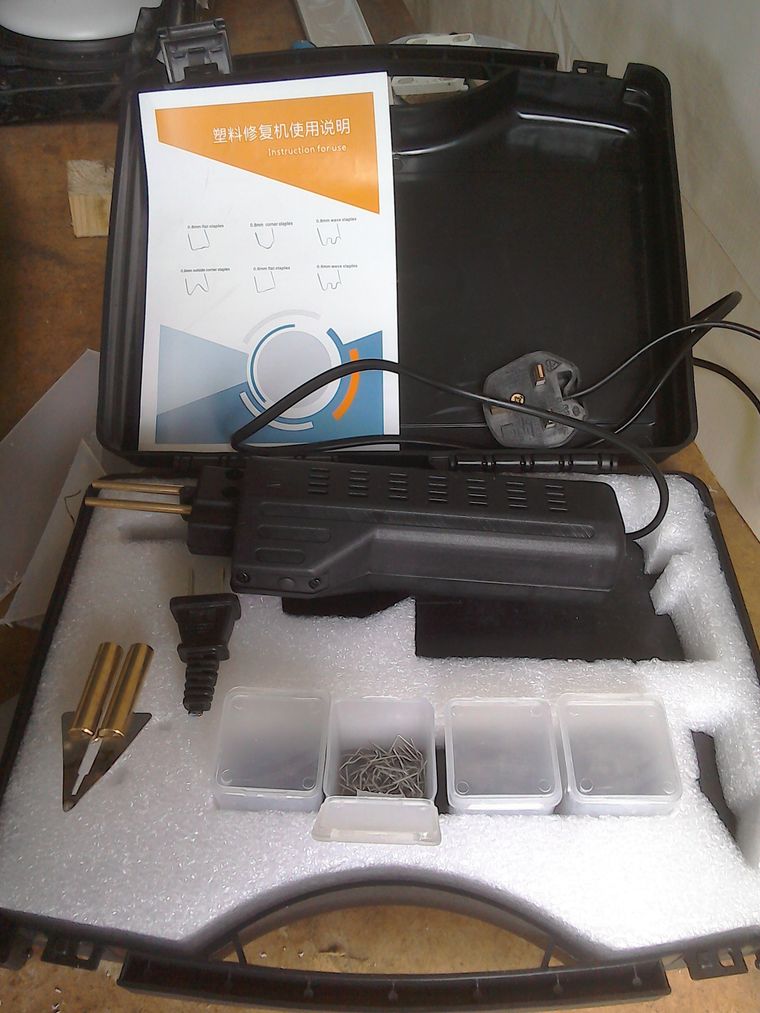
The kit is packed in a sturdy box and comes complete with a selection of staples and the triangular hot knife type thingy. It also came with a two-pin plug and no adapter, despite the advert claiming that one would be supplied. Being impatient, I couldn't wait for this to arrive, so the two-pin plug was chopped off and a spare UK three-pin fitted instead. I don't recommend that you do this because if the stapler then doesn't work, you would be unable to return it. Fortunately for me though, it did work, and it works pretty well.
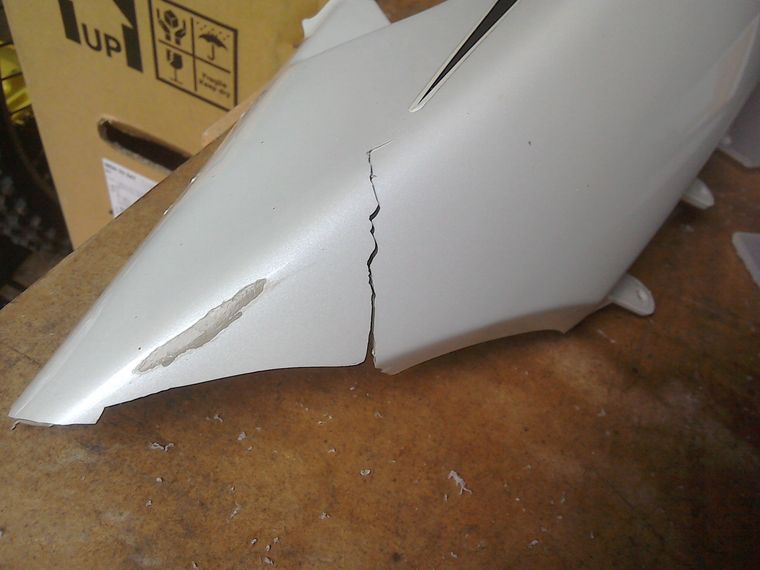
For experimental purposes, I tried to fix a crack in an old GS500 side panel (pictured below).
The kit is packed in a sturdy box and comes complete with a selection of staples and the triangular hot knife type thingy. It also came with a two-pin plug and no adapter, despite the advert claiming that one would be supplied. Being impatient, I couldn't wait for this to arrive, so the two-pin plug was chopped off and a spare UK three-pin fitted instead. I don't recommend that you do this because if the stapler then doesn't work, you would be unable to return it. Fortunately for me though, it did work, and it works pretty well.
For experimental purposes, I tried to fix a crack in an old GS500 side panel (pictured below).
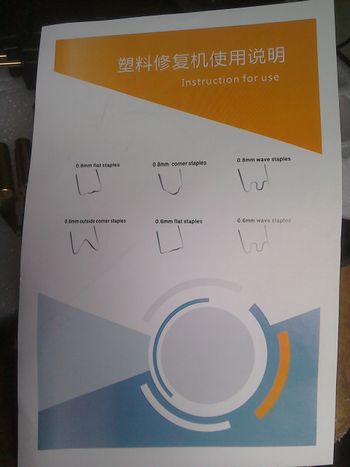
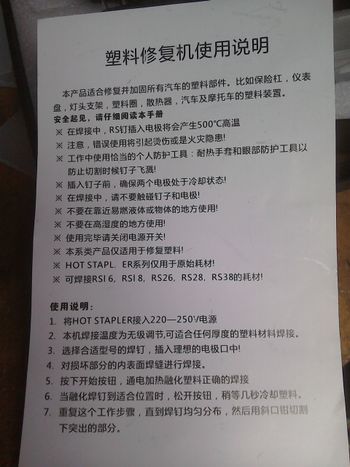
Now, the hot stapler did come with some instructions. Here they are. I hope you find them useful!
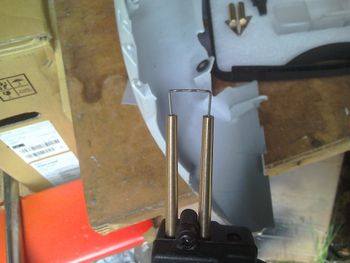
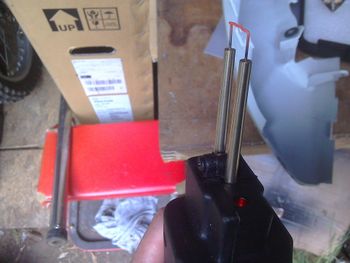
I chose the standard straight staple and fitted it to the stapler. The unit has a press switch. When pressed, electric current is applied to the staple (their is also an led which illuminates when power is applied) heating it rapidly to red hot.
Making sure that the split in the panel is closed up as best as possible, the hot staple is then pushed into place. Once suitably positioned, release the switch and wait for the staple to cool before pulling the tool away.
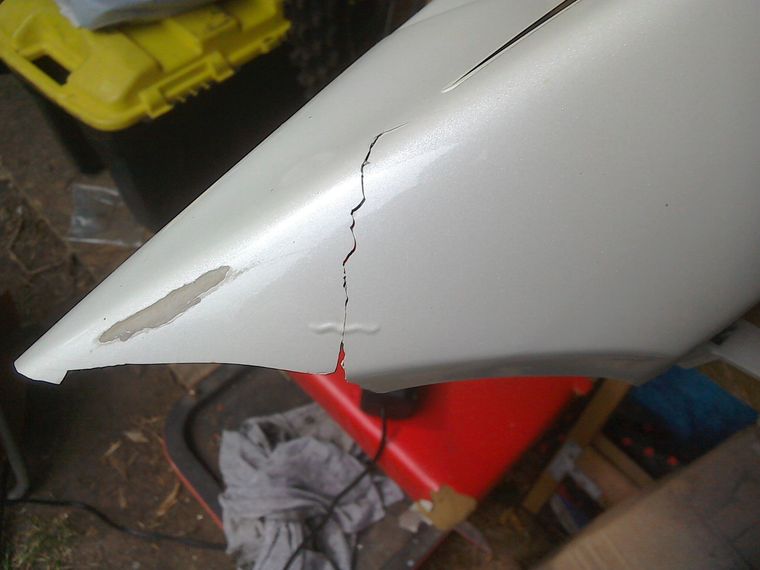
This first staple has fairly firmly joined the crack together but unfortunately I inserted the staple too far and it is visible from the other side, as the second picture shows.
This first staple has fairly firmly joined the crack together but unfortunately I inserted the staple too far and it is visible from the other side, as the second picture shows.
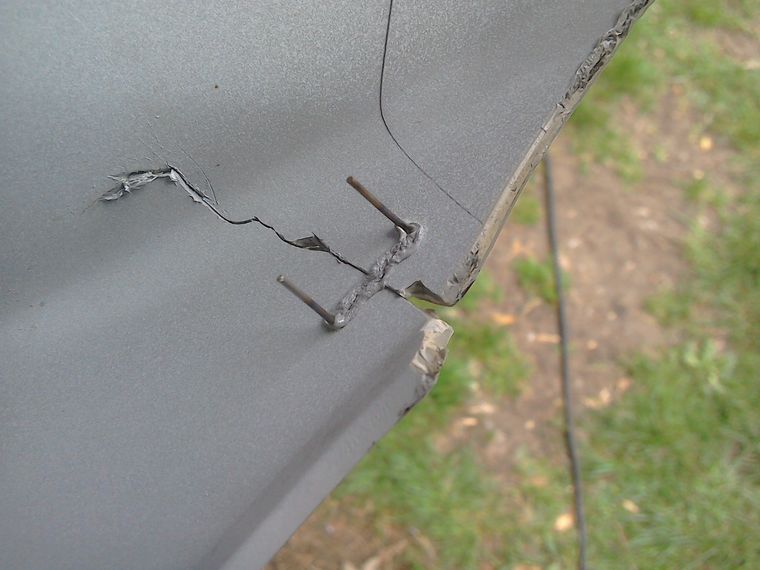
A second staple was added, this time taking greater care with the insertion depth.
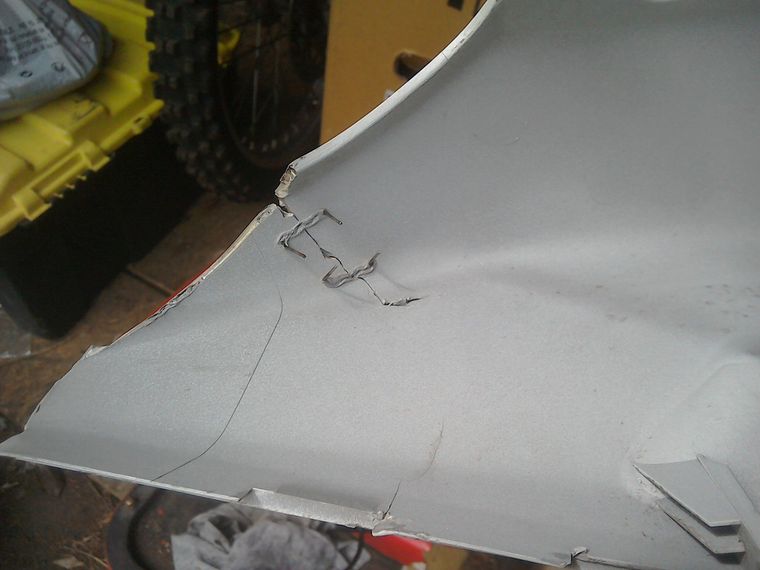
These two staples were enough to keep the crack firmly closed. All that would be required to finish the repair would be to trim the staple ends, then fill and sand the crack as required. You can also use the hot knife to melt and blend edges of the panel together if required.
Given that this was my first attempt at a panel repair with a hot stapler, it didn't go too badly, but a bit more practise wouldn't hurt.
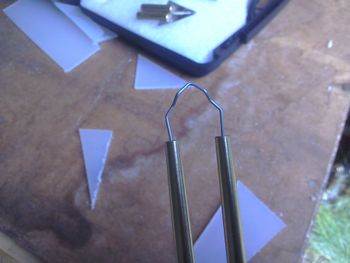
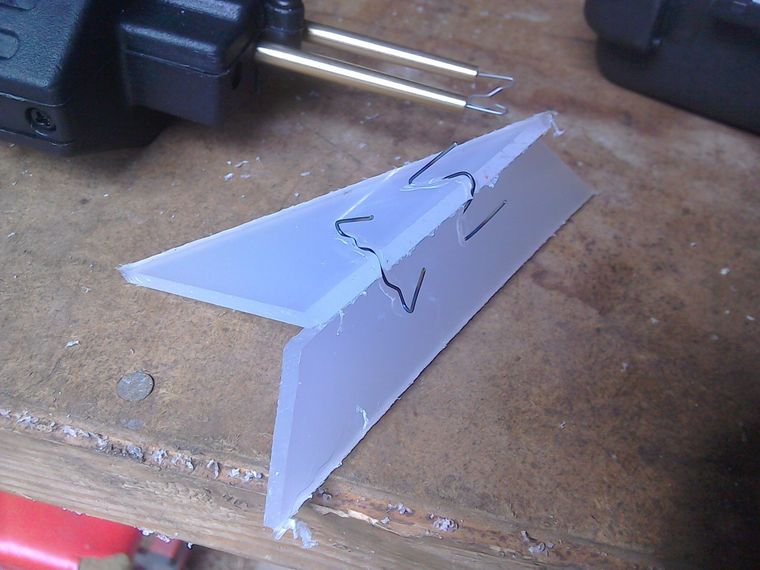
I also tried the staples designed for inside corners on some scrap plastic. These worked well and produced a good joint.
Given that this was my first attempt at a panel repair with a hot stapler, it didn't go too badly, but a bit more practise wouldn't hurt.
I also tried the staples designed for inside corners on some scrap plastic. These worked well and produced a good joint.
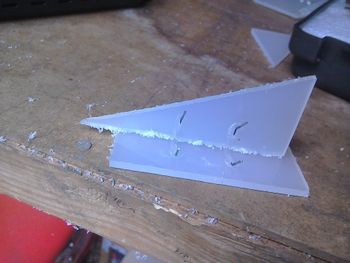
The outside staples didn't work so well for me, although they showed promise. With a bit more experimentation and tweaking of the shape of the staple, I think they could be made to work Ok.
In conclusion then, if you have some plastics that need repairing, these hot staplers are well worth a look. They are quick and easy to use, and this cheap version seems fine for occasional diy use. With heavy use the main tool body does start to get very hot, especially if you use the knife thingy for prolonged periods, so take care.