May 2019
A frustrating week this week, as most of the time spent on the project has been thinking time, so there’s little actual progress to see. But slowly I may be formulating a plan, working out how things are going to look, and fit, and most importantly, how I’m actually going to make them.
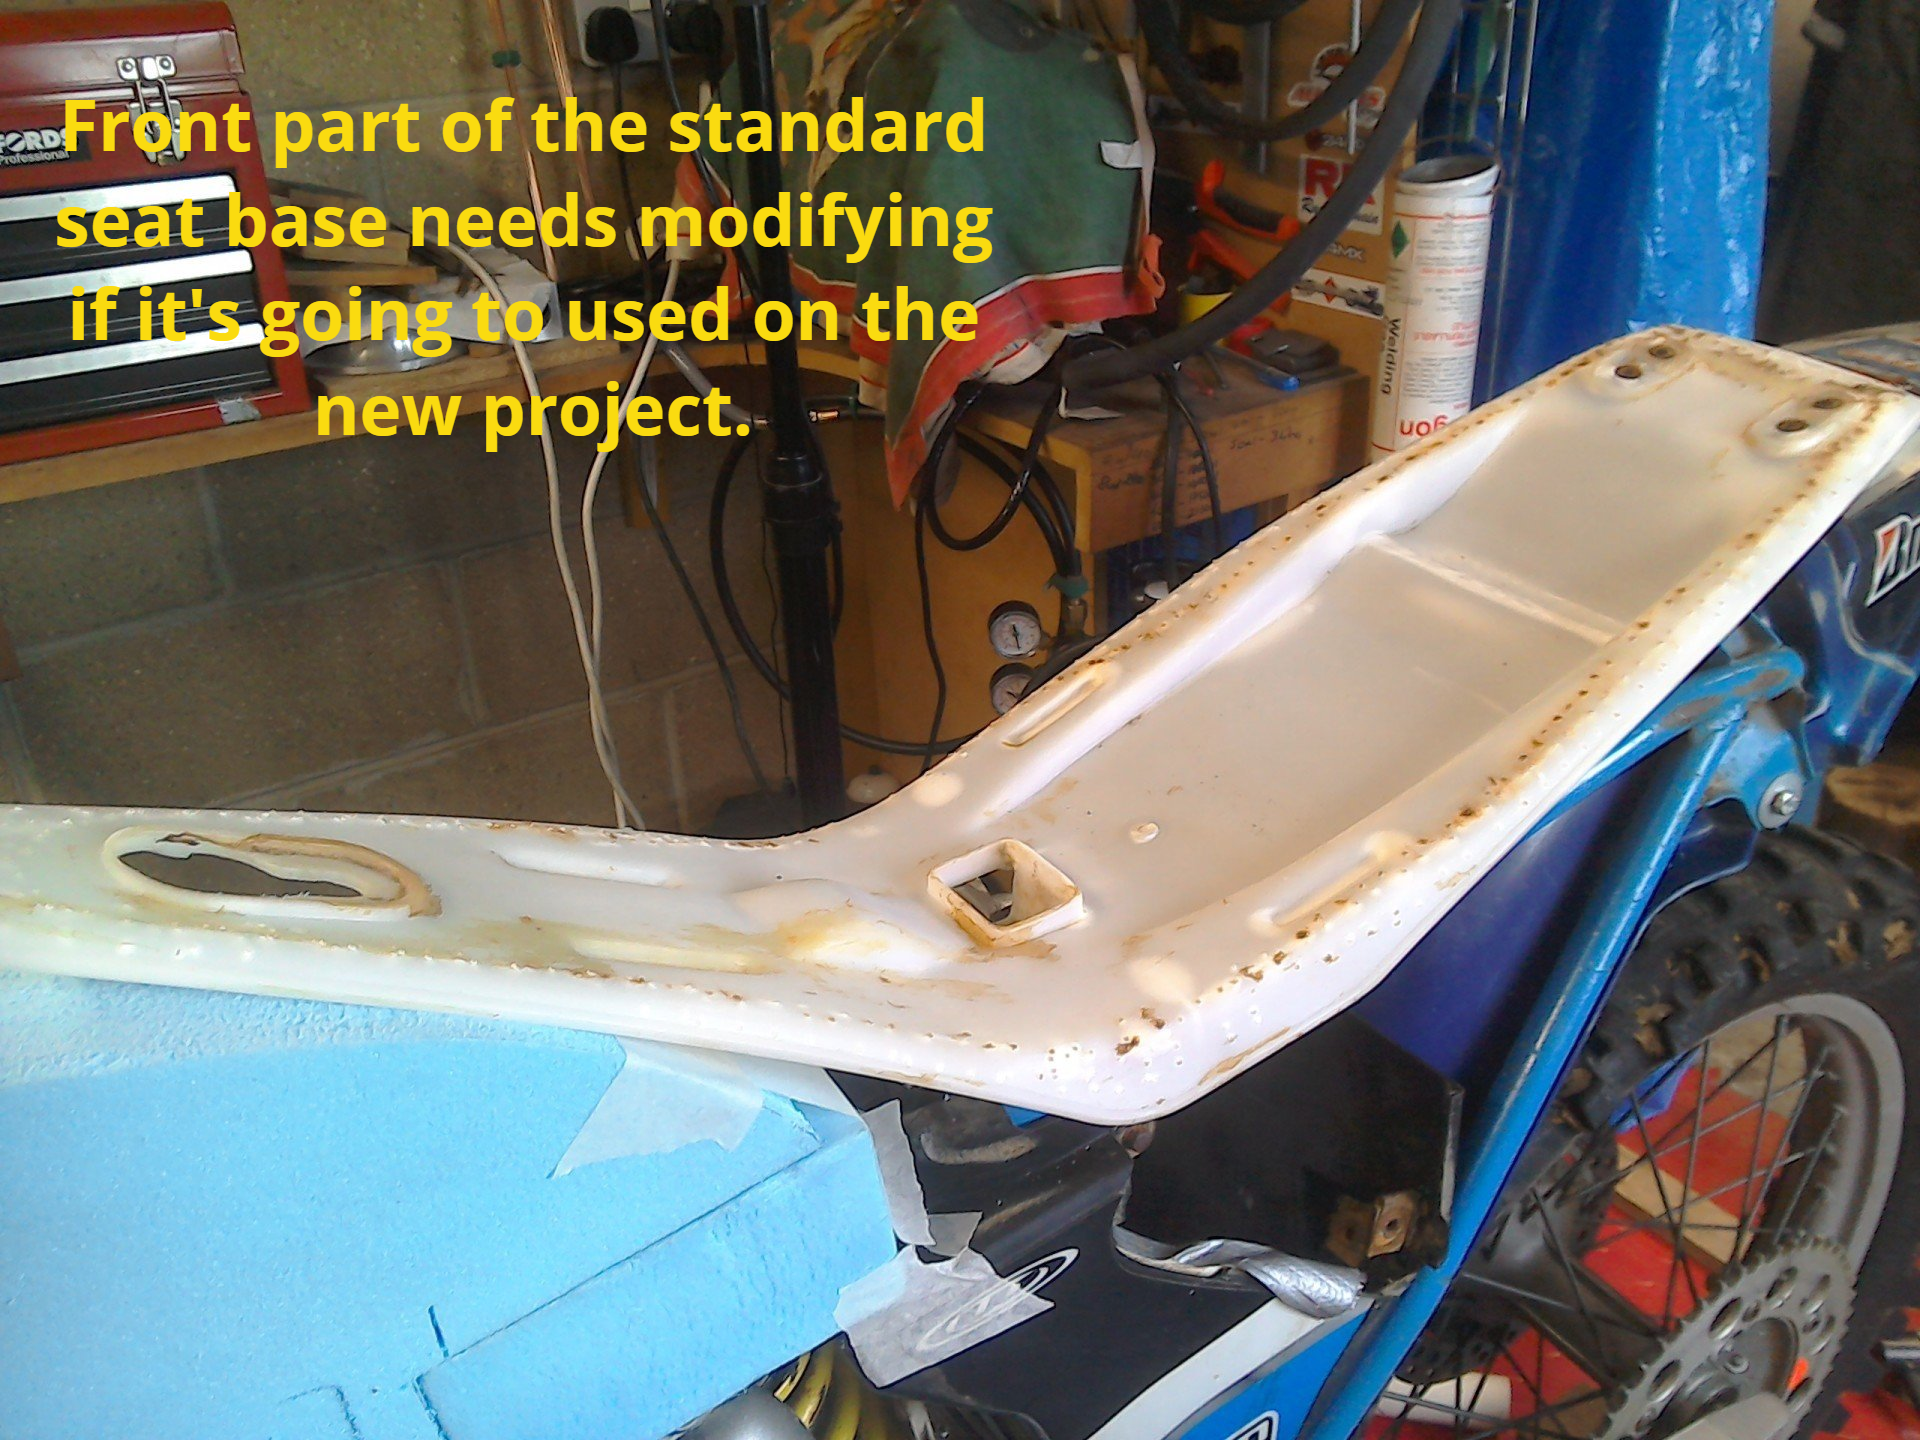
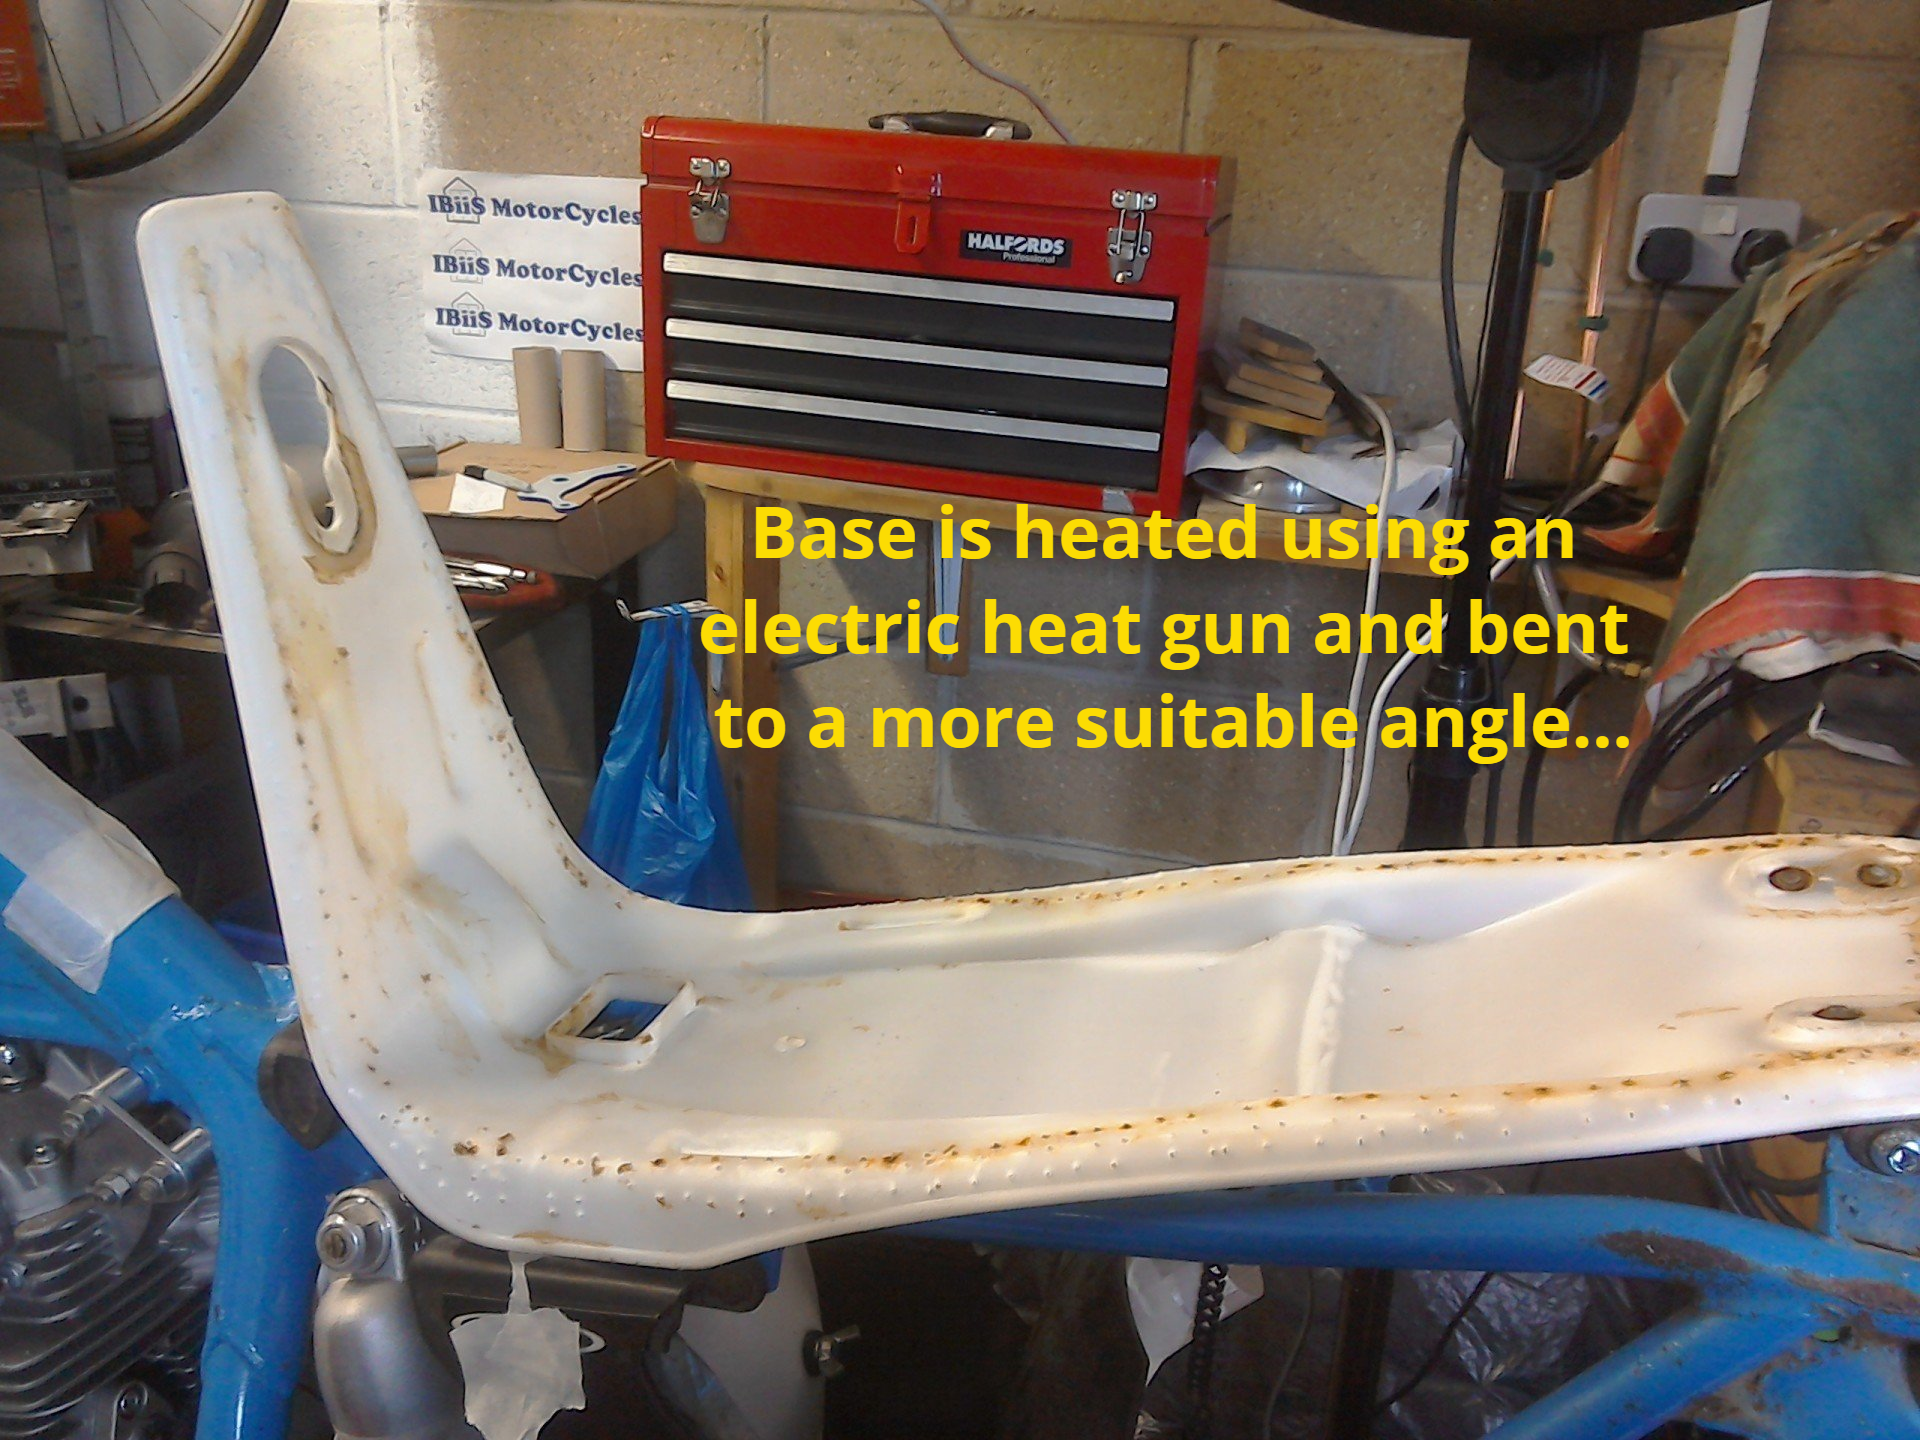
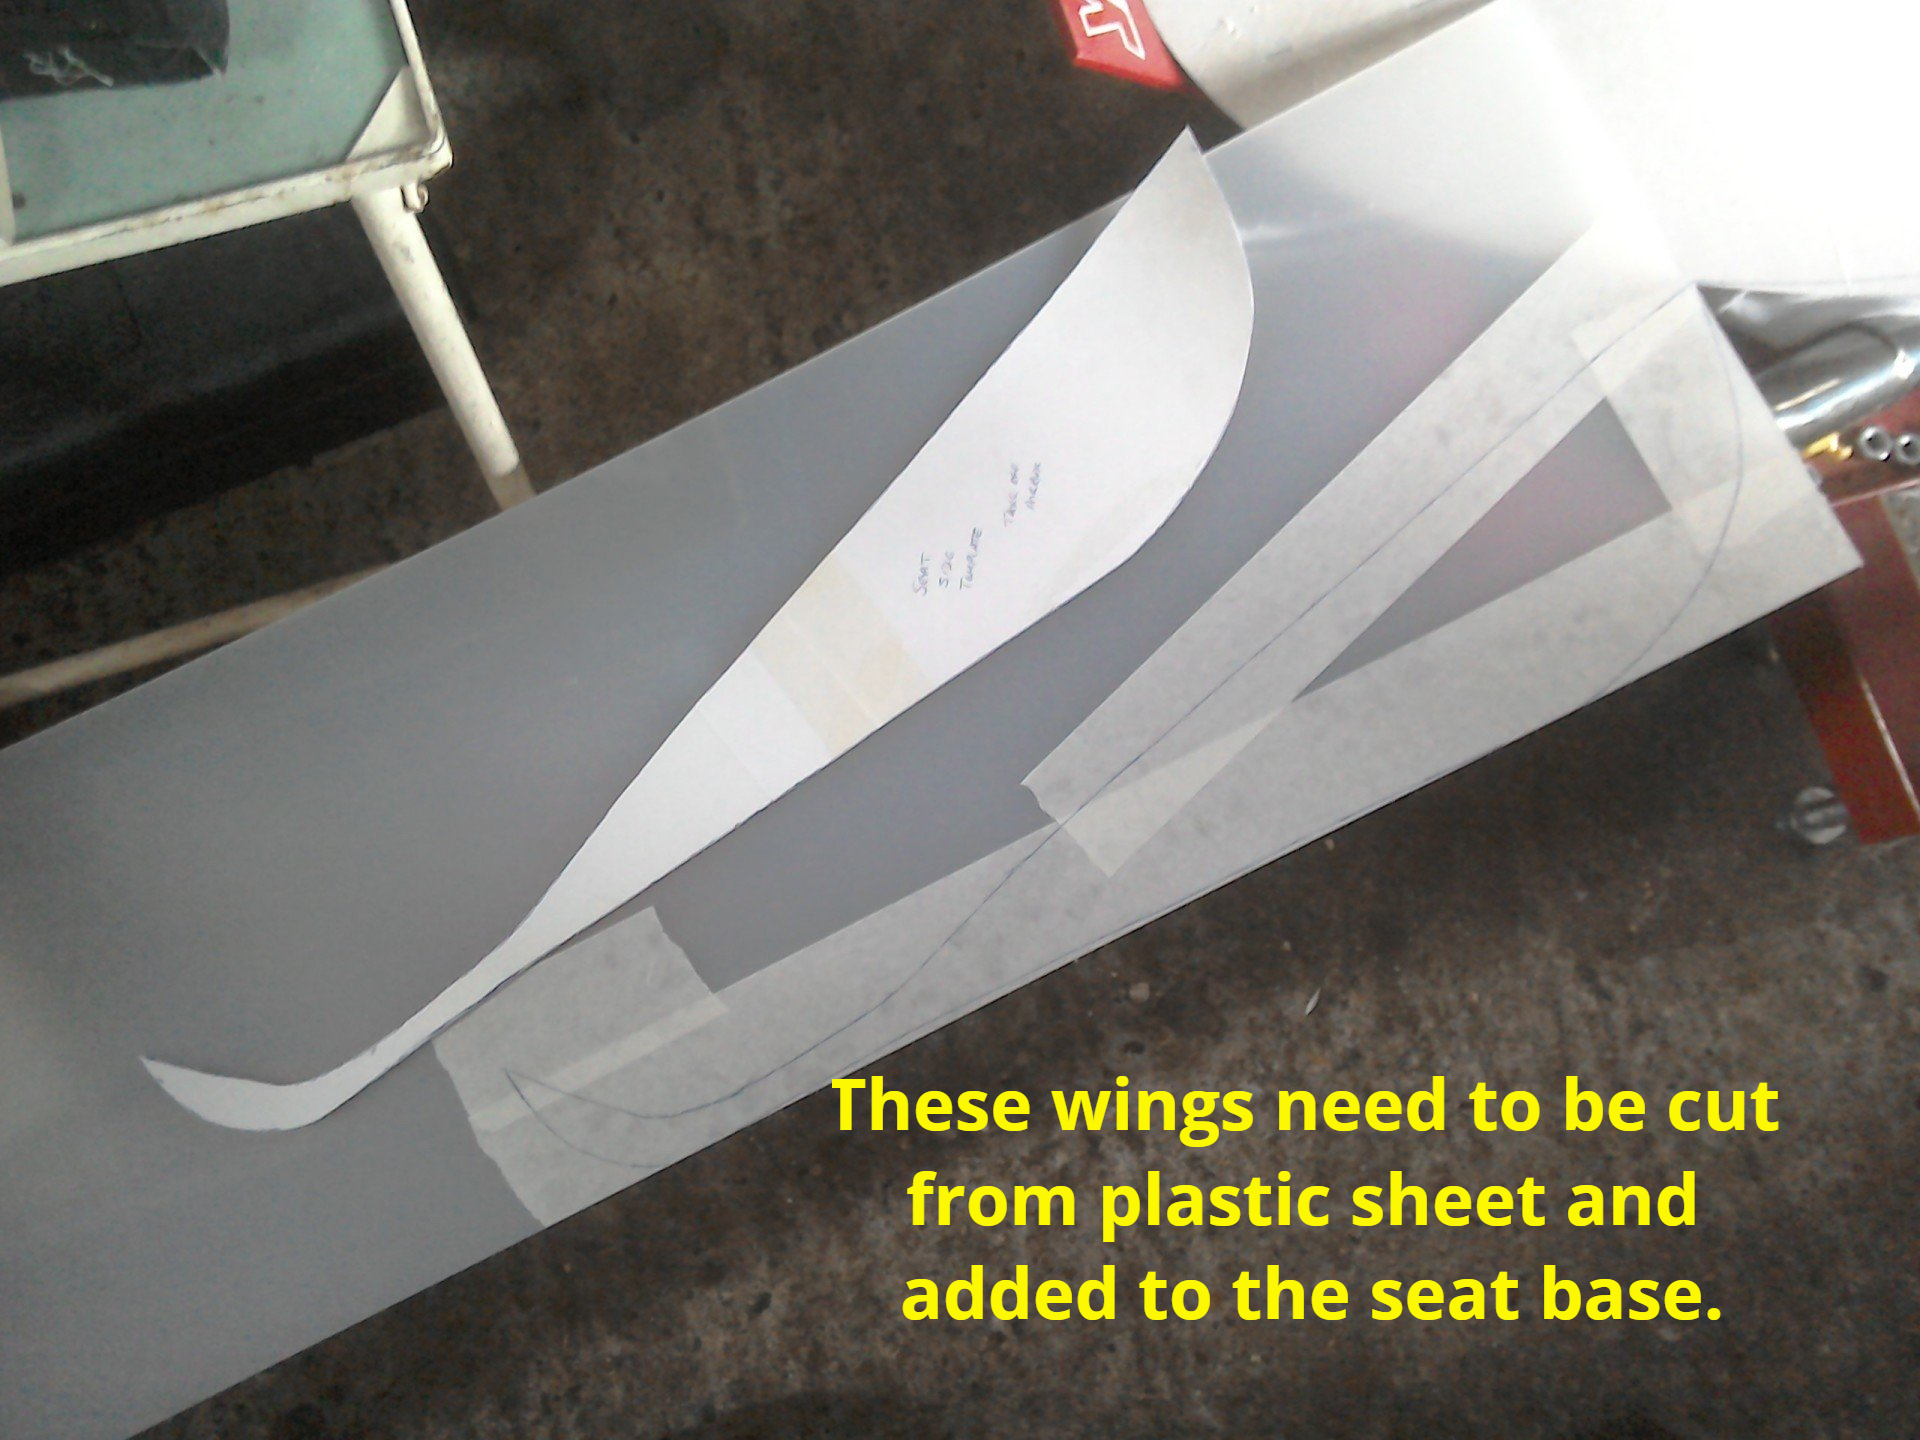
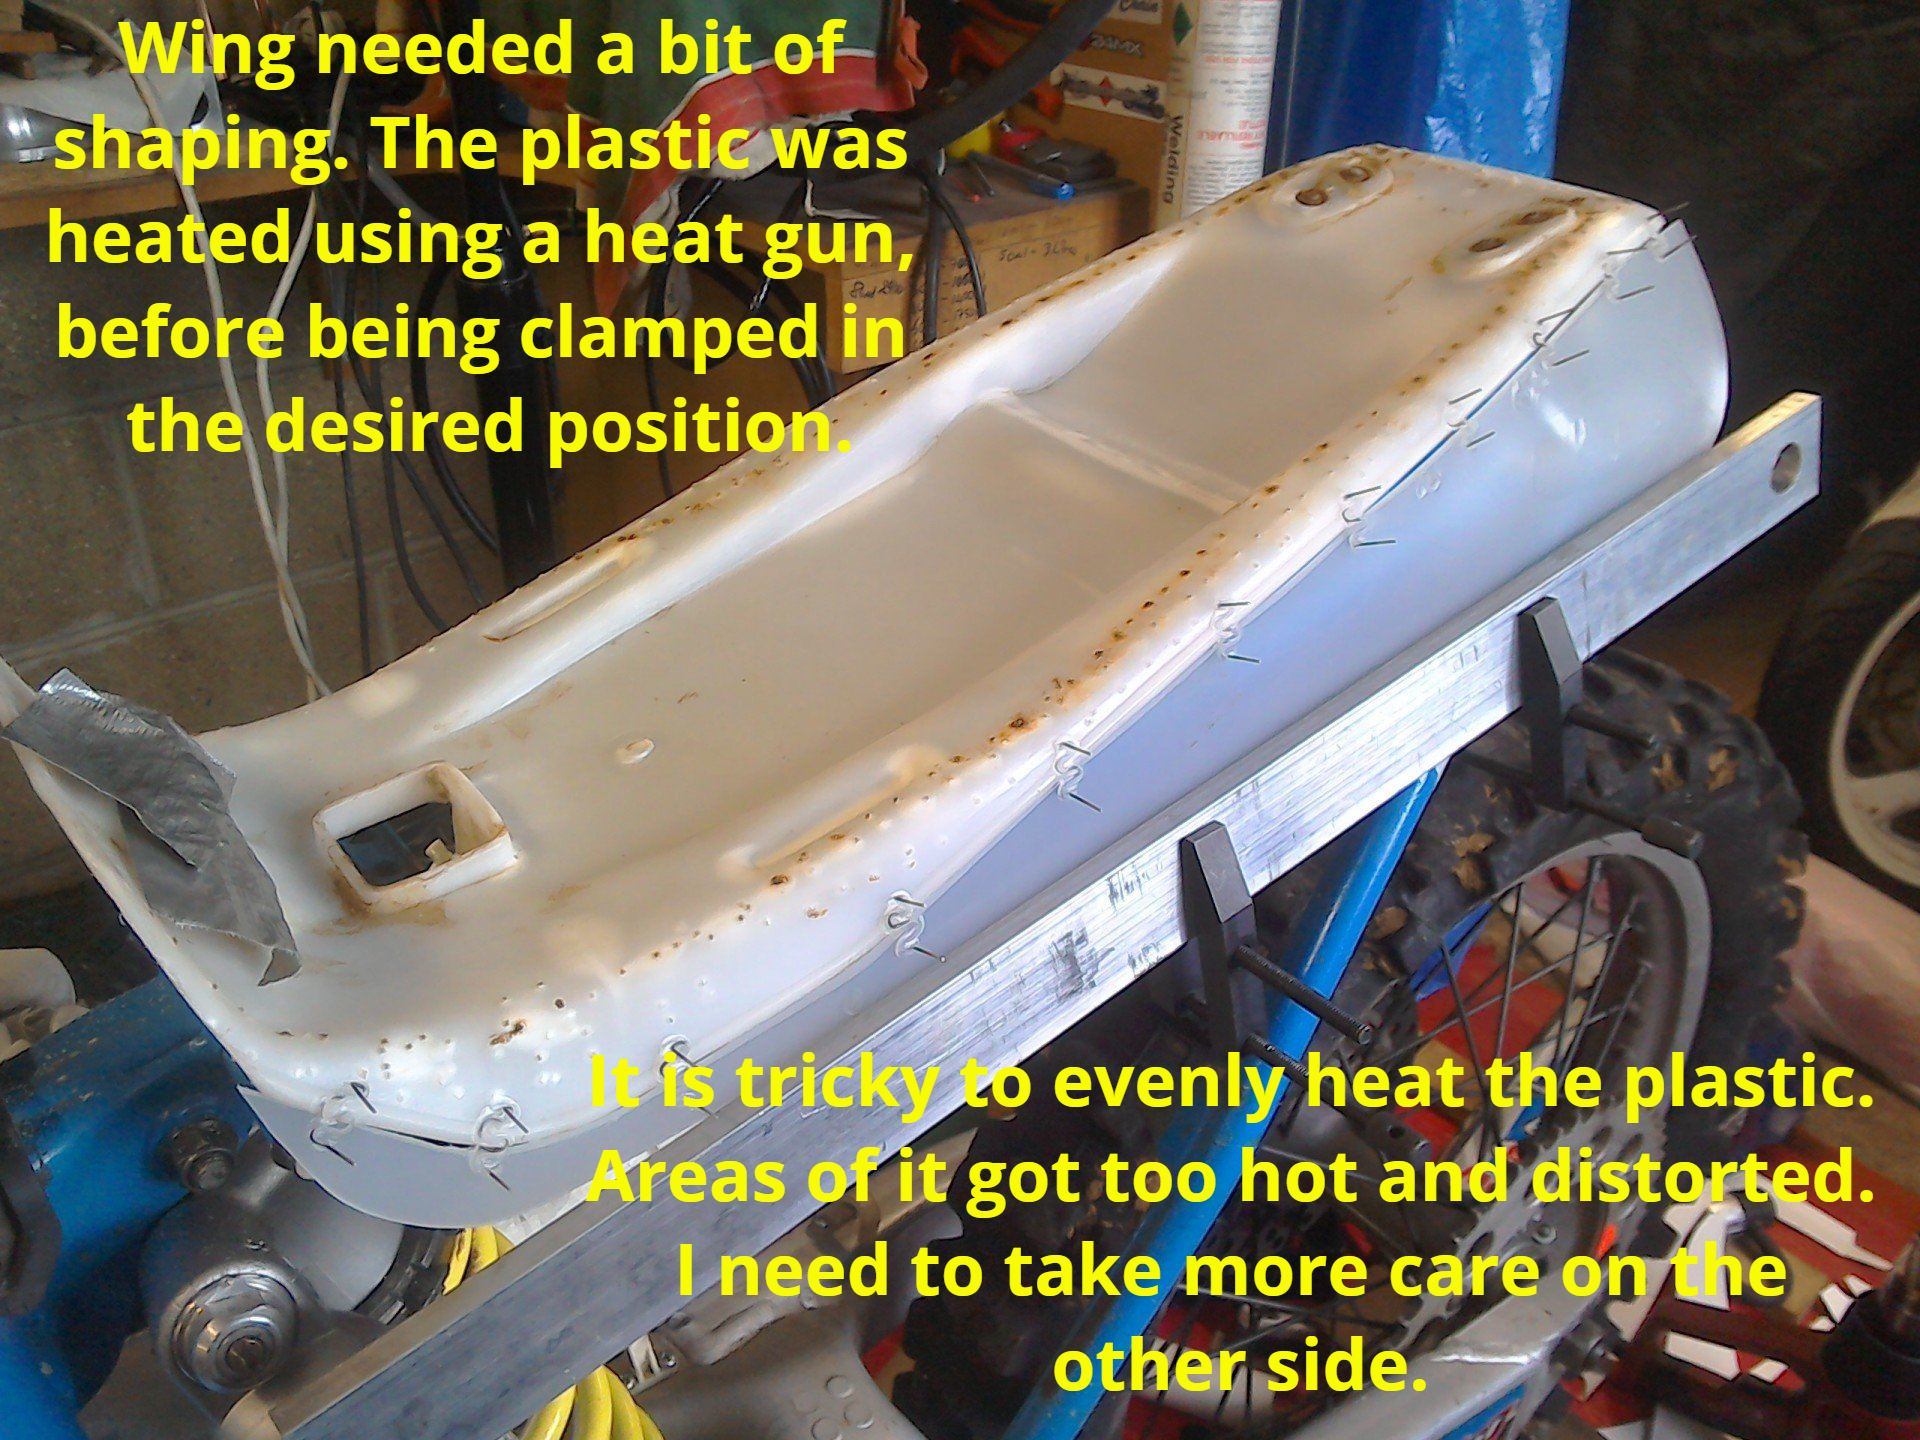
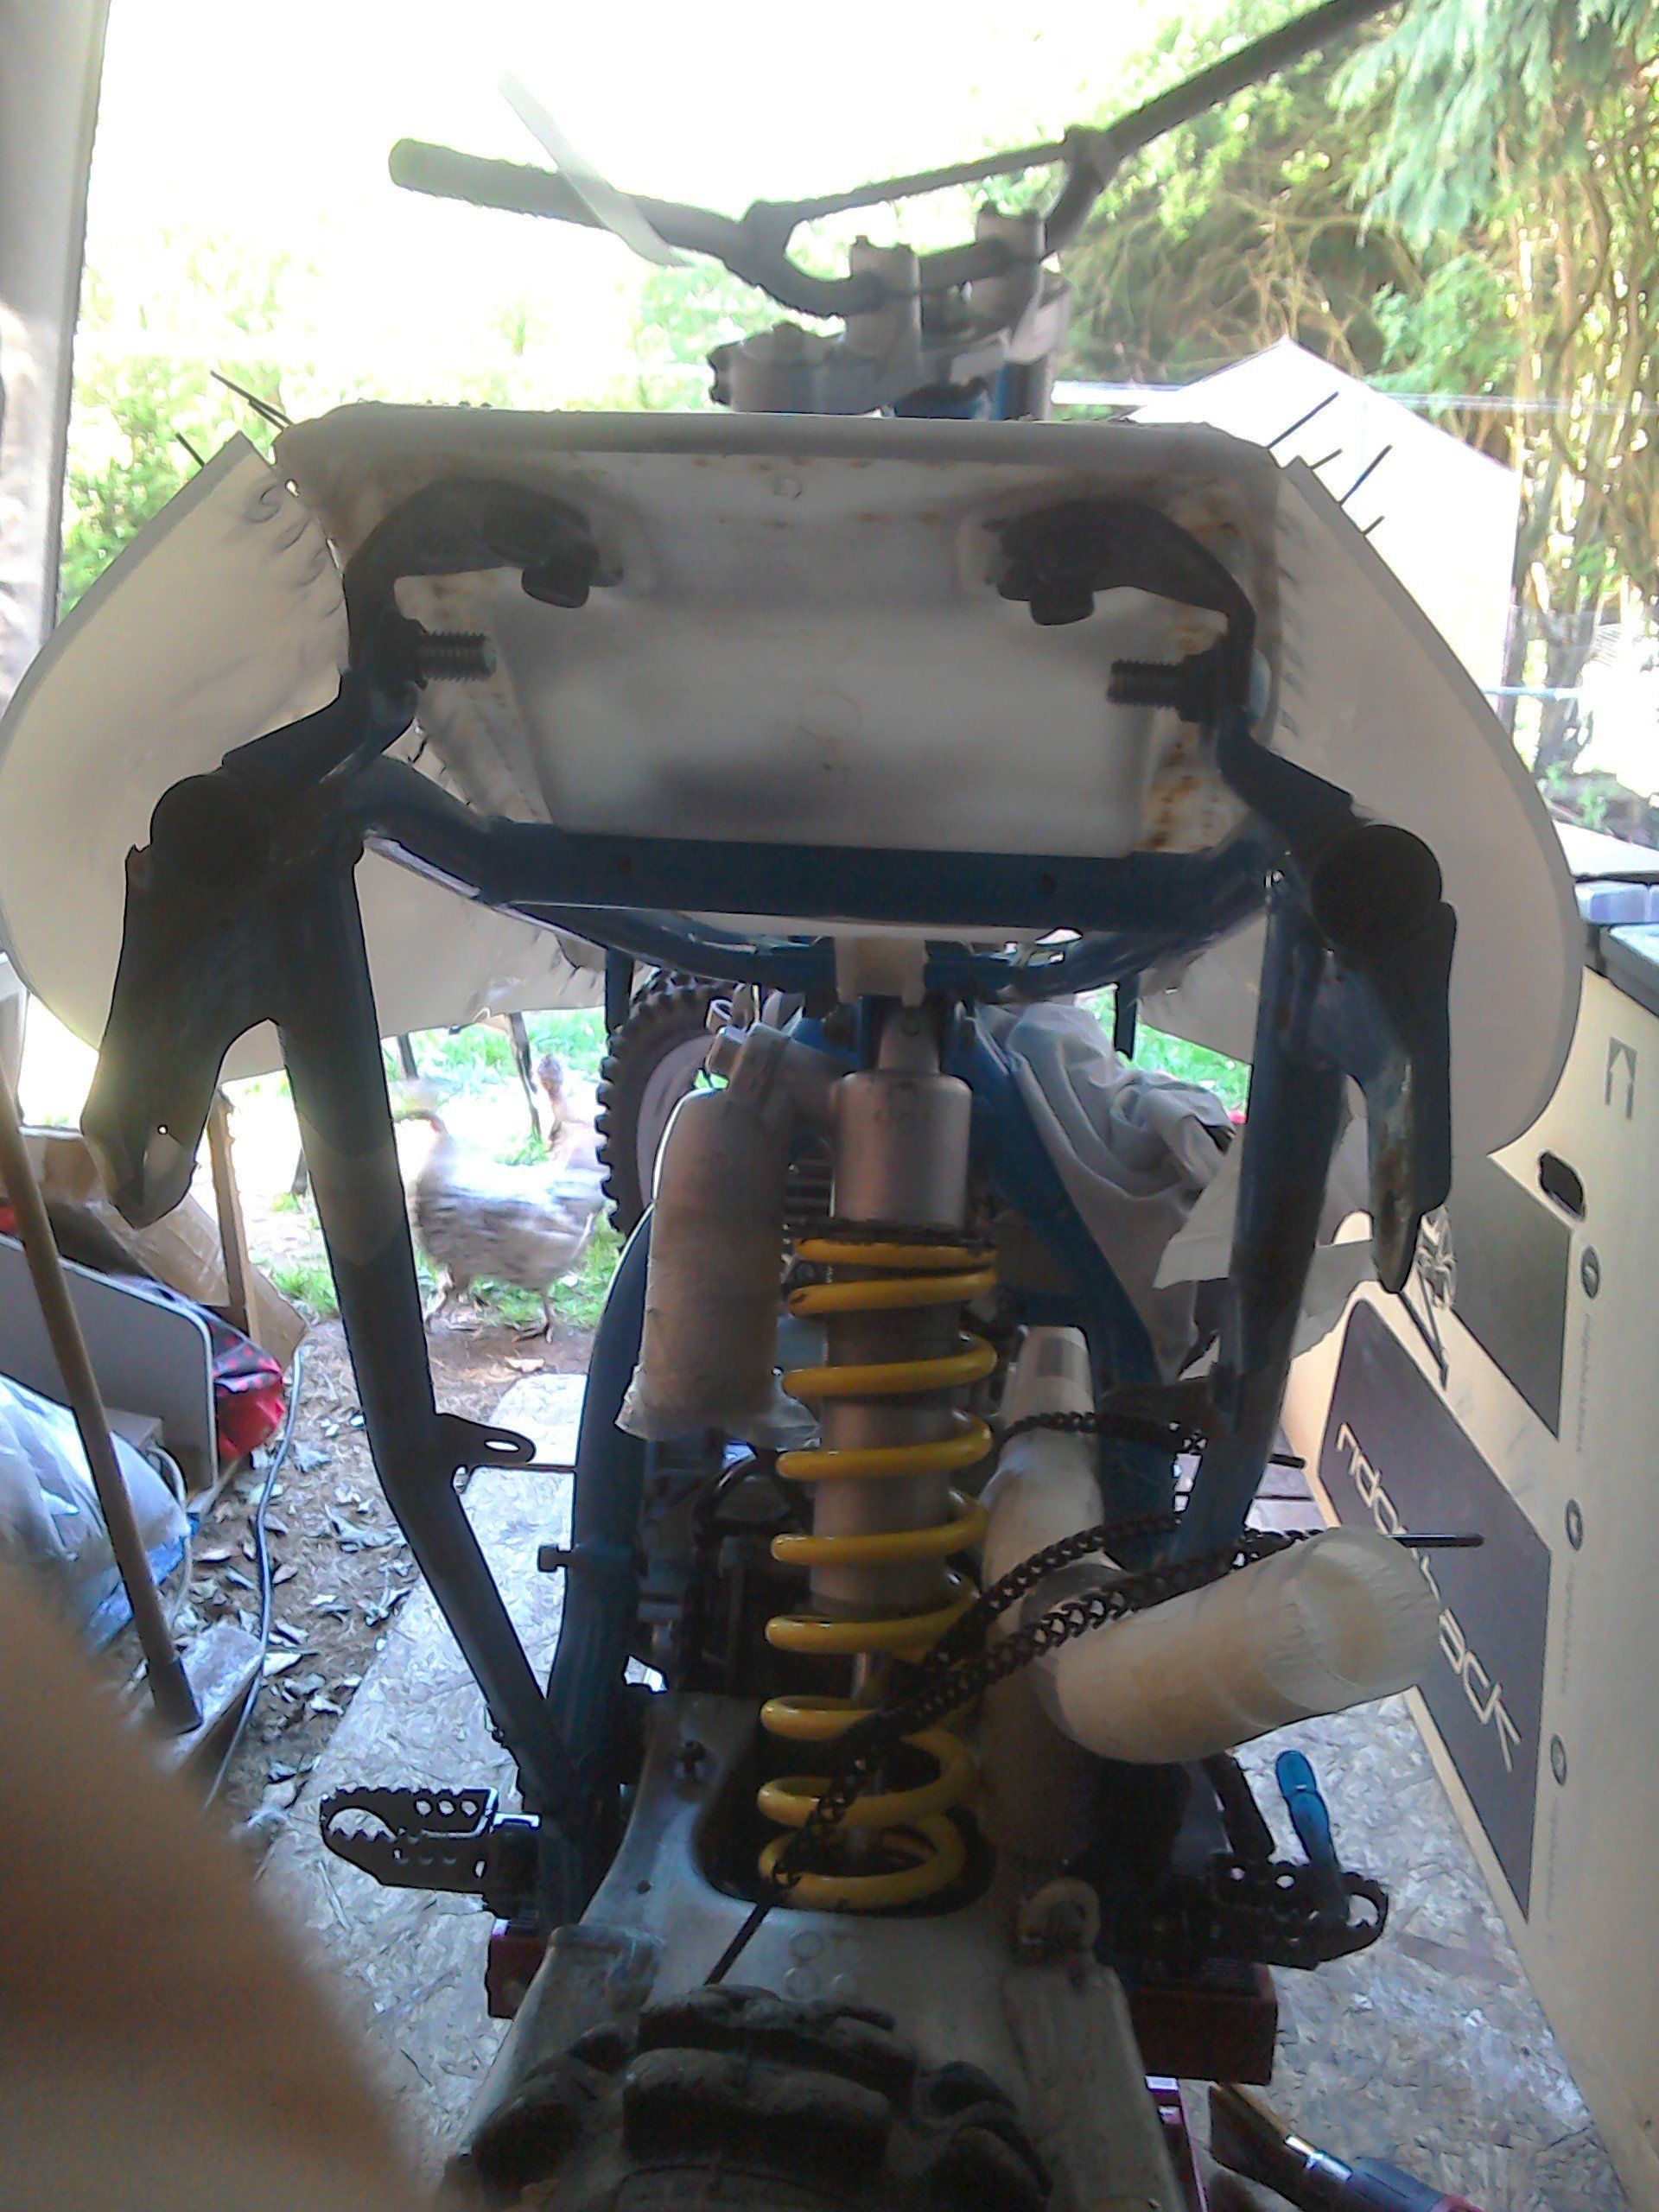
This week I’ve been working on the seat, because that has to fit with the tank, so I’ve hacked about the original YZ seat base to see if it can be utilised. It’s also been subjected to the full force of the electric heat gun to reshape it a bit, but if it’s going to be used at all, then it needs a bit of altering, it needs to gain some ‘wings’.
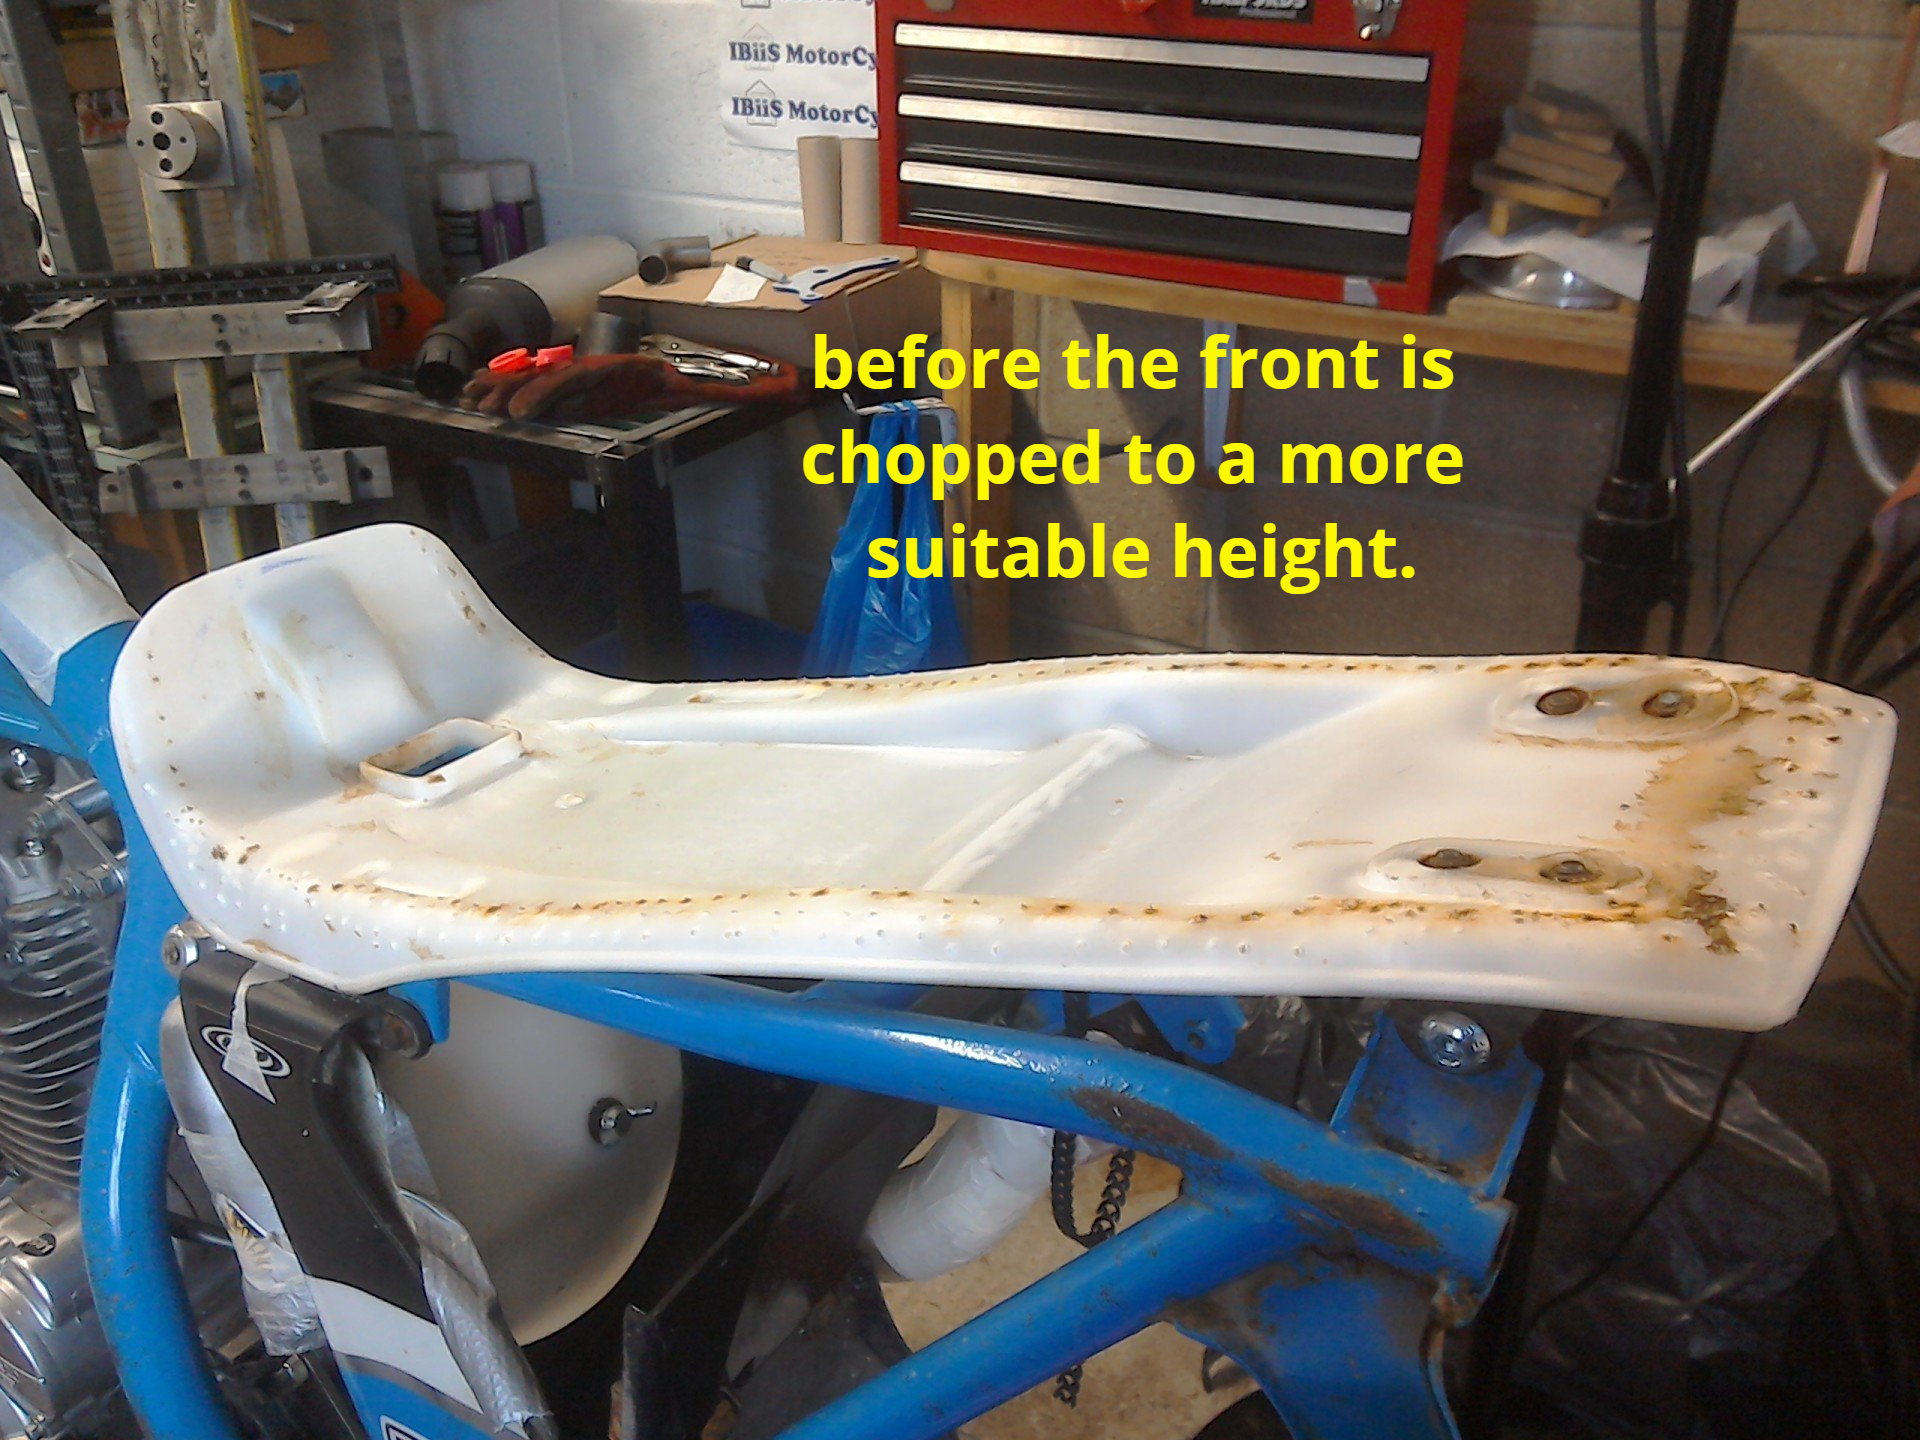
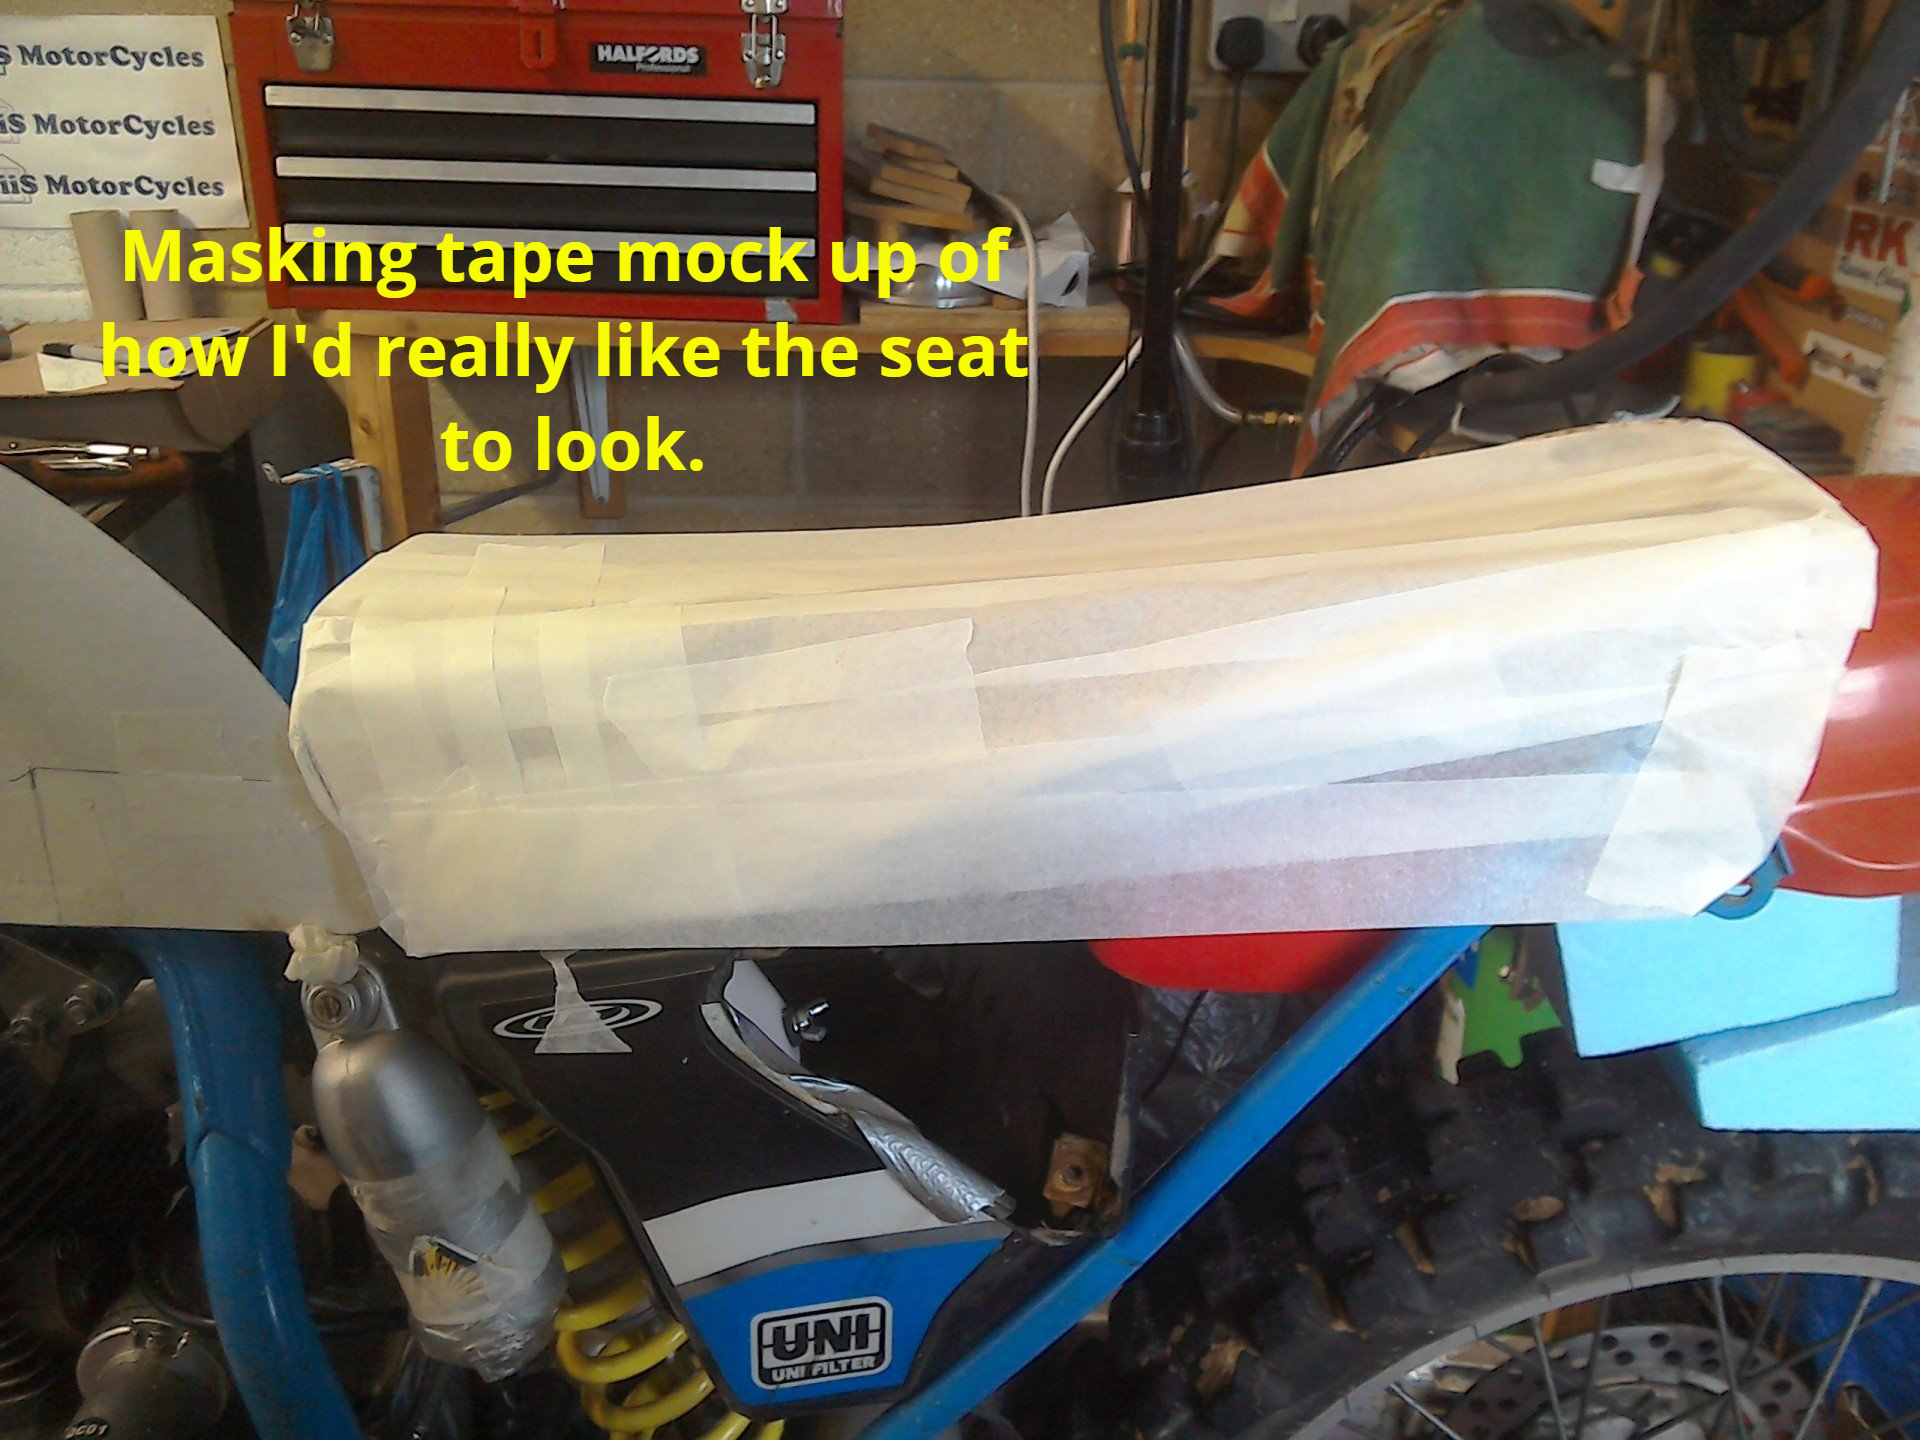
But this still doesn't give me the seat shape that I really want. It needs to look more like the masking tape mock up below.
Adding plastic to plastic is not always easily accomplished. The choice is usually either some form of ‘glue’ or plastic welding. Motocross seat bases are commonly made from either polypropylene or polyethylene (HDPE). Neither of these ‘glue’ satisfactorily, so that just leaves plastic welding.
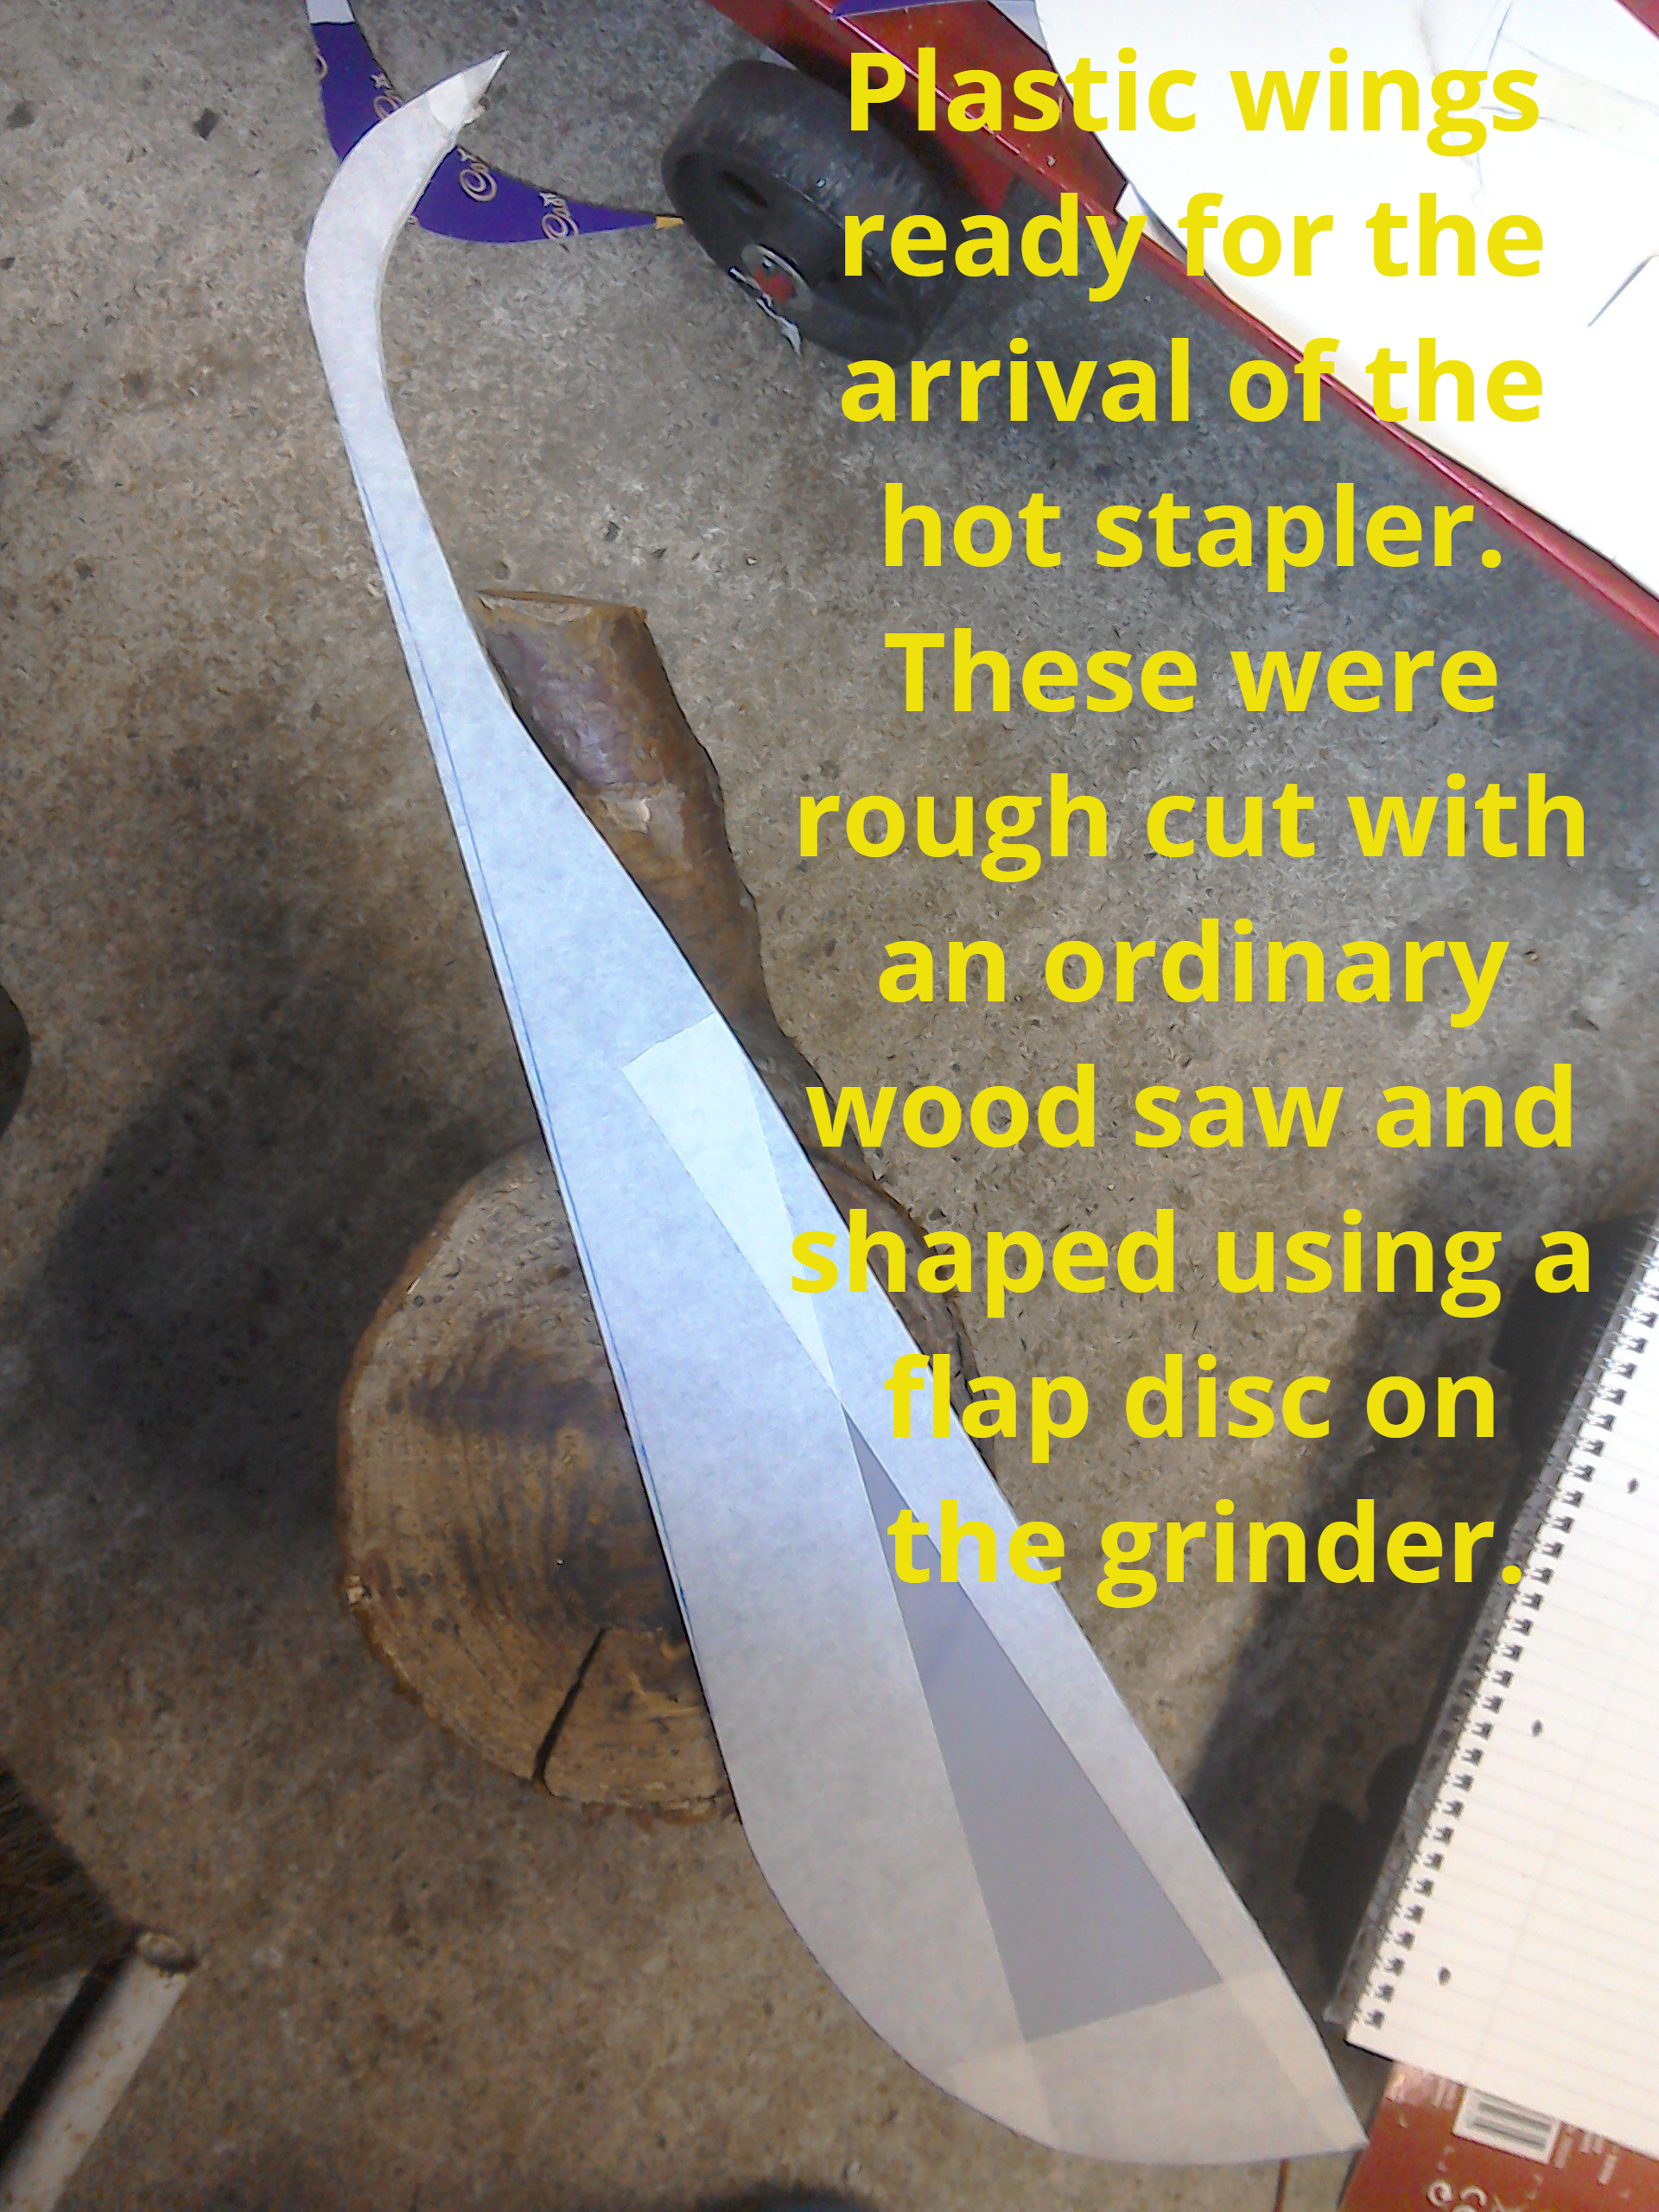
A trawl over the internet for DIY plastic welding threw up something called a hot stapler - basically, the metal staple is heated electrically, melted into the two bits of plastic that need joining, and then left to cool, before the protruding ends of the staple are snipped off. It looked a neat, quick way to join plastics. As usual there is a choice between quite expensive, professional quality units, or cheap Chinese versions. As I write, I’m waiting for my cheap Chinese version to arrive. I’ll let you know how I get on…

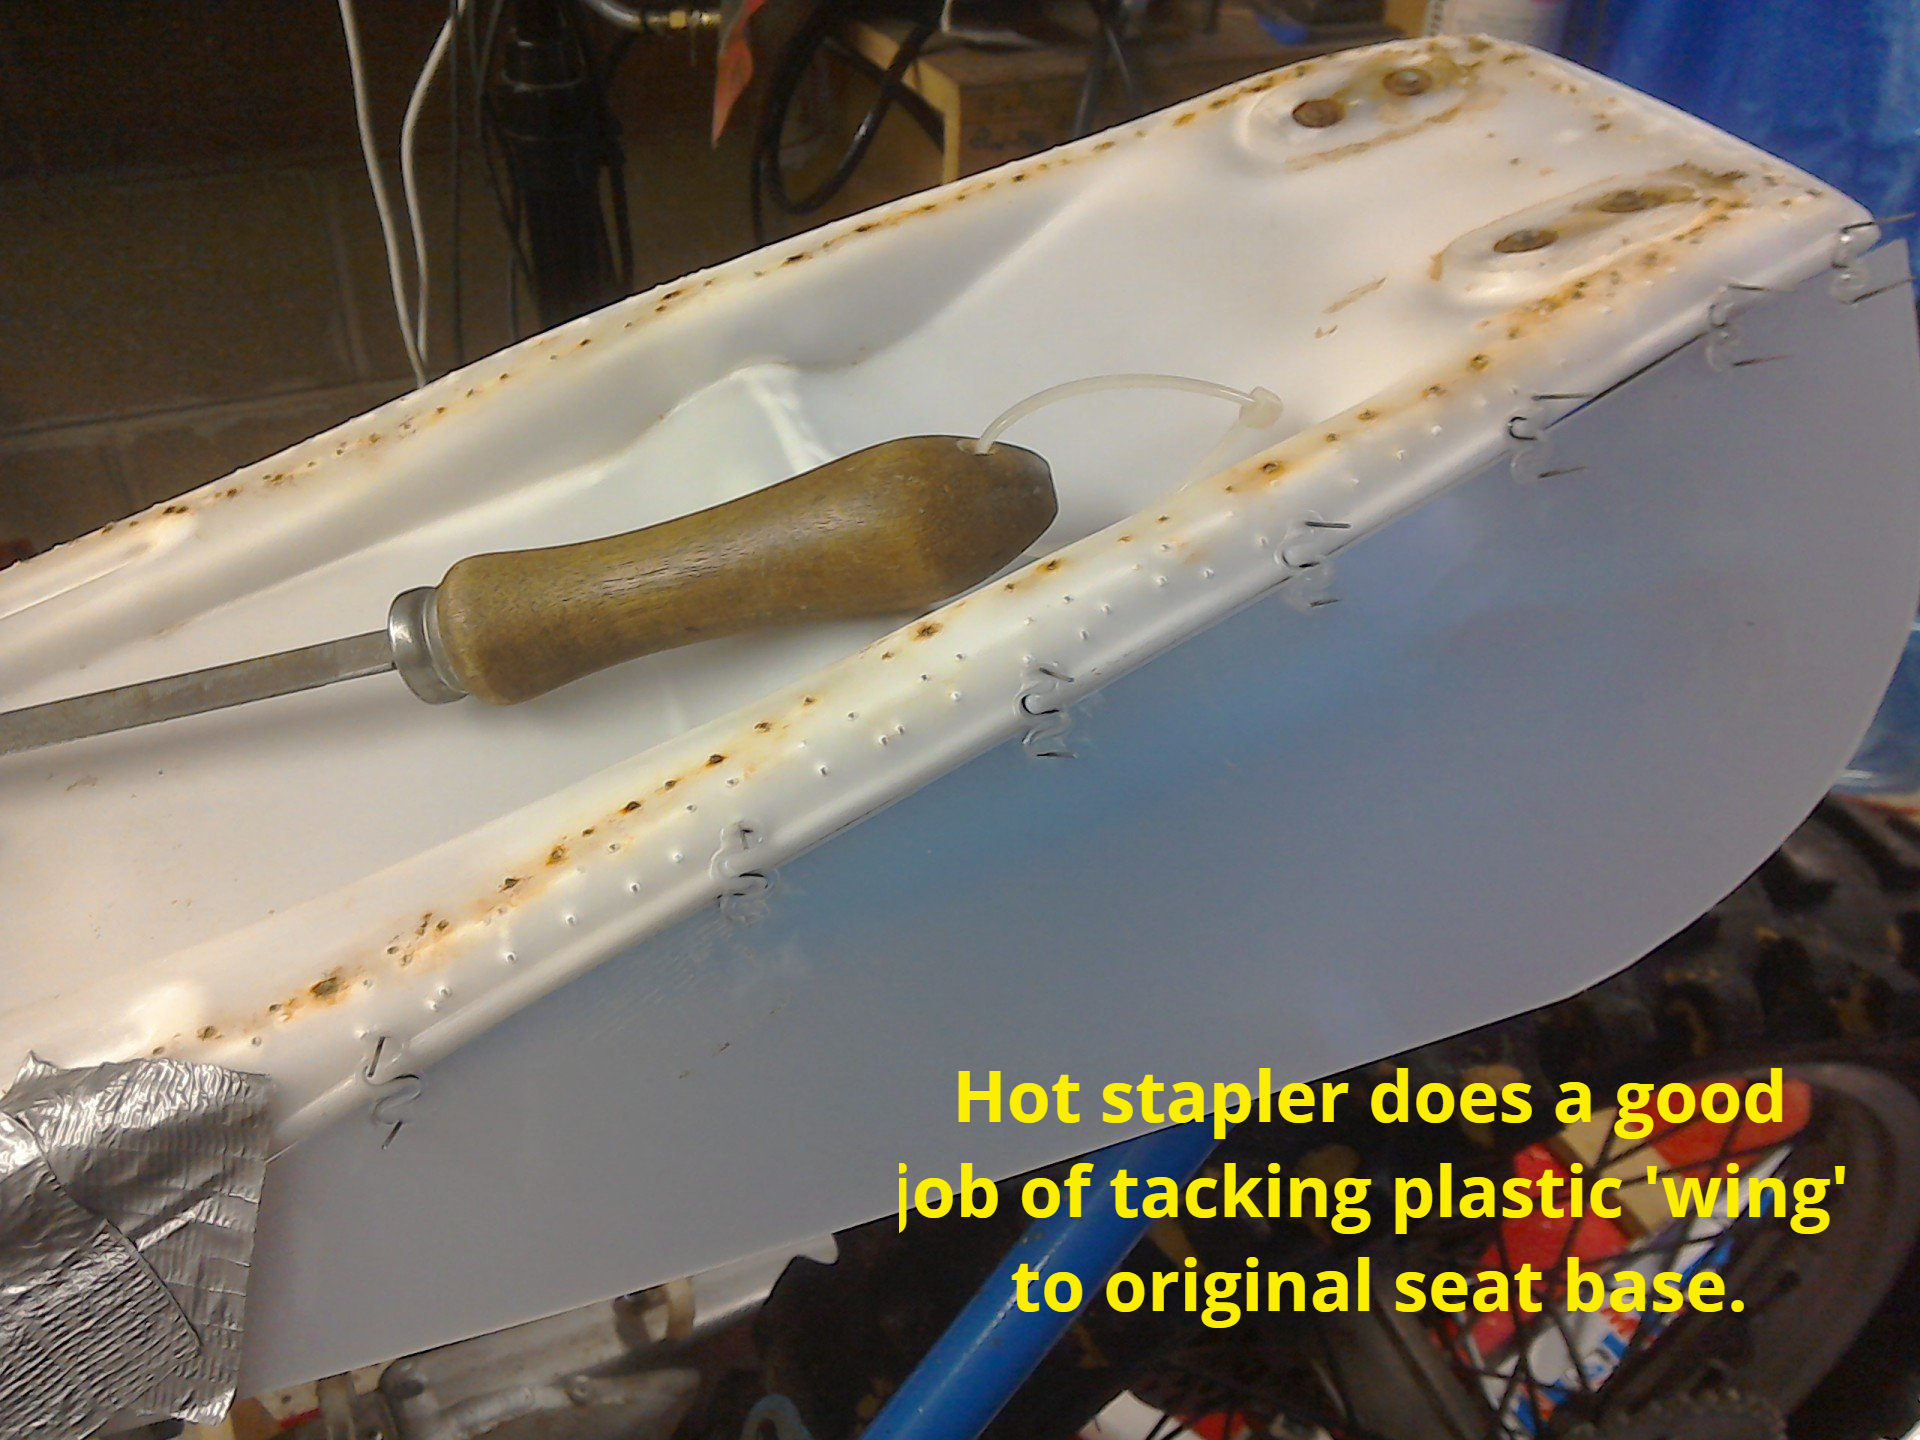
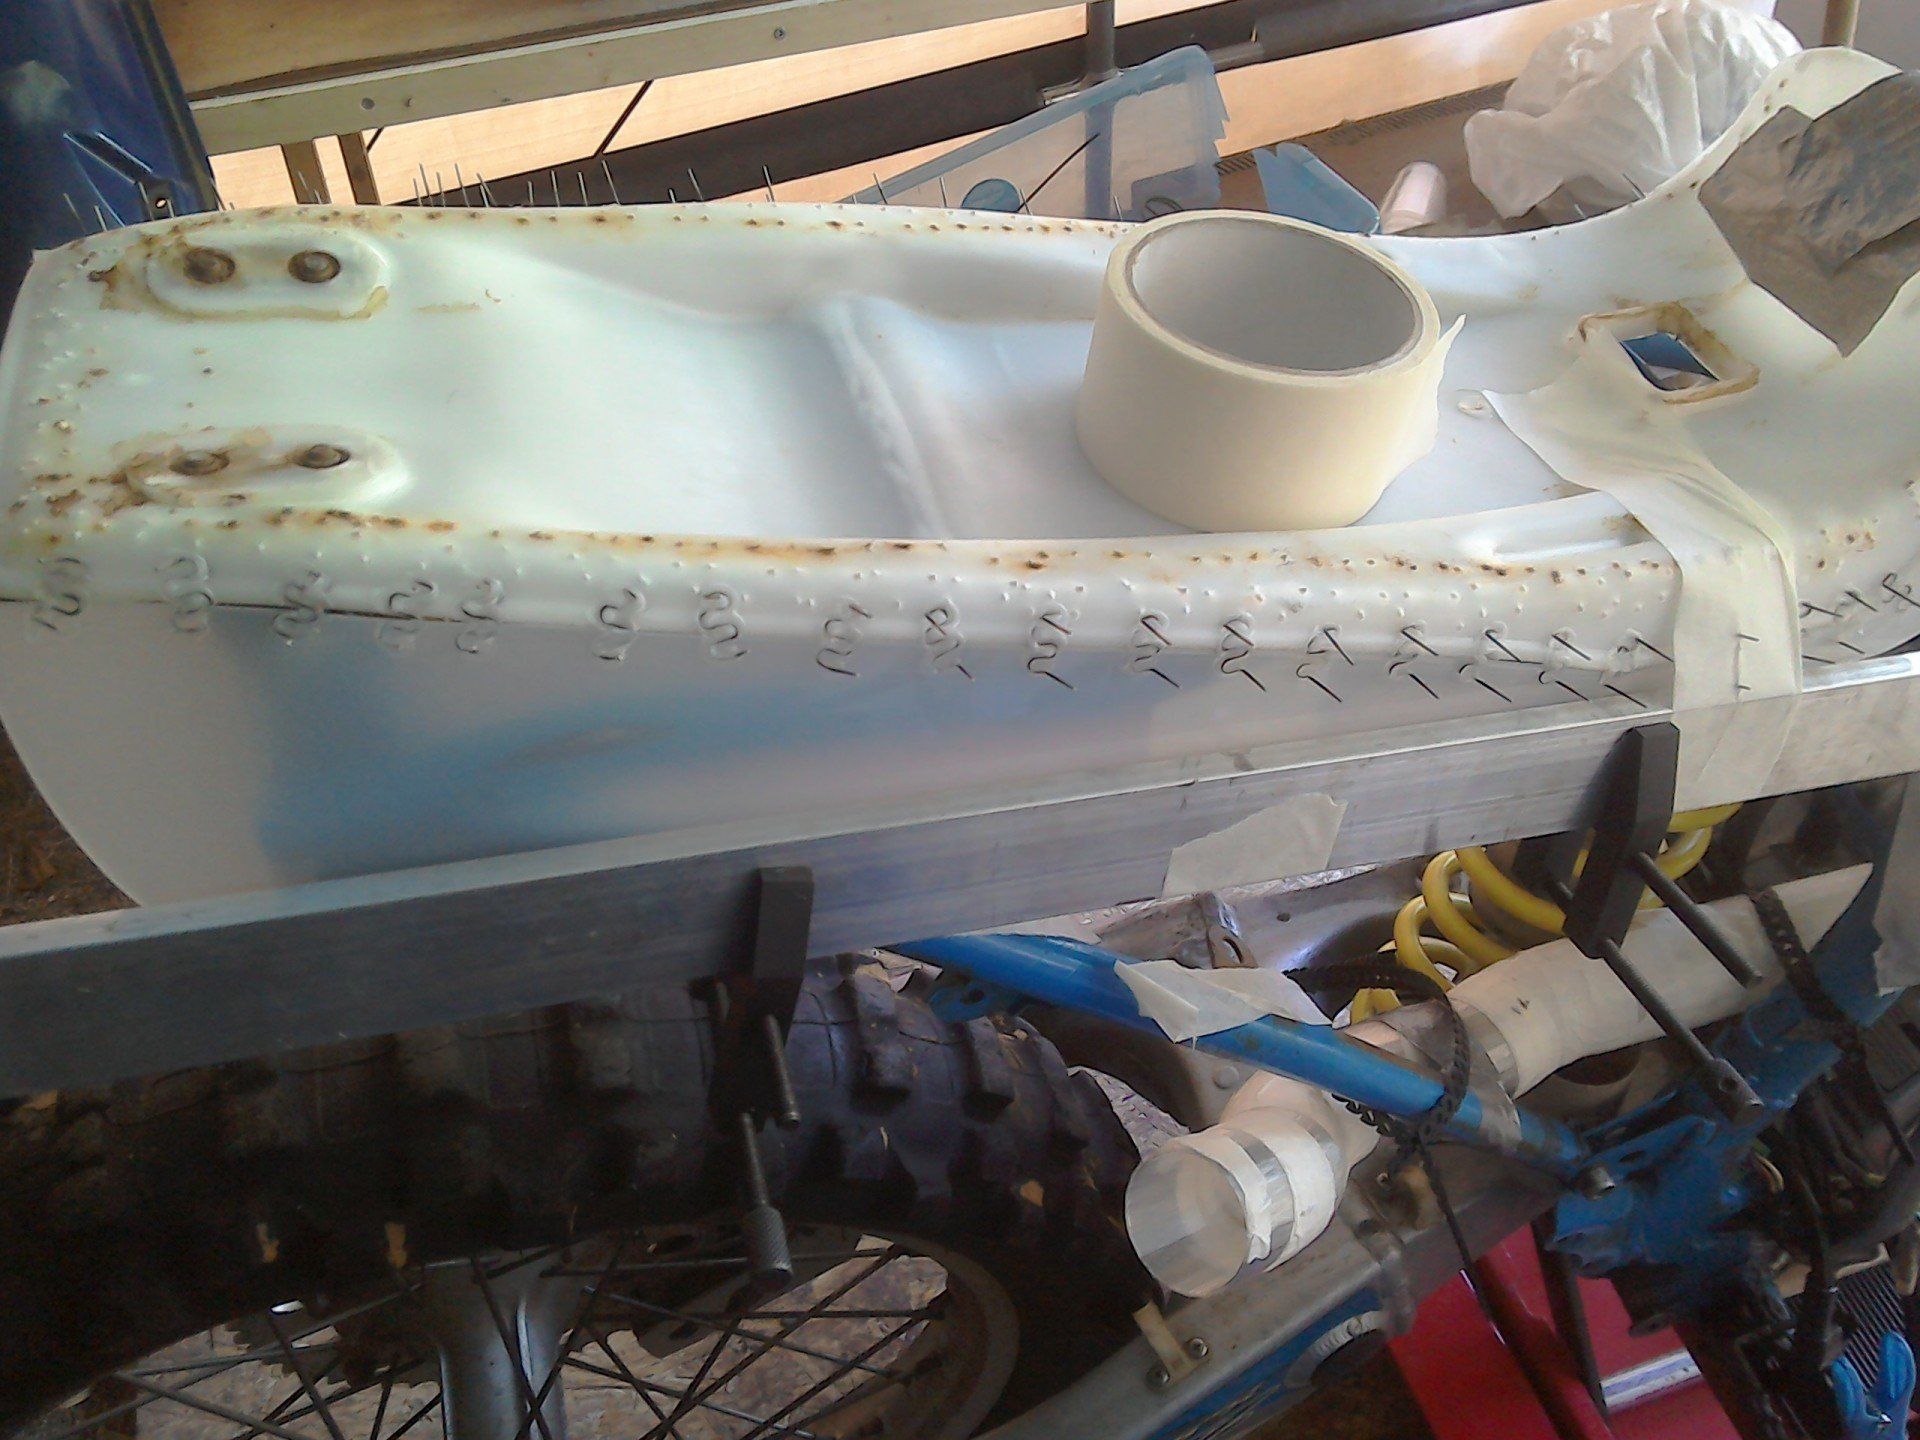
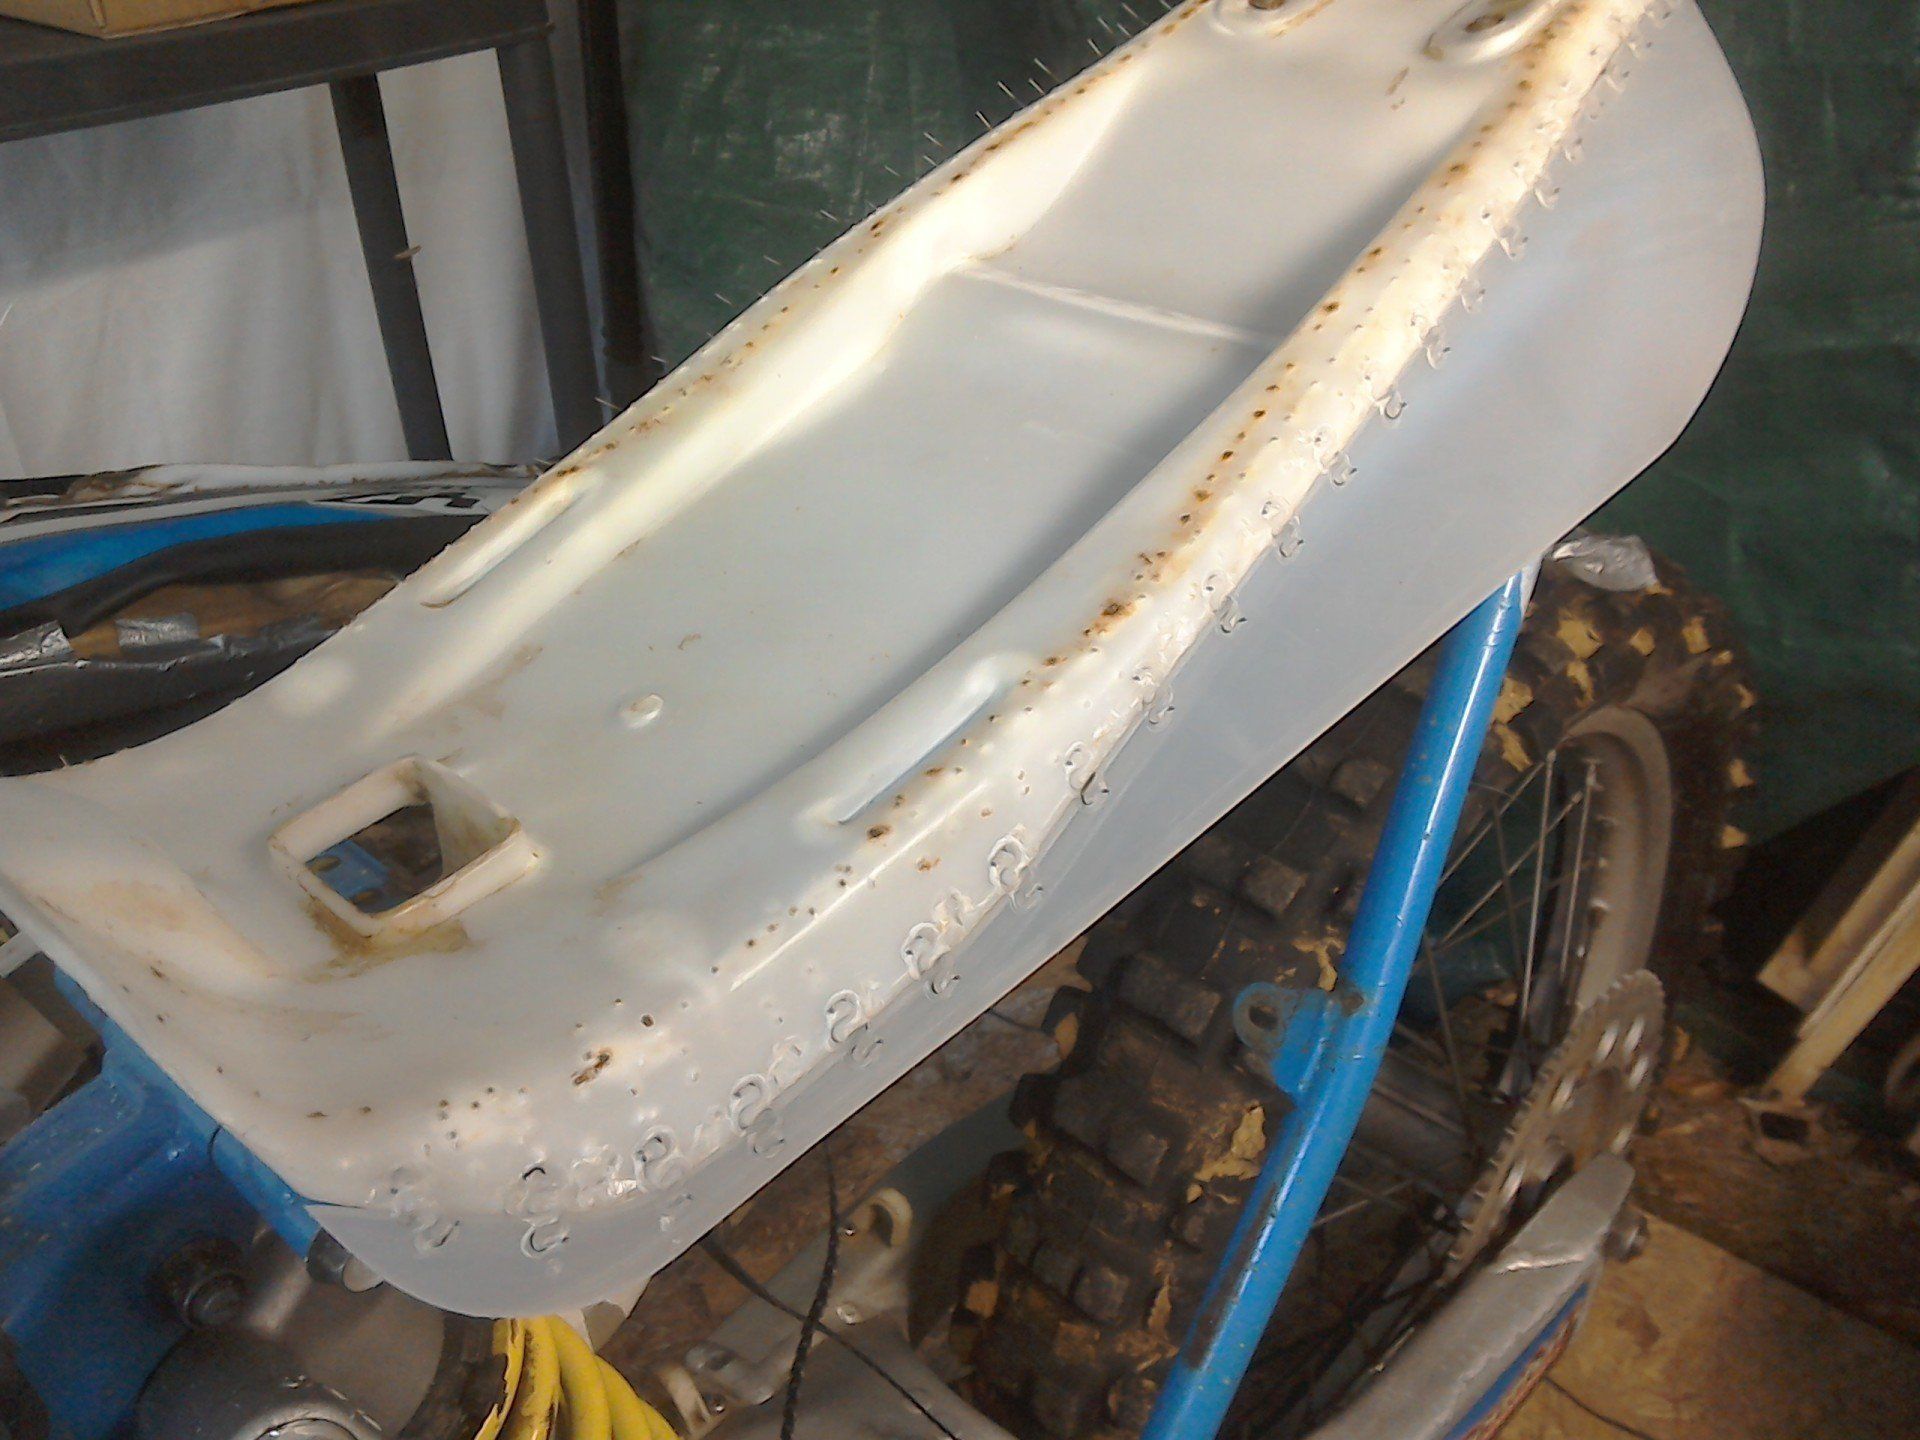
This week the hot stapler arrived, and so, using this, the seat base has gained one extension. (I haven’t had time to do the matching one for the opposite side yet!)
The hot stapler did a good job of tacking the two bits of plastic together but I’m not really sure how robust the join will be. This means that I’m still undecided on whether to actually use this modified seat base, or whether to just use it as a pattern from which to make a fibreglass version. I’ll ponder that some more, but for the moment, for mocking everything up, this’ll do.
The hot stapler did a good job of tacking the two bits of plastic together but I’m not really sure how robust the join will be. This means that I’m still undecided on whether to actually use this modified seat base, or whether to just use it as a pattern from which to make a fibreglass version. I’ll ponder that some more, but for the moment, for mocking everything up, this’ll do.
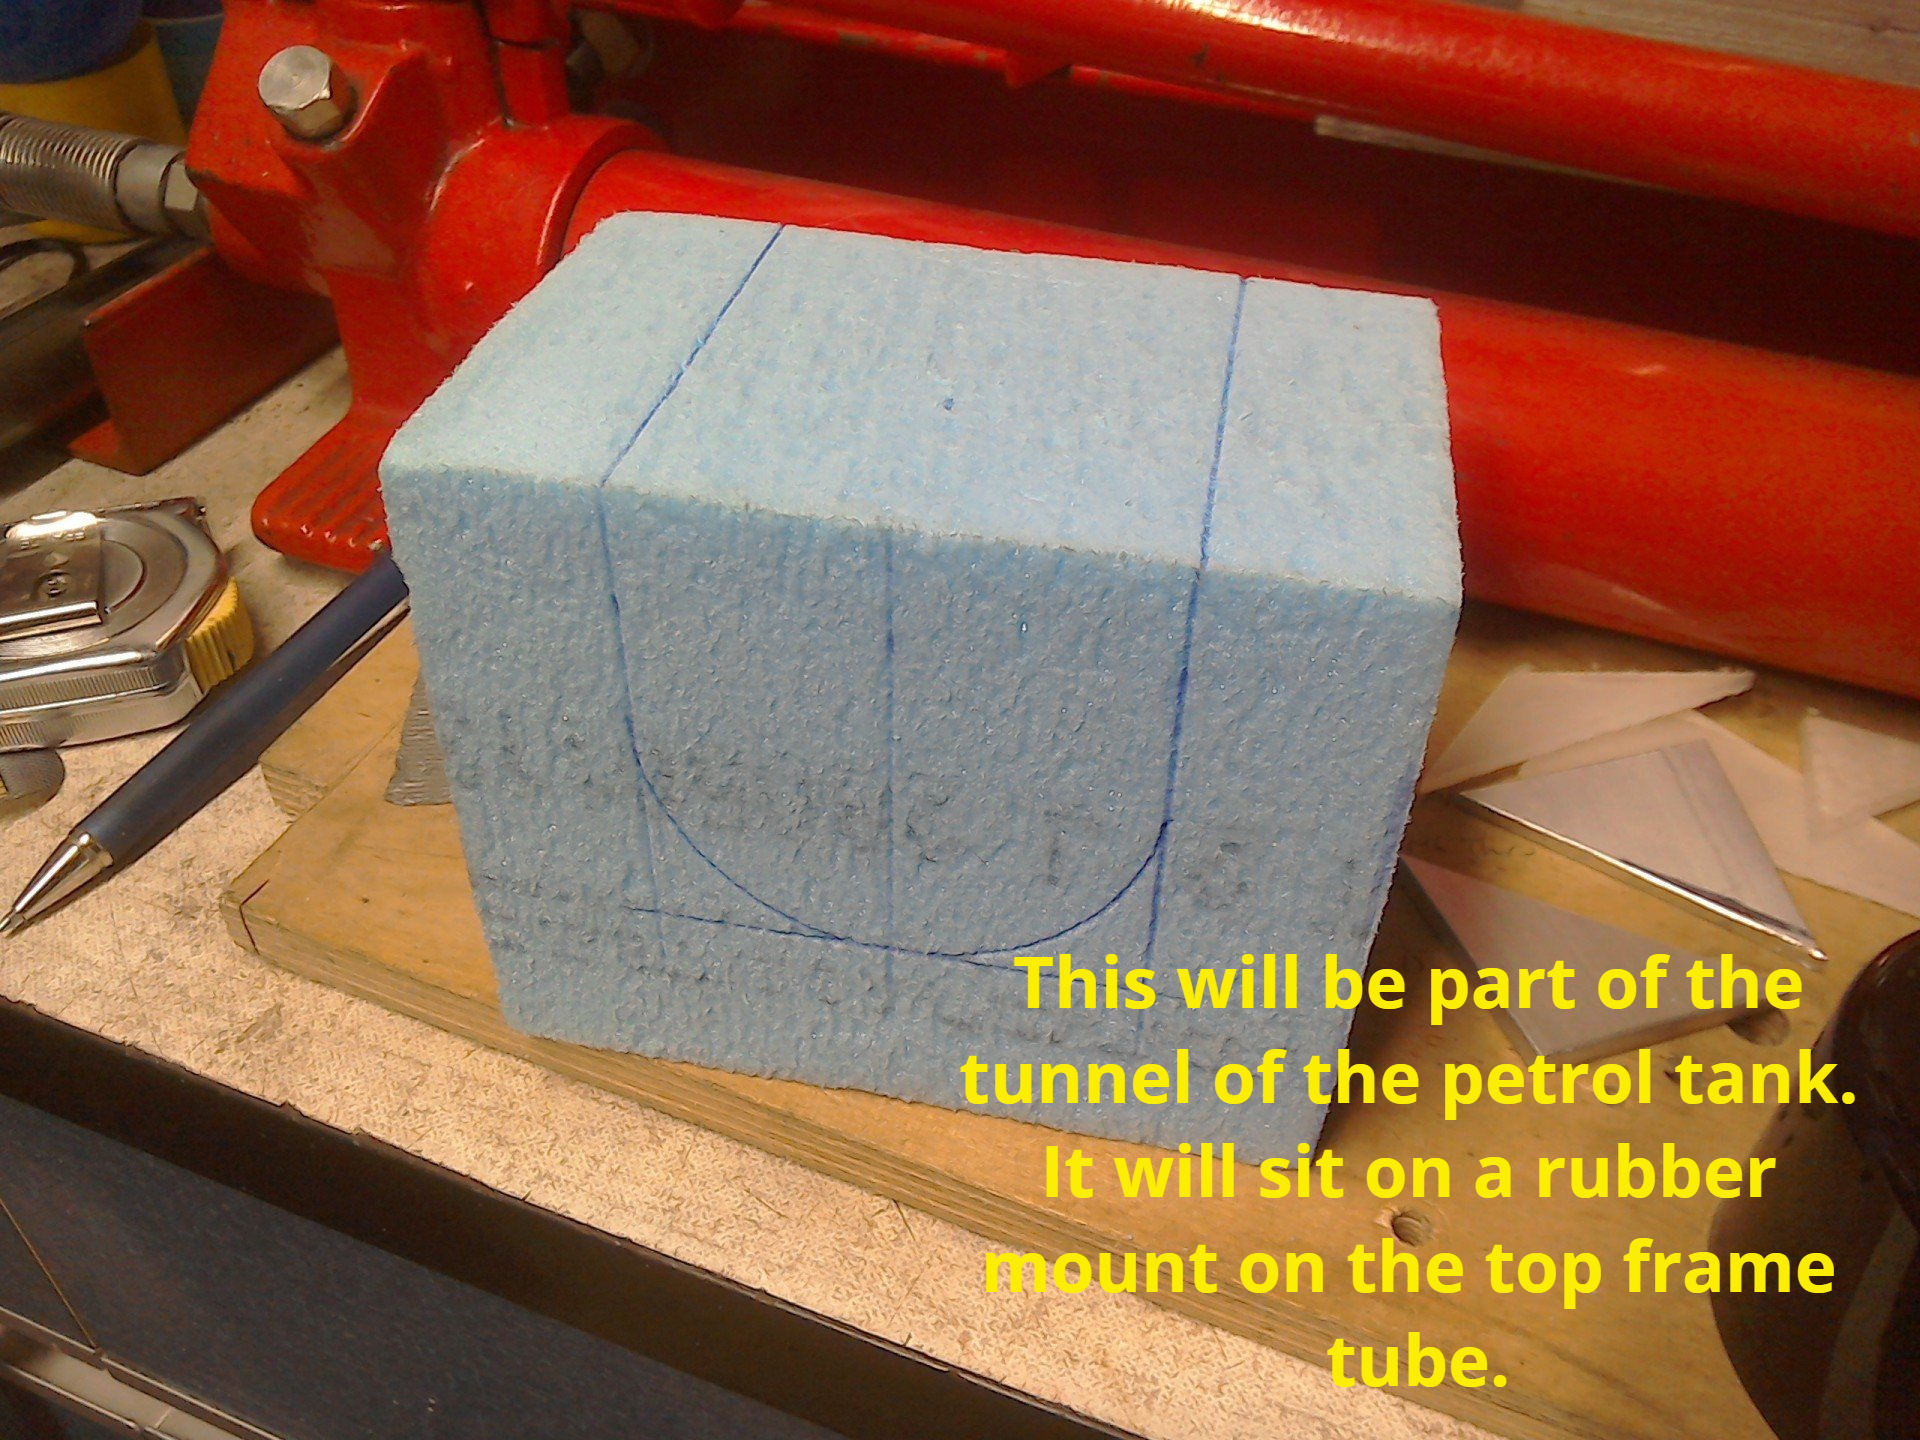
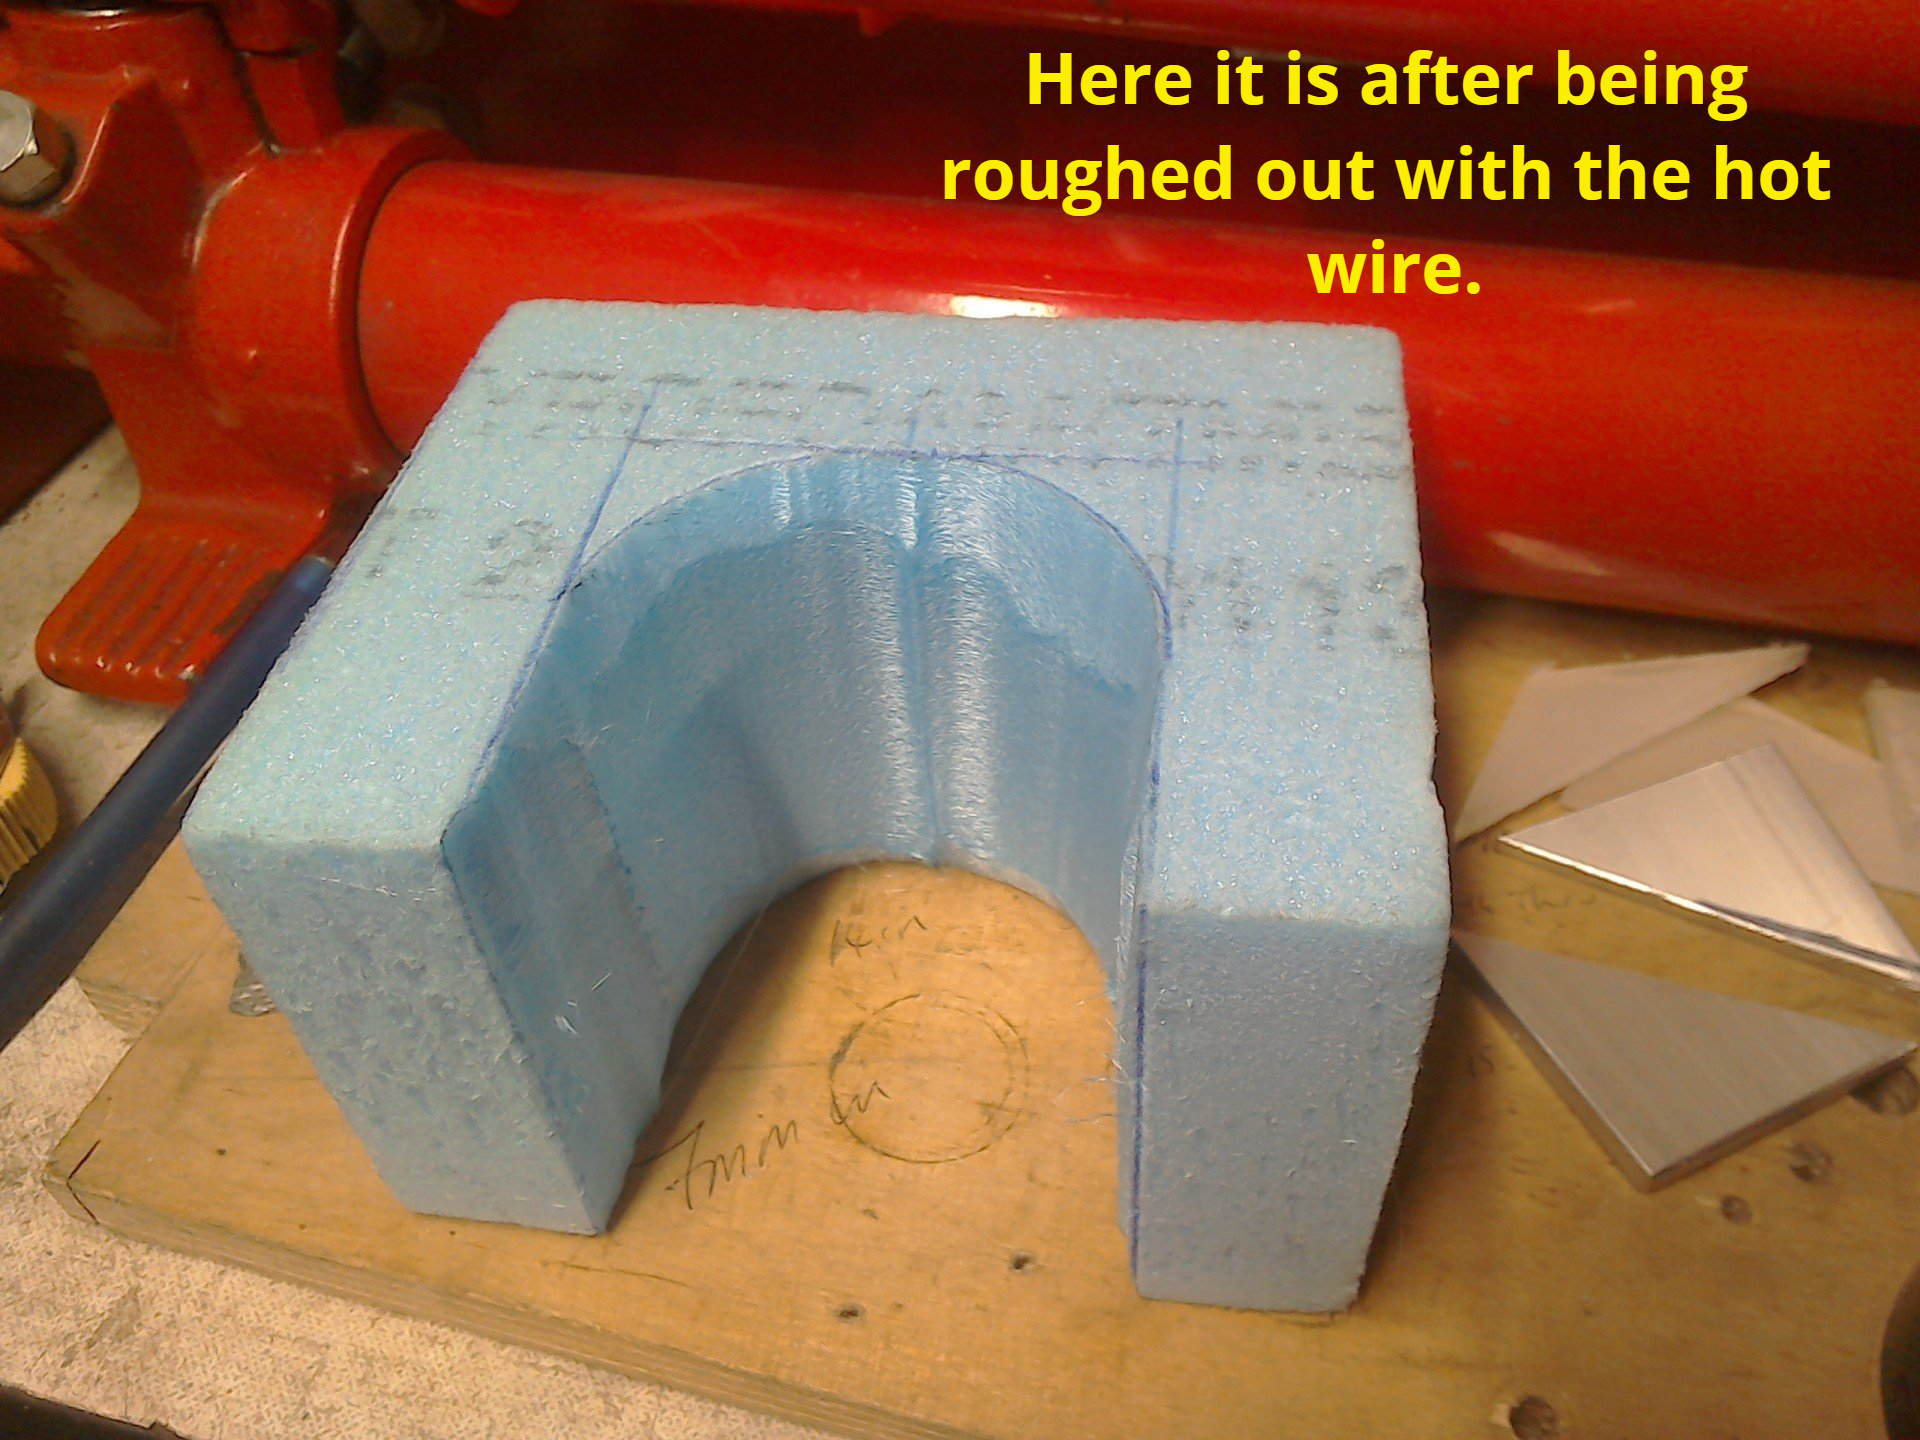
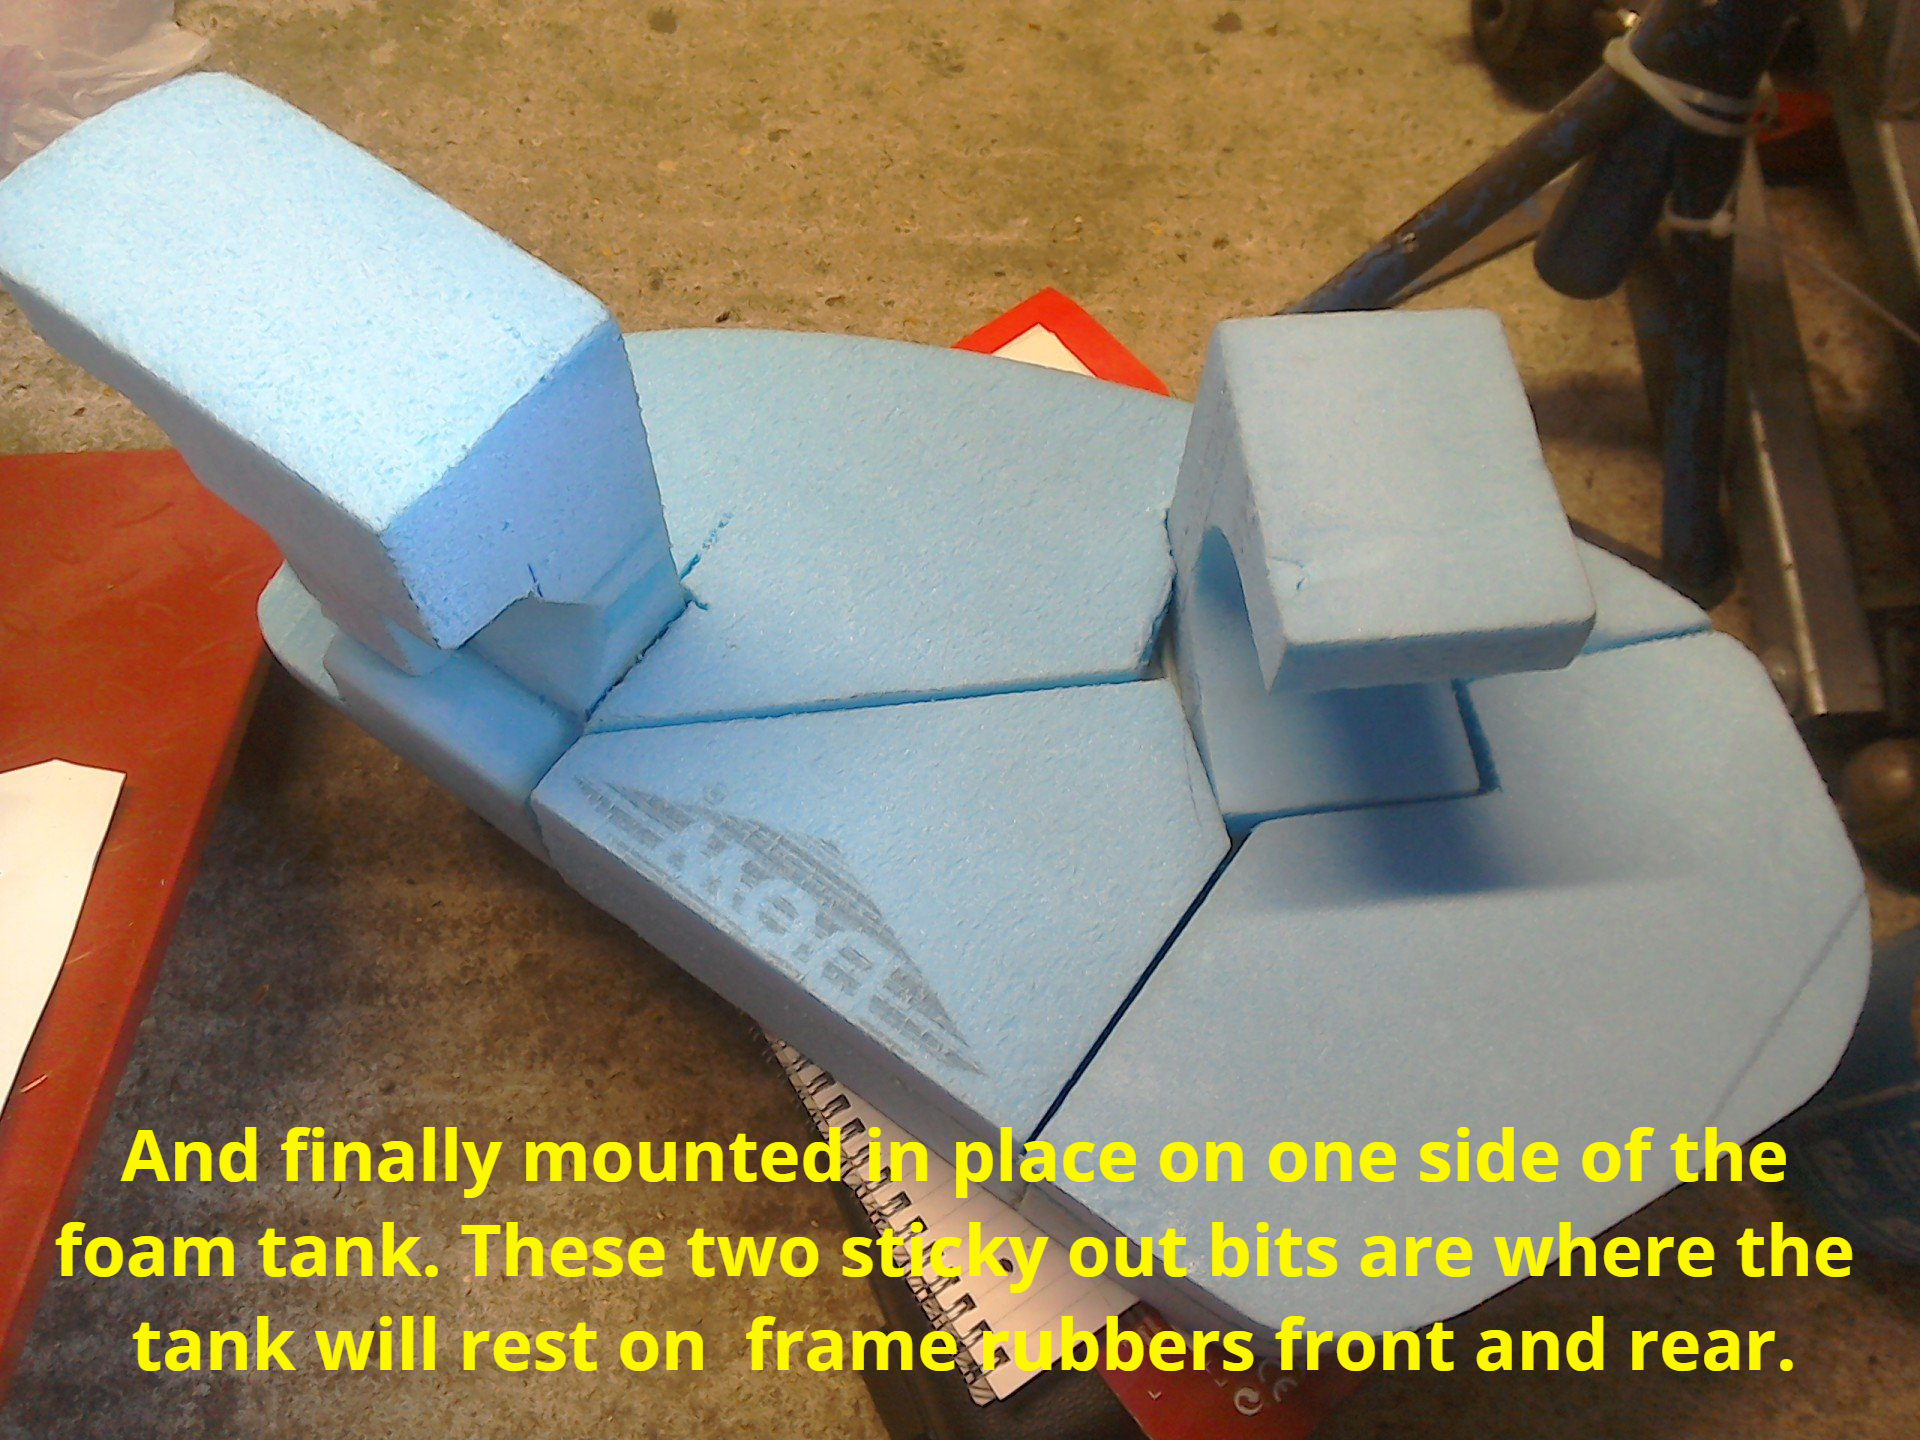
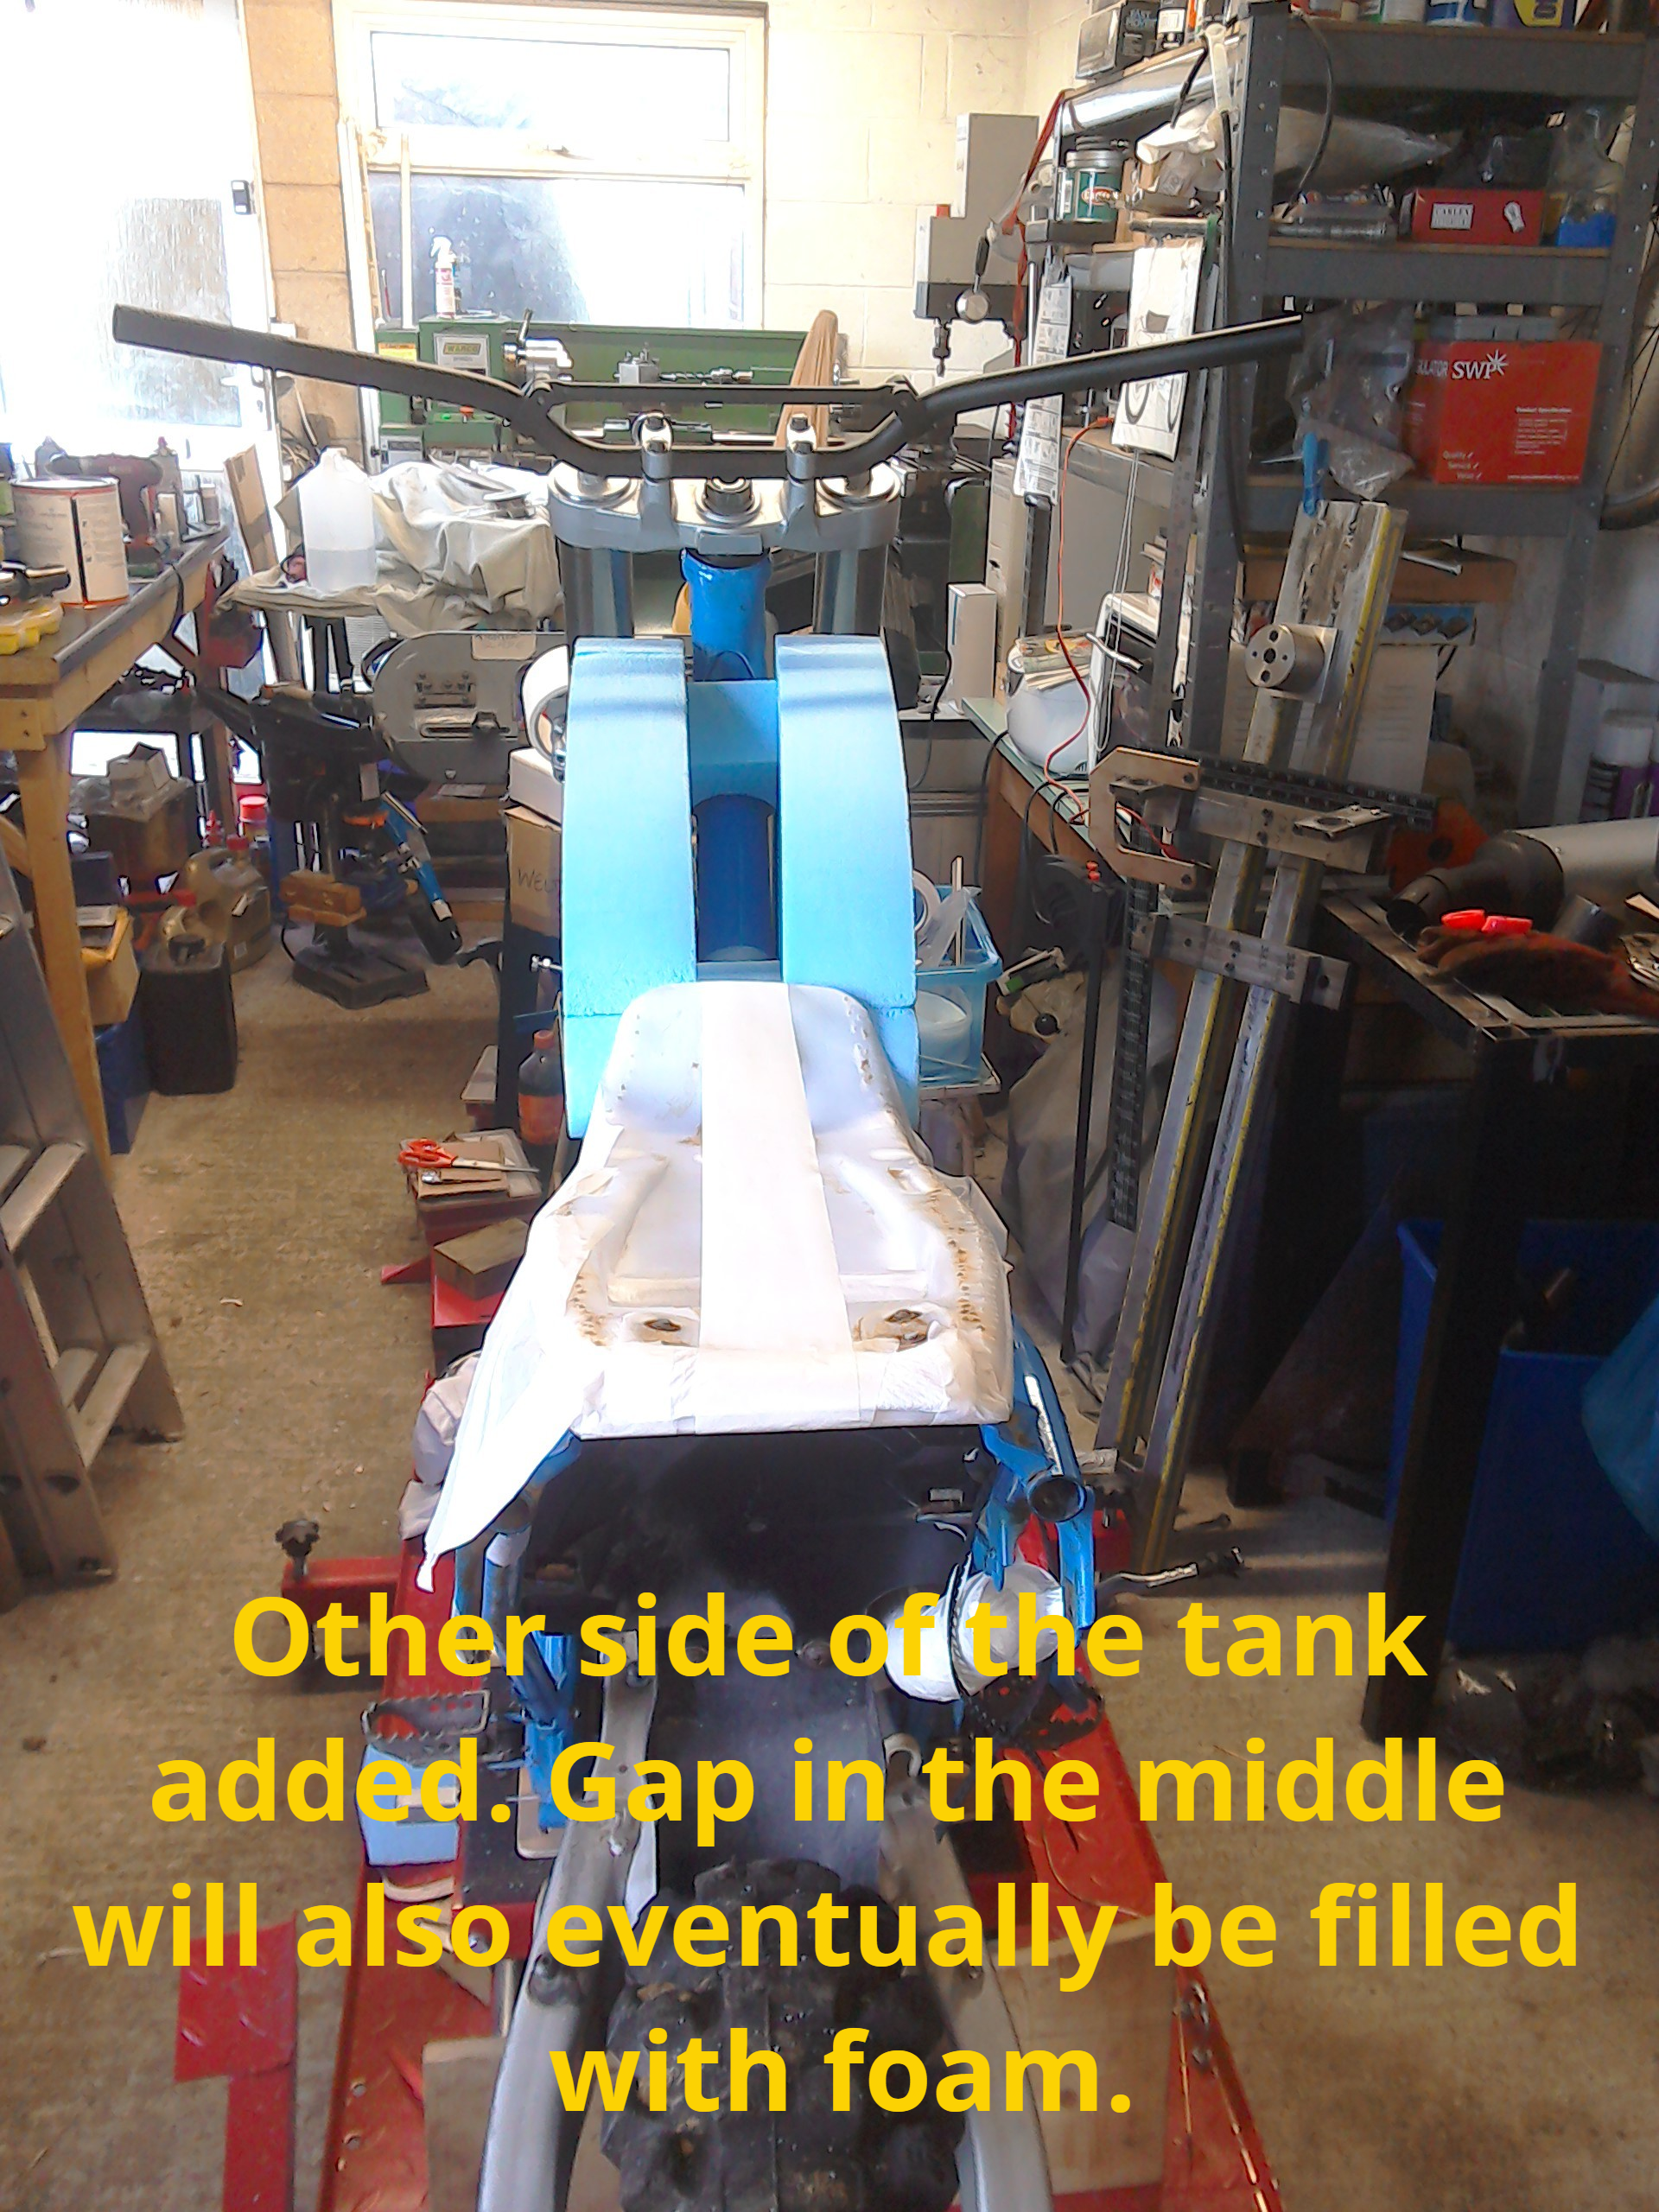
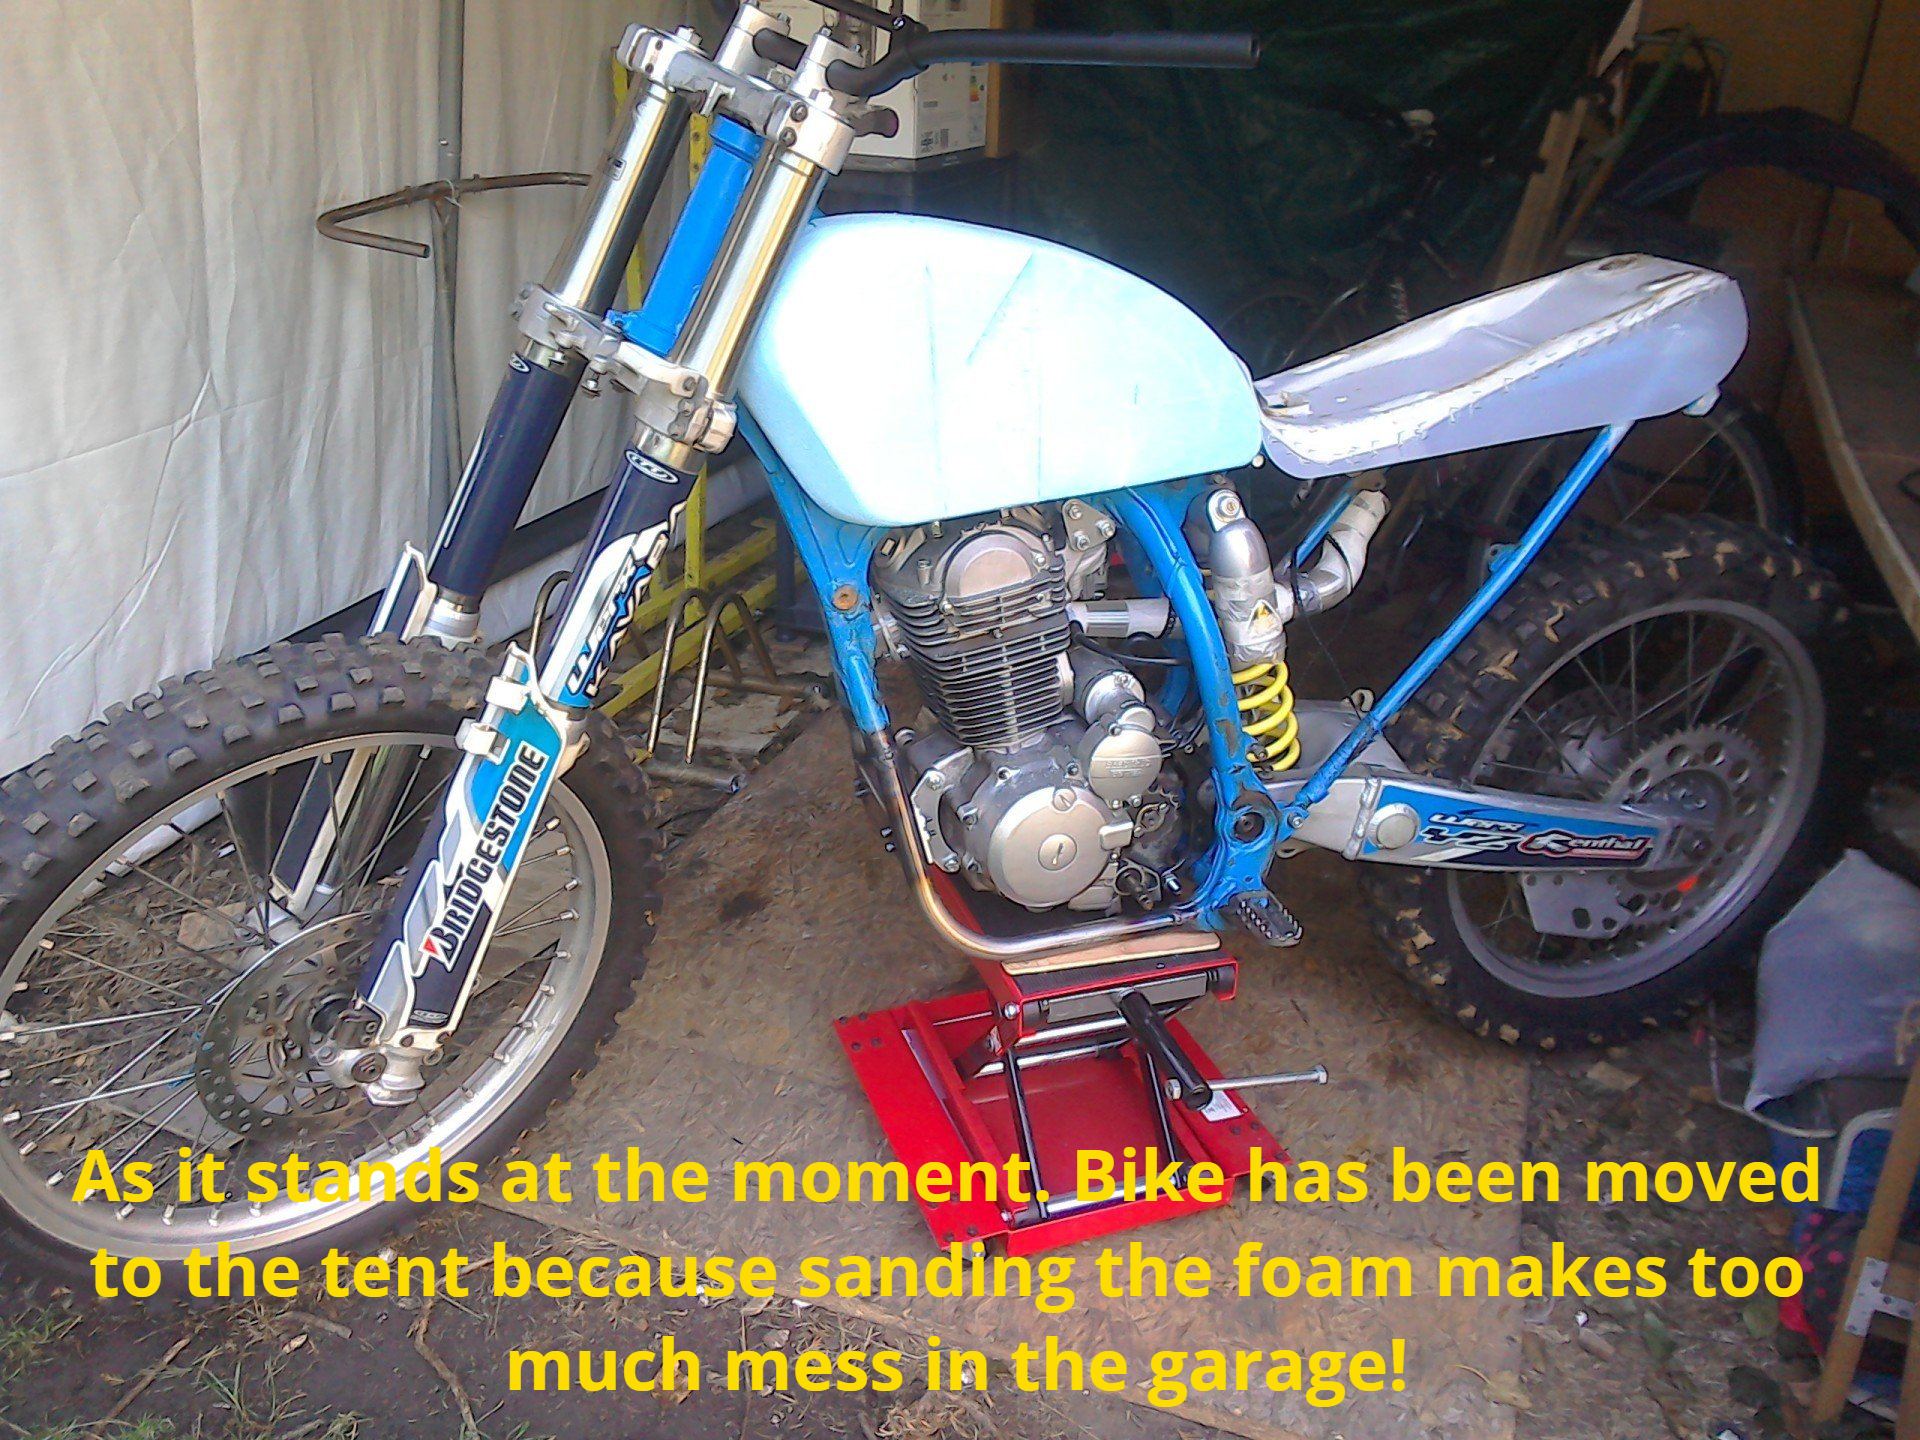
The petrol tank has gained a bit more foam, and I’ve made a start with shaping it, but as I still don’t have a clear picture in my head of what I want it to look like, it’s all a bit sand it and see…
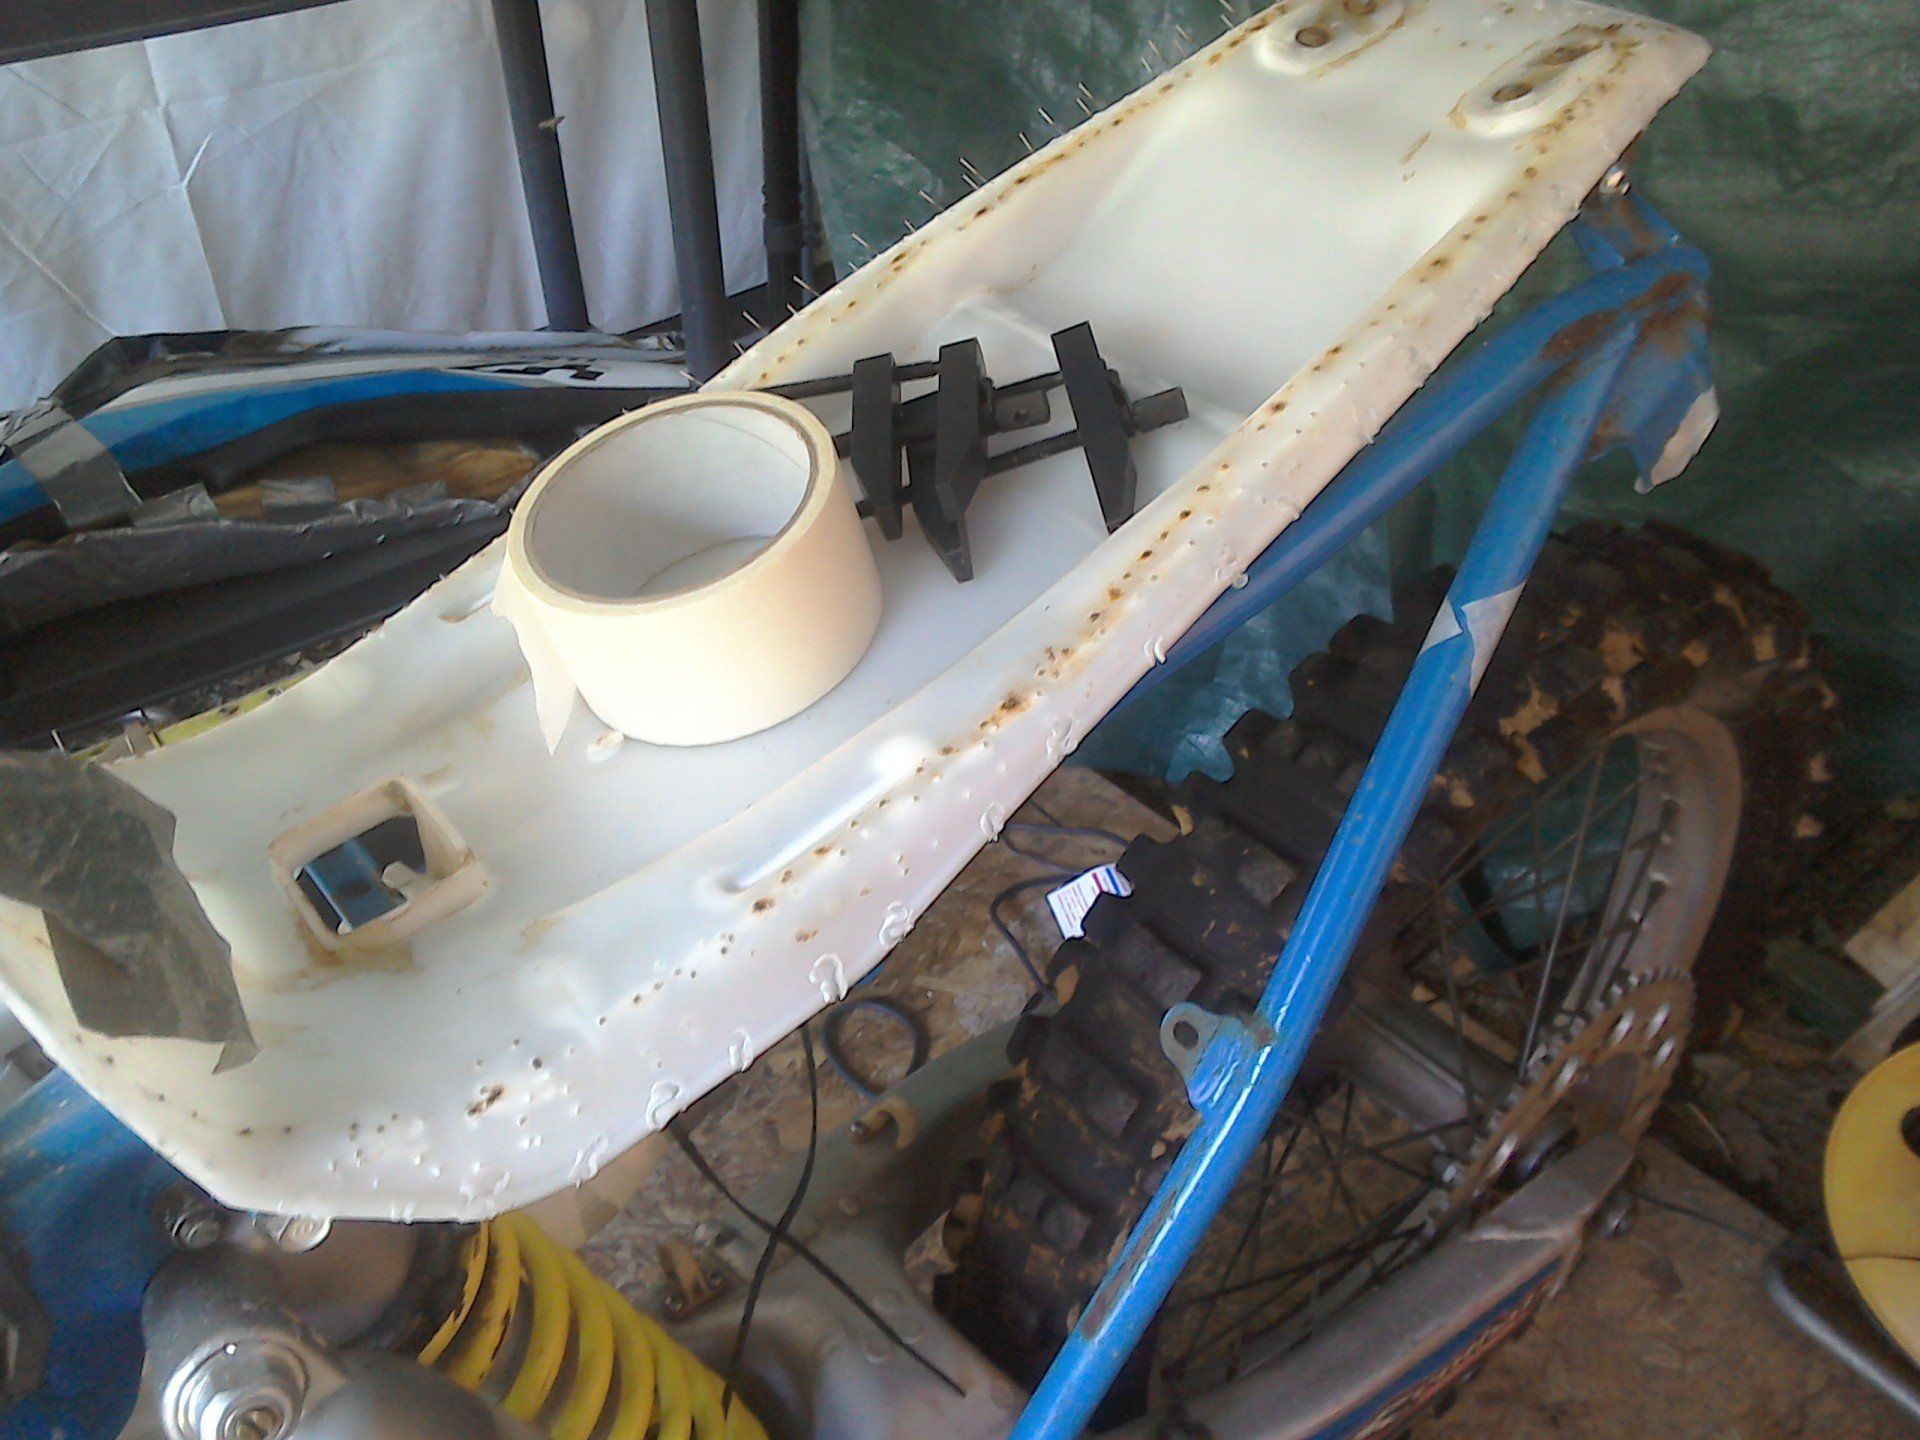
More work on the seat base, fitting the extension to the other side. This one went on much better, and clamping the aluminium bar to the plastic and applying heat to this, rather than direct to the plastic, allowed me to shape it as required and avoid the distortion caused by overheating that the first side suffered from.
Adding and moulding the right hand side 'wing' went much better than the left side.
In fact, it was so much better than the first side that I took that initial one off and made and fitted a new one. Lucky, then, that I (pessimistically) bought more plastic than I really needed. The staples were re-heated and they then pulled back out relatively easily.
New first side looks much better than the original one.
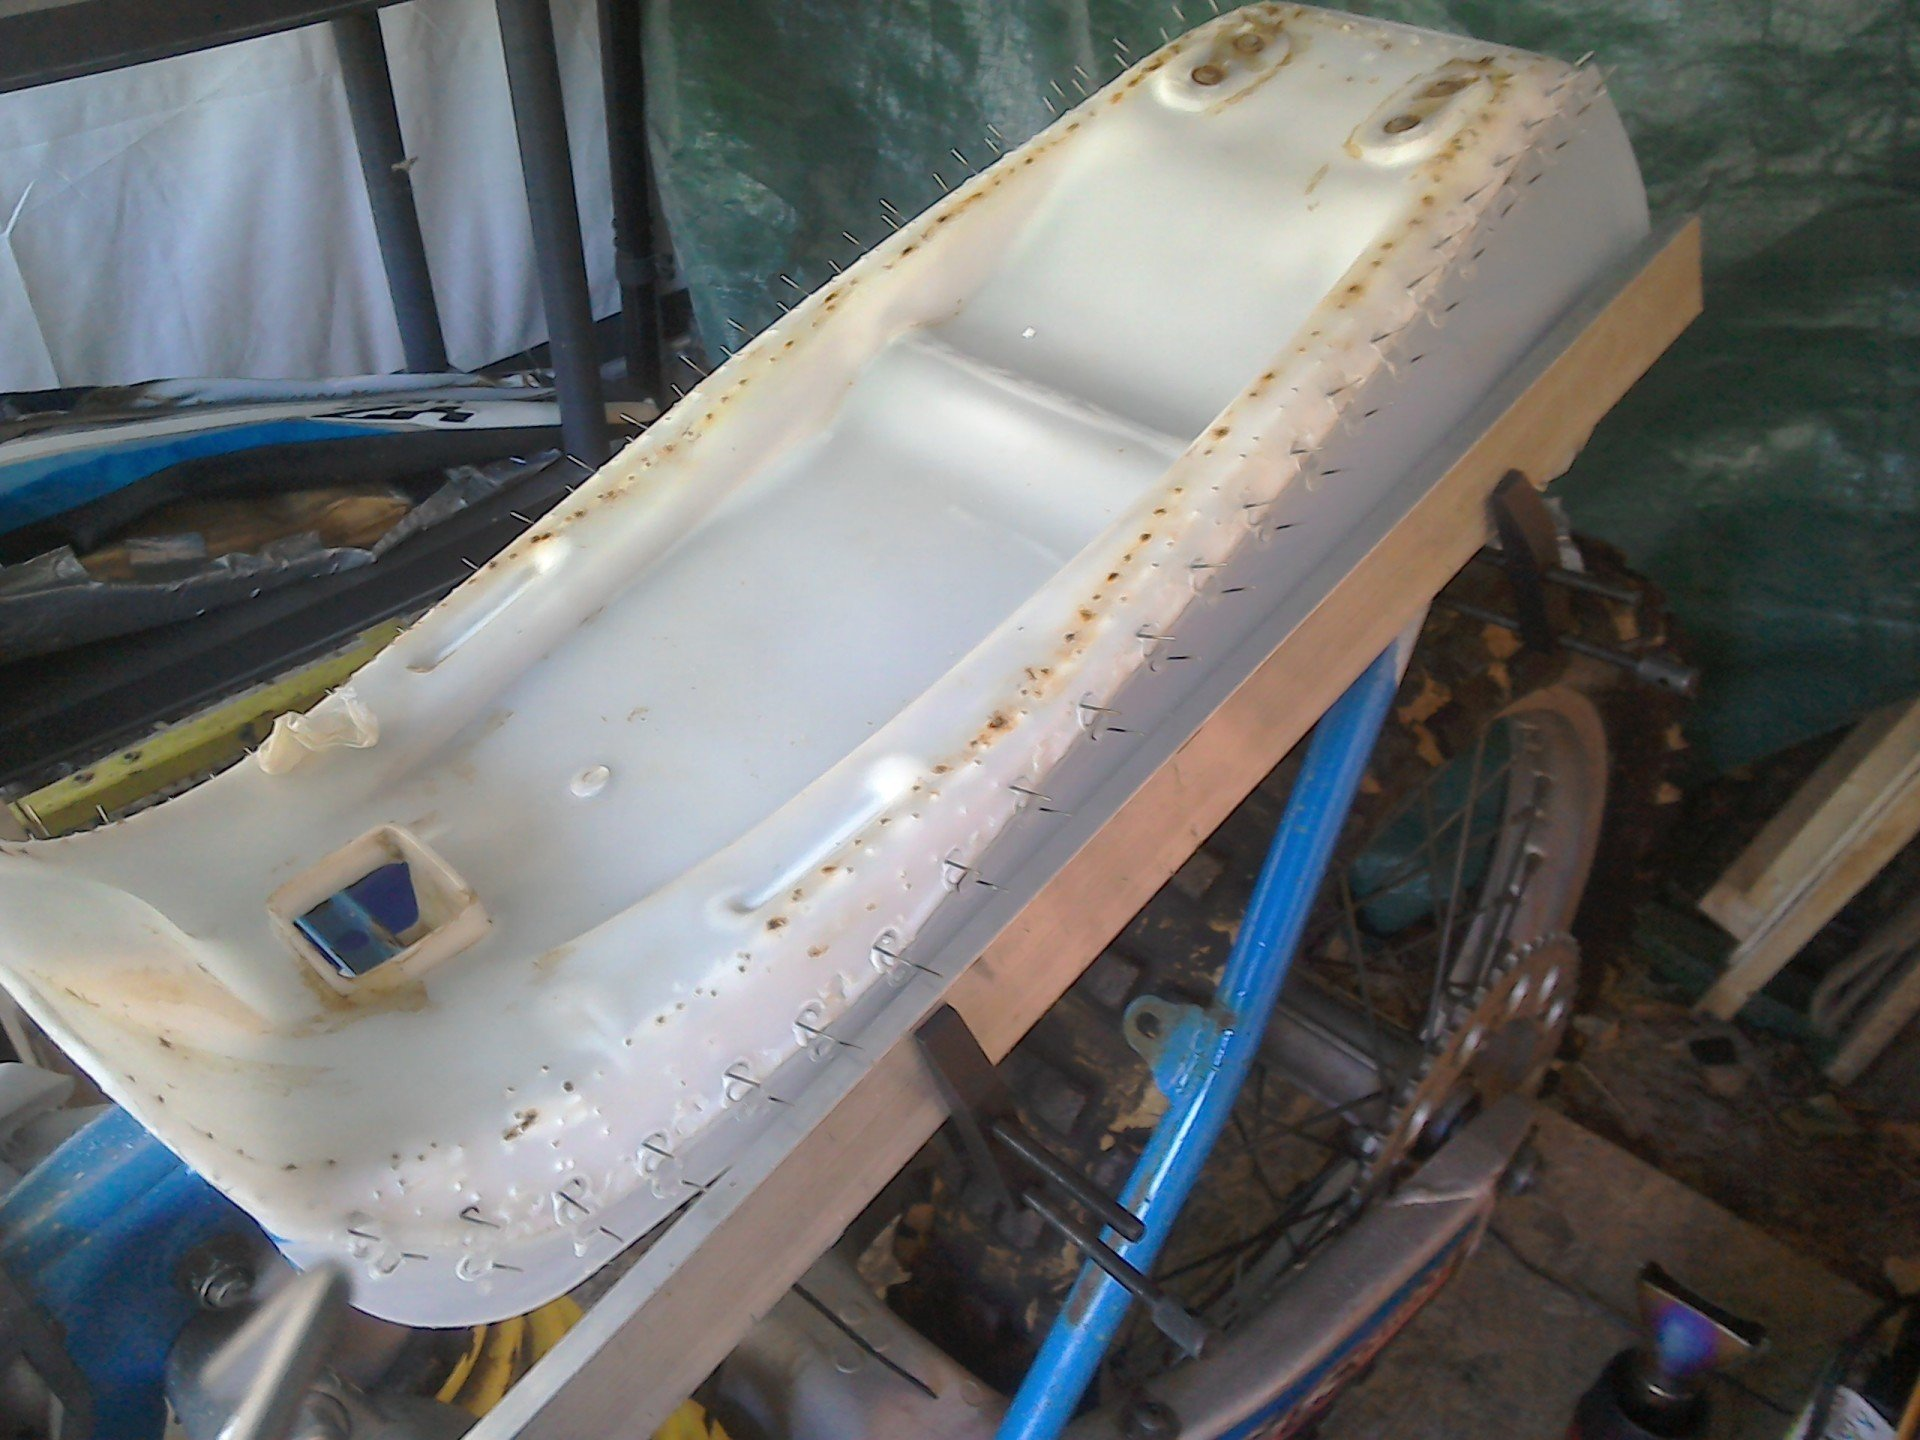
With all the staples trimmed and the plastic local to the staples heated and smoothed over the top, the finished base is quite rigid, but I still think that I may just use this as a pattern to make a fibreglass version.
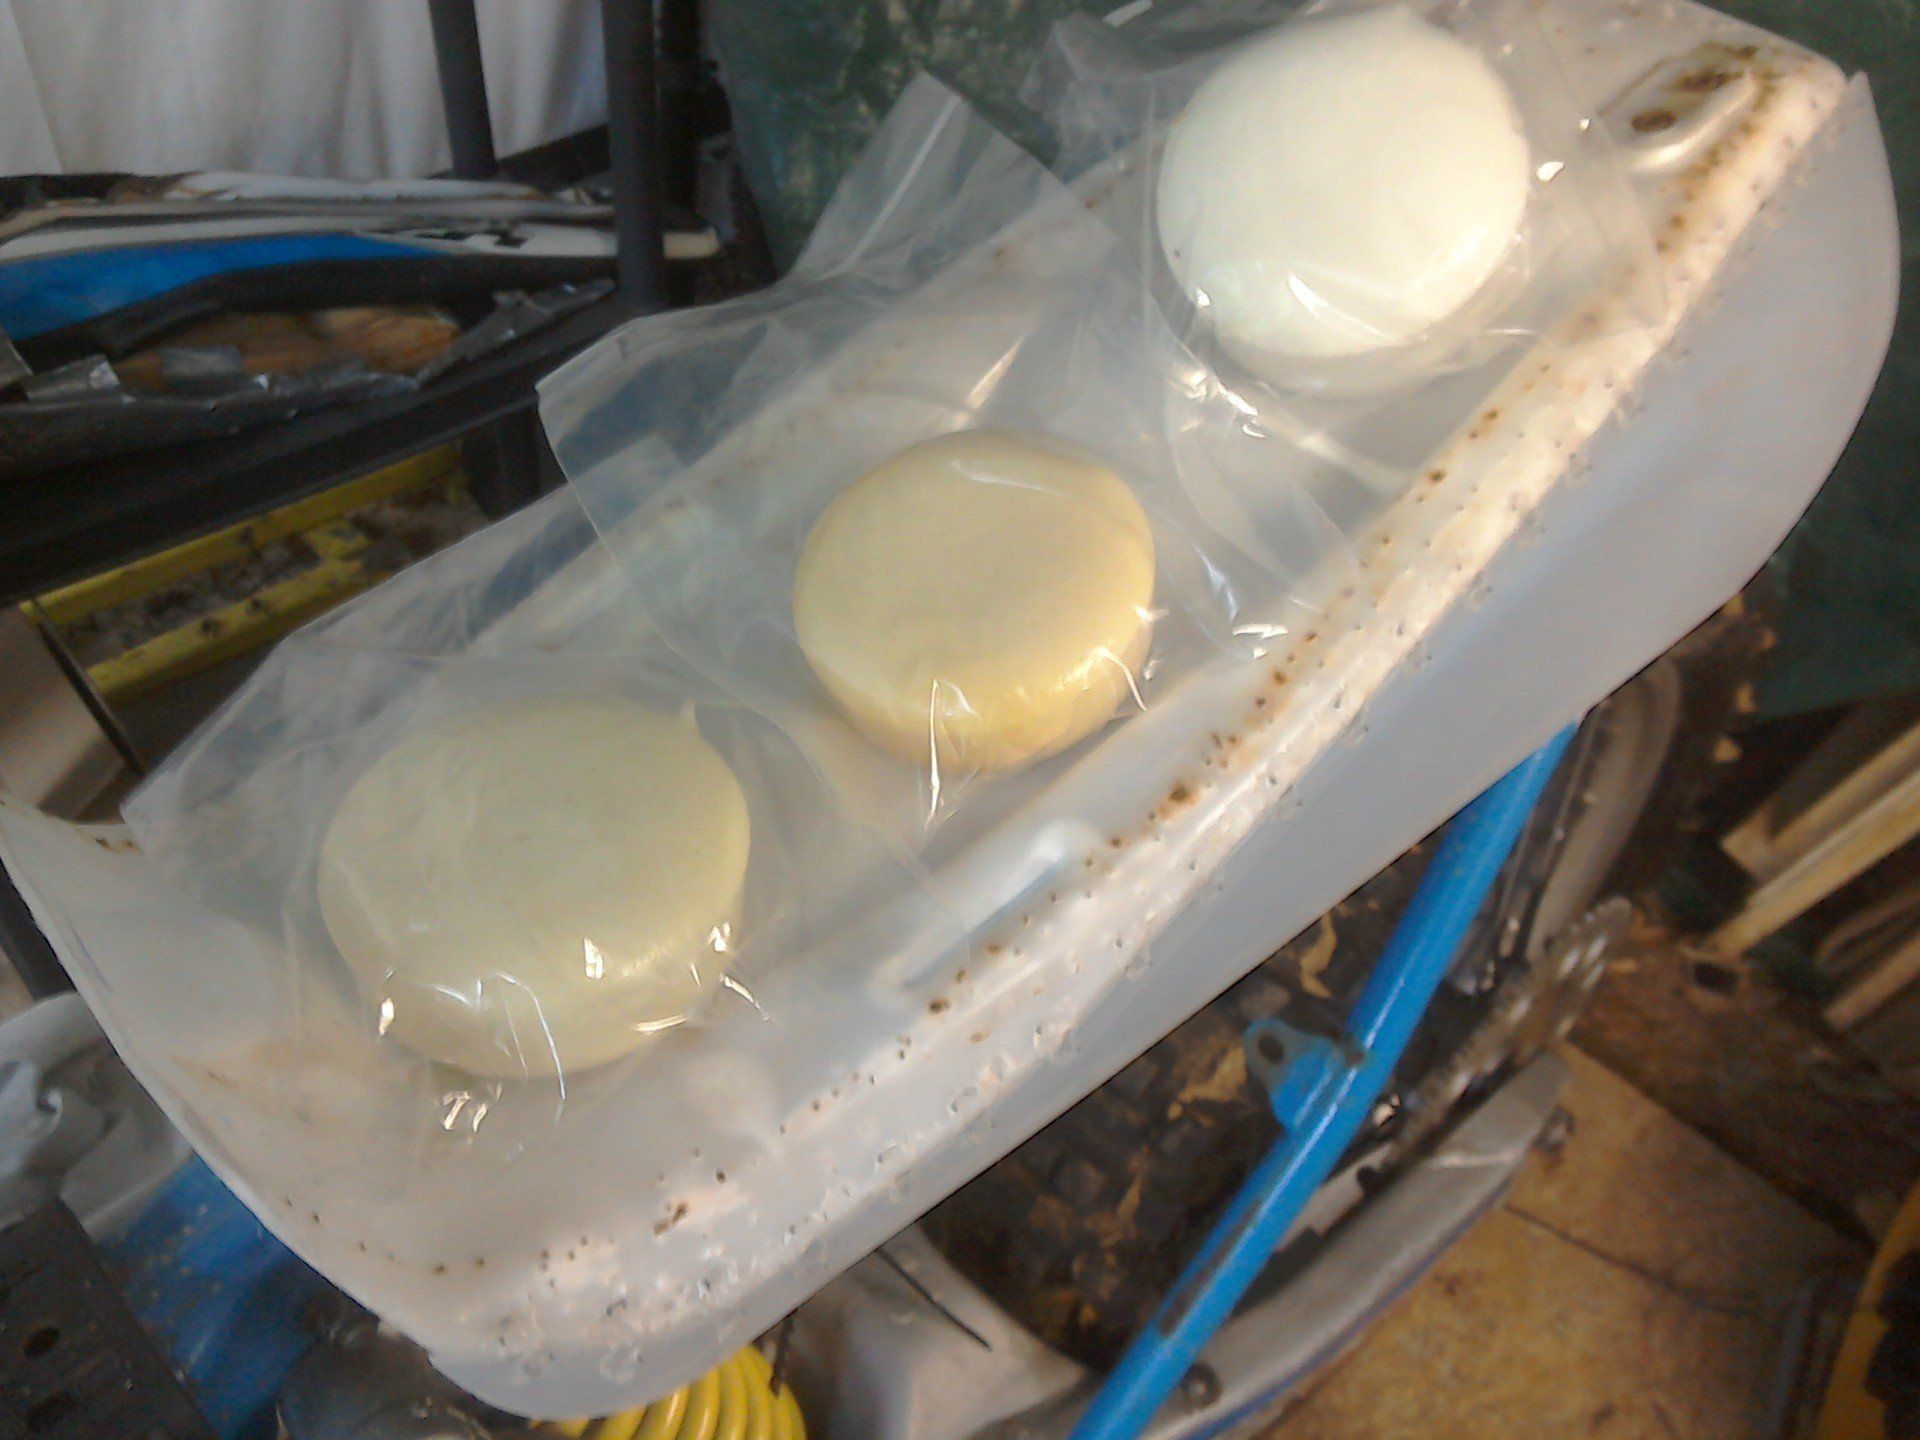
Whilst looking for fibreglass supplies online I came across some two-part expanding foams which looked like they might be suitable for seat foams. The firm supplied some cured samples, so I have been busy prodding them for firmness and checking how they perform under repeated squishing, just to see how useful they might be. Using these would, of course, mean that I’d also need to make a mould of the required shape / size. More to think about then…