July 2019
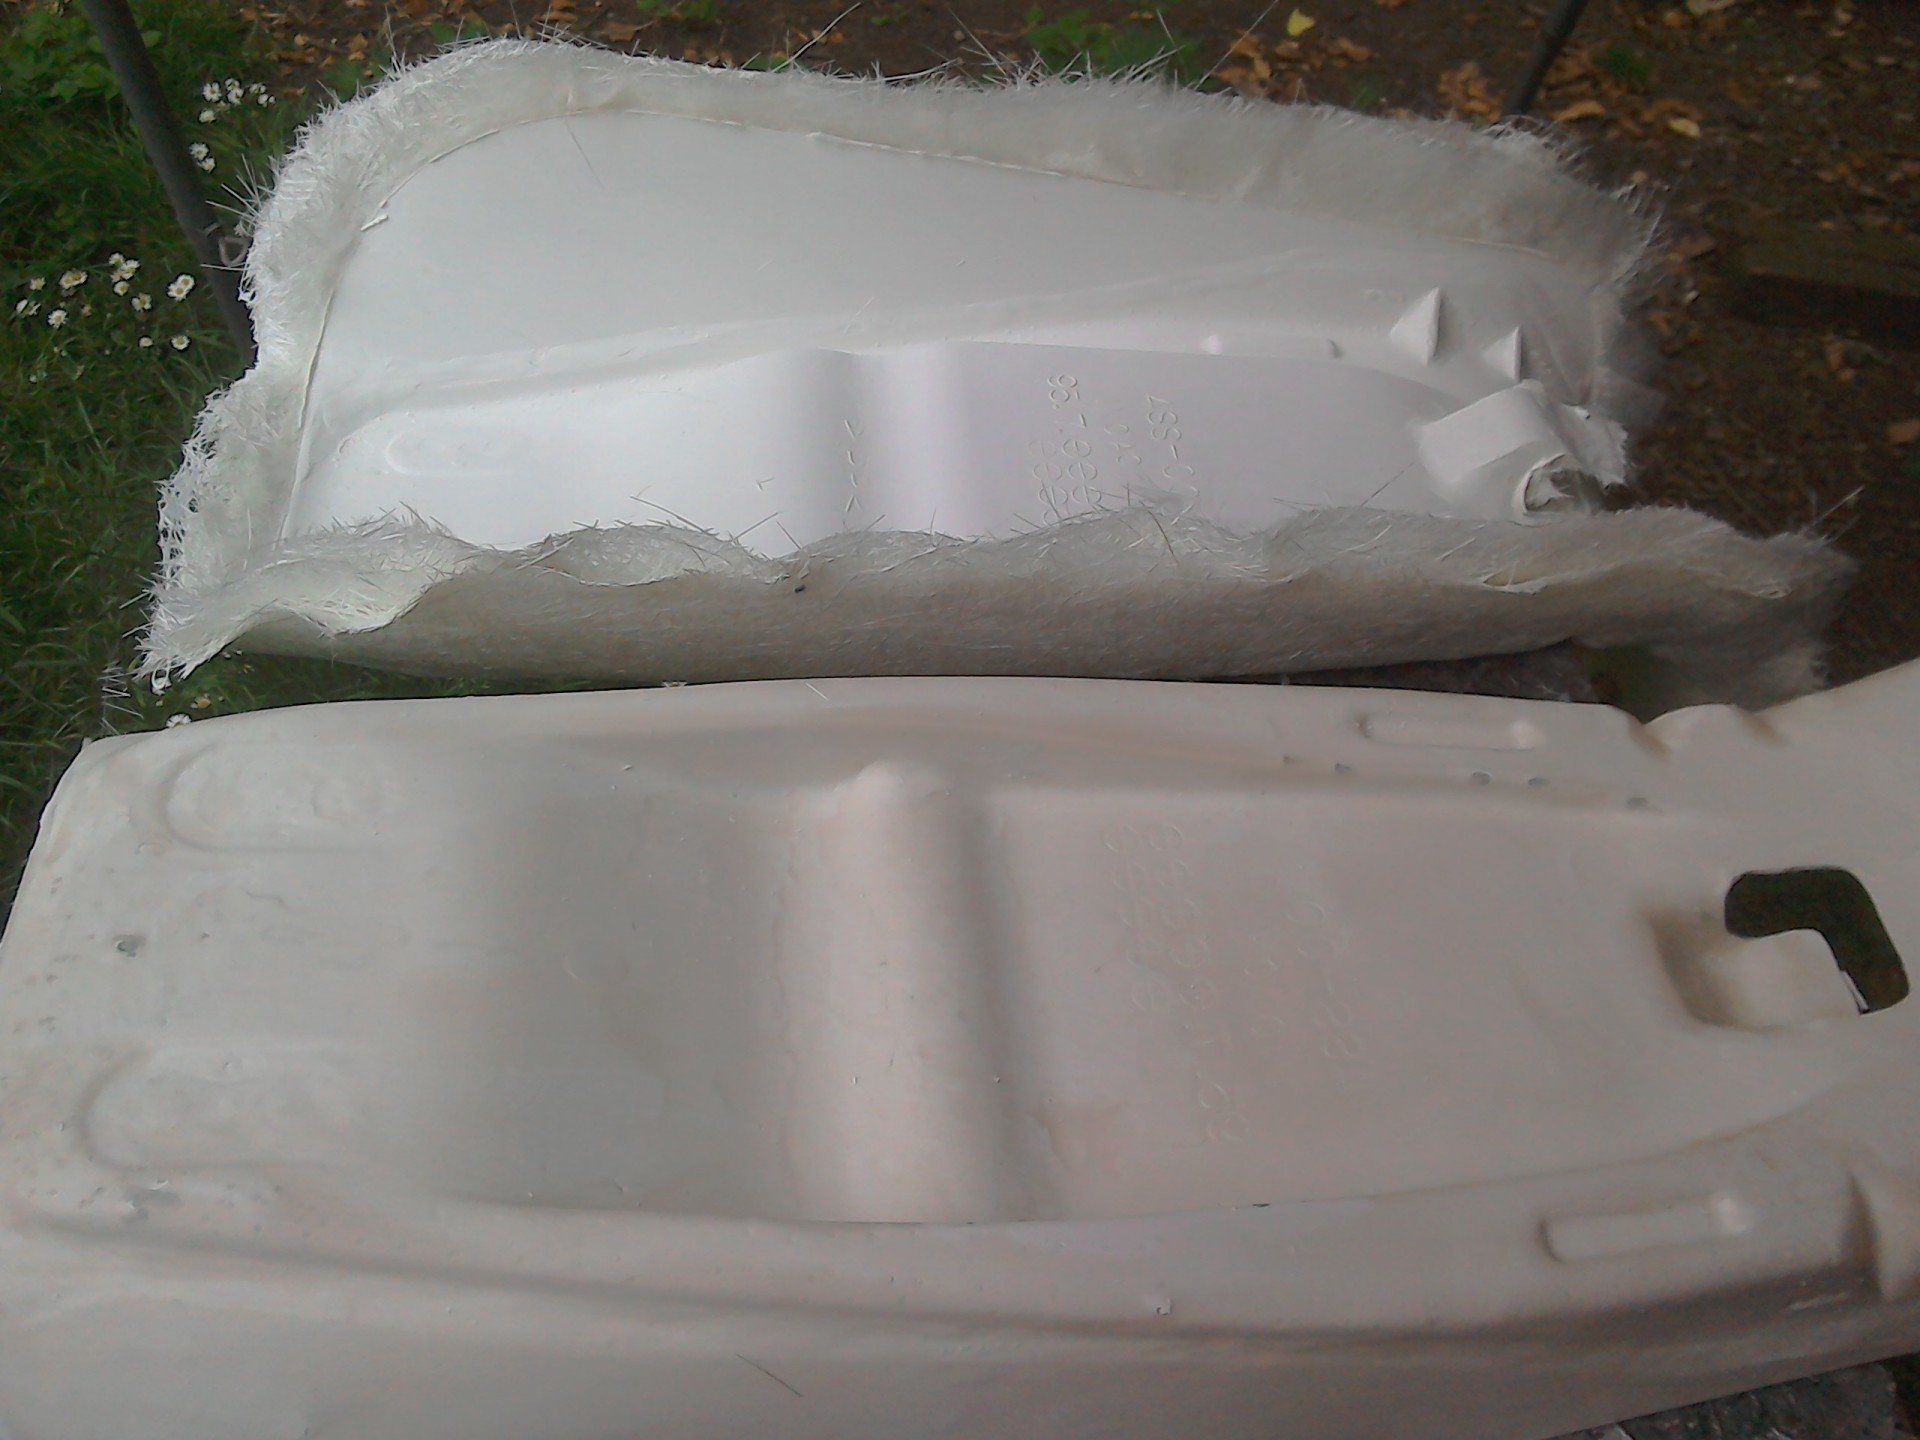
Thankfully, I didn’t miss any areas with the wax polish and seat base moulding parted company with seat base mould without too much bad language! The picture below shows the mould (bottom) and the moulding produced from it (seat base proper) at the top.
Trimming is quickly achieved using an angle grinder and flap disc.
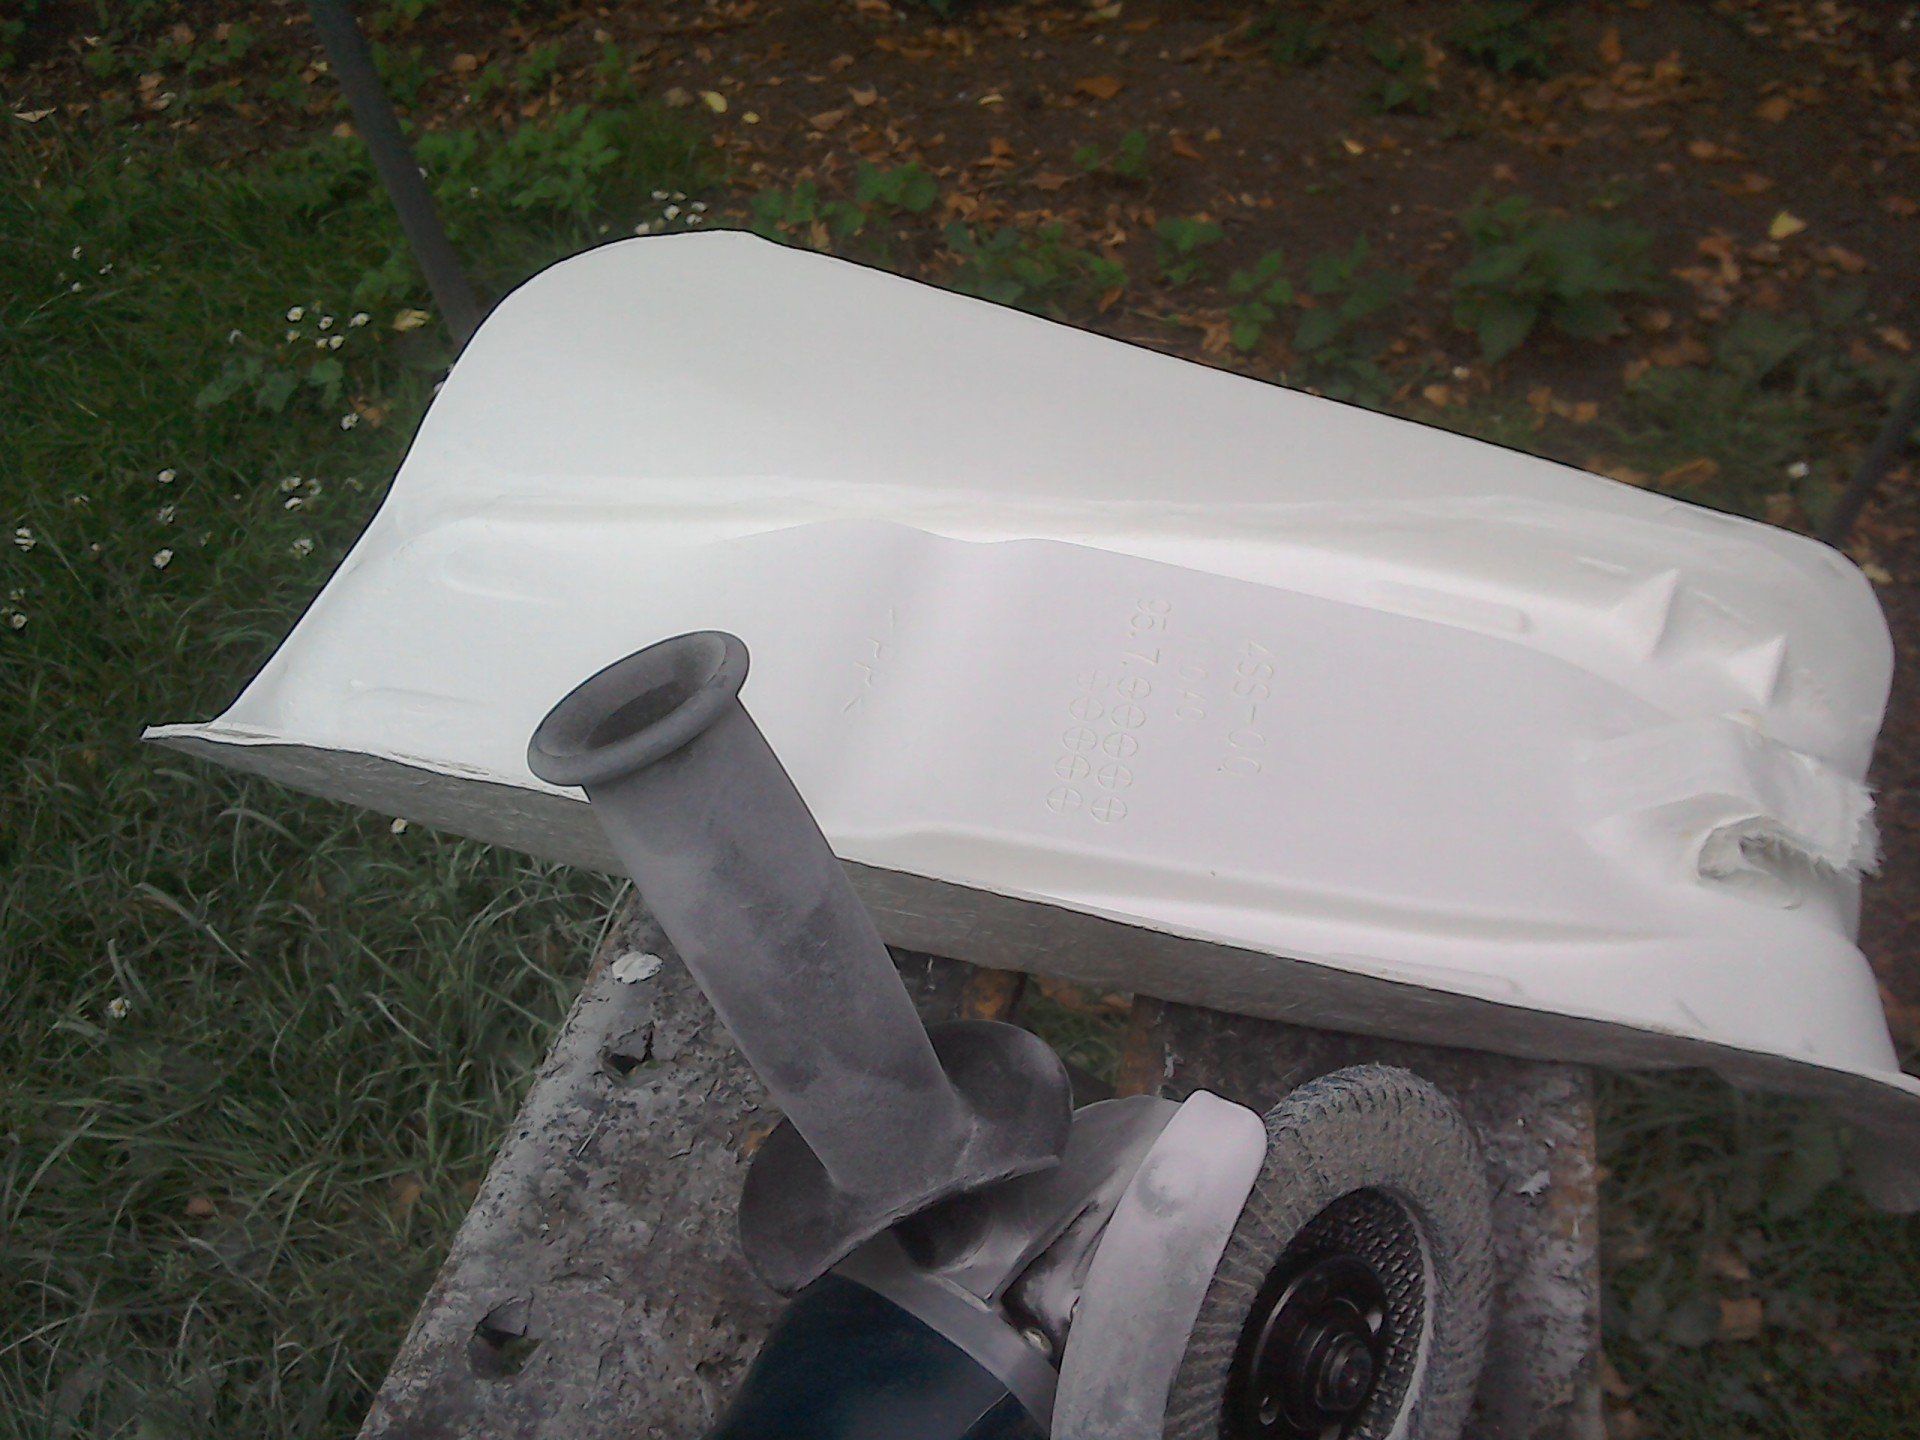
And seat base is ready for a trial fitting.
Seat base fits well, but the hook part will need a little extra fibreglass added as reinforcement.
The tree stages of seat base manufacture. Pattern (top right), mould produced from the pattern (middle) and the finished seat base moulding (bottom left).
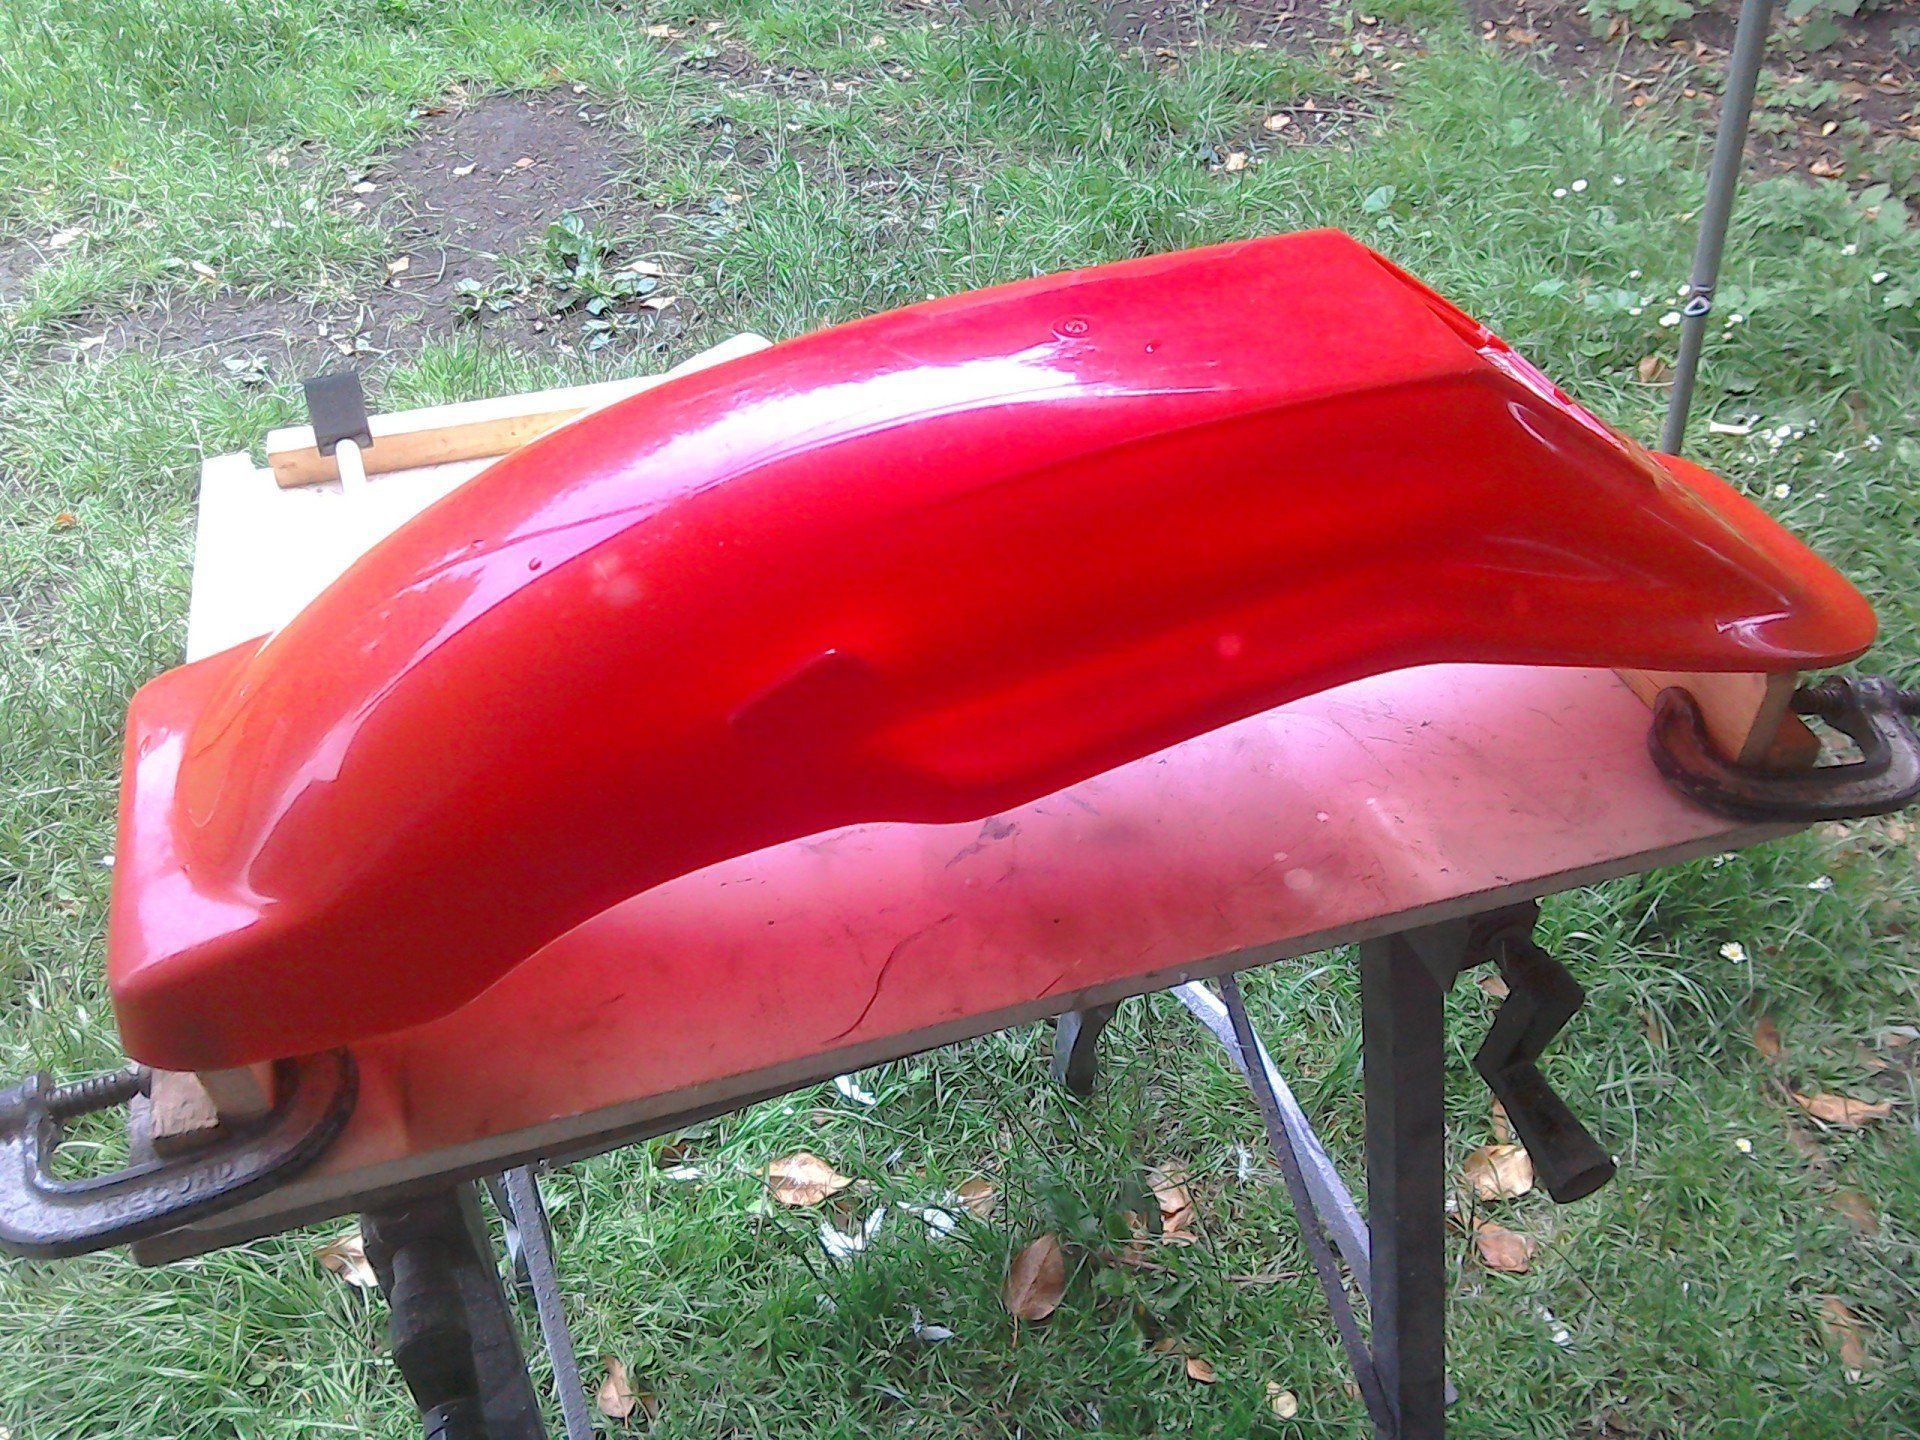
Next inline for manufacture from GRP is the rear mudguard. I currently have two rear mudguards, the YZ’s original and an aftermarket one of a more old fashioned style. What I actually want is a combination of the two. The plan is to take moulds of both of these mudguards and then use these to make some copies that I can cut and join until I get the look and fit that I really want.
I don't want to use the light fitting that the red mudguard has, so it has been filled in with wax before the mould is made.
I don't want to use the light fitting that the red mudguard has, so it has been filled in with wax before the mould is made.
One thing that I did learn from moulding the seat base was that life is much easier if everything is firmly supported. So I cobbled together this little fixture to hold the mudguard whilst the fibreglass layers are added.
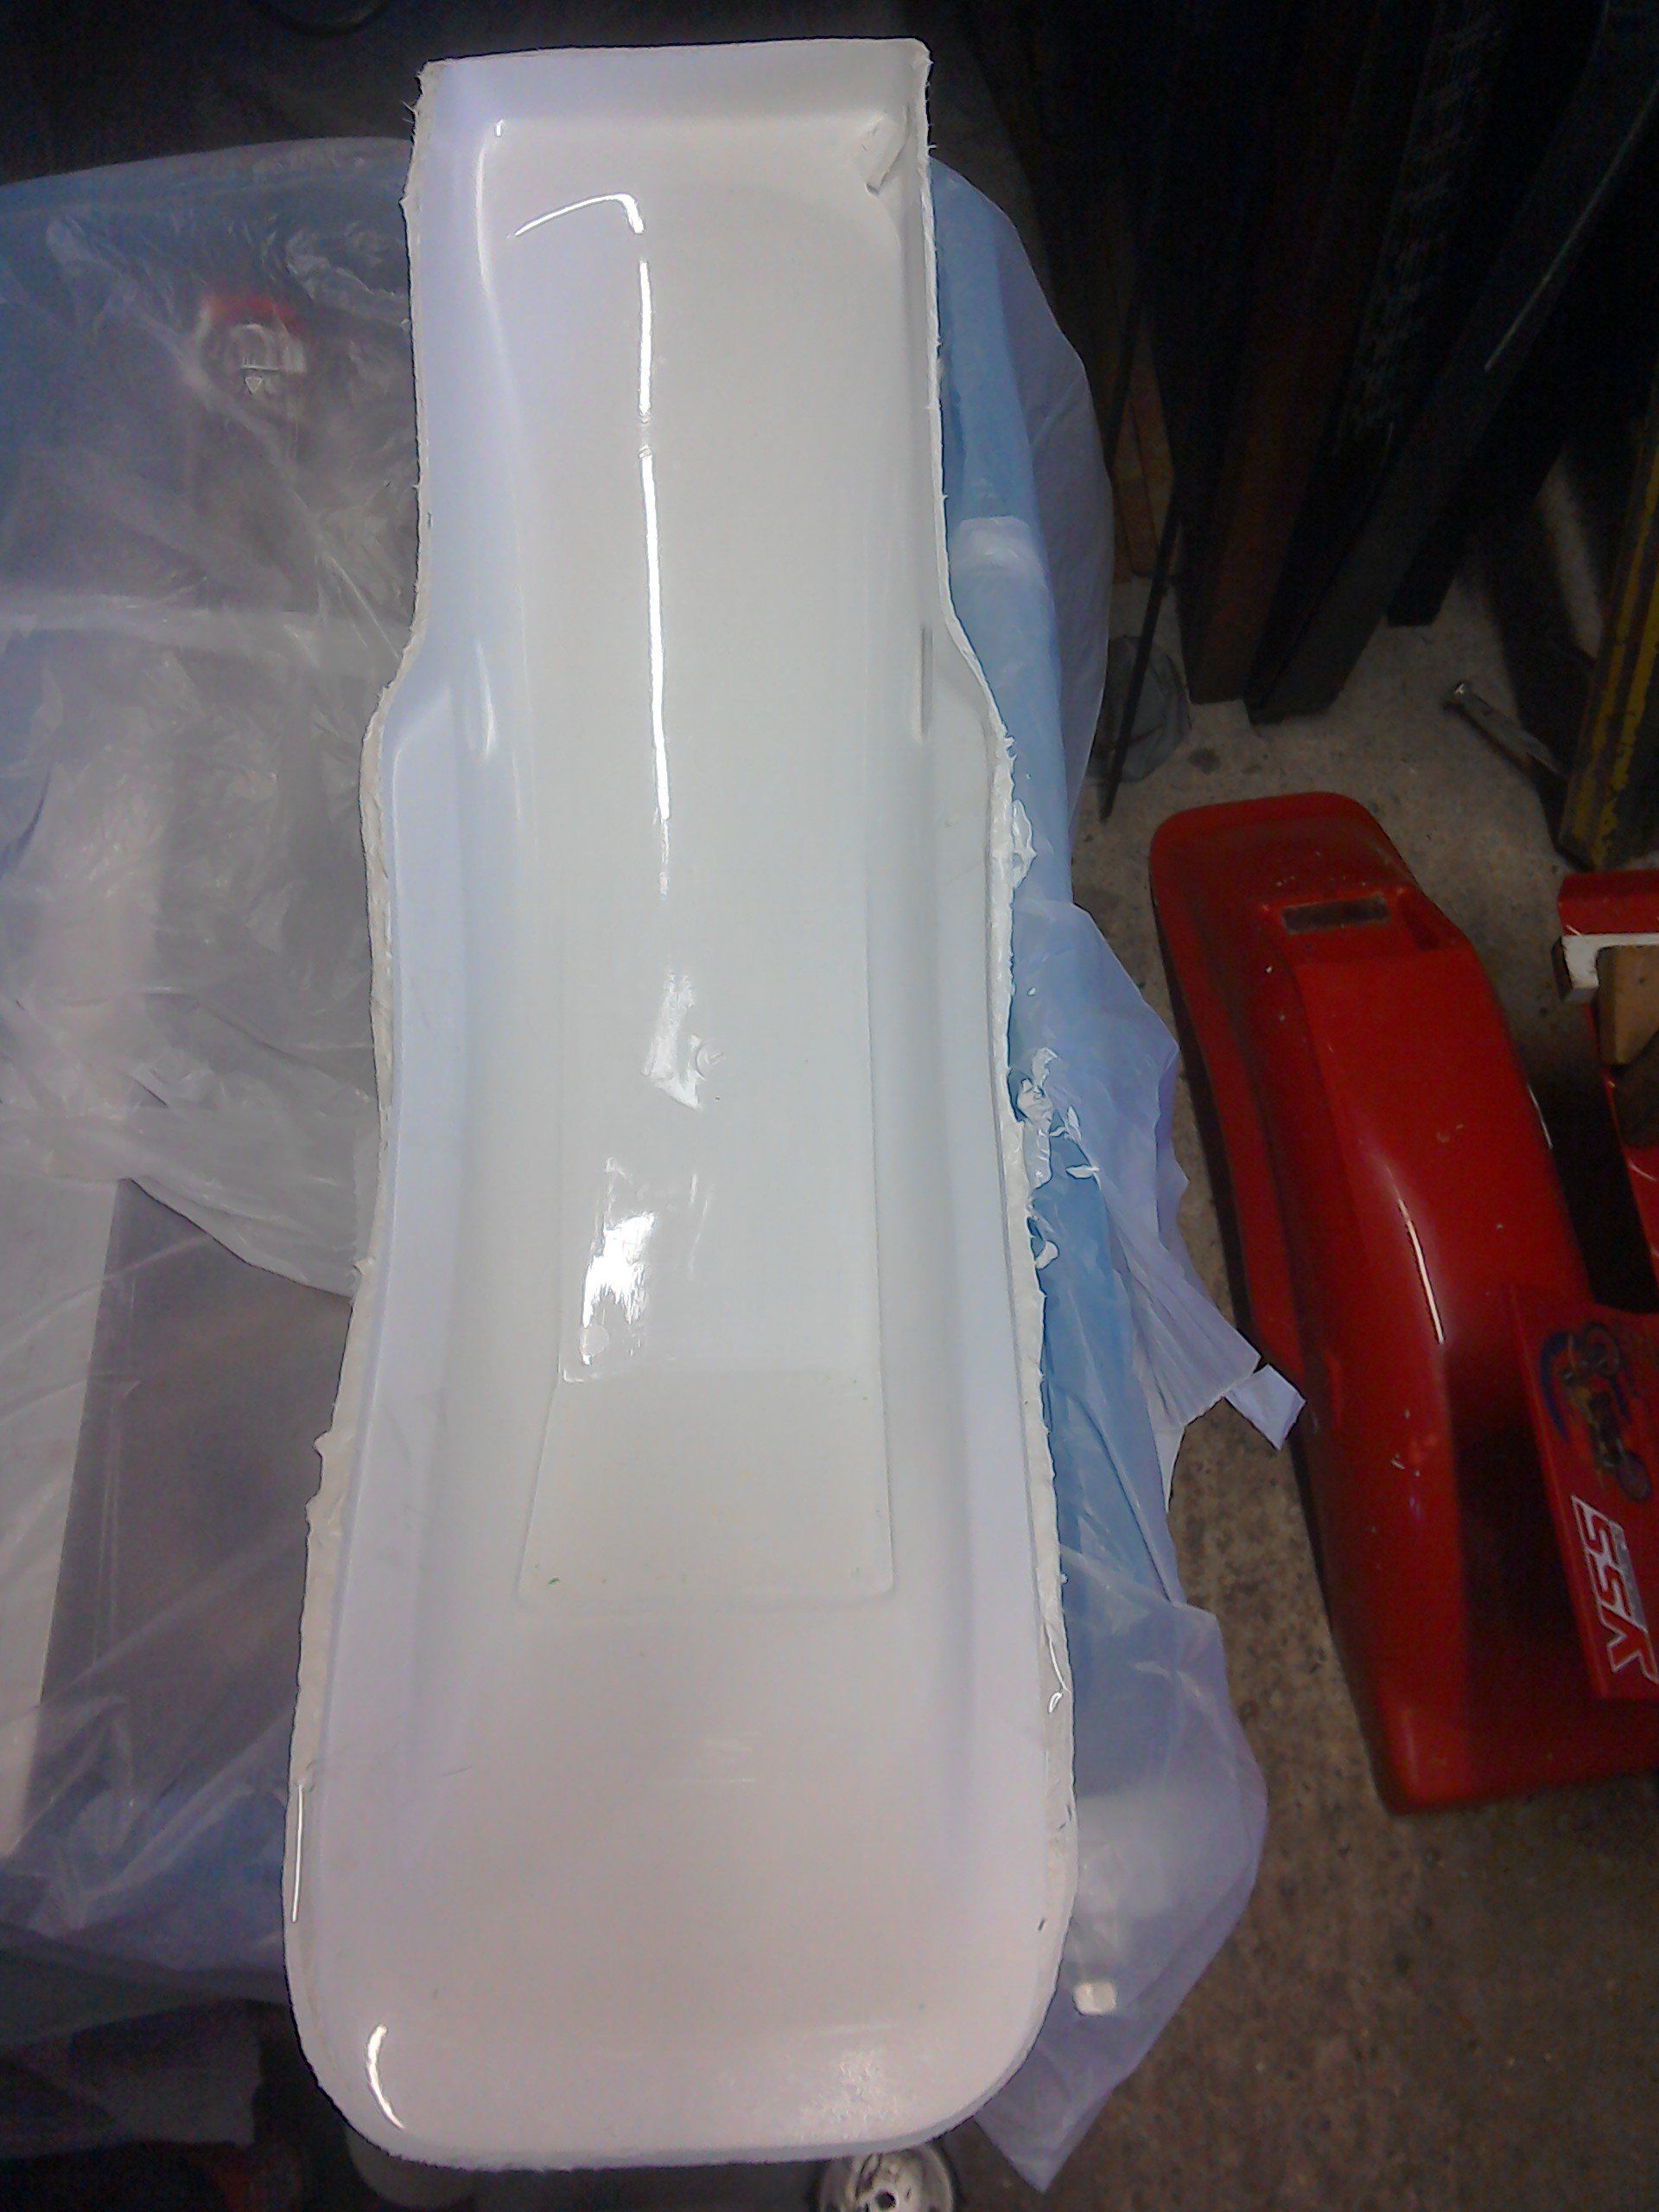
And this is the finished mould.
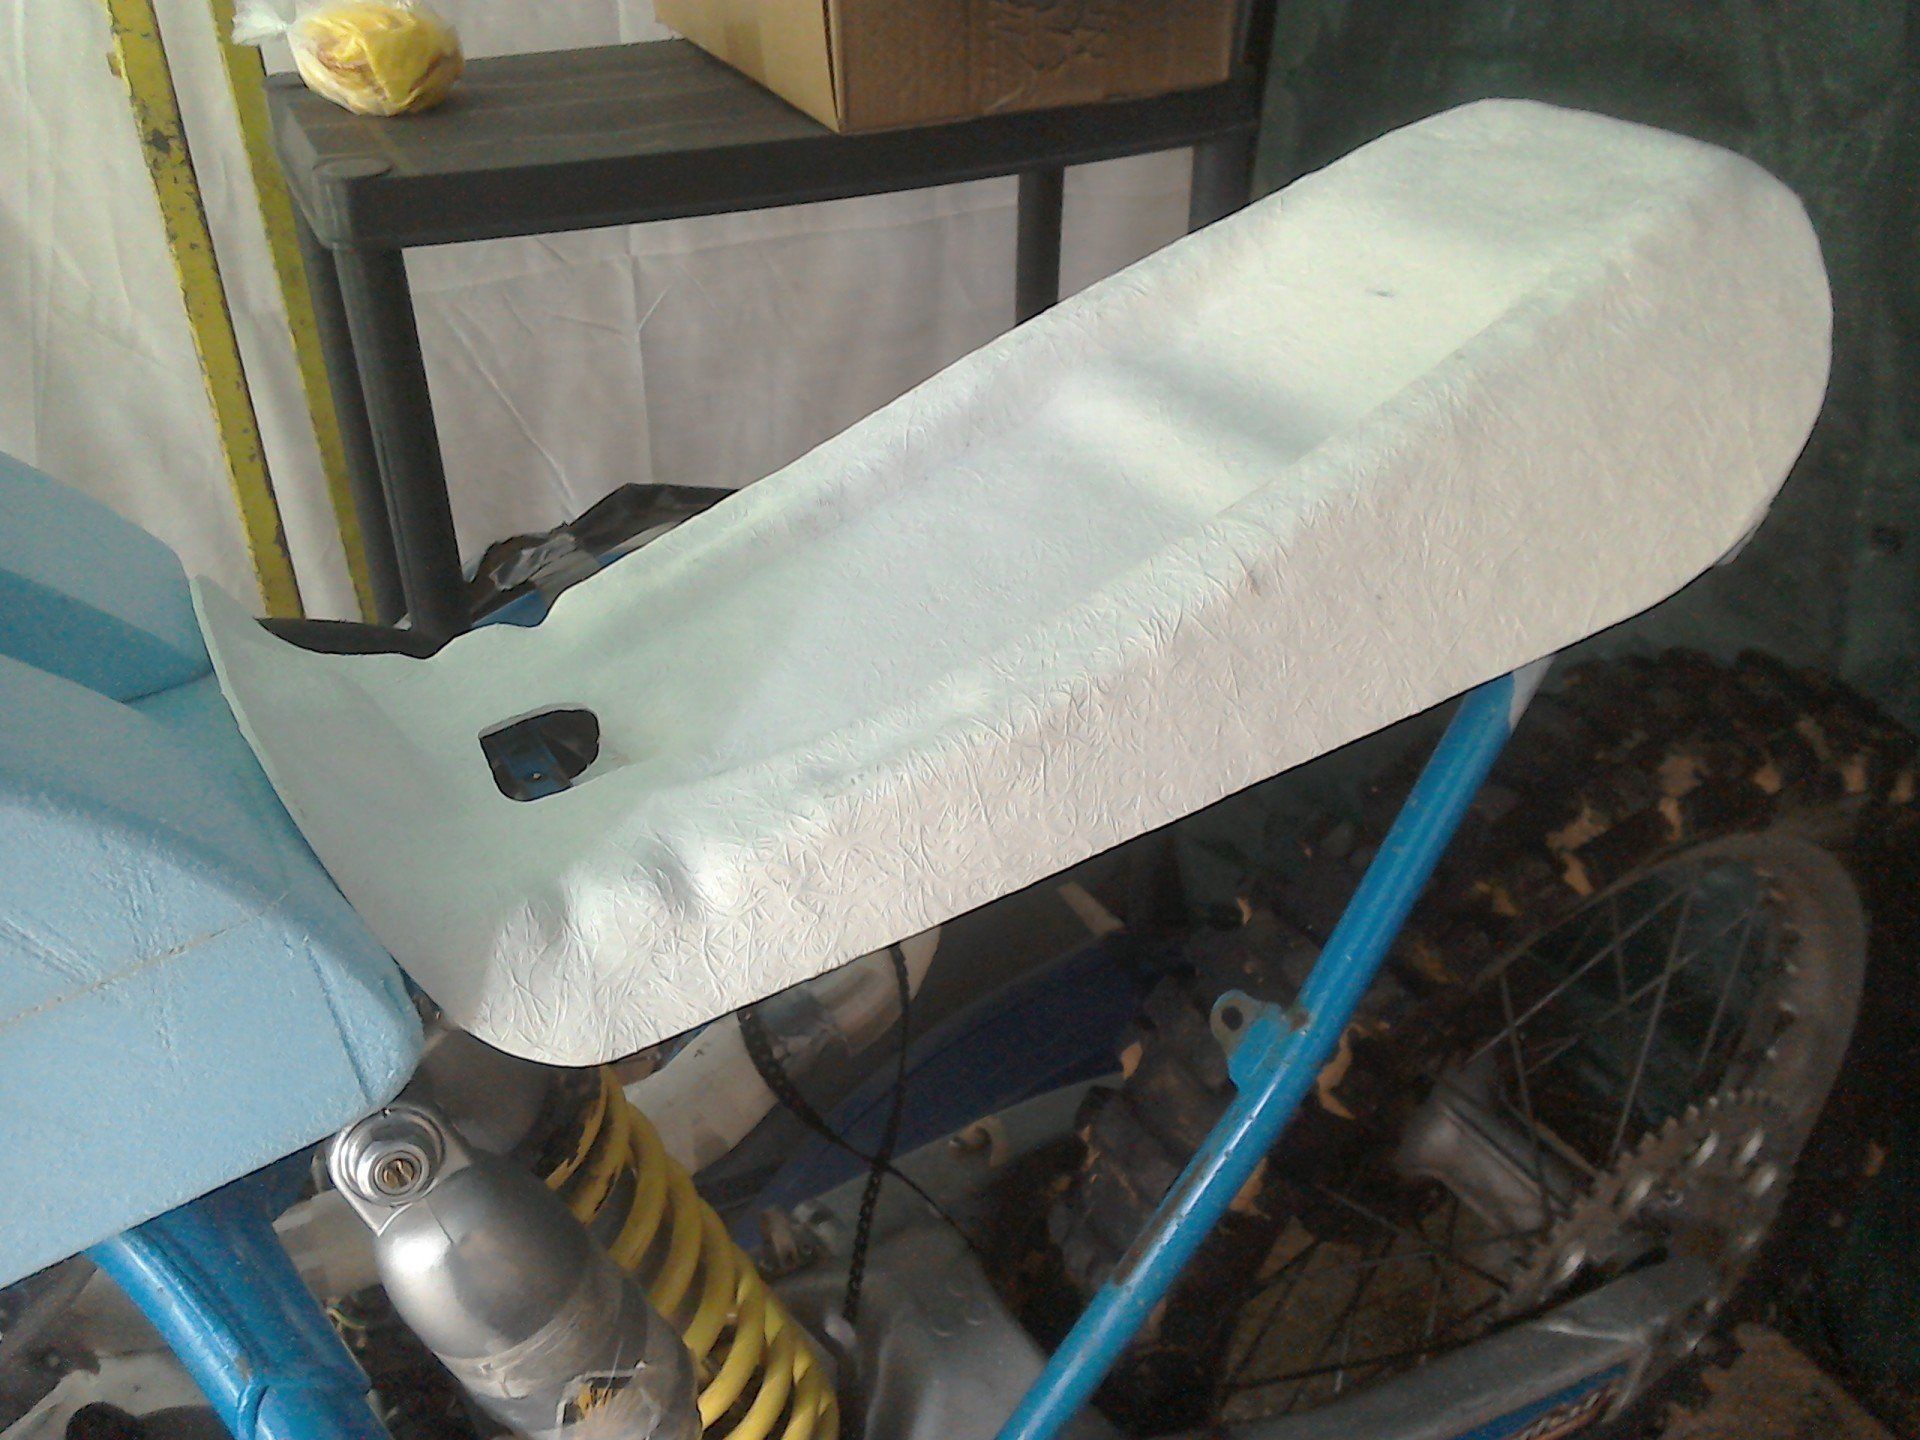
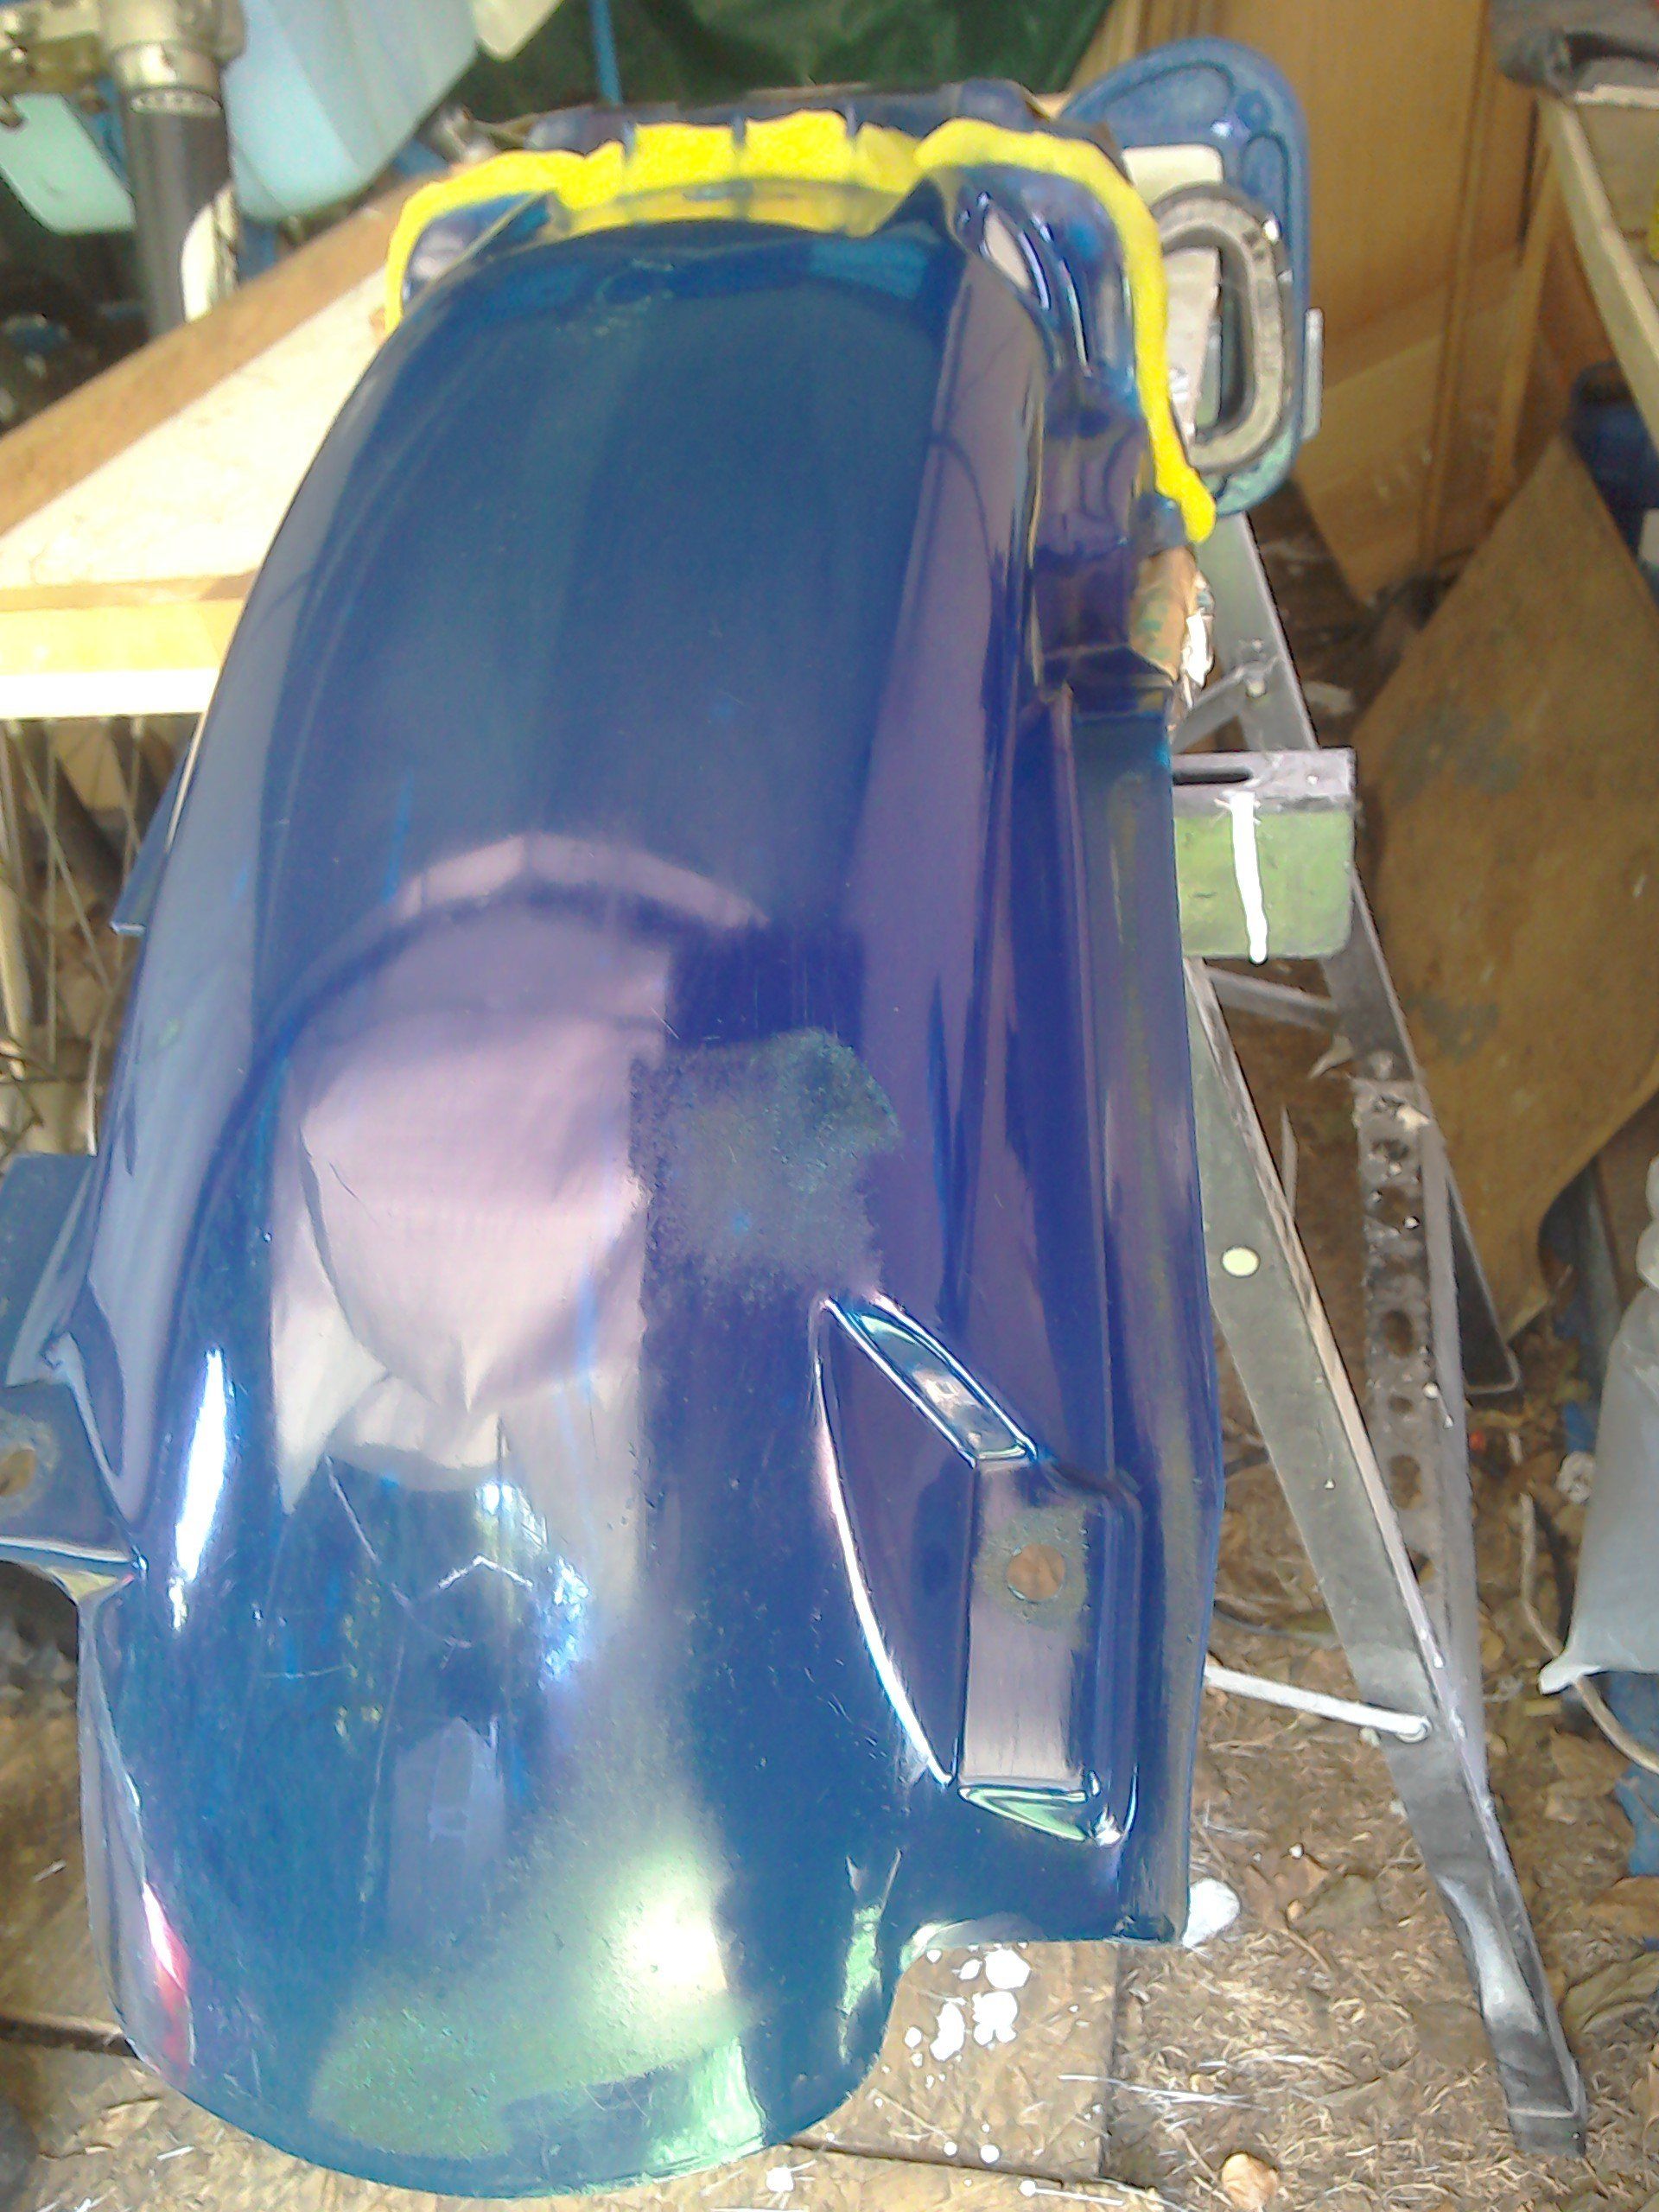
The 'other' rear mudguard, PVA mould release already in place, ready and waiting for the gel coat to go on. I only want to use the back part of this mudguard, so I've added a wax barrier.
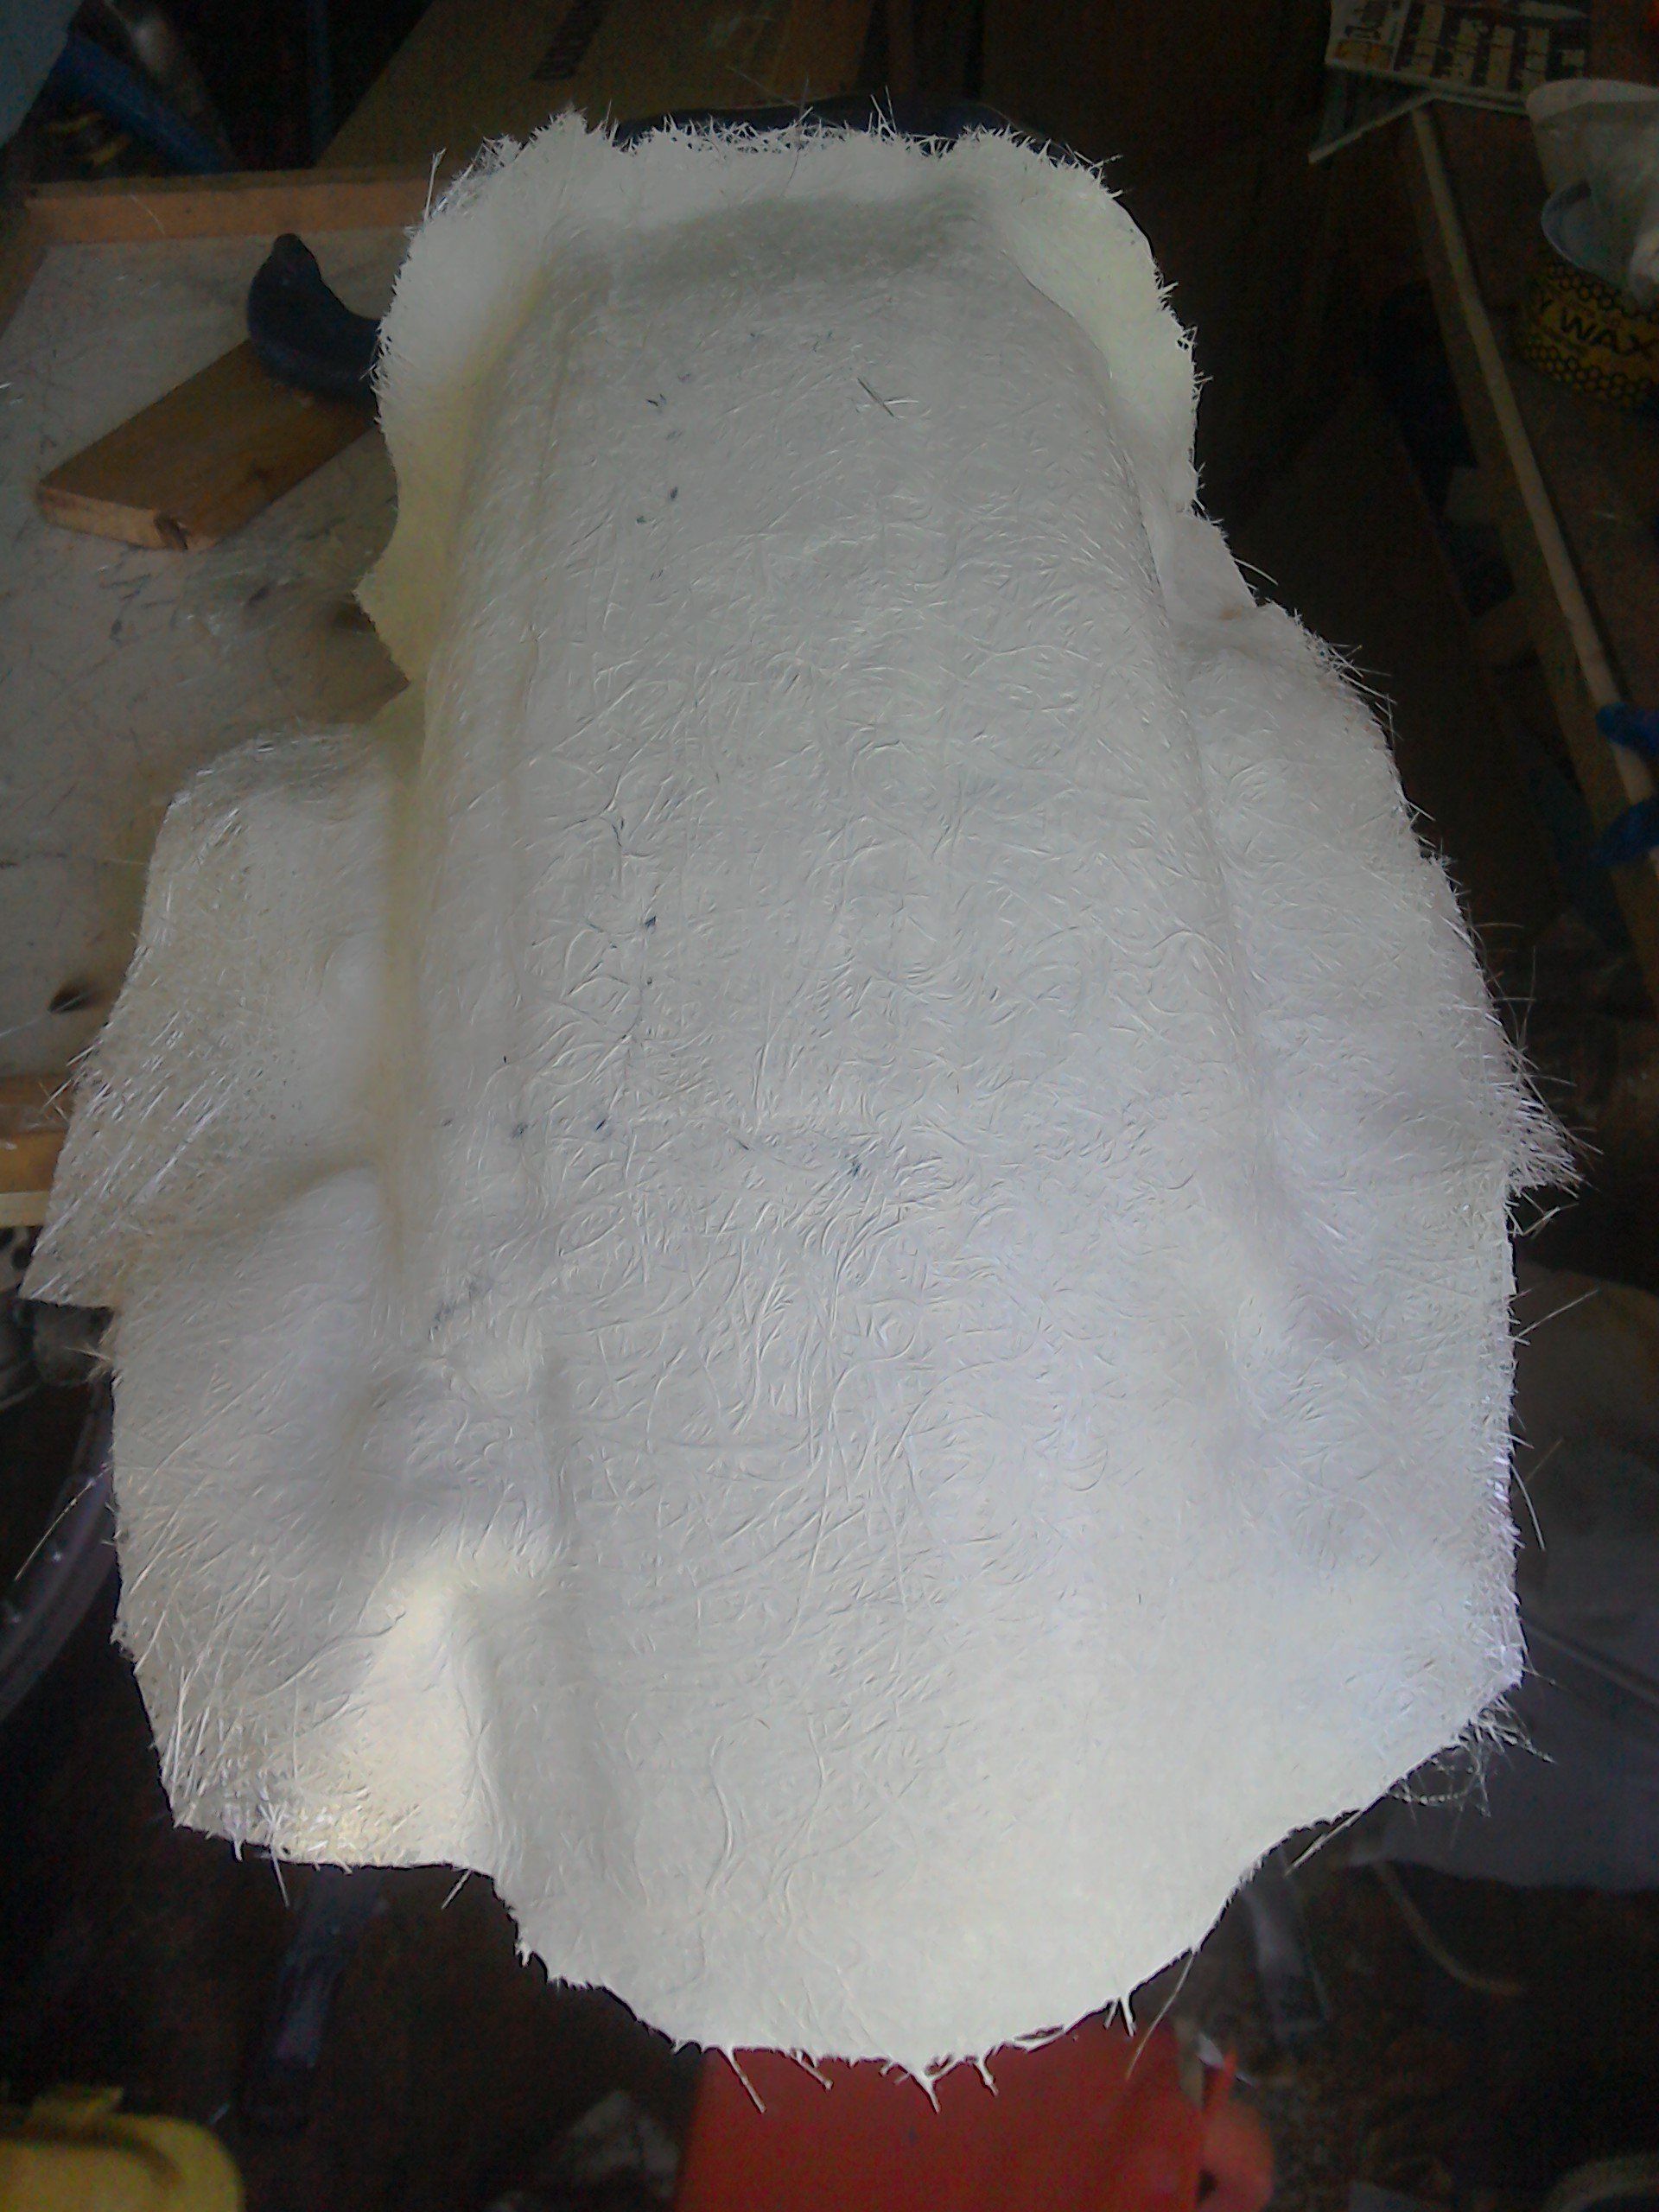
Here it is all laid up and curing.
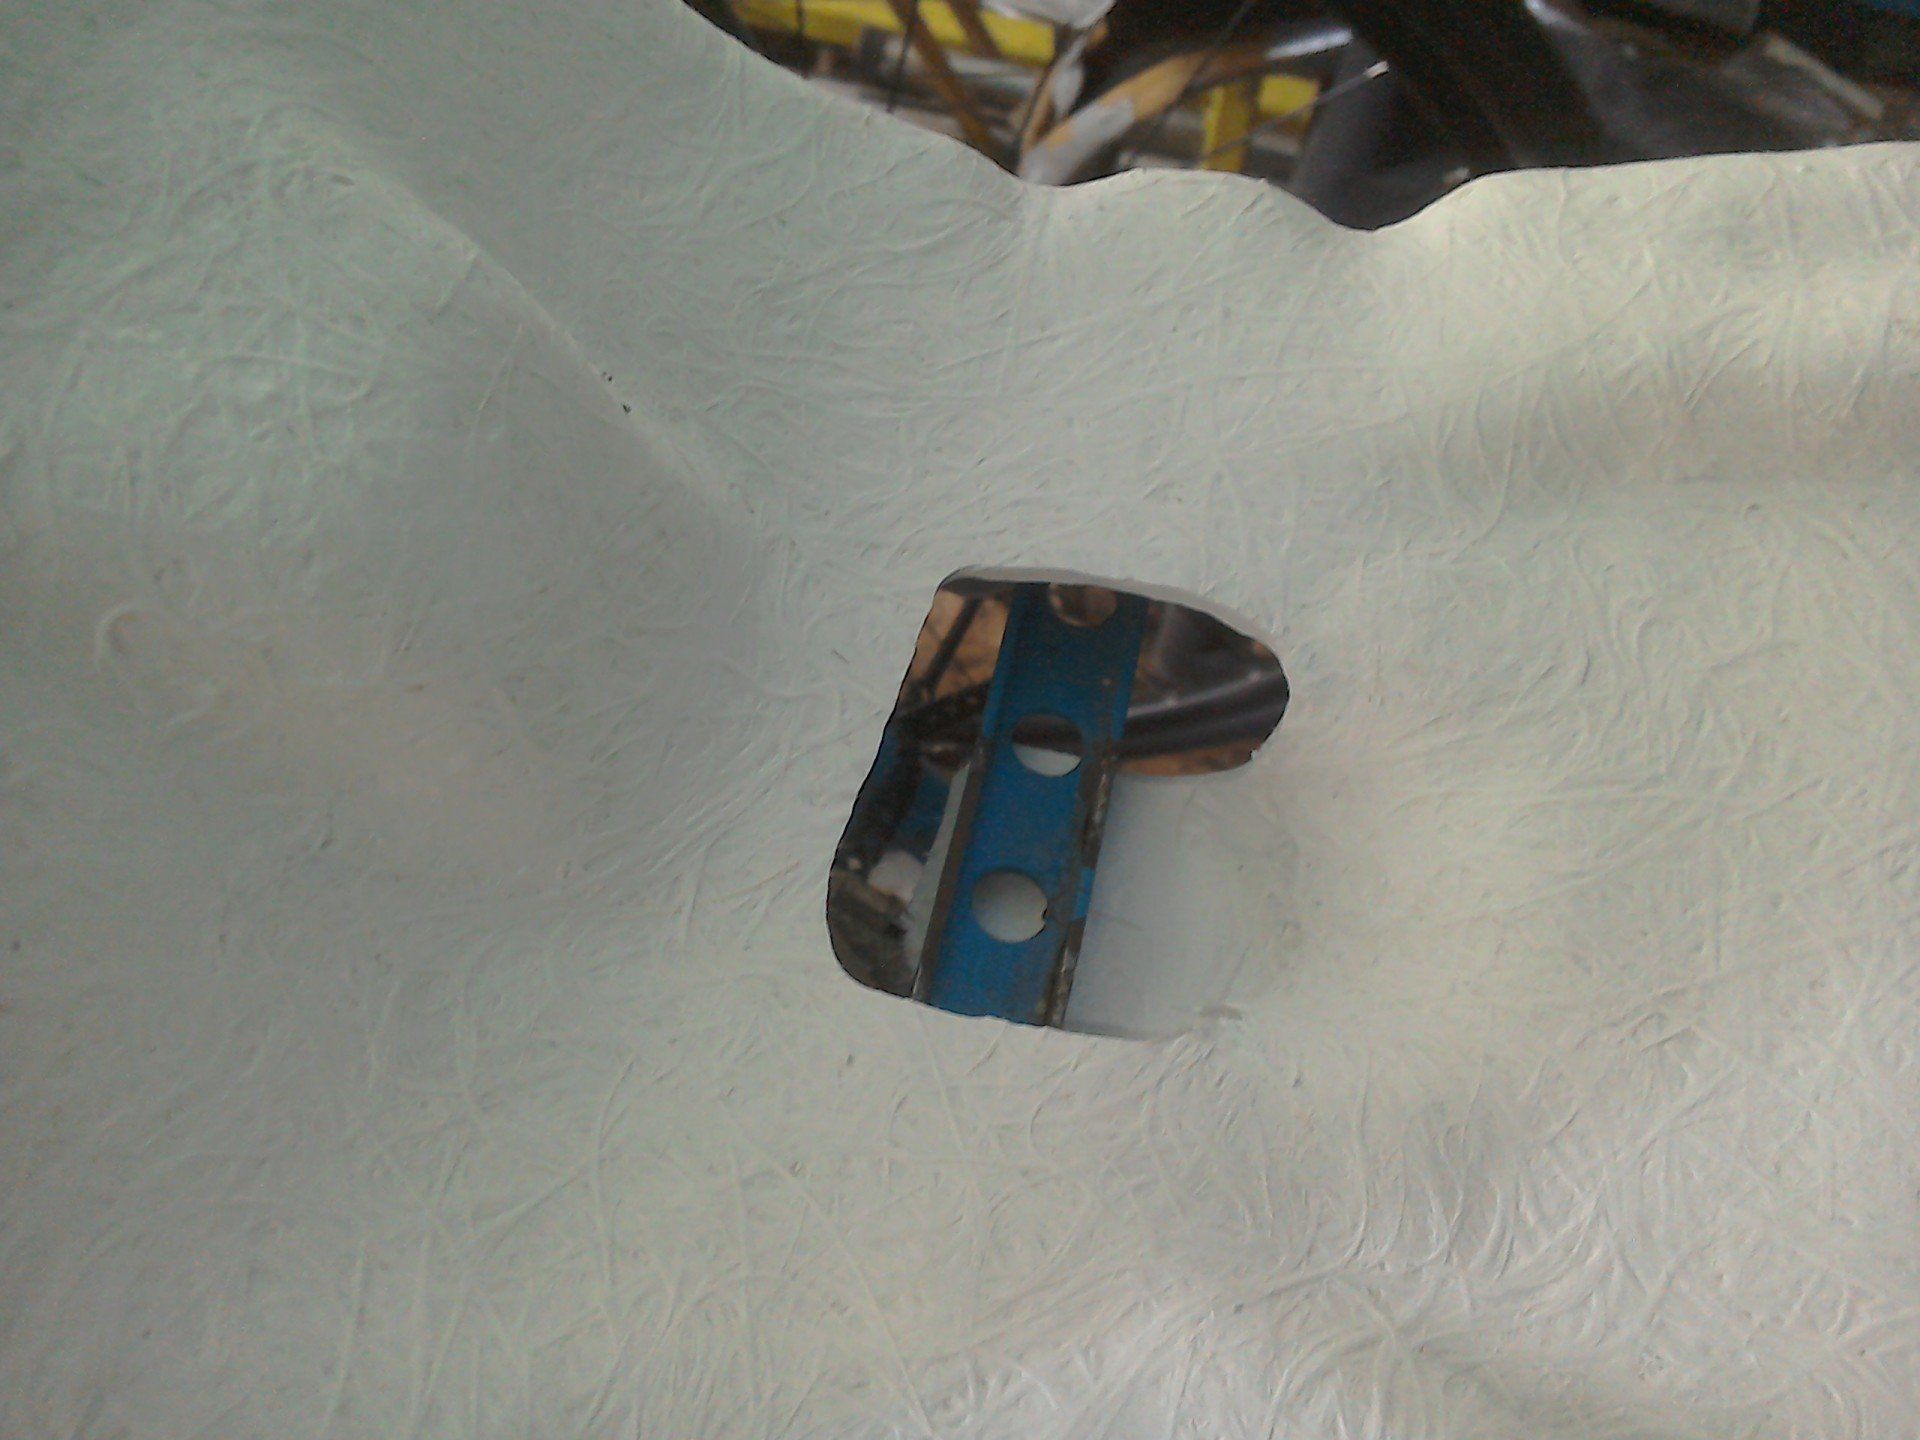
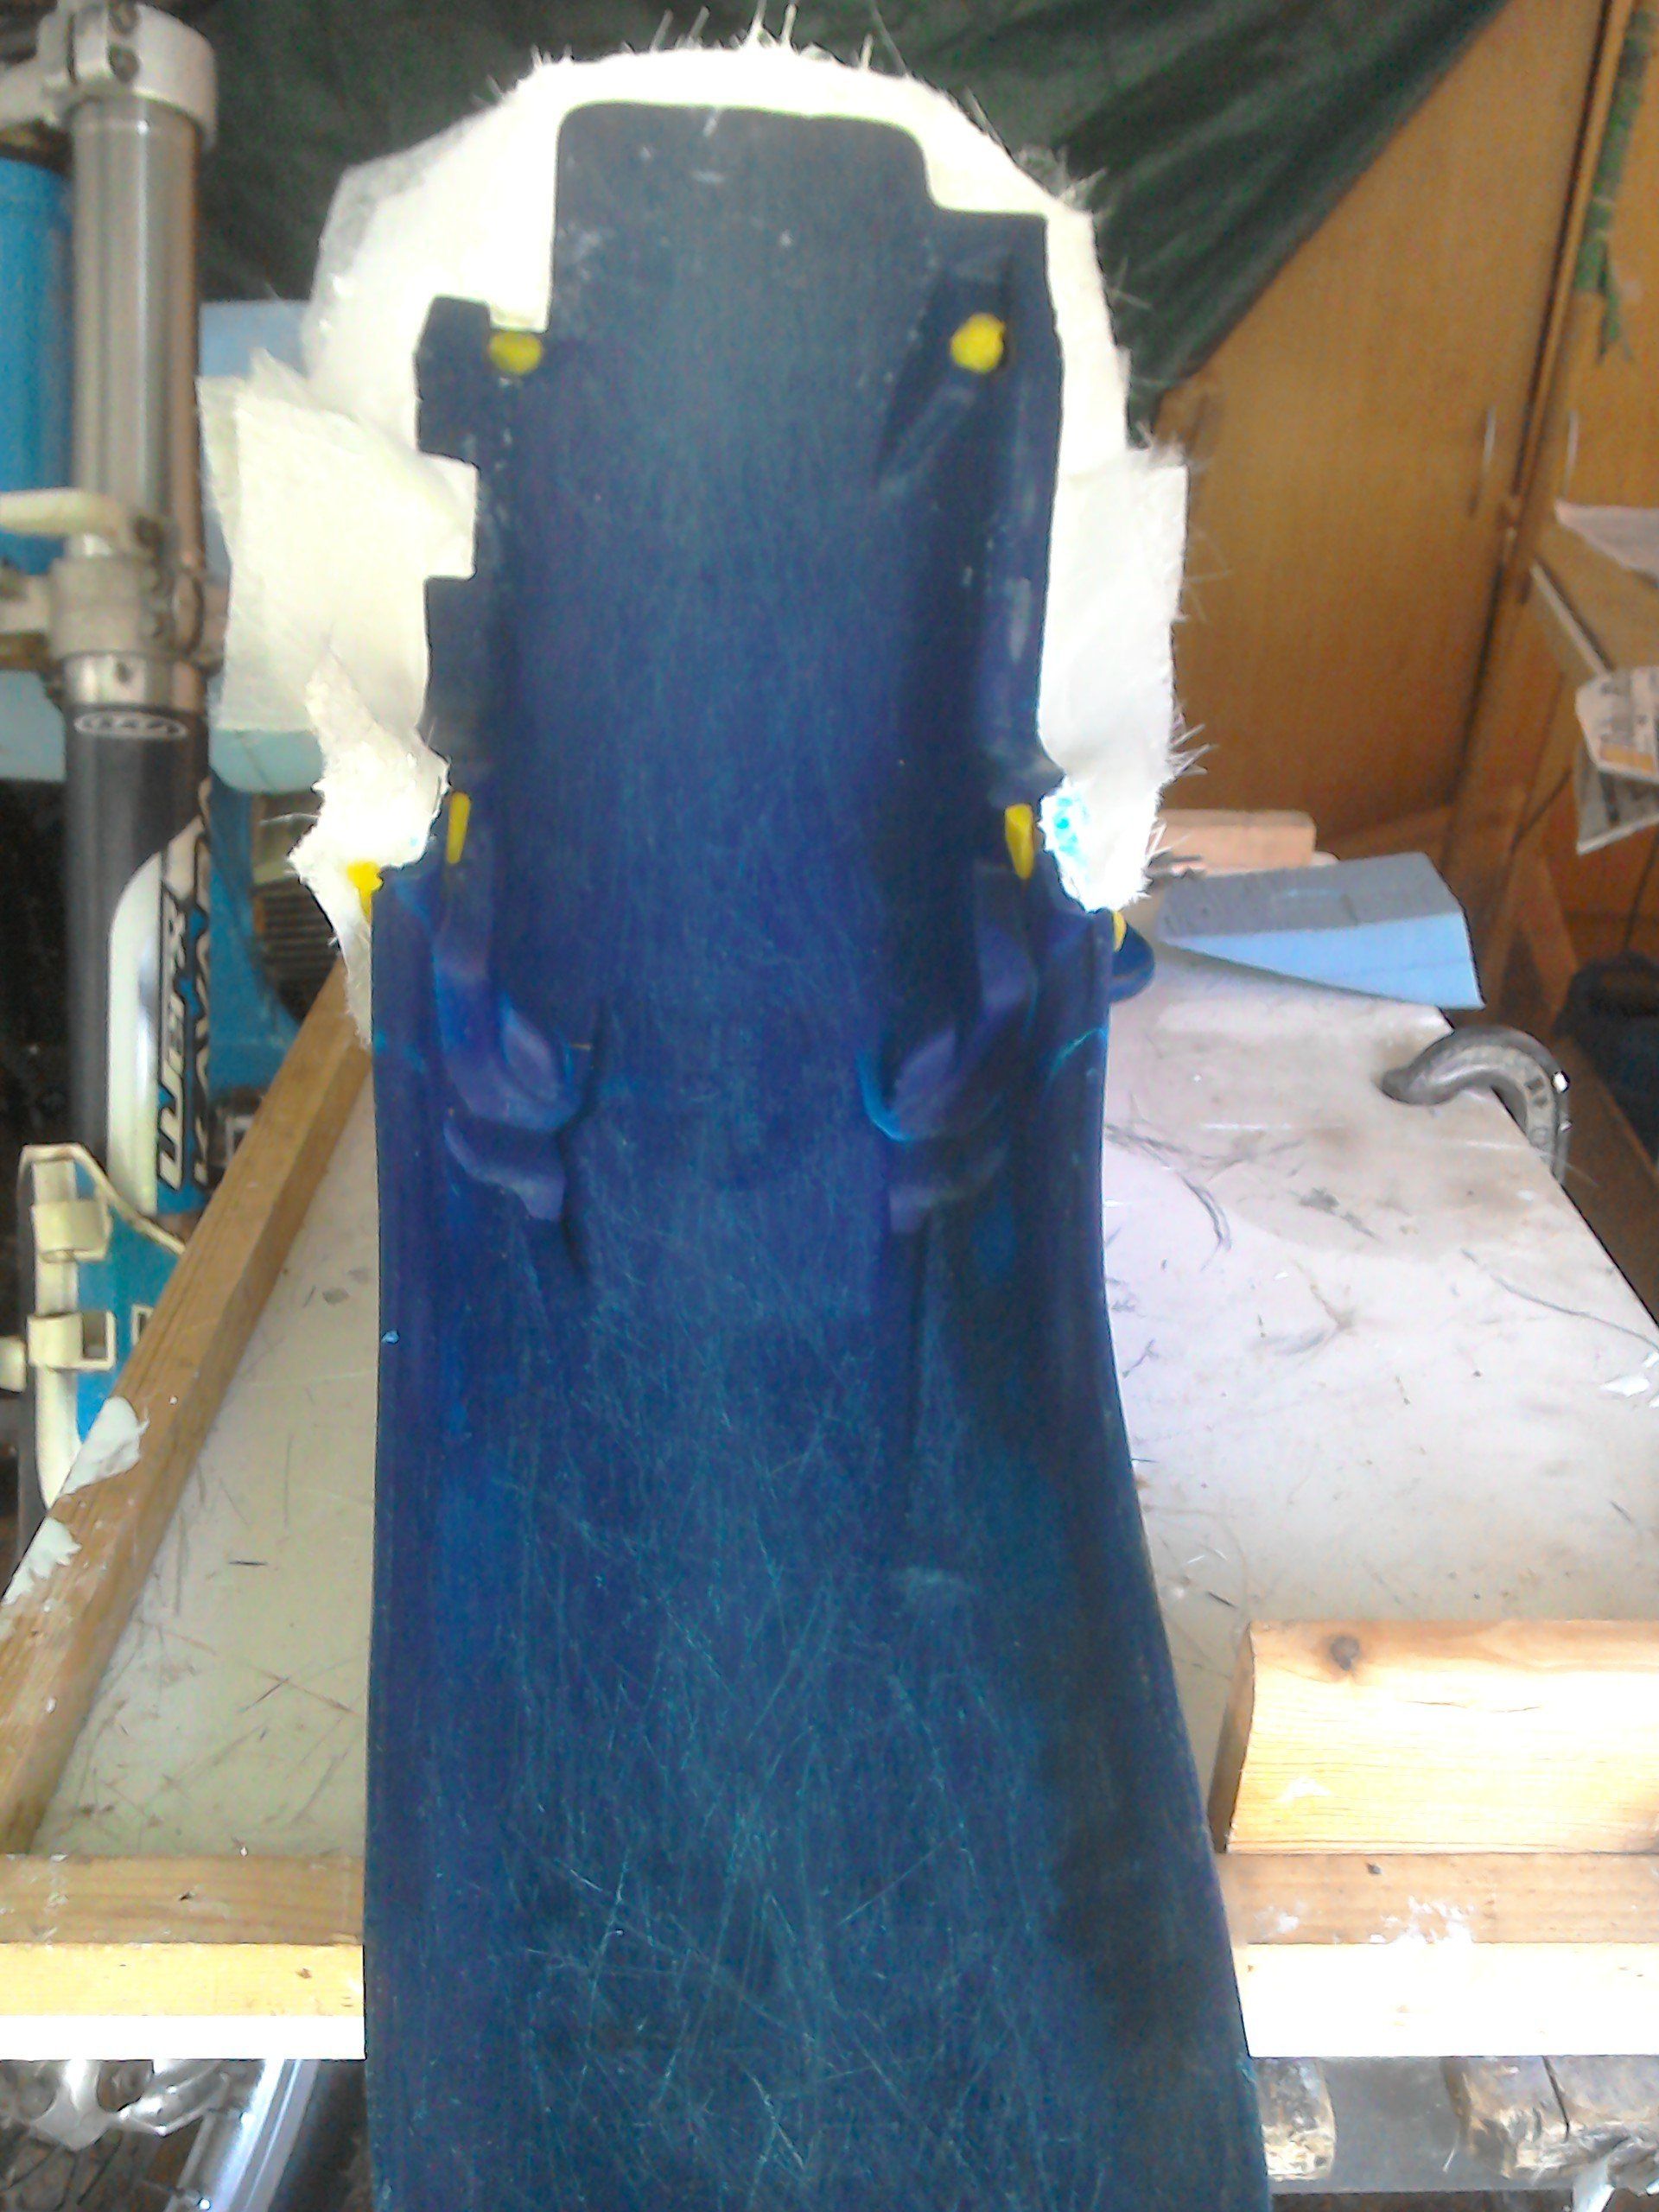
And from the other side. Notice fixing holes filled with wax, hurriedly applied when I realised that I 'd forgotten to do them half-way through adding the gel coat!
Next job (once I've released the blue mudguard) is to use the moulds to make some mudguard copies, and then I can start cutting and joining to get the mudguard design that I really want.
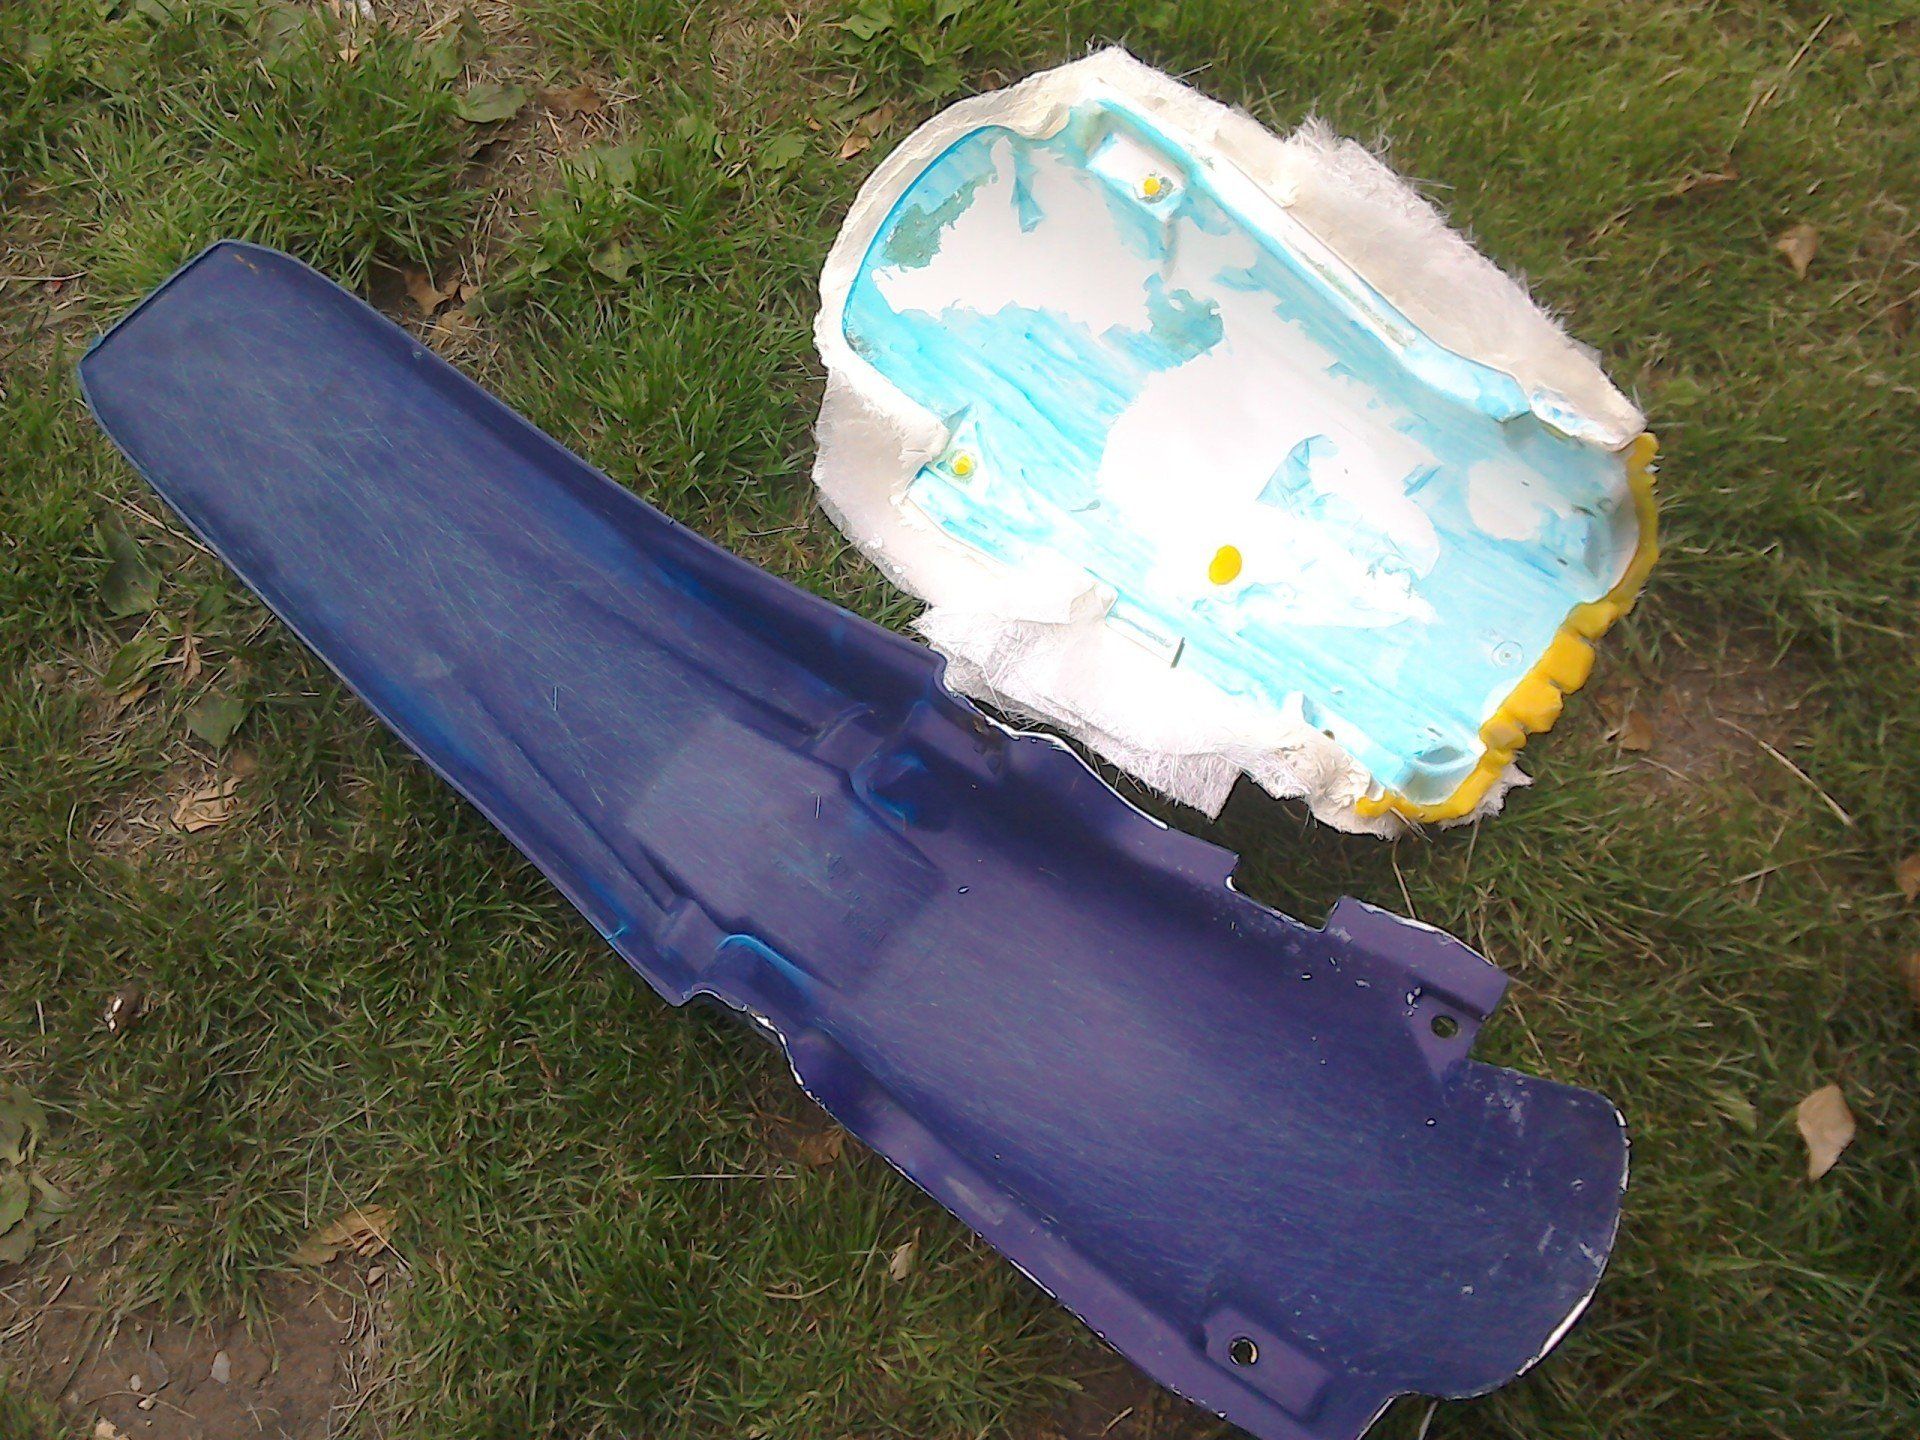
The blue mudguard and the mould are successfully parted...
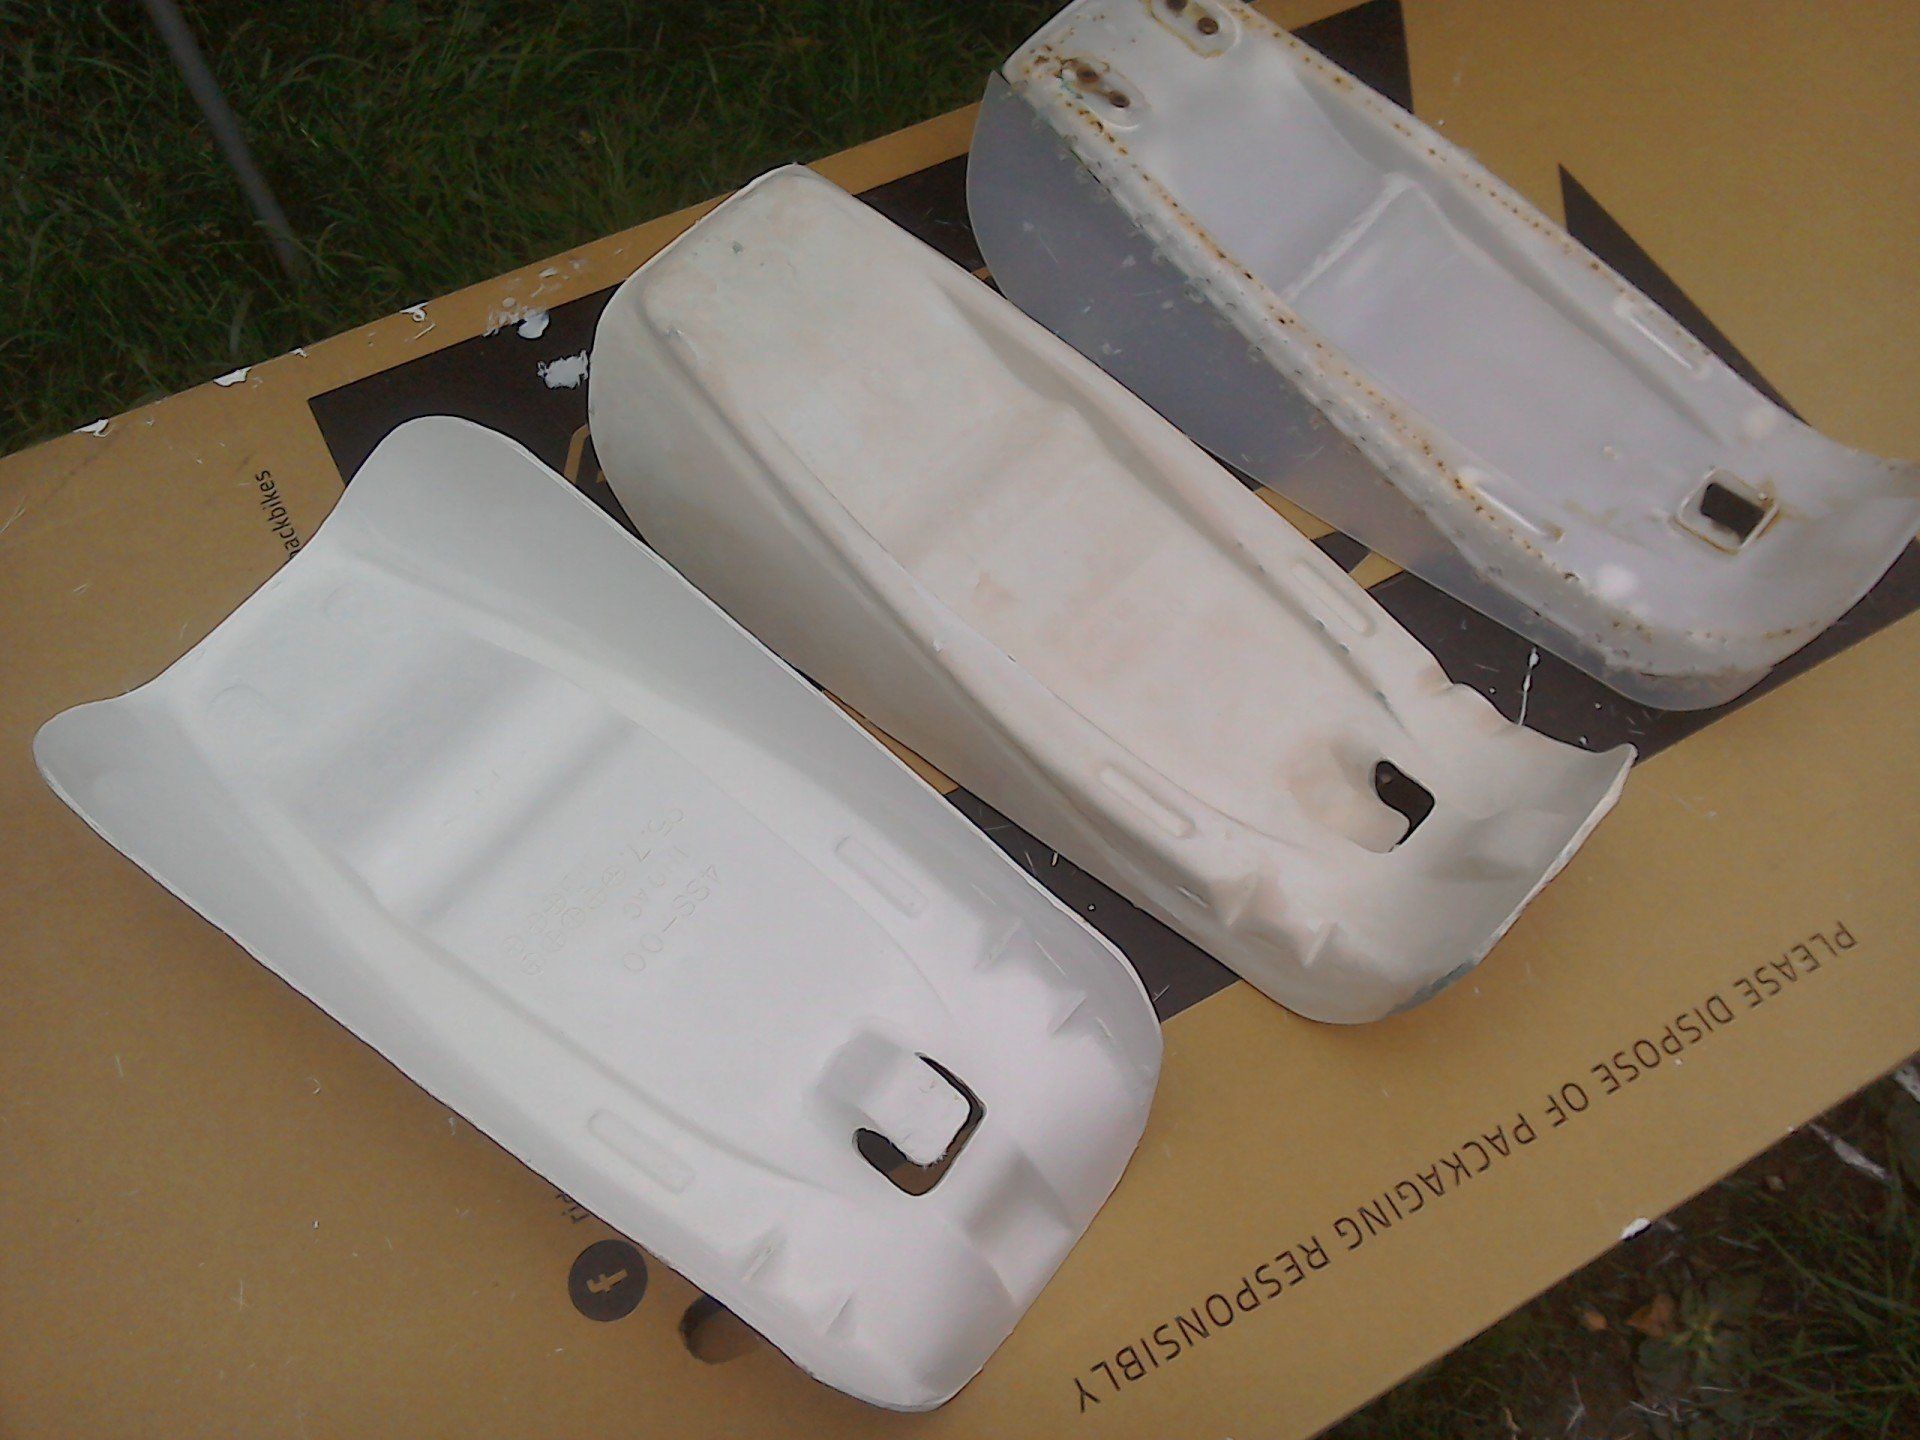
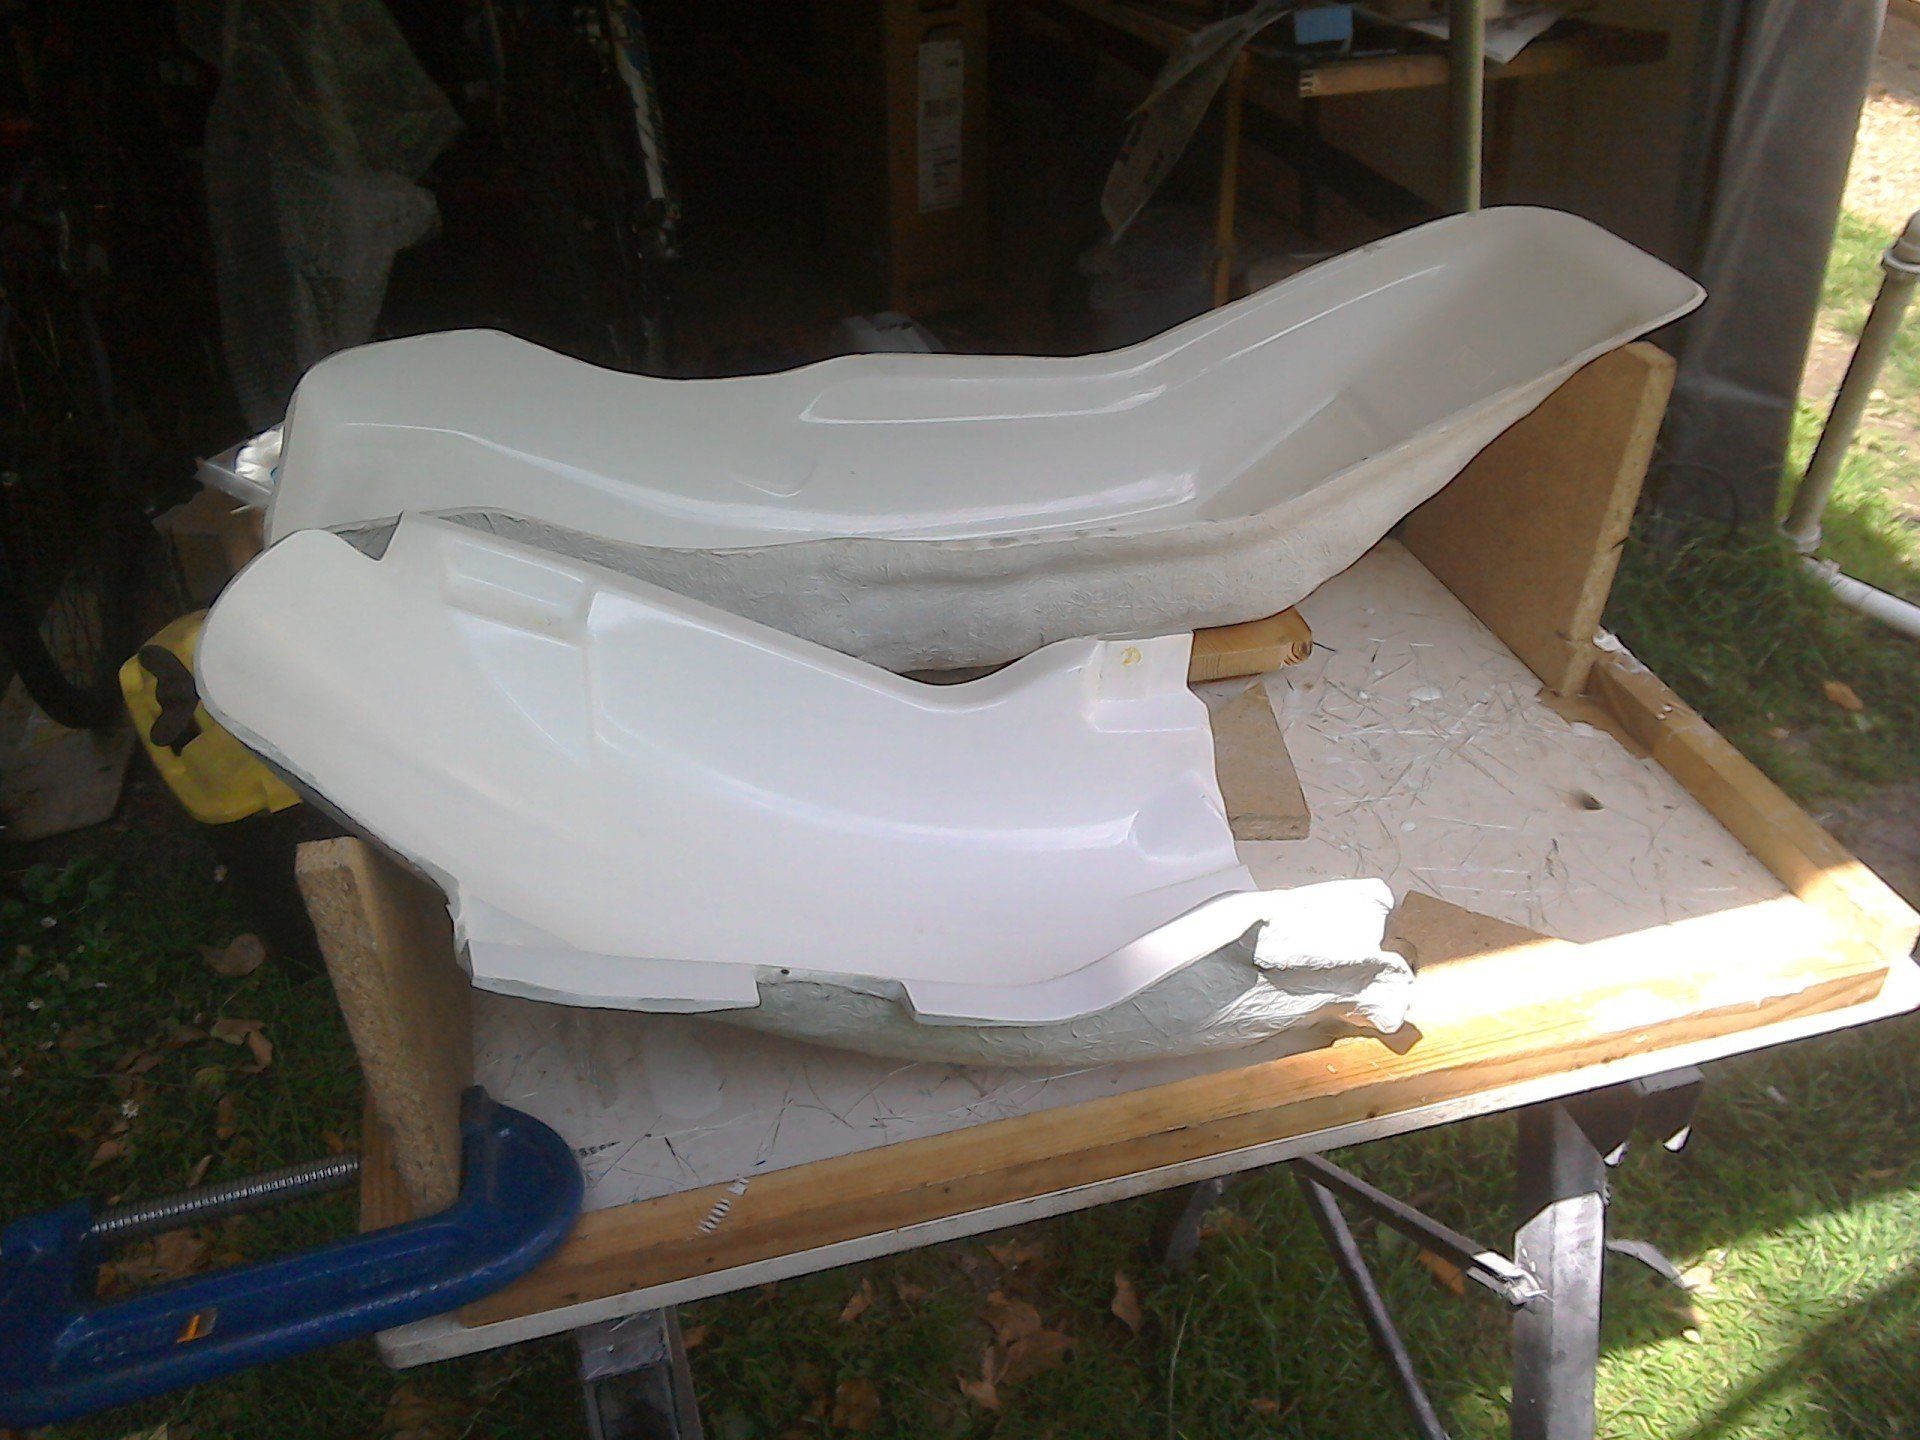
and both mudguard moulds have been filled, trimmed and polished, and are now ready to produce mudguard copies.
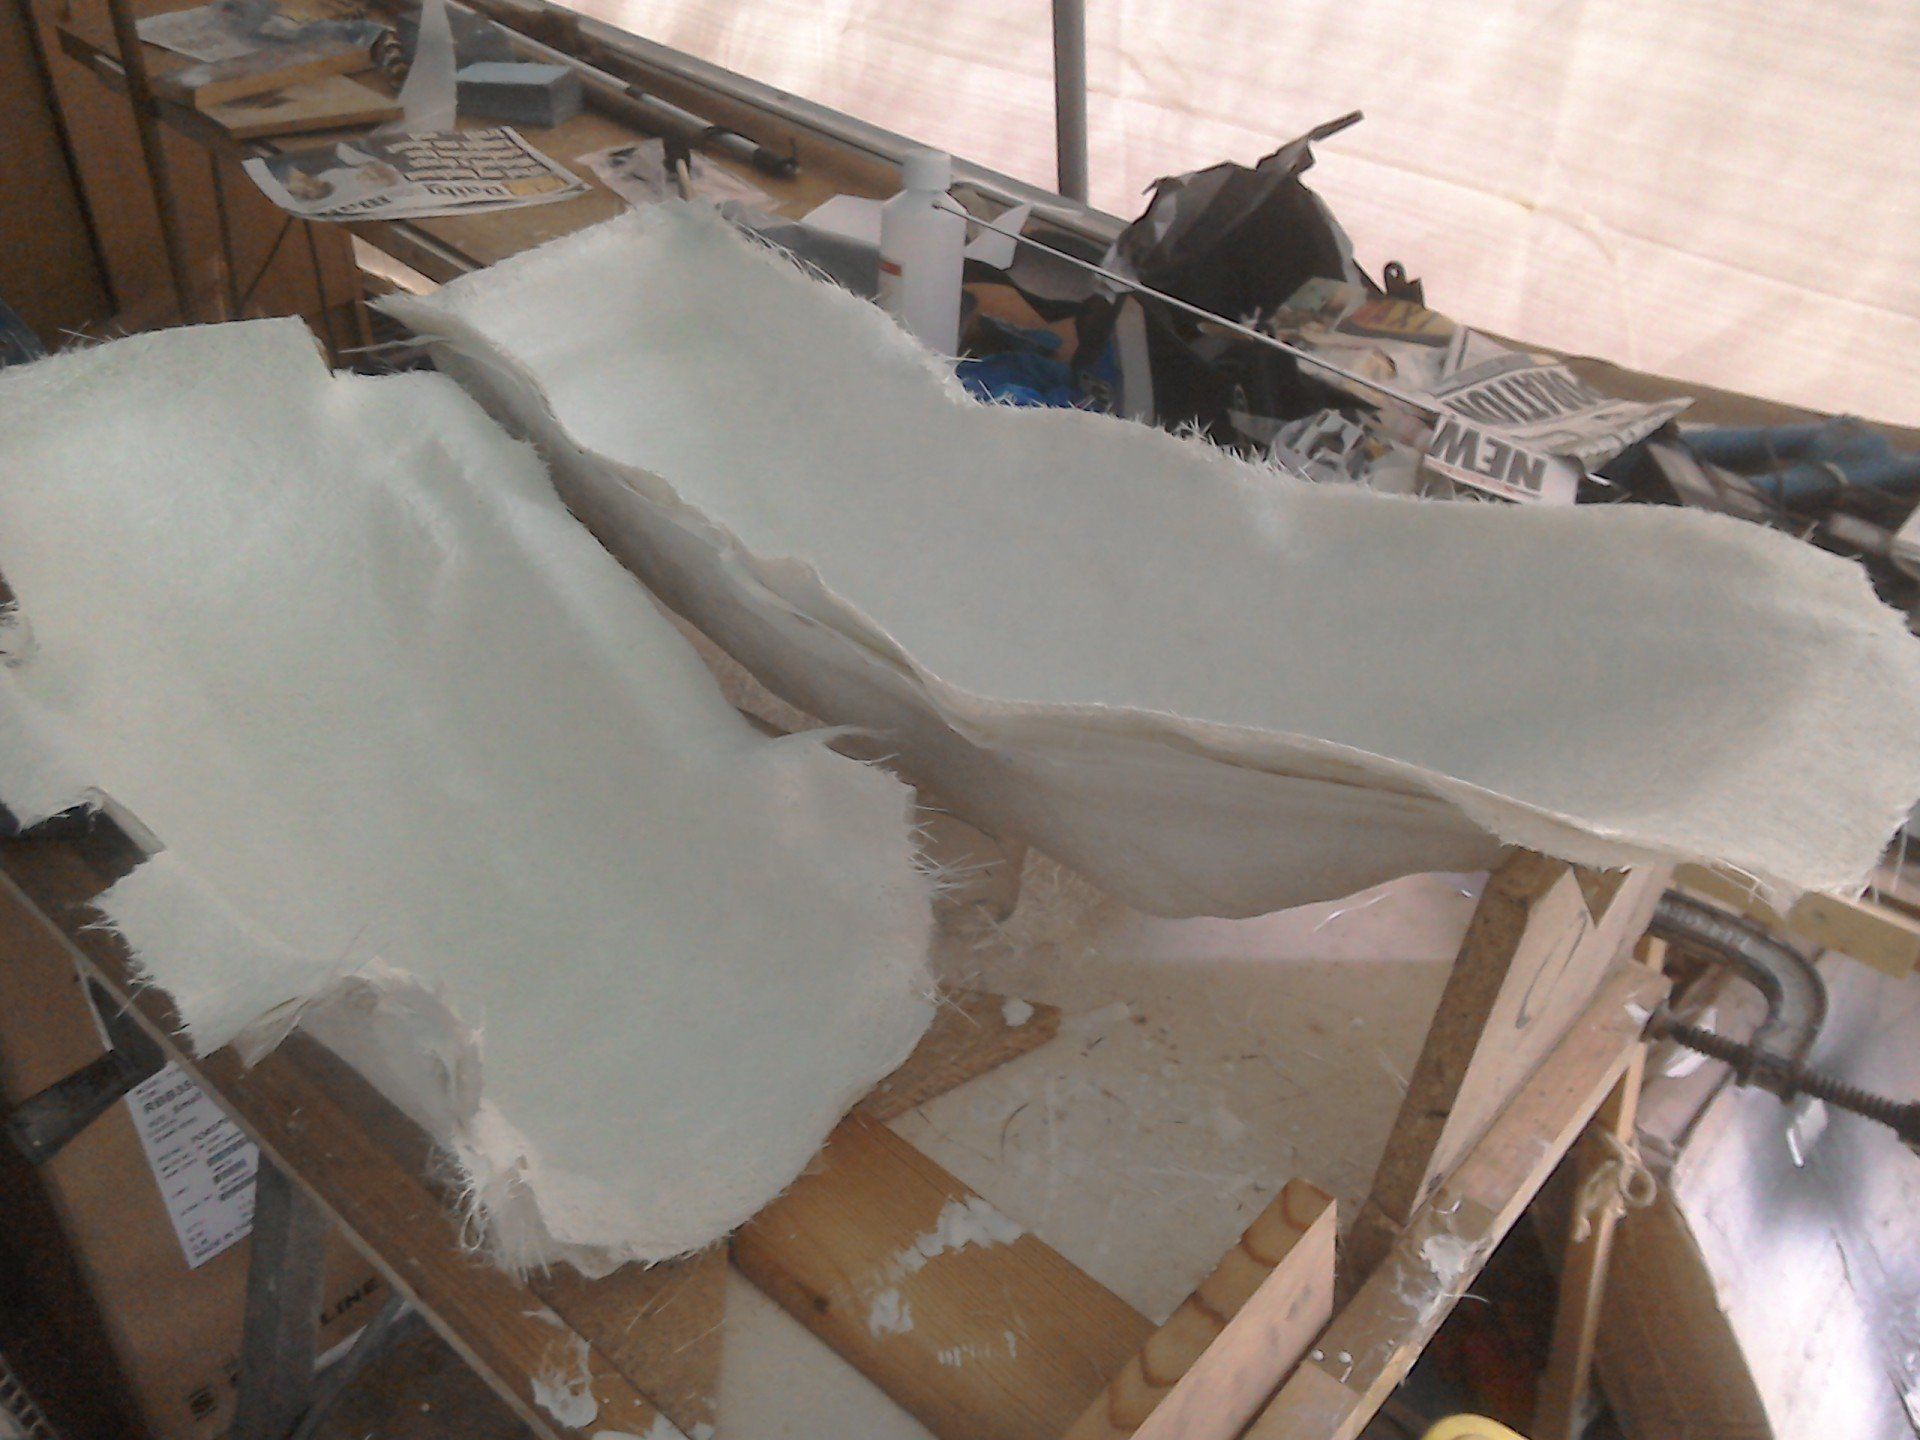
First copies all laid up.
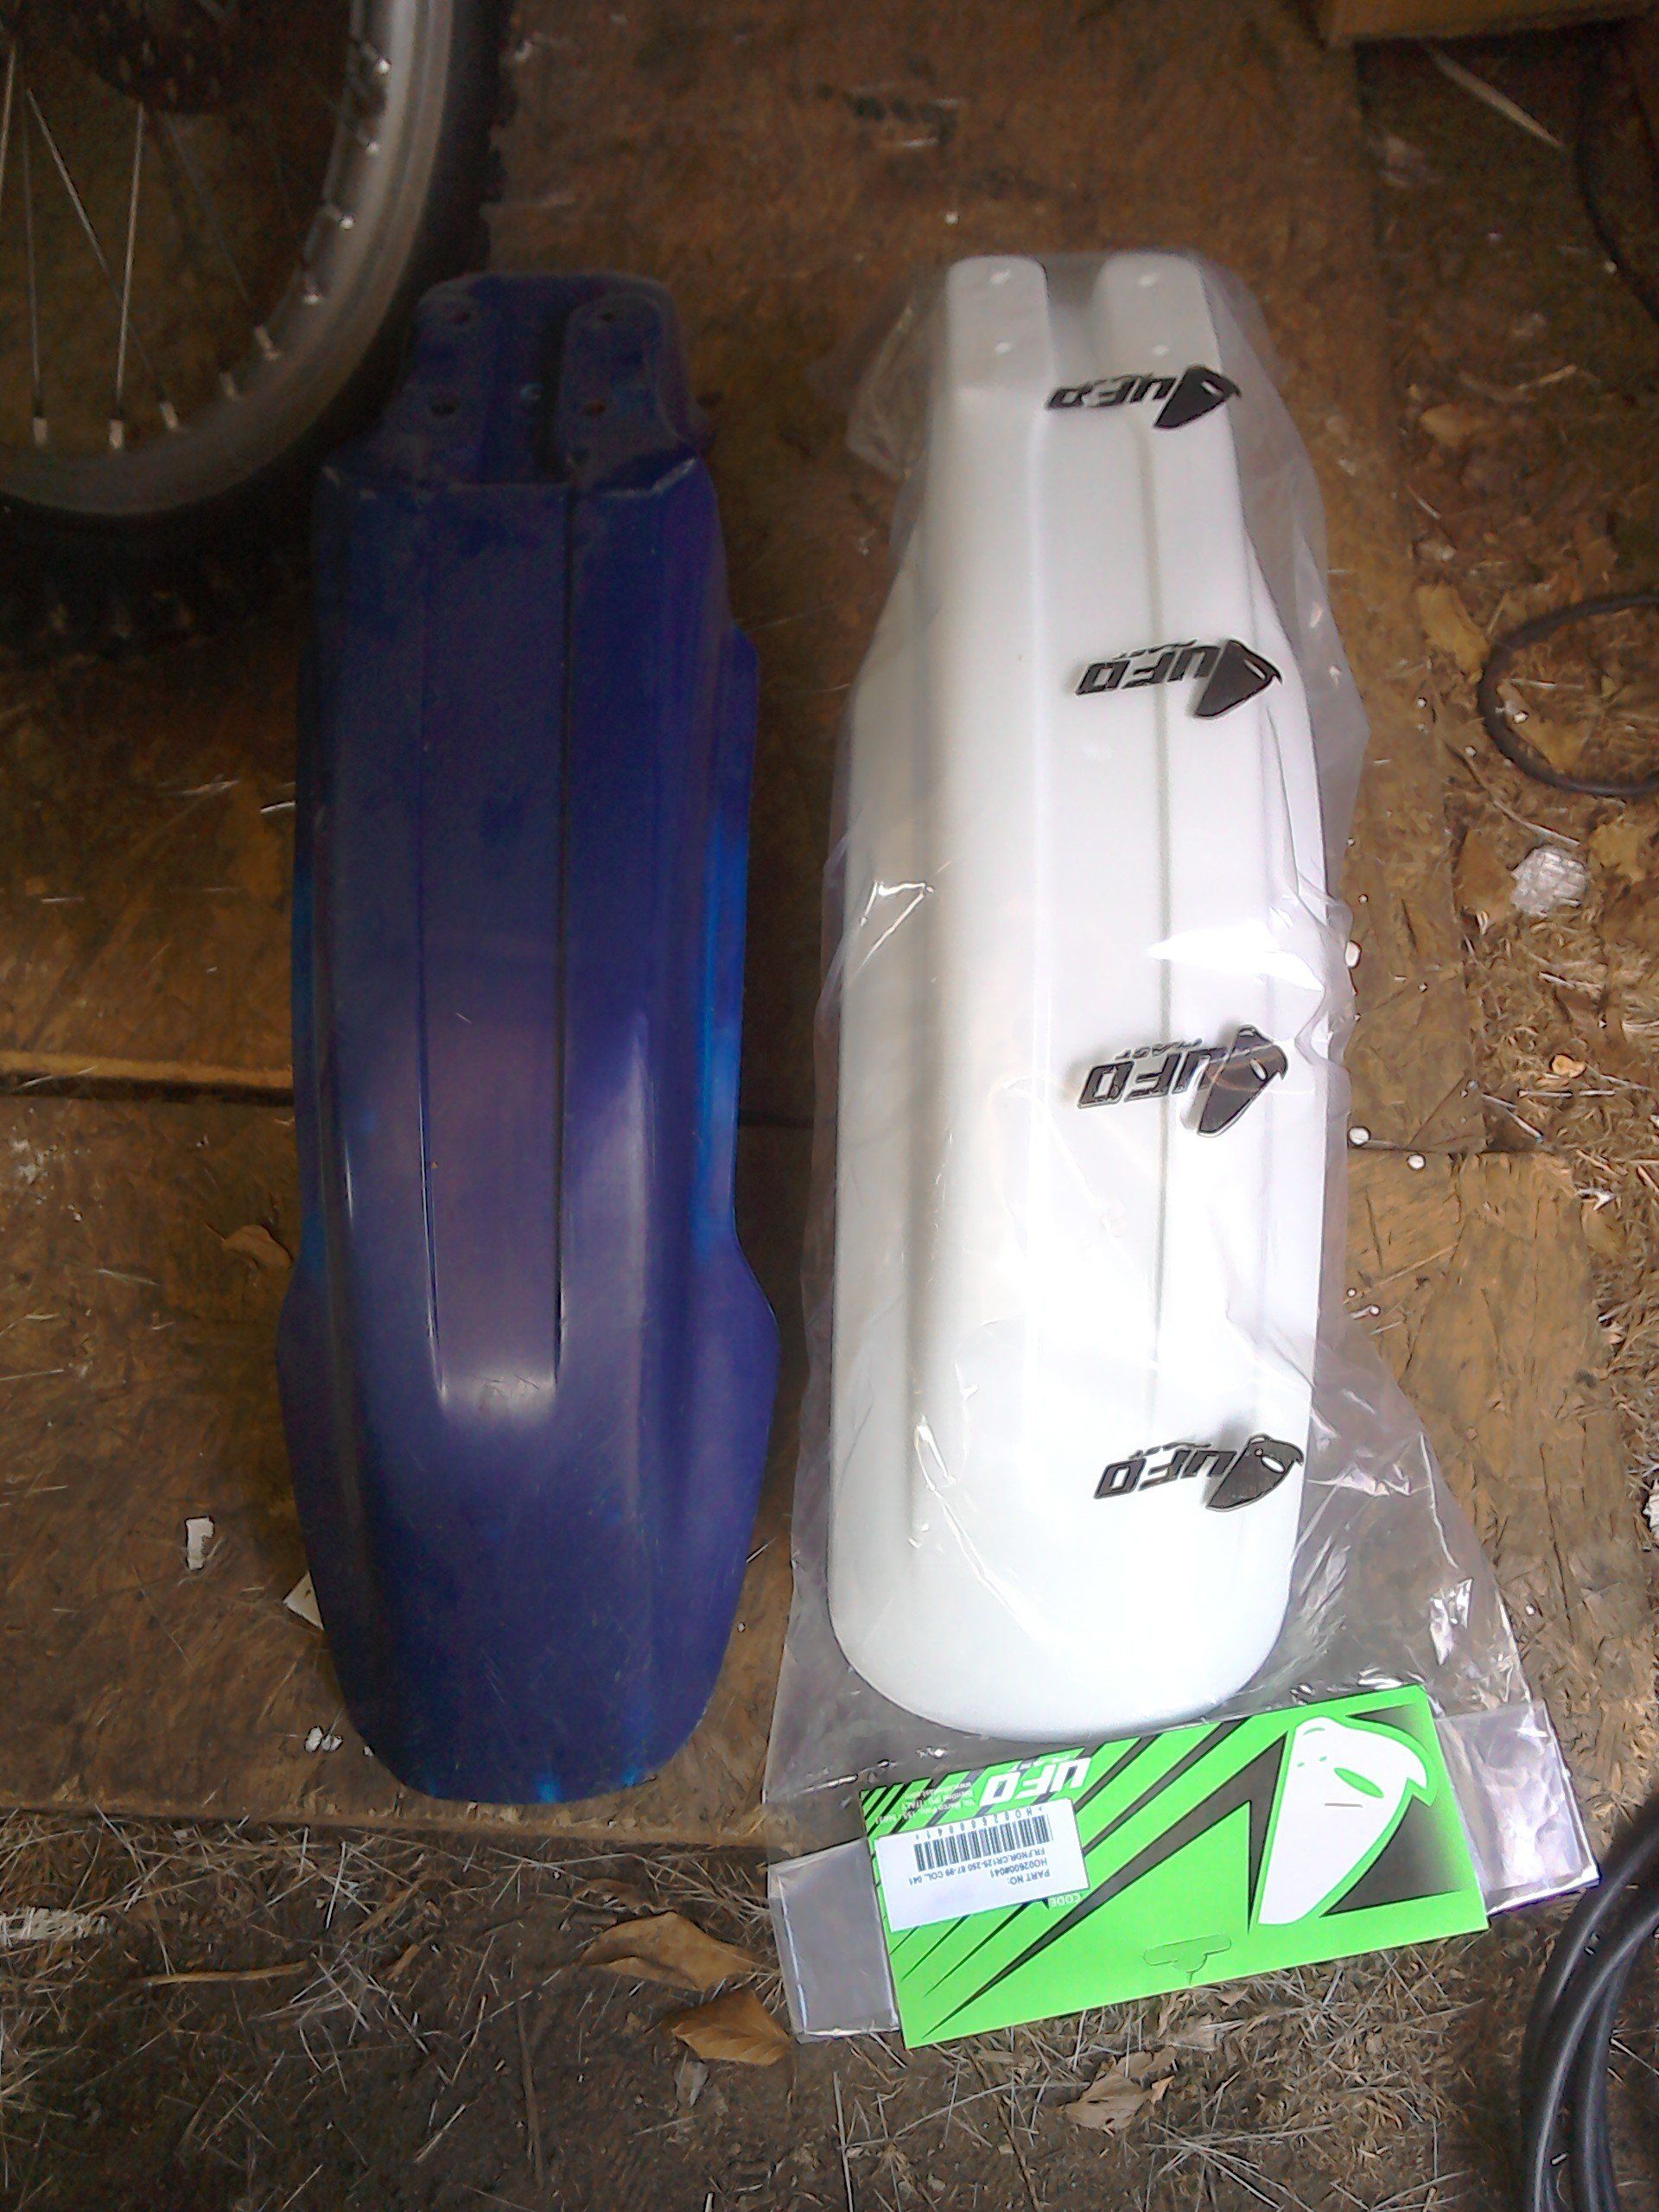
While waiting for the rear mudguards to cure, I turned my attention to finding something suitable for the front. The original blue Yamaha one looks too modern, so I've chosen an early Honda CR one, in white, too see how that looks.
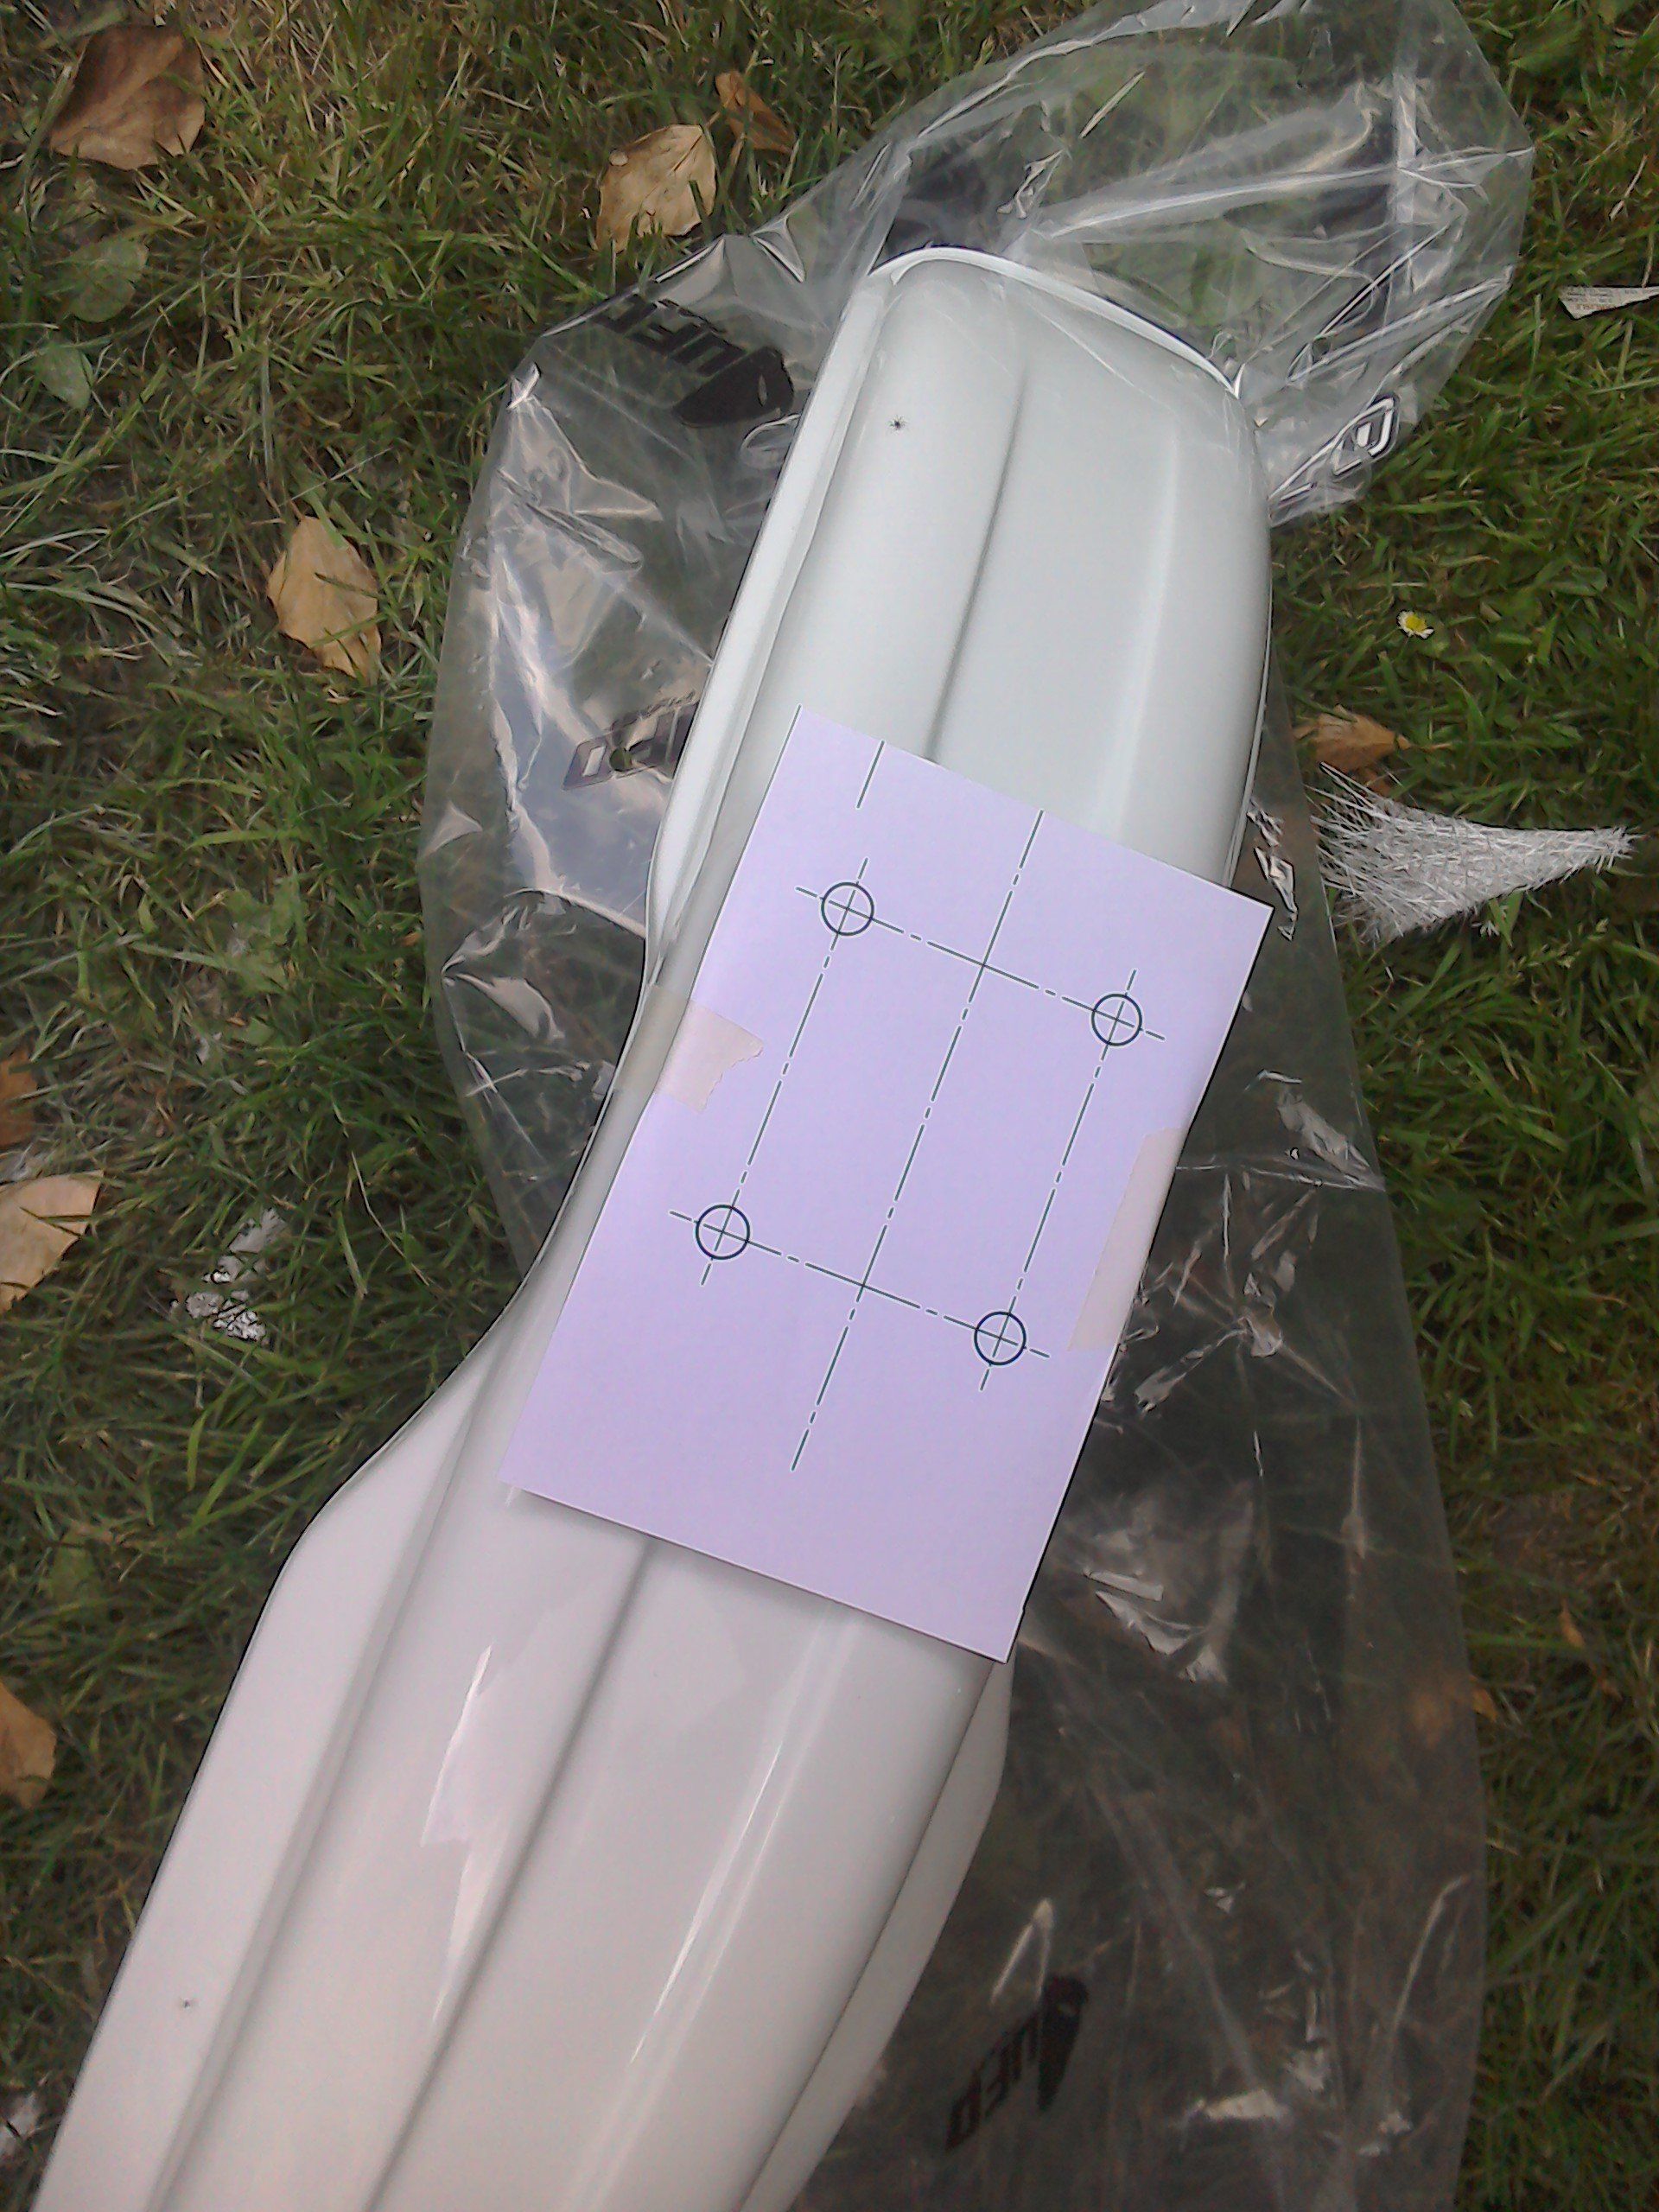
The mudguard comes with mounting hole positions marked, but these are for the Honda. Yamaha use a different hole spacing, so I made up a little template to (hopefully) get them in the correct place.
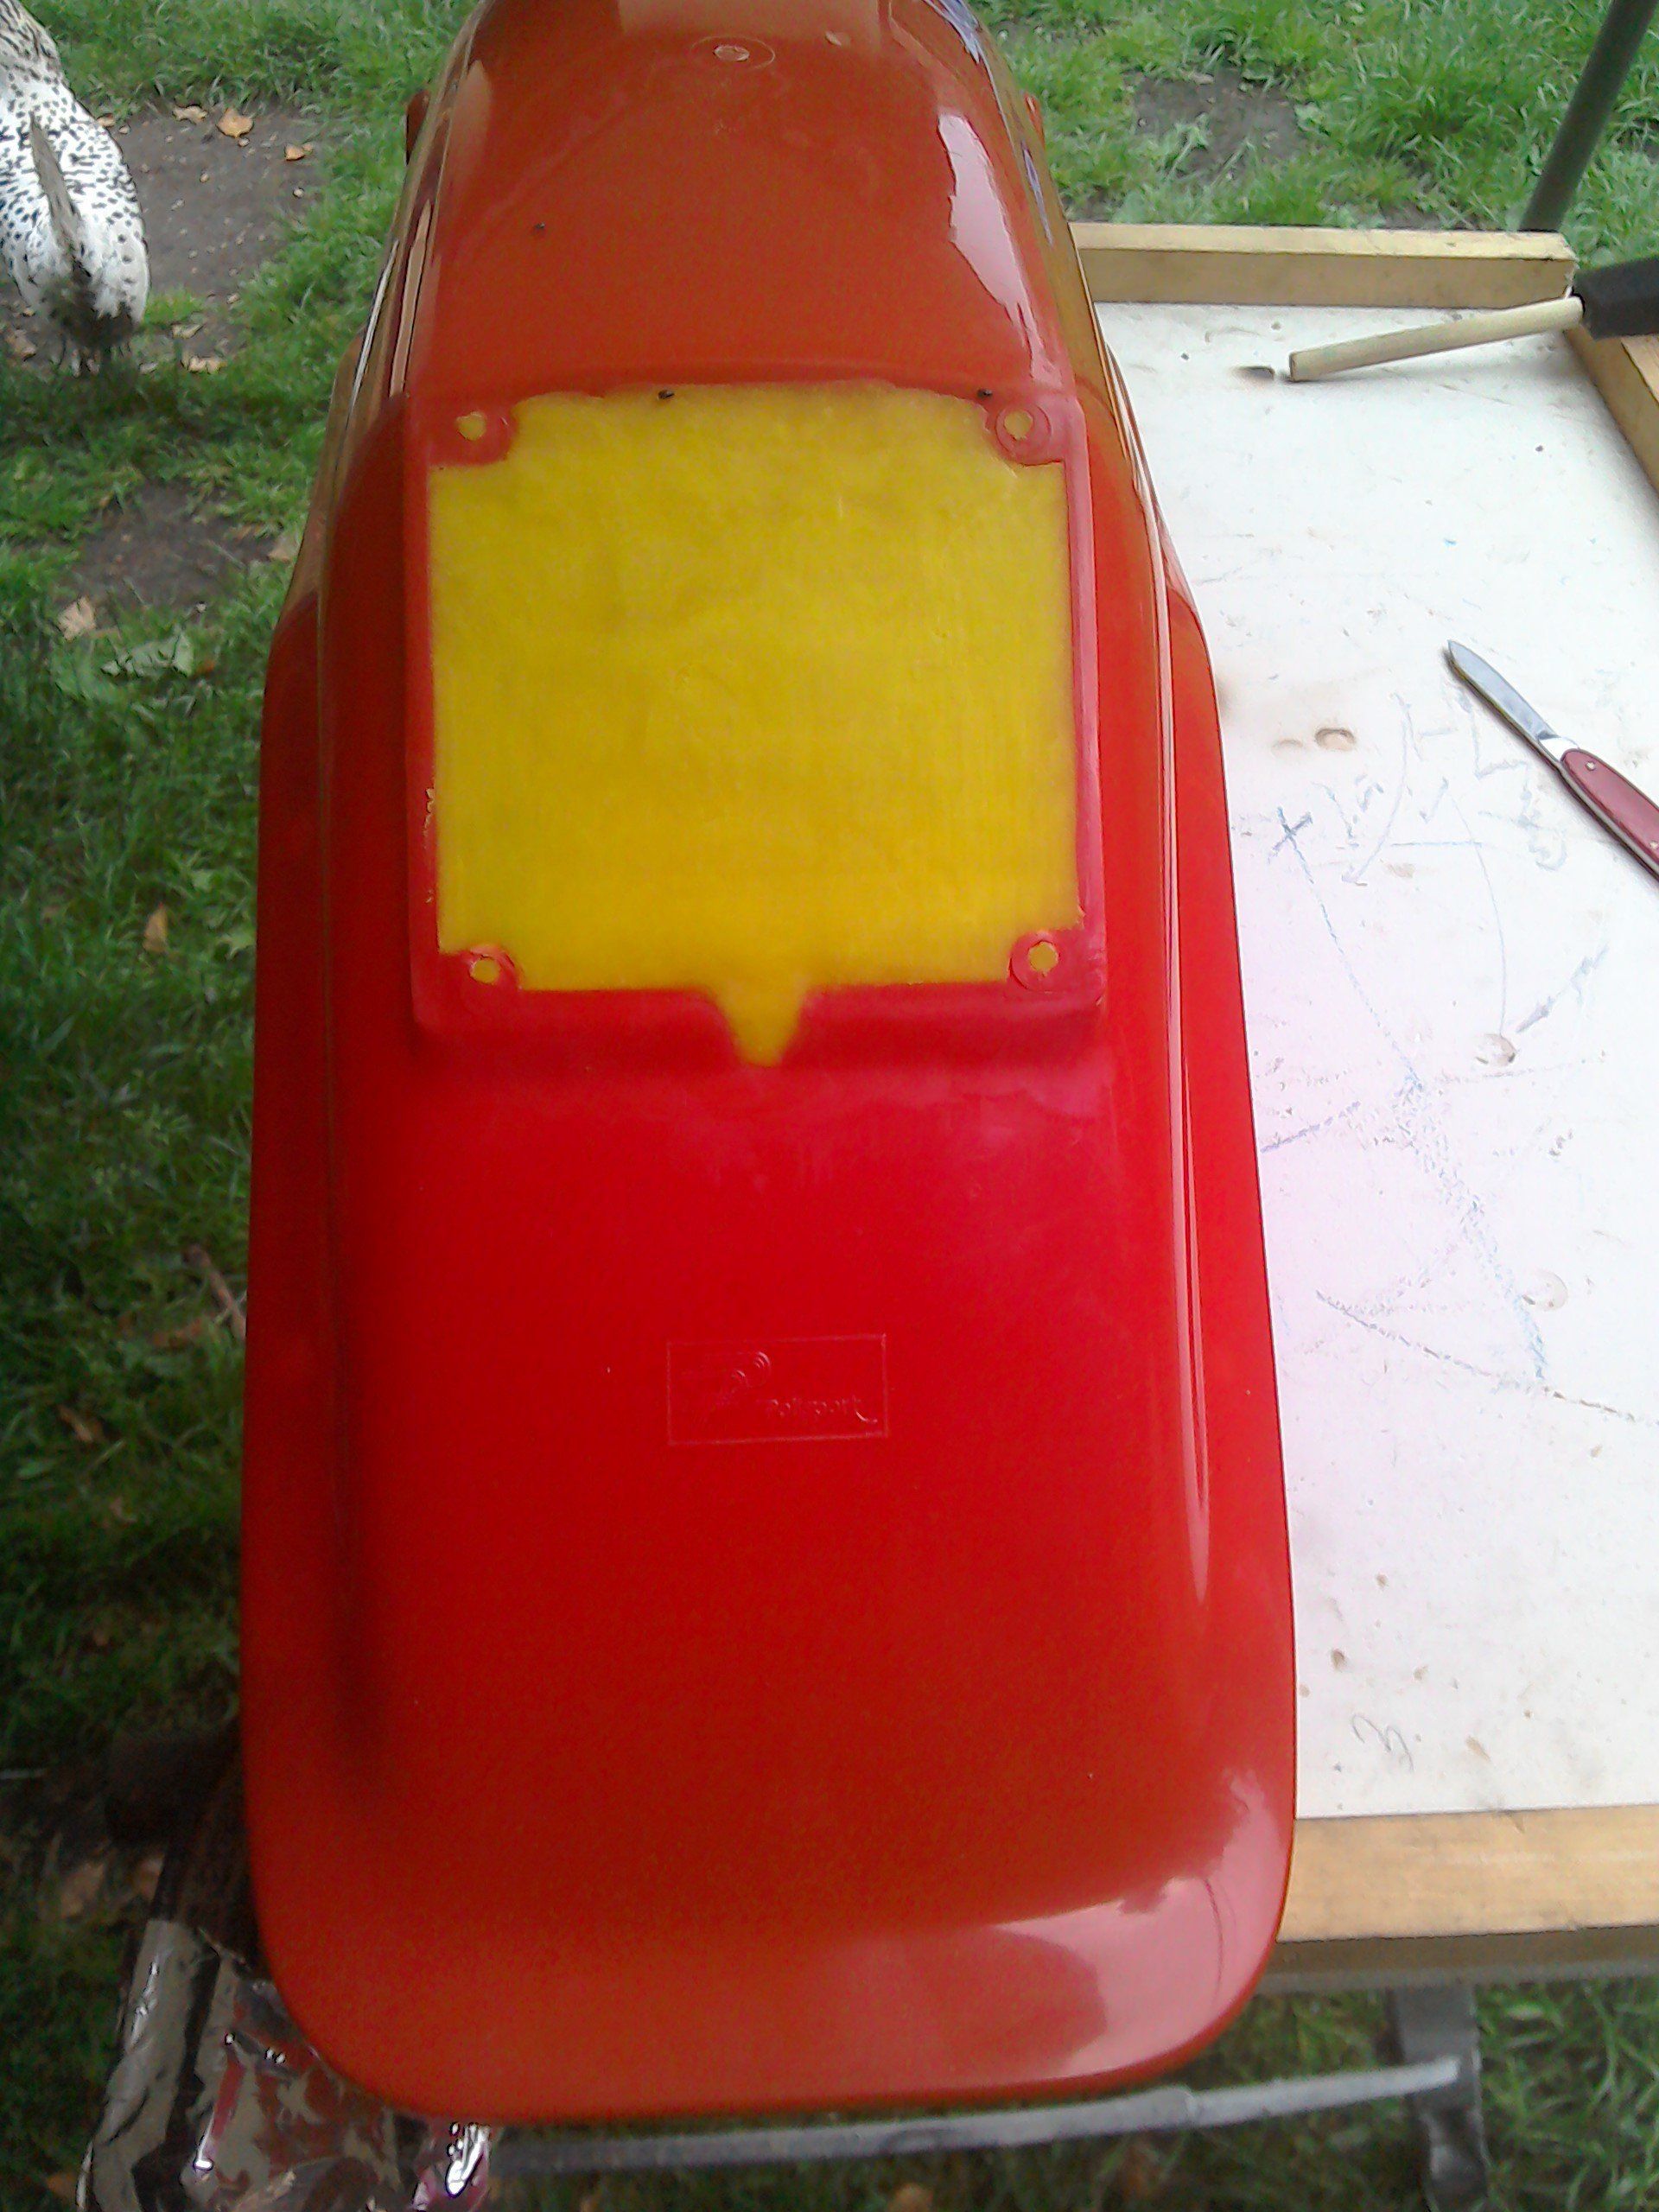
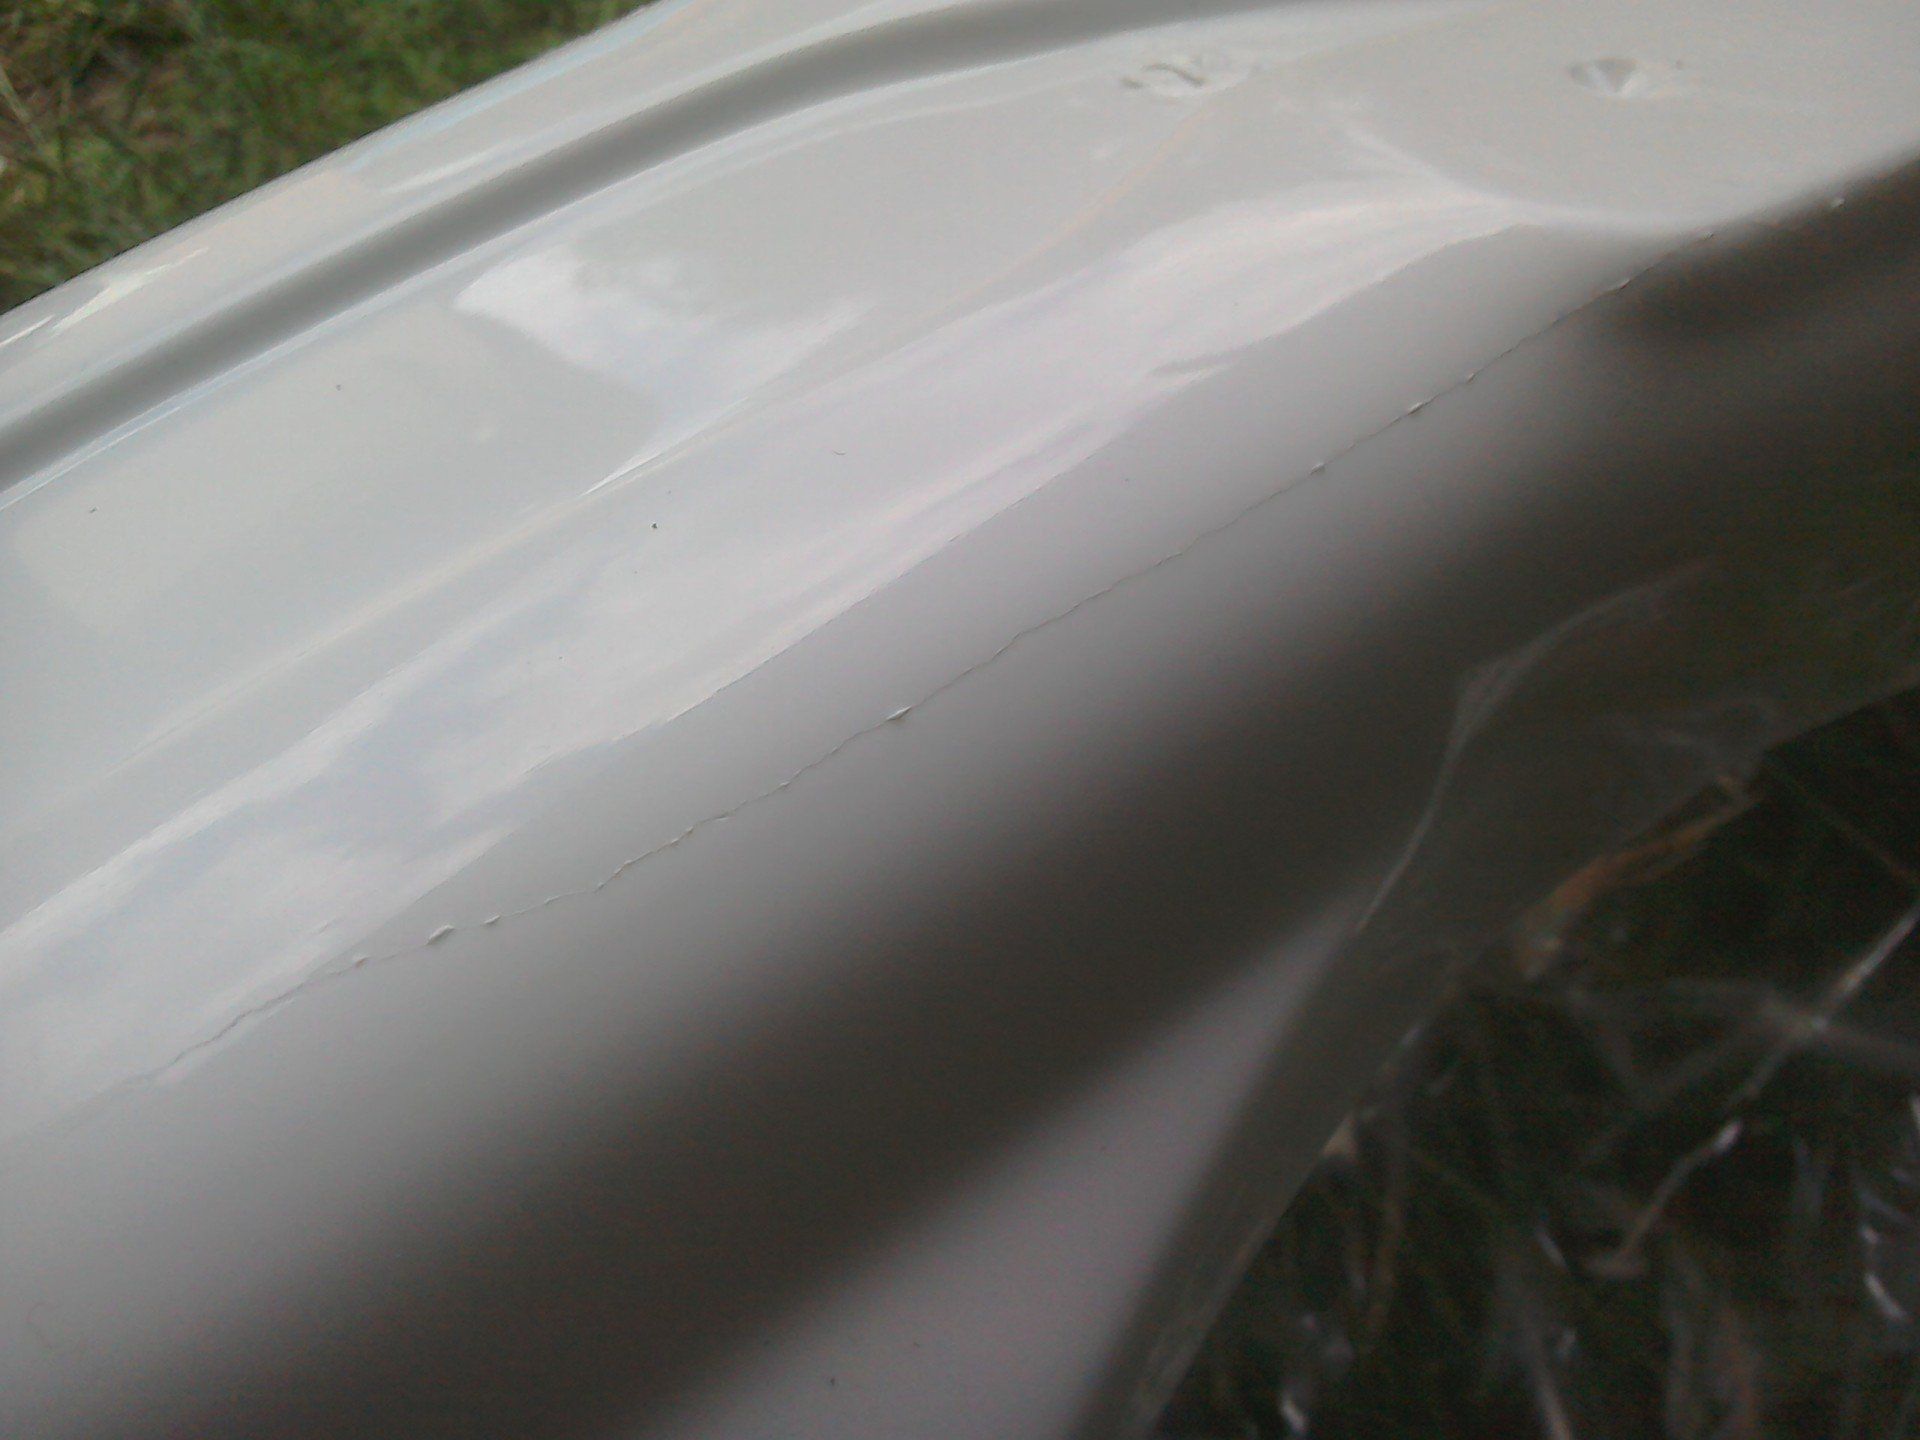
This looks like a crack in the mudguard, but actually it's damage in the injection mould tool that's been faithfully reproduced in plastic! New mould tools are expensive, so UFO will keep using this one for as long as they can!
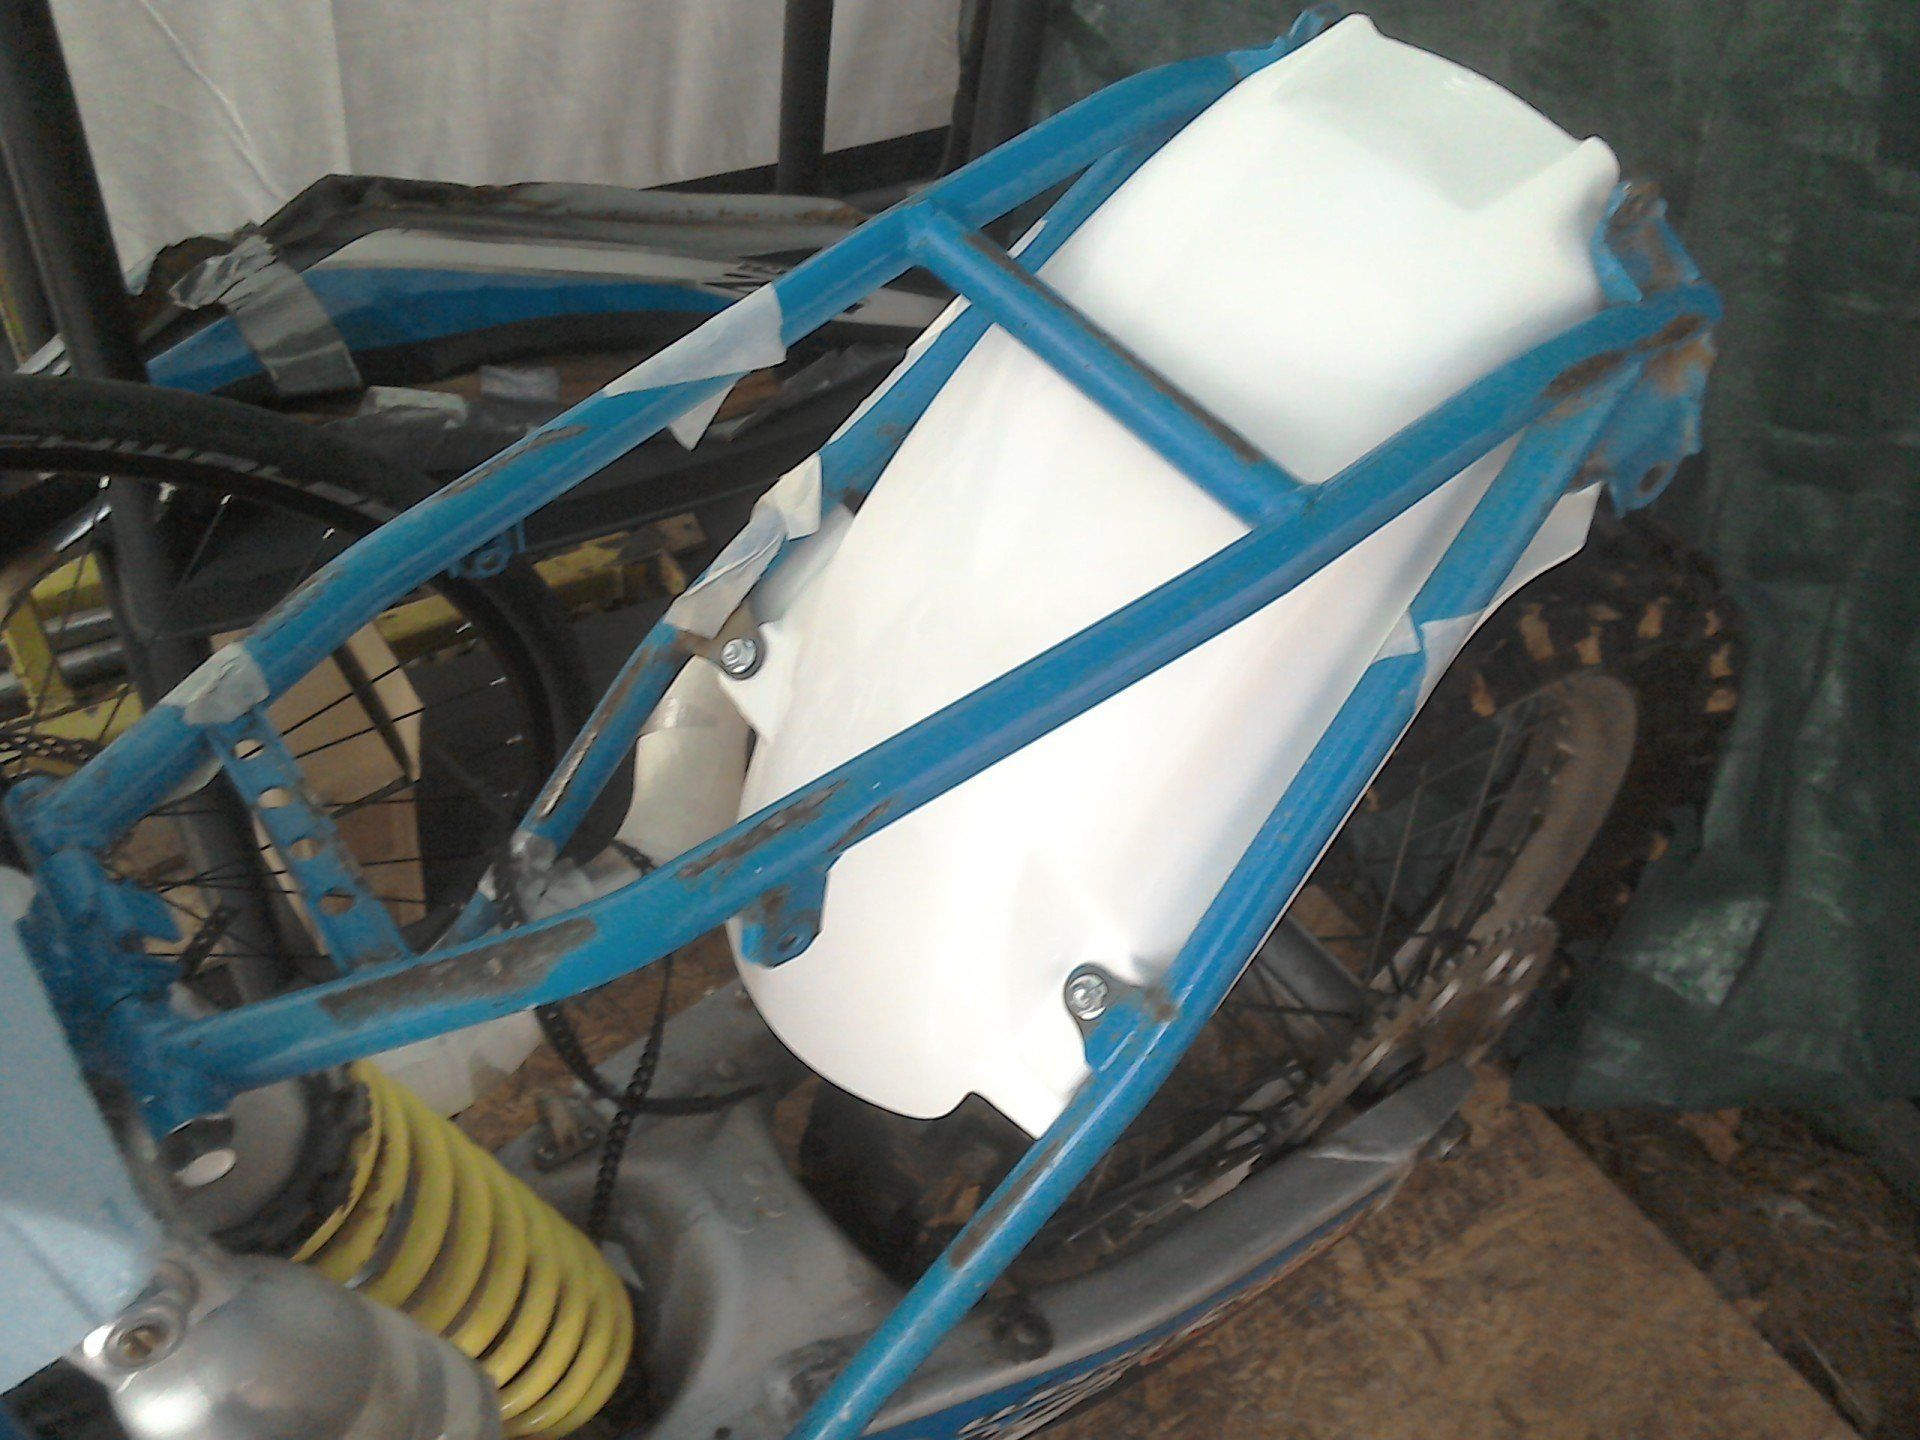
Here it is, all mounted in place. Can't decide if I like it yet. I need to finish the rear, and then drag the bike out of the tent so that I can have a good look at the side profile, before i can make a final decision.

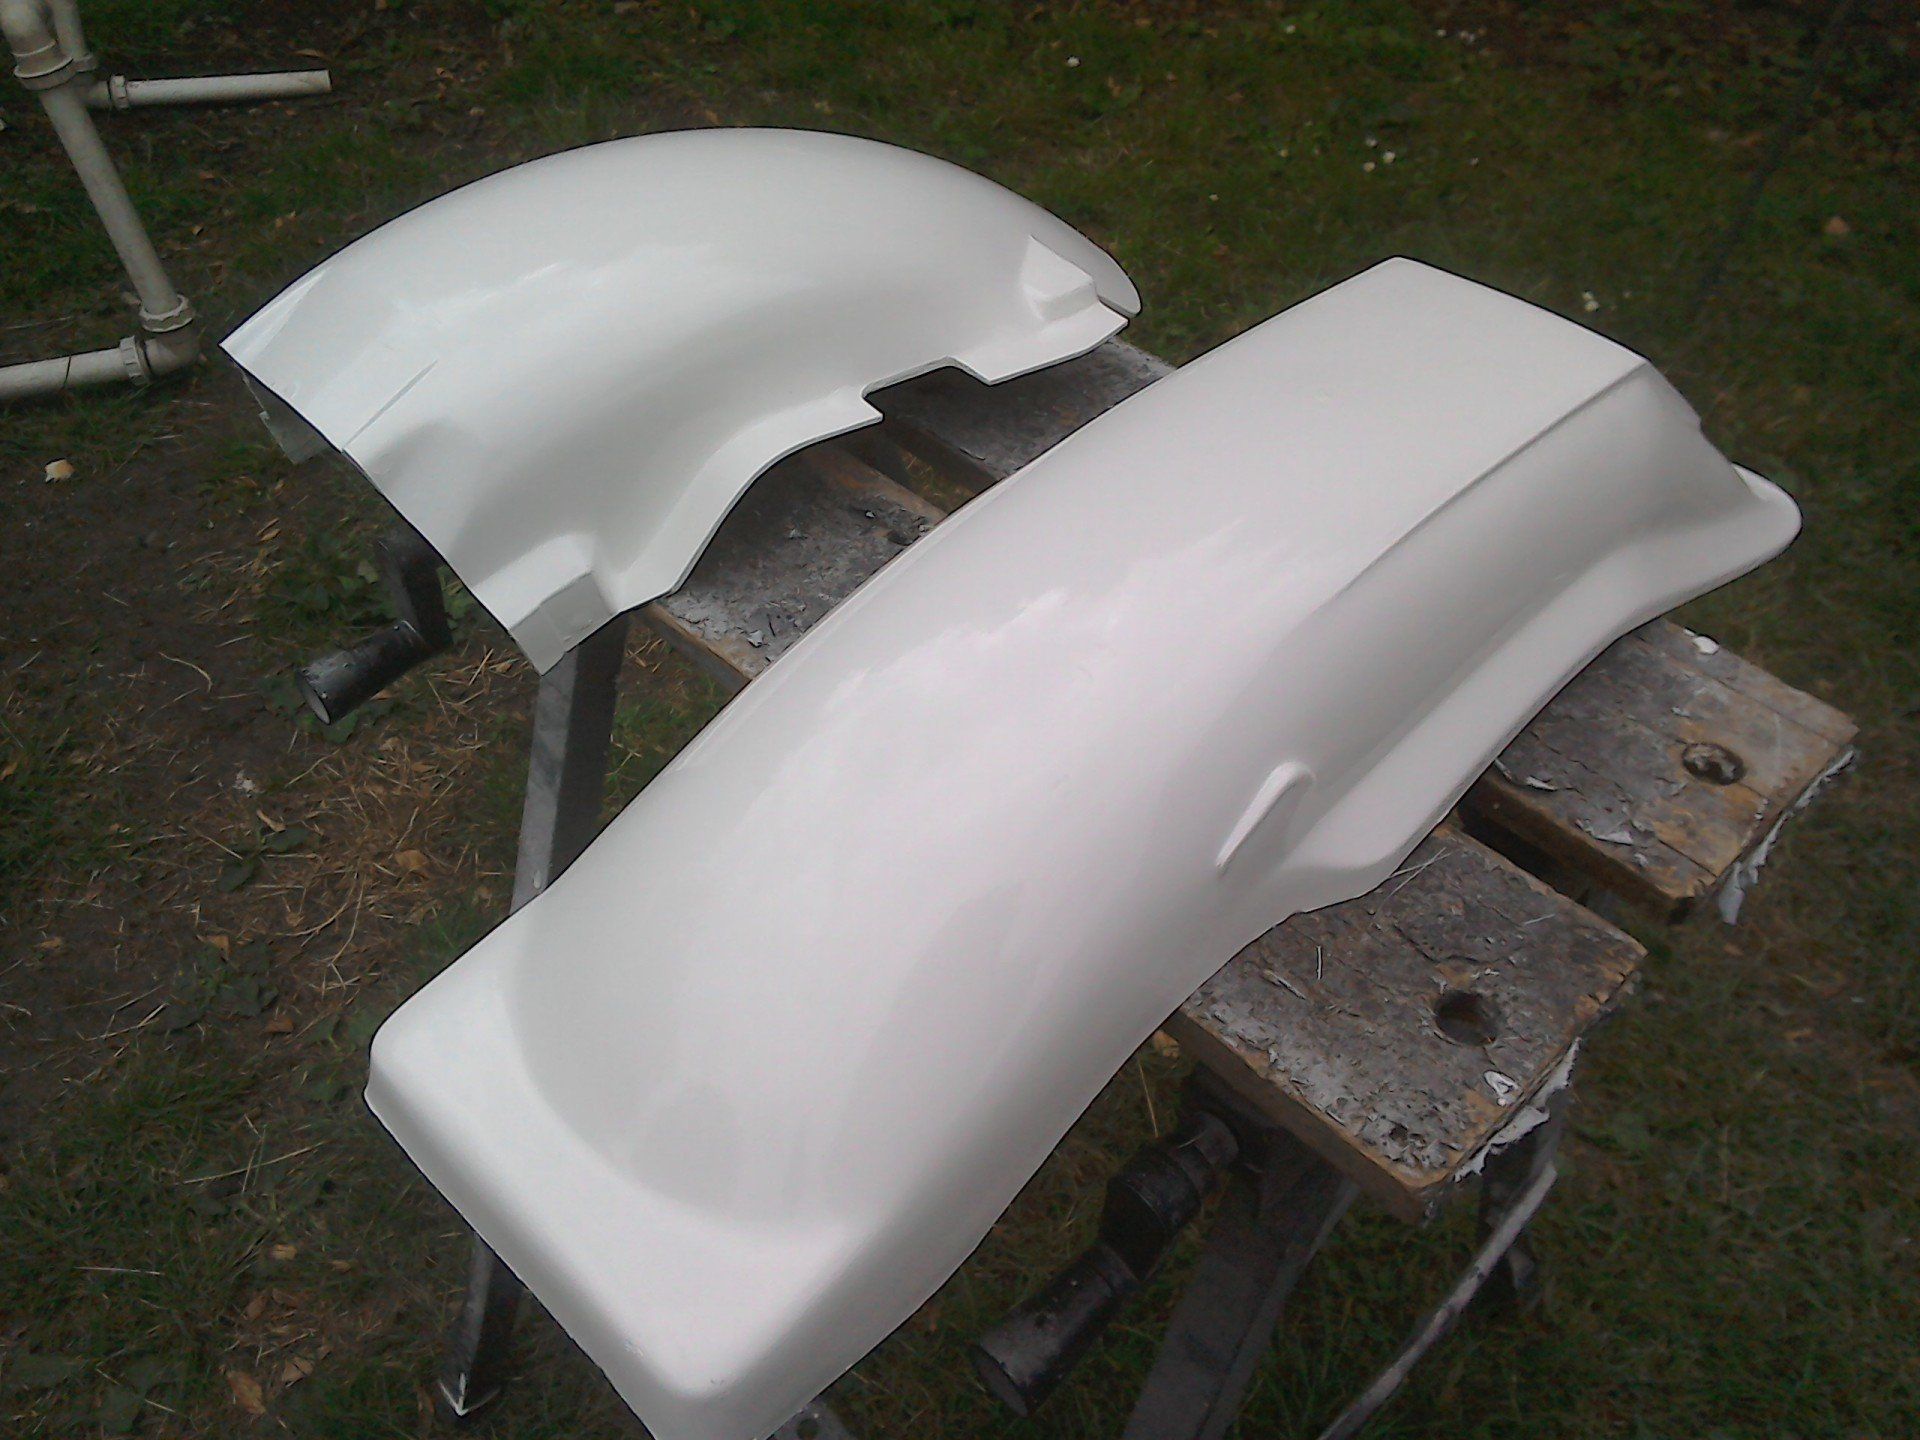
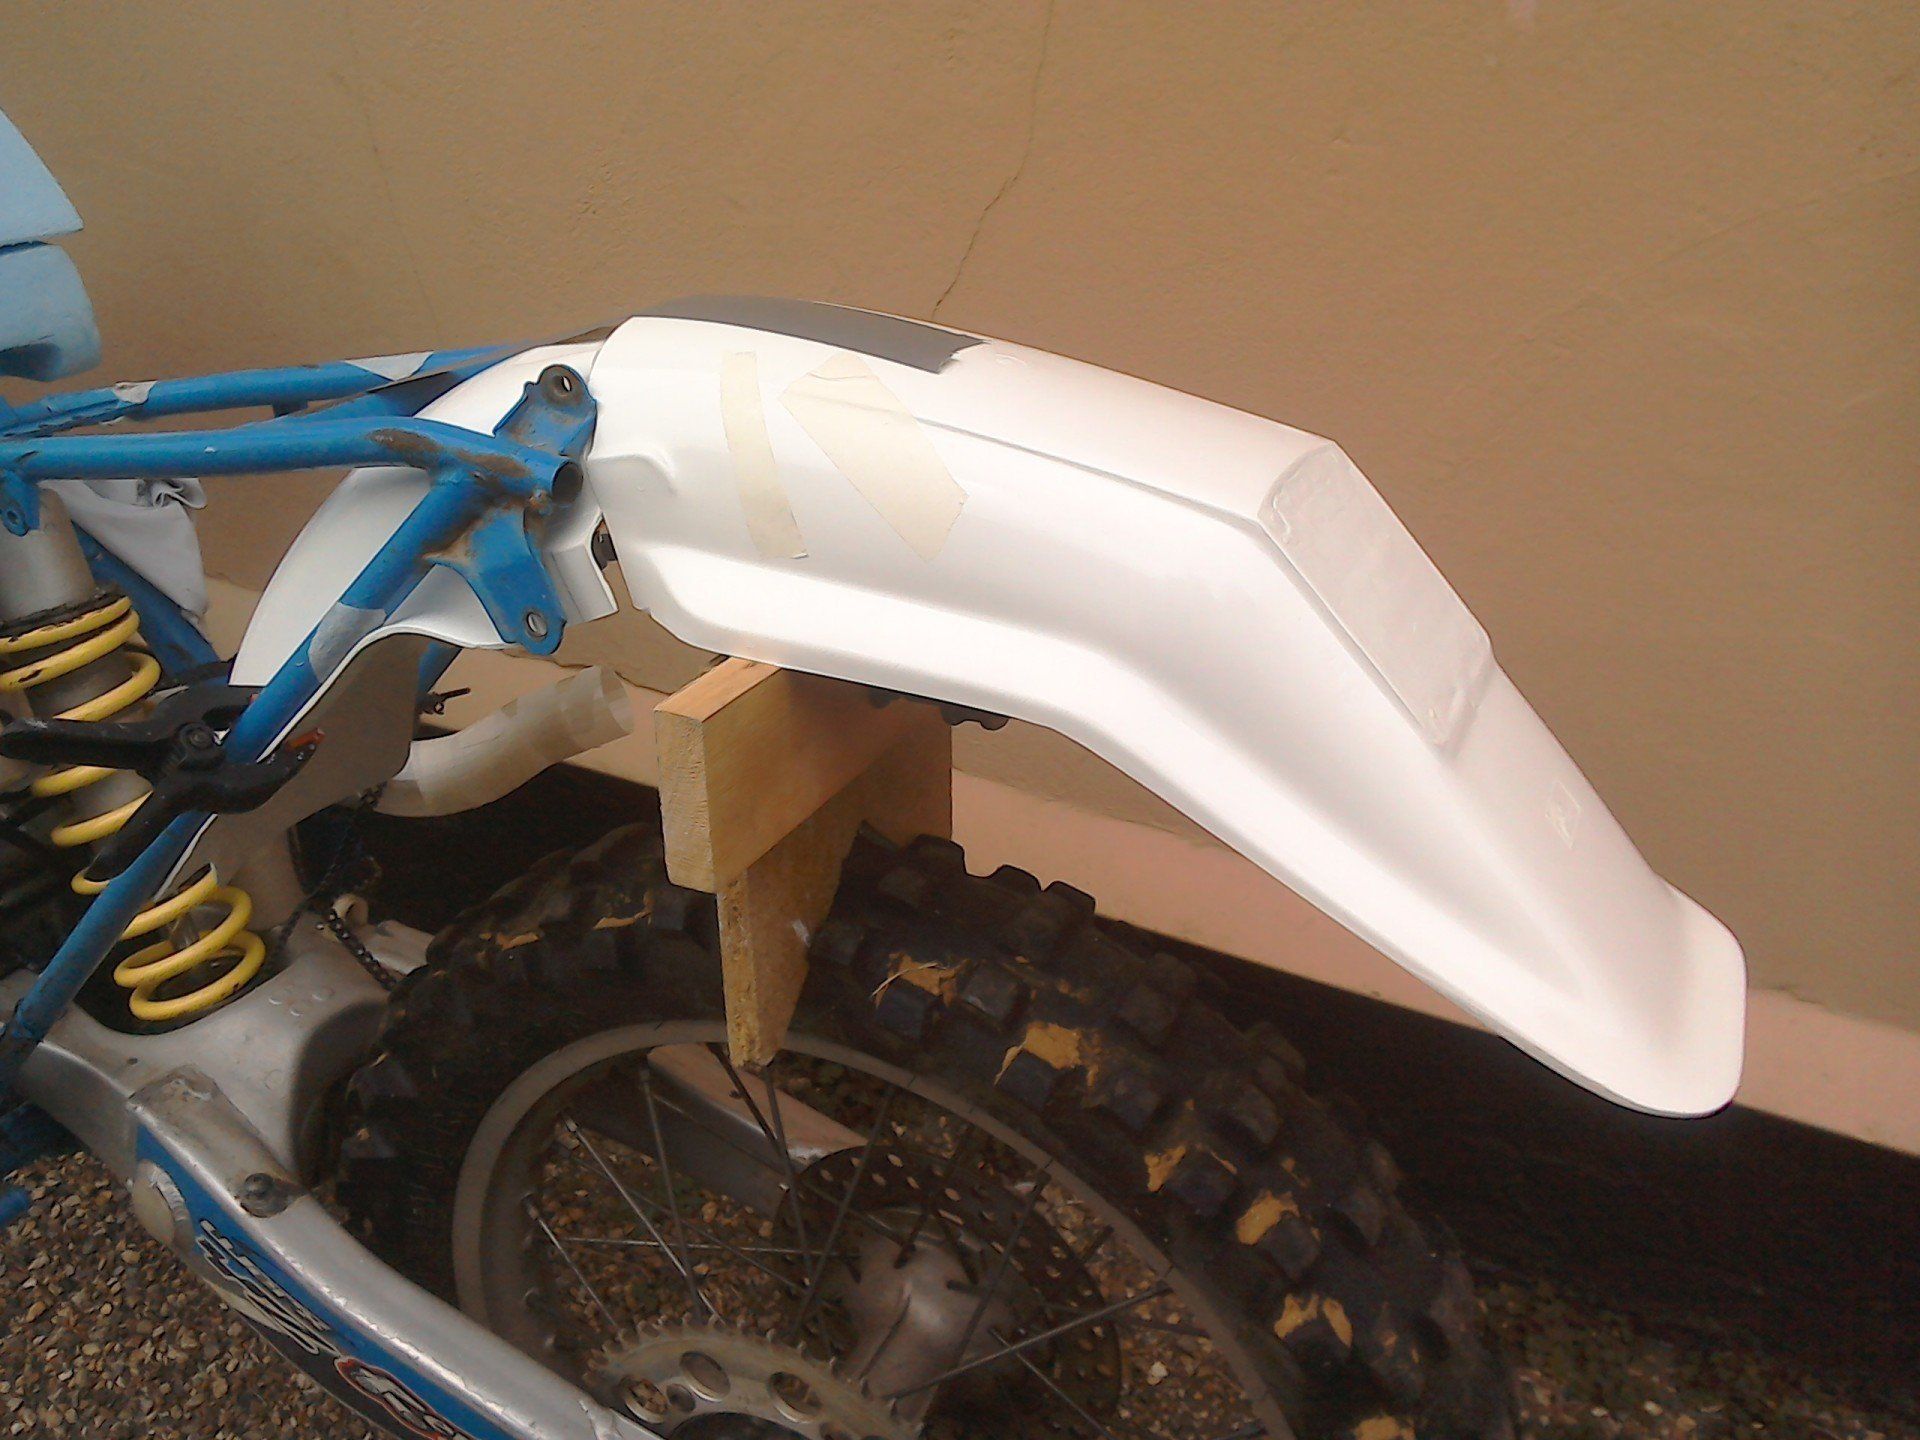
The two mudguards are all trimmed up and ready to be joined together.
Fitting the first part is easy, this is just a copy of part of the YZ's original mudguard. All that's required is for the holes to be drilled.
Deciding where to cut the second mudguard was a bit more difficult. Eventually, after much thought, I just decided to cut it somewhere (anywhere!) and see what I ended up with.

The next problem was trying to temporarily hold the two pieces together so that I could step back and take stock of what it looked like. Eventually, with the aid of clips, clamps, pieces of wood and quite a lot of tape, I got it where I wanted it.
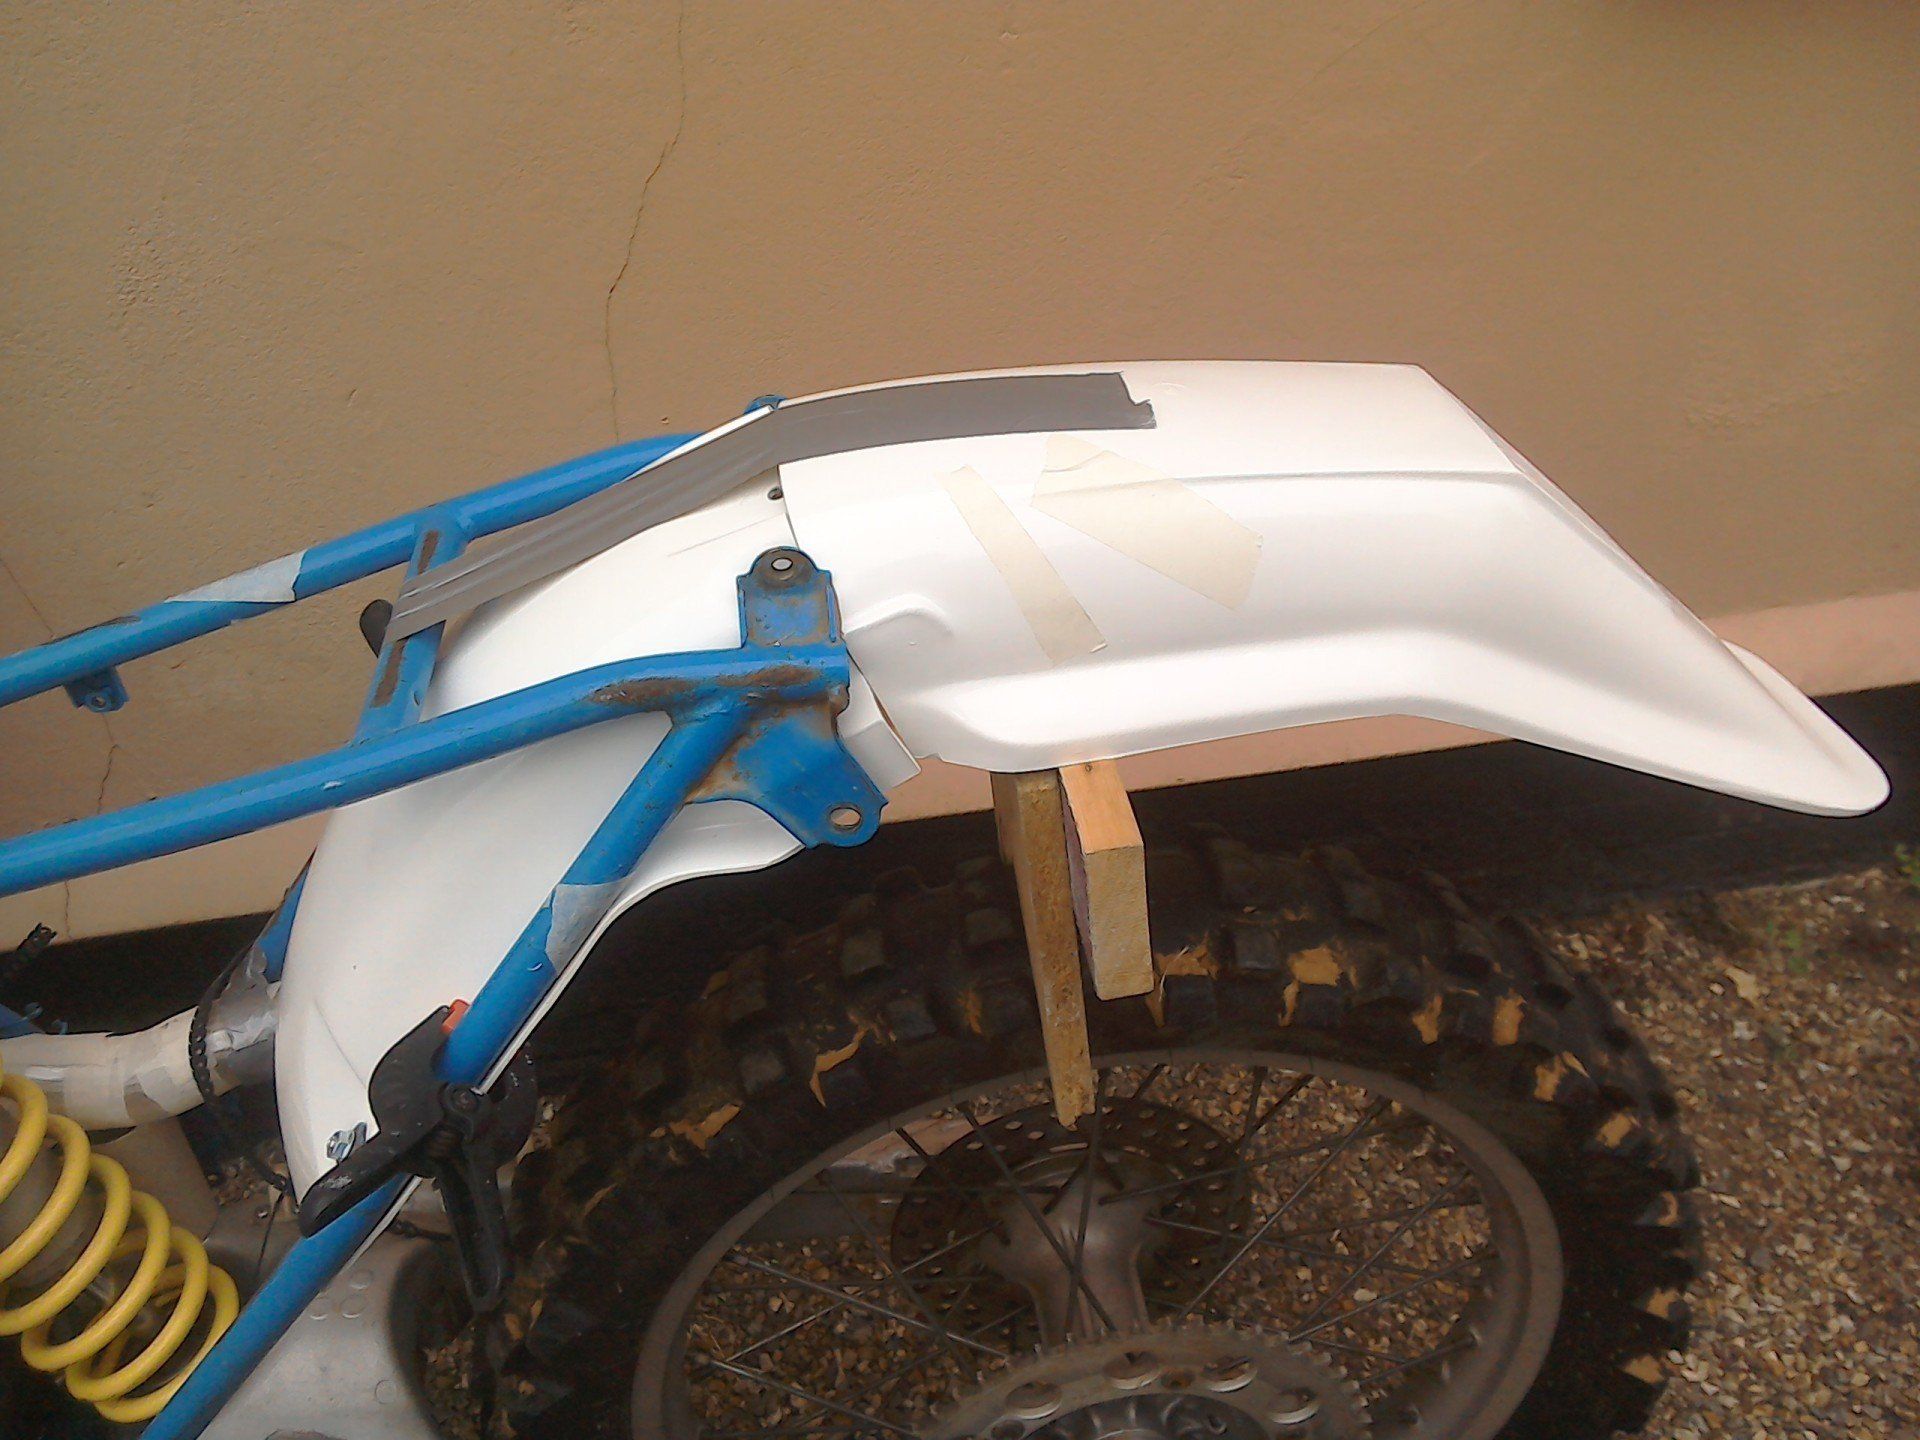
Another view of the two (temporarily) joined mudguards. It's going to need a little remodeling at the join to fill in the gaps.
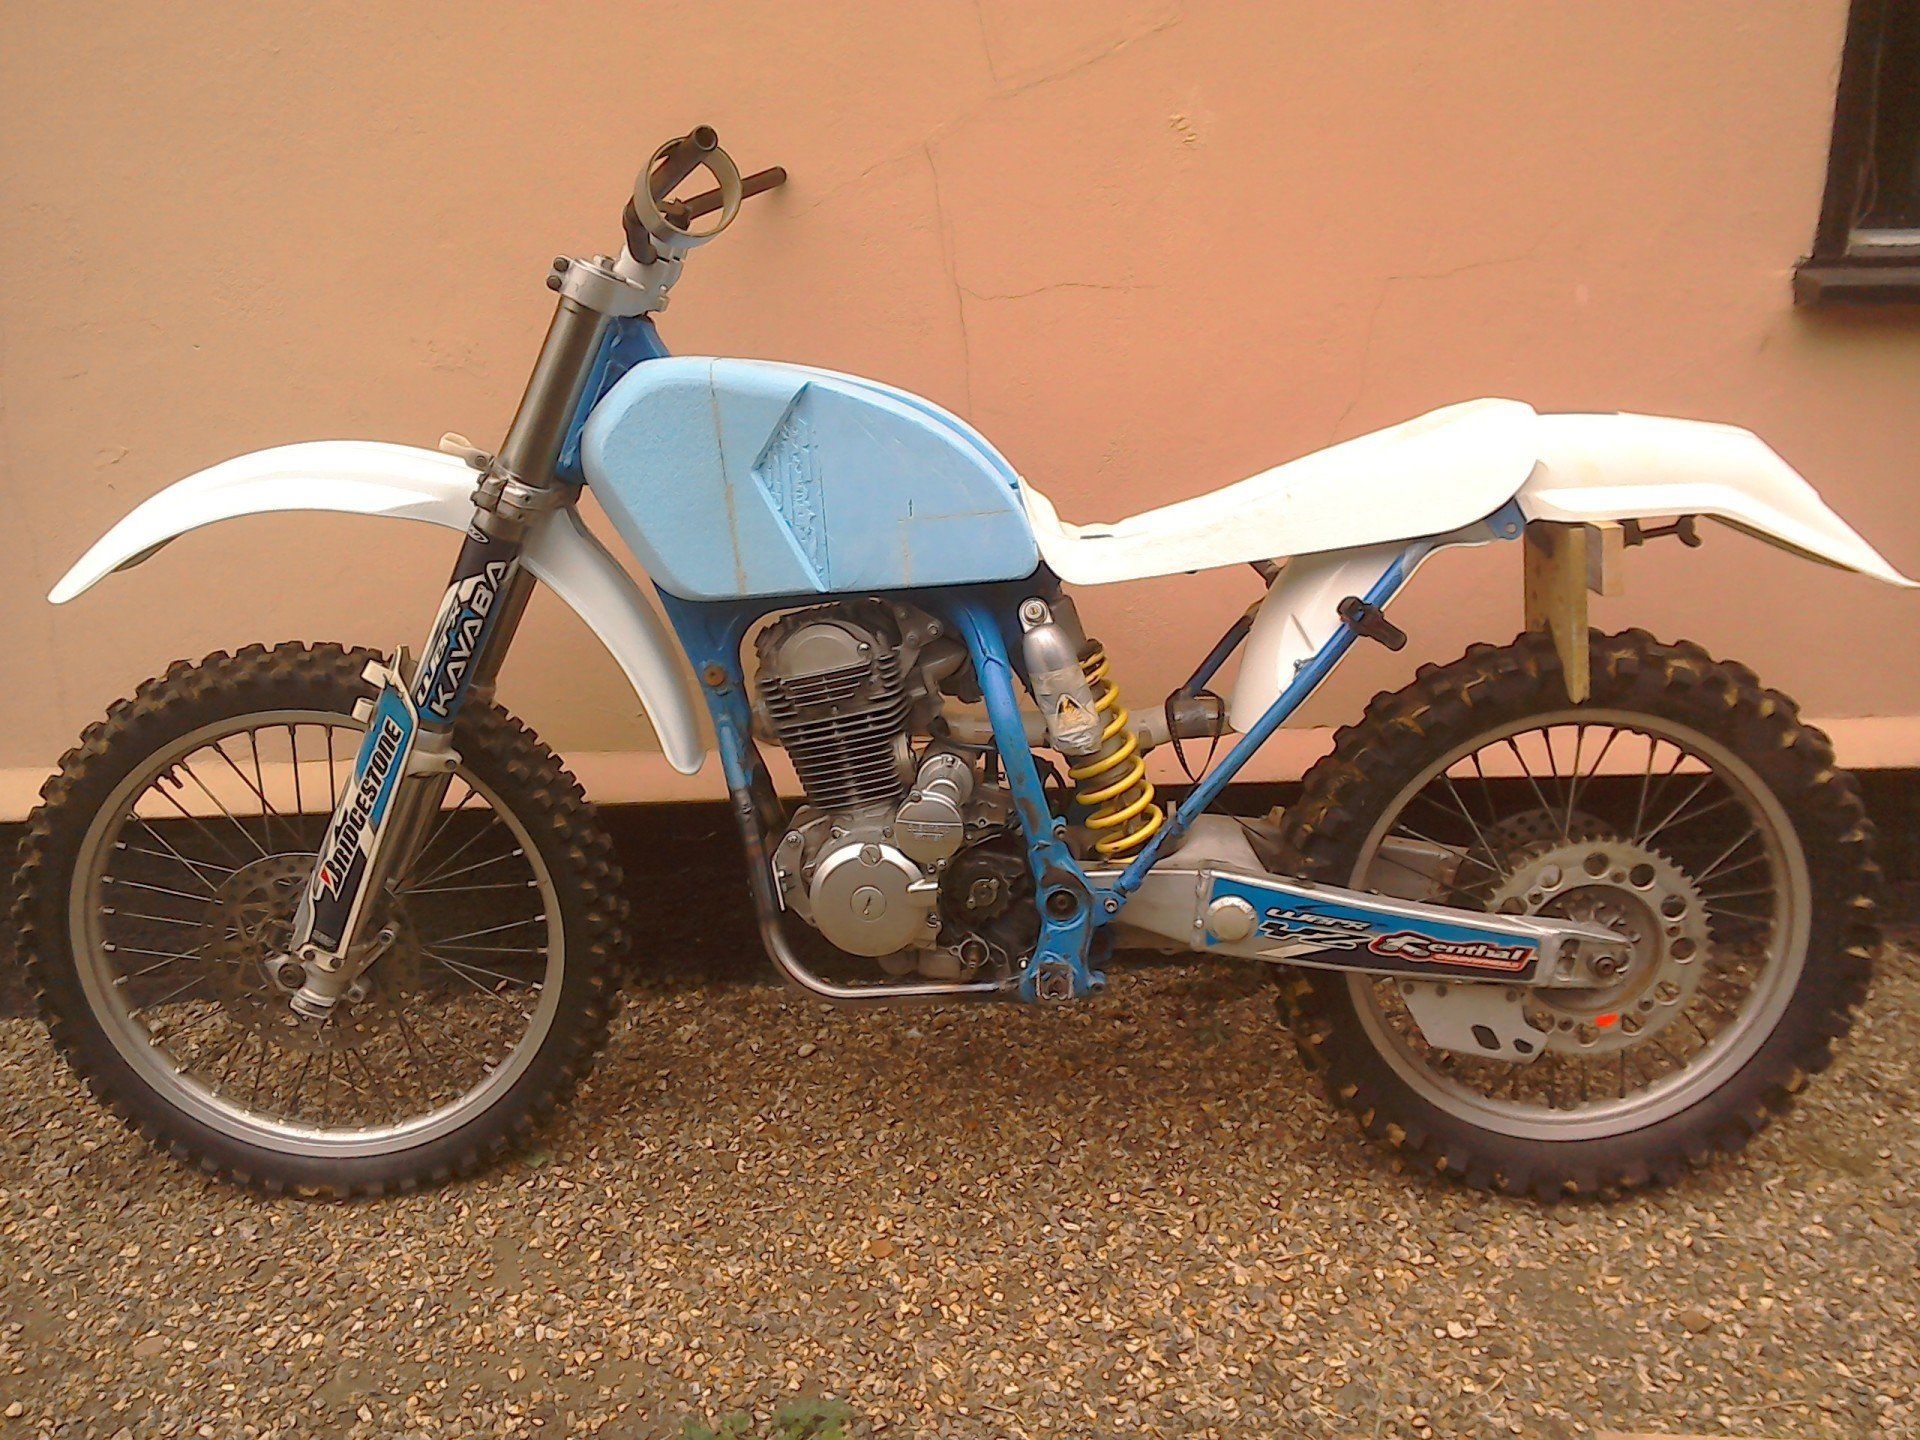
A full on side view of the bike. At the moment it looks too long and low. That's unsurprising given that I've lowered the bike, but the wheelbase is essentially unchanged. The bodywork needs to be designed to disguise this and make it look more in proportion.
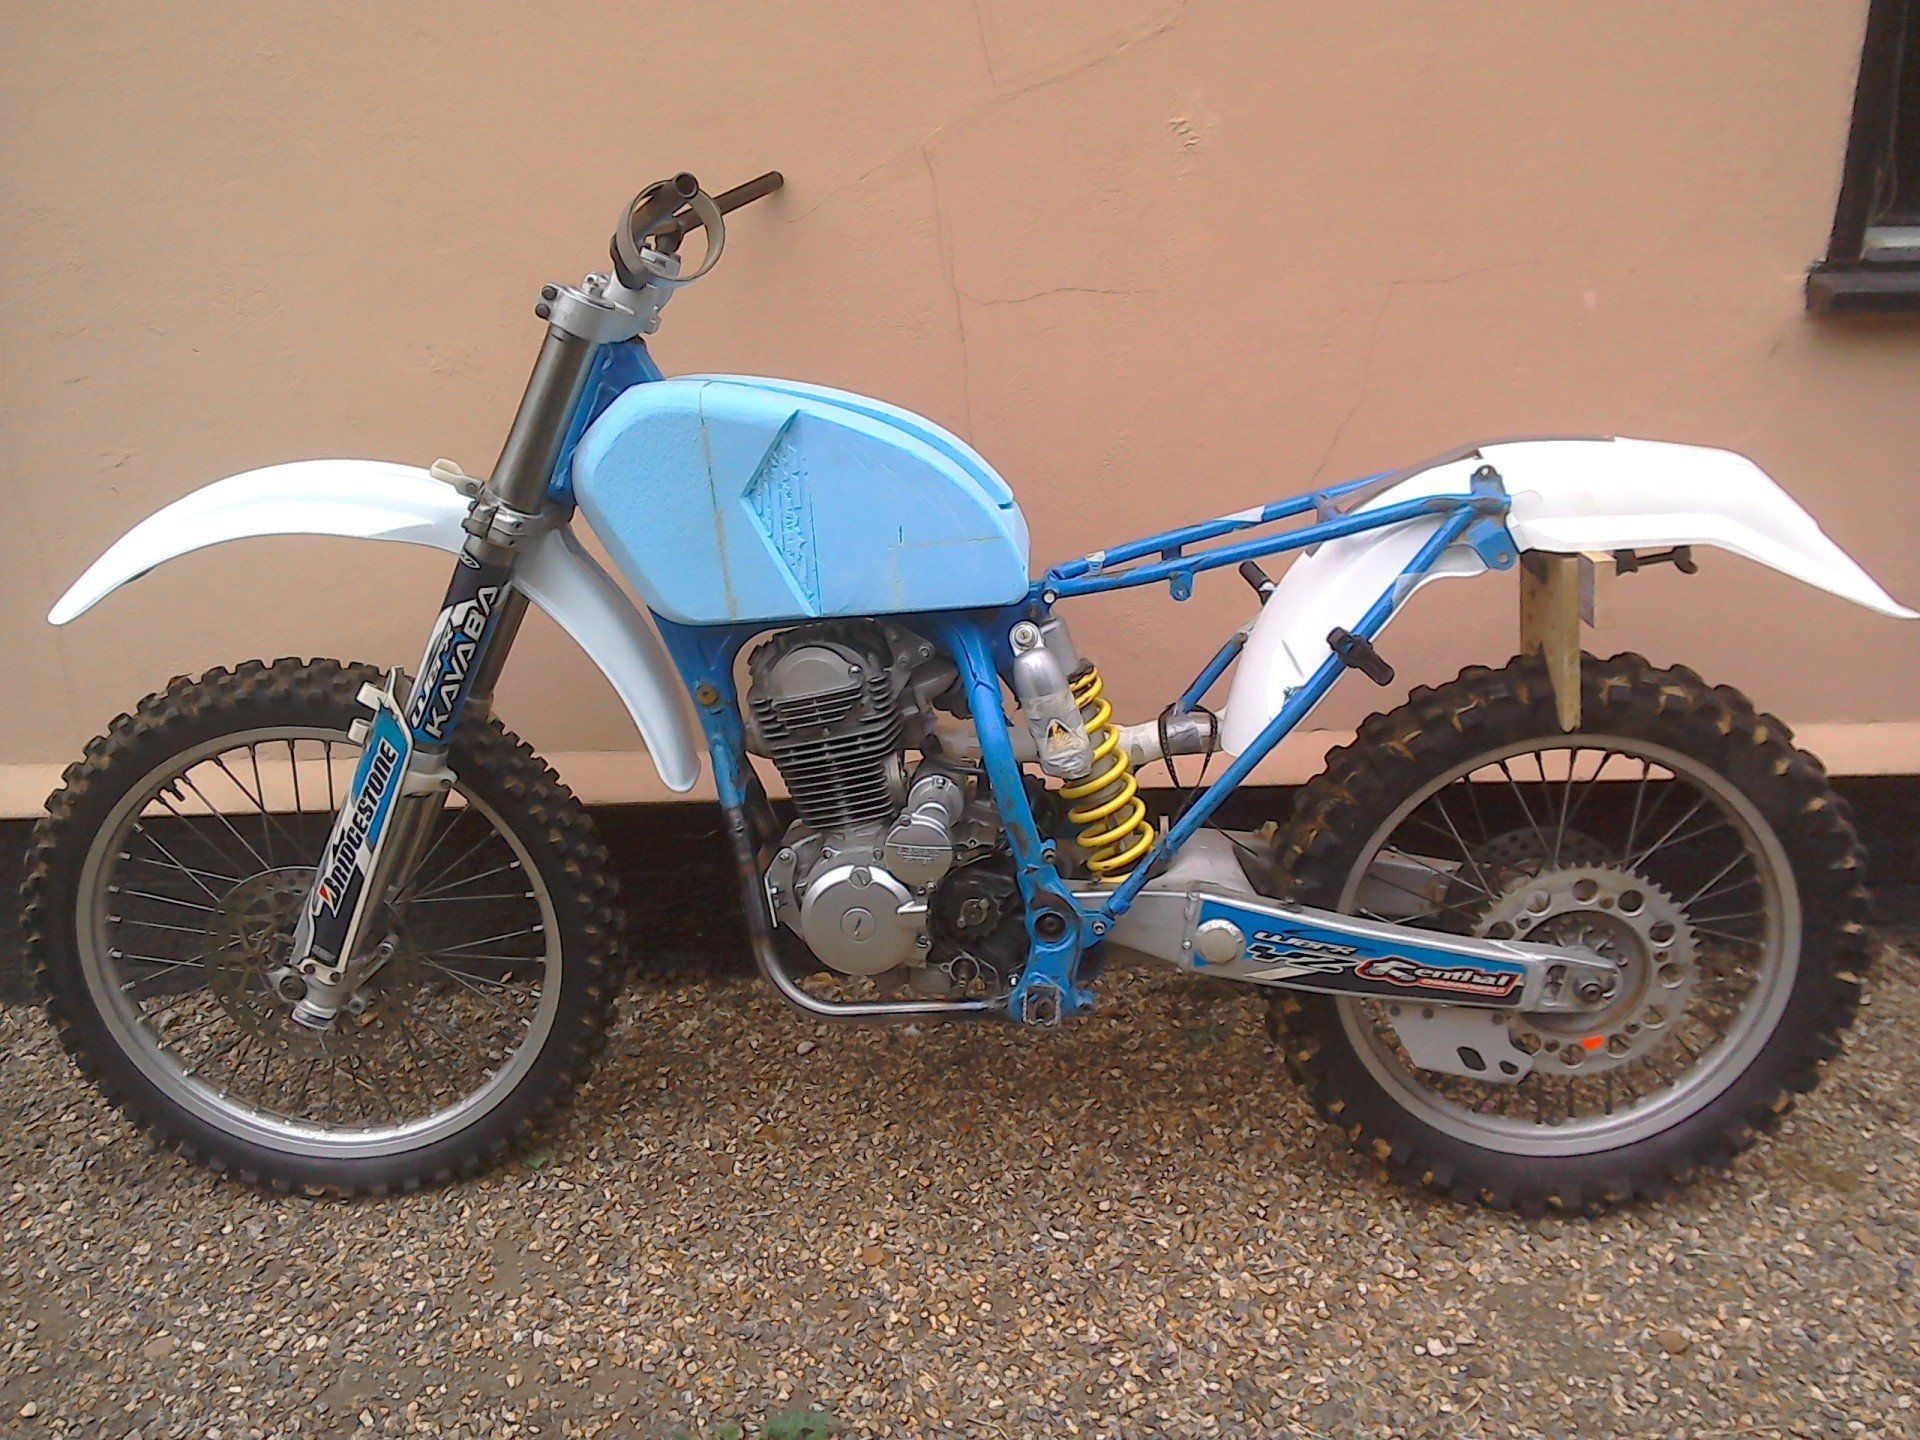
Adding the seat base doesn't really help matters. It's still a bit ugly...