August 2019
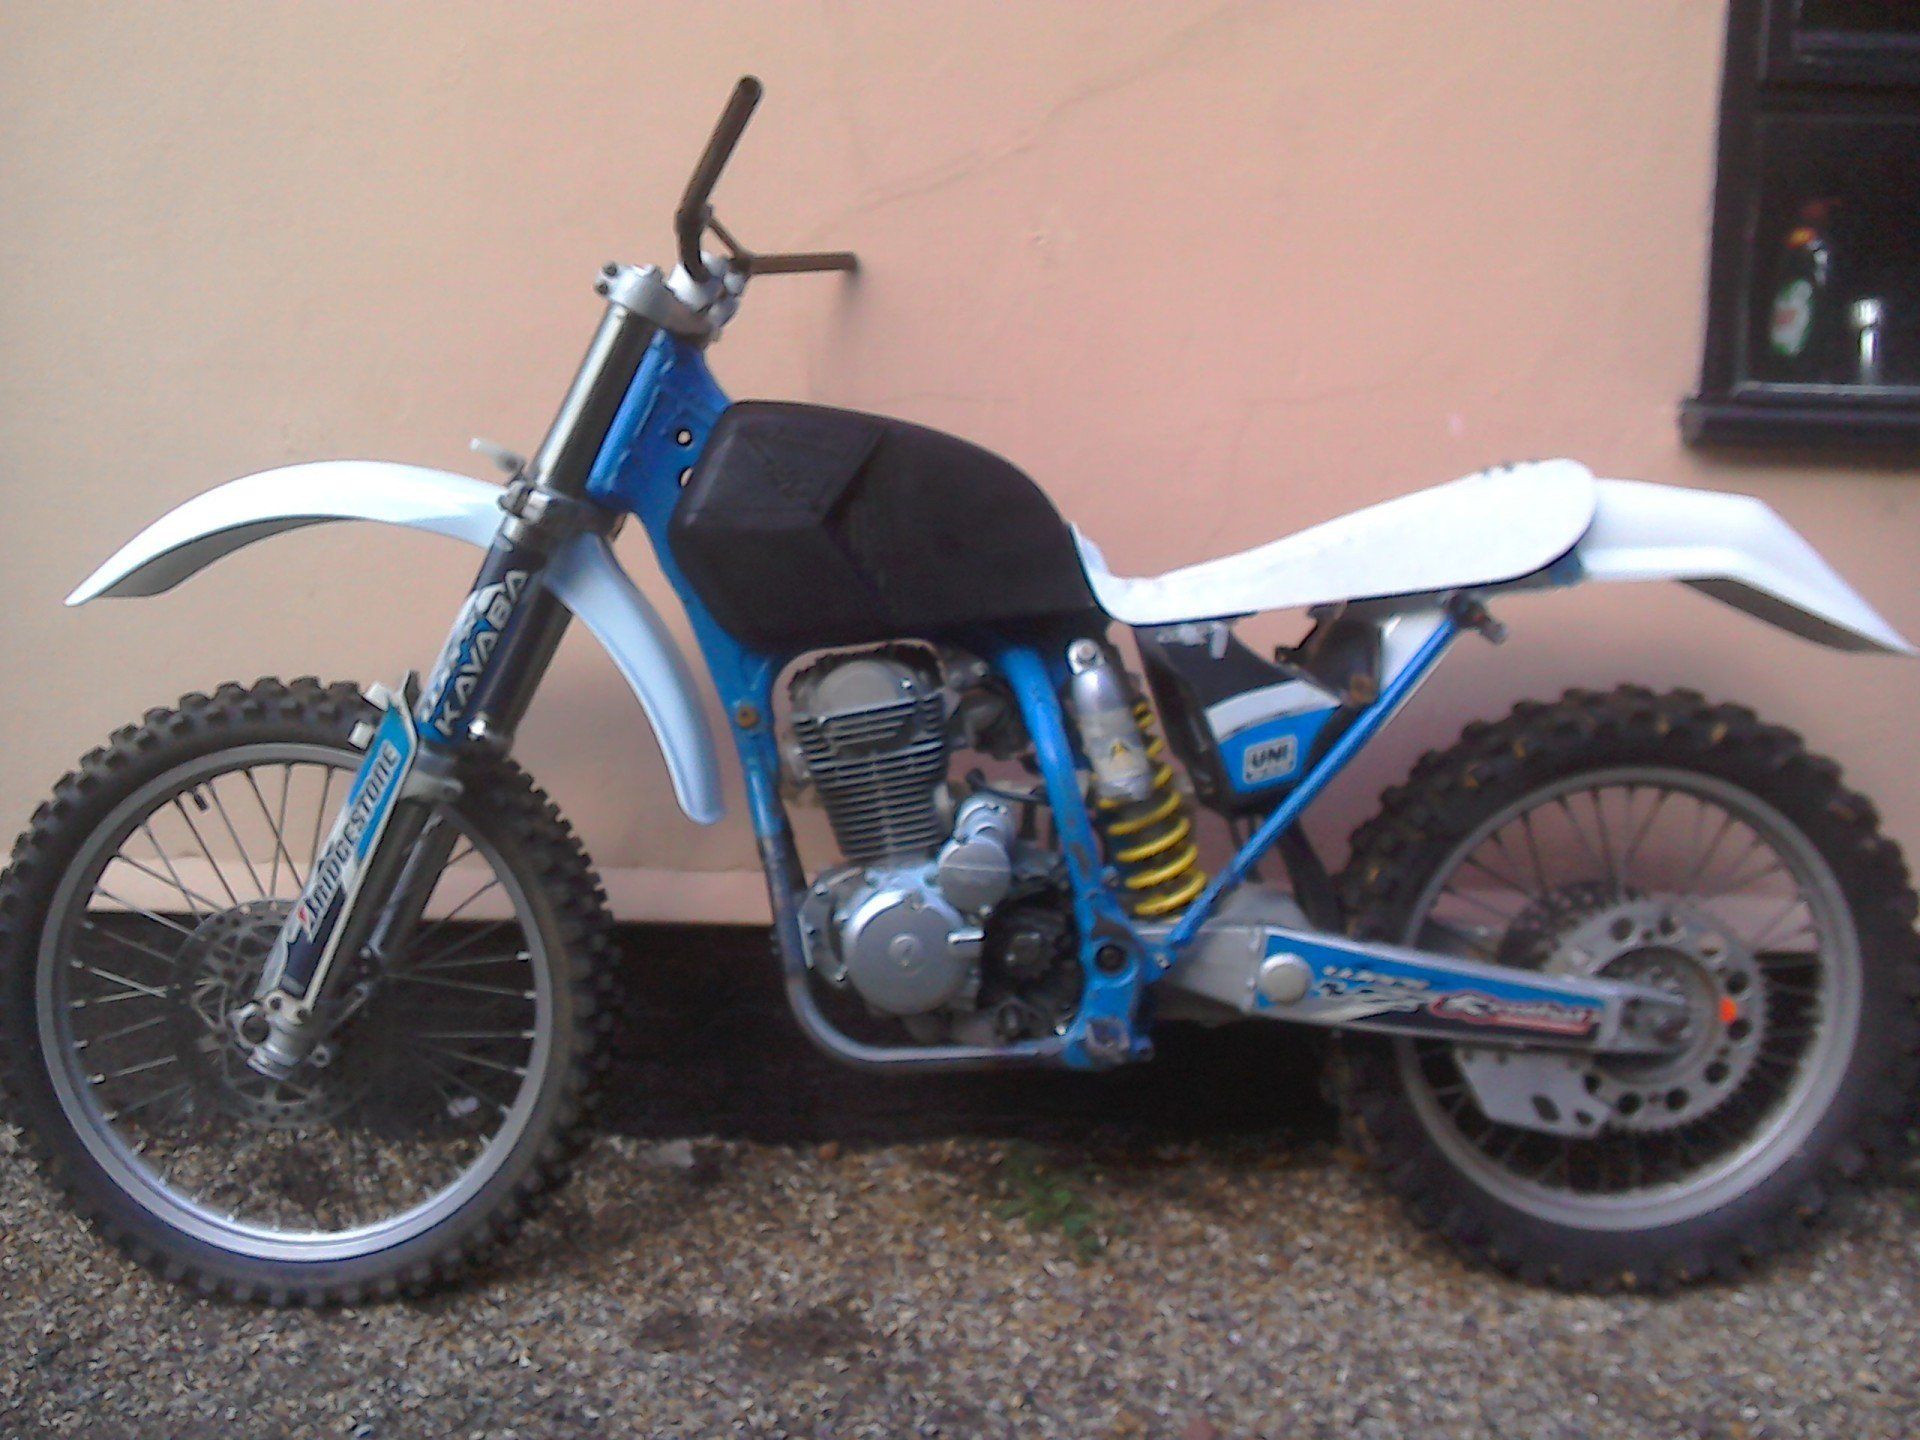
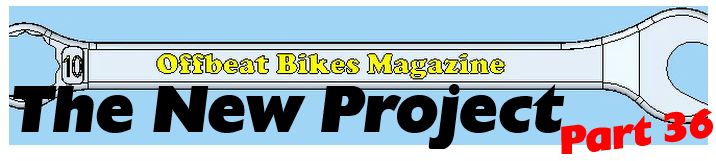
So, currently, the bike is ugly!
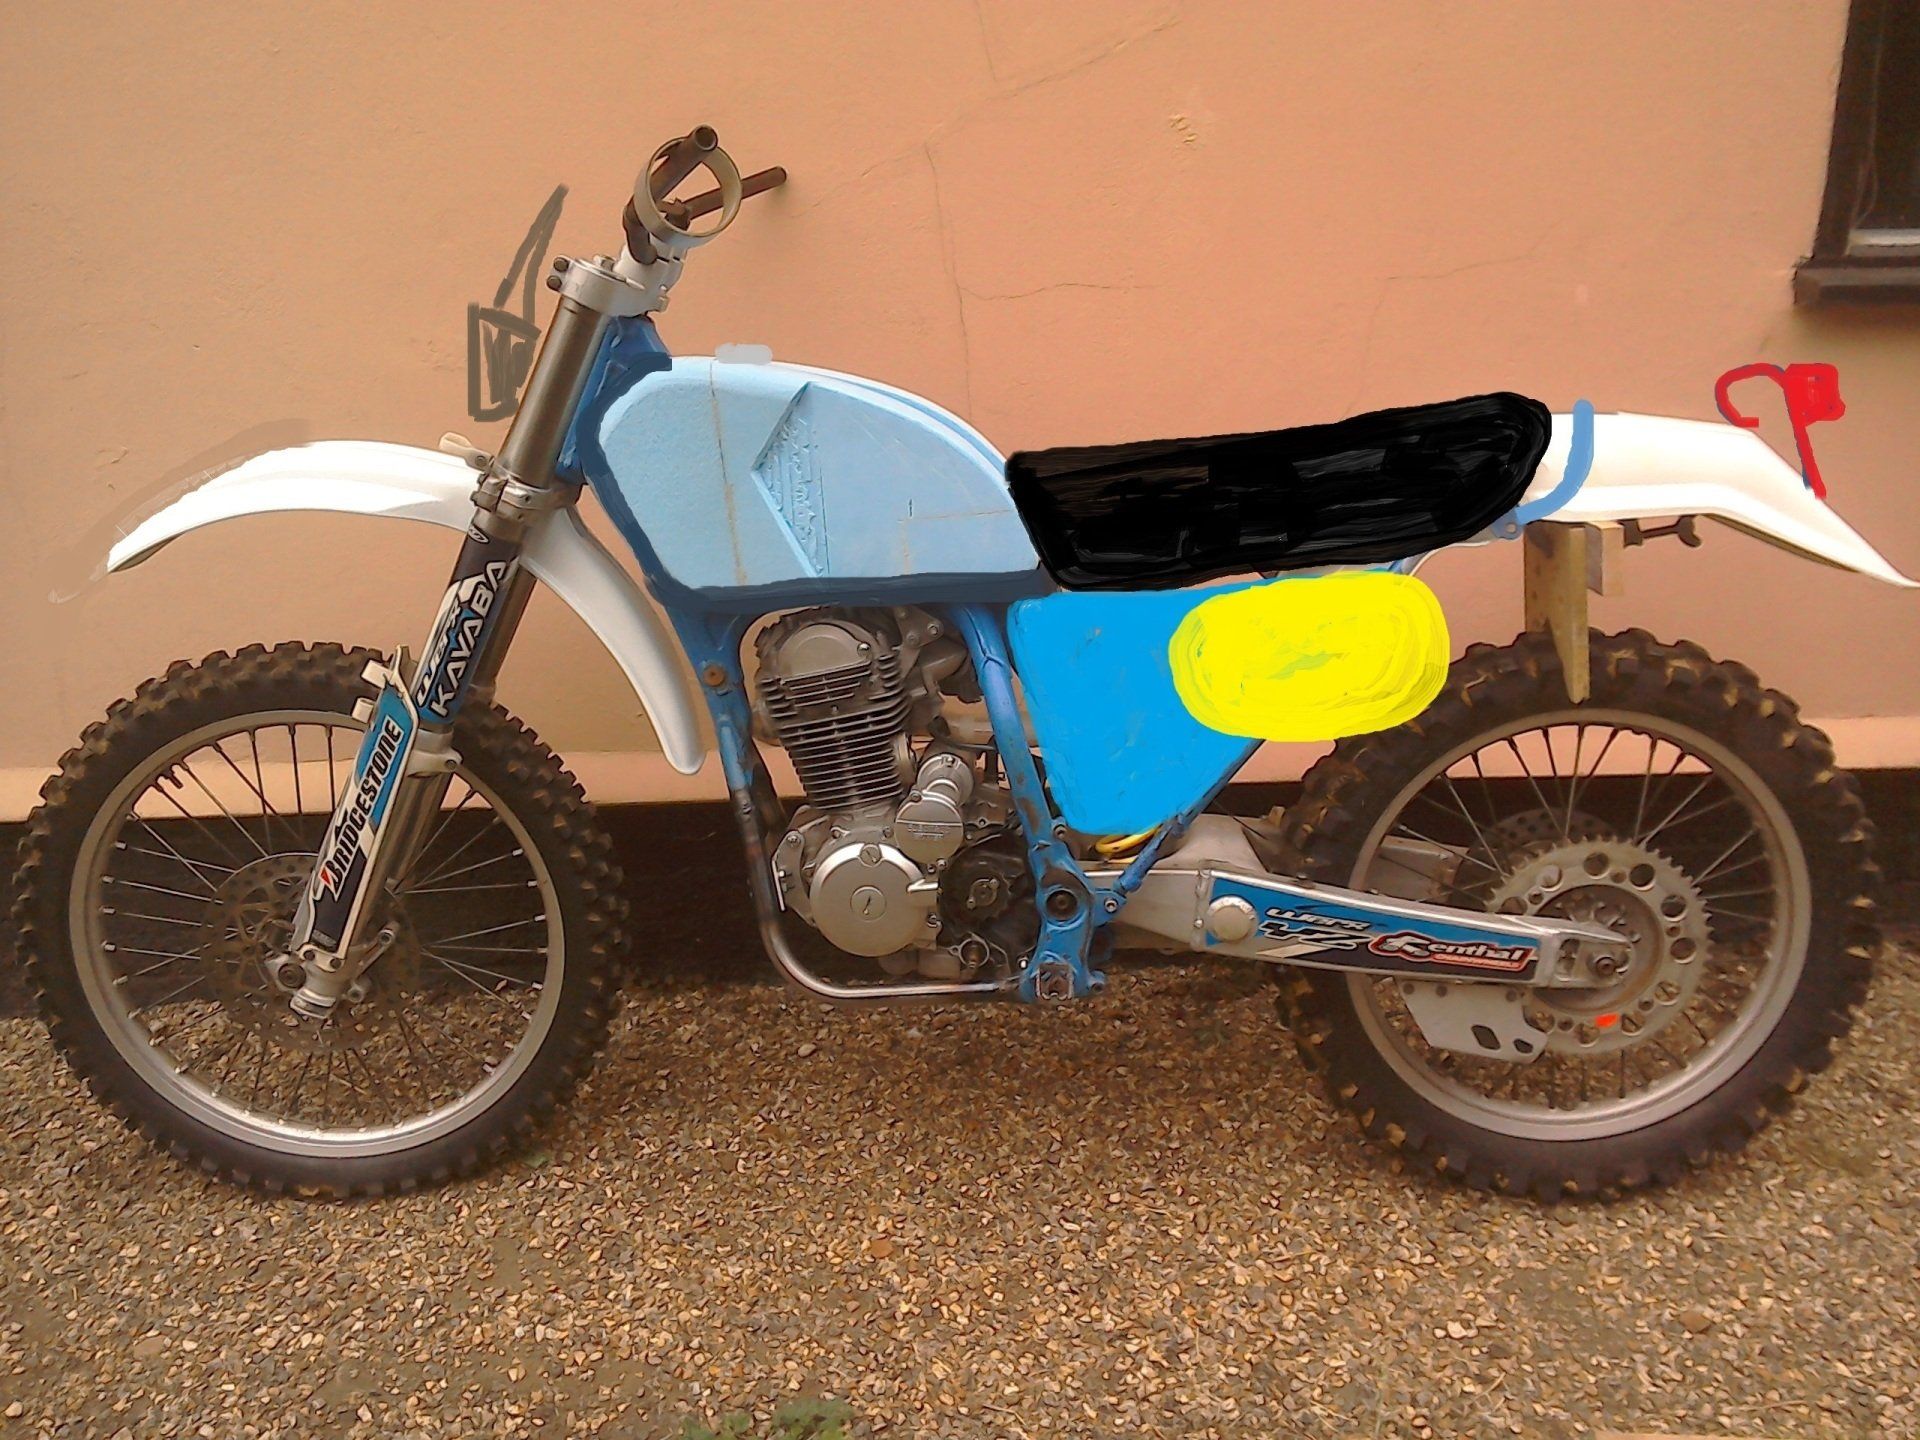
I turn on the computer and spend some time scribbling over the photo to see what could be done to make the beast look just a little prettier. In it’s naked form it looked too long and low and very front heavy. It is both long and low since I’ve lowered the suspension to accommodate my short legs but the wheelbase hasn’t been changed. The bodywork, then, needs to try and disguise this as much as possible and make the bike look a little more in proportion.
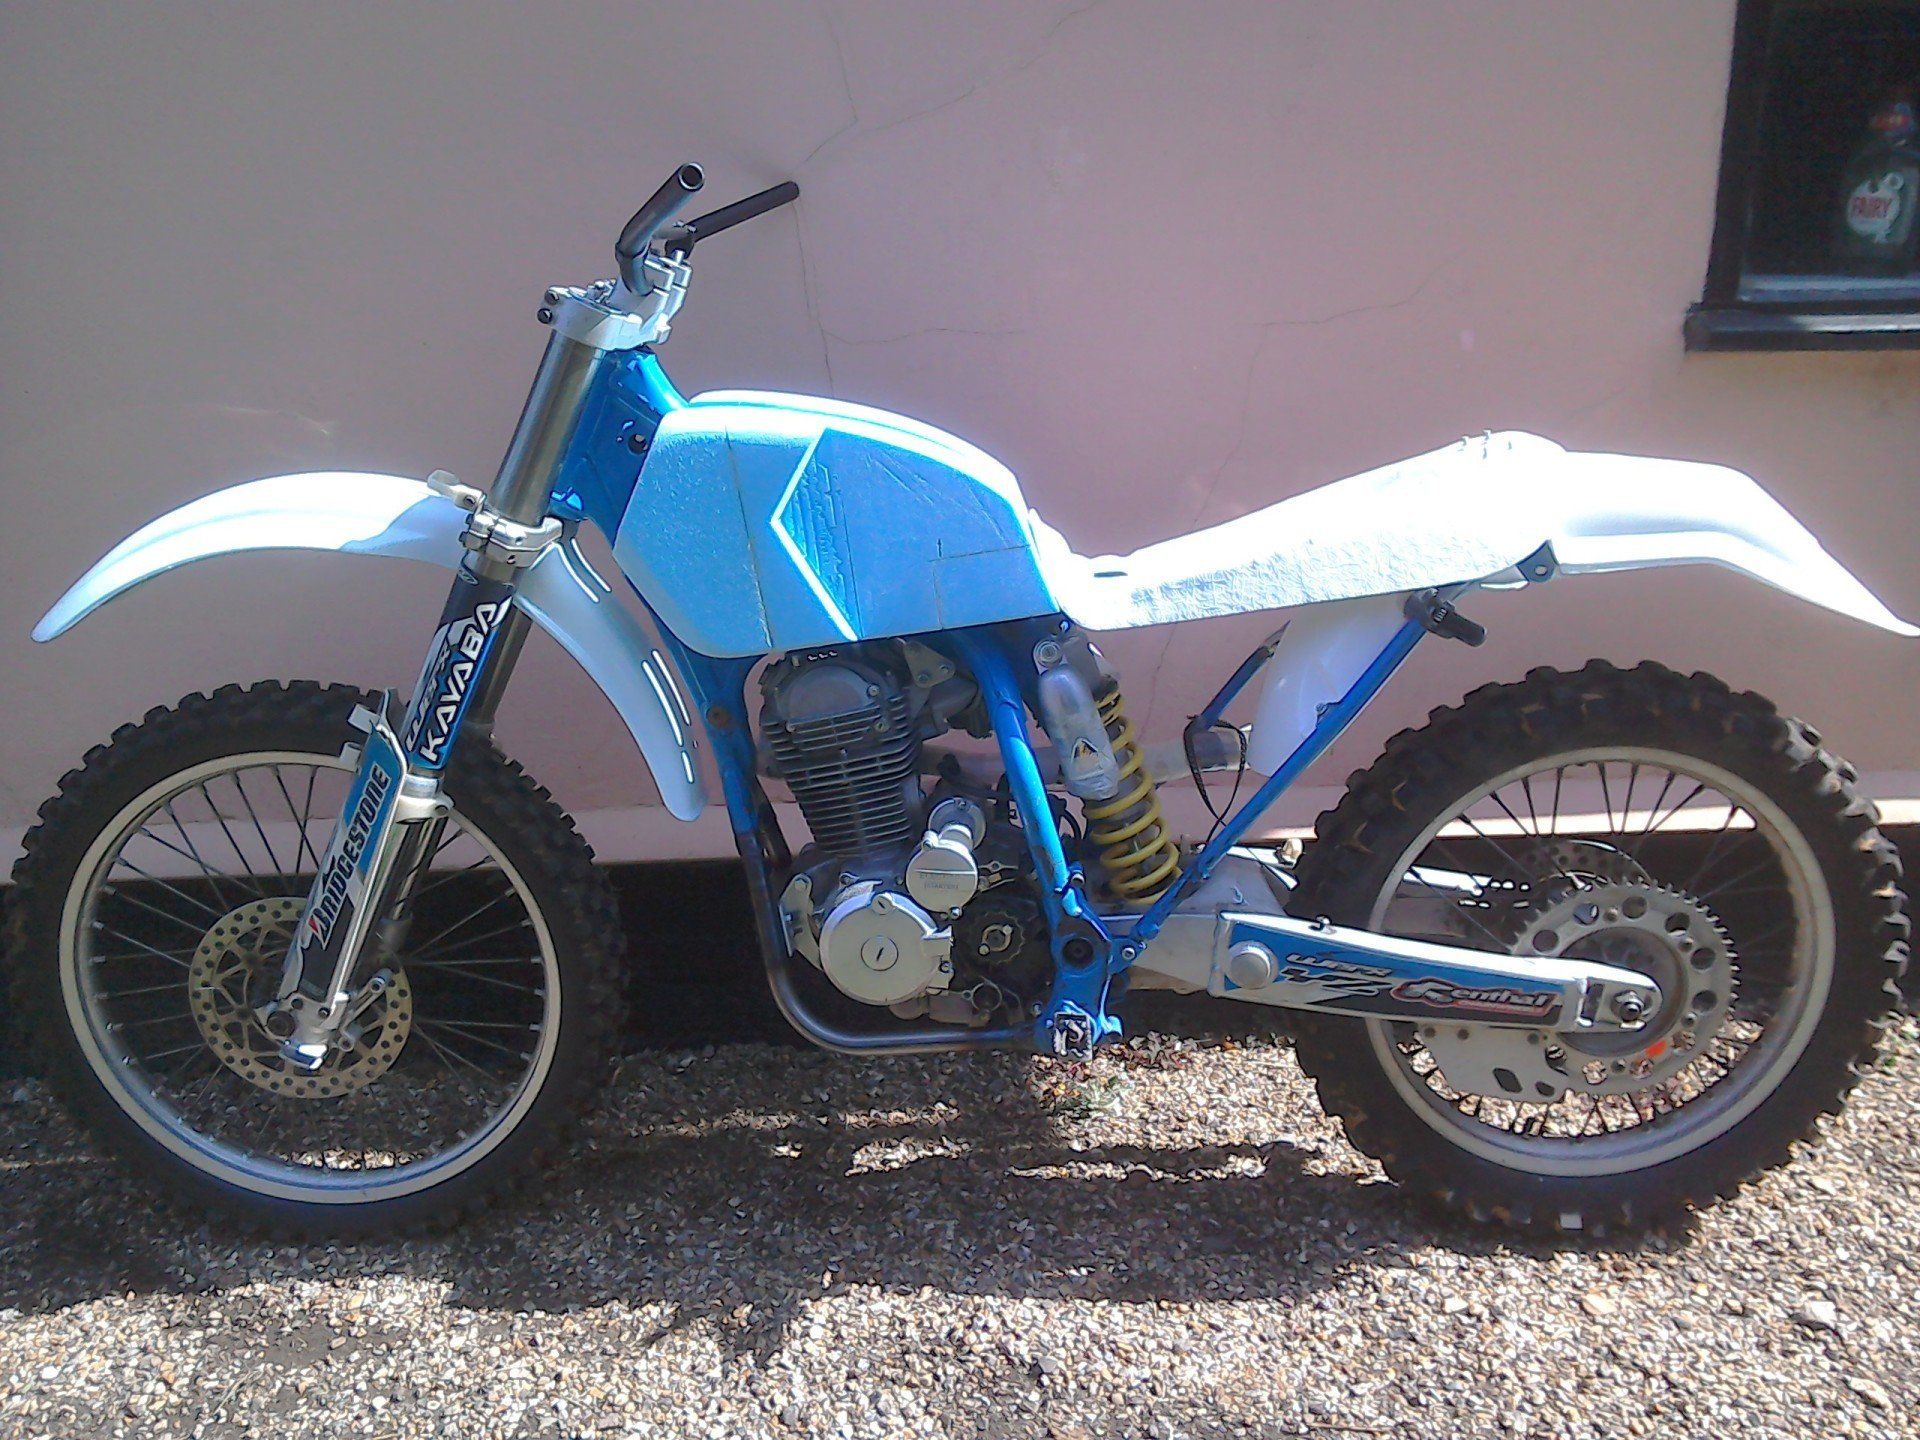
The ‘altered’ photo (below with seat, bodywork etc. drawn in) looks better and is much more in keeping with the look of the twin-shock dirtbikes of days gone by, which is what I’m aiming for. So there is hope!
The scribbling showed that the tank needs to be smaller and the mudguards shorter. Dragging the bike out of the tent also revealed that the seat base wasn’t fitting properly (partly because the foam tank is too big). These, then, are my start points: shrink the tank, shorten the mudguards and fit the seat base properly. I’ll start by lopping some bits off the tank and make the seat base fit properly. The seat base also needs a bracket made, so I’ll do that now as well.
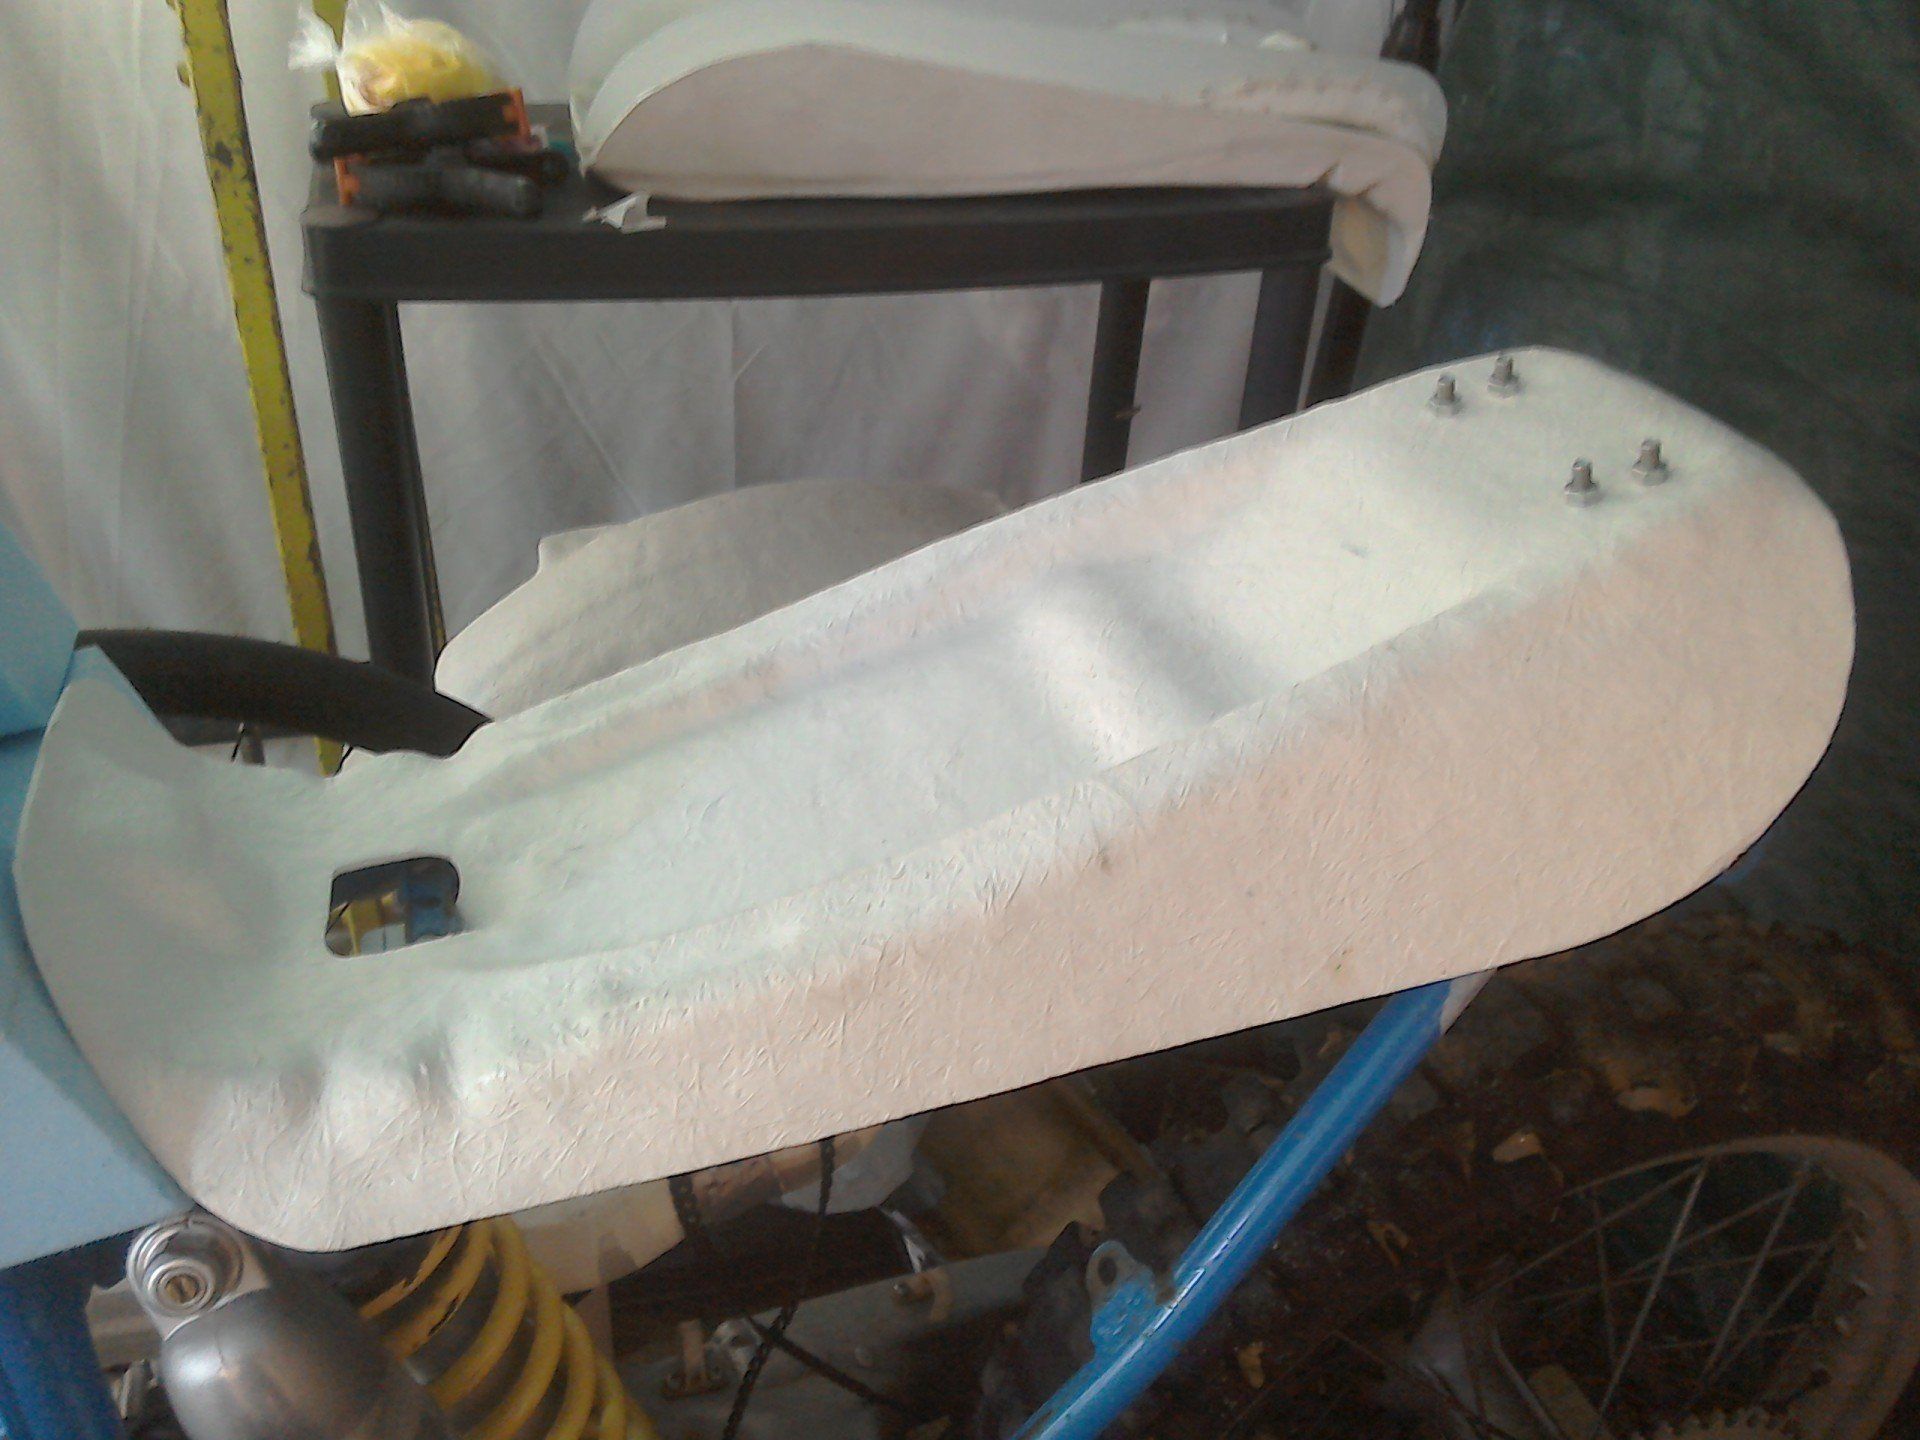
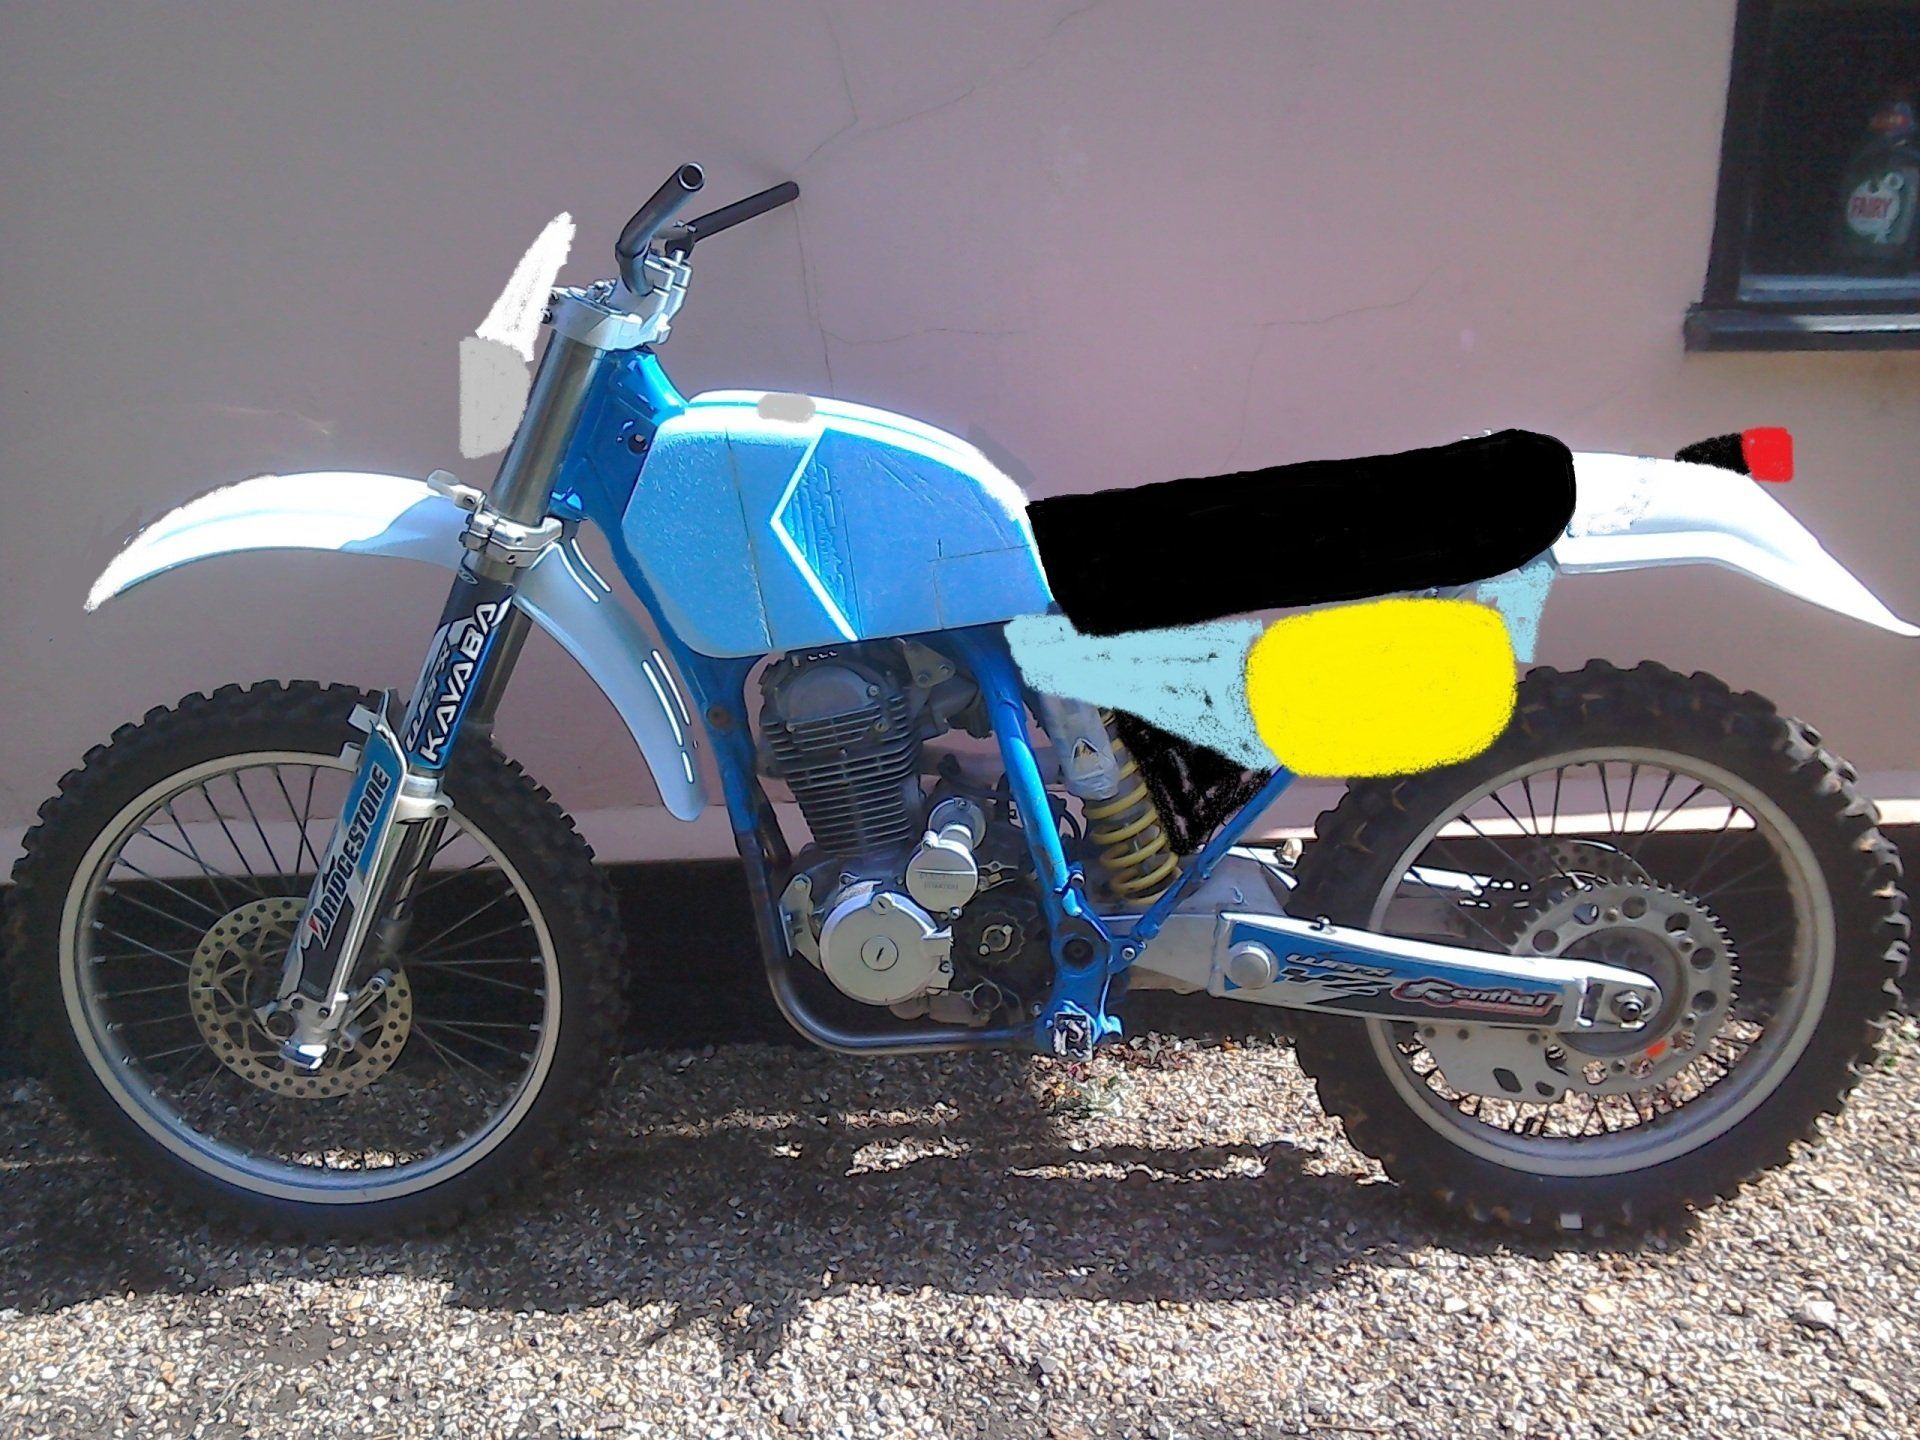
The tank has been chopped at the front, near the headstock, so the forks can now turn lock to lock. It's also been trimmed at the back to allow the seat base to fit properly. It's the right size now, but more shape needs to be added (and the big gap in the middle filled in!).

This is the start of the seat bracket. As I think getting the dimensions correct first time is highly unlikely, I'm using 1mm sheet steel as it's quick and easy to cut, bend etc.
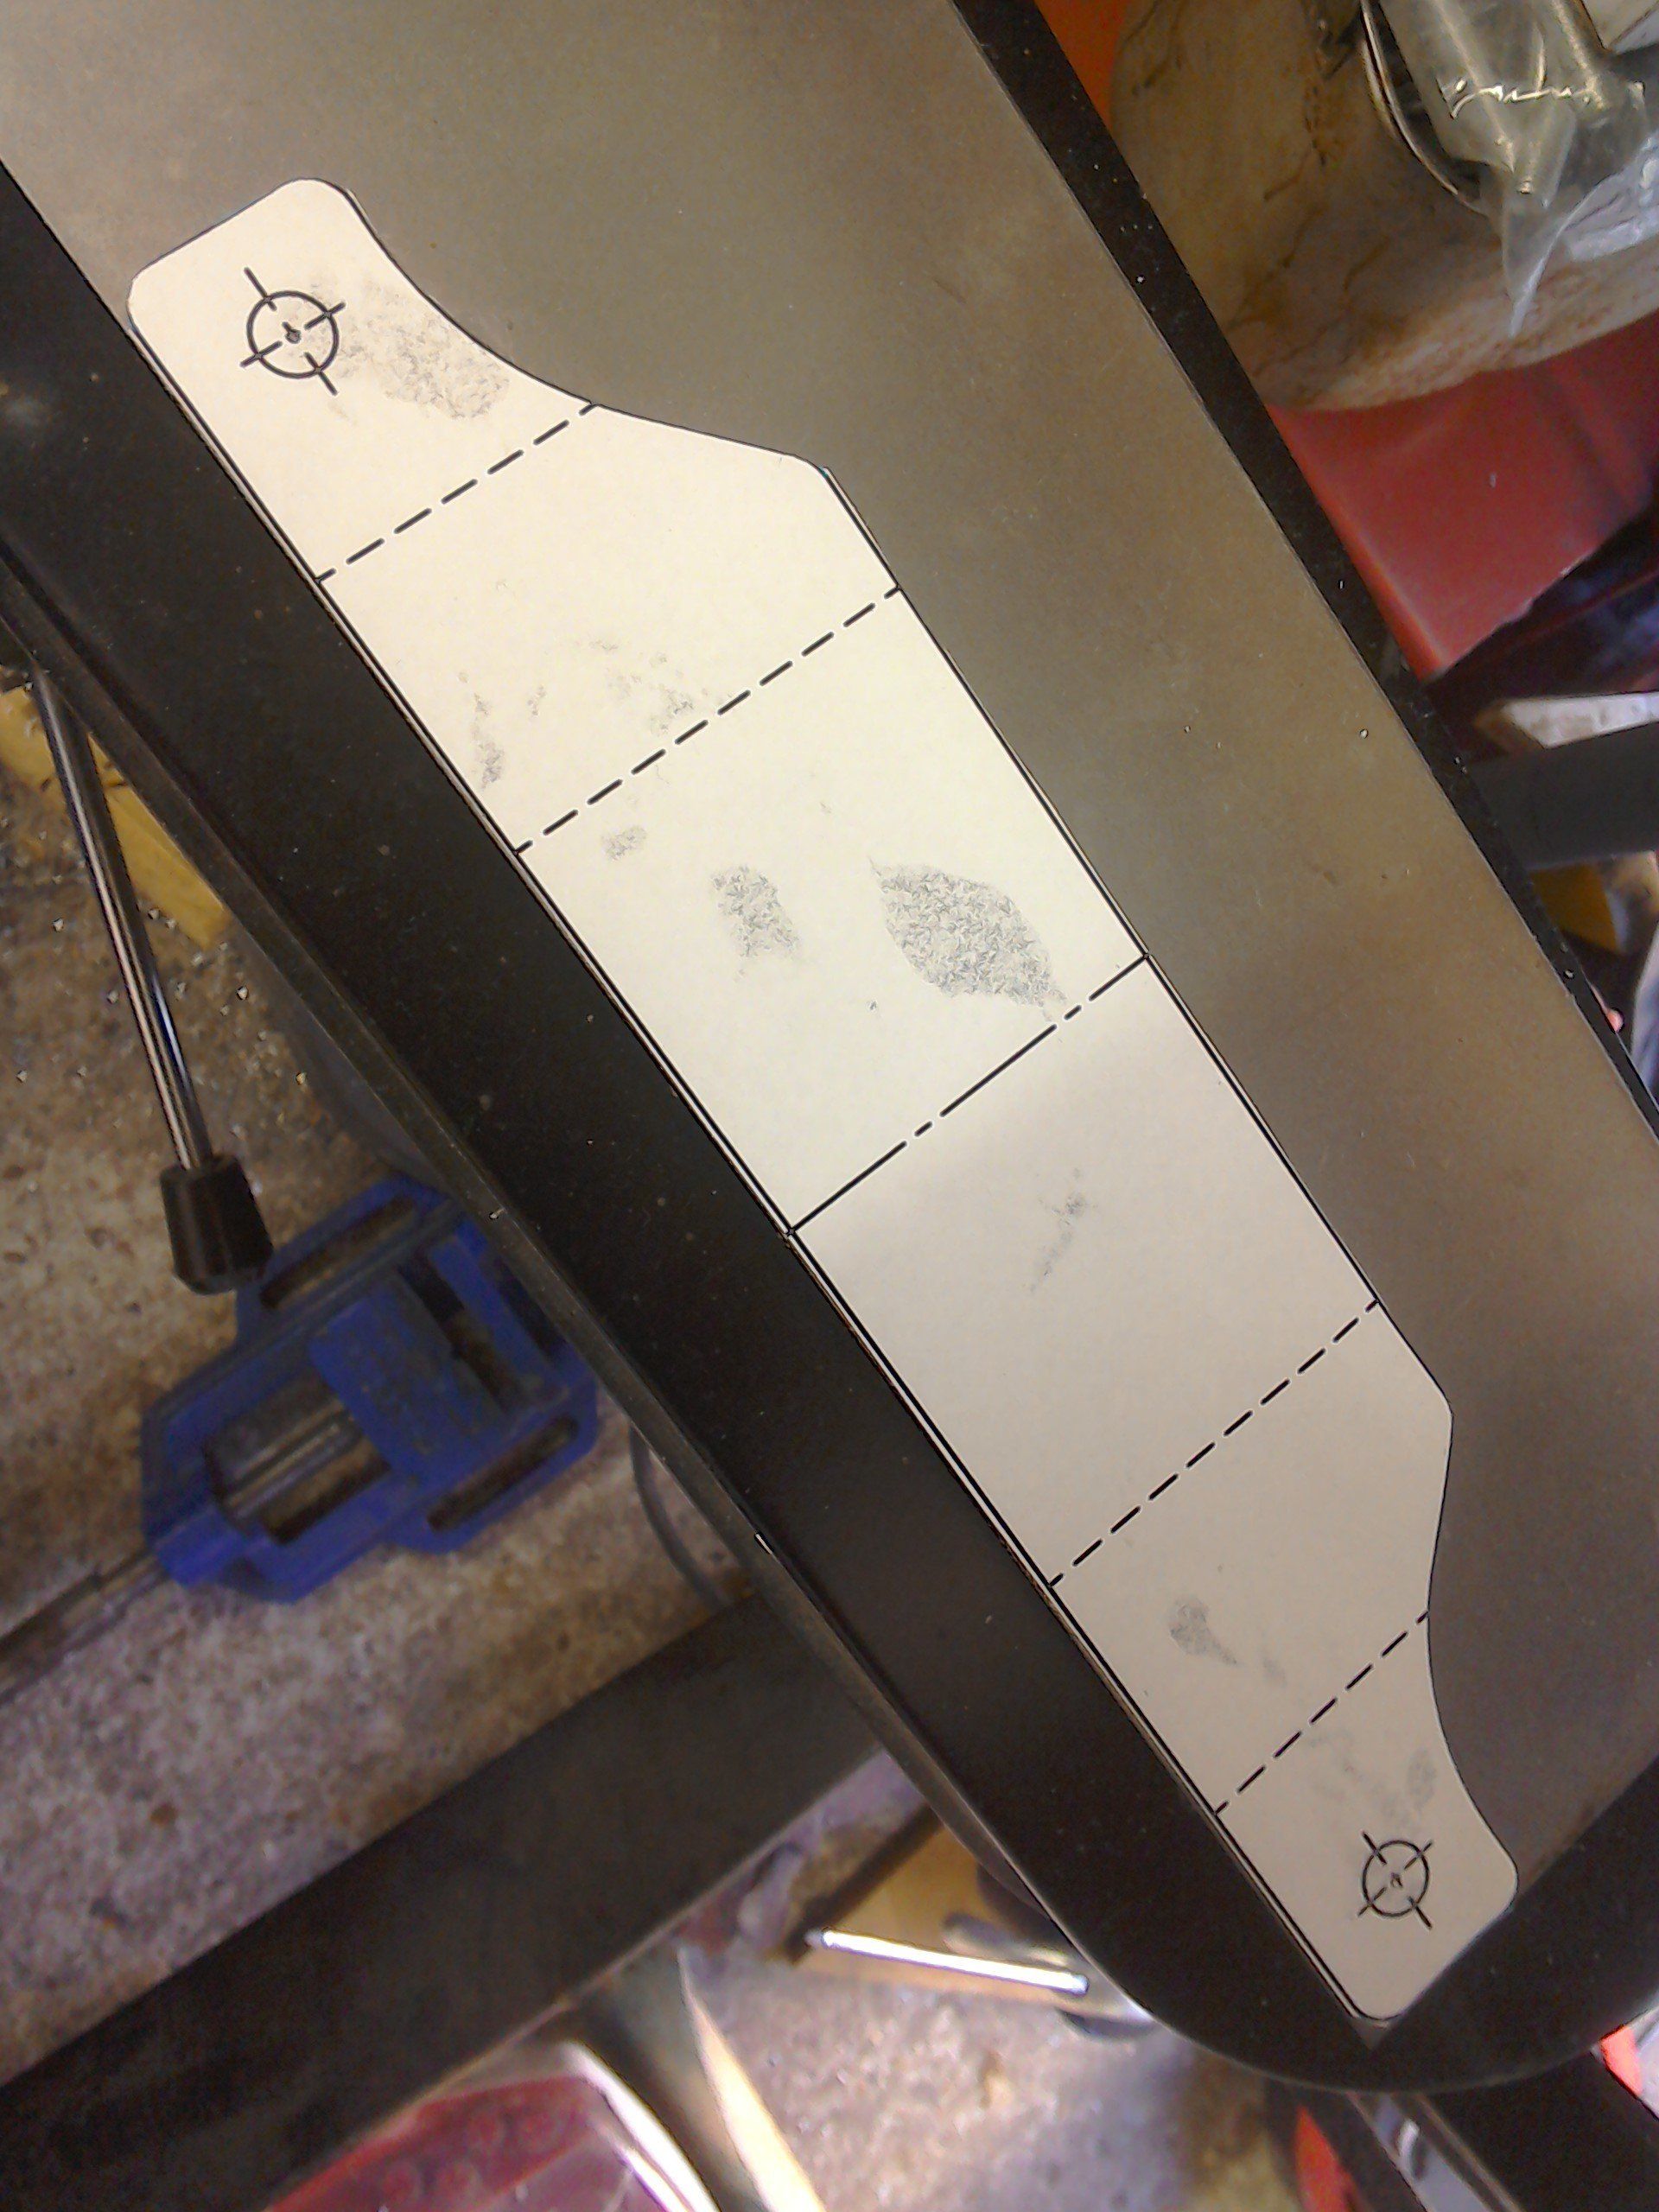
The bracket was bent to shape by hand, using that long 10mm bolt in the picture held in a vice as a former. It was also (as predicted) not quite the correct size - it was too tall and the flat across the top not wide enough.

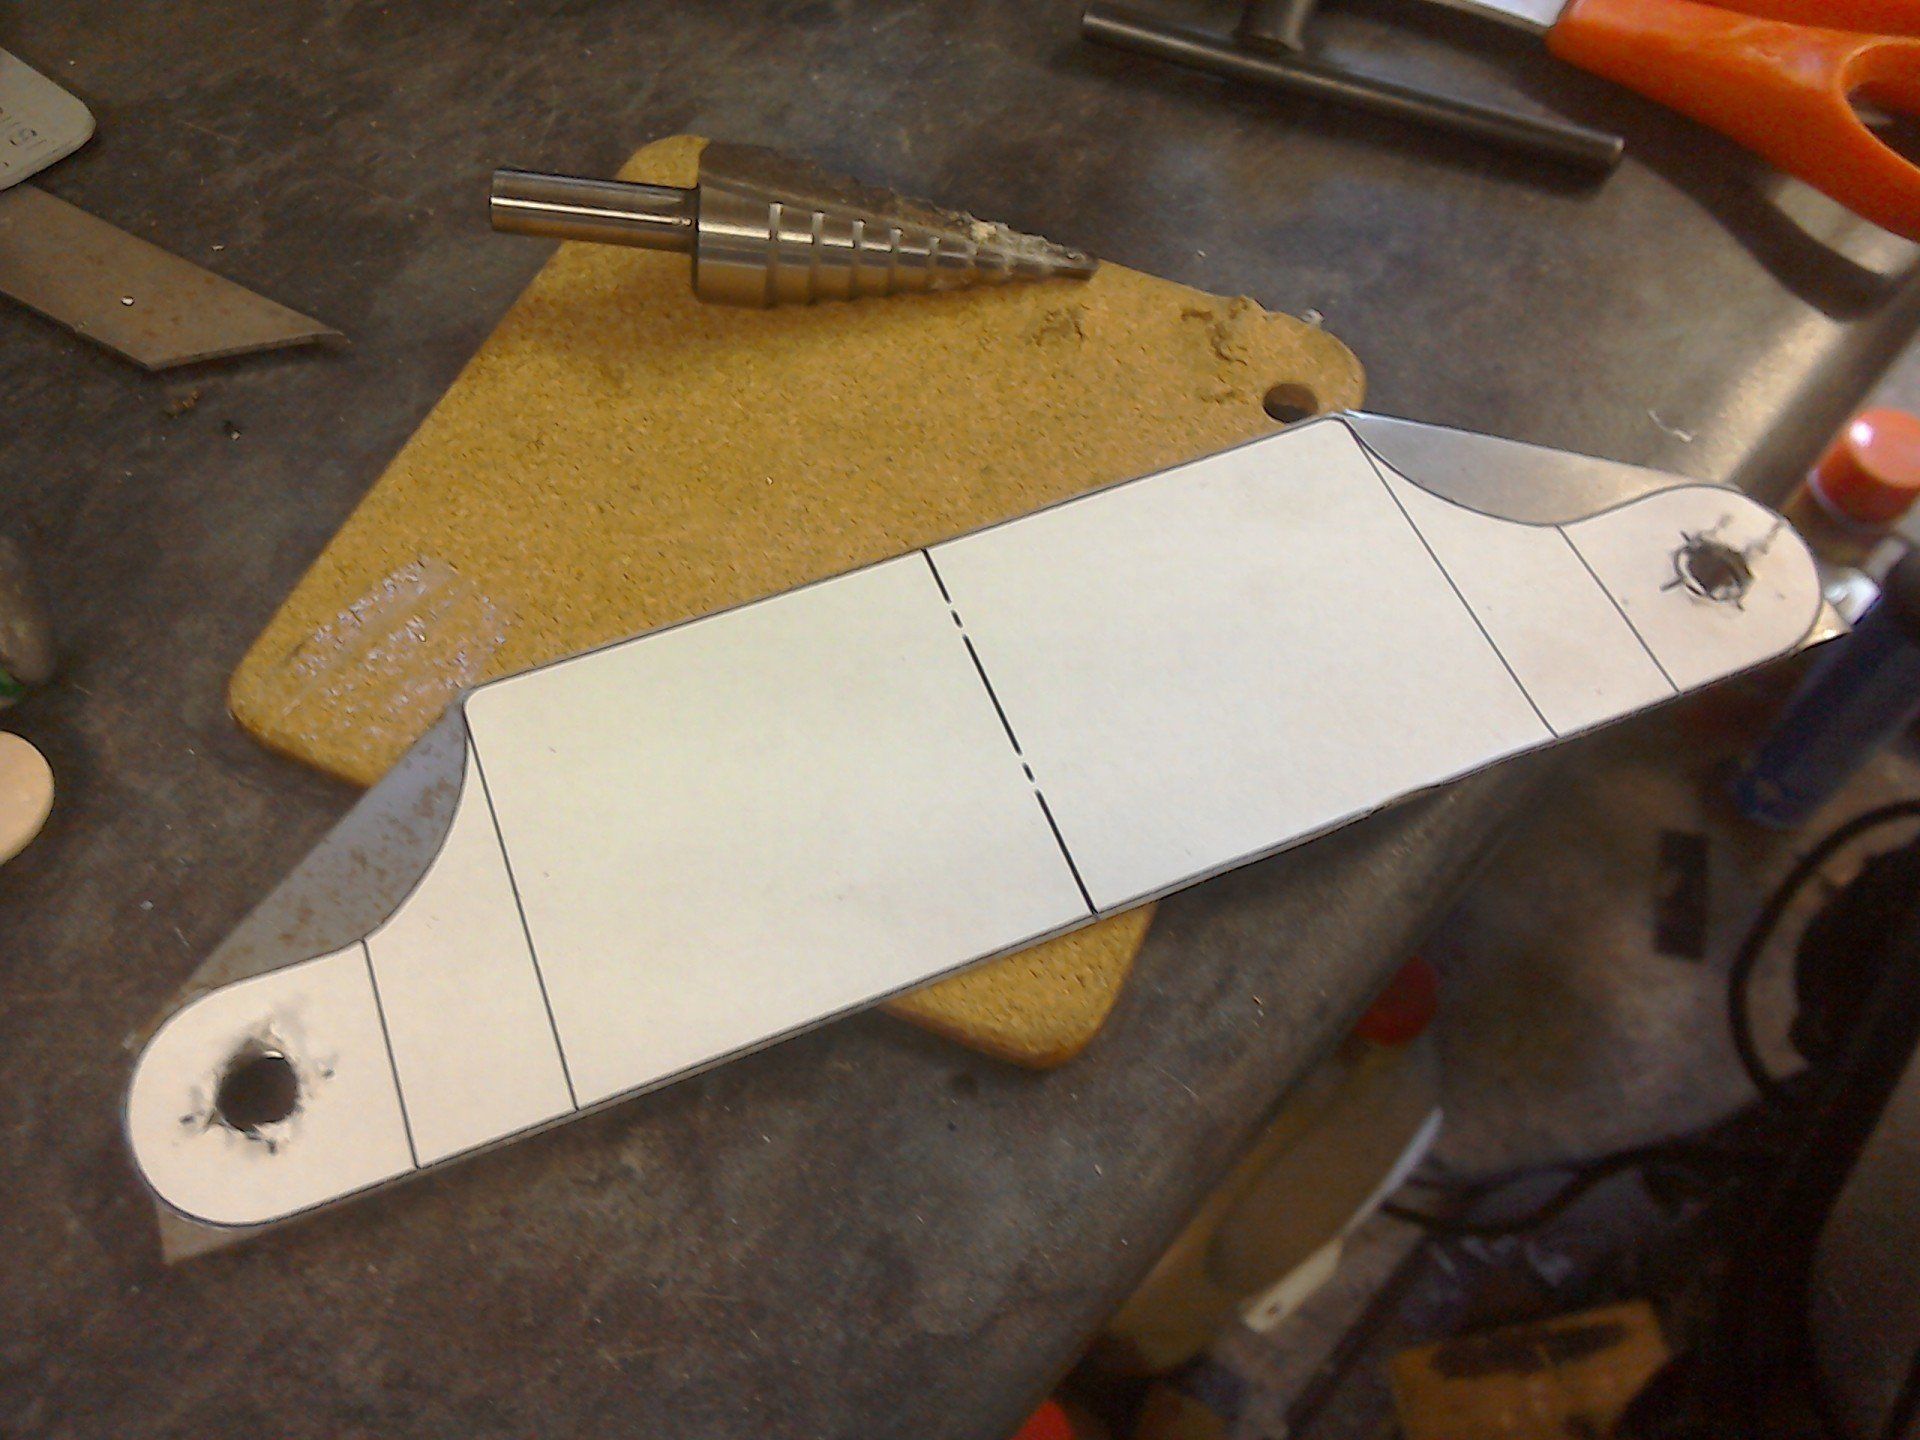
So this is the start of the mk2 version. The stepped cone drill shown in the picture is very good for drilling holes in sheet material.
Trial fitting. Looking promising...

Mounting holes for the seat base added.
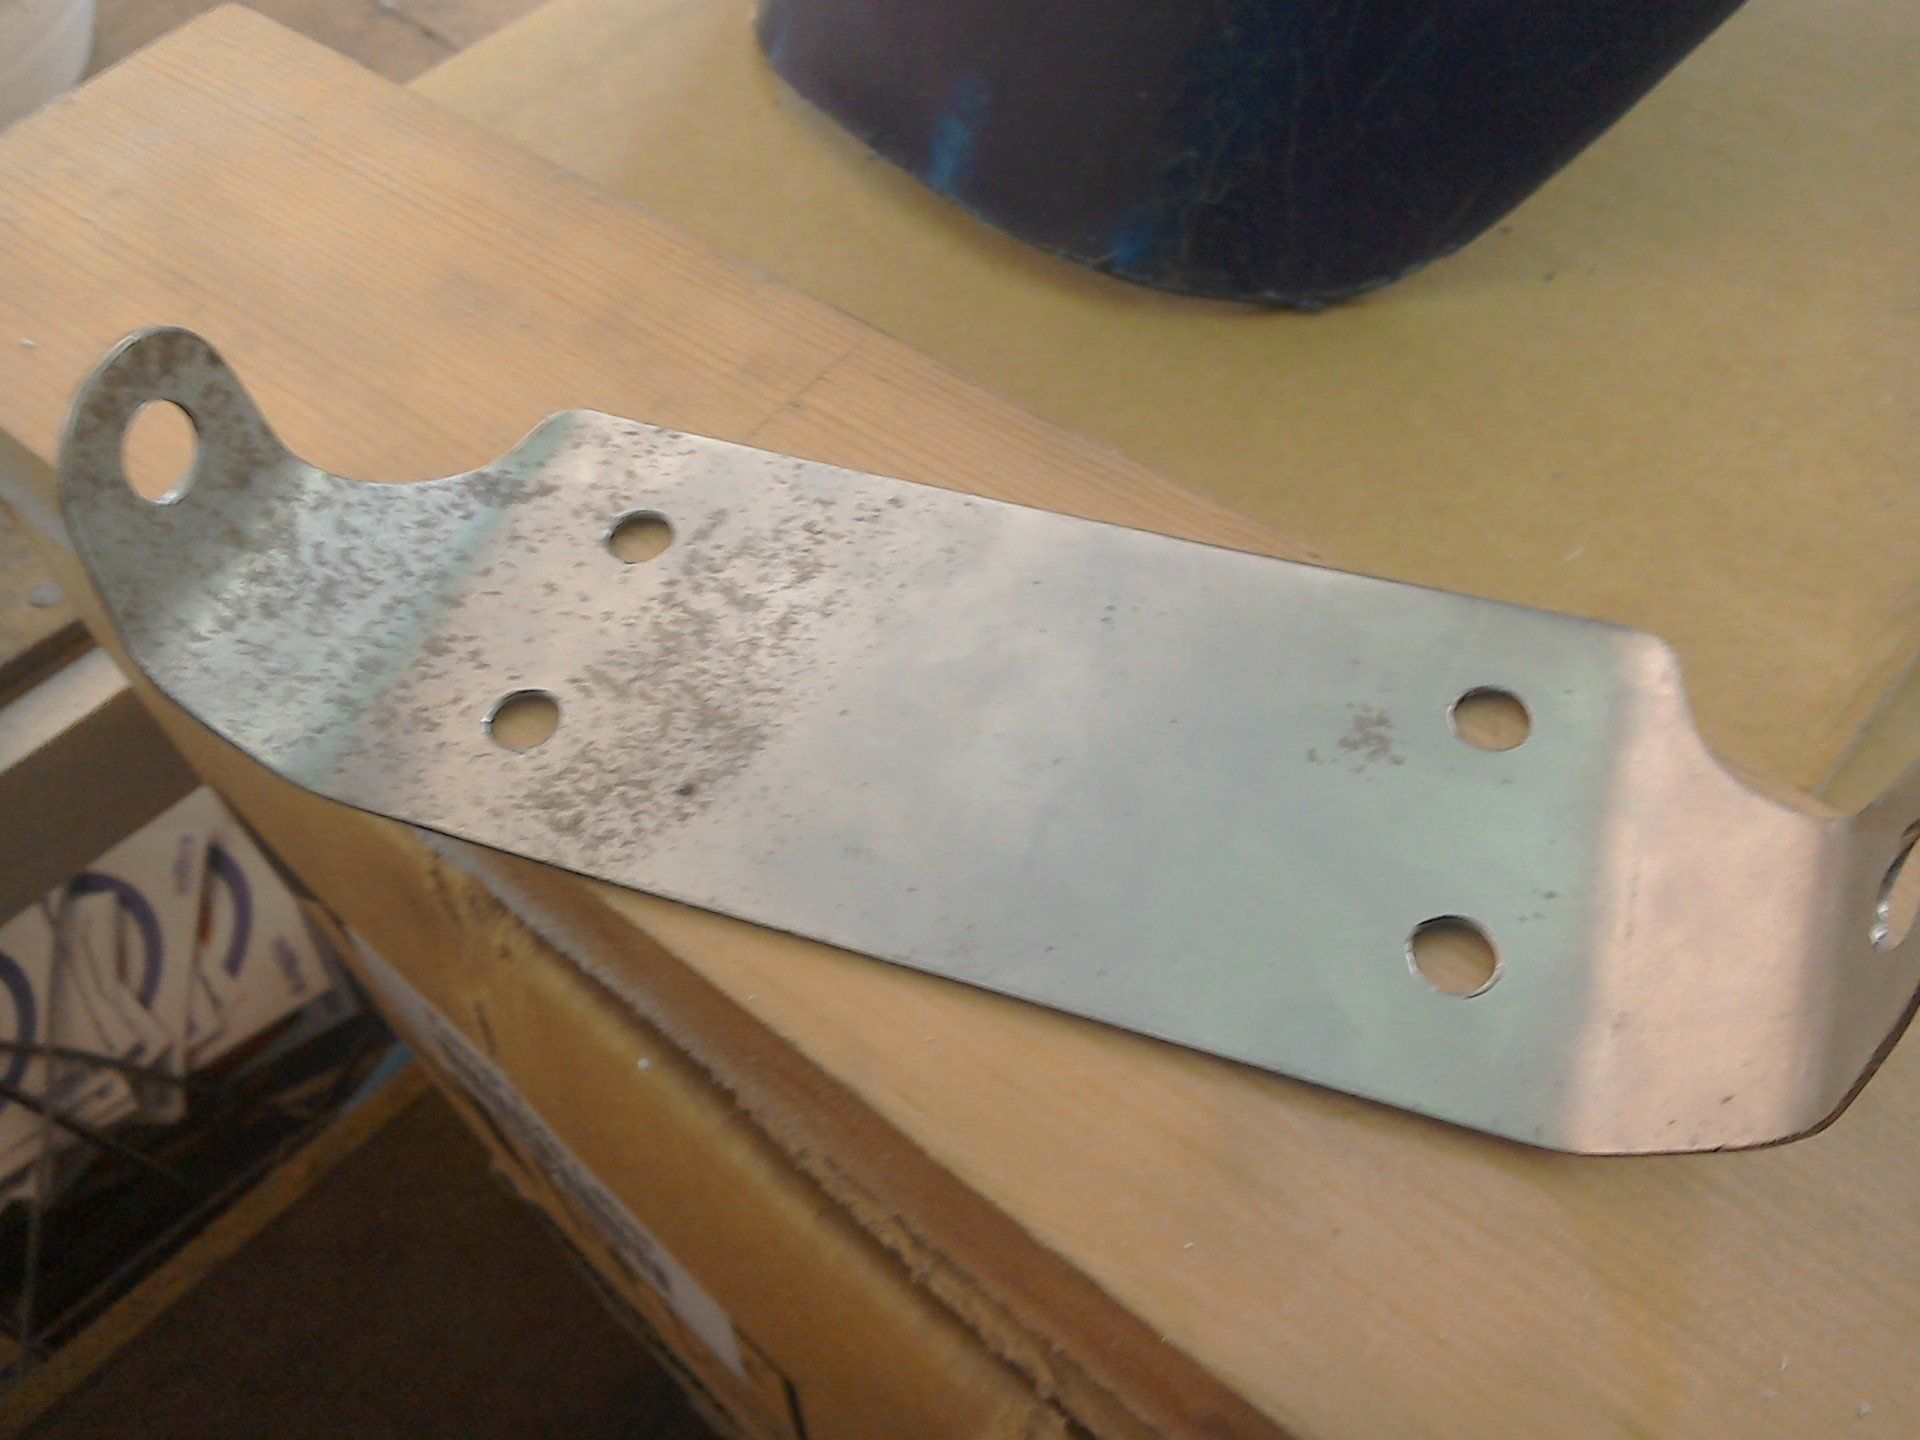
Finally, the seat base is properly mounted. I envisaged having to remake the bracket in thicker material, but the seat base is so rigid and fits so snugly to the frame rails that the bracket itself is under very little stress, the 1mm thick one just might be good enough.
Time to return to the rear mudguard. Trimming these two halves so that they fitted together with everything at the right angle was much easier said than done! Much trial and error was involved, gradually removing material until, eventually I got the look that I wanted.
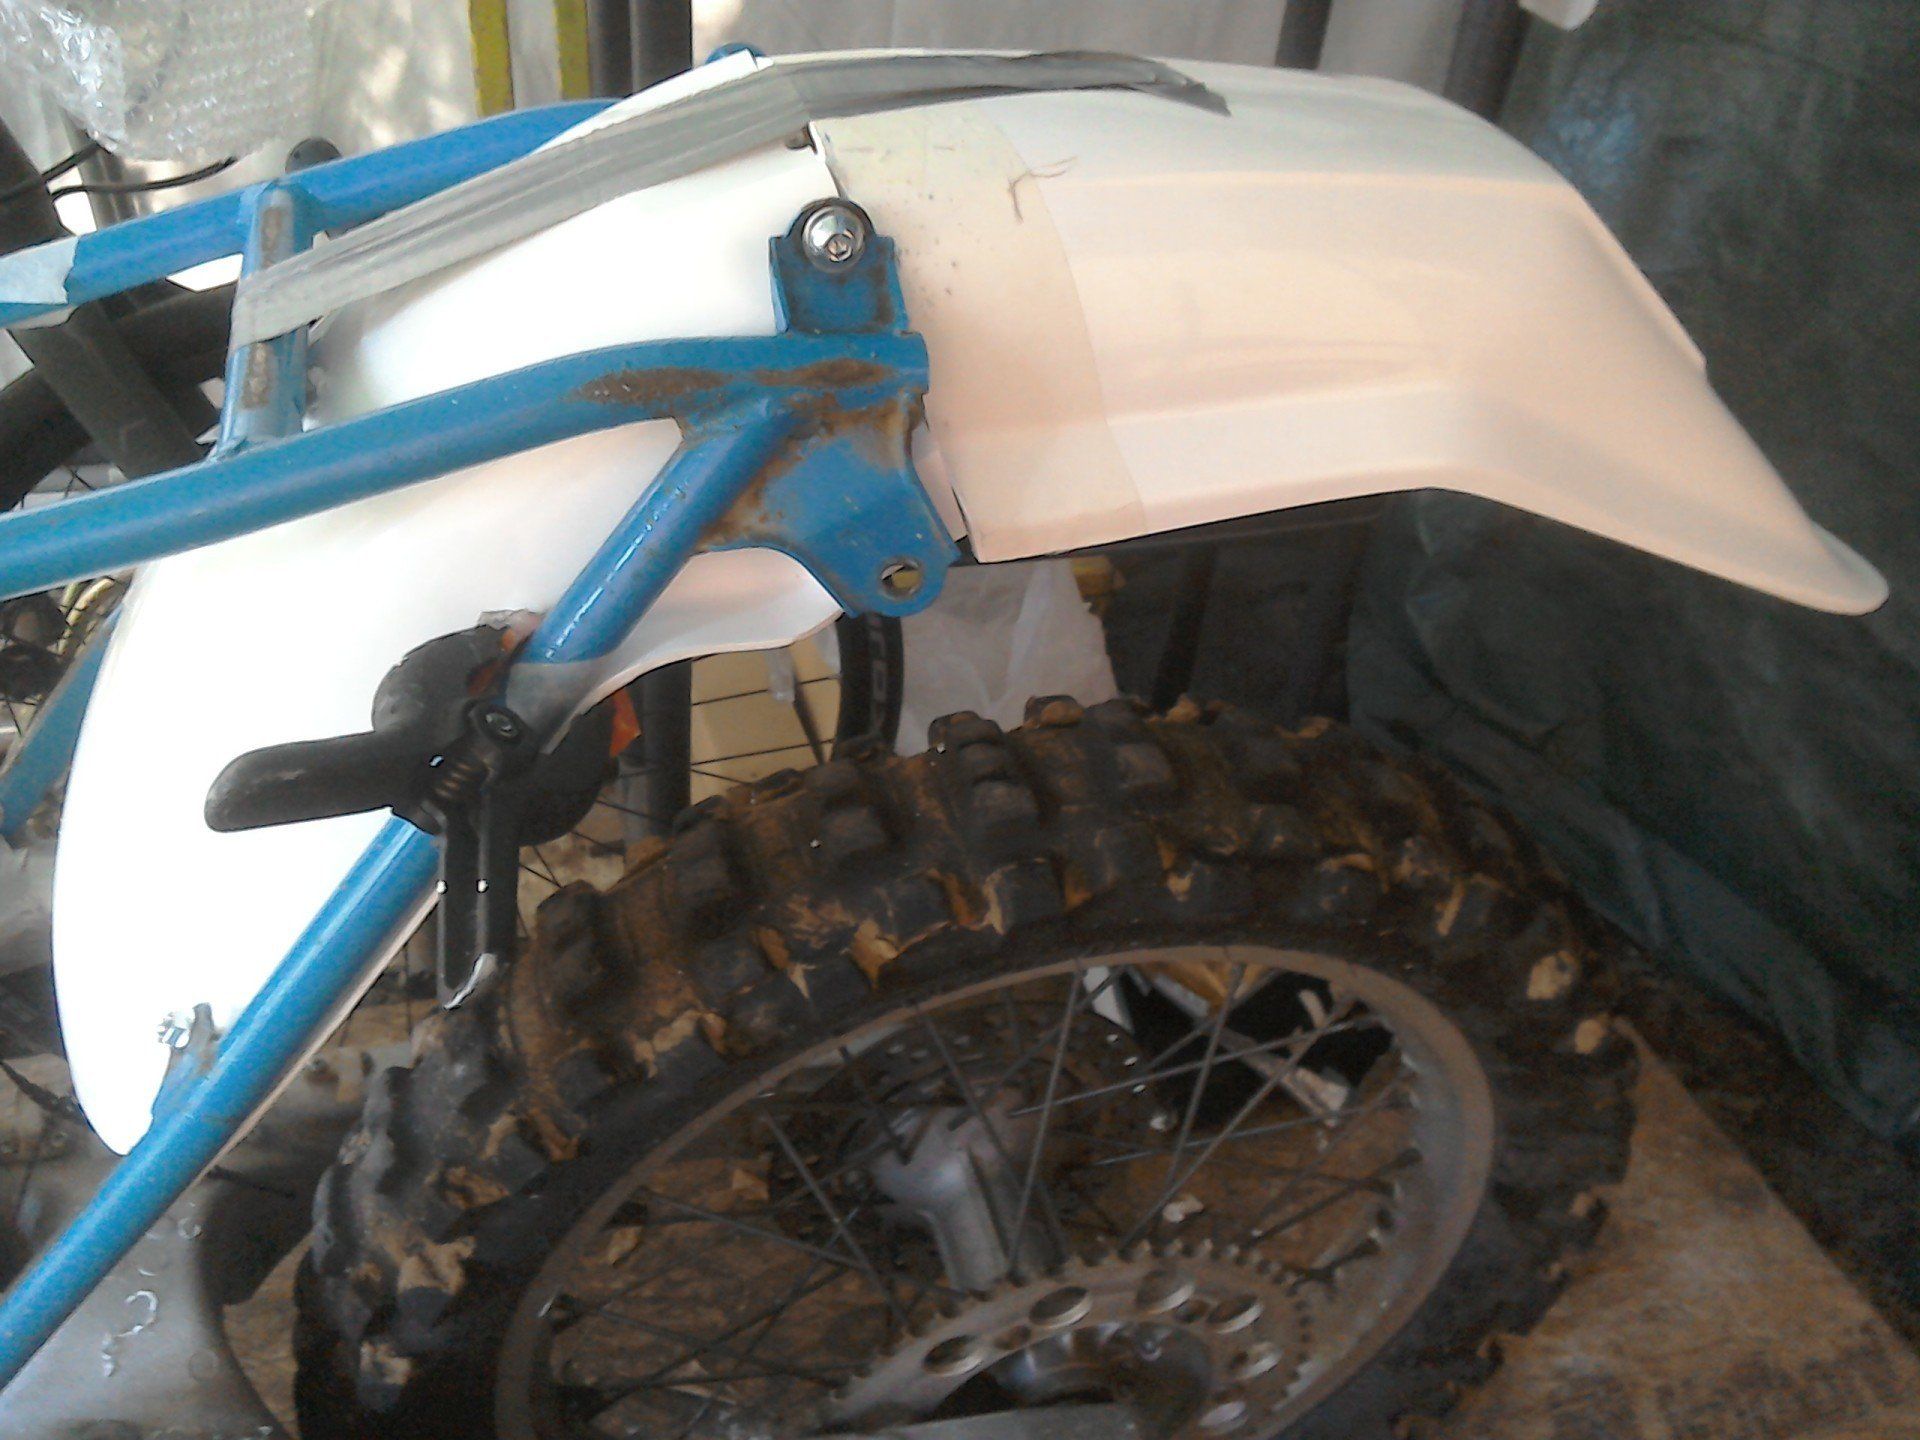
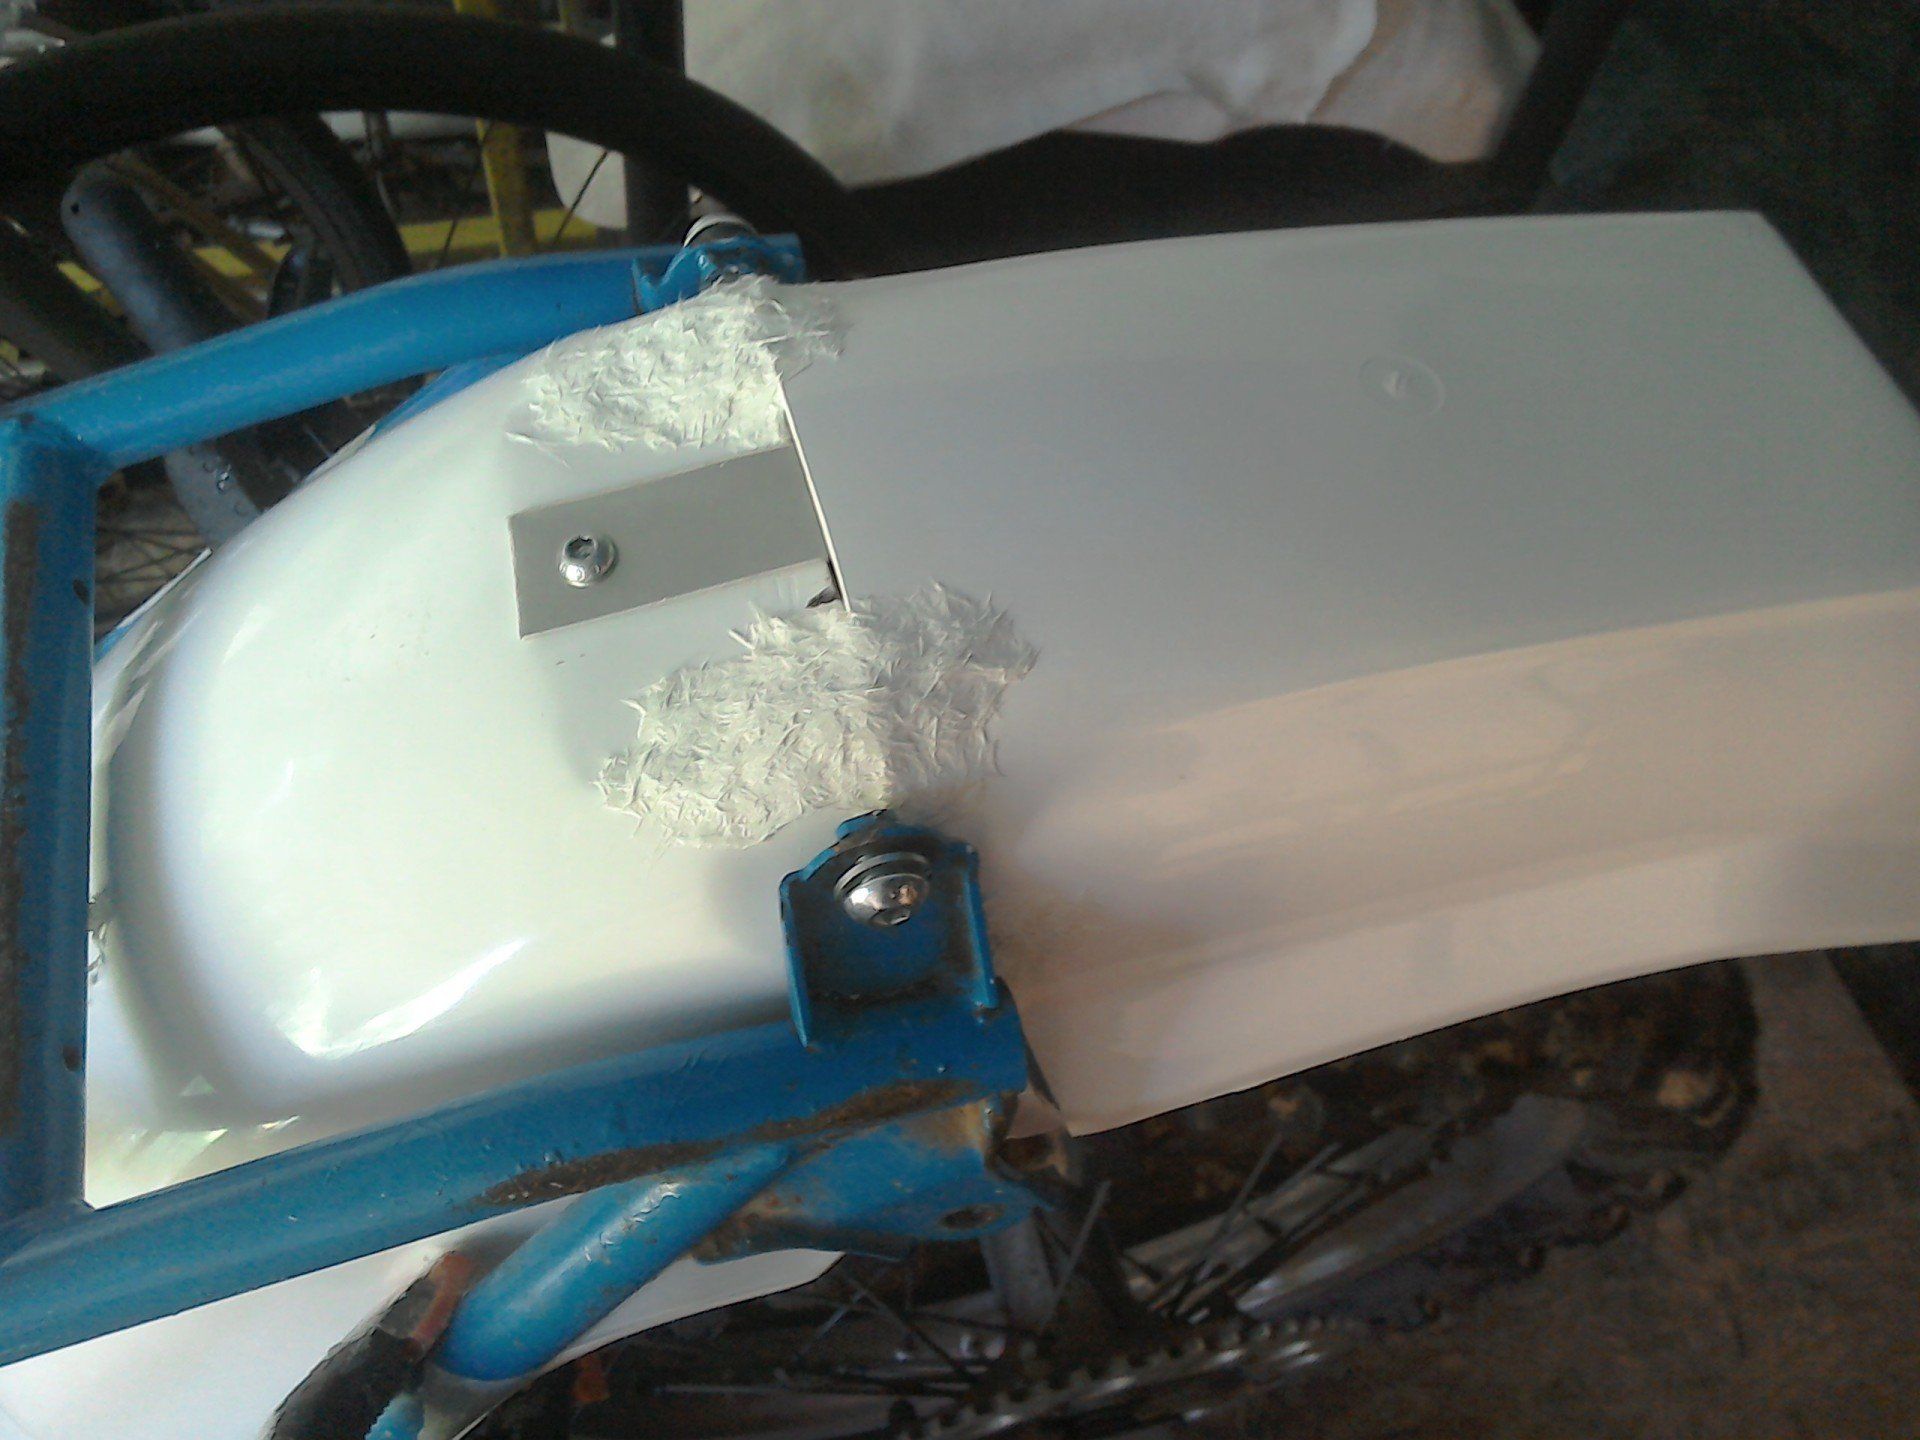
With the aid of some tape and an aluminium strip (hidden by the tape) the two halves were held together whilst a paste of resin and short fibreglass strands was added to 'glue' them permanently.
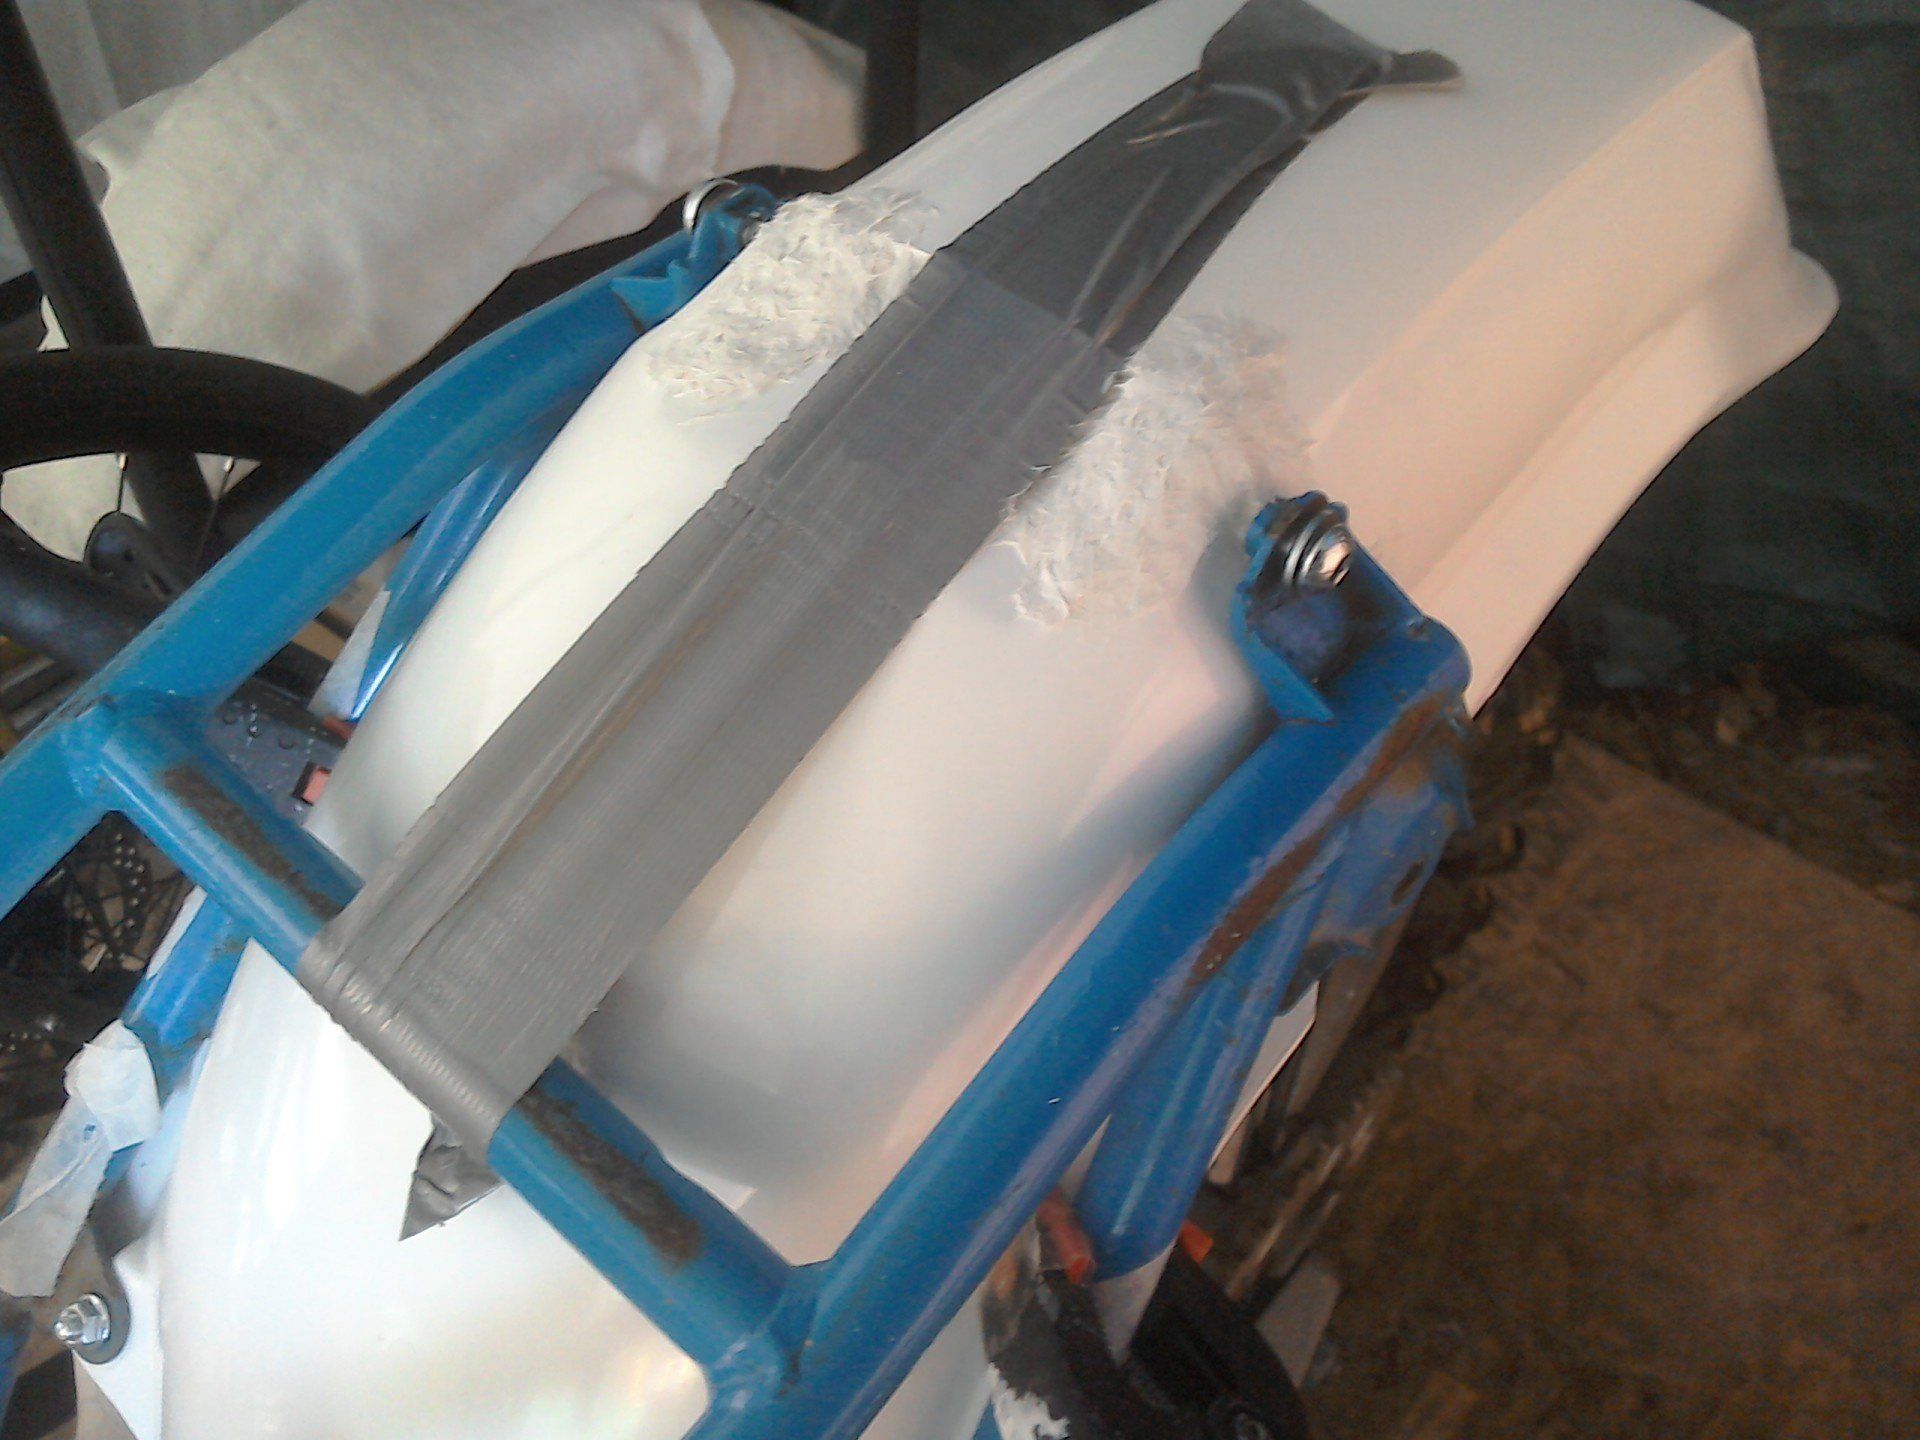
With the tape removed, you can see the aluminium strip that was supporting the rear part of the mudguard.
Once that resin was set, the aluminium strip was removed, and strips of chopped strand mat added to the inside for extra reinforcement.

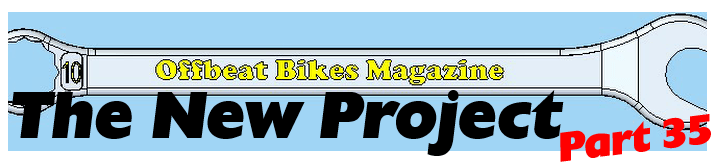
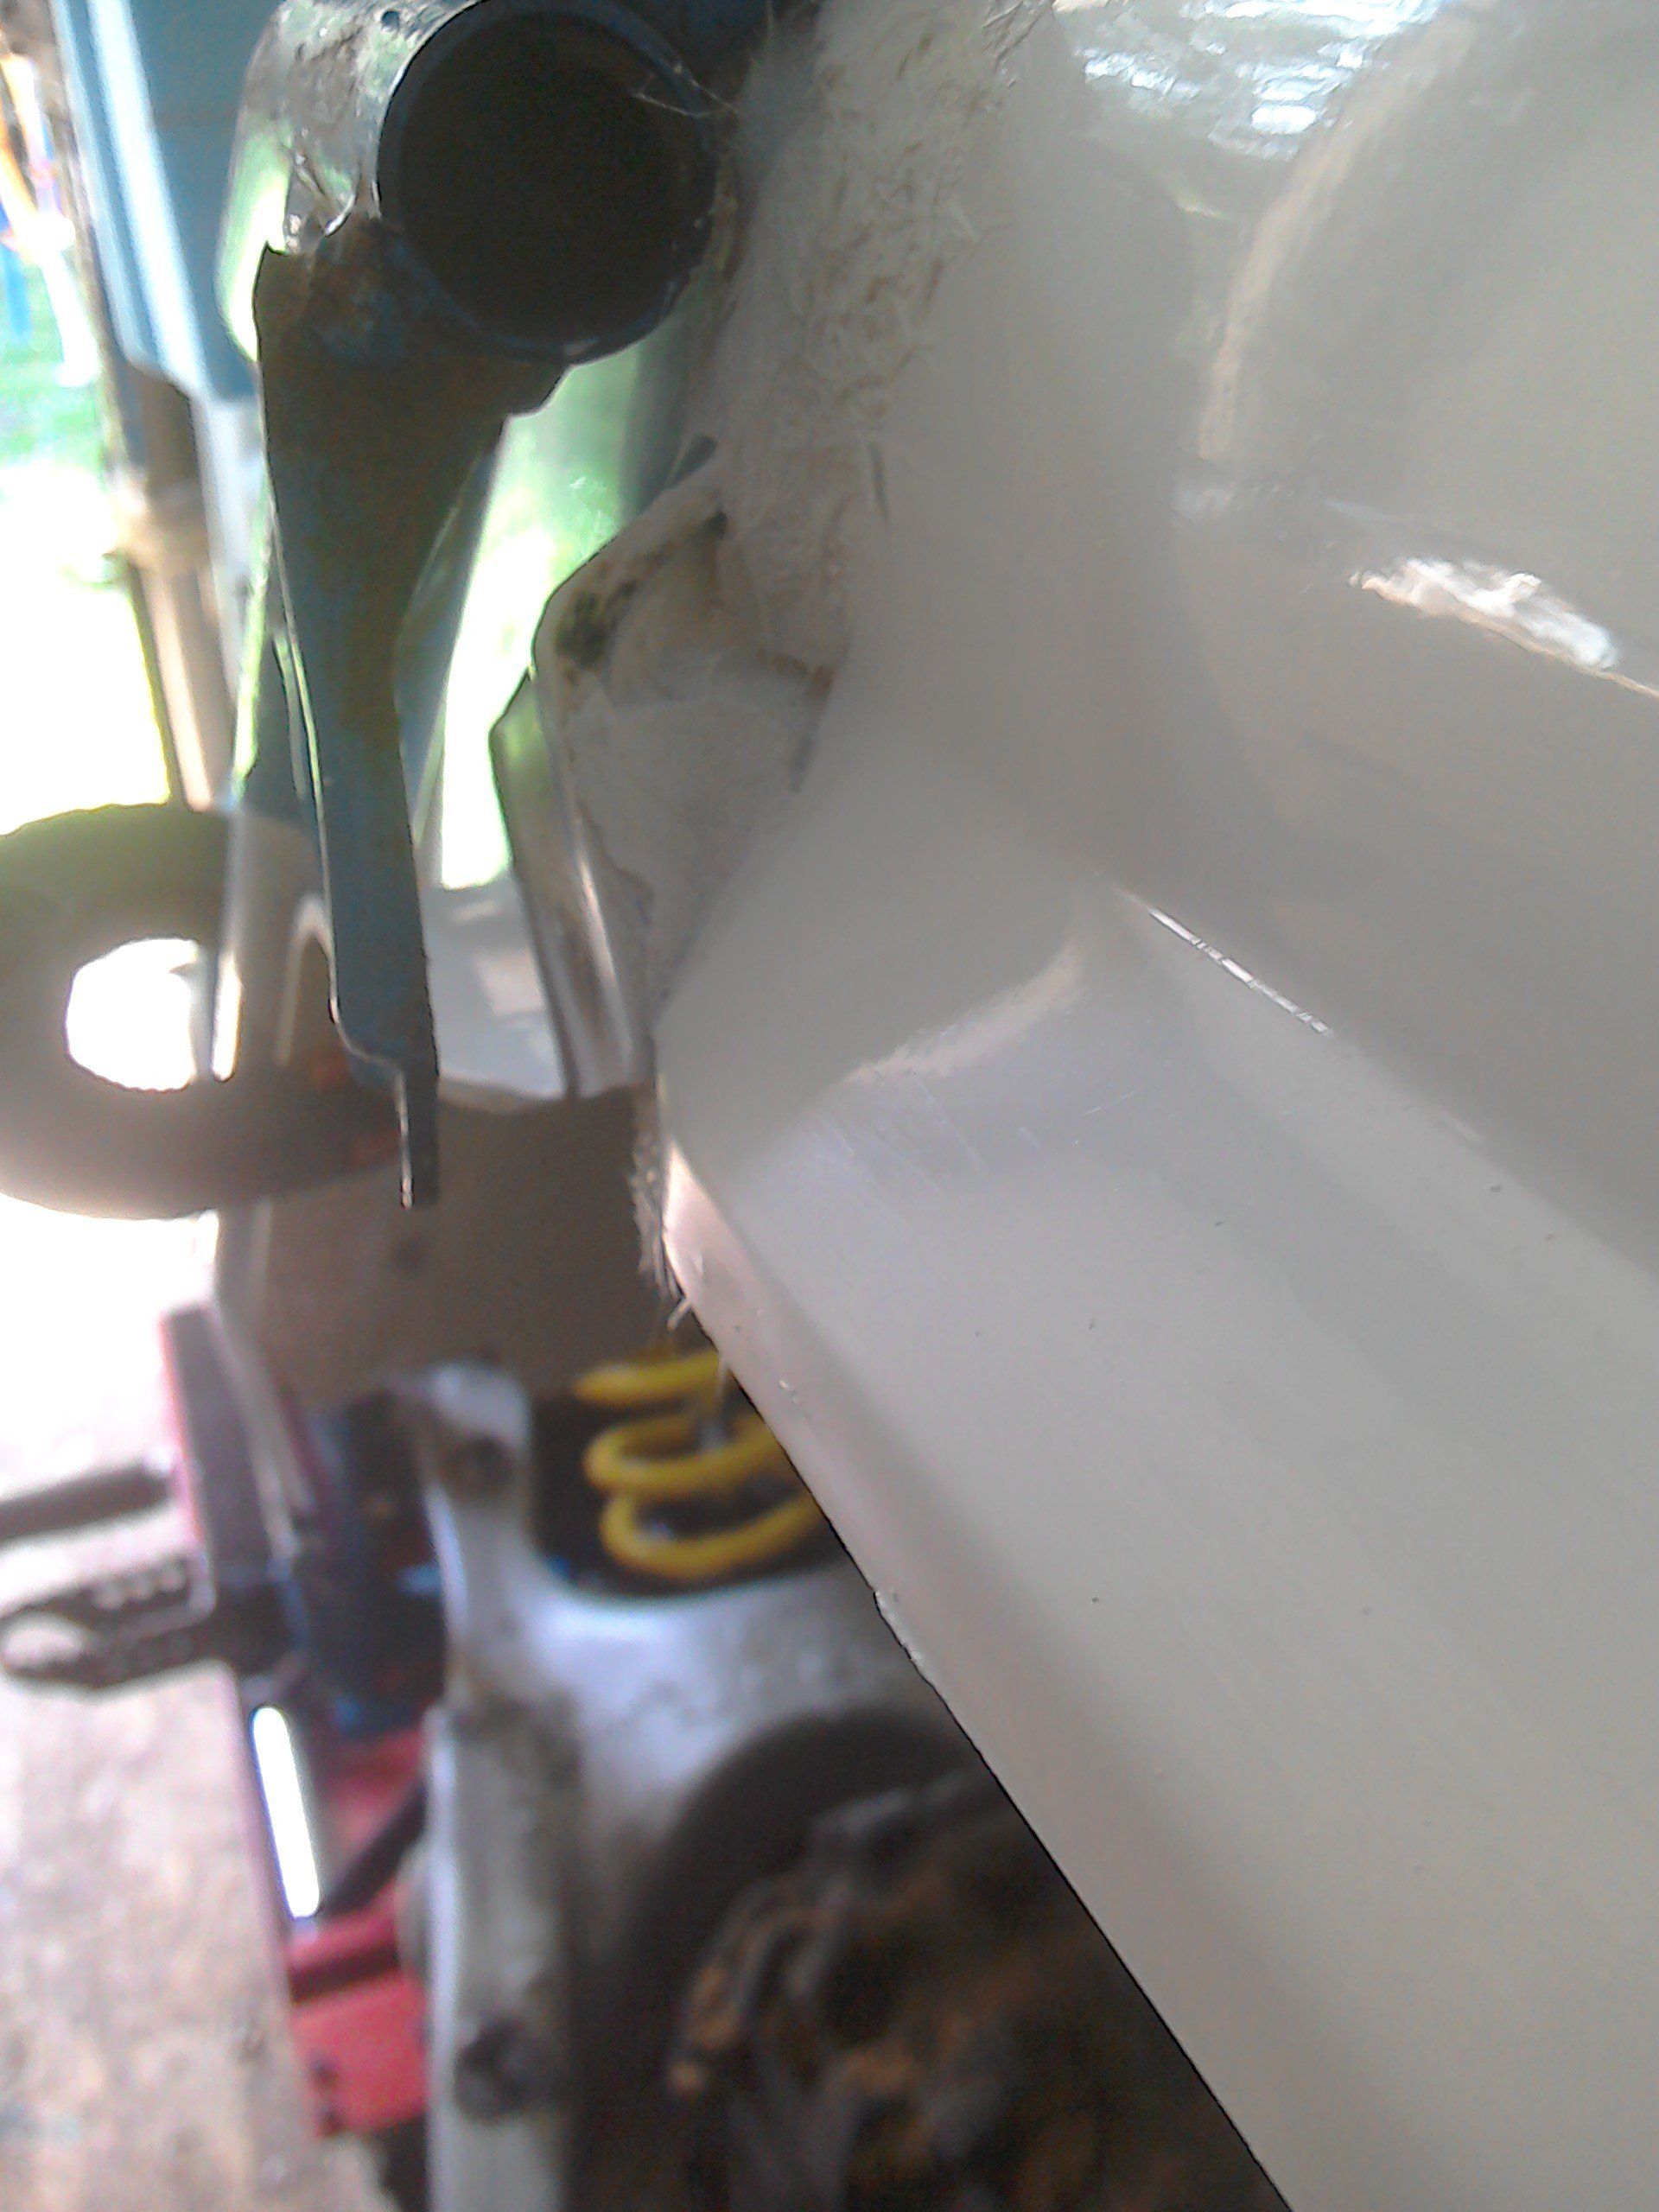
There's quite a big gap between the mudguard and the mount points. I was initially confused as to why this was, given that I'd used a standard plastic mudguard as a pattern. It turned out that the plastic version doesn't fit much better, but because it is quite flexible, doing up the mounting screws pulls it into place. The fibreglass version is much more rigid and so you're left with a gap. I'm going to add a bit of filler to reduce this gap a little, but otherwise I intend to use some spacers to take up the slack - when building a one-off, it's often helpful to have a little wiggle room, so I'm not going to make it fit too snugly.
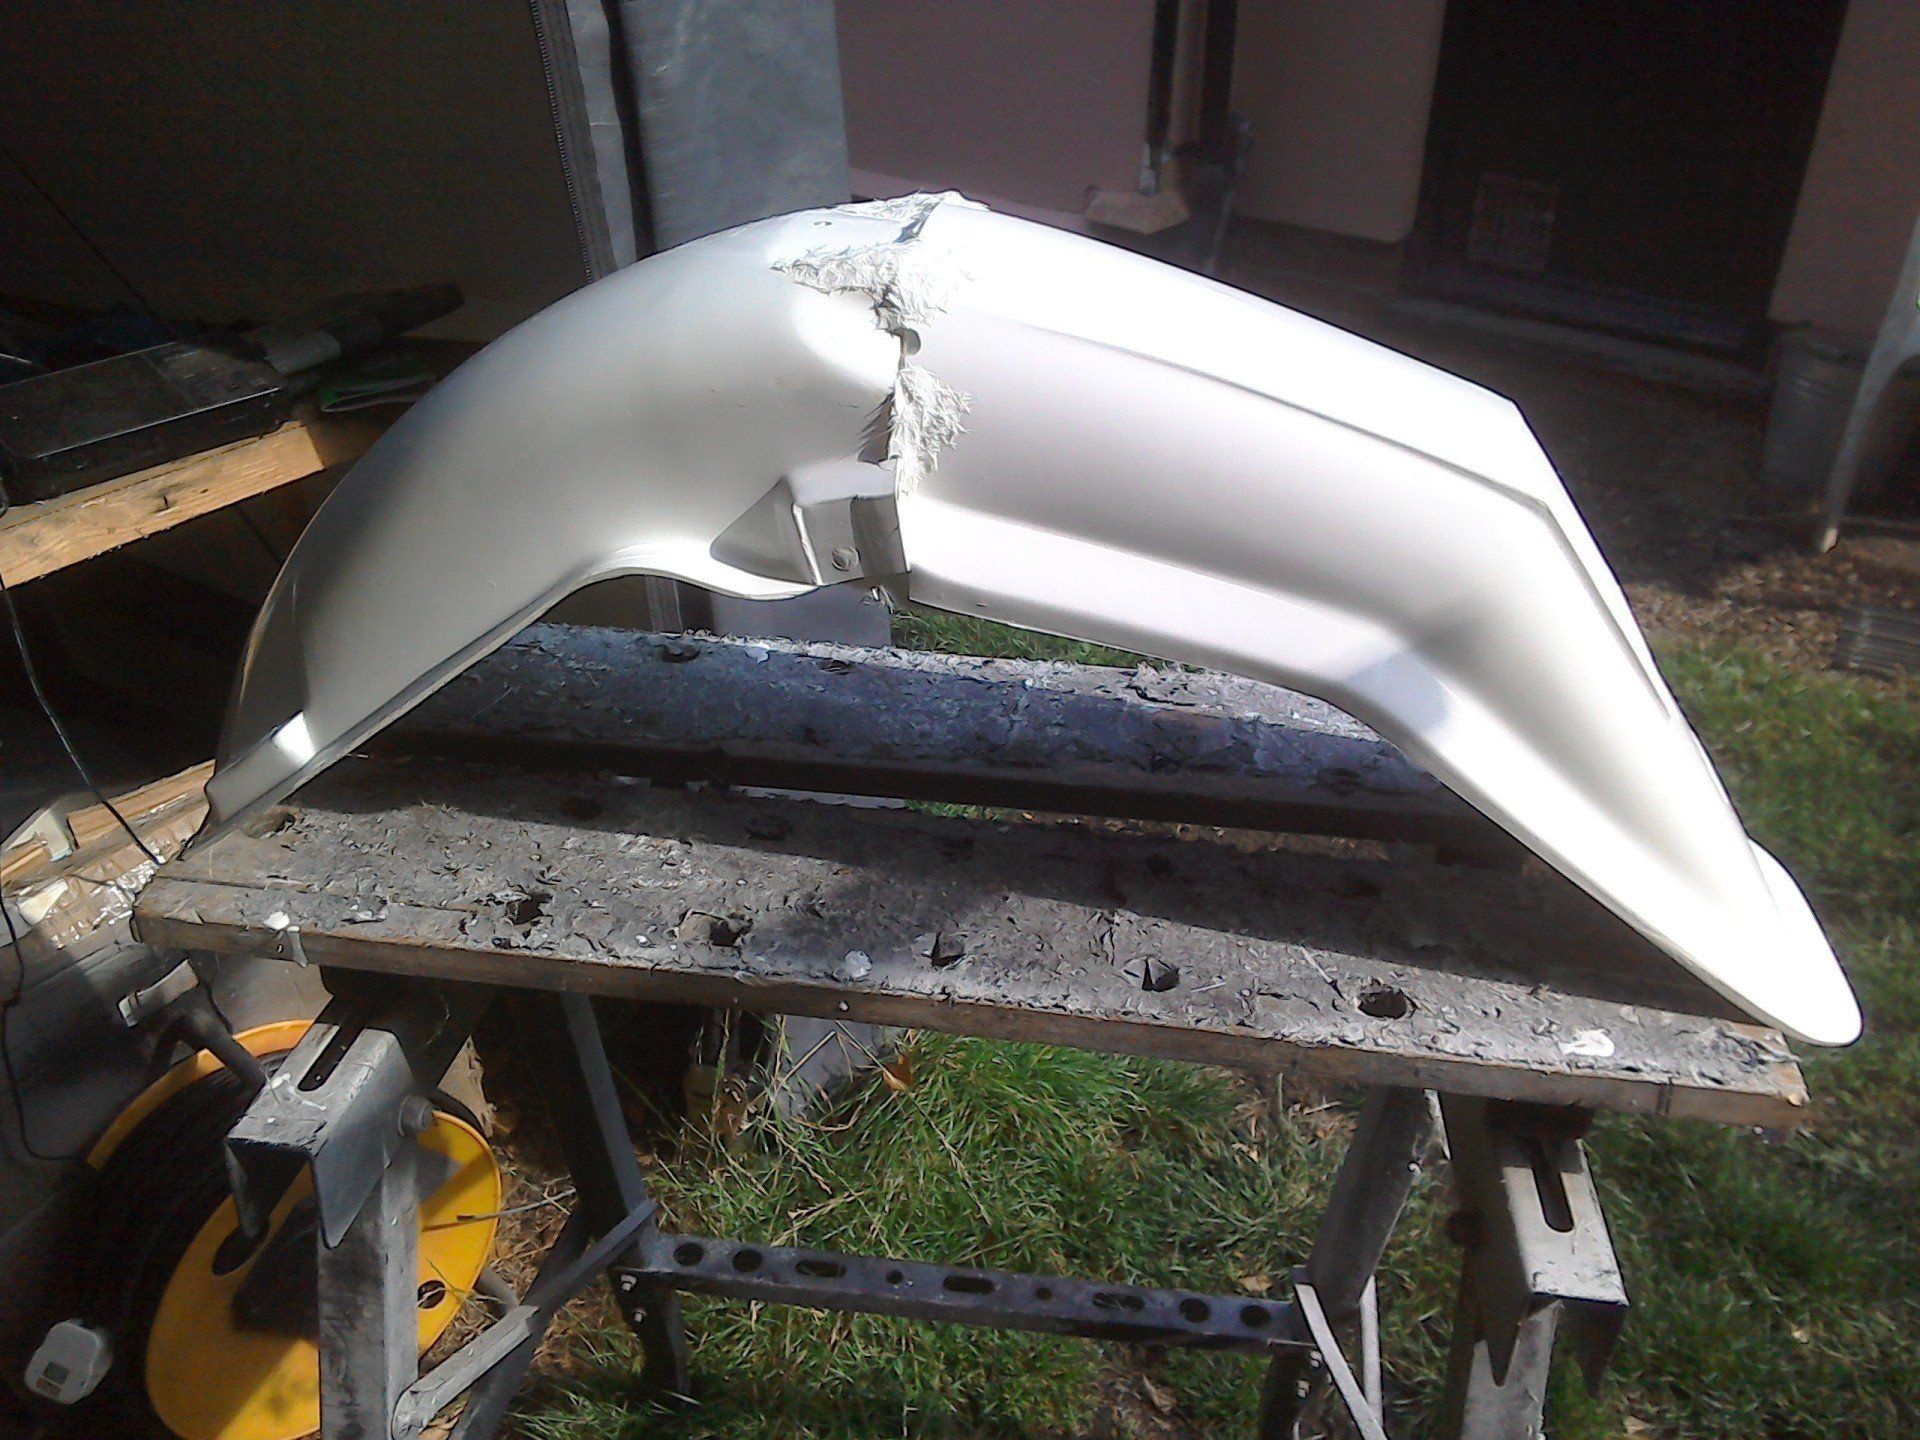
And there it is. Finished mudguard. Isn't it a beauty! Err, no! Obviously it needs a bit of sanding and shaping, to make it look pretty, but it is (at least) the right sort of size and shape.
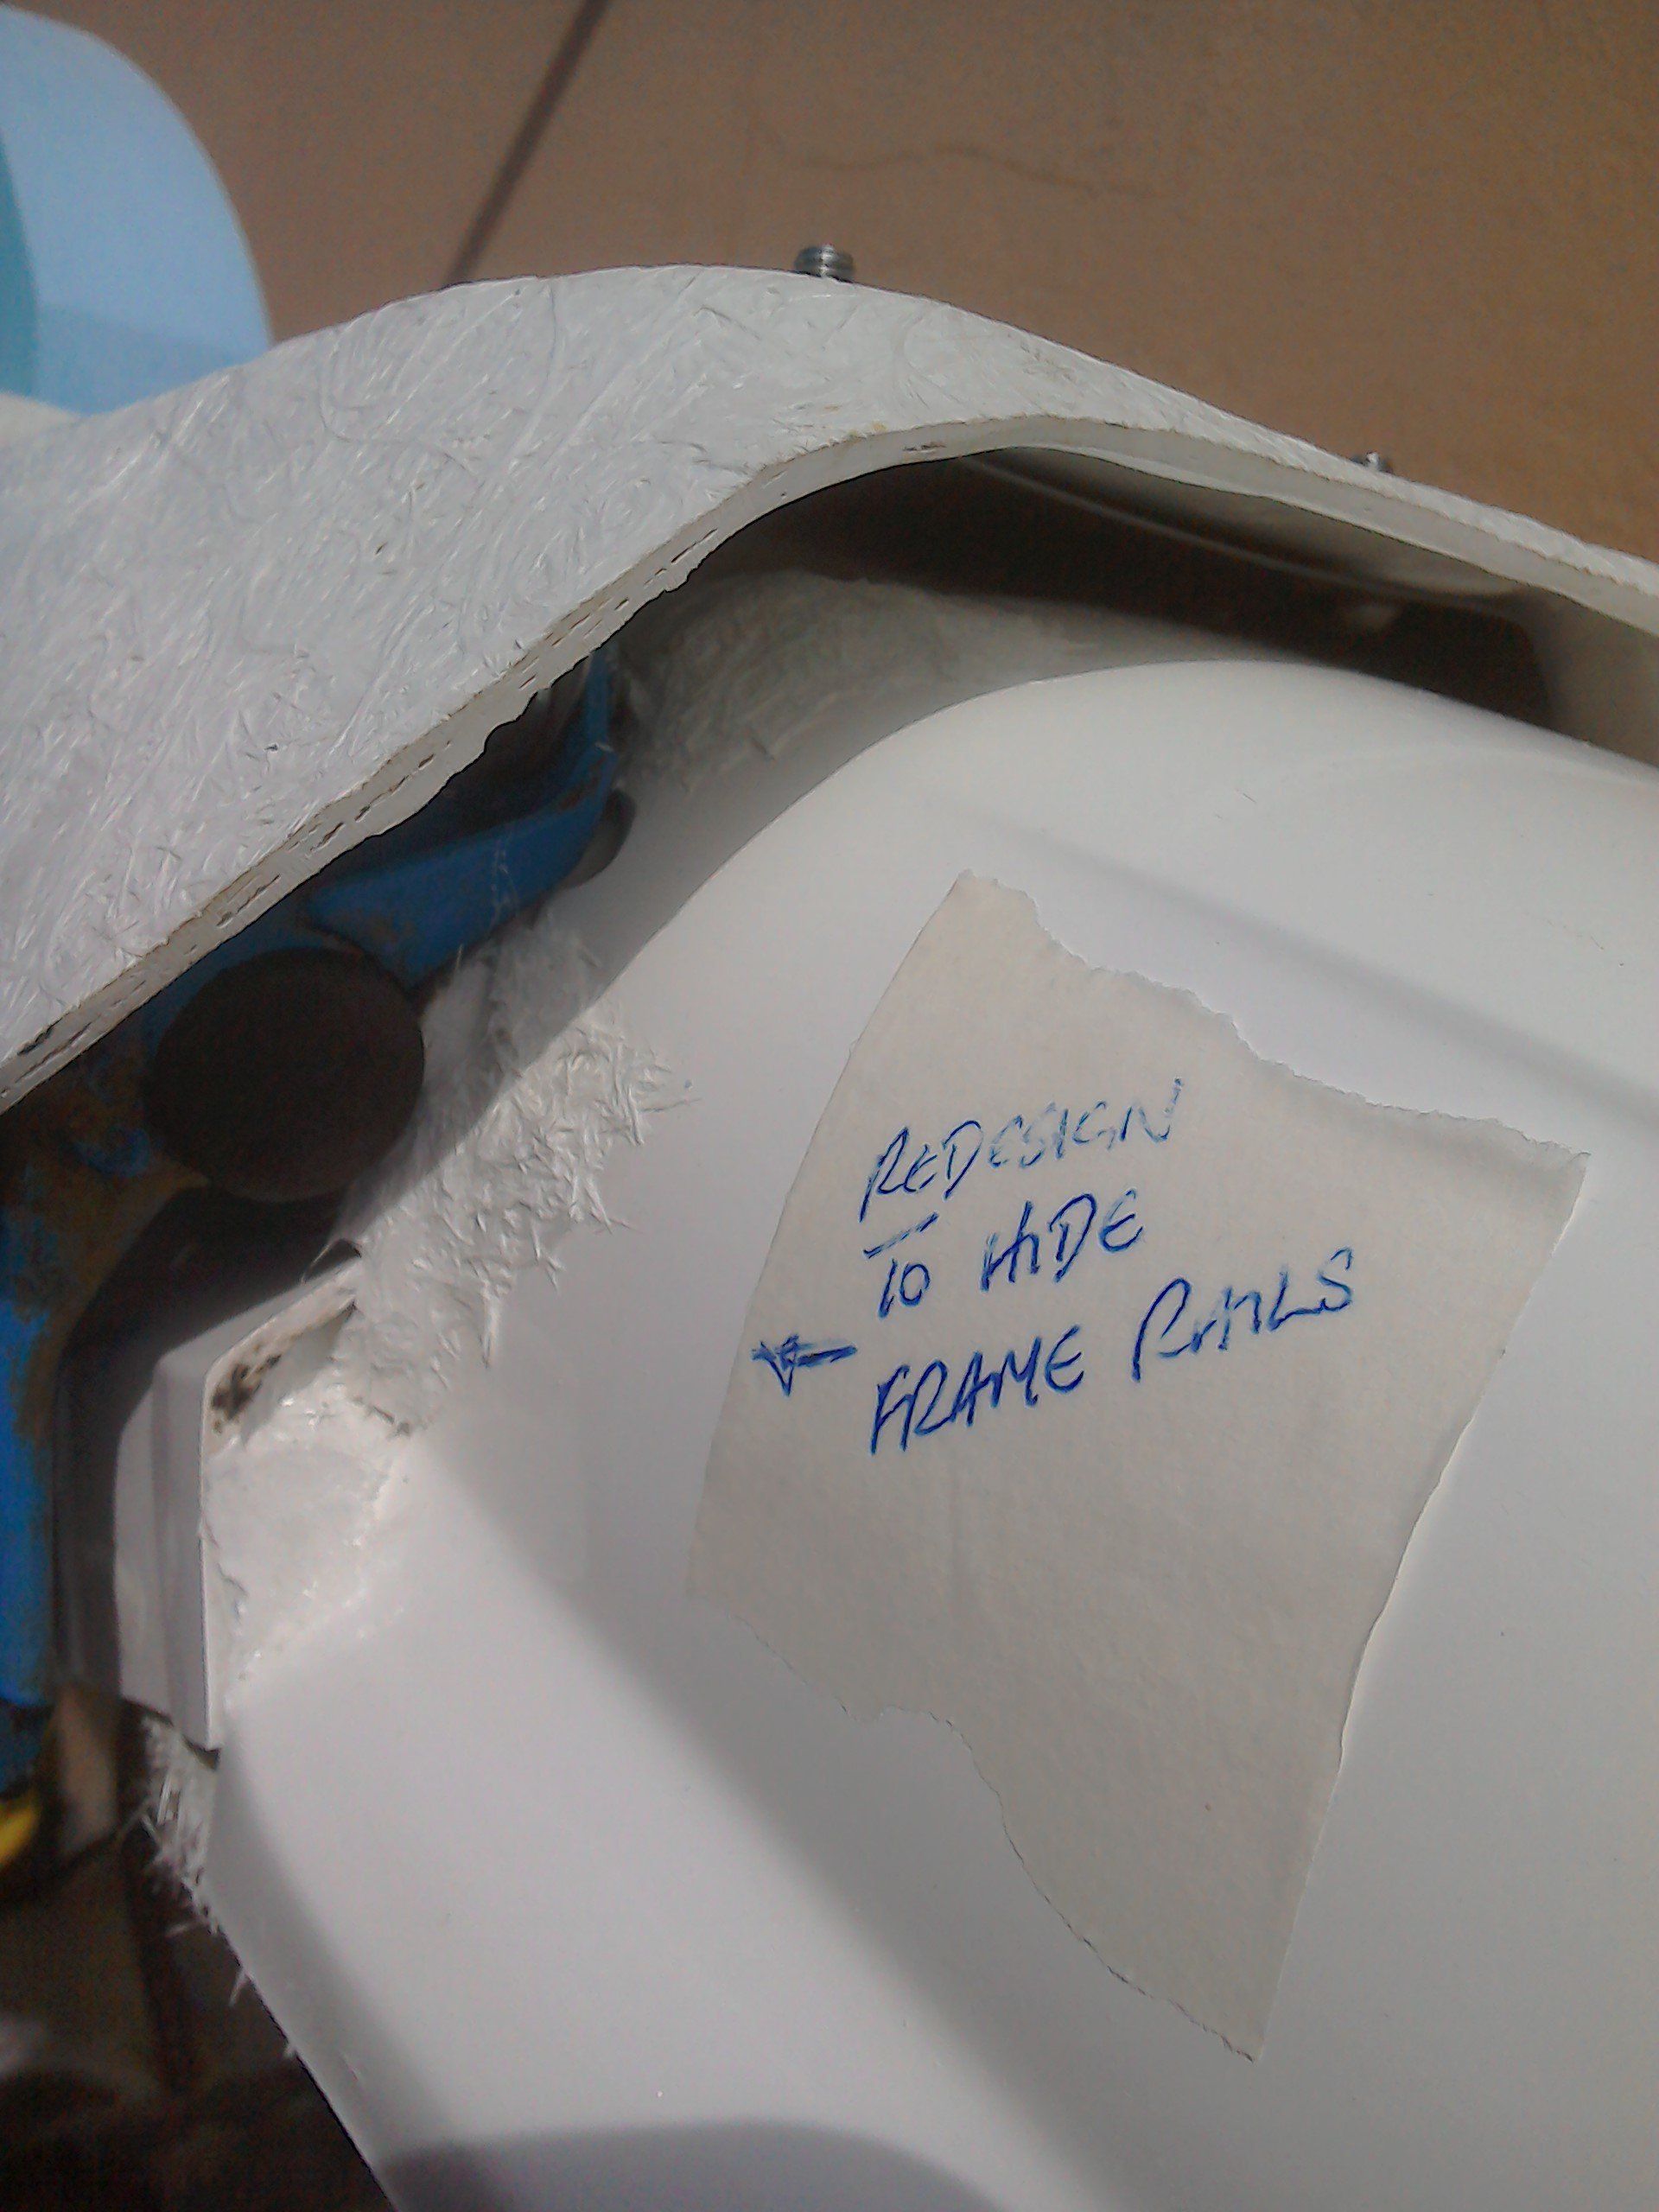
As the note says in the picture, a bit of remodelling is needed in this area, both to hide the end of the frame rails, and to reduce the gap between mudguard an seat base a little.
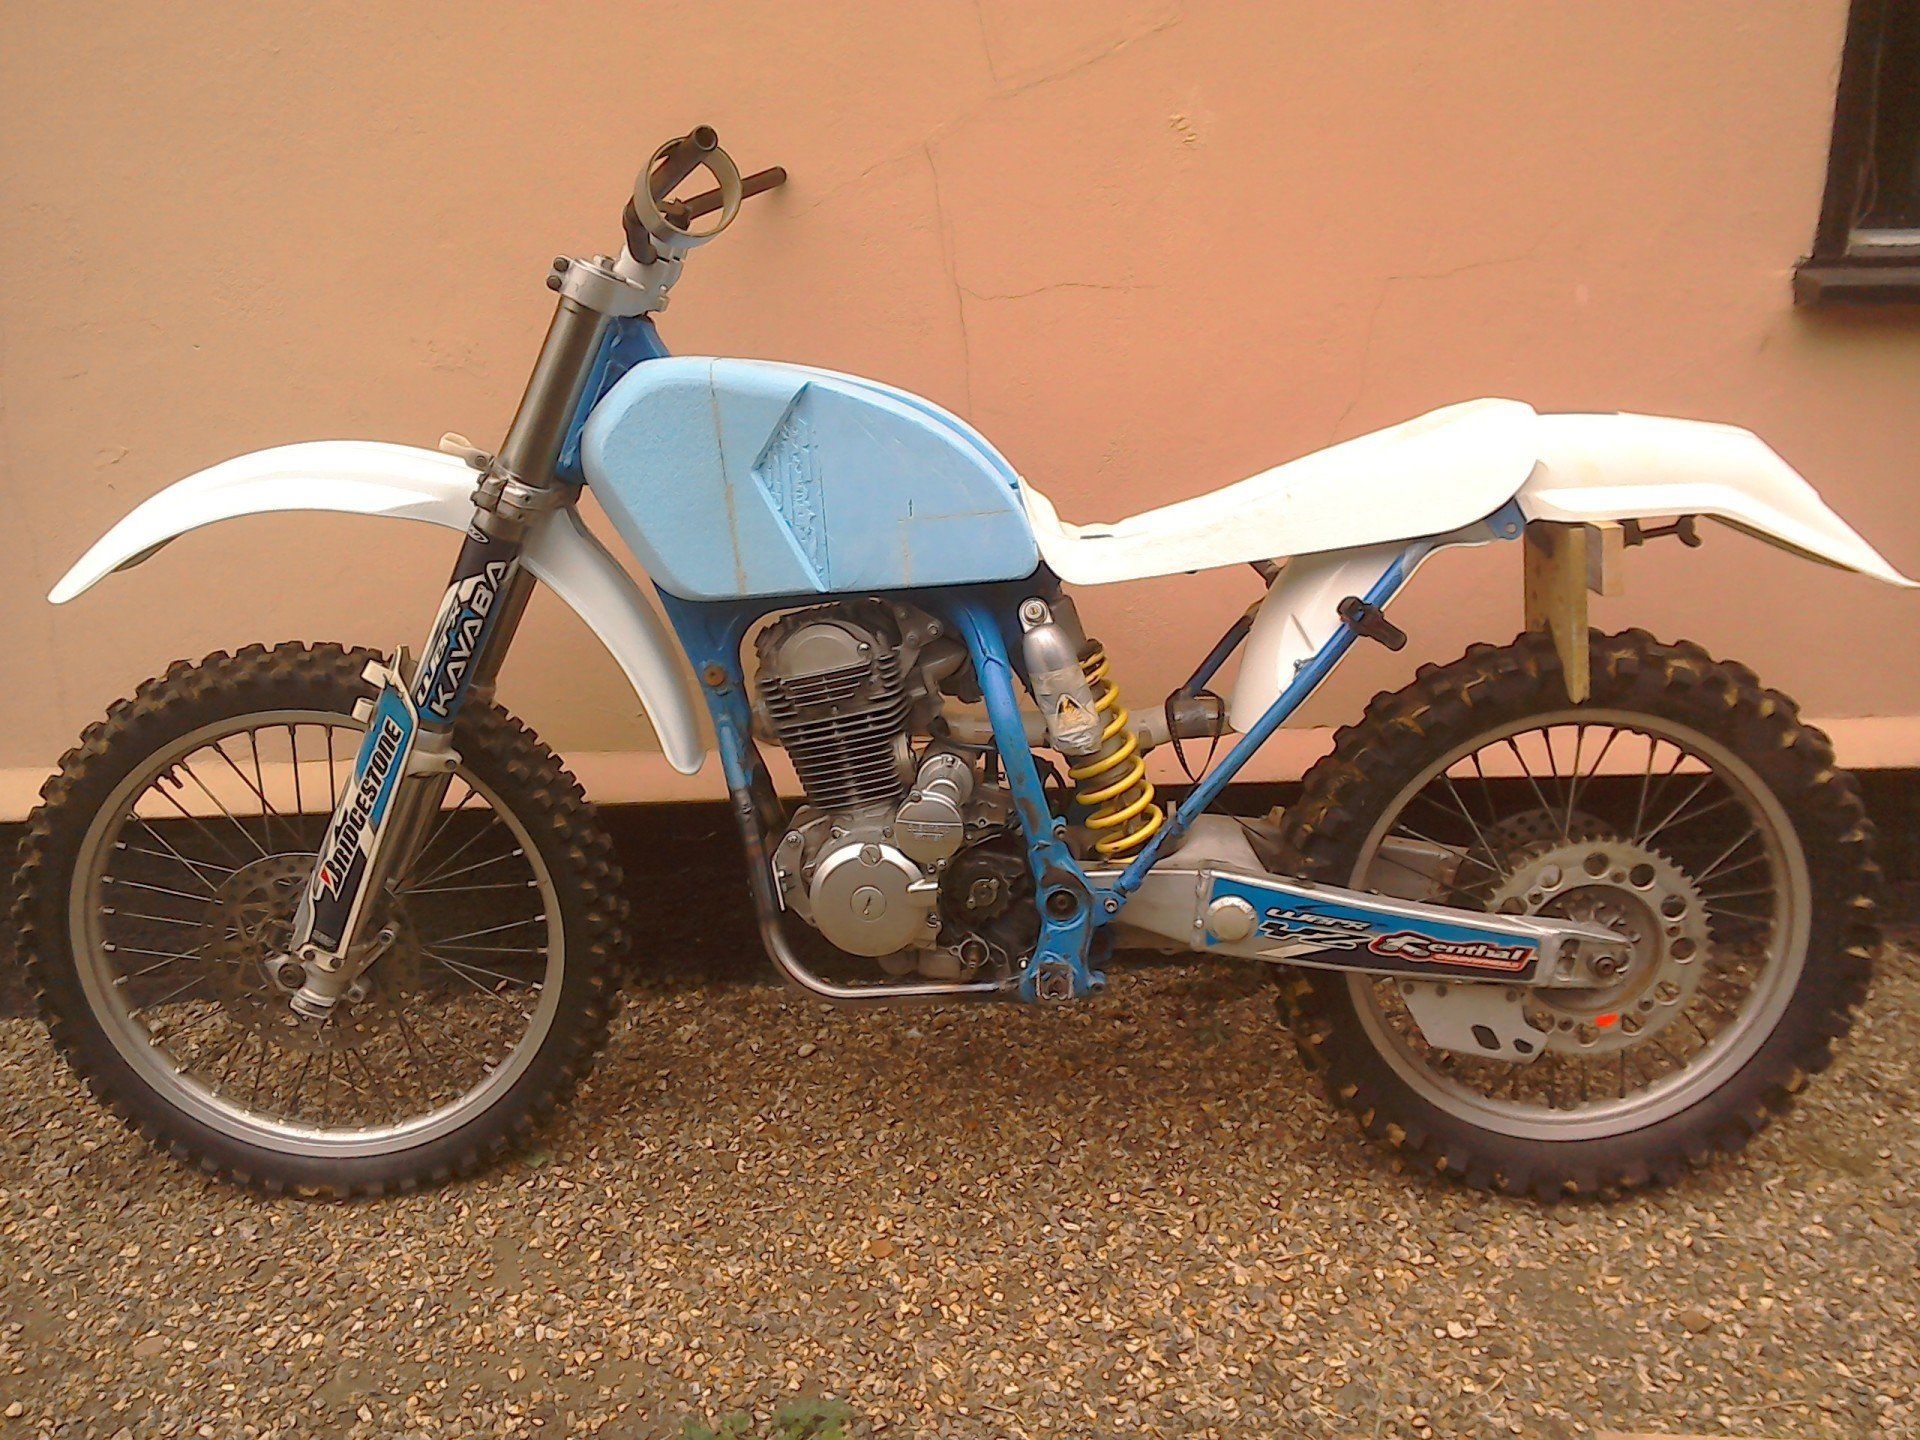
So, with modifications made to the rear mudguard, seat base and petrol tank design. Is the bike still an ugly duckling?
Like a lot of us, the bike doesn’t look that good naked, but, once again, with the aid of the computer, adding some clothes to him helps a lot. Not sure about that front mudguard, yet…
There's also been lots of work on the tank. Filling in gaps and adding some more shape to it. The foam is easy to glue together. You can stick it with PVA (takes a long time to set), a glue gun (sets fairly rapidly) or you can join it with car bodyfiller (quite quick setting, but it does attack the foam a little. More on this later). However none of these sand very well. The glues tend to be rubbery and just bounce or stretch when sanded. The filler sands, but because it is harder than the foam, the foam either side of the join often gets sanded away in preference to the filler!

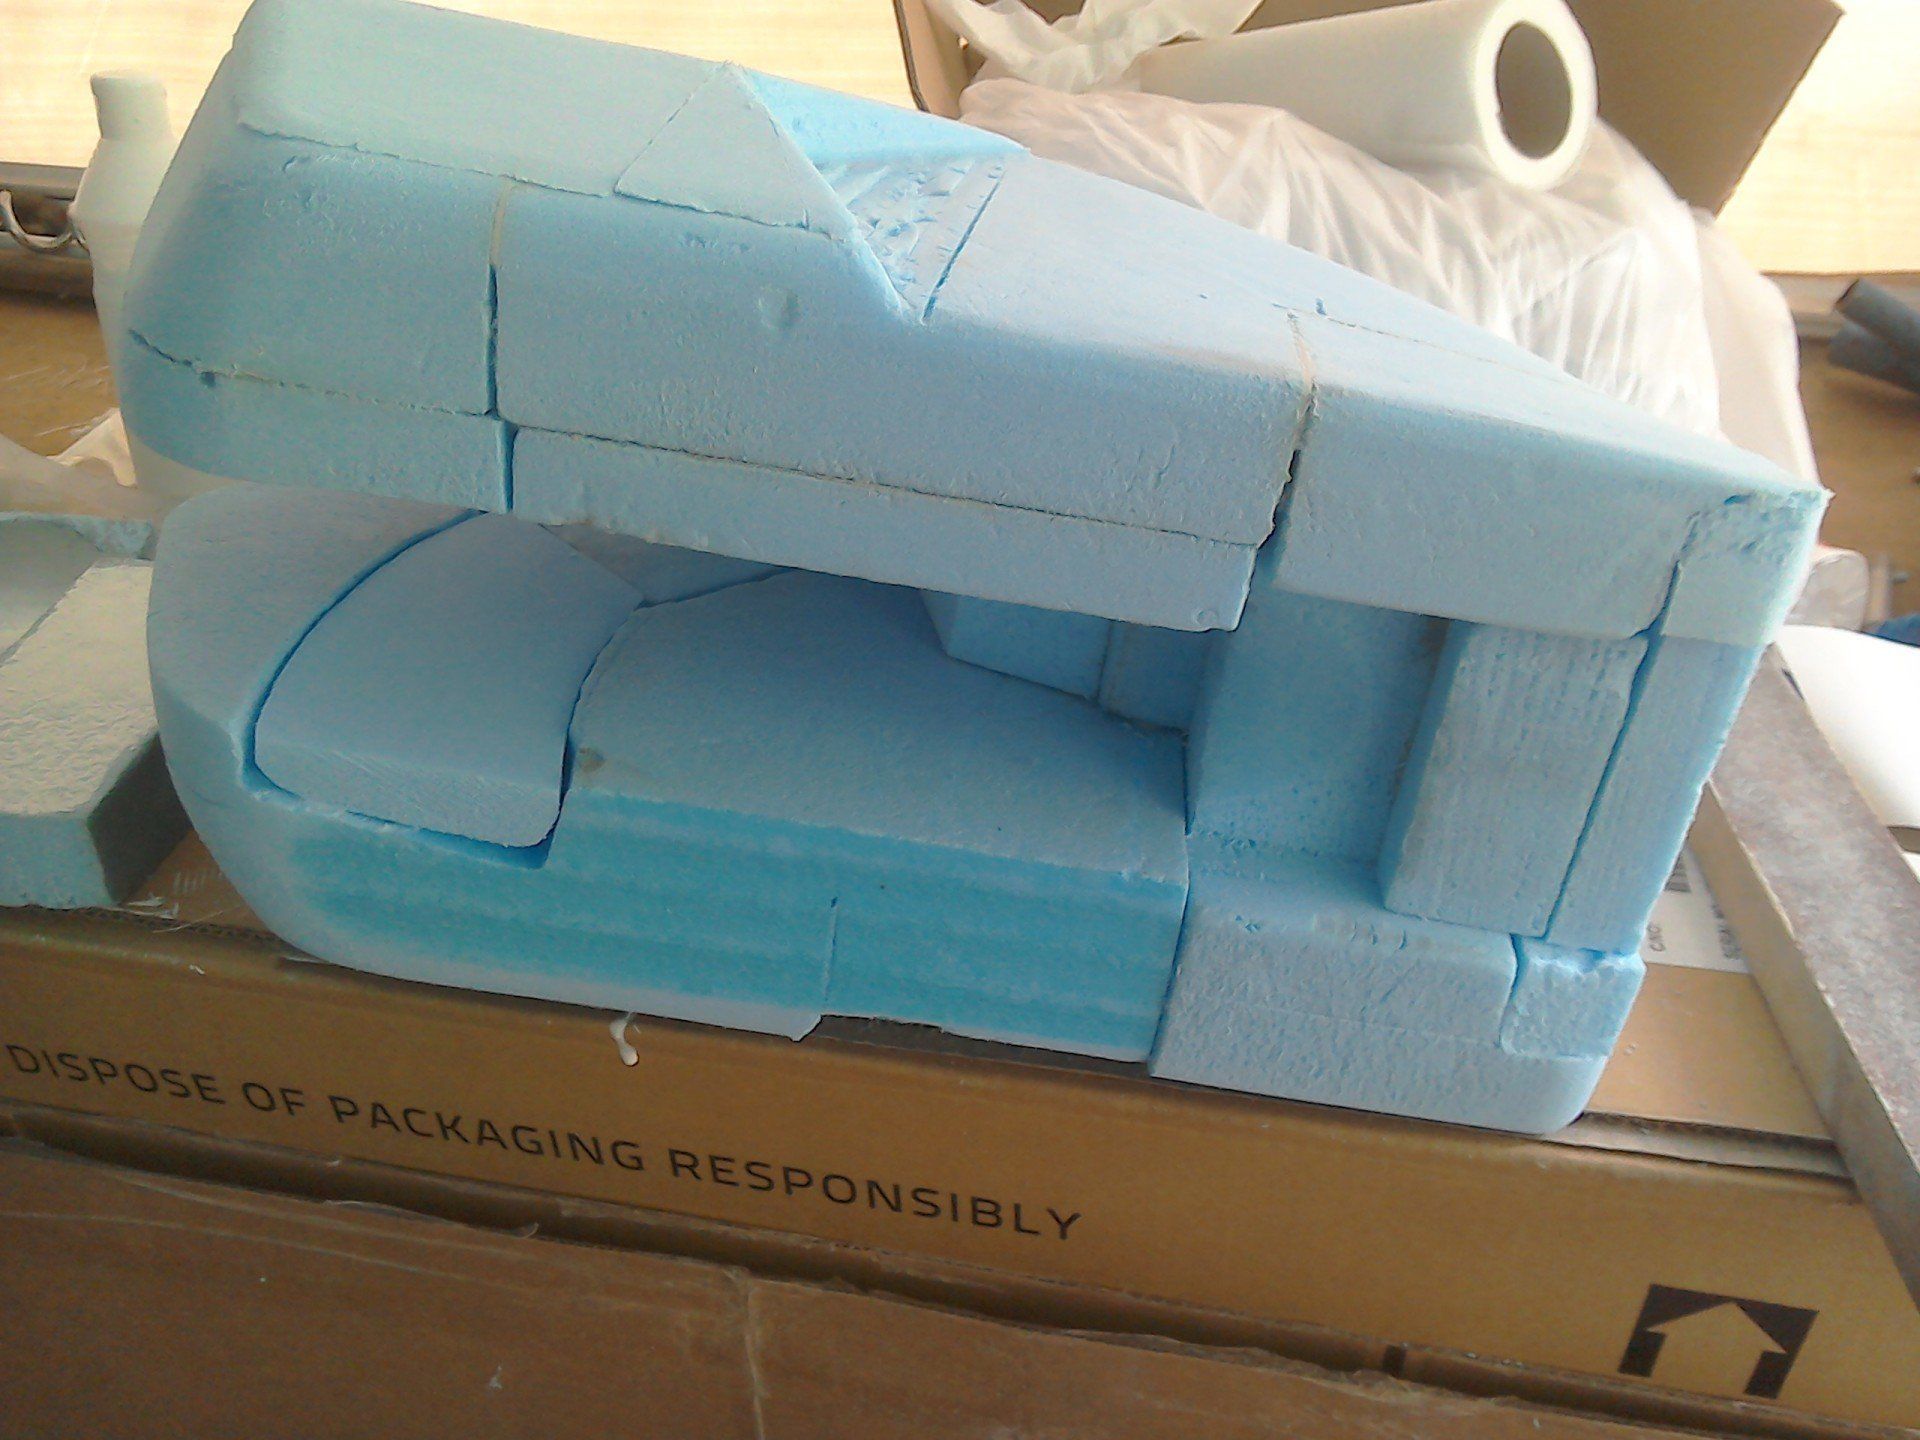
You can see just how many bits of foam I've stuck together to form the tank. If you are far better than me at 3D sculpting and visualising what you want, it would be better to start with a solid block and so avoid the glue problem. For me it's a more iterative process. I started with the part of the tanks's tunnel that sits on the frame rubber, added the two sides and then gradually filled in the gaps! It's slow, but I get there, eventually...
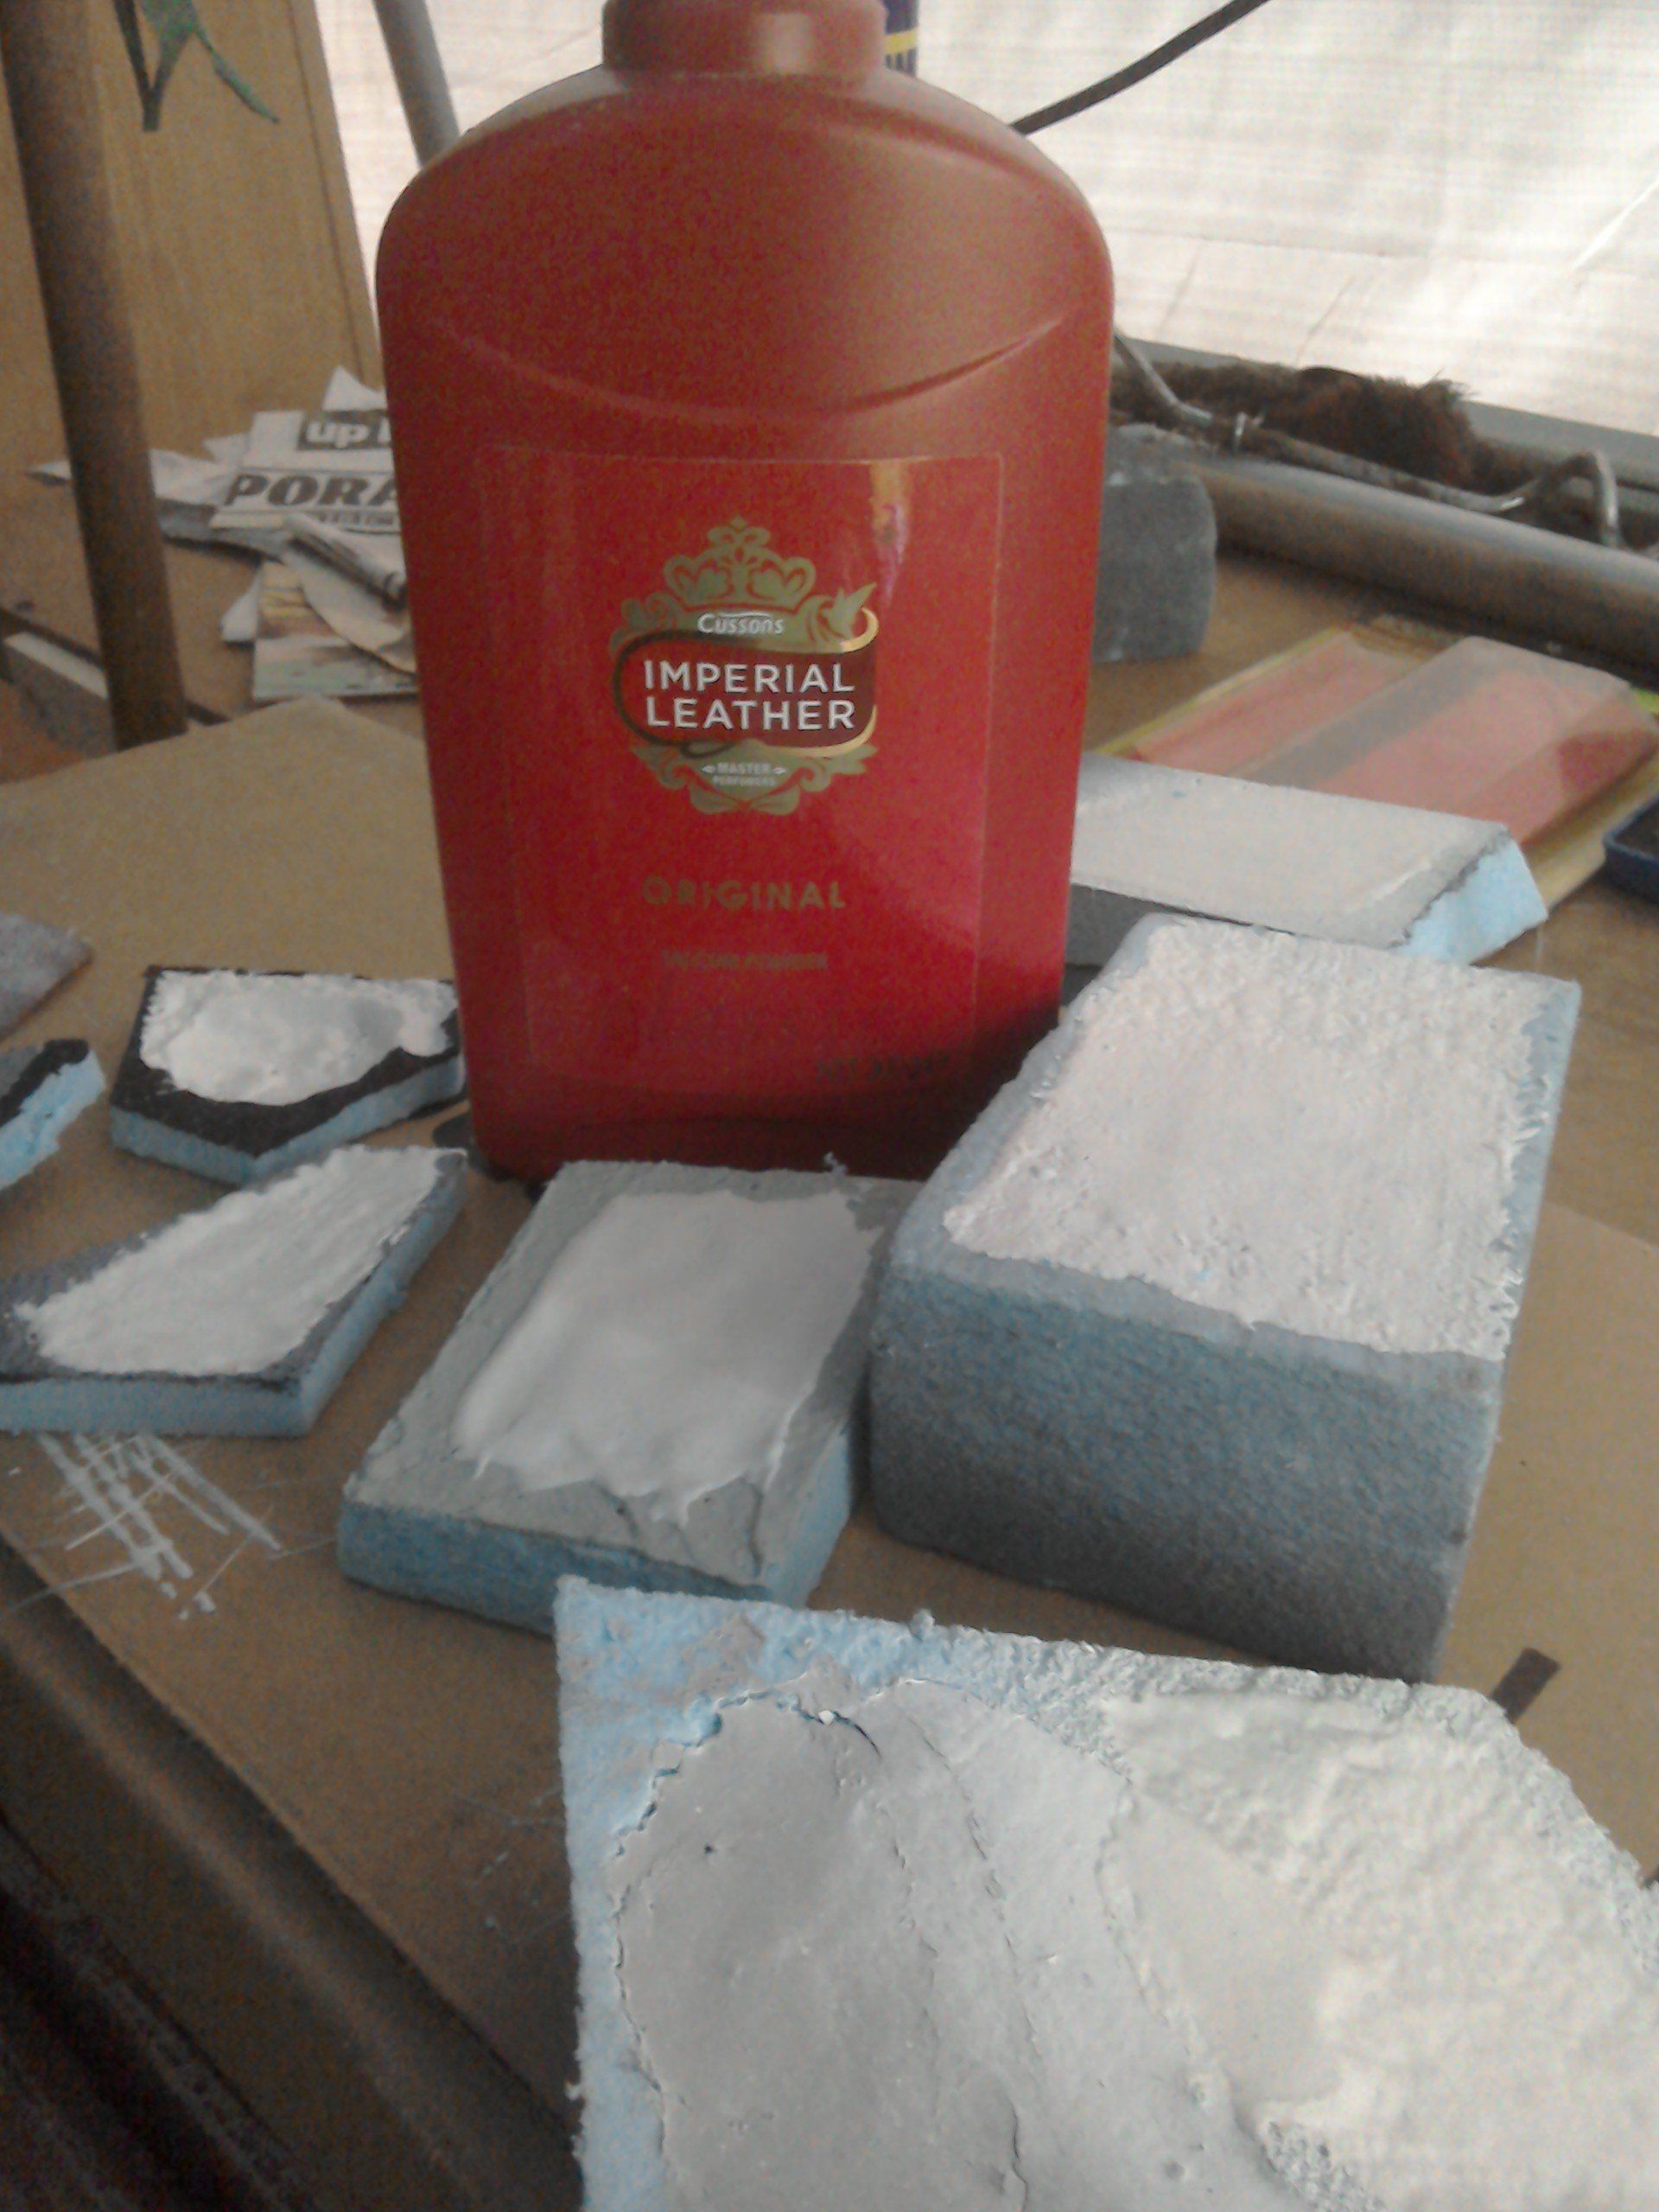
Here's the tank, sanded to shape and painted black. For more on this (and what those bits of foam and the talcum powder are all about in the picture at the bottom) you'll have to wait until next week, when the new issue of the magazine (and its corresponding articles) is available online.