Workshop Blog March 2023
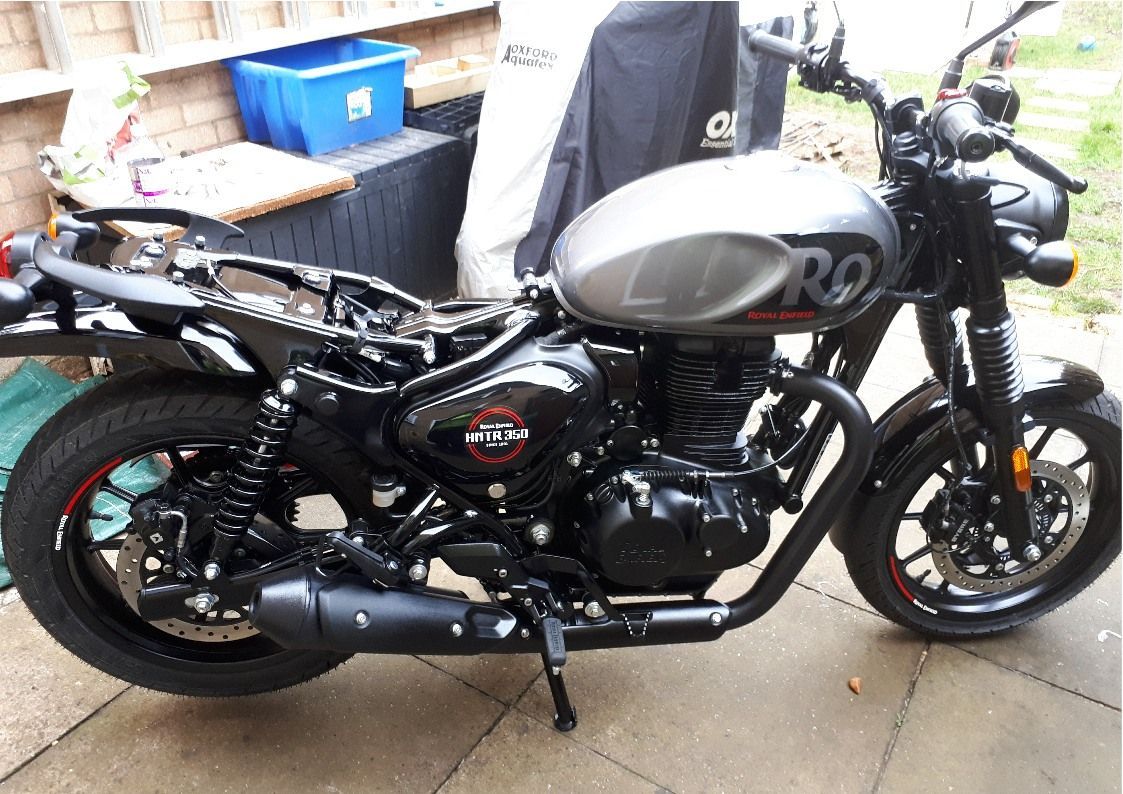
I must confess. The garage has a new resident. I’ve gone out and spent money on a new bike, and not just new as in new to me, it’s new as in first registered owner new. The old Suzuki GS has been retired in favour of something (hopefully) reliable to be used as my everyday transport. After perusing all of the new bikes available, I narrowed the choice considerably by choosing the ones that I could actually afford. Basically that meant that I was looking at one of the 350 single offerings from Royal Enfield.
The Meteor and the Classic have been around a couple of years, but they’ve just been joined by the Hunter. The Meteor is immediately discounted as I don’t like the style. The Classic appealed, but an everyday, all weather bike with lots of chrome? Nope, that wasn’t going to work for me. And so the choice was reduced to one, the Hunter. Good job that I liked the look of it then, although I think the Dapper Grey paint scheme is by far the best.
With no test bikes available locally, the best I could get was to sit on one. For a beginner friendly bike designed to appeal to a wide range of customers, I was surprised at the seat height. It’s a toes down only job for me. I thought I’d be much nearer to flat footing it than I am. At 5ft 4in, I know I’m not tall, but that’s an average height for a woman, so I’m a little disappointed that a bike aimed as a novice friendly, easy to ride machine is still a little tall for an average size woman. Now I’ve ridden it, I can say that for me, it doesn’t really matter. The bike is very well balanced, with a low centre of gravity, so that it never feels tippy. But still, I can flat foot the elderly SRX with ease and no one complained that its seat height was too low back in the 80s. (Possibly because it was so difficult to kickstart the thing that no one actually rode one much!) Why do newer bikes have much higher seat heights? Although if you actually look at the bikes side by side, perhaps the biggest difference seems to be that modern bikes often have wider seats, and wider seats mean that you need longer legs to reach the ground. Are today’s backsides also wider? Probably! And while I’m moaning, to comfortably reach the levers you need hands that are bigger than my size 8s. Again it’s not too much of an issue. I can manage, but it’d be more comfortable if the reach wasn’t quite so far, or if there were adjustable reach levers fitted.
So I bought it without having a test ride and then spent two weeks worrying that I’d regret downsizing to a less powerful bike. And then it arrived, and as there was a brief window of opportunity of dry weather, I took it for a spin…and to be honest was under whelmed. Don’t get me wrong, for a single, it’s almost unnaturally smooth and the fuelling is perfect. The chassis steers with such precision that you no longer worry about potholes, tar overbanding, wet white lines etc. You can effortlessly plot an inch perfect line to miss everything. Now I’m not the fastest of riders, very rarely ever exceeding the national speed limit, but on the SRX (another single cylinder bike) I have become used to barrelling into corners, using the fearsome engine braking and the monster size front disc to rapidly slow it, before apexing the bend and then departing out on a wave of single cylinder thump. The Hunter just doesn’t do this. But then, after the initial frustration, I learnt how to ride it. Basically, stop trying to go fast. The Hunter has a beautifully smooth engine and that’s how you need to ride it, smooth. When you cut back that trying to ride fast mentality and start to realise just how impeccably well behaved the Hunter is, more of your attention can be directed to reading the environment ahead. The bike’s not likely to do anything unexpected. And then, after a while, you also start to realise that smooth does not necessarily mean slow.
I love the SRX, but it’s not standard and despite many years of tinkering, it still does not carburate smoothly in all situations. It loves accelerating. It’s a demon on the brakes. But in constant speed / traffic situations, it’s a juggle with the controls to make smooth progress. It’s a rewarding ride, but it’s not a relaxing one and that bit of extra attention it requires means there’s a bit less available to use to read the road ahead and I certainly don’t have enough spare to enjoy the scenery. It’s a similar story with the old GS, except this time it’s the height and weight and that steals some of my attention. (Stopping has to be carefully planned, especially if the road is cambered.) Riding the Hunter has allowed me to just enjoy the ride, something that I haven’t actually done for many years. Perhaps that’s a motto for life. Modern life seems to dictate that you must go everywhere as fast as possible. There seems to be a constant impatience. Maybe if we all stopped trying to go as fast as possible, we’d actually start to enjoy the journey a bit more, because ultimately, we all know what our end destination will be. Perhaps it’s a motto for life, we all need to stop running around like headless chickens and be a little bit more Hunter.
After another ride on the Hunter, I can tell you that the handling is ruined should you have a flat rear tyre. My first ever puncture on a road bike occurs on my first ever brand new road bike and required me to make my first attempt at a ‘dog turd’ puncture repair all on my own at the side of the road. More about that in a little while.
First job, after that initial ‘must take it out now’ ride is to wash the Hunter and give it a nice coat of ACF 50. Royal Enfield have some specific instructions for preparing the bike for washing: tape up the ignition key hole, plug the exhaust, cover the switch gear and the speedo. I chose to wrap the switch gear with cling film, cutting down a roll to a more manageable size. This didn’t work terribly well, the heat from my hacksaw melted the cut end together in places so it wouldn’t unwrap nicely. Filing the end of the roll made this a little better, but cling film is still the work of the devil, sticking to anything but the thing you want it on.
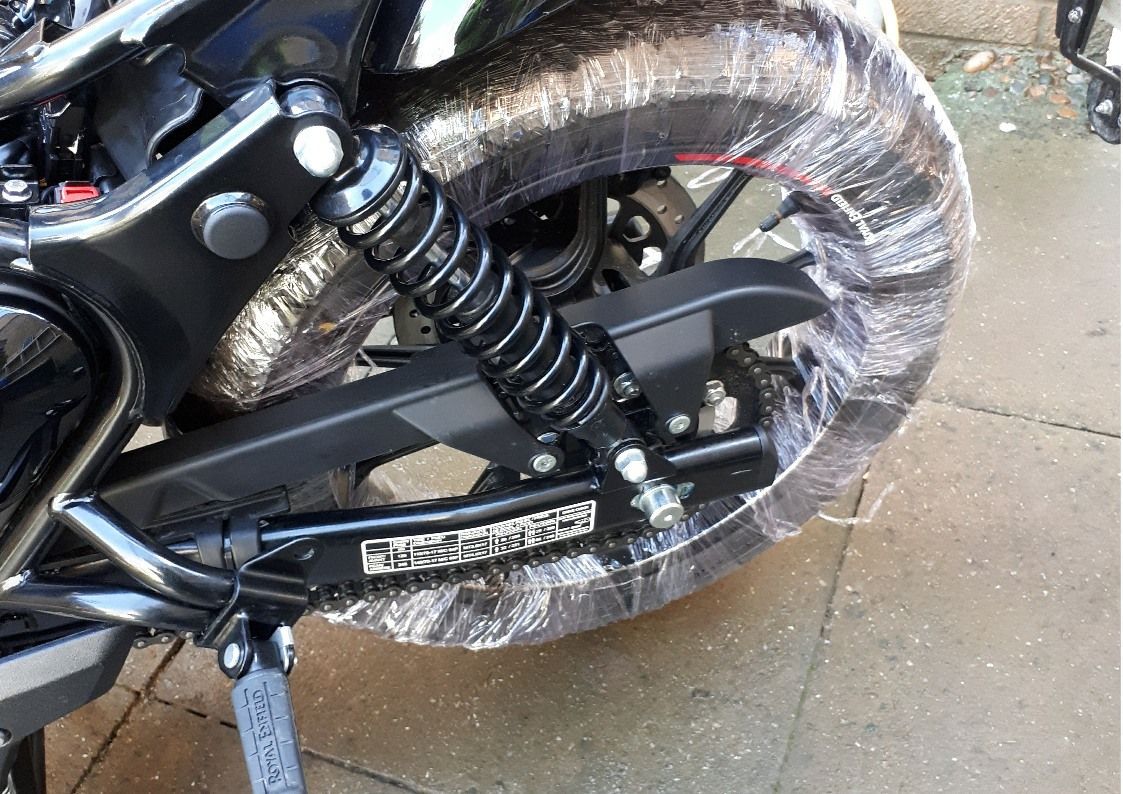
I also decided to try and clingfilm the tyres. To be fair, I did manage to successfully do it, but it's not something I recommend.
After washing it, I used another new purchase, a bike dryer! It really is the tool you never thought you’d need, but I’m a convert. After spending some time looking at the available options, I didn’t go for one of the cheap ‘dog dryers’ from Amazon, I bought the more expensive Bruhl MD1400. This is the baby version of their range, costs around £100 from your favourite supplier, and supplies vast quantities of warm filtered air. This version isn’t heated as such, rather the warmth produced is a by-product of the friction involved in trying to shift lots of air. I bought the Bruhl as I thought it’d be easier to sell on should I find it to be one of those gadgets that end up sat on the shelf, but it’s a keeper. I hate washing bikes, and anything that speeds up the process of having a clean dry bike to shove back in the garage sounds good to me.
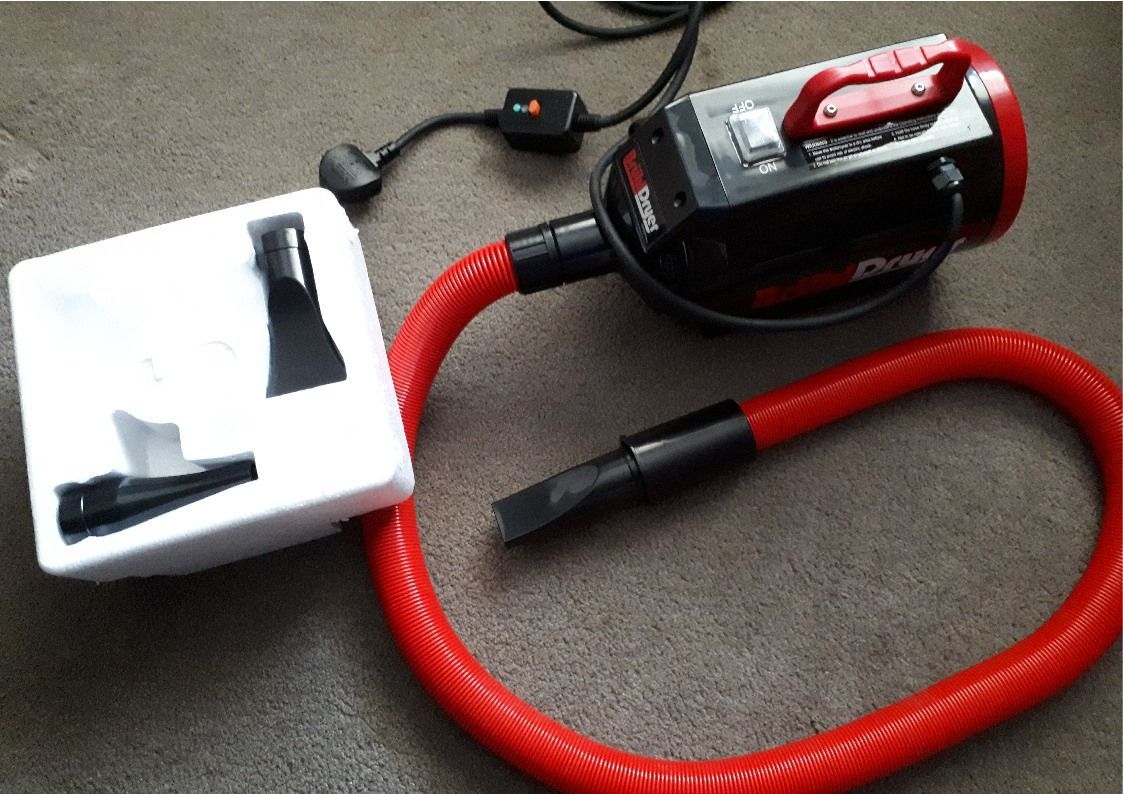
Despite the box showing the nozzle shoved up close to switch gear, blasting the water away, the instructions ask you to keep it around 30cm away. Even at that distance, there is plenty of power to shift water from all of the nooks and crannies. It’s quite pleasing to produce a nice clean and dry bike in short order. Just make sure that you have hold of the nozzle before you turn it on!
Once dry, it’s time to apply the ACF50. I use a small spray gun hooked up to my air compressor. This requires lots of bits to be masked up. Mostly all the rubbery bits (tyres, grips etc.) and the brakey bits. The performance of these items is not improved by the addition of a layer of oil. Once again, I tried the cling film method. It was a pain in the backside to do the tyres, but I haven’t come up with a better method yet. Brake components were wrapped in bin bags. I’ll admit that I’m not great at setting up the spray gun. The coverage I got was a little heavy in places, but a little bit of work with a cloth afterwards soon sorted it out.So there we have it. Cleaned, dried, corrosion protected and ready to ride, and then on my first decent length trip, I get a puncture…
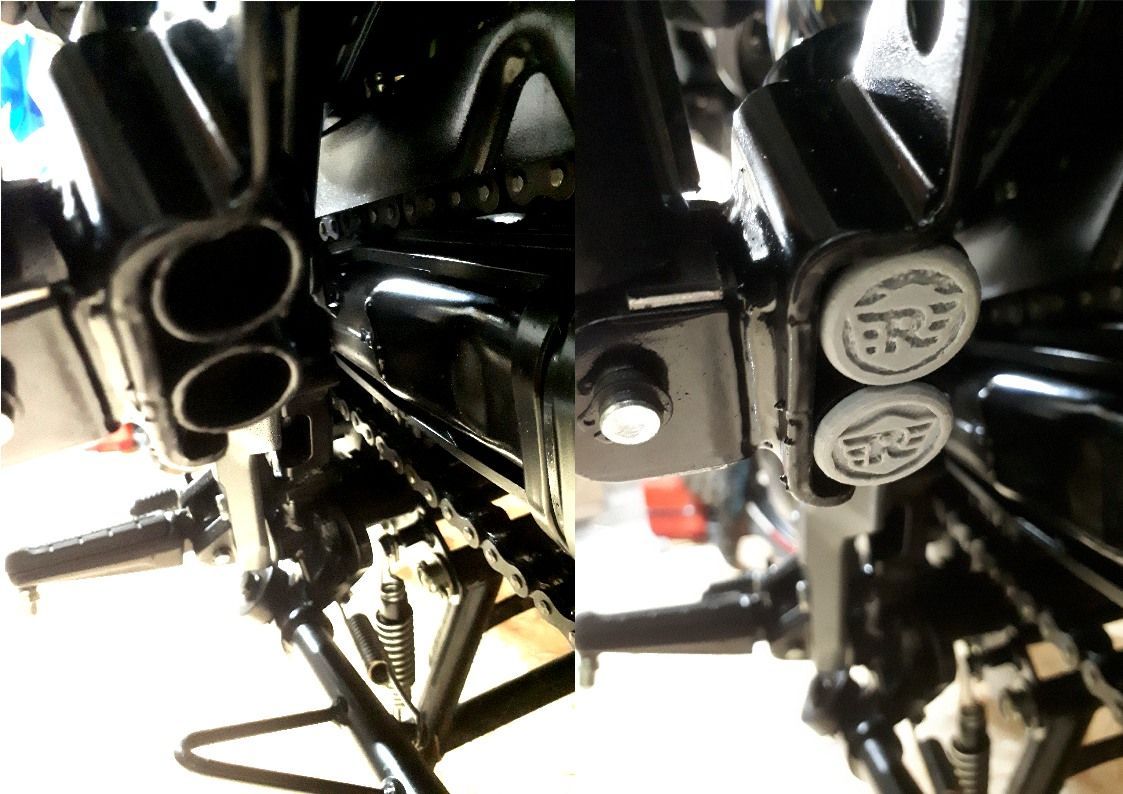
While washing the bike, I noticed that the ends of the tubular pillion peg hangers are open to the elements. I didn’t like the thought of that, so crafted some bungs to go in the end of the tubes on the 3D printer. Dimensions were complicated by the internal diameter of the tubes not being consistent. Consequently some fit tighter than others, but all have remained in place. After a couple of attempts, I also managed to reproduce a semi-decent Royal Enfield logo on them.
On the left are the open tubes. On the right, bungs in place. Logo is getting better.
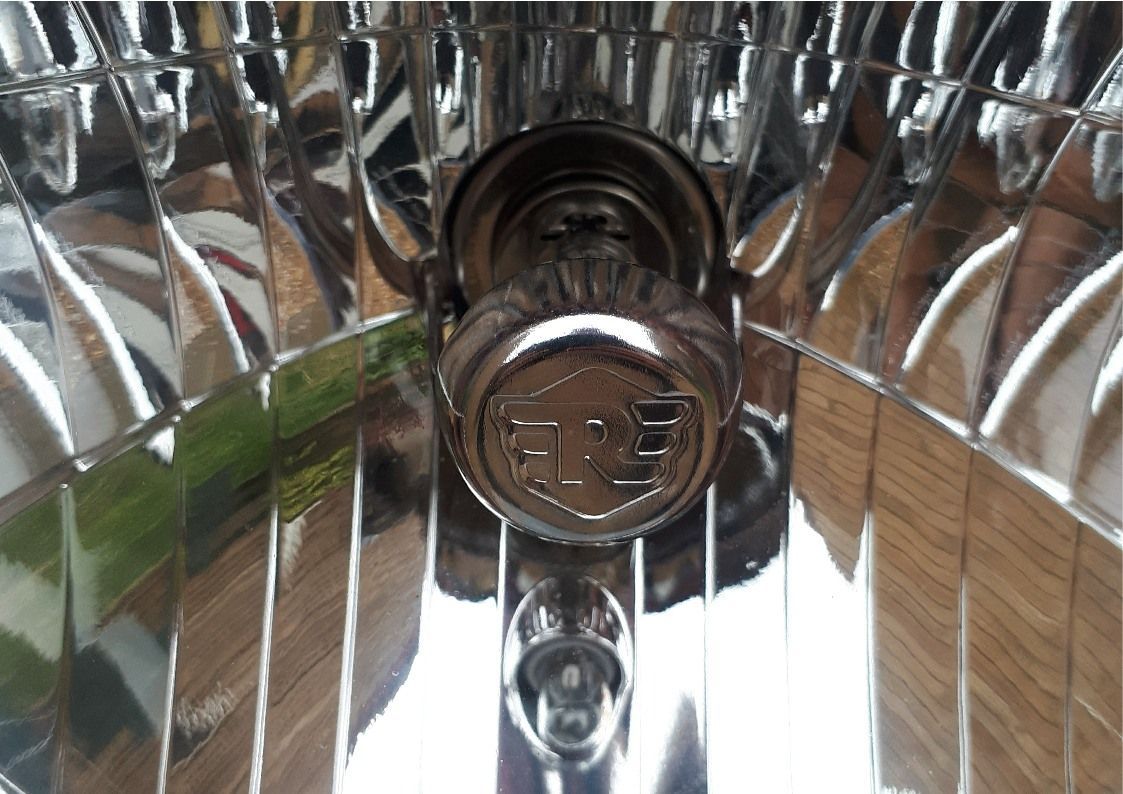
Enfield themselves have worked pretty hard on the design of the Hunter. There are lots of nice touches, even the headlight bulb proudly displays the RE logo.
And so to that puncture, the nimble handling of the Hunter is (unsurprisingly!) ruined when the tyre pressure disappears. Still, it took me a little while to work out why cornering was such a struggle and then a little while longer before I could find a safe gateway to stop in and survey the situation. Thankfully I had a rucksack with me, and in it (on a whim) I had chucked an emergency puncture repair kit and a tiny bicycle pump.
I’ve had the kit for a couple of years and never used it. Now was going to be my first attempt at ‘dog turd’ fitting:
First locate hole: Out with tiny bicycle pump to put some air in the tyre, and yes, I can hear a hiss. Now to locate the hiss. I did this by running my hand around the tyre. The hiss changes tone when your hand passes over it. Once located, it was also evident that whatever had caused the hole had departed.
Now I needed to read the instructions in the kit: Poke the reamer bit in first to clean the hole up. Poking that in the tyre is bloody hard work. Next get sticky dog turd into insertion tool. It’s like threading a giant needle with very sticky cotton, but eventually it’s in. Now poke that lot in the hole until only about a third is left outside. This is even harder bloody work! Next swiftly pull out insertion tool. Easier said than done when it’s wedged tightly in a hole surrounded by sticky stuff. So that’s bloody hard work too. For the first three attempts the turd came back out with the tool, partly I think because the turds had been kicking around for a while, so were probably not as sticky as they should be. Eventually, on attempt four, it stayed in and my arm muscles were pumped up like Popeye’s.
But there was no rest for my muscles, they then had to do some proper pumping to get something close to 32psi back in the tyre. Actually I was impressed with how well that little pump worked. I was also impressed that my temporary repair actually proved to be completely airtight.
Anyway, after some mental anguish, trying to decide if I was going to spend more money and replace the OE Ceat tyres with something Bridgestoney or Avony, I plumped for the cheaper option of getting the tyre repaired. It was, with some trepidation, that I approached the brand new motorcycle with my spanners to remove the rear wheel. I’m used to working with rusty old shit, where any slip of the spanners is hardly likely to be noticed. Thankfully, removing the wheel proved to be fairly easy, now I just have to refit the thing once the puncture is mended.
(I can tell you now that getting the wheel back in tried my patience a little, but it's now all back together and ready for the road again.)
Of course, if I’d had the money, I’d have been tempted by the new BSA. I’m not really a fan of the styling. I’d prefer something a bit more contemporary, but the bigger (more powerful) single cylinder engine is a temptation. I’ve had a little sit on one. Very similar ergonomics to the Hunter and didn’t feel much heavier. Unlike the RE Interceptor, which I thought I’d like, but feels a heavy old beast.
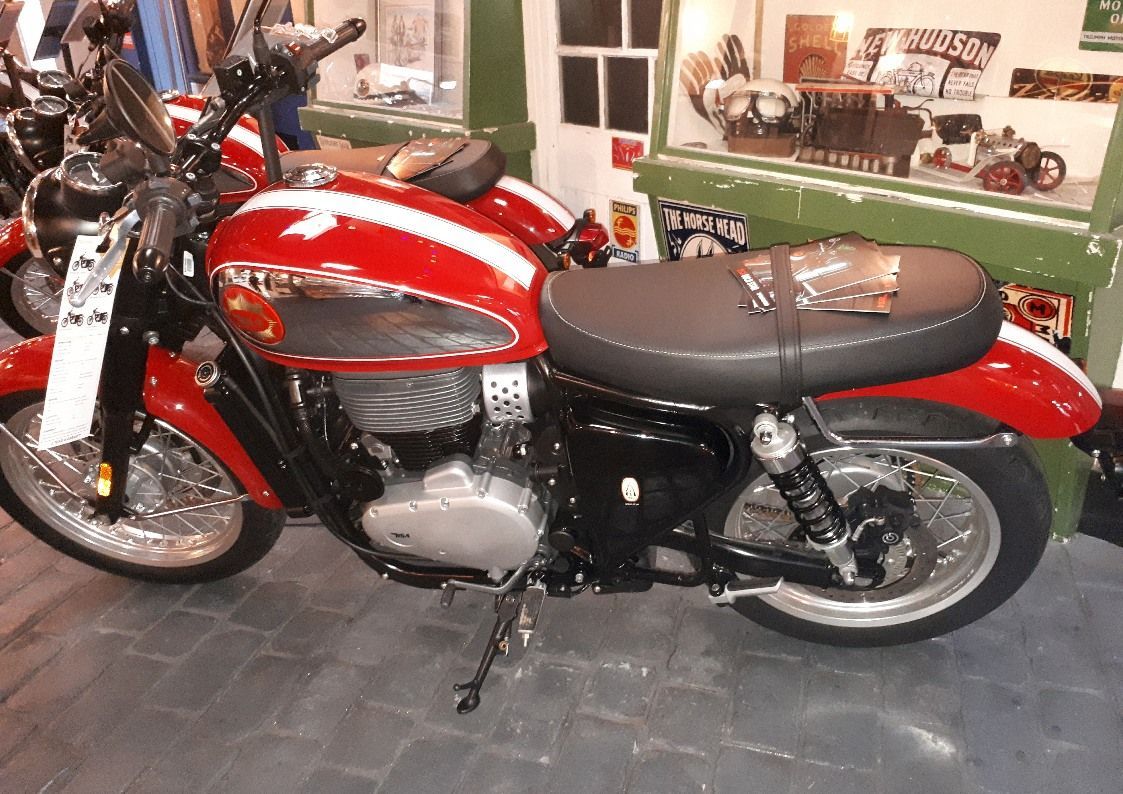
Also fitted in a couple of visits to bike shops (mostly to eat lunch and sit on the new BSA!) and took some photos. Despite there being lots of new or newish bikes in both shops, these were the ones that I actually took pictures of. There seems to be a theme!
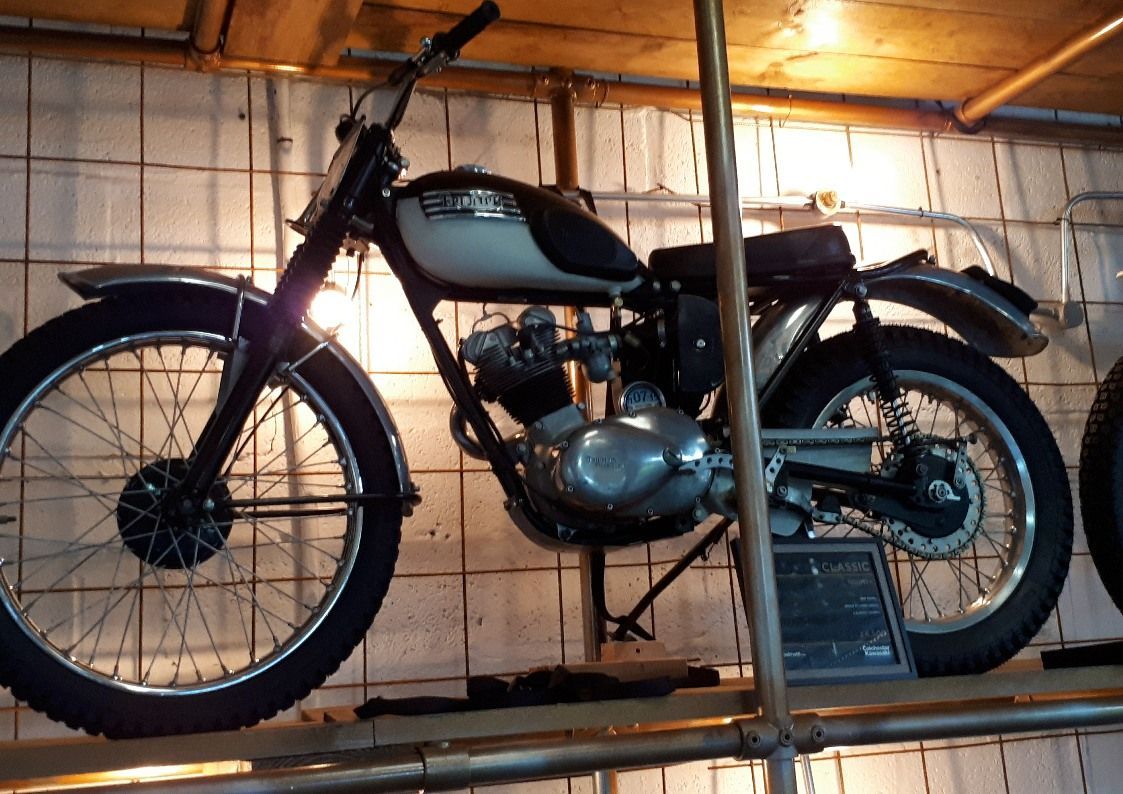
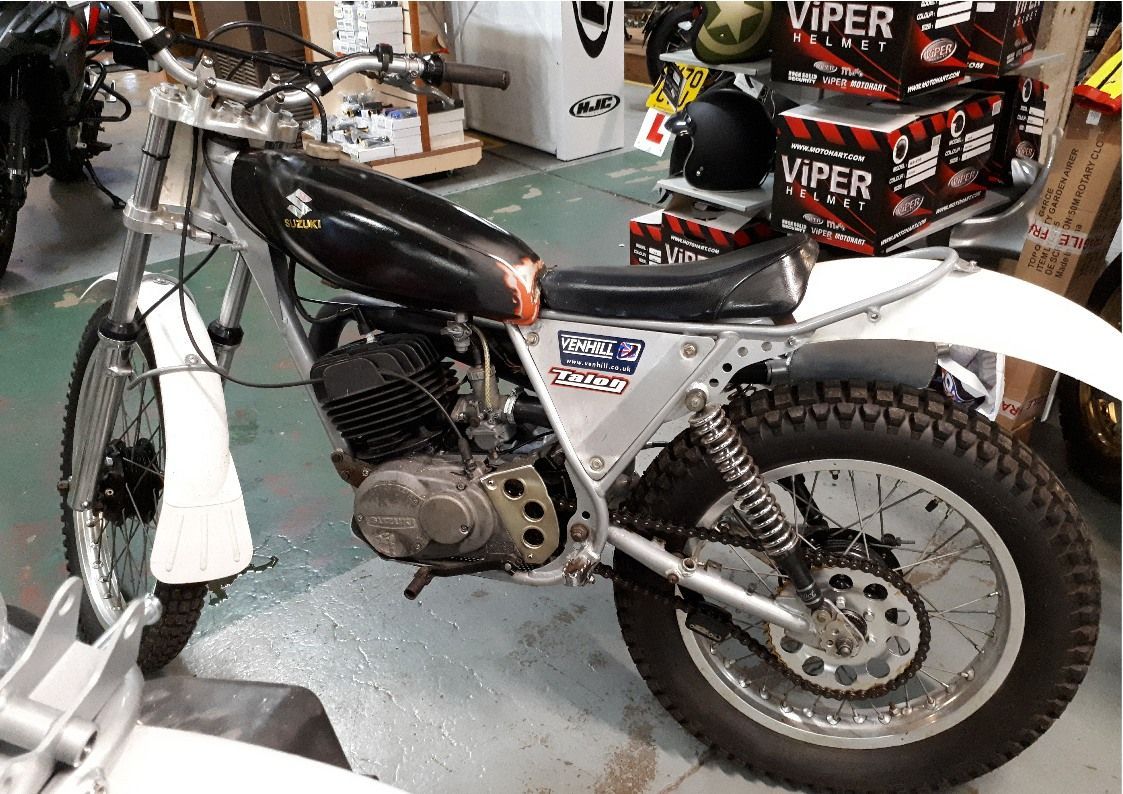
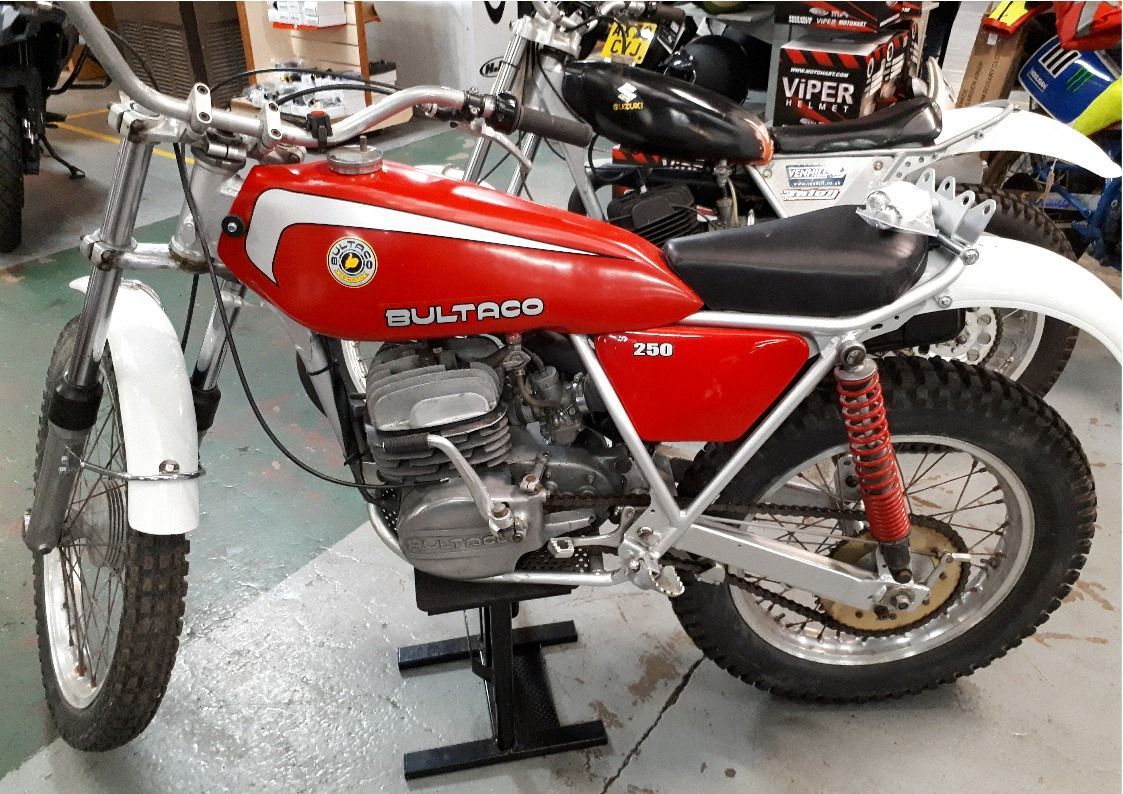
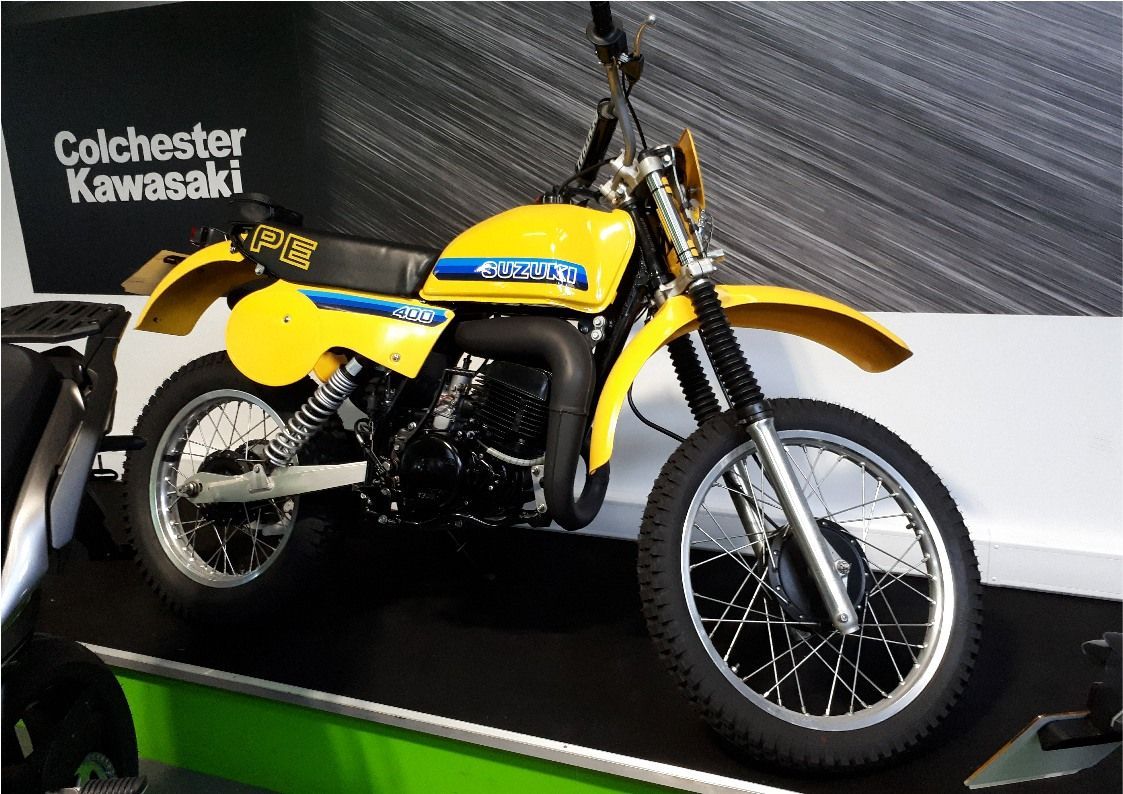
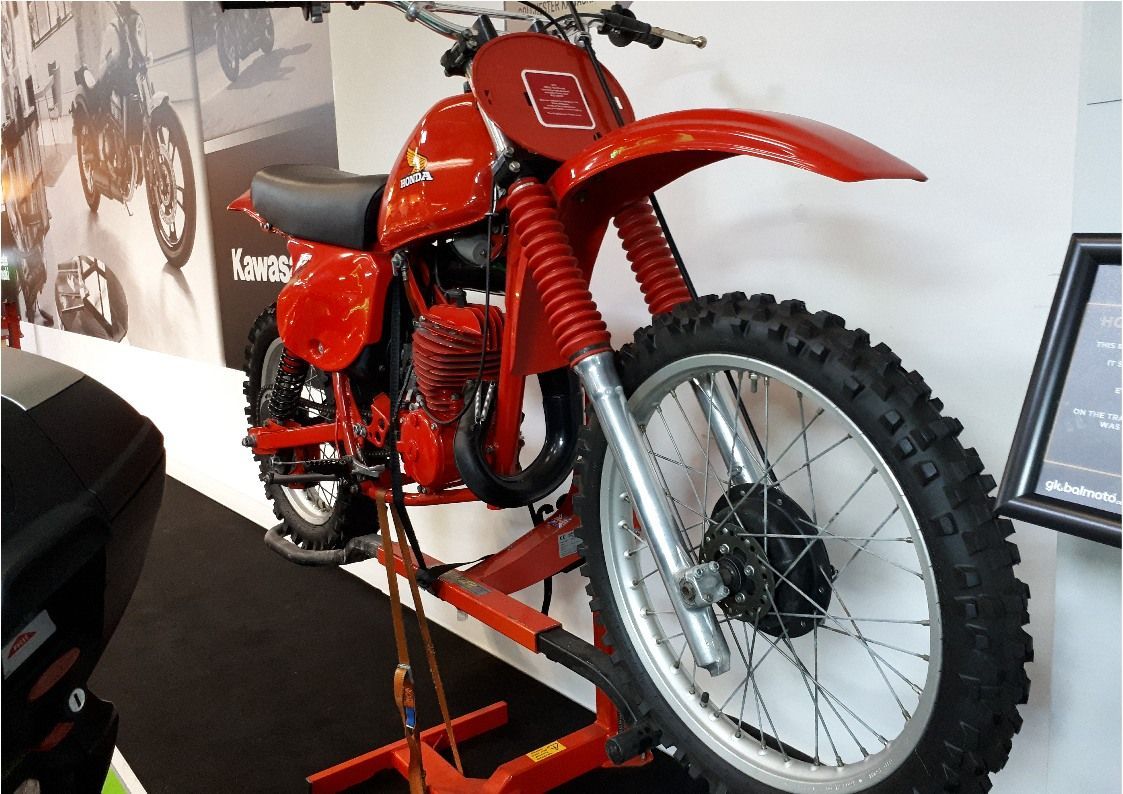
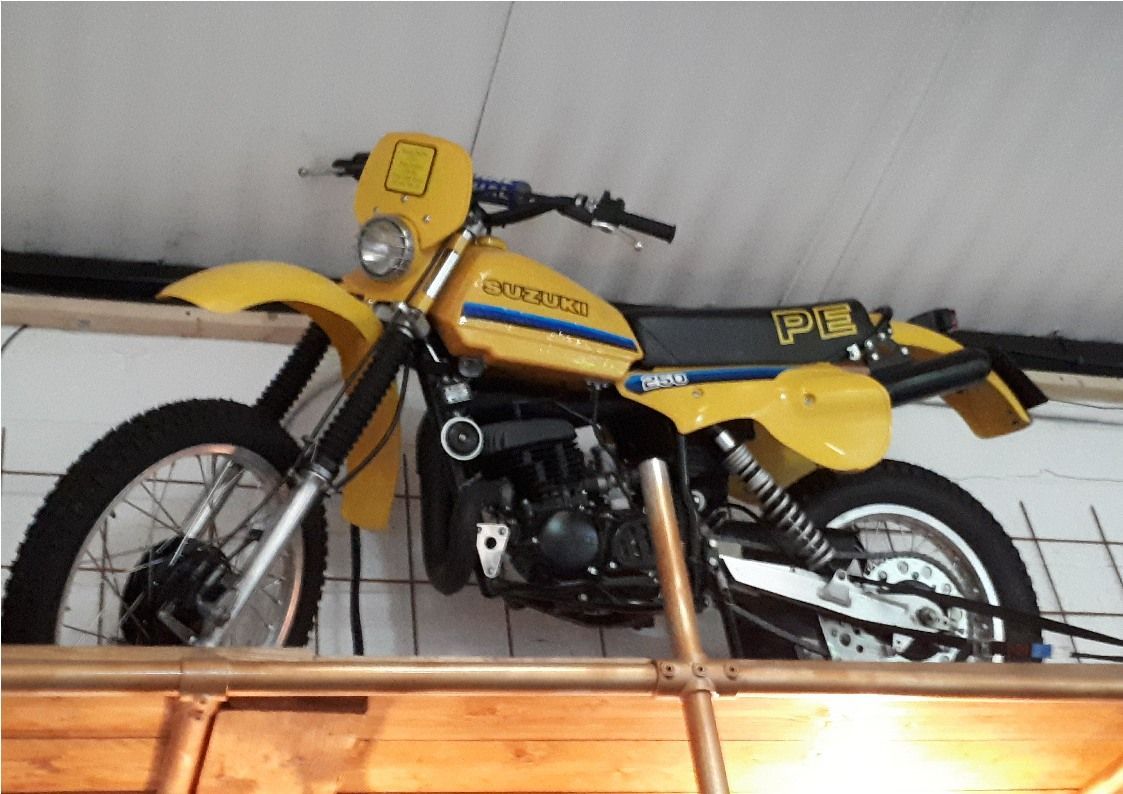
I do love dirt bikes, especially those of a certain age. Simple, but effective.
TTT motorcycles, Sudbury had the Suzuki TL and Bultaco trials bike. Colchester Kawasaki had the rest. Sadly most of them were not for sale.
AND!!! I’ve also managed to do a tiny bit of work on the project bike.
This time I’ve attempted some sheet metalwork - not something that comes naturally!
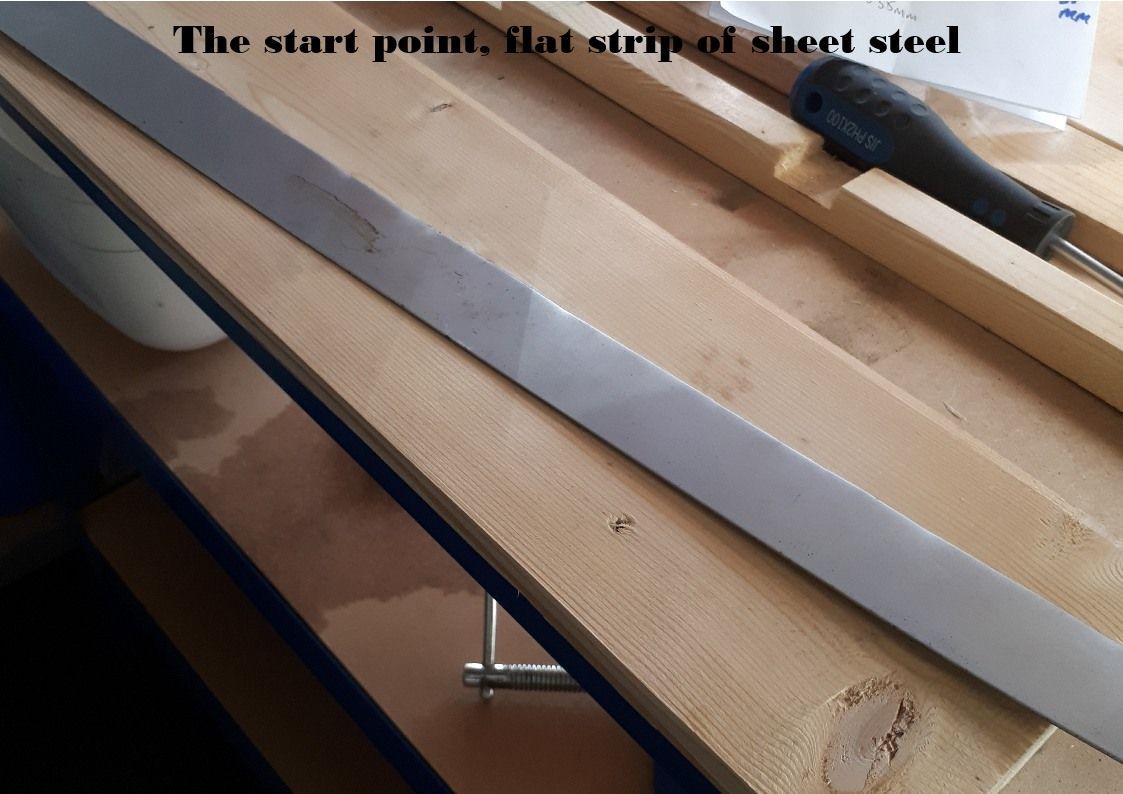
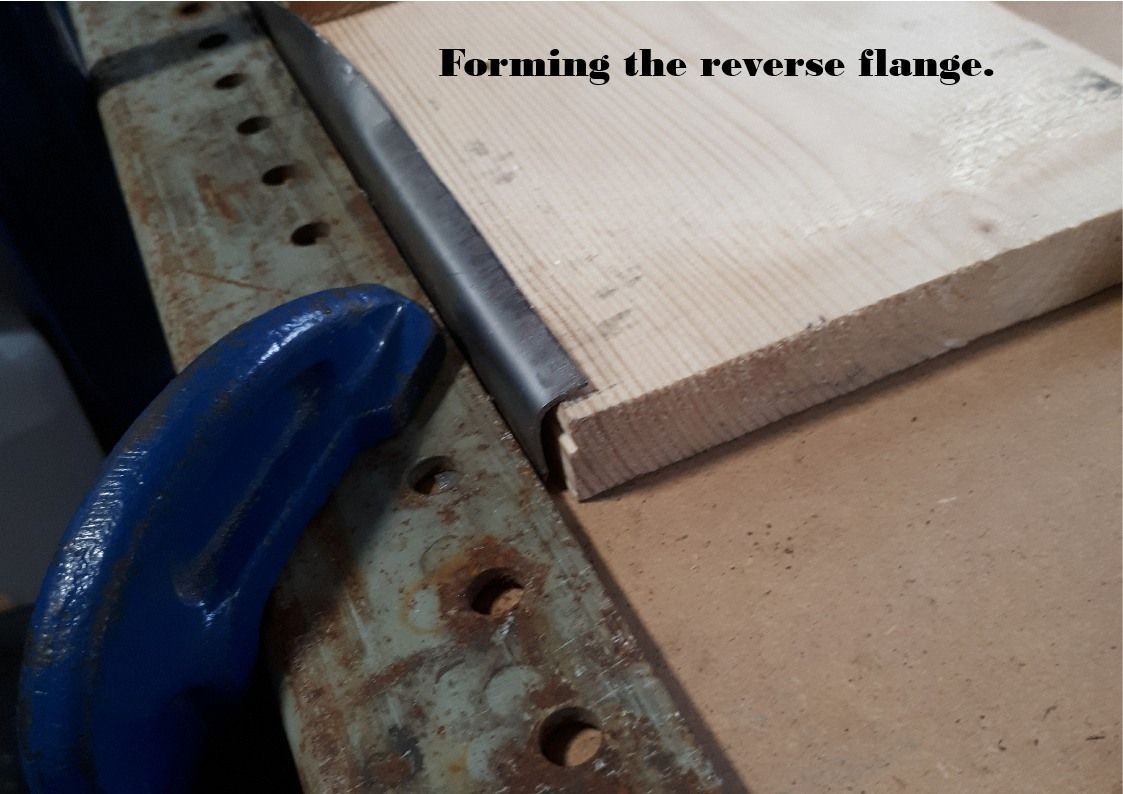
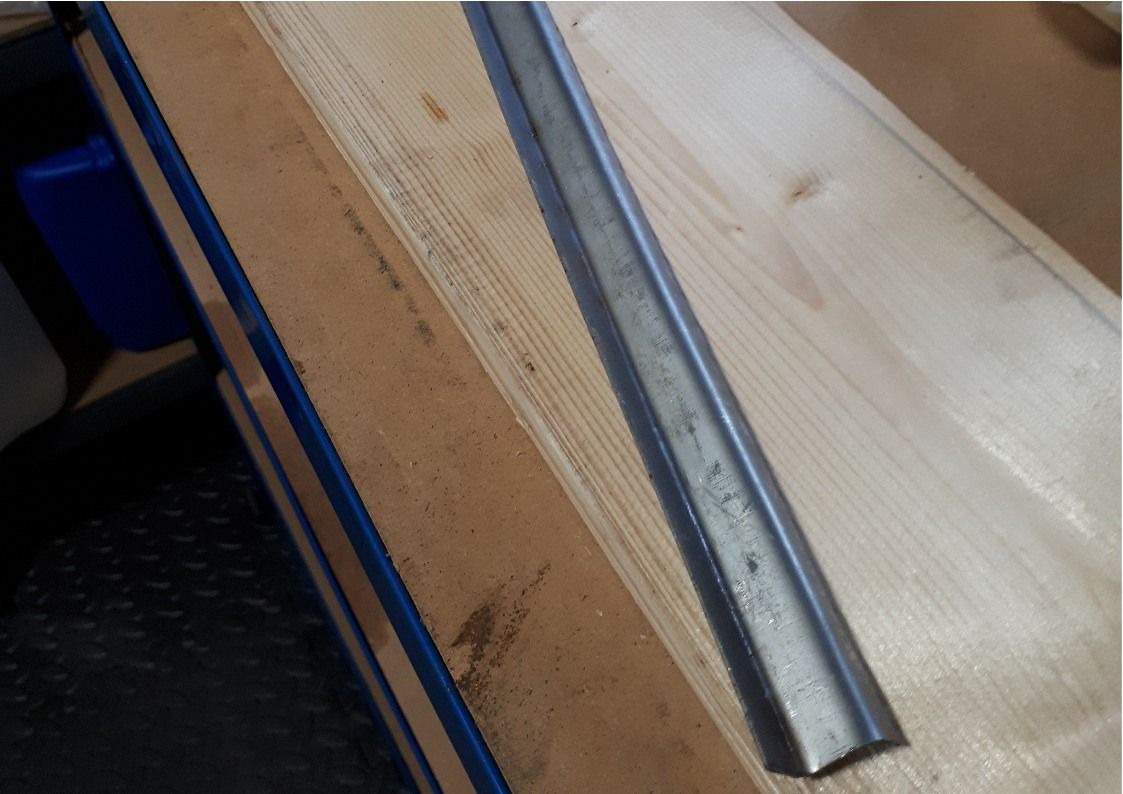
I want to make a steel bezel for the headlight, and I’m going to (try to!) make it from a flat strip of sheet steel. The first job is to make it into a Z shape.
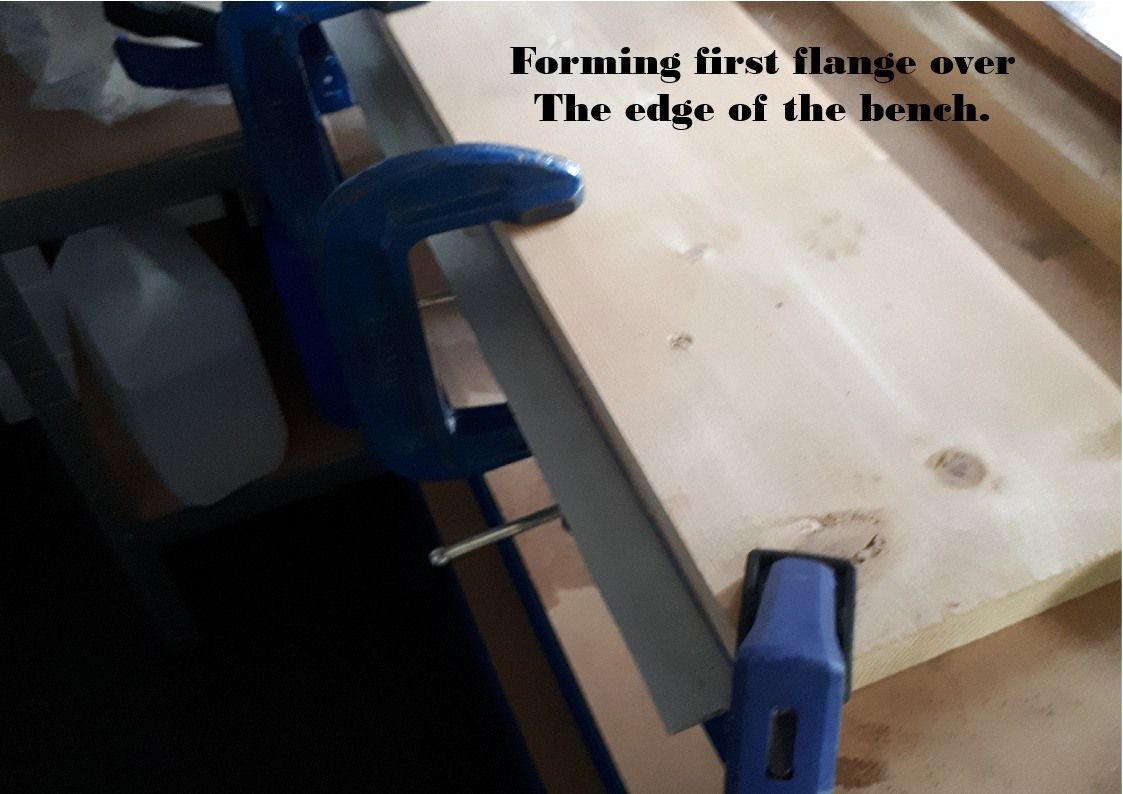
This first fold was made over the edge of the bench.
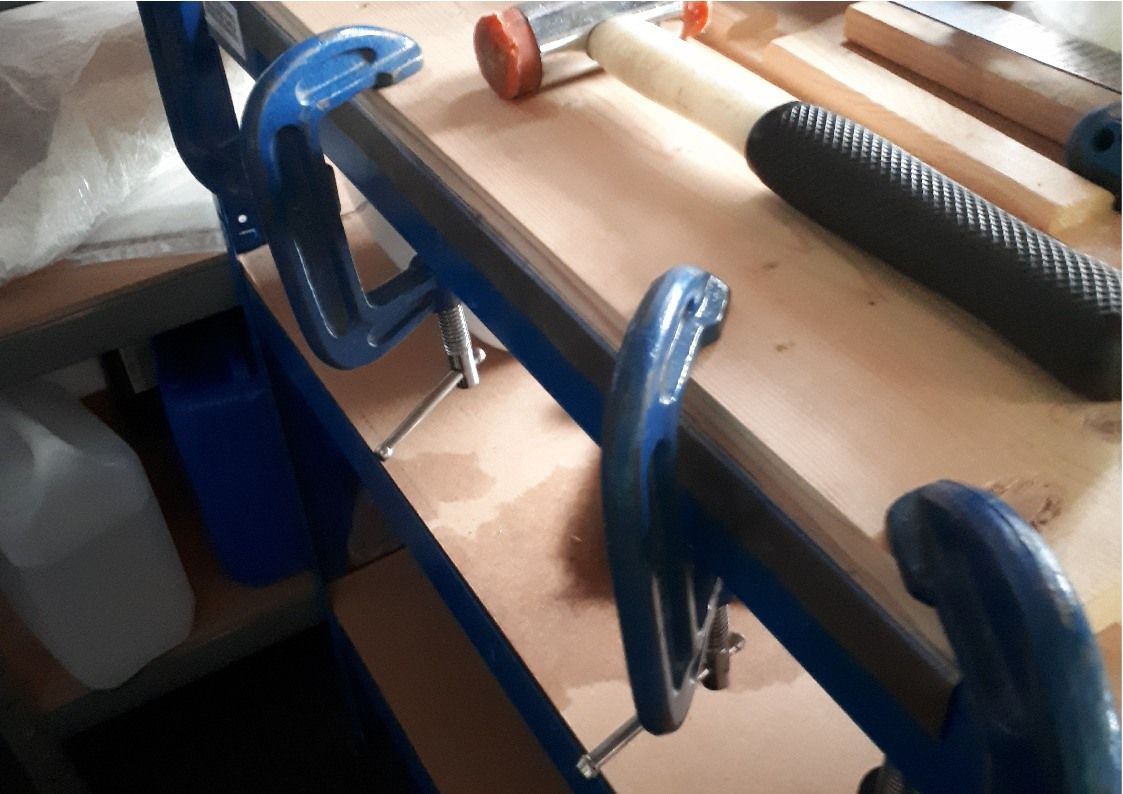
Then, this flange was clamped to the bench using a piece of angle iron and bent the other way using a suitable piece of wood as a former.
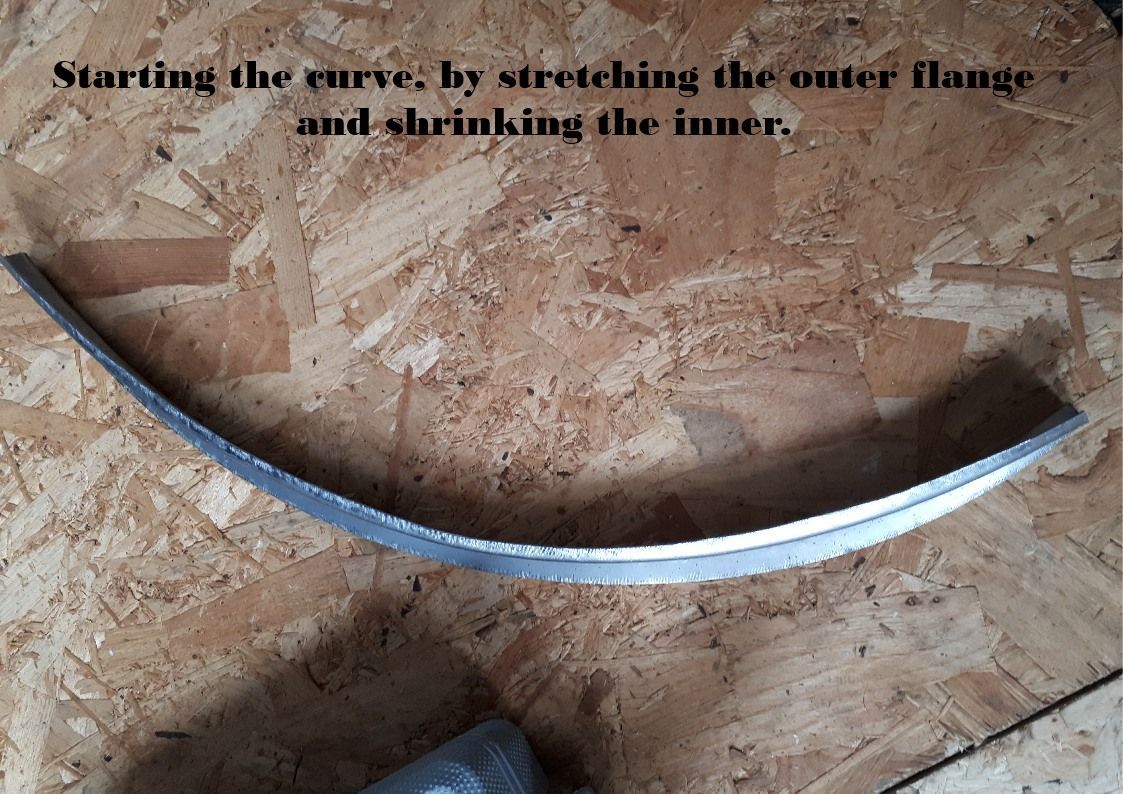
Then it’s the turn of the shrinker / stretcher to try and make it round. I thought I'd done a review on this, but it turns out that I haven't (or if I have, I can't find it!) but for a little more info on the shrinker / stretcher try reading the December 2020 blog post
HERE. It's a VEVOR branded one, currently on Amazon for just under £100.
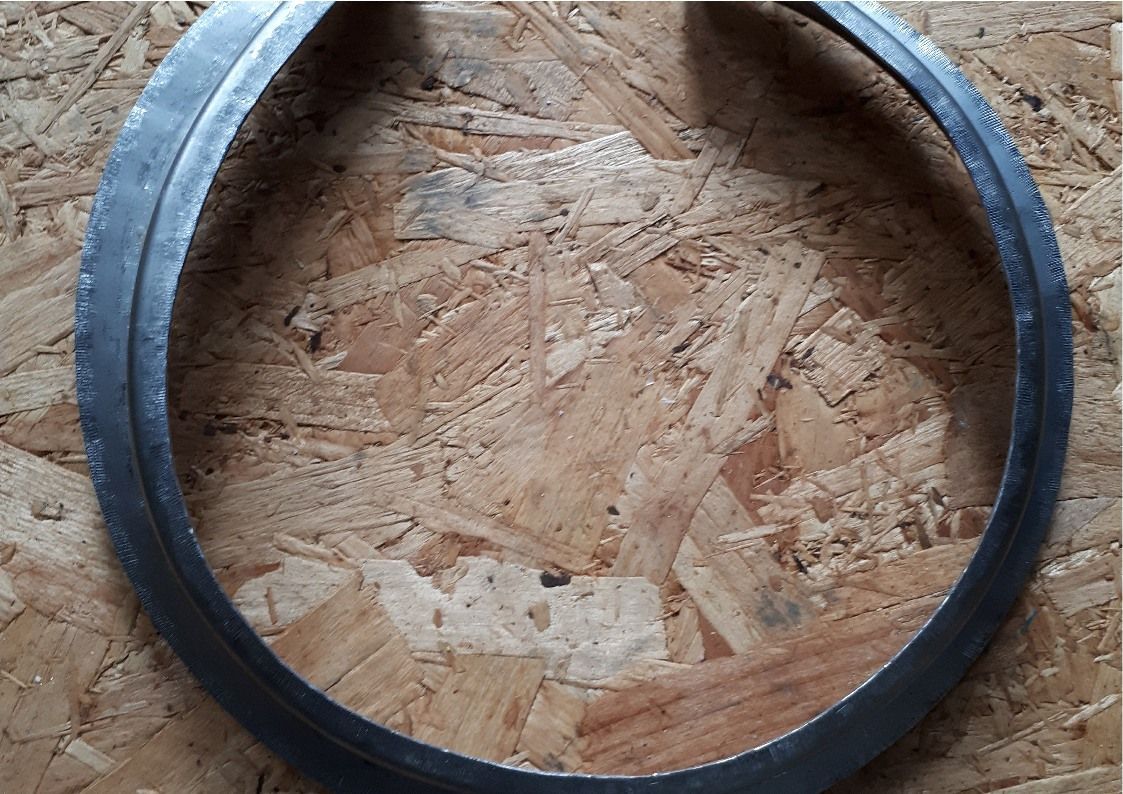
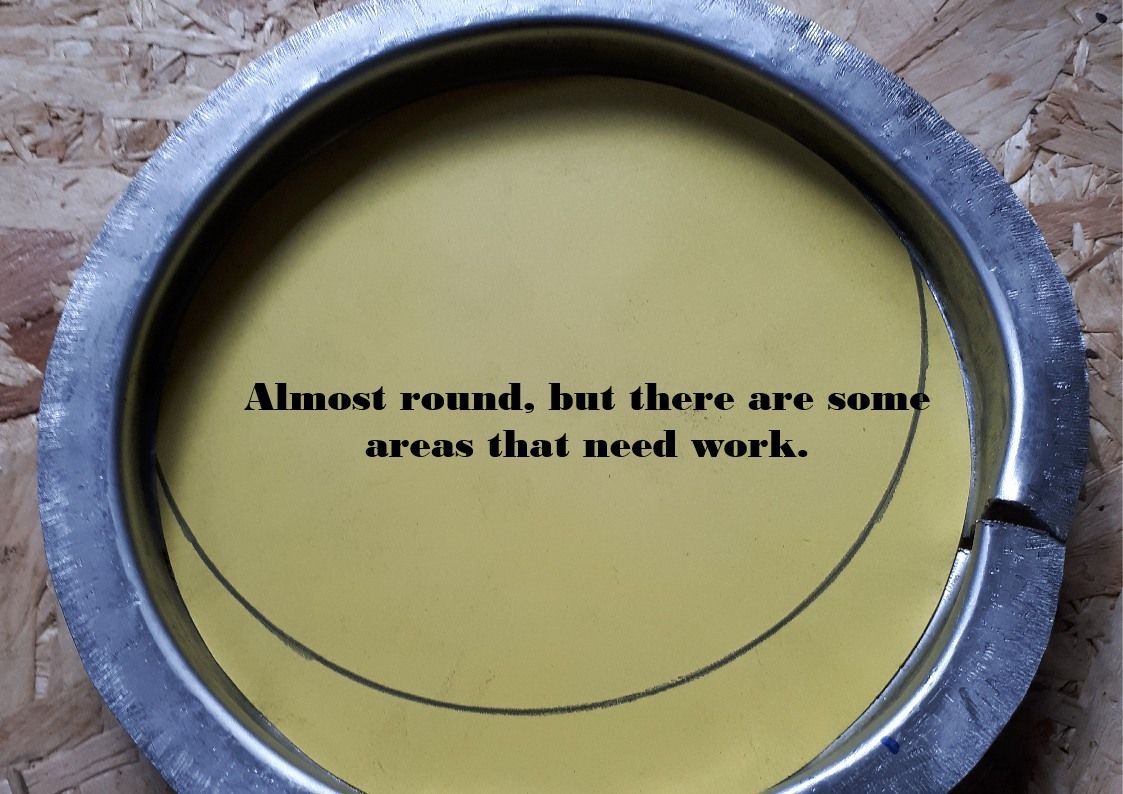
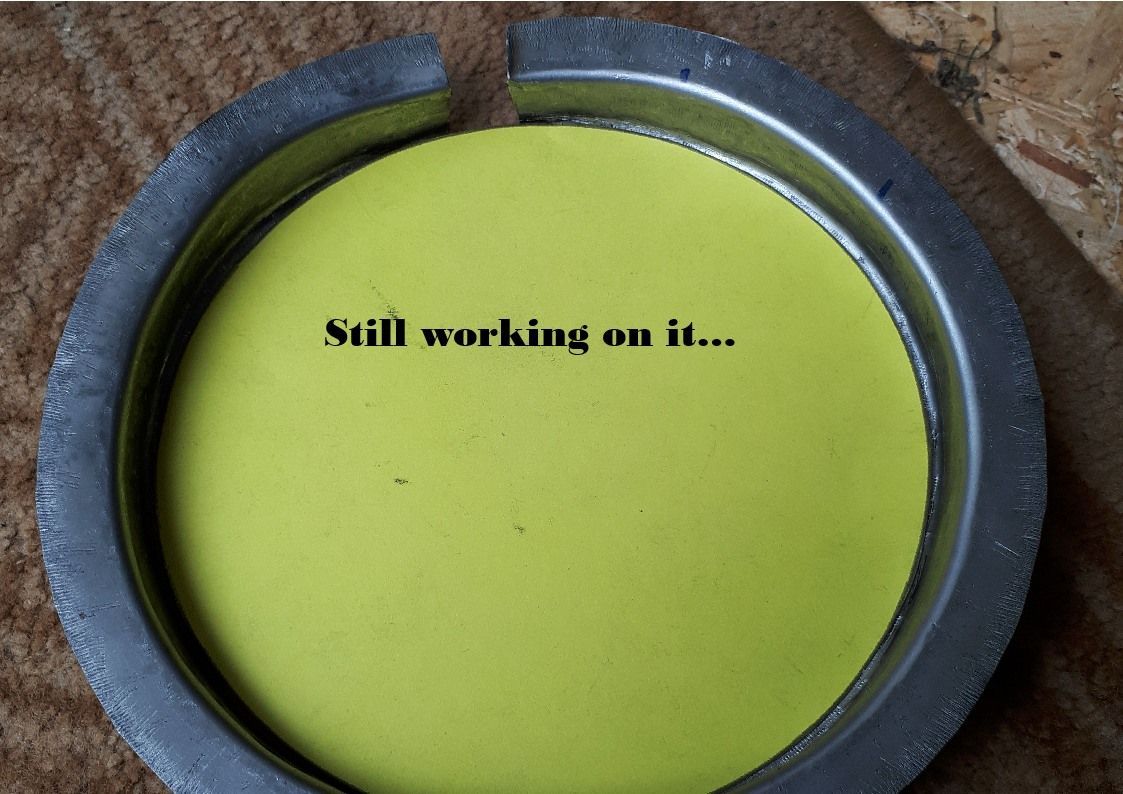
The outer flange needs to be stretched, and the inner flange shrunk. Doing this makes the structure start to curve. It’s then a case of repeat until my yellow template fits snugly.
It’s coming on, but it’s nowhere near round and far from perfect. The pictures make it look better than it is. I need to persevere with it a little longer. It may work out, or I may be starting again!
For more on sheet metalwork, I was going to direct you to the DVD produced by Classic Metal Shaping, but sadly it seems that it's no longer available.

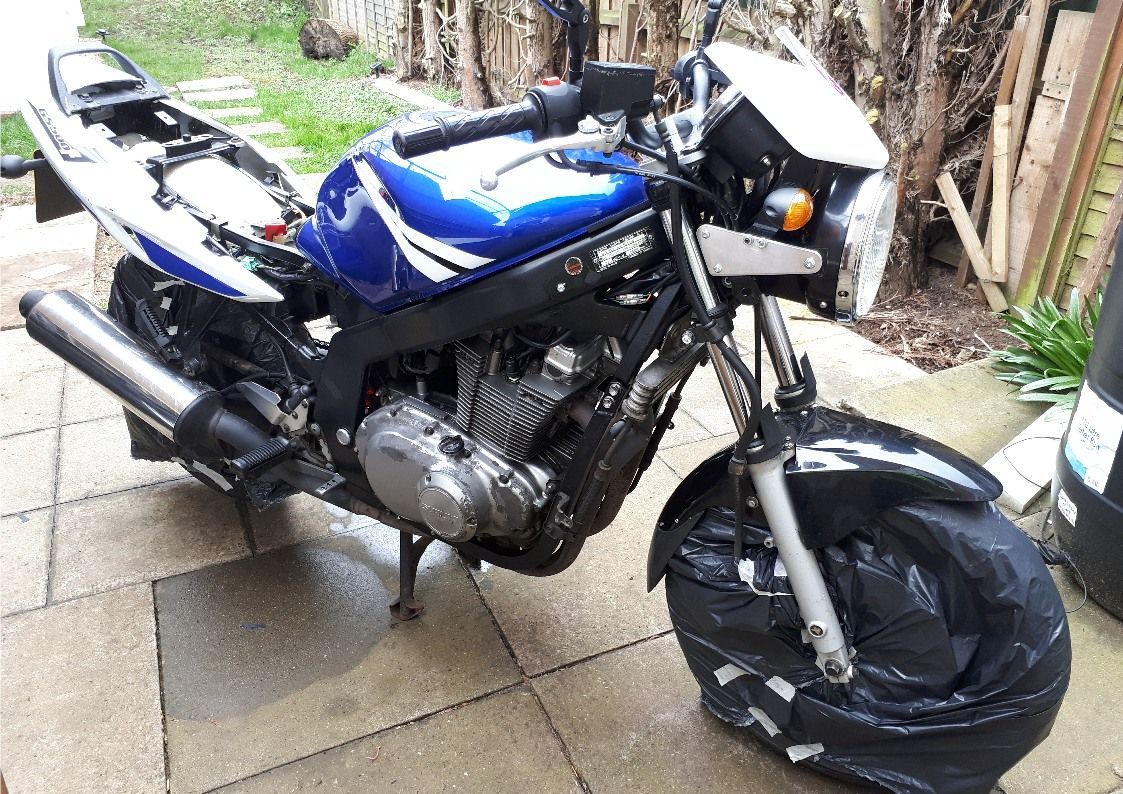
One final job this month was to mothball the GS. It’s going to have to live outside under a cover, so I wanted to clean it and ACF50 it. Having experienced a nightmare trying to use cling film for covering the wheels, this time I went for a more conventional bin bag. I admit, this was much easier. Once washed and dried (using the bike dryer again!) the fuel was drained from tank and carbs, a little bit of oil squirted down each plughole (and the engine turned over) and the exhaust blocked up. Now it’s parked under a cover until it’s required once more.
And that's it for this month. Maybe April will see more progress on the project bike, or maybe not...