Monday Articles - December 2020
Scroll down to read the latest installment
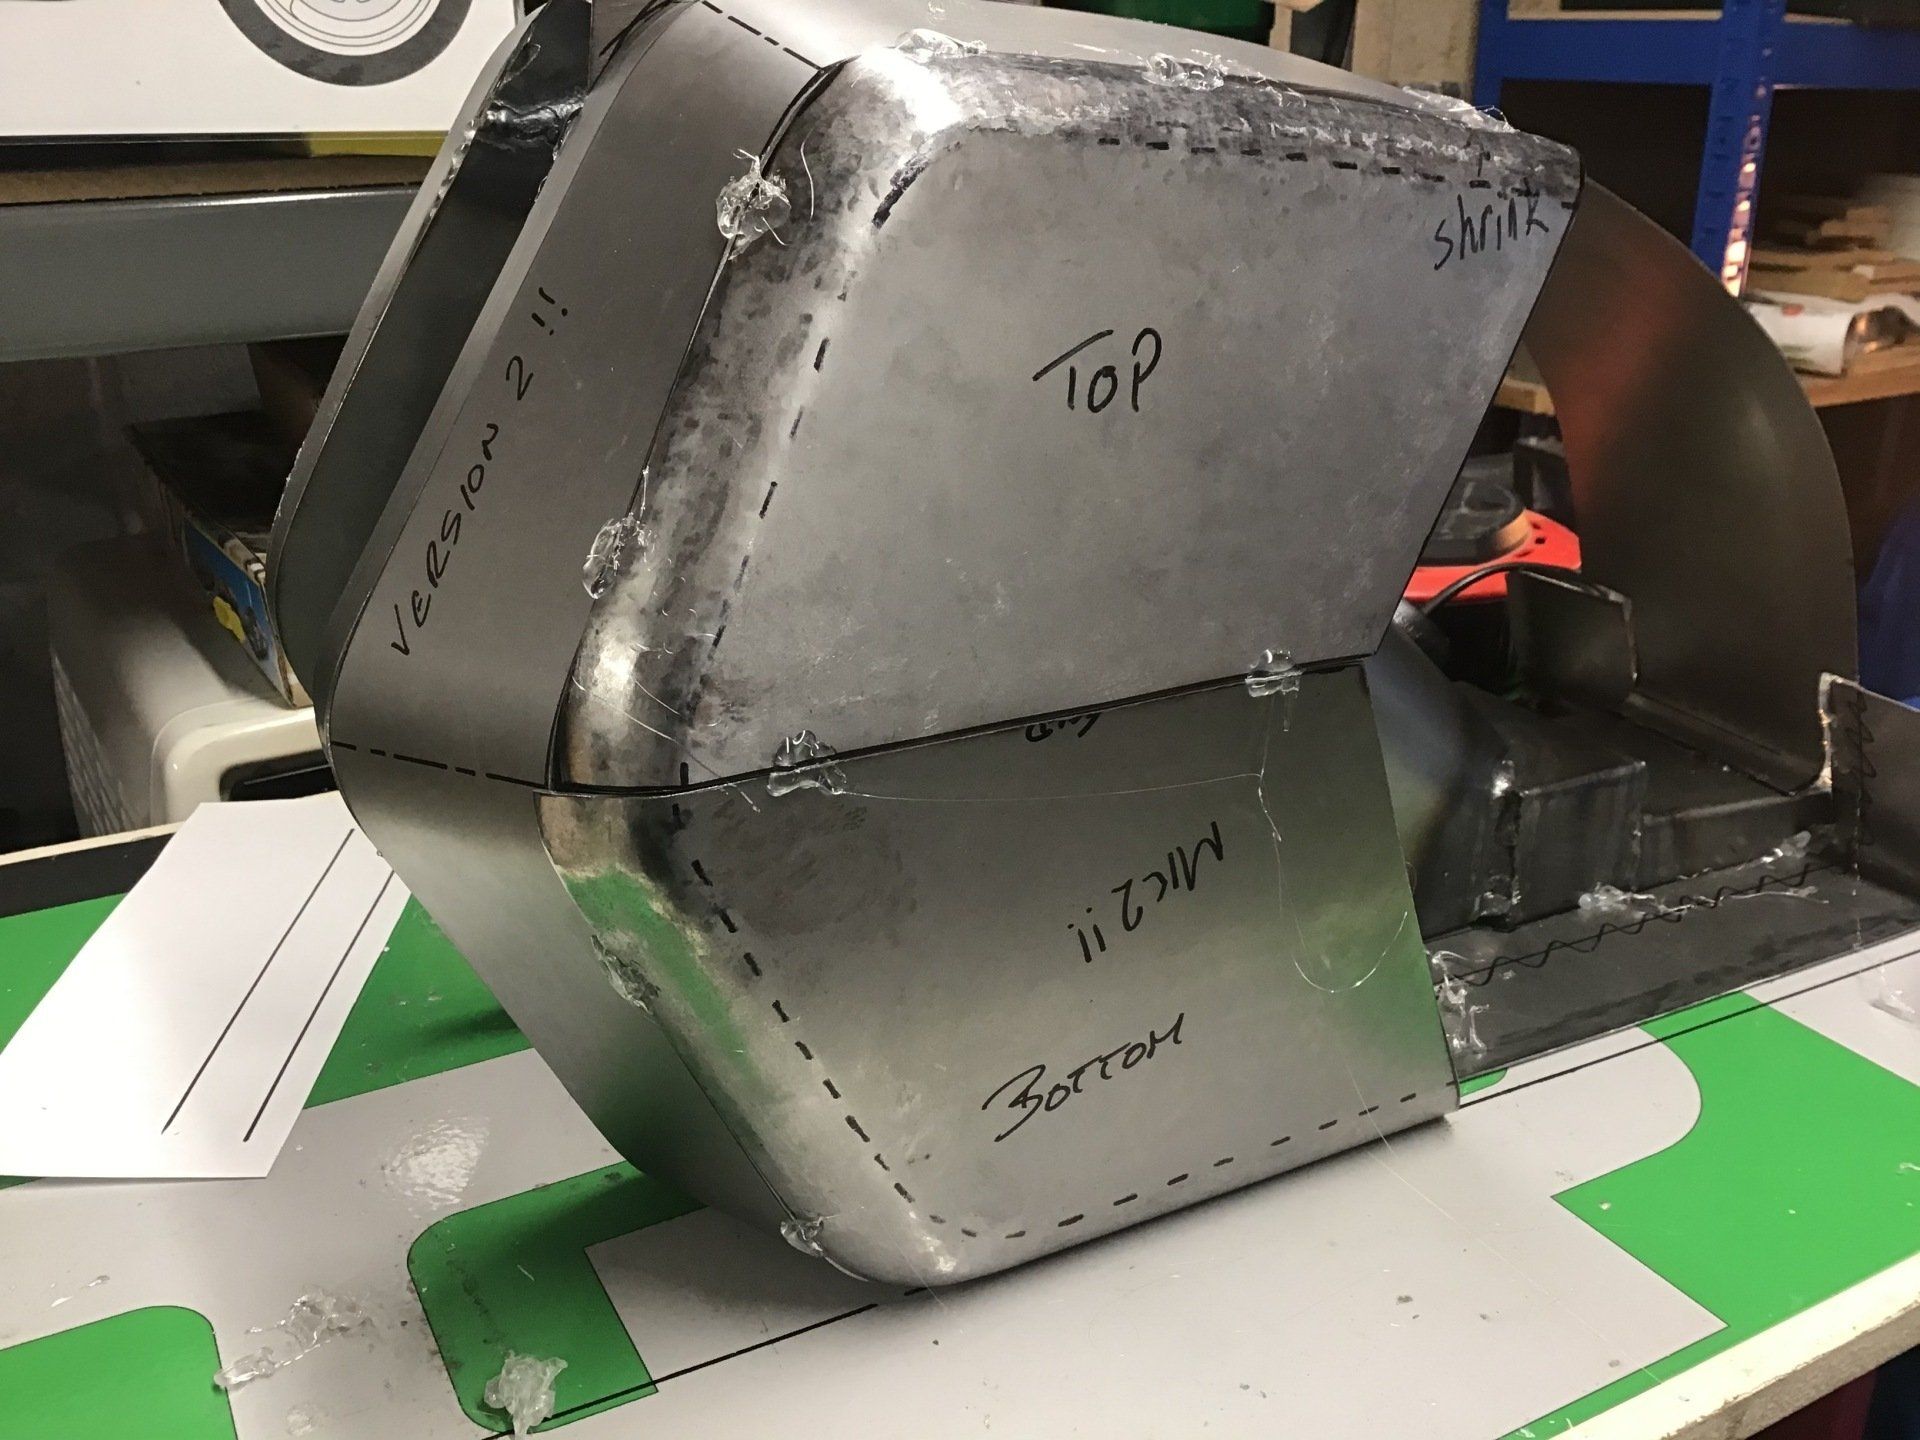
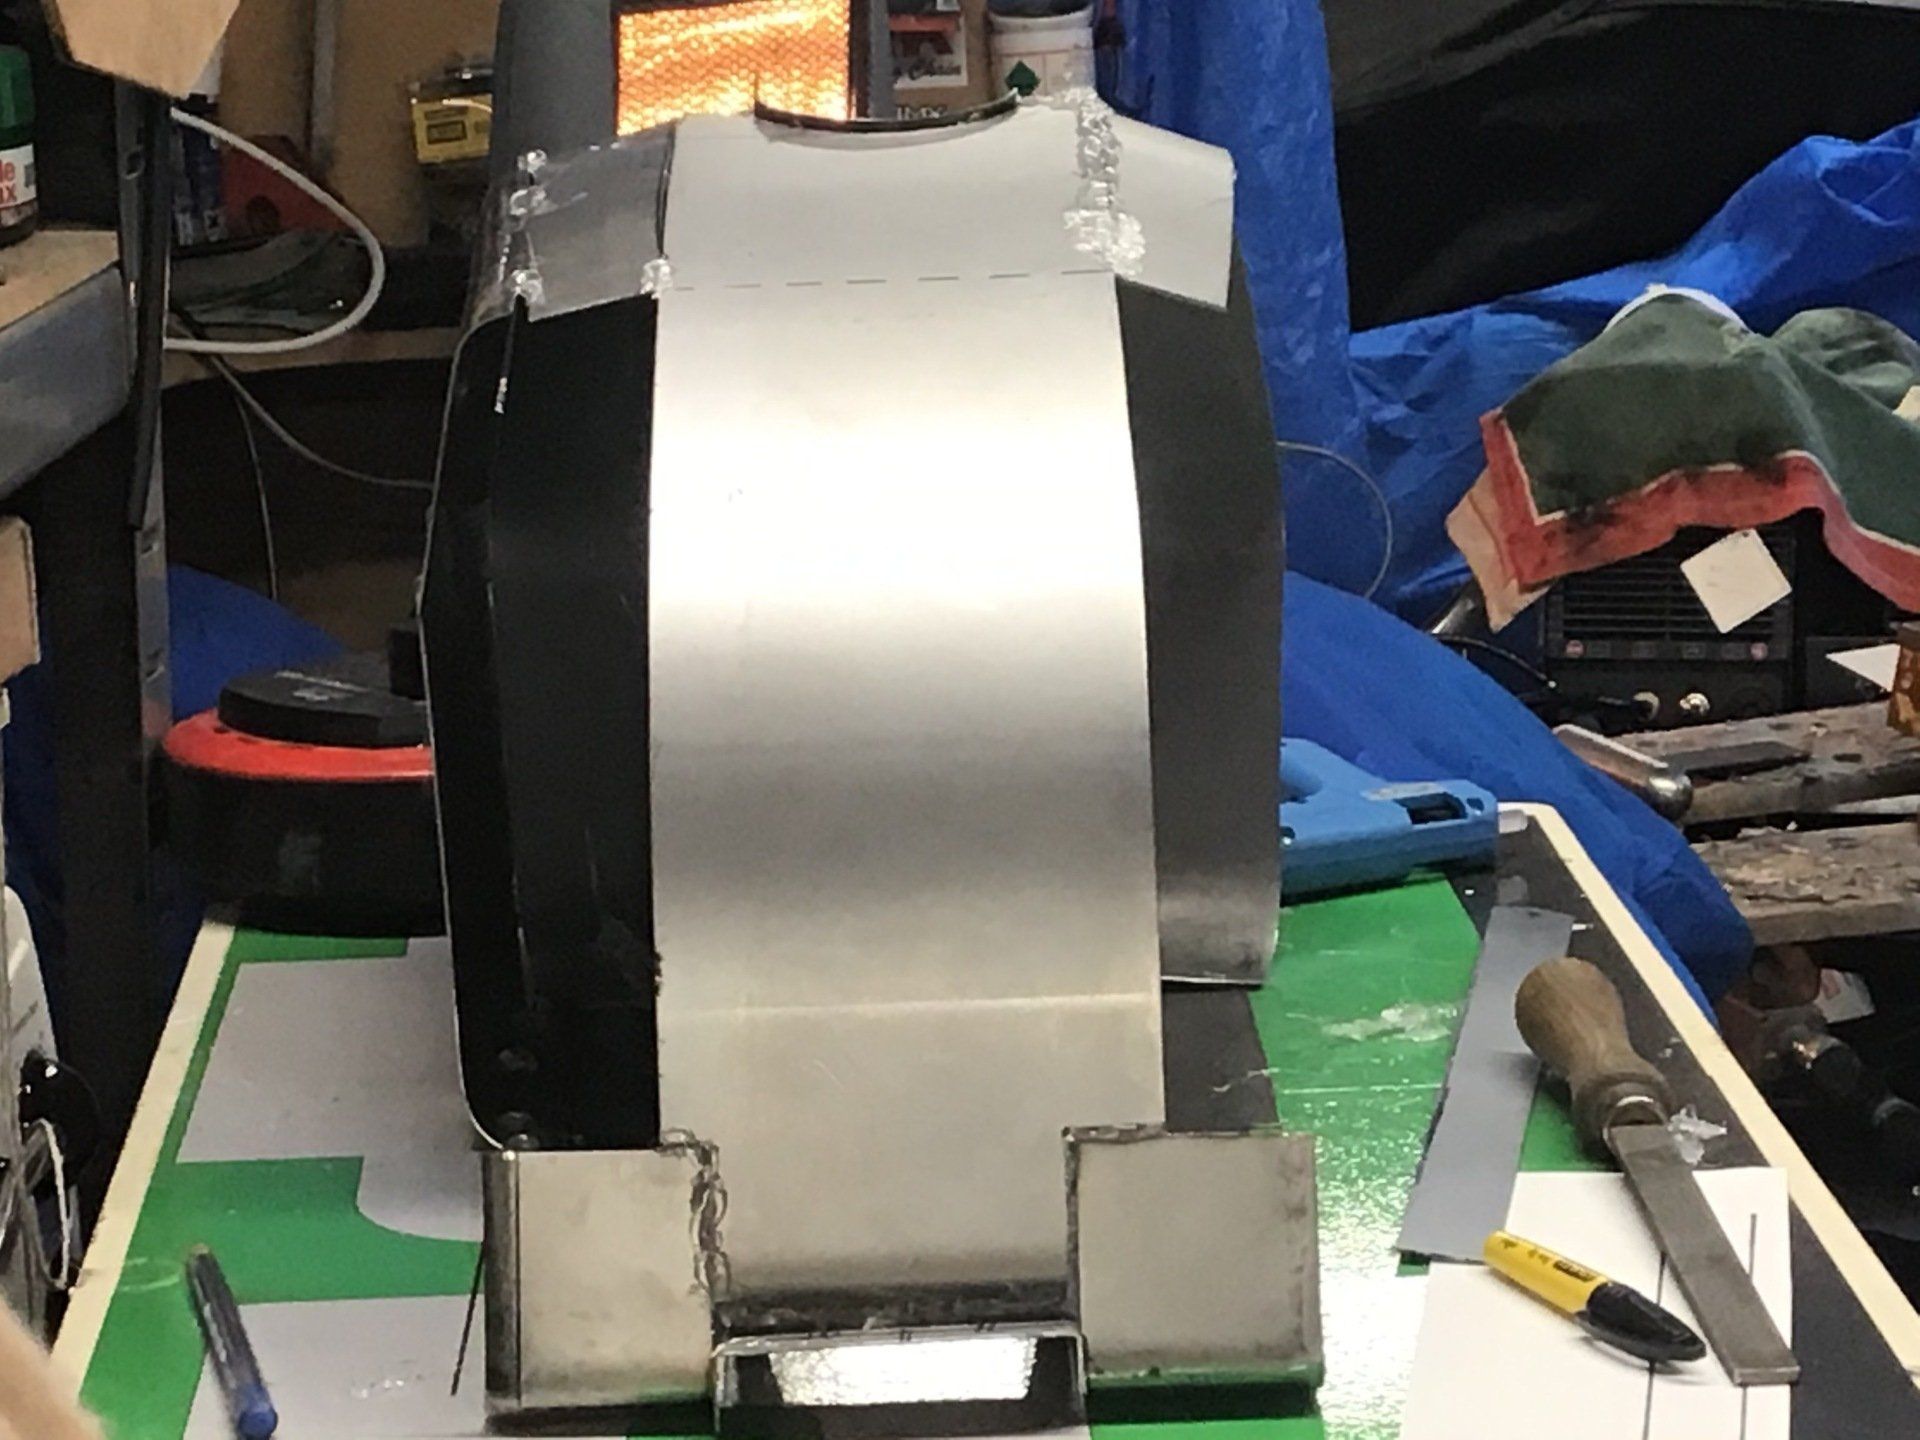
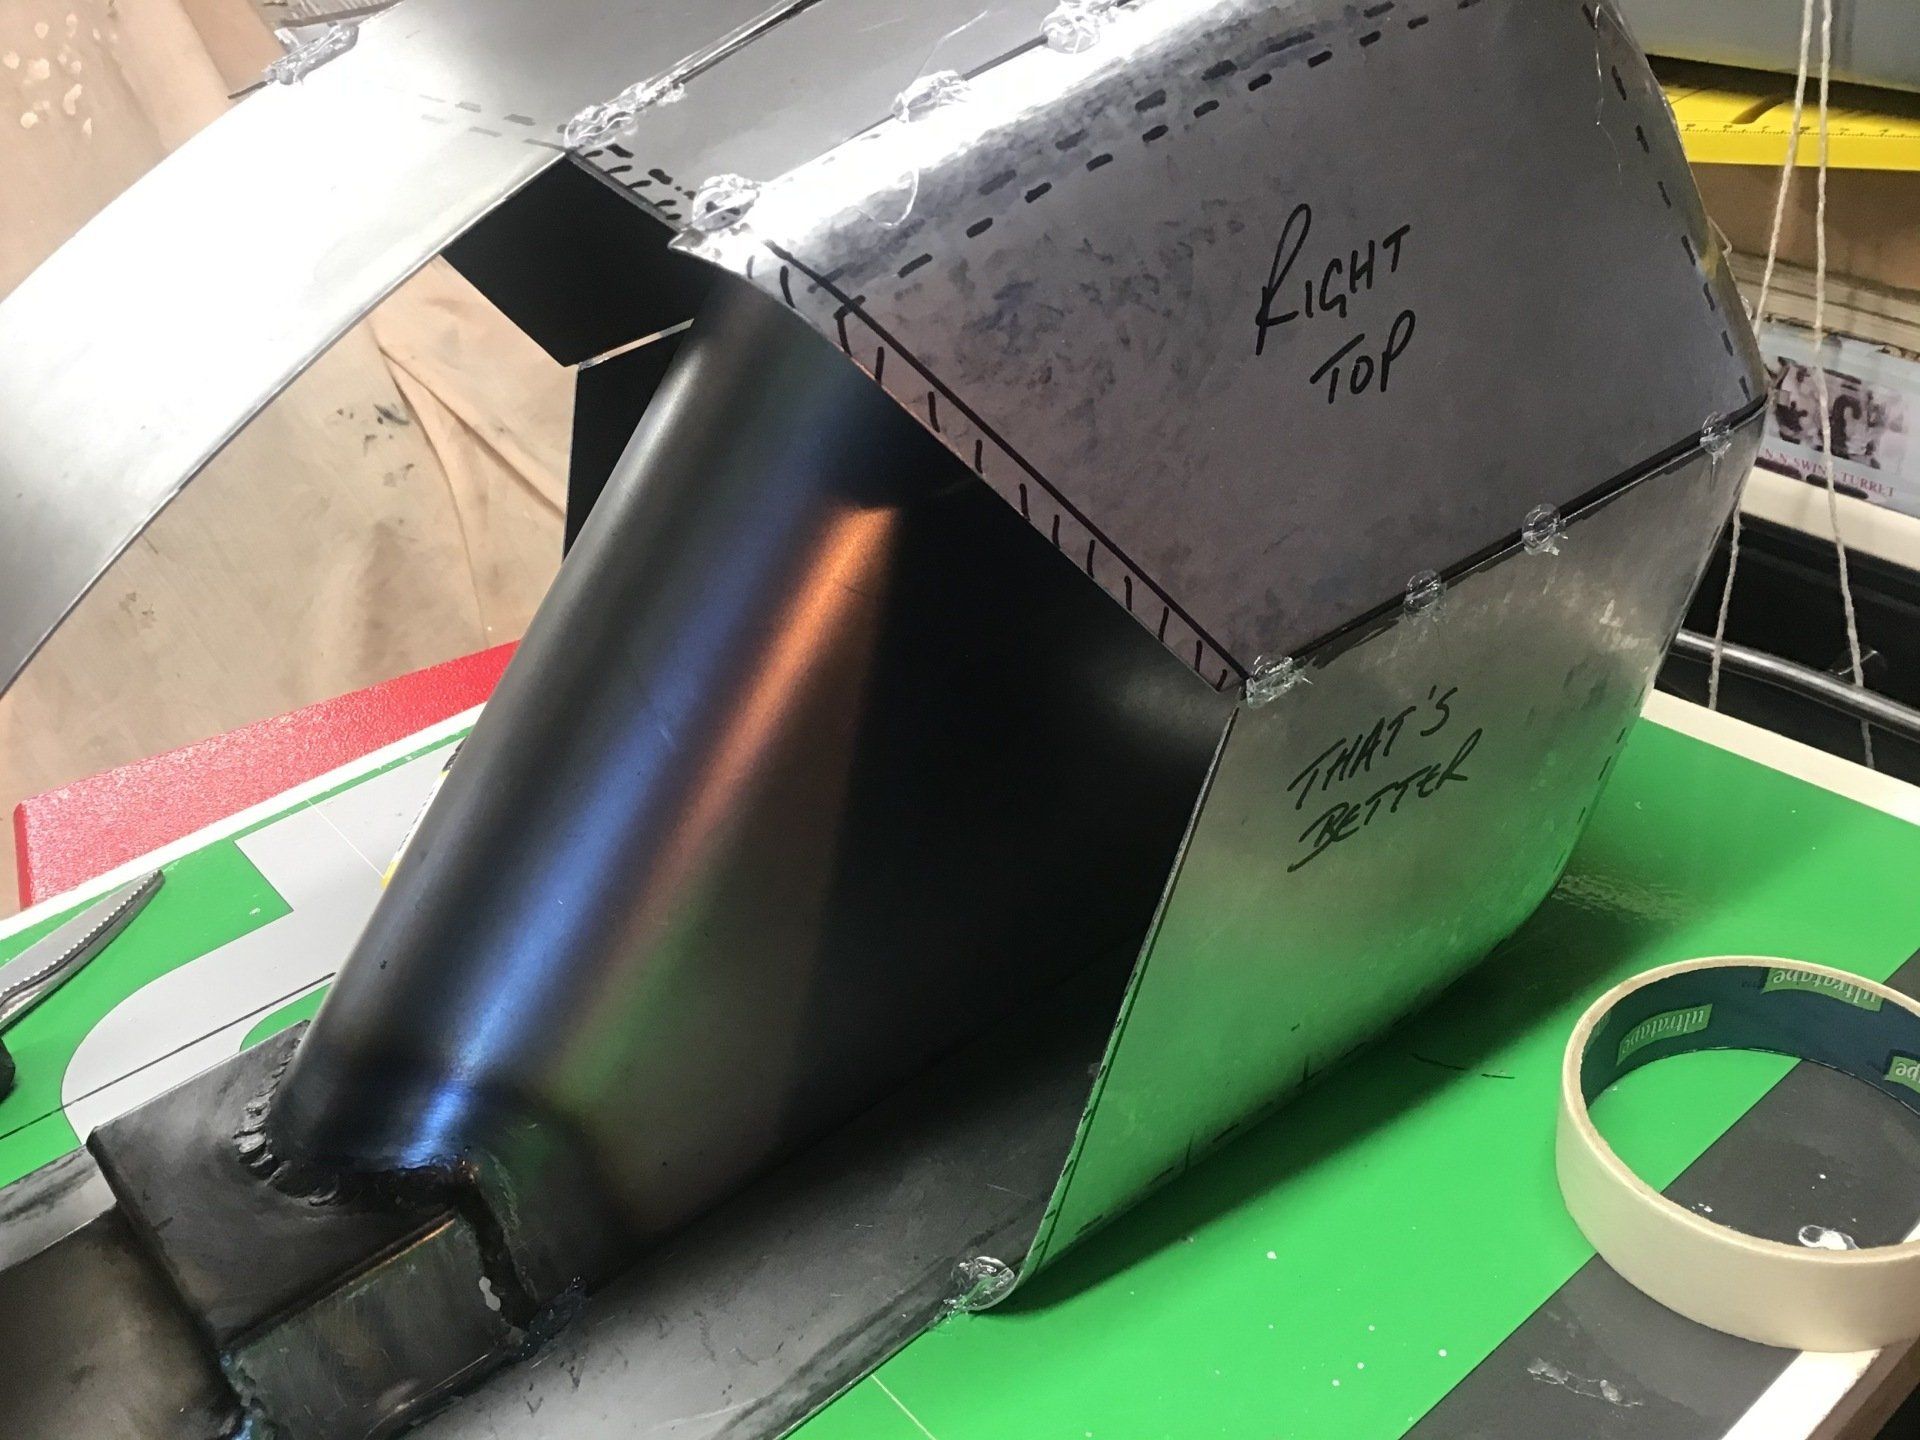
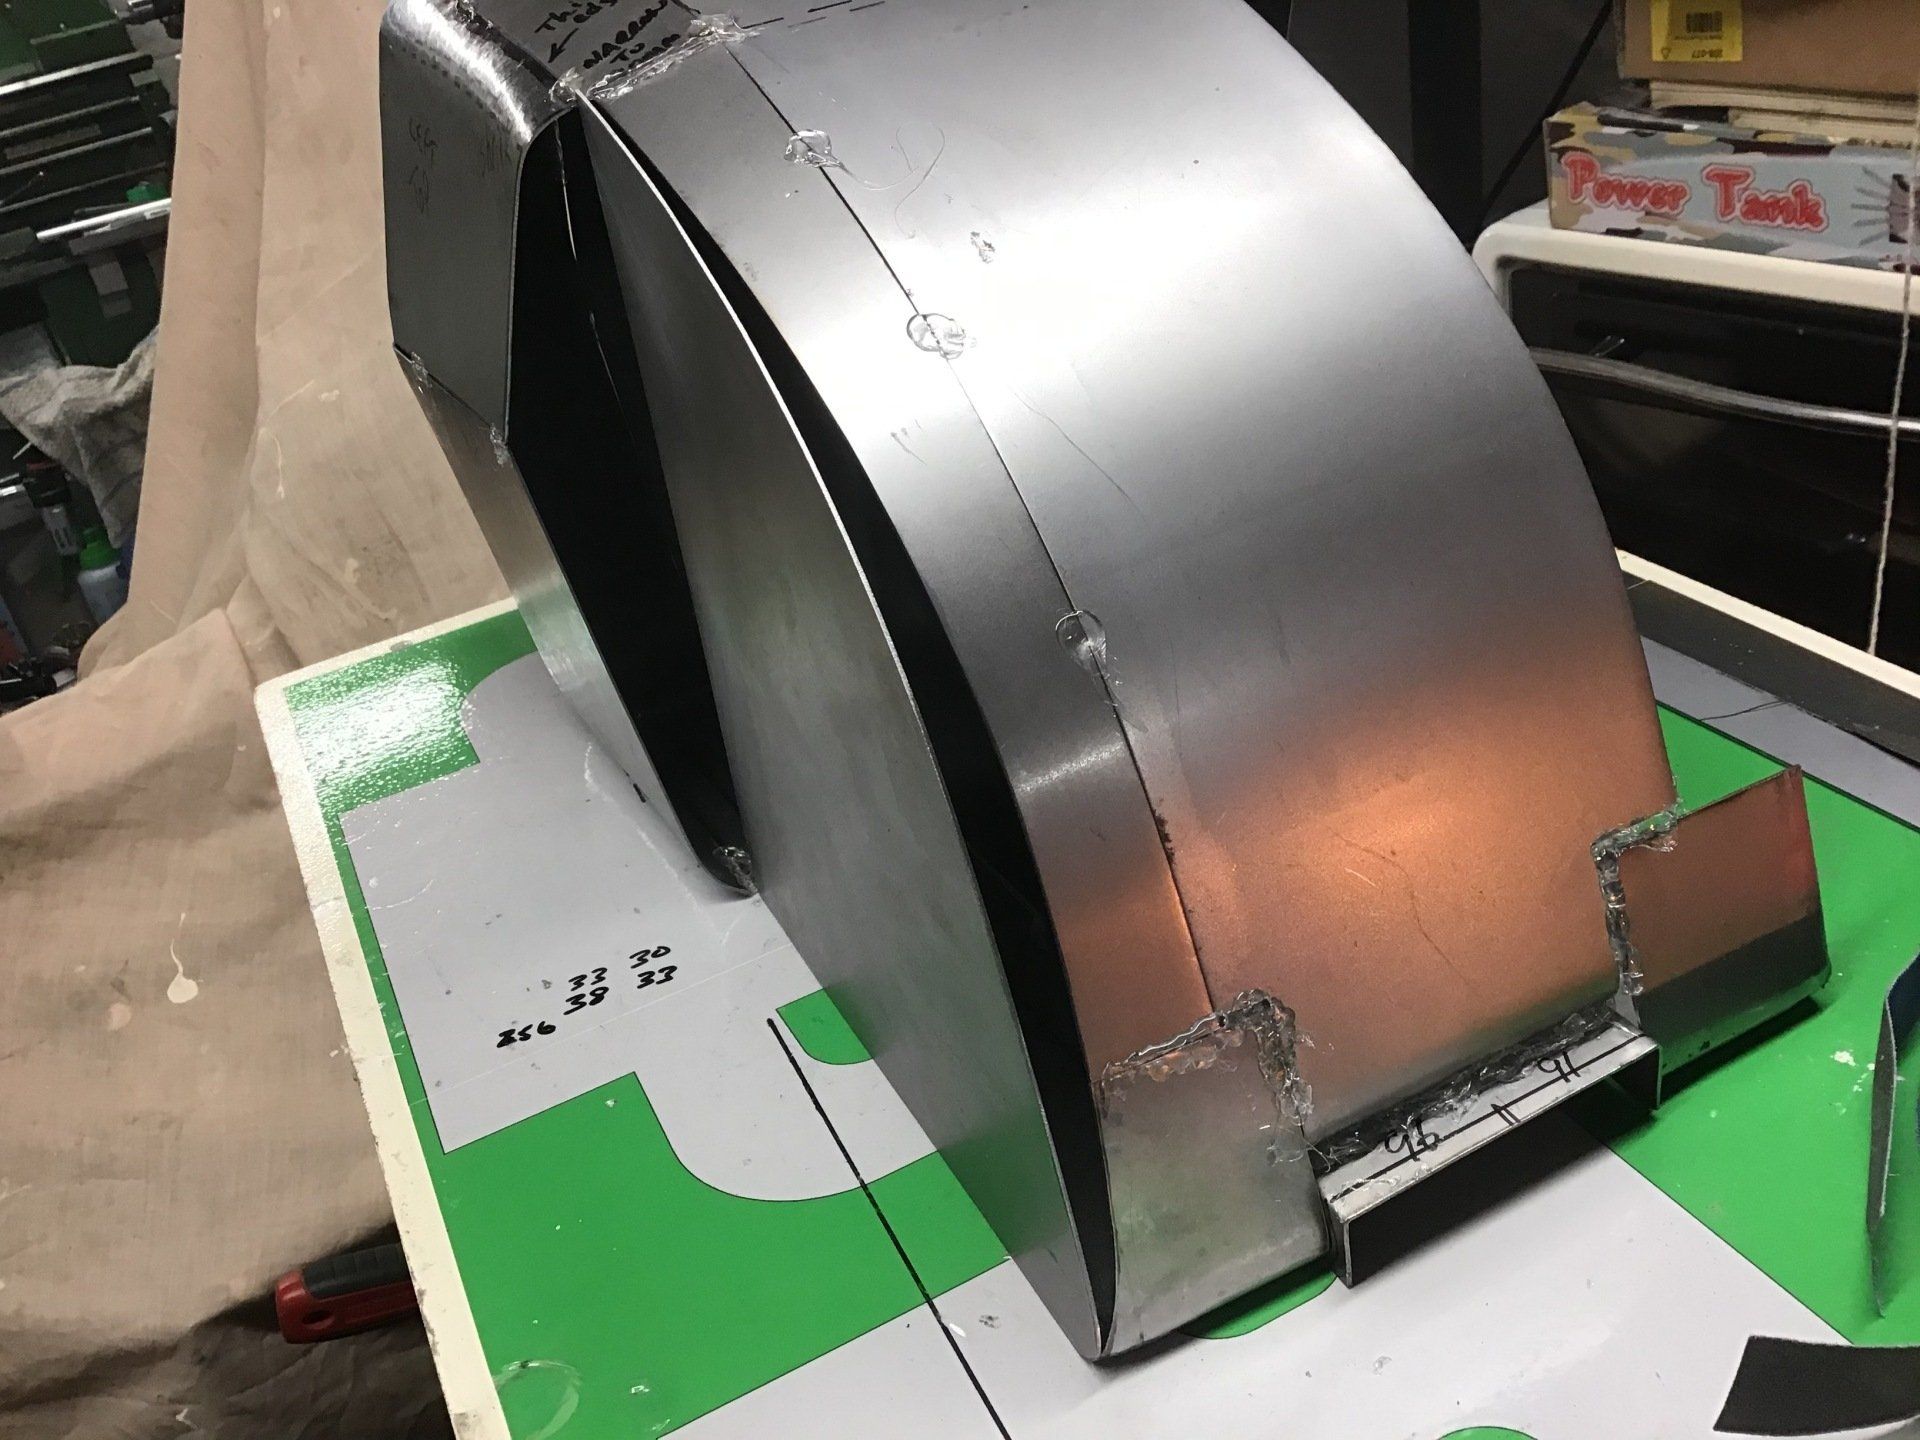
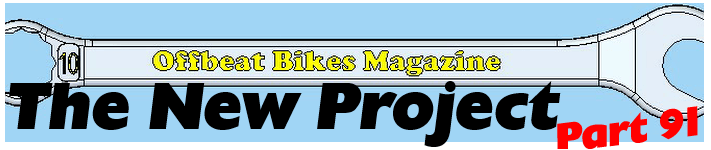
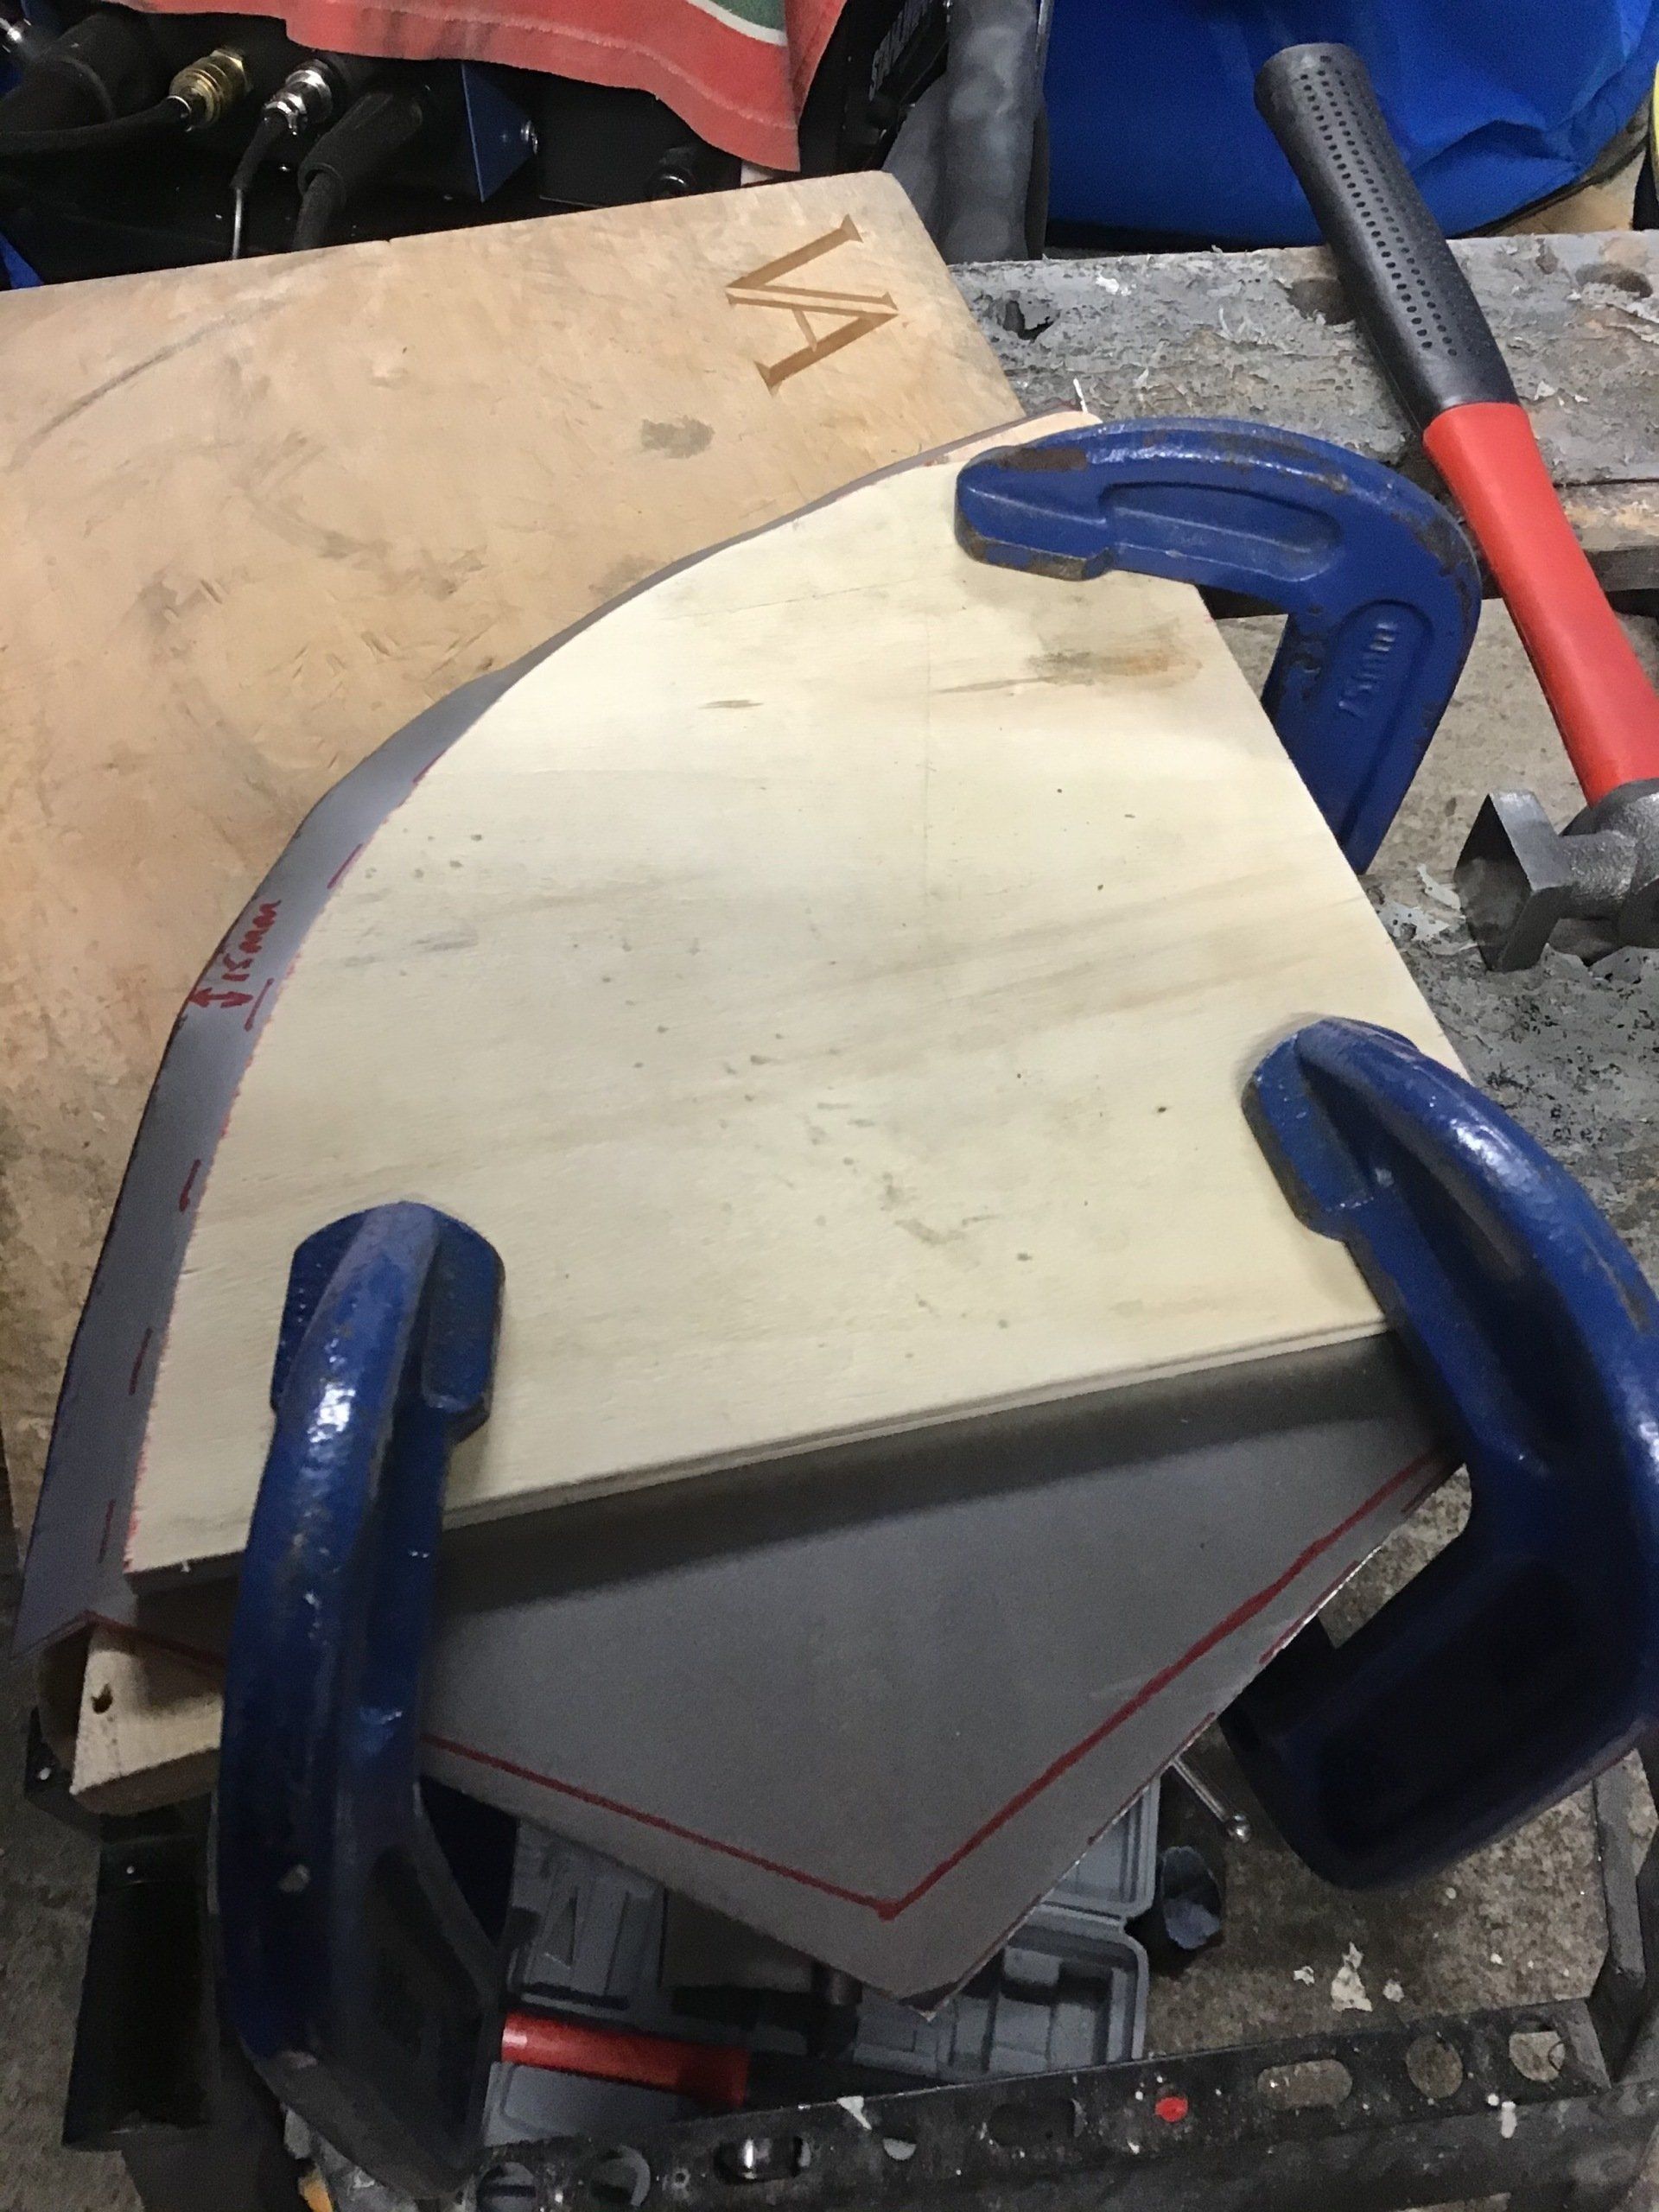
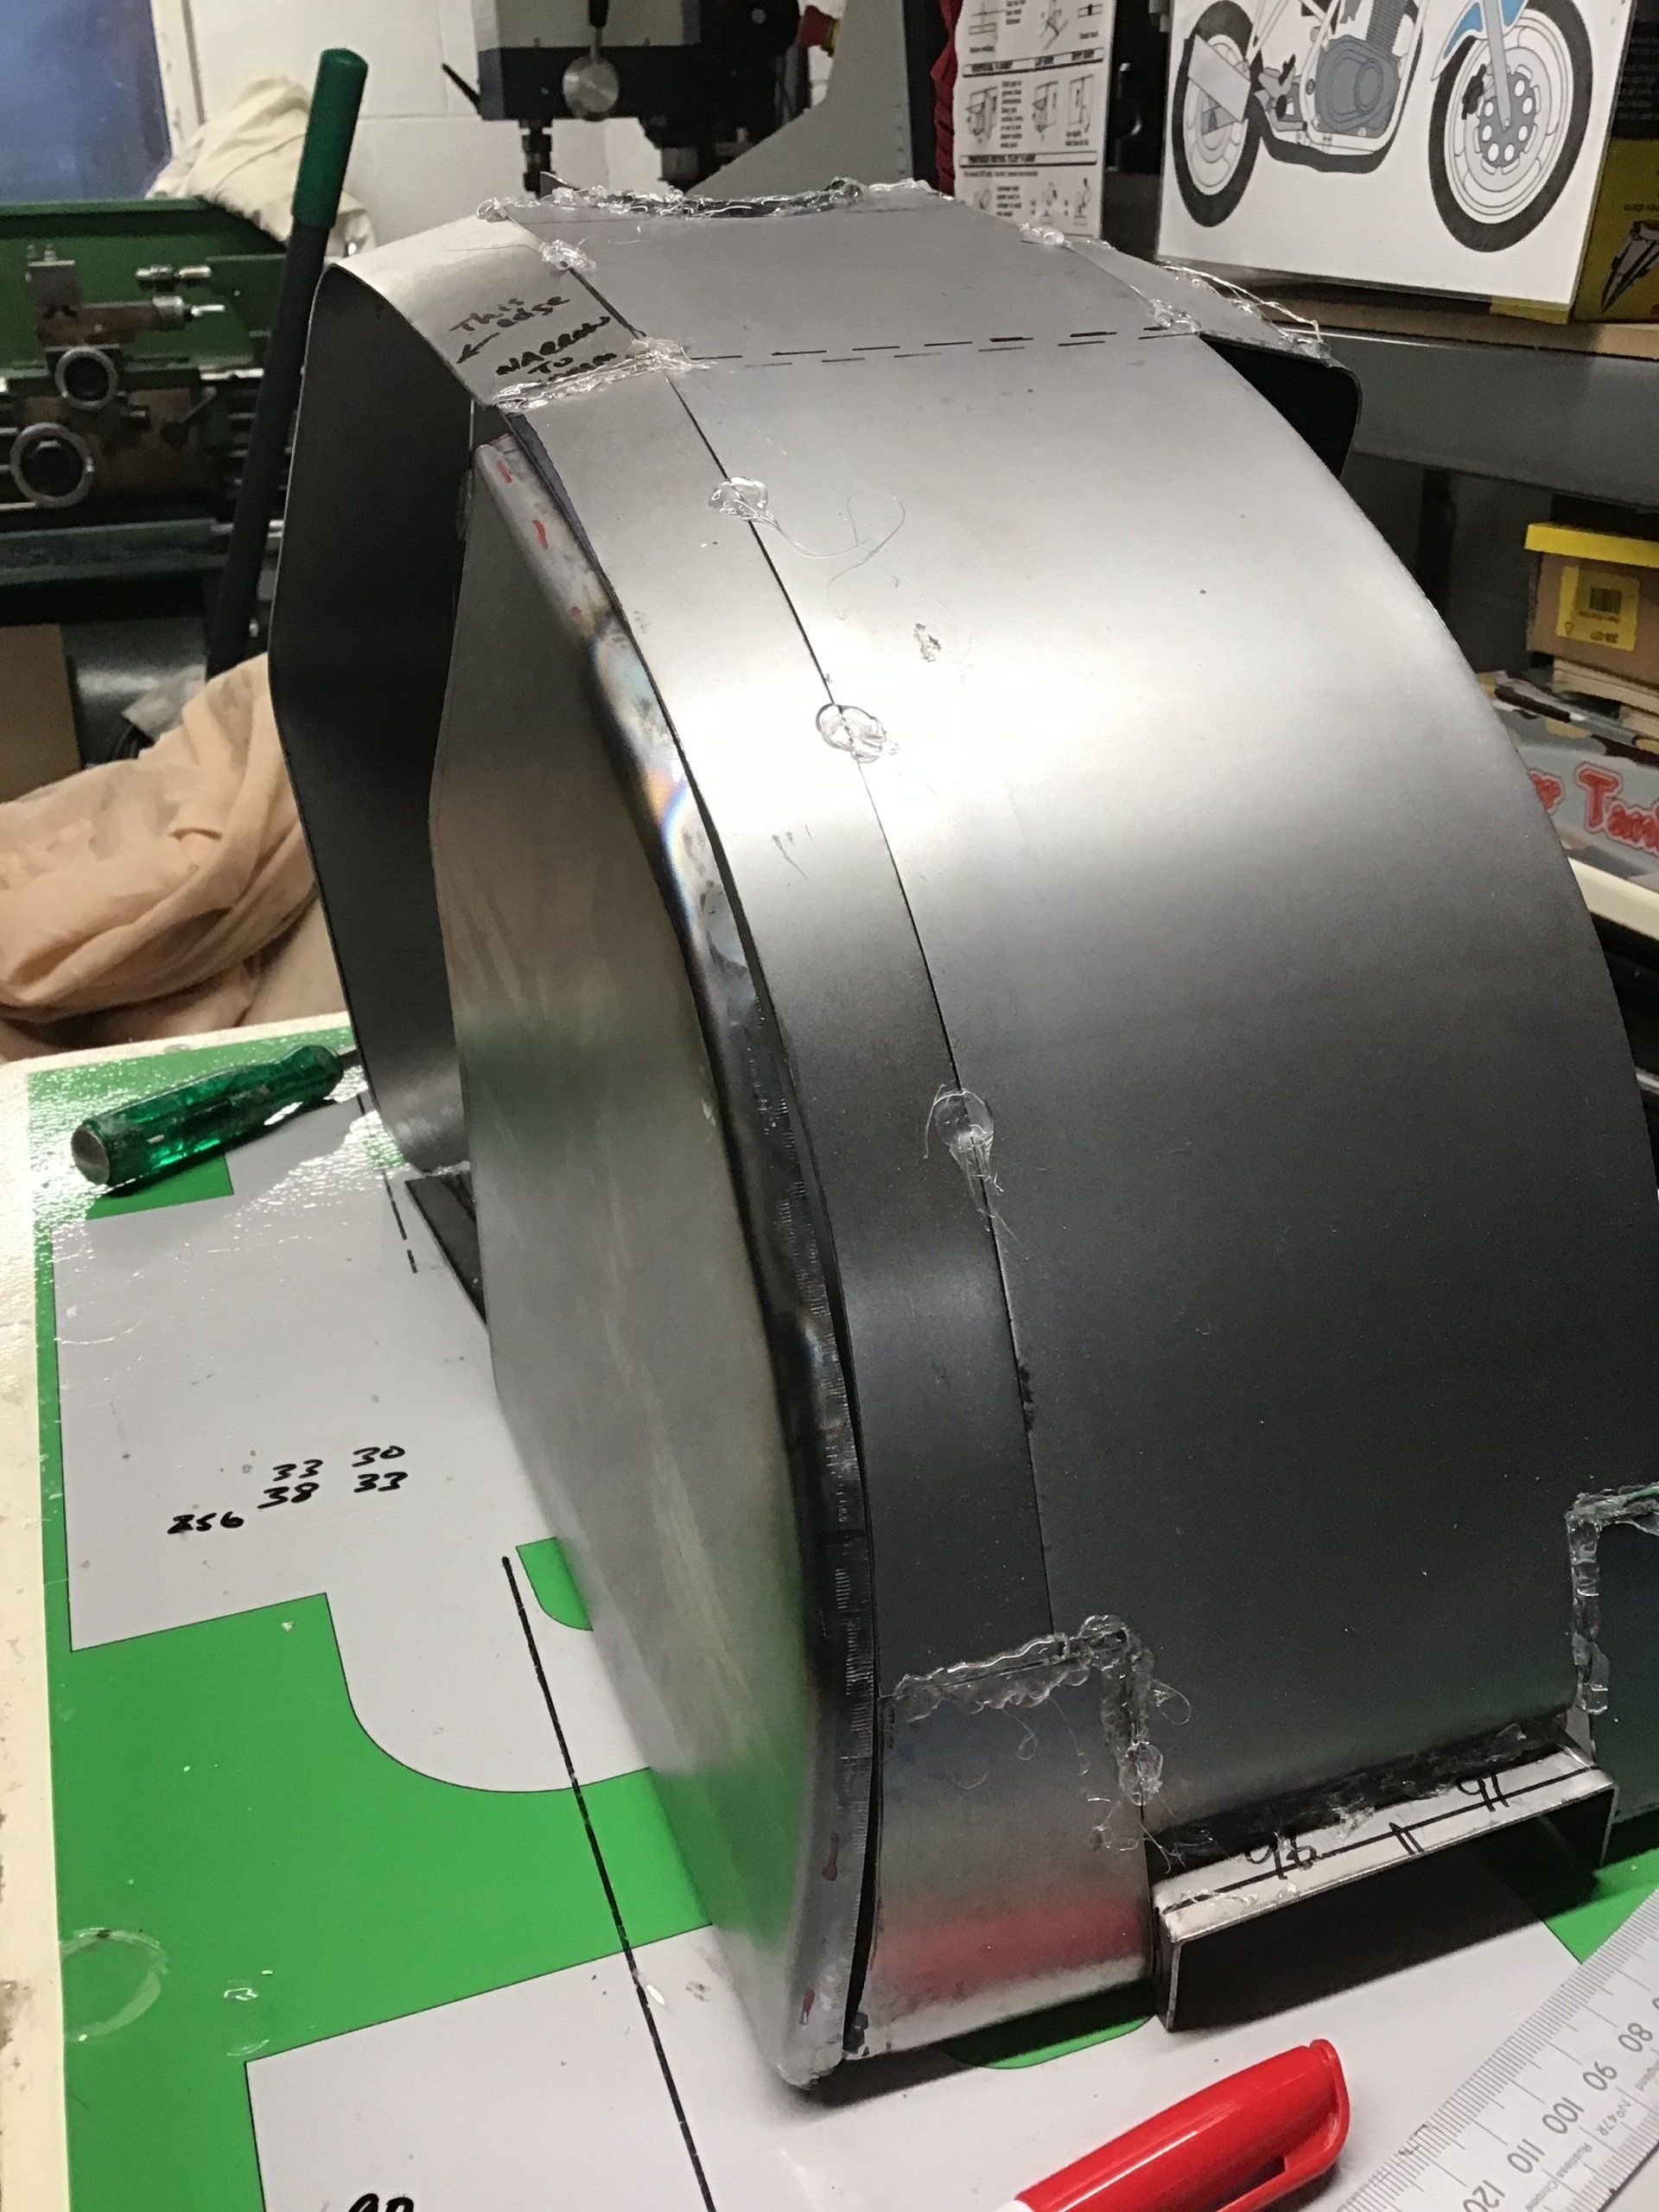
With the side now split, it’s much easier to offer the two pieces up and see where modifications need to be made.
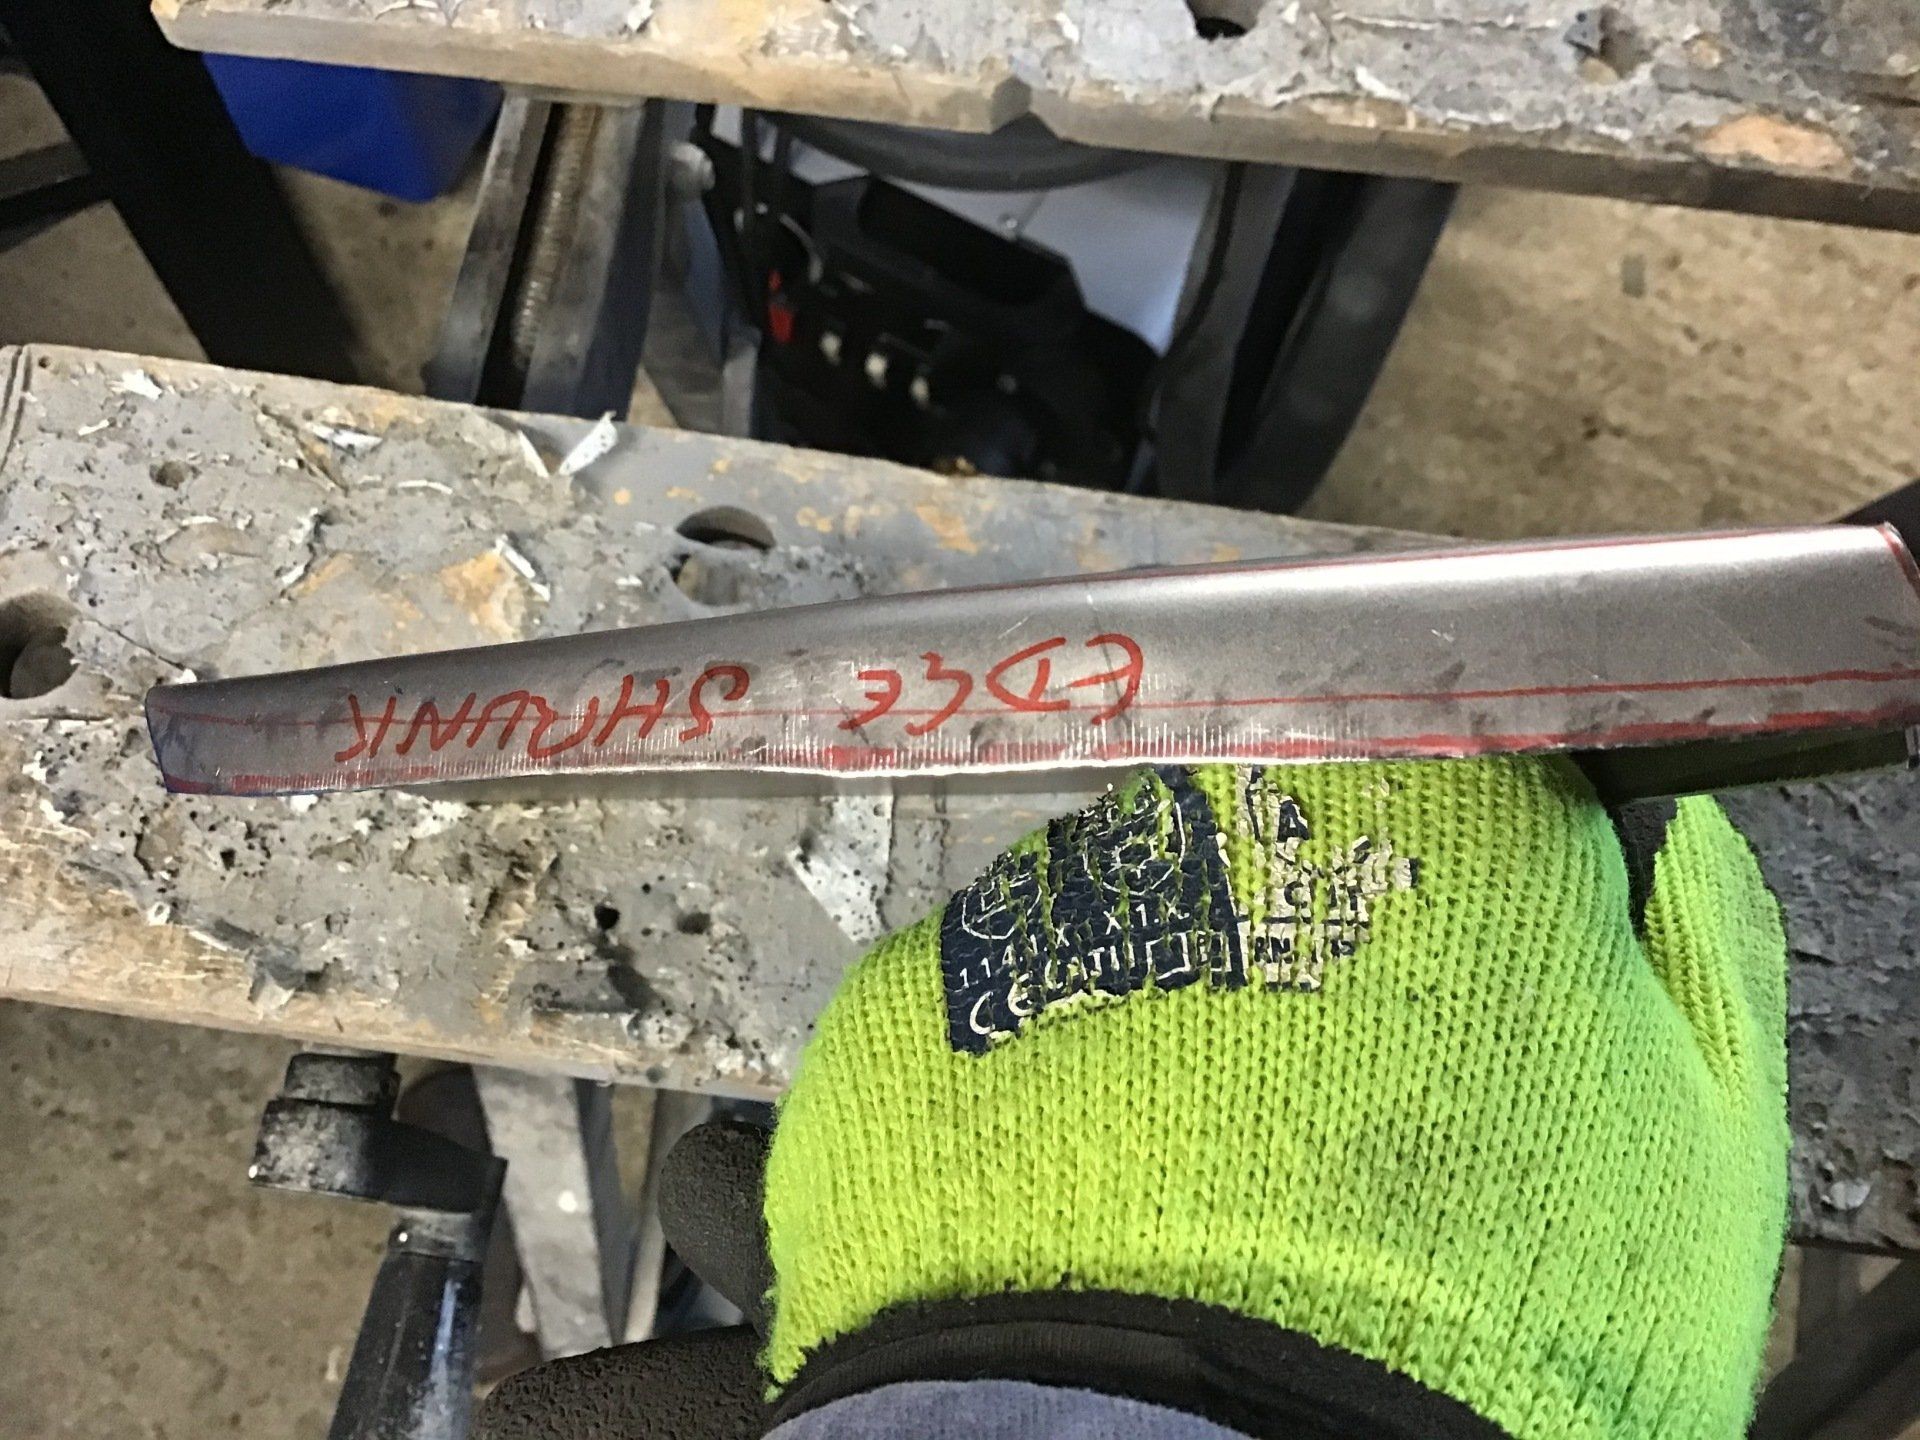
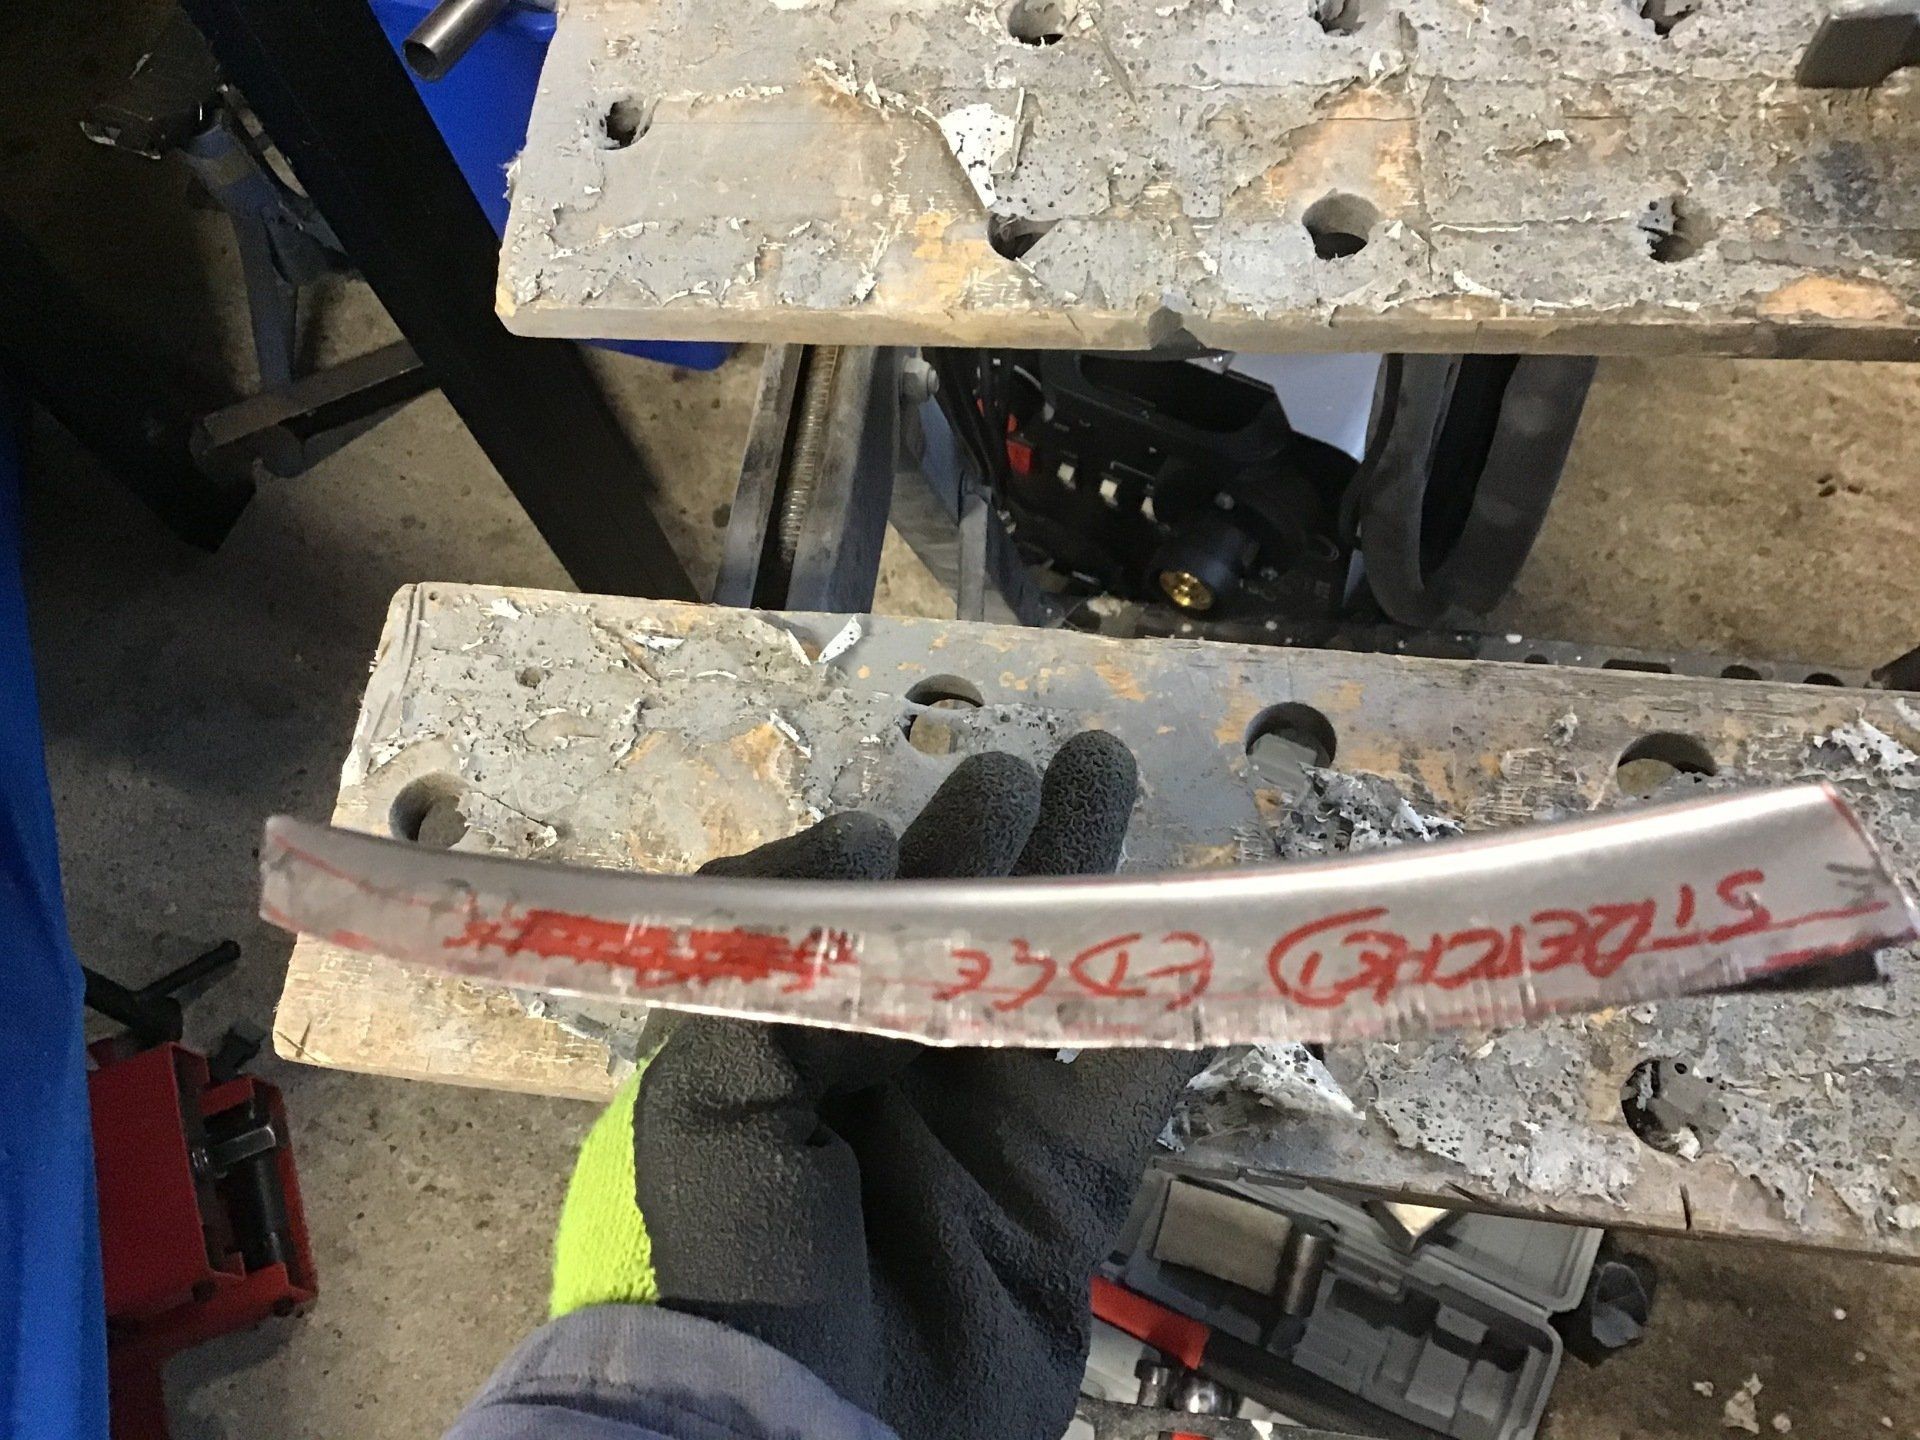
There’s some work to do along that front edge for a start...
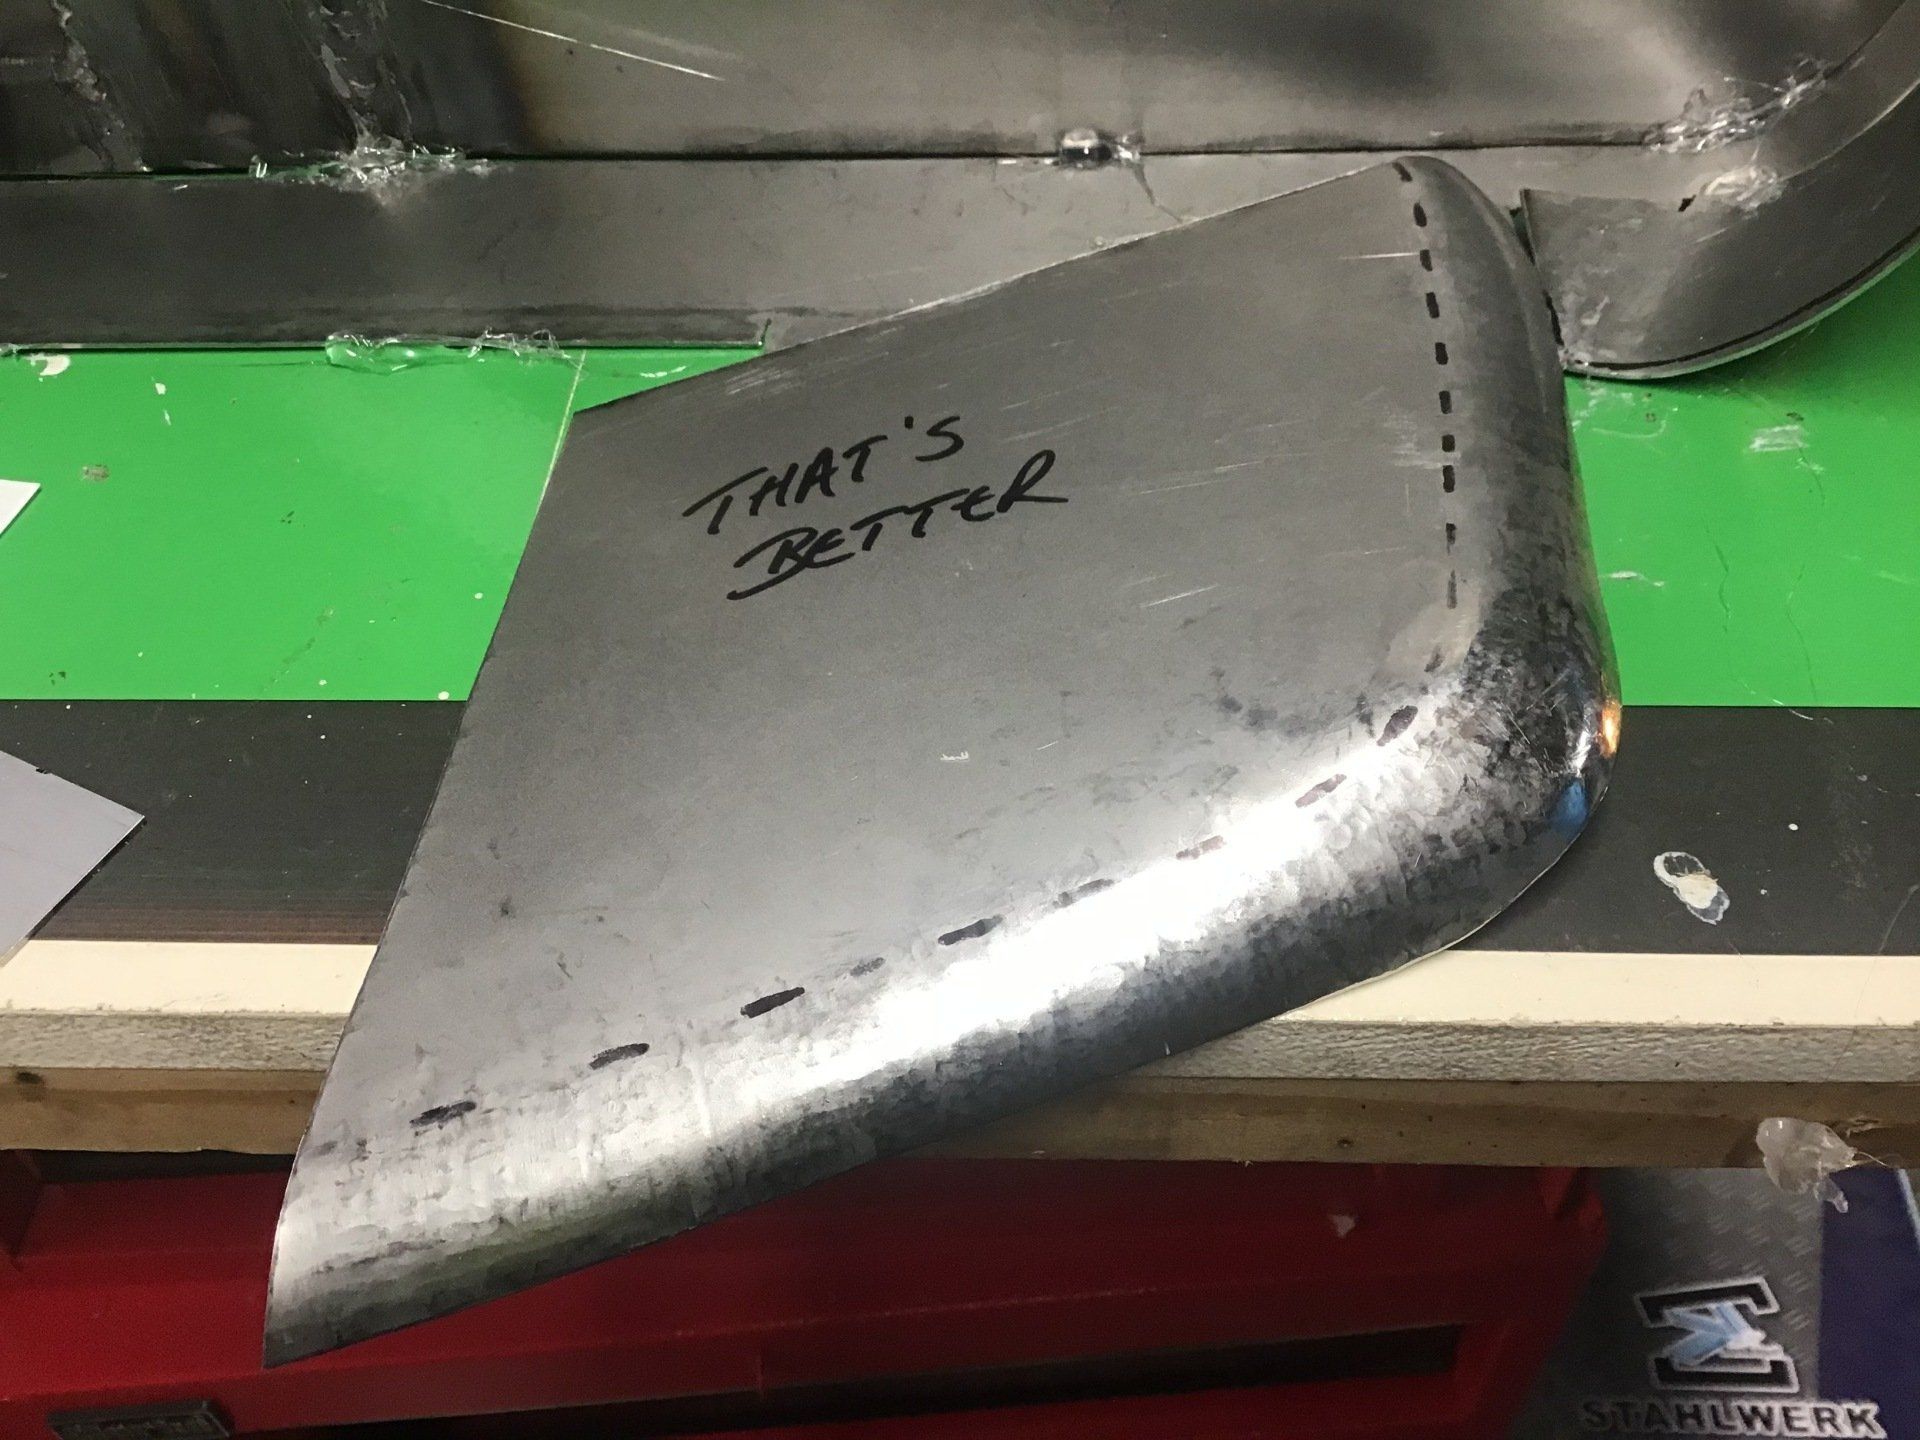
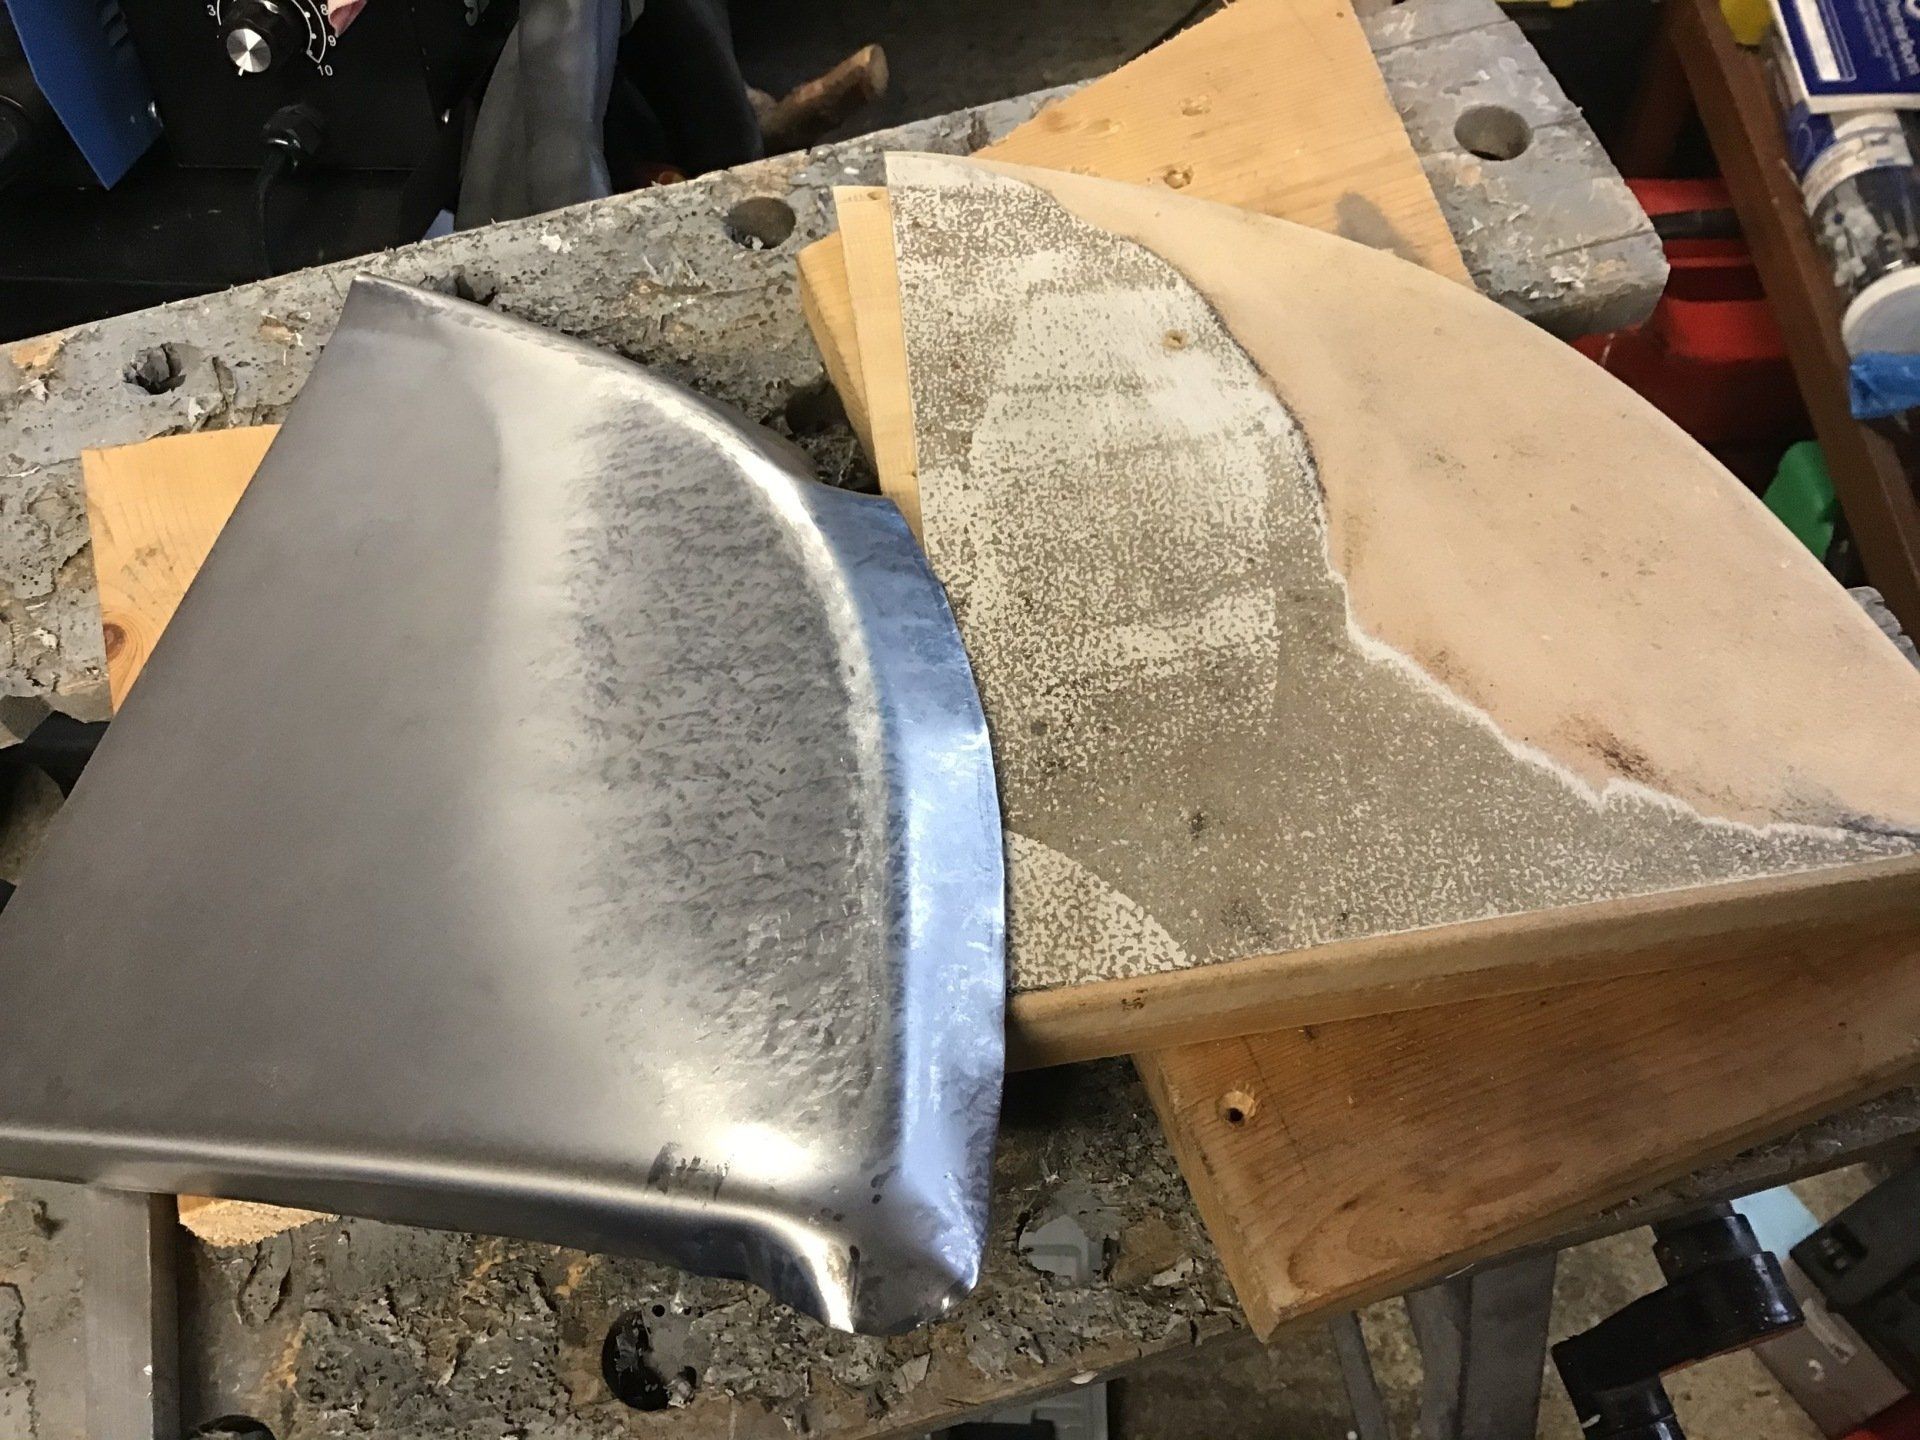
That’s better, but still a bit of work to do around the front radius. I wish I could tell you what I did to make it fit better, but it’s still very much a case of hit it and hope. I naturally want to be able to quantify everything. I’d be a lot happier if there was some kind of magic equation which told me the exact location of where I needed to hit it and with what force. Sadly shaping metal by hand using a hammer and dolly doesn’t really work that way. You really have to have an instinctive feel for how the metal moves. Some lucky people have that naturally, the rest of us have to bash away (quite literally) using trial and error. I’m now trying not to over think it and that strategy does seem to be paying off - at least my brain doesn’t hurt quite as much, even if my ears are ringing from all the hammering.
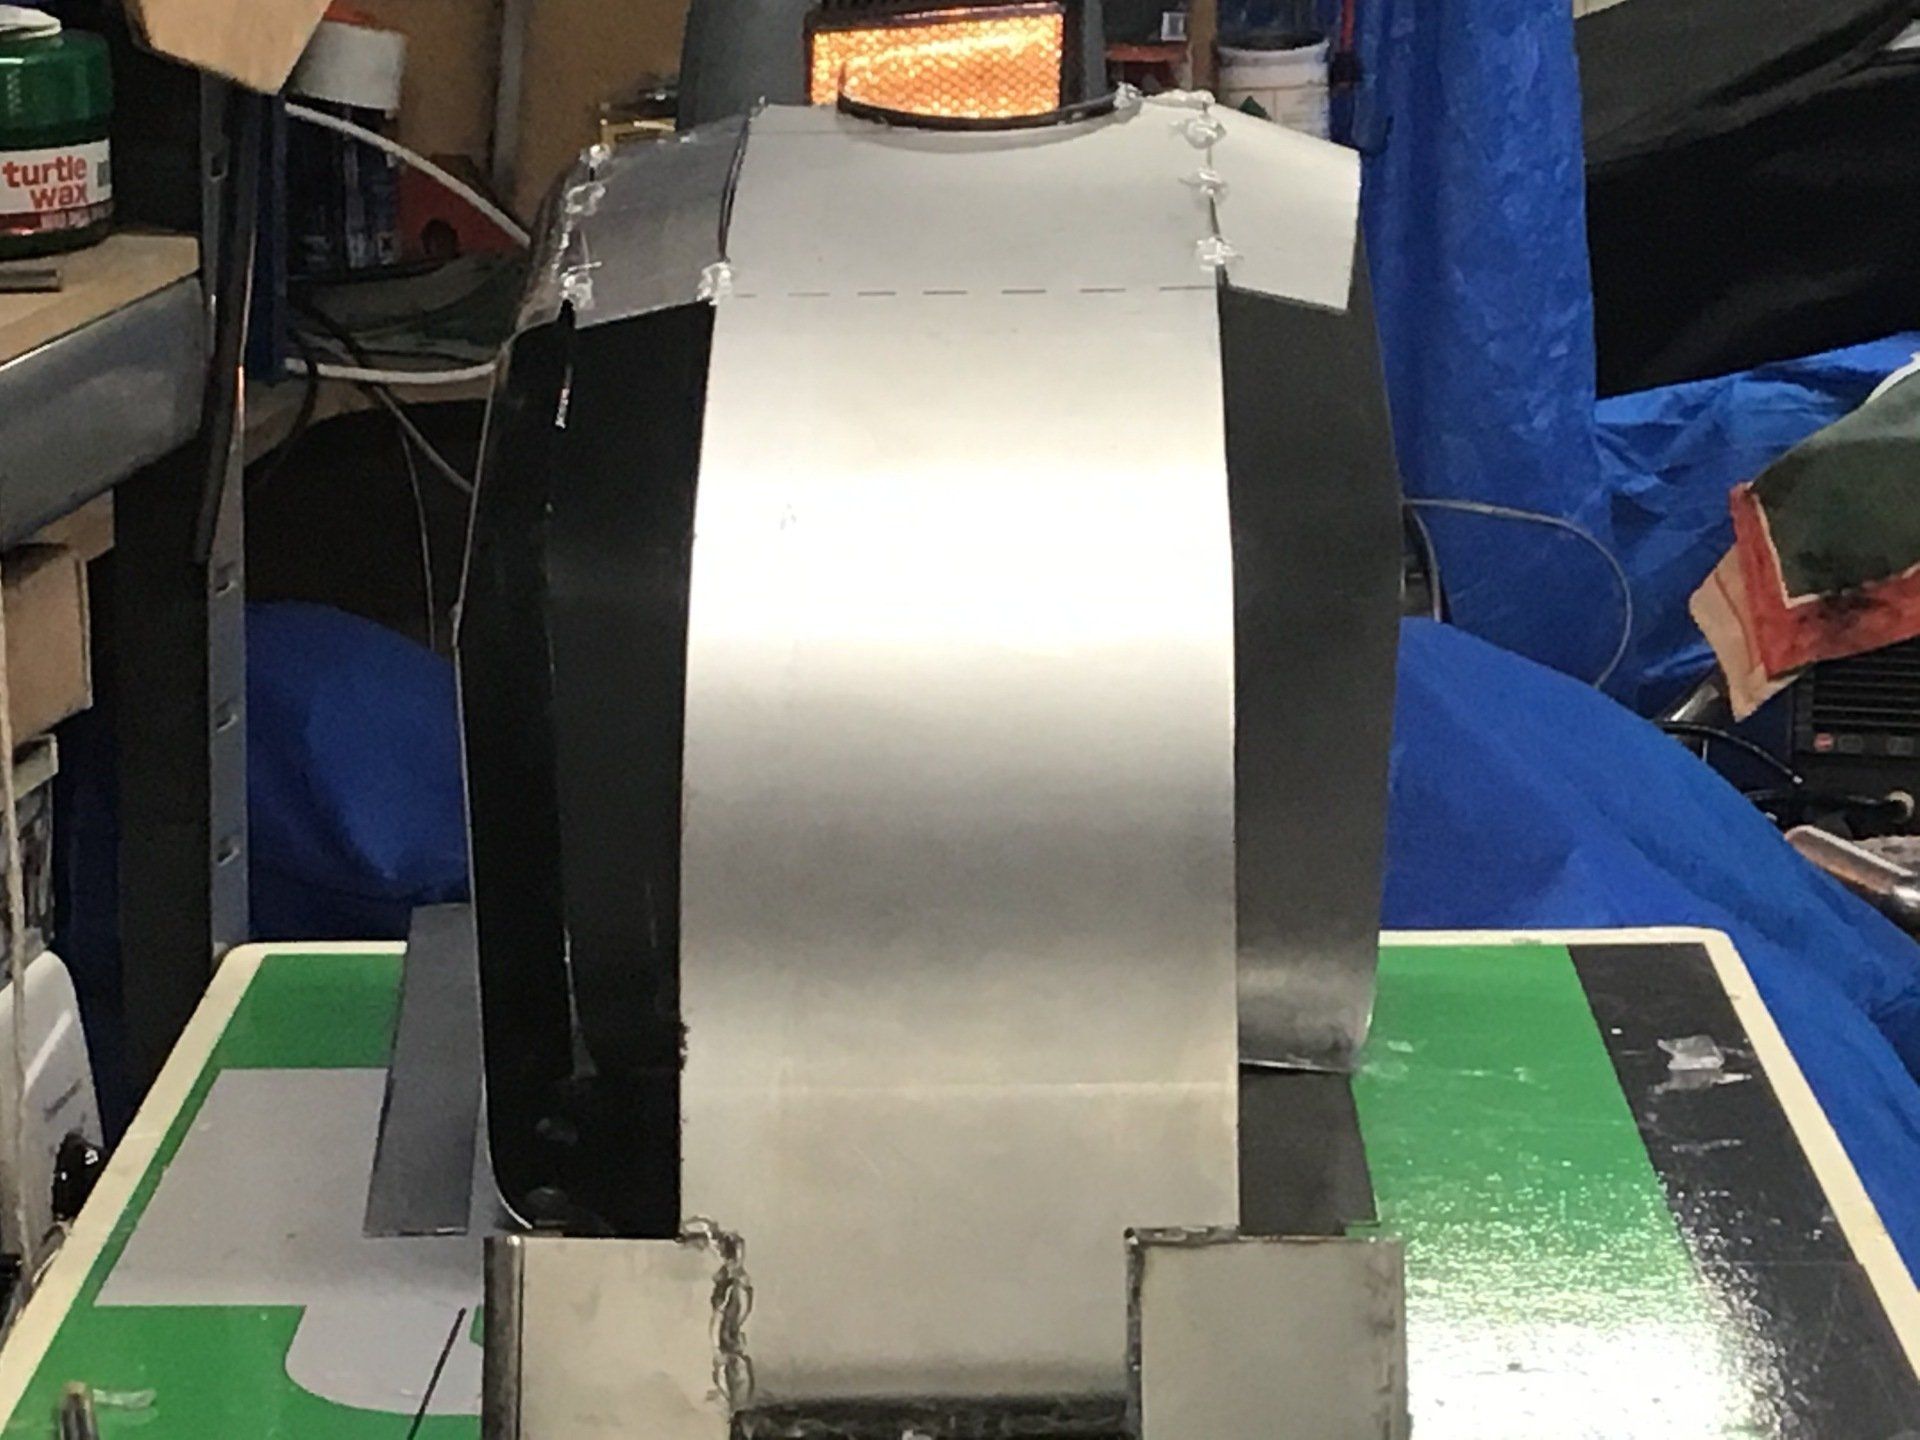
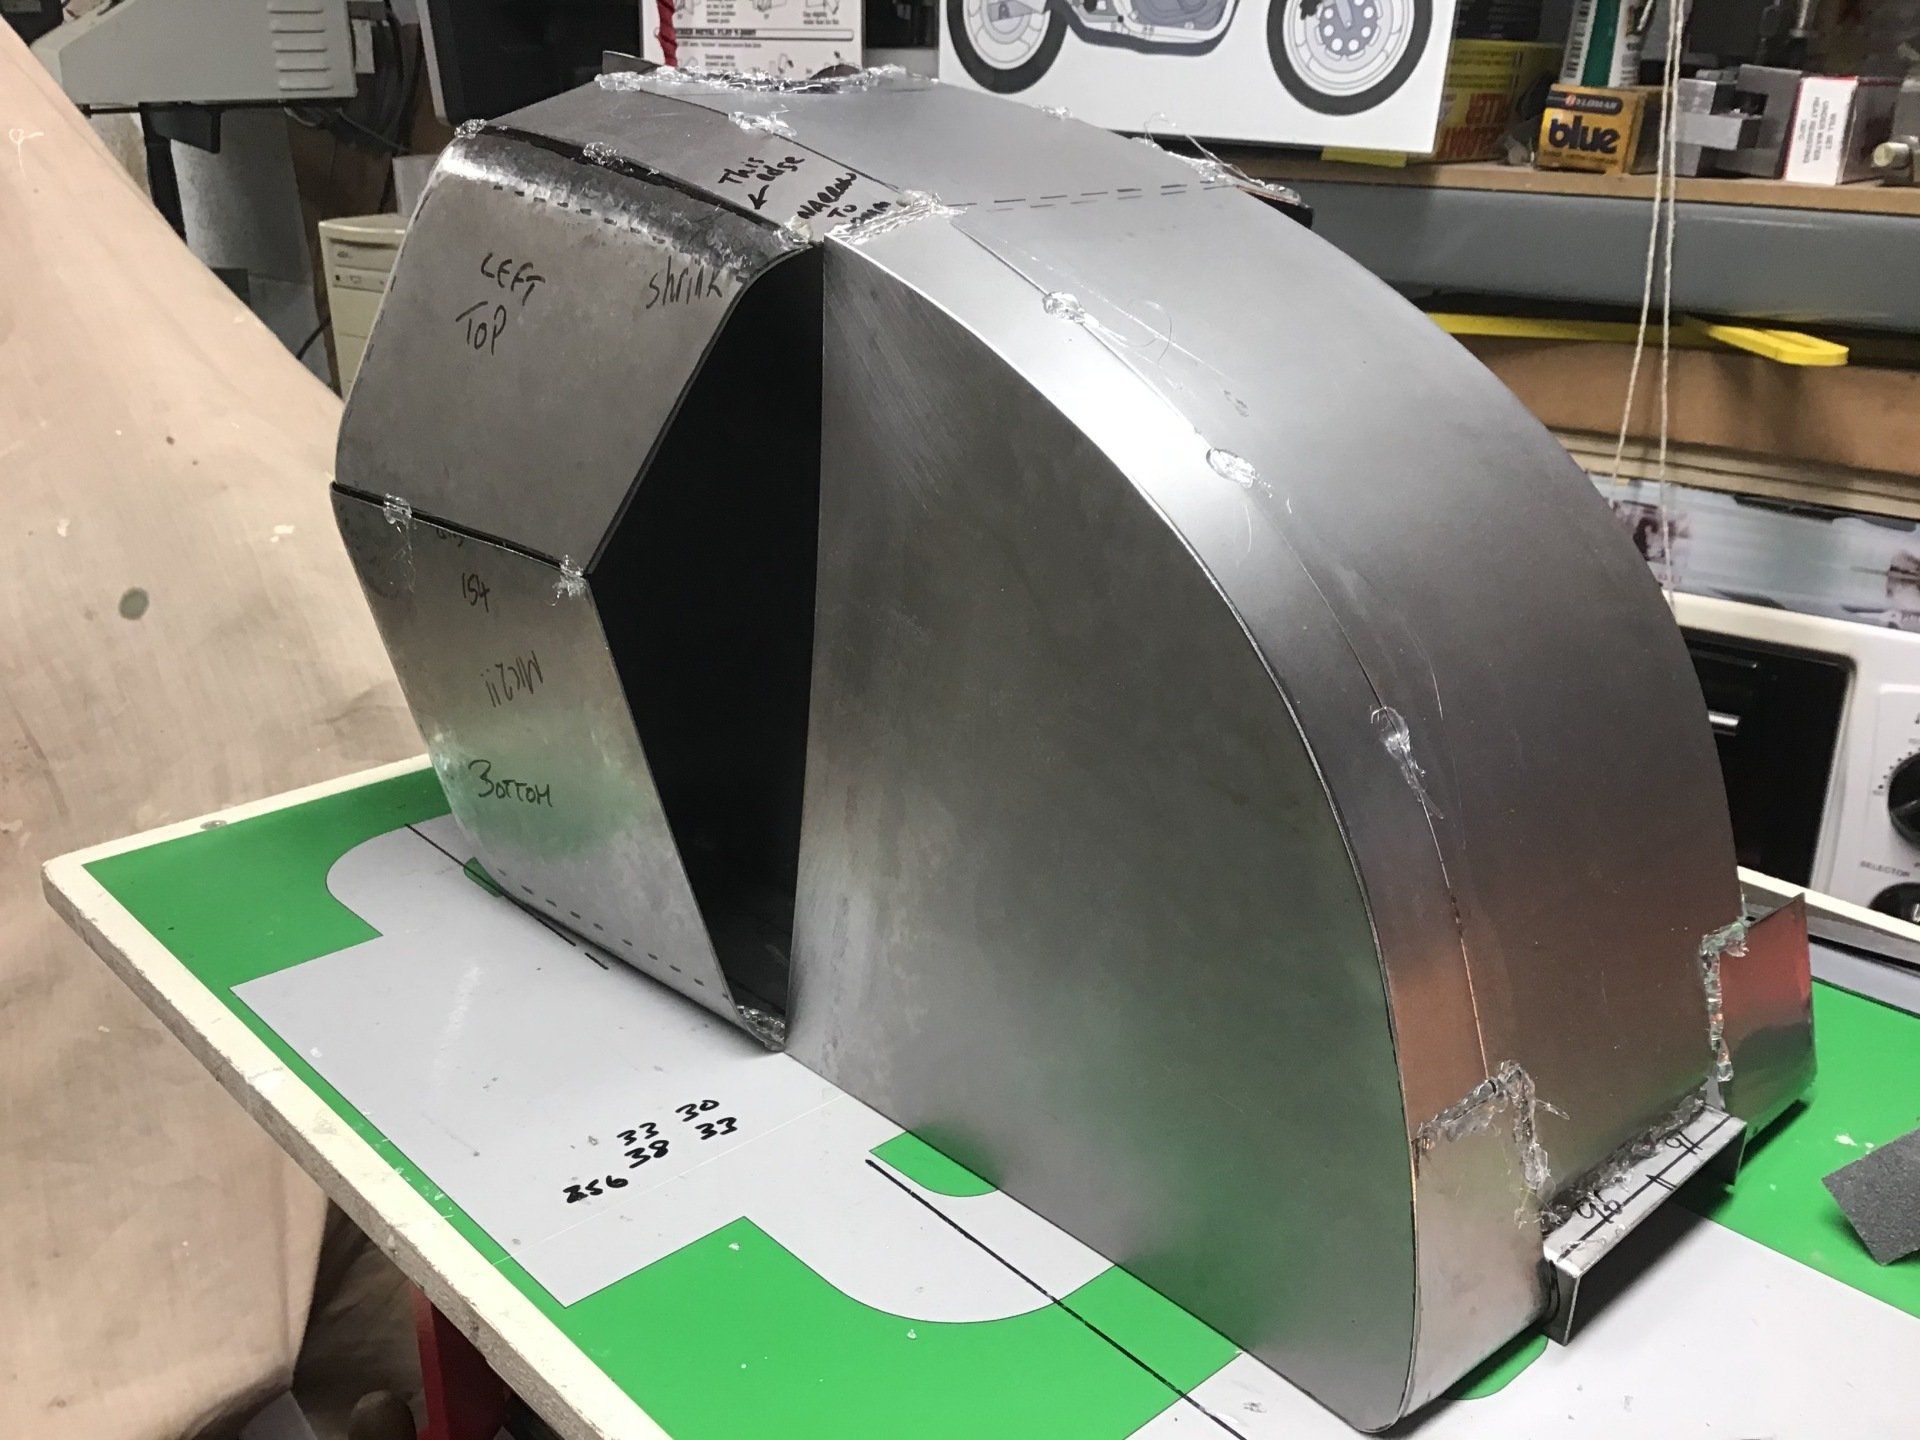
I had also decided to flatten the radii that I’d so carefully formed on the inside edges. So here they were…
…and now they’ve gone!
With this side so much closer to actually fitting, it’s time to try making a matching version for the other side.
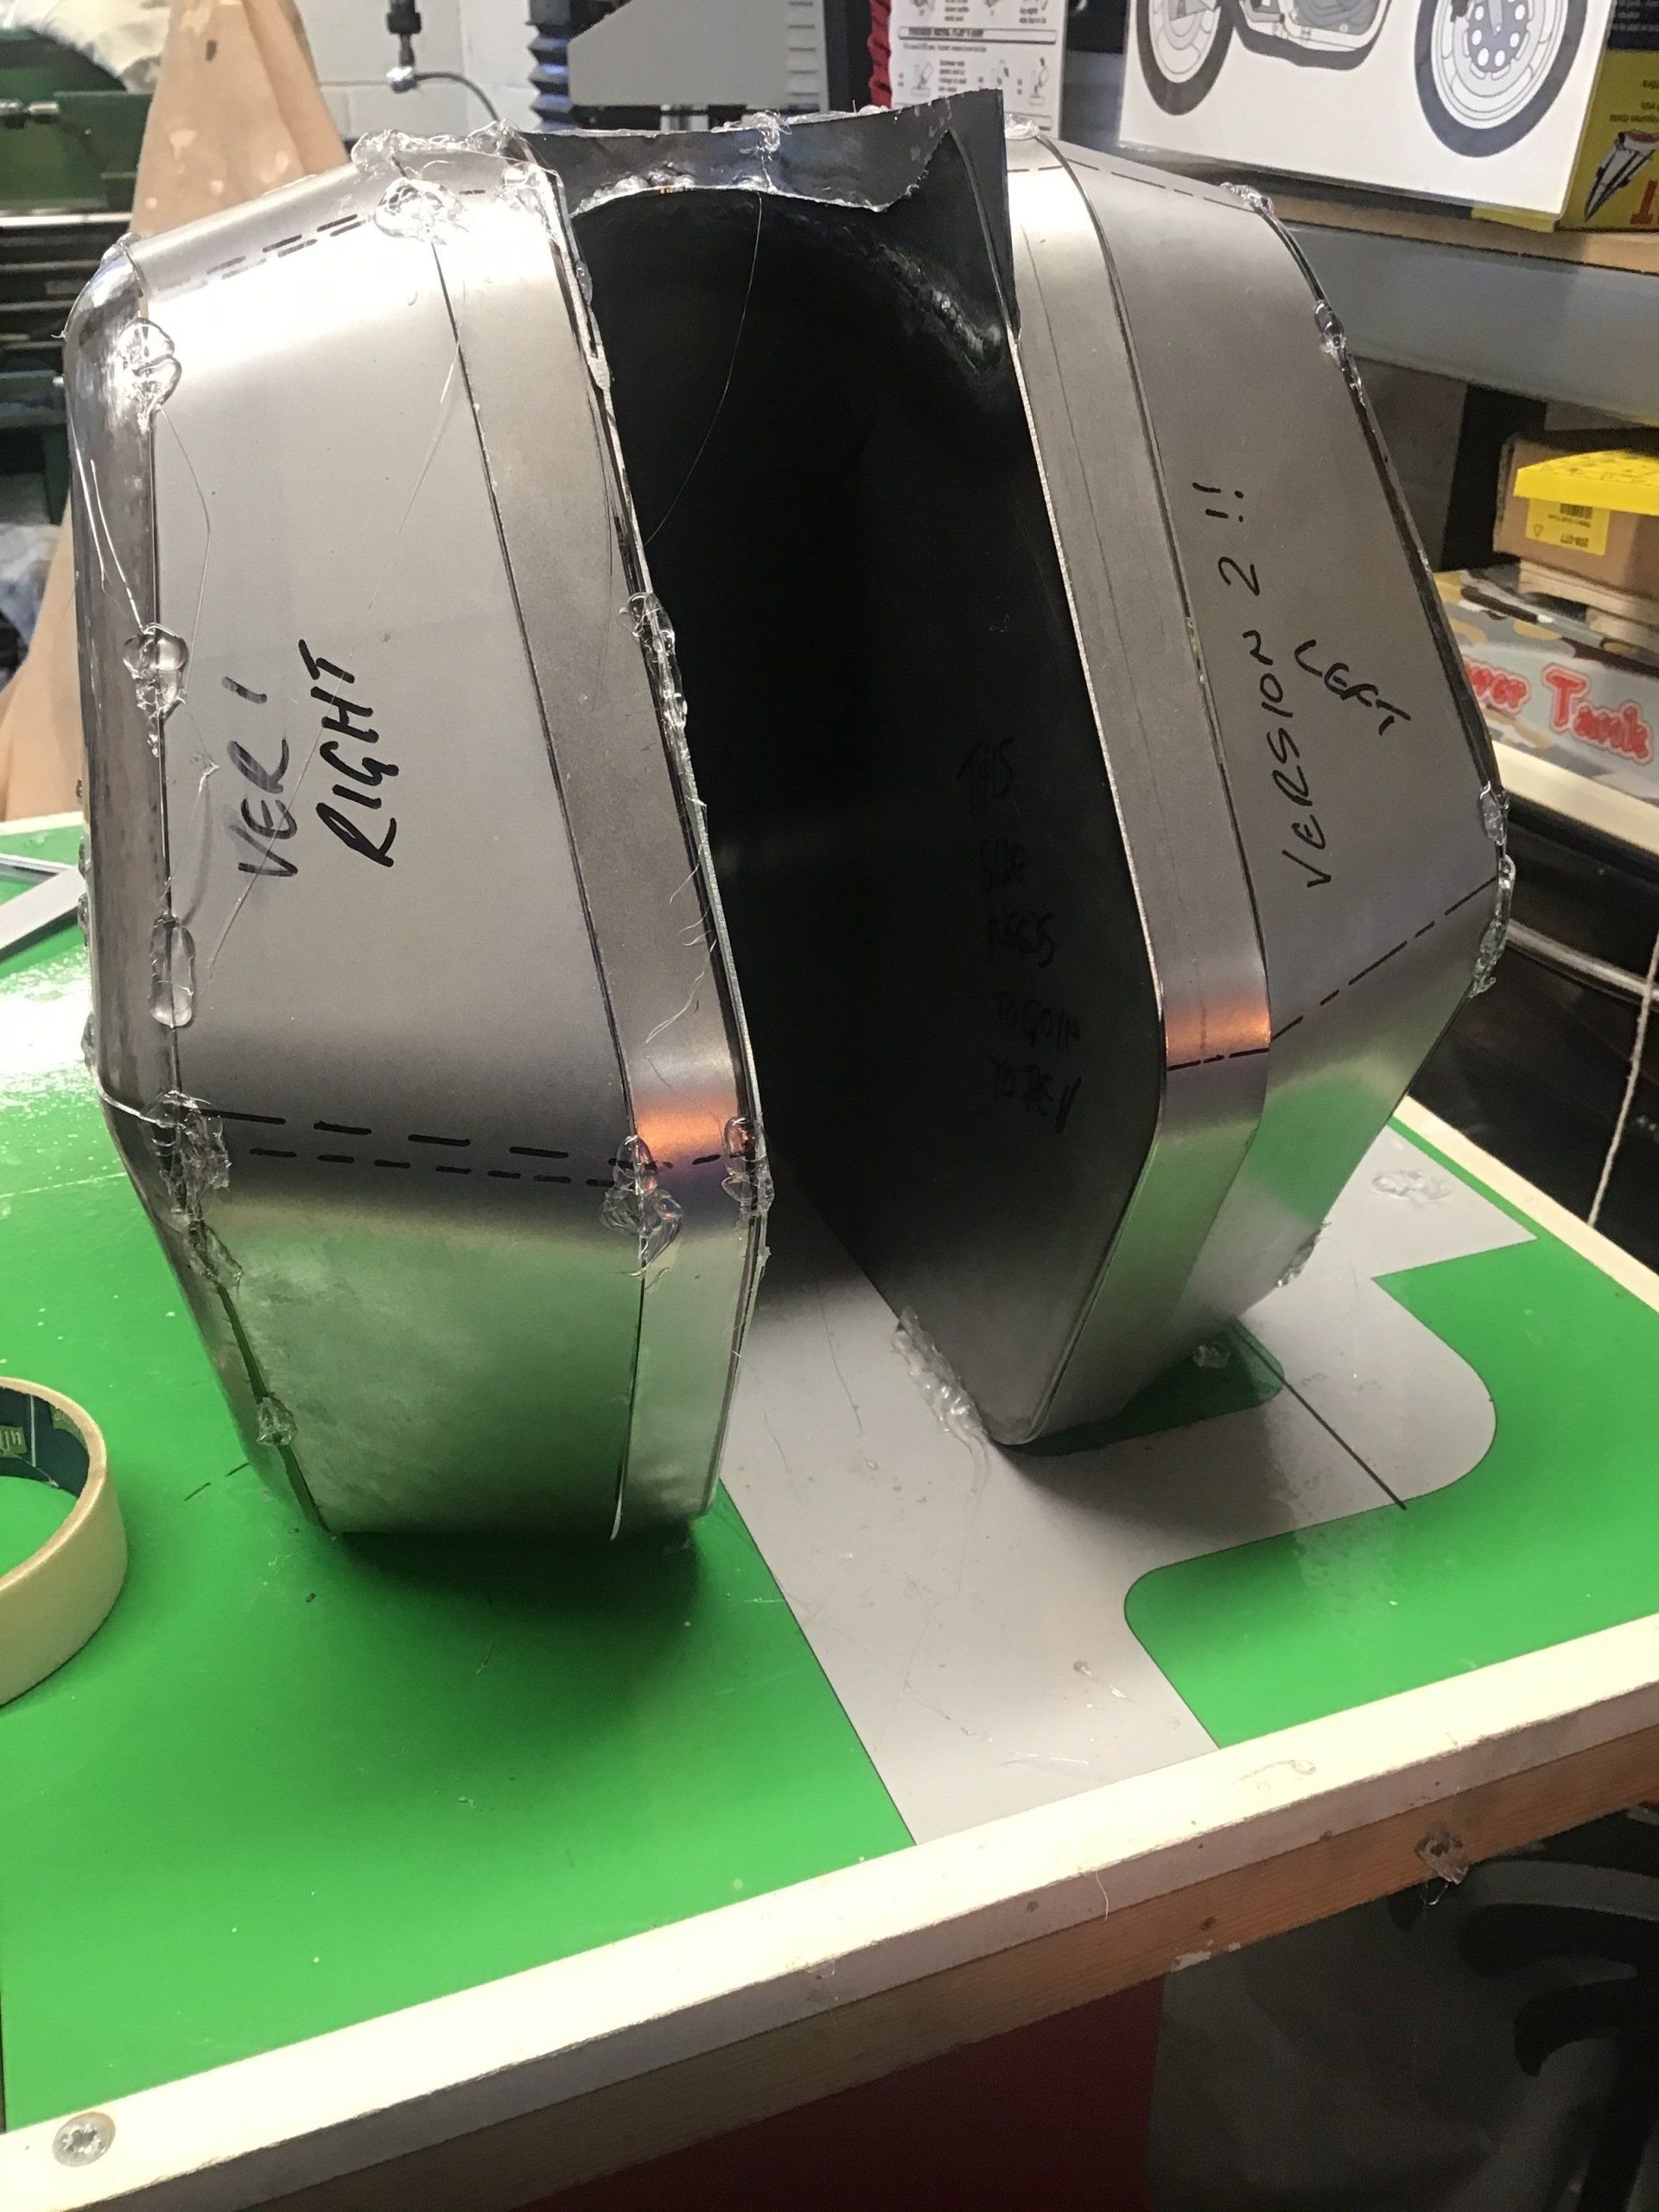
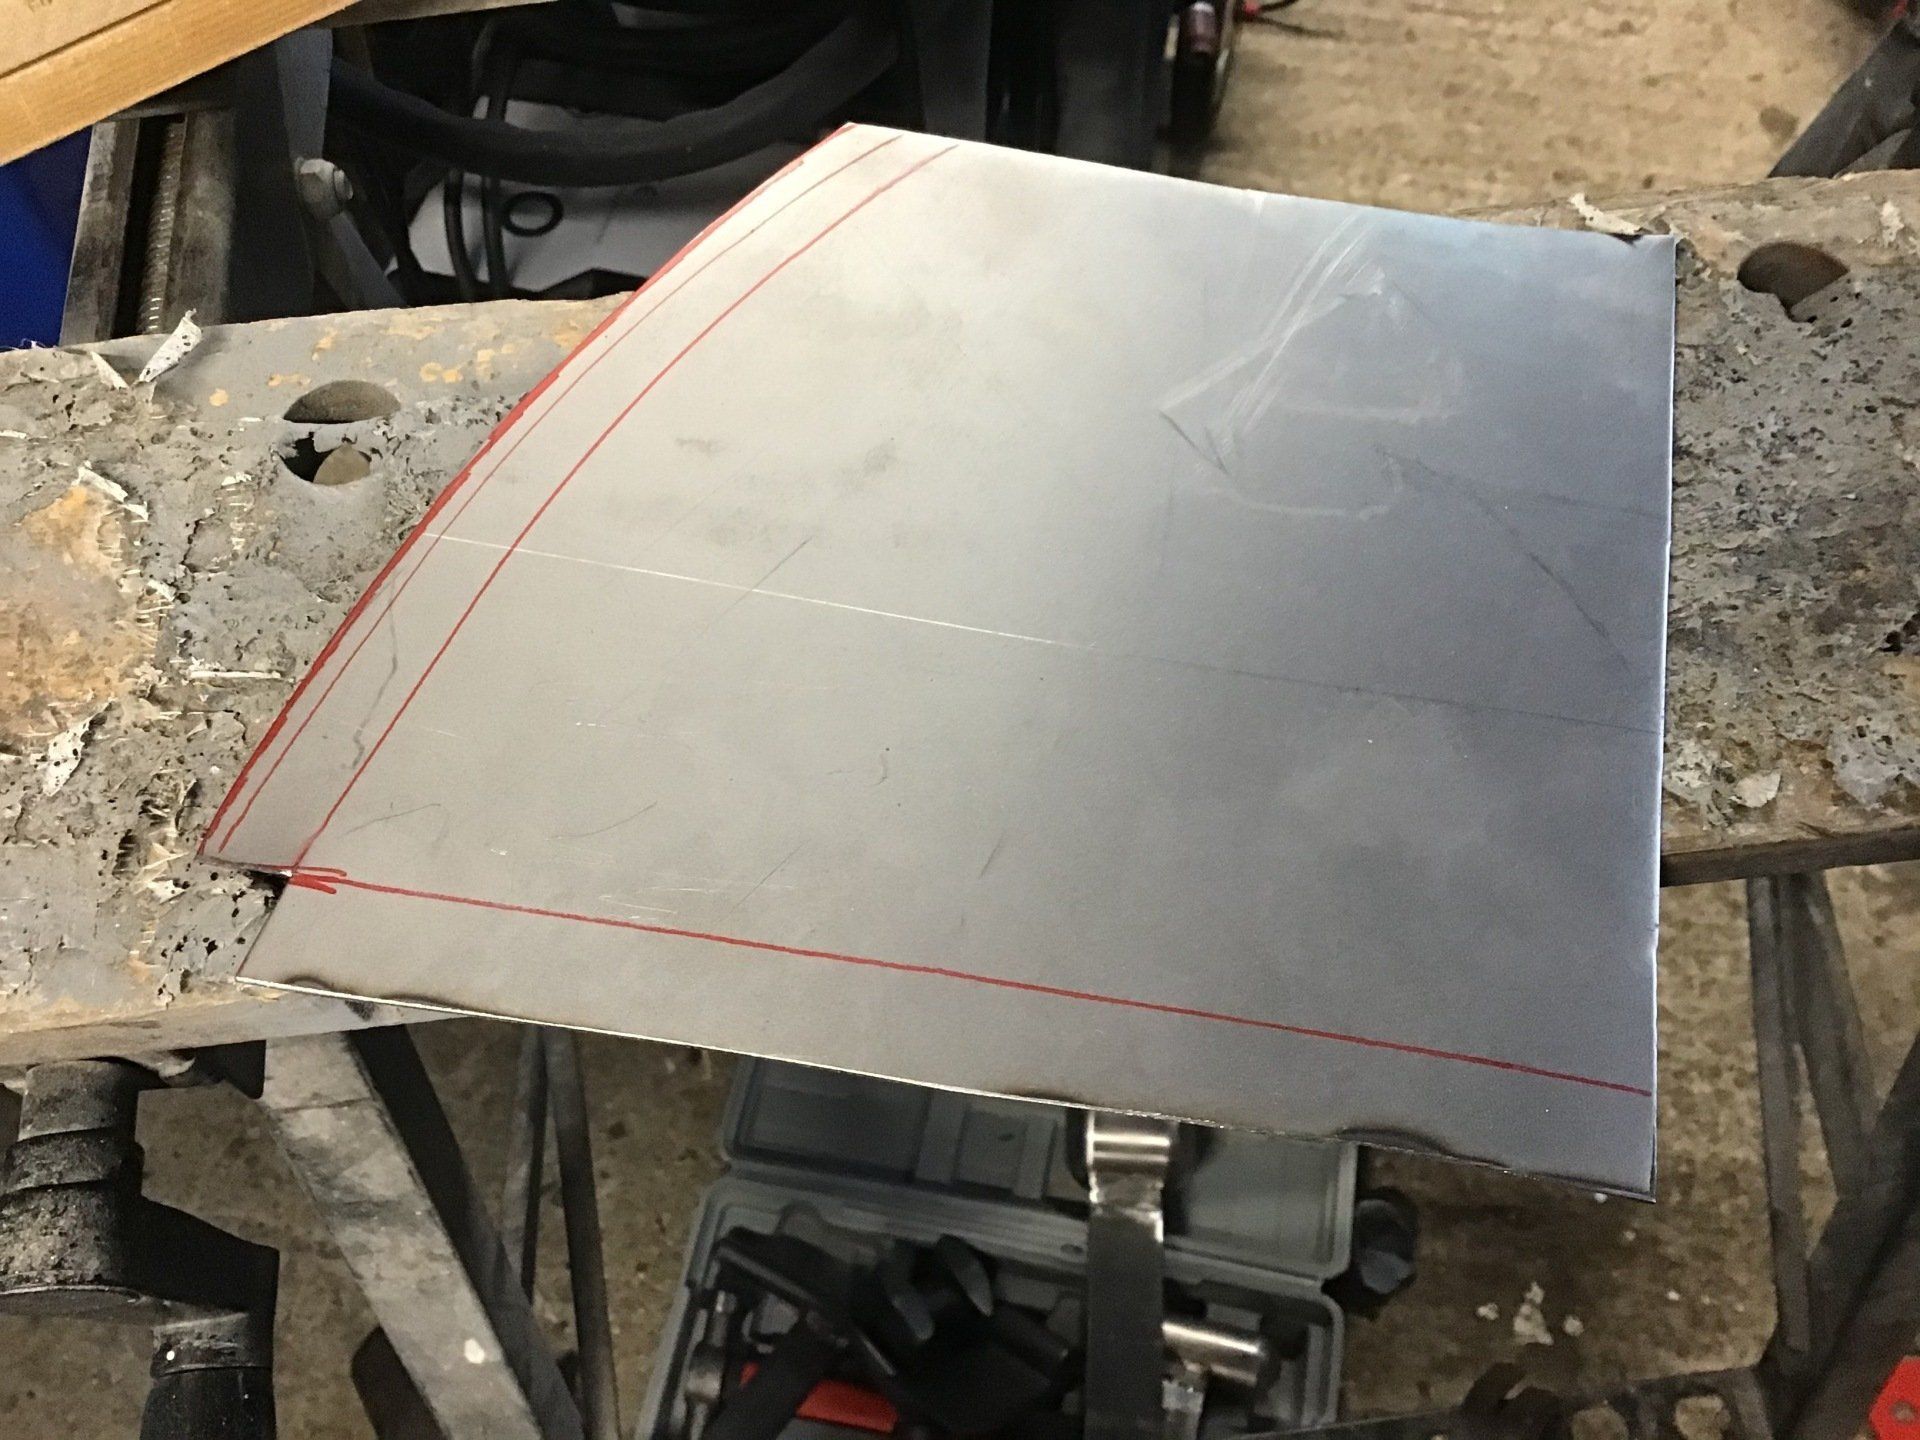
First part for the right hand side cut out, bent and fitted. As you can see the angles of the top edges don’t match. This had me scratching my head for a bit, I’d used the same dimensions and bend angles, so surely they should be the same.
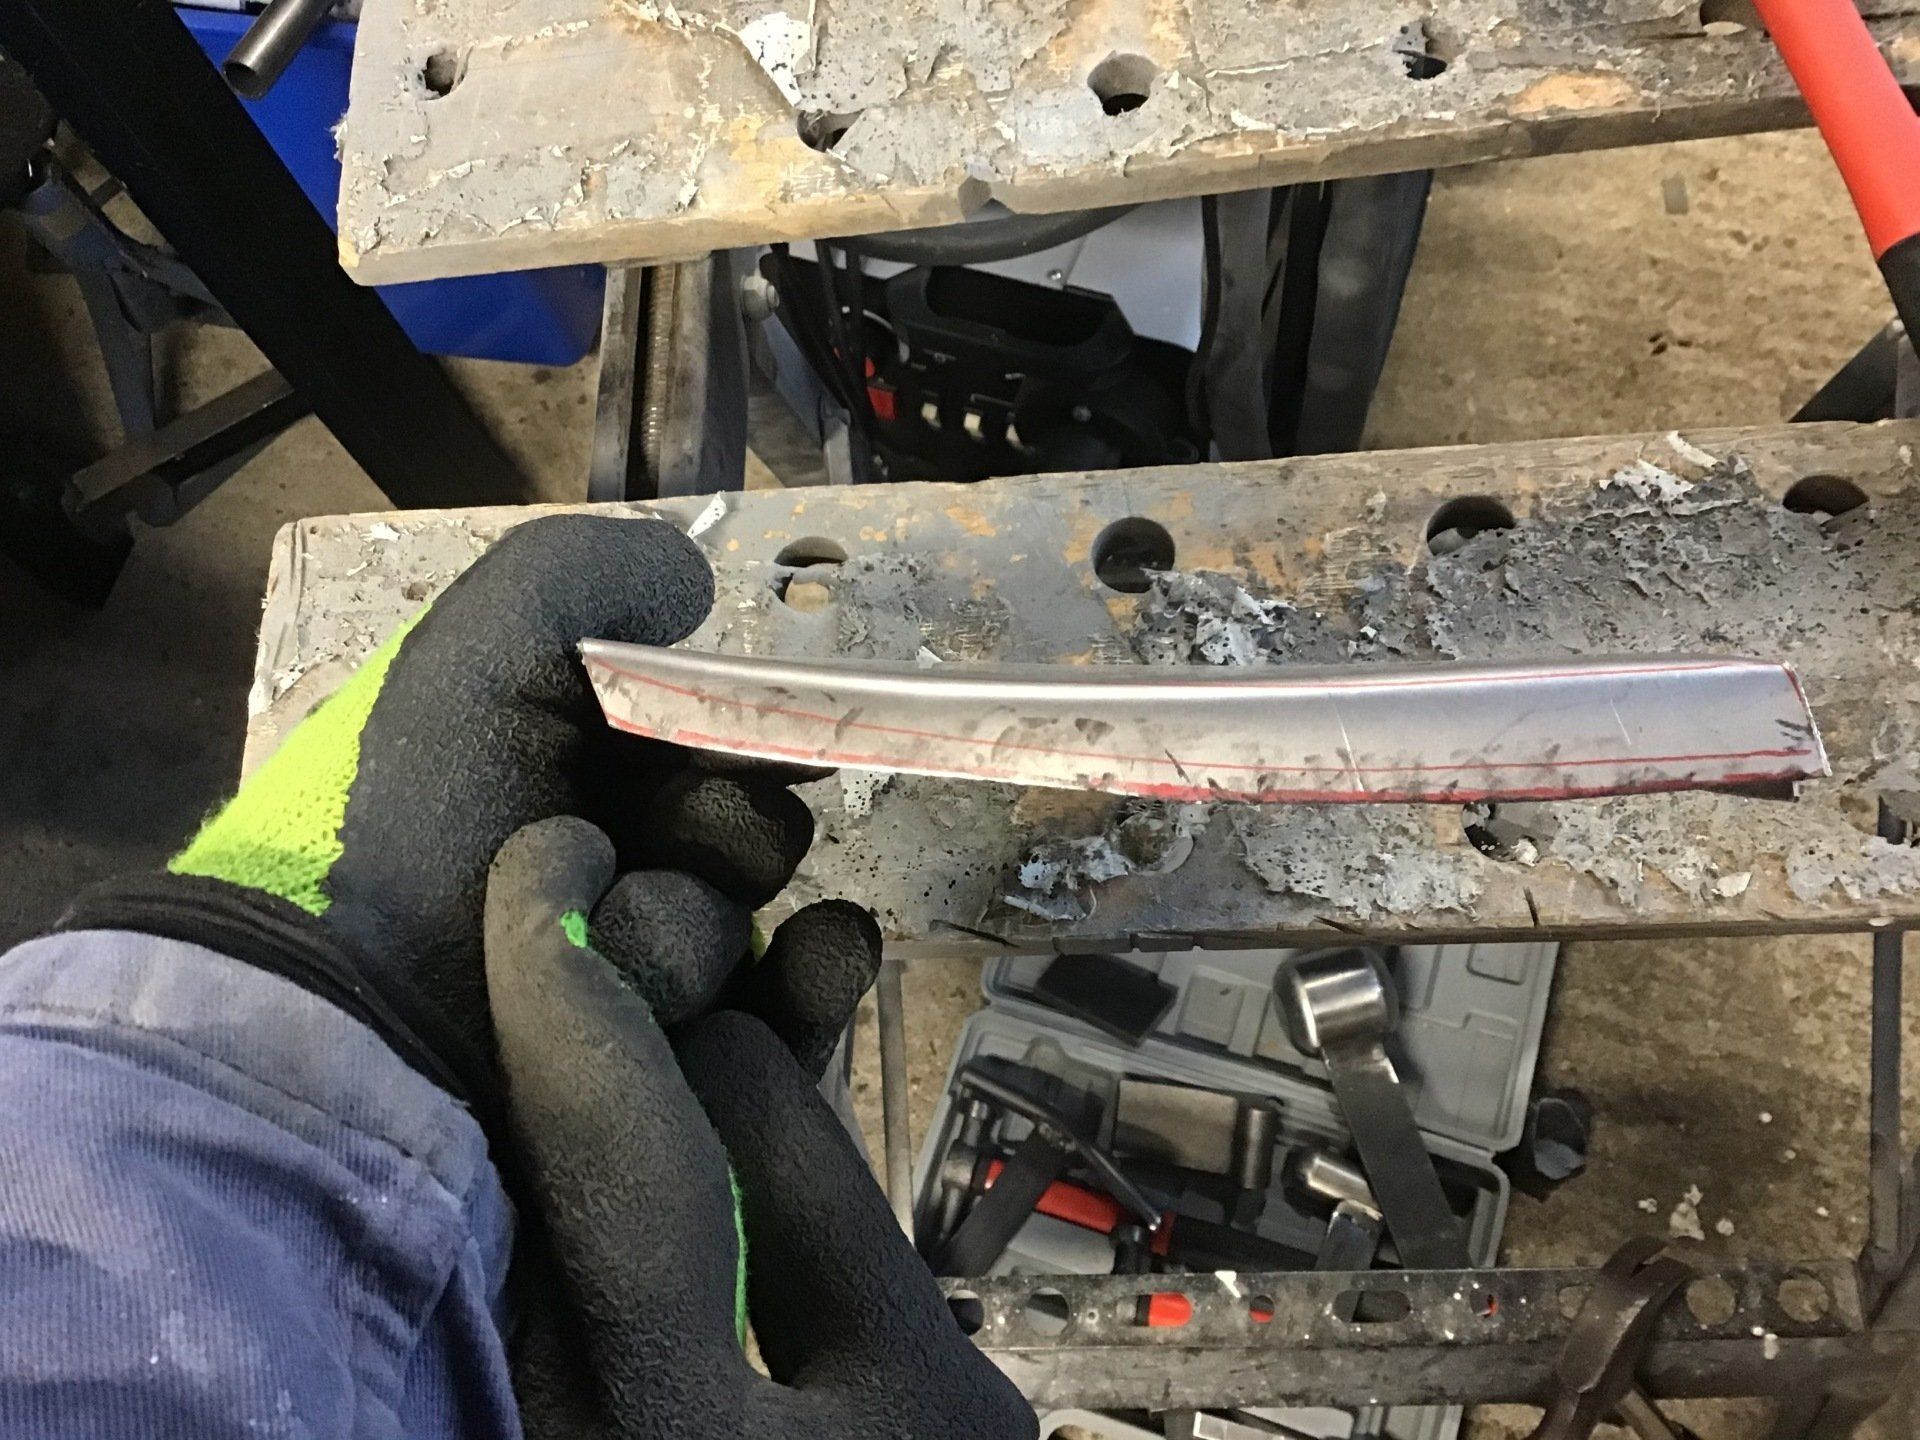
It turned out that the centre line of one of the bends was a little out, and after a little tweak, they look a much closer match.
I did manage to do a better job of the bottom edge on this side, though. (Scroll back through previous Monday articles to see how badly I did the first time around!)
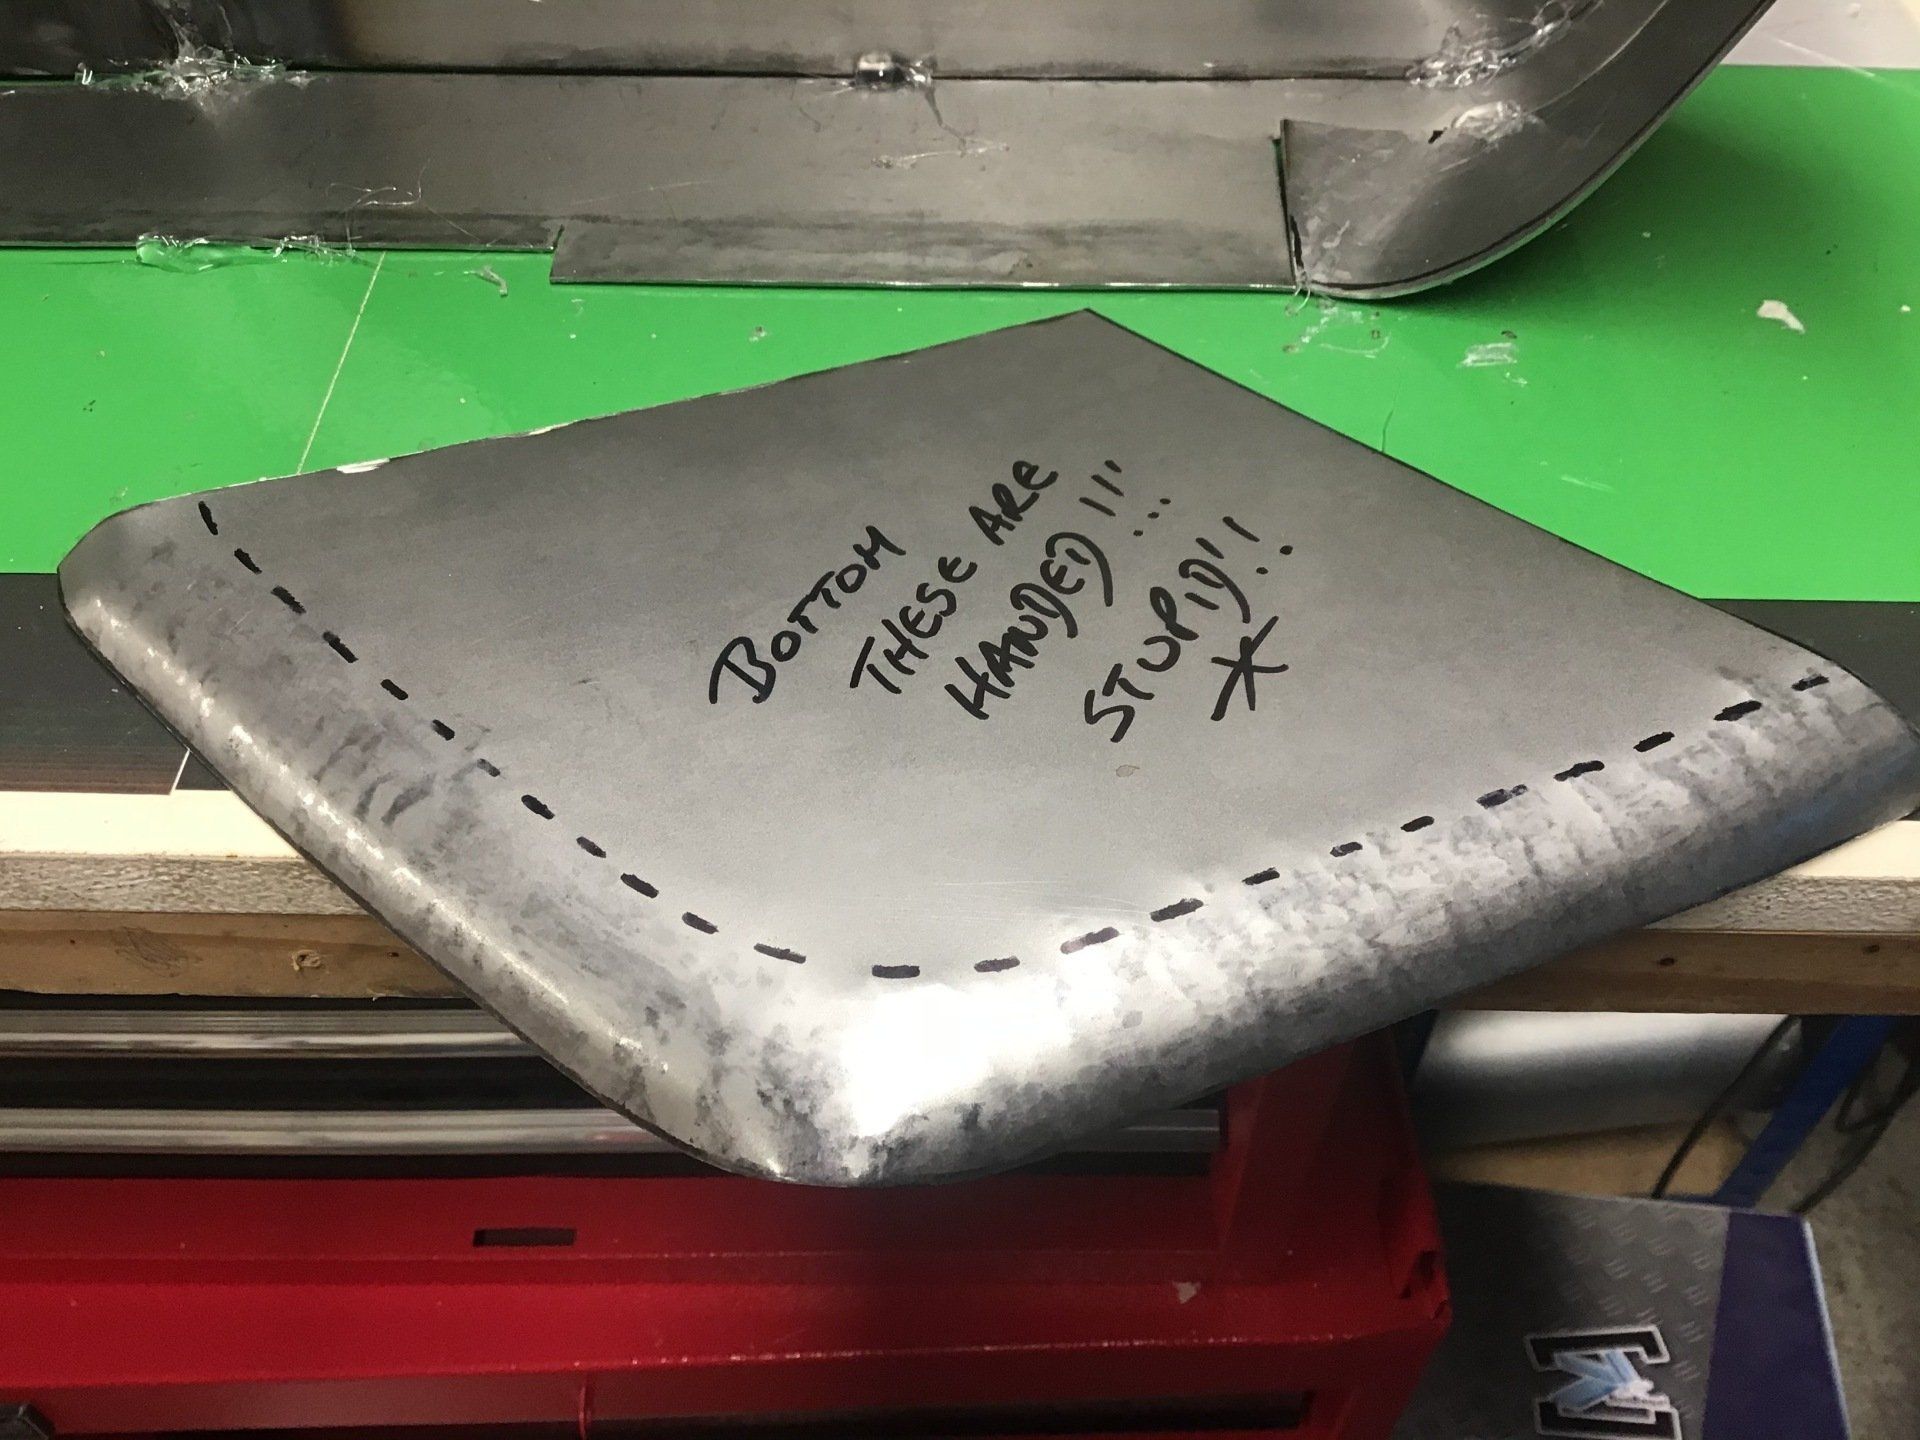
Next, making some more sides. I used the previously made ones as templates, stupidly though, I copied them too closely and made an exact replica of the left hand bottom panel! The sides are handed, so I then had some extra hammer practice, first flattening the panel again and then reforming the radius in the other direction.
There we go, the right handed version!
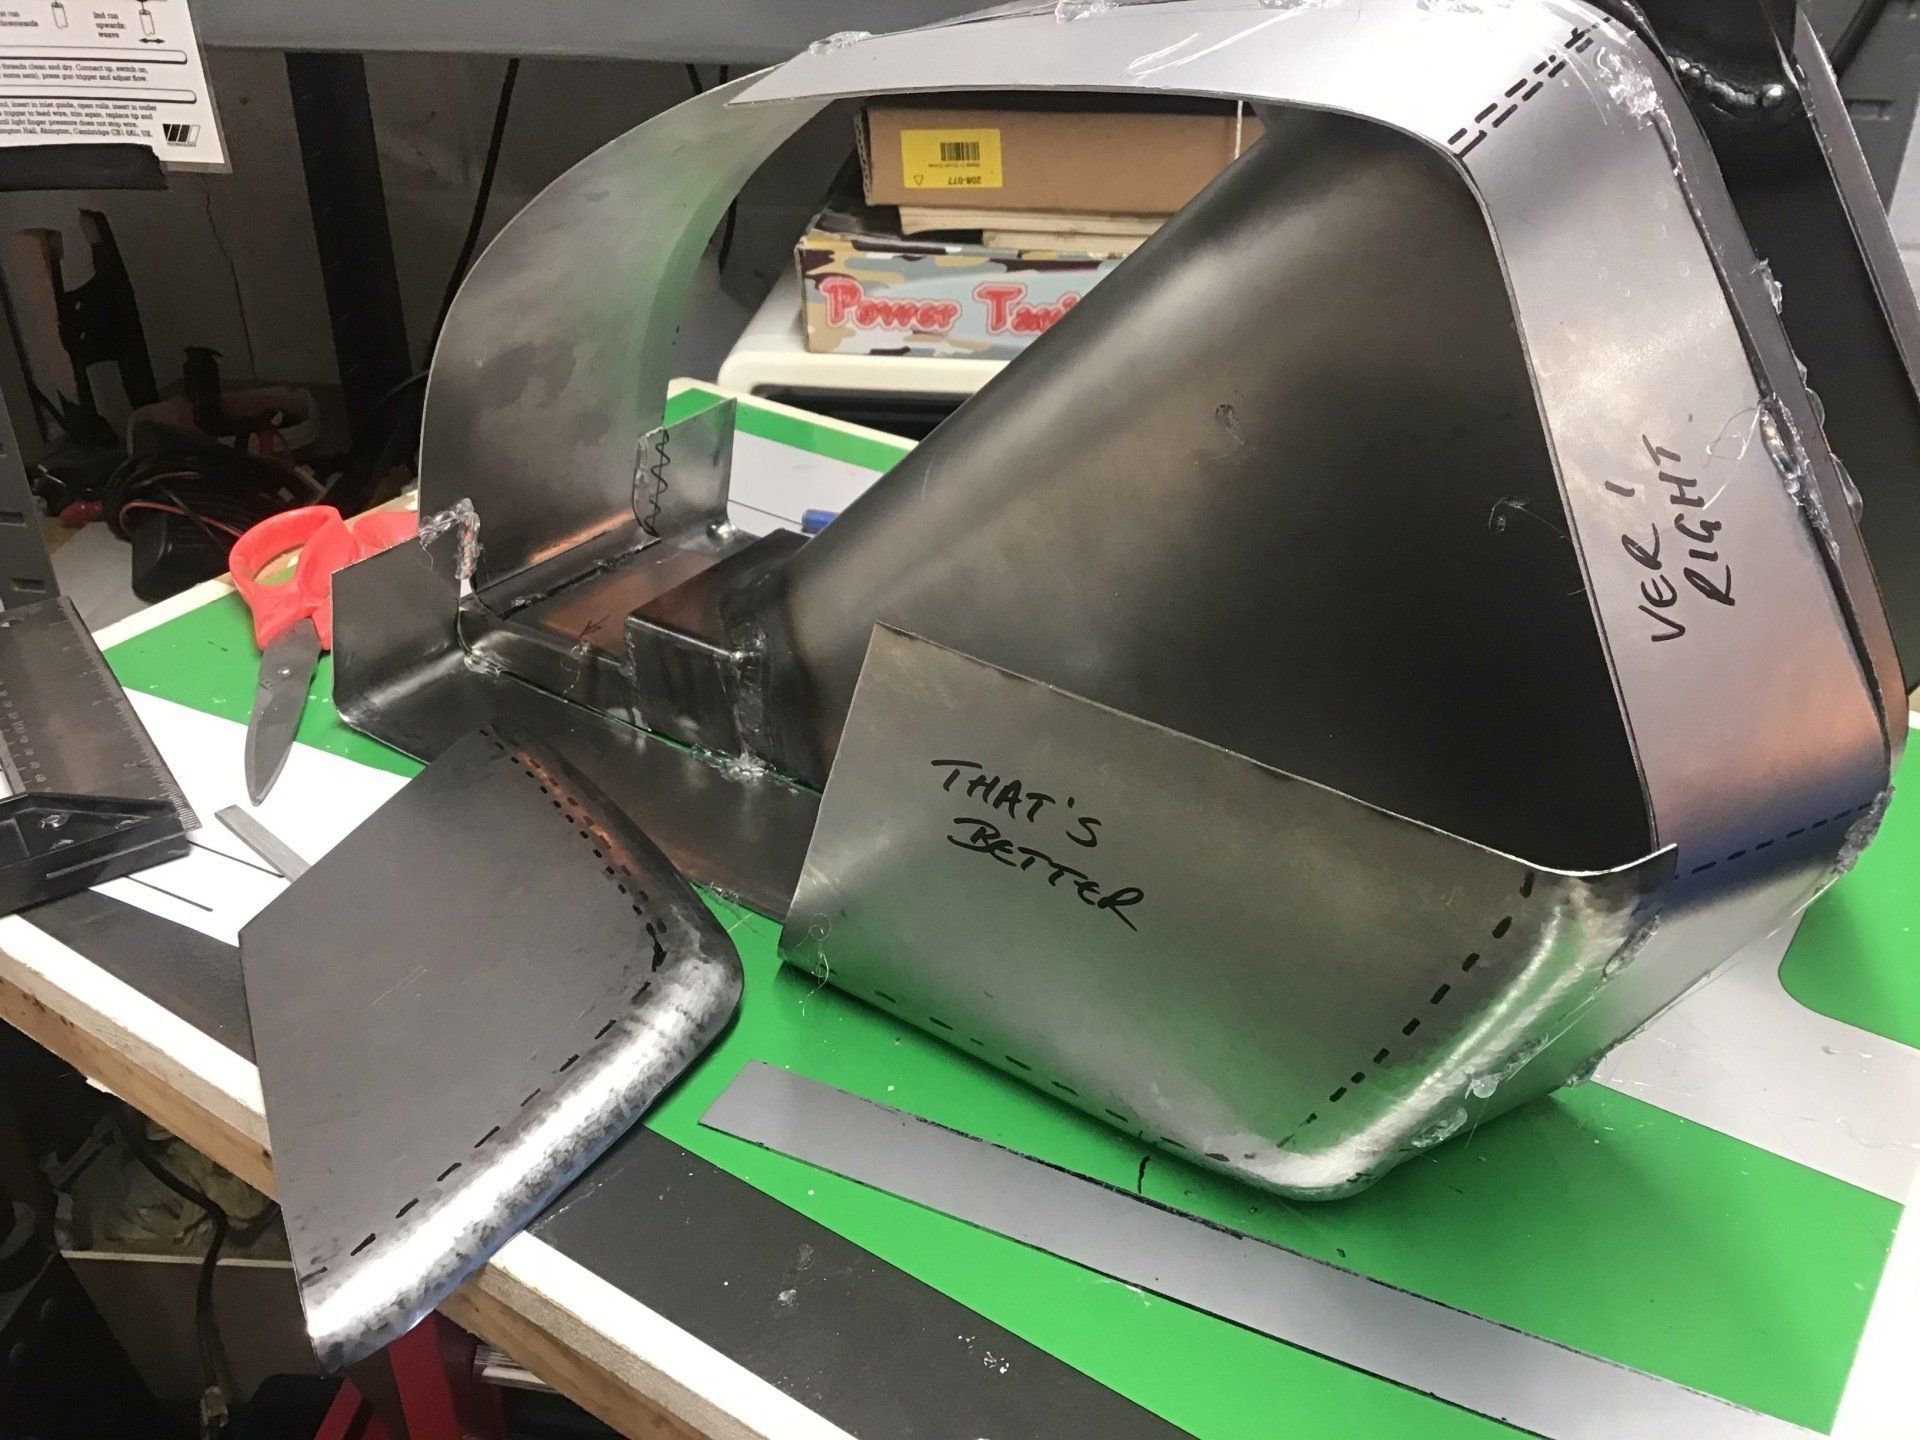
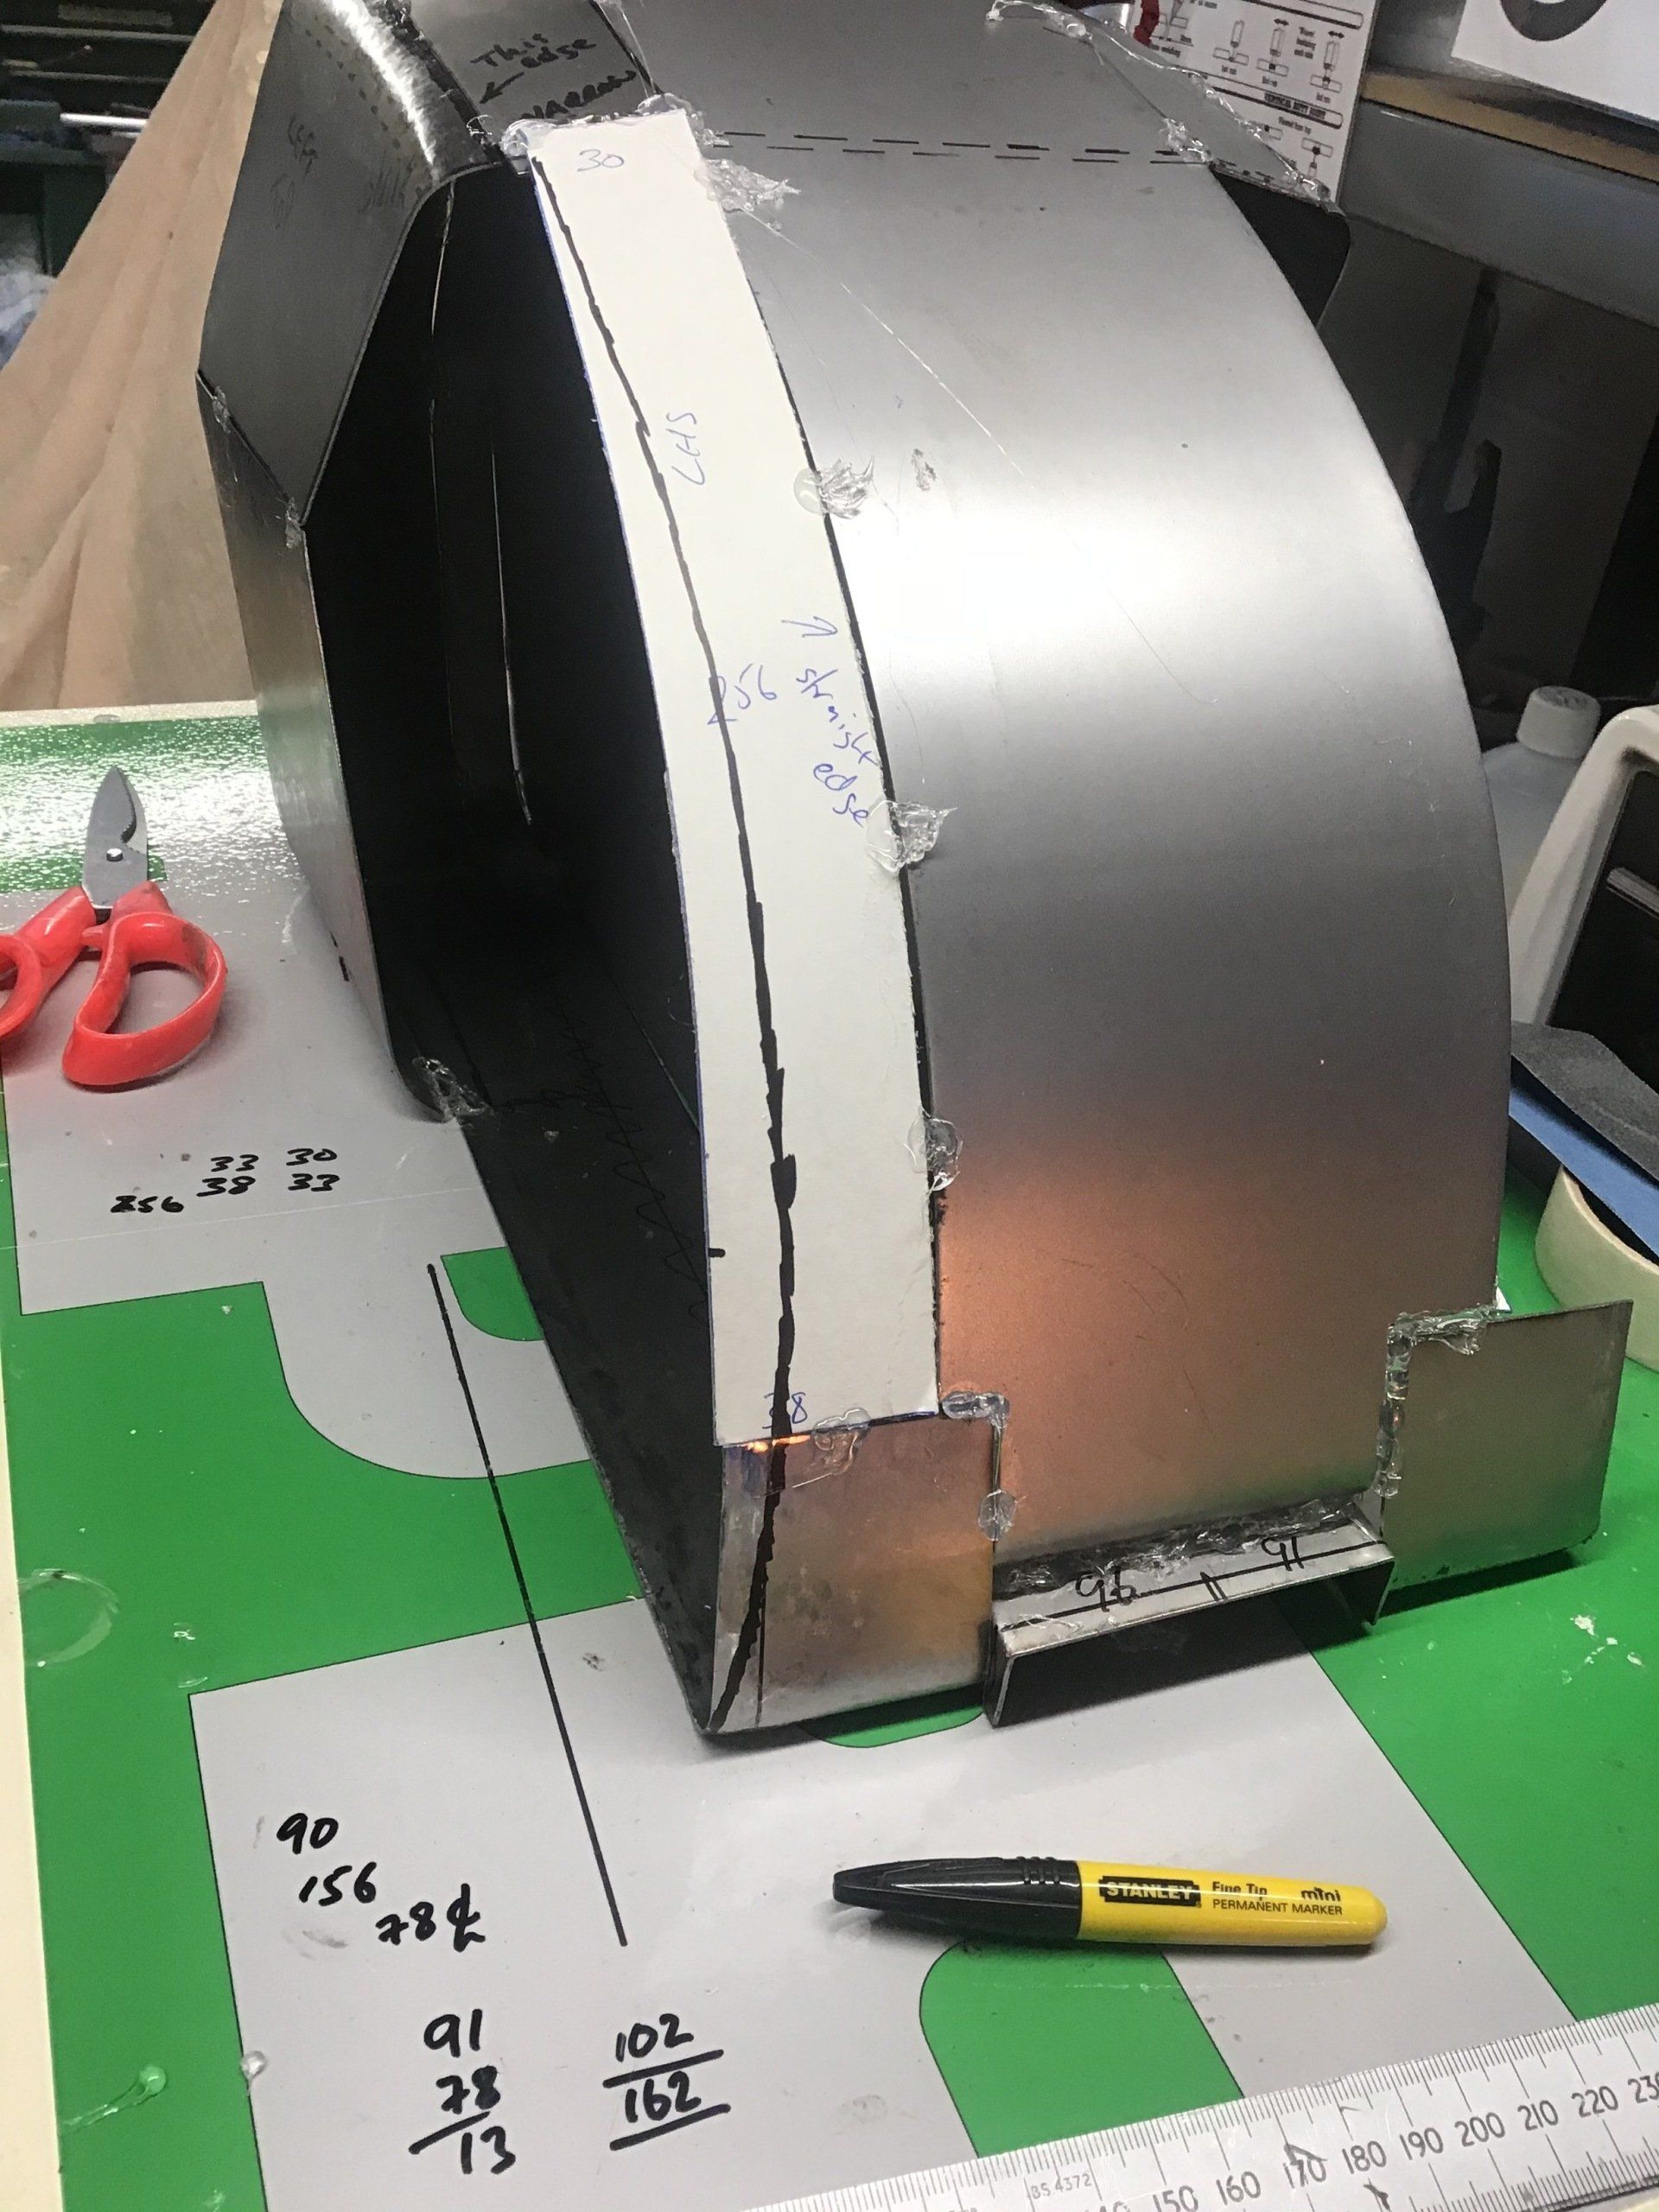
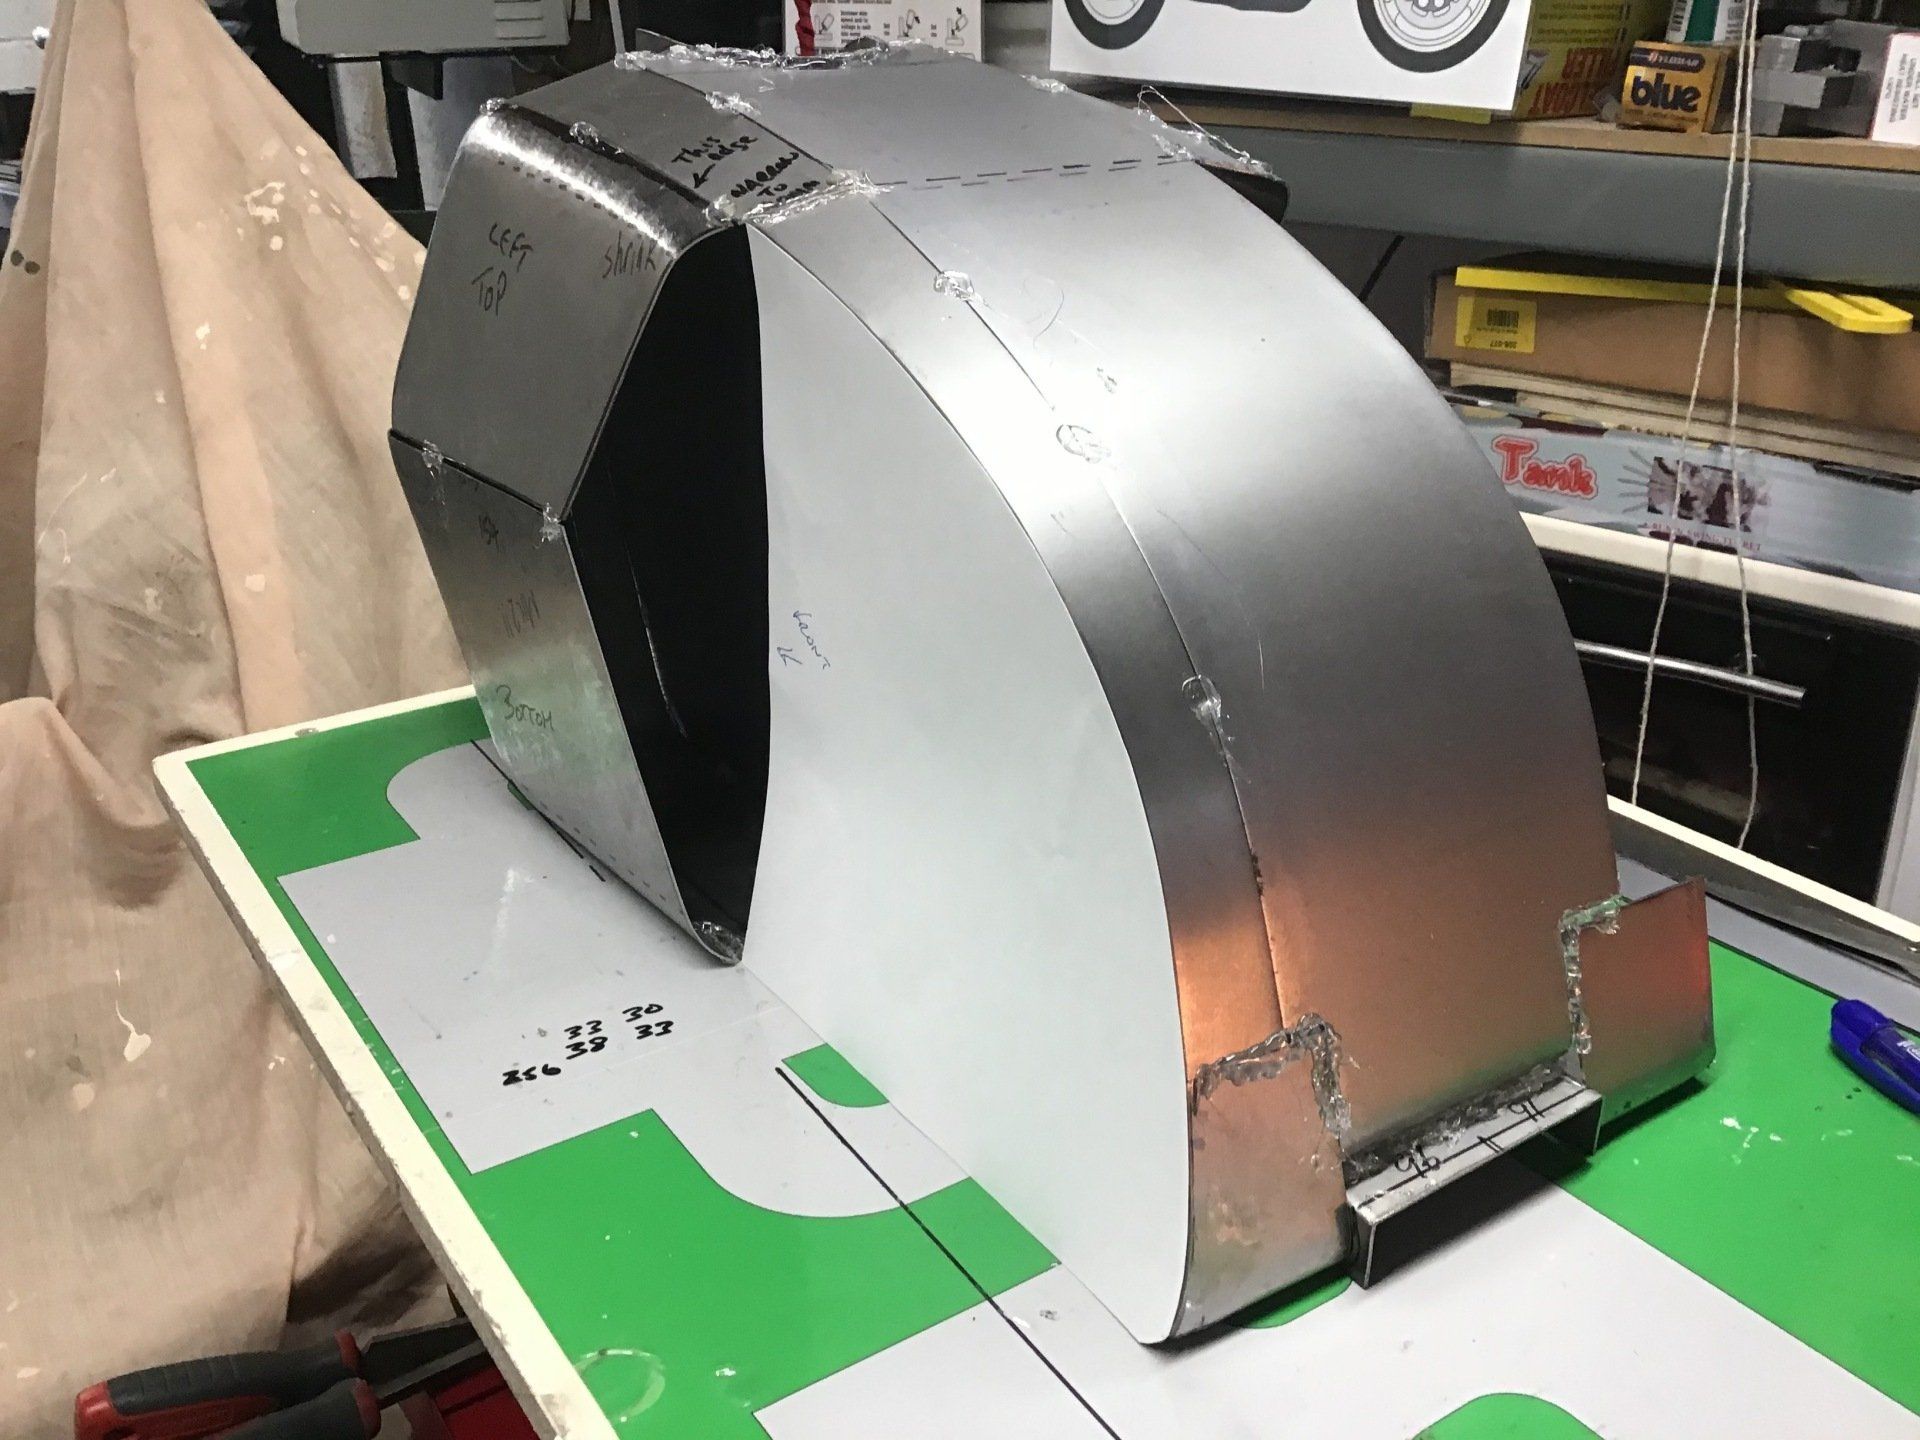
It fits pretty well, that front radius being the most troublesome area. Top part of the right hand side can also be seen in the picture. Thankfully, I didn’t repeat the mistake that I made with the bottom part. You can also see the two bend centre lines marked on the inner piece. This was what I needed to adjust to get the angle of the top to match the left side - as mentioned previously.
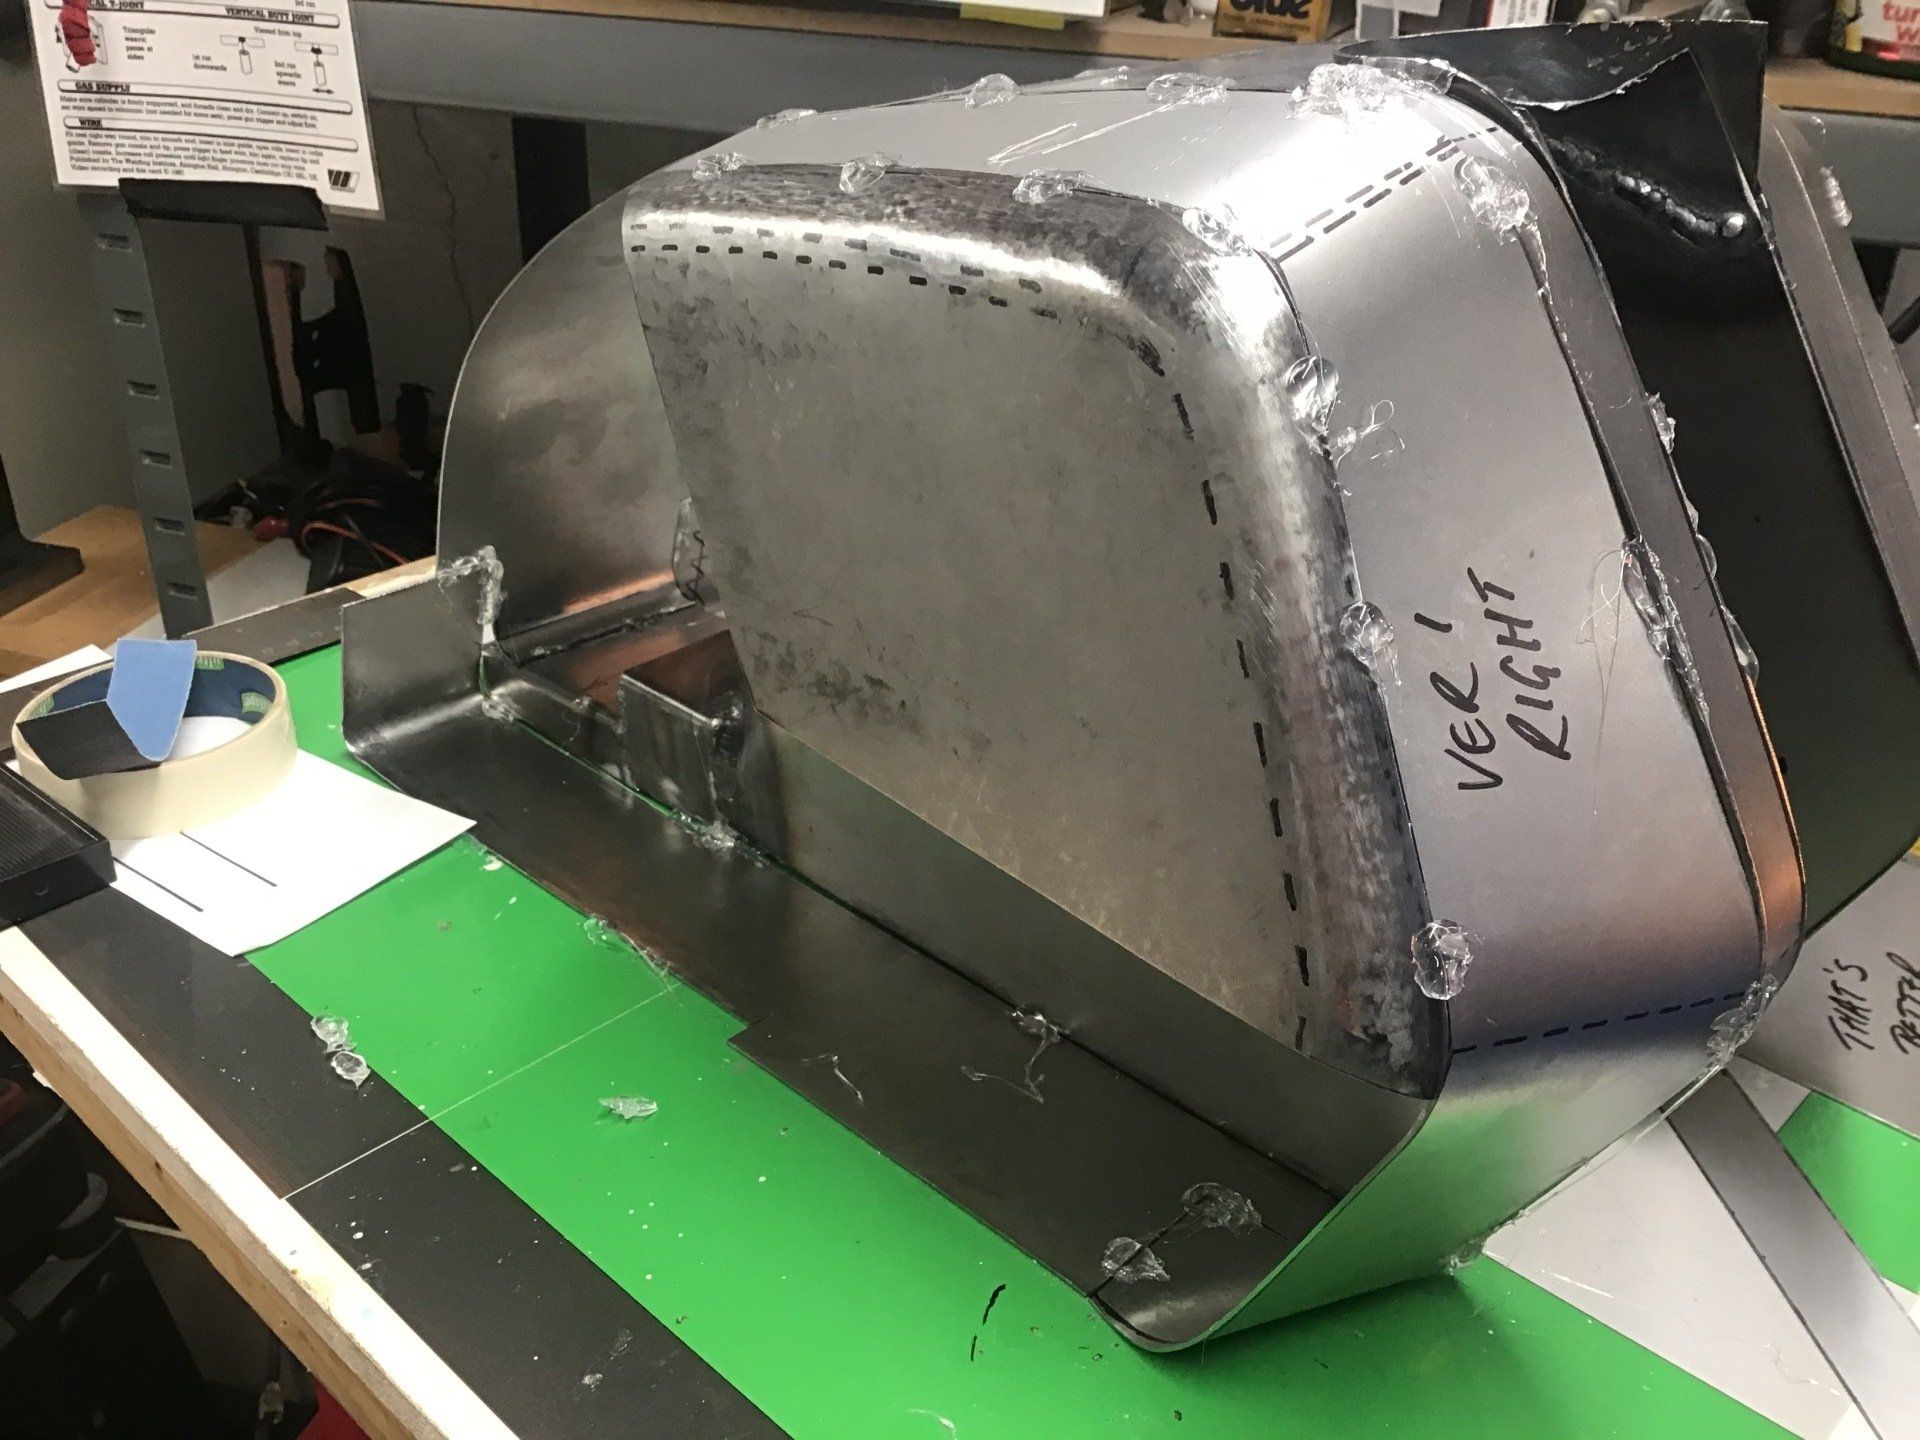
I eventually managed to get the top side to fit reasonably well. The joining edge between top and bottom needs trimming to fit, then I can put them both on and see if they match the other side…
Despite the temperature in the garage (4 degrees C) making the prospect of spending time working out there a less than enticing proposition, there has been some progress.
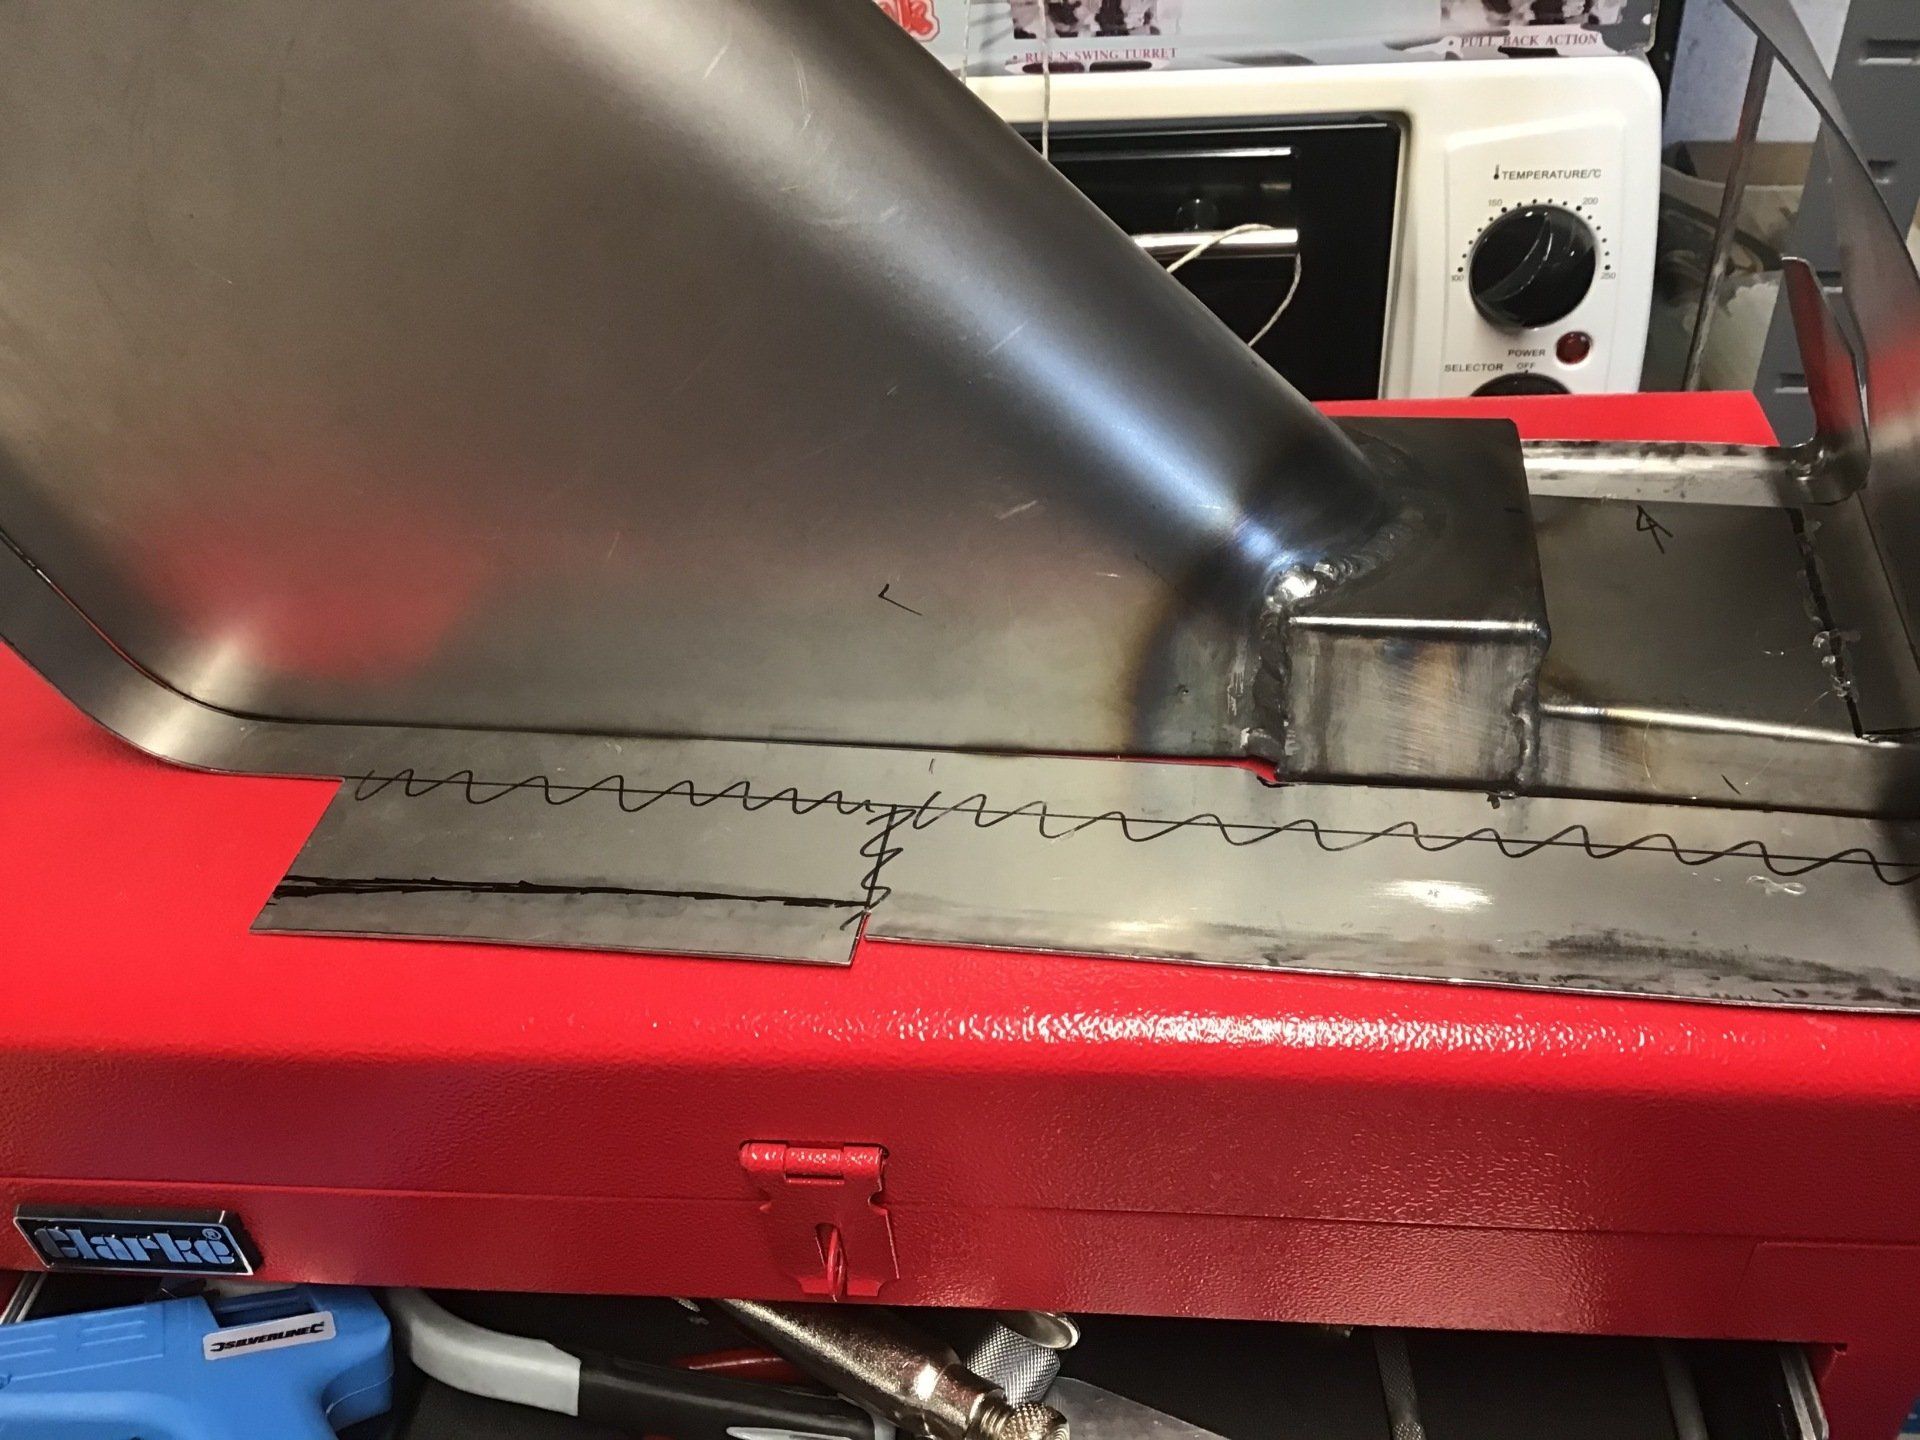
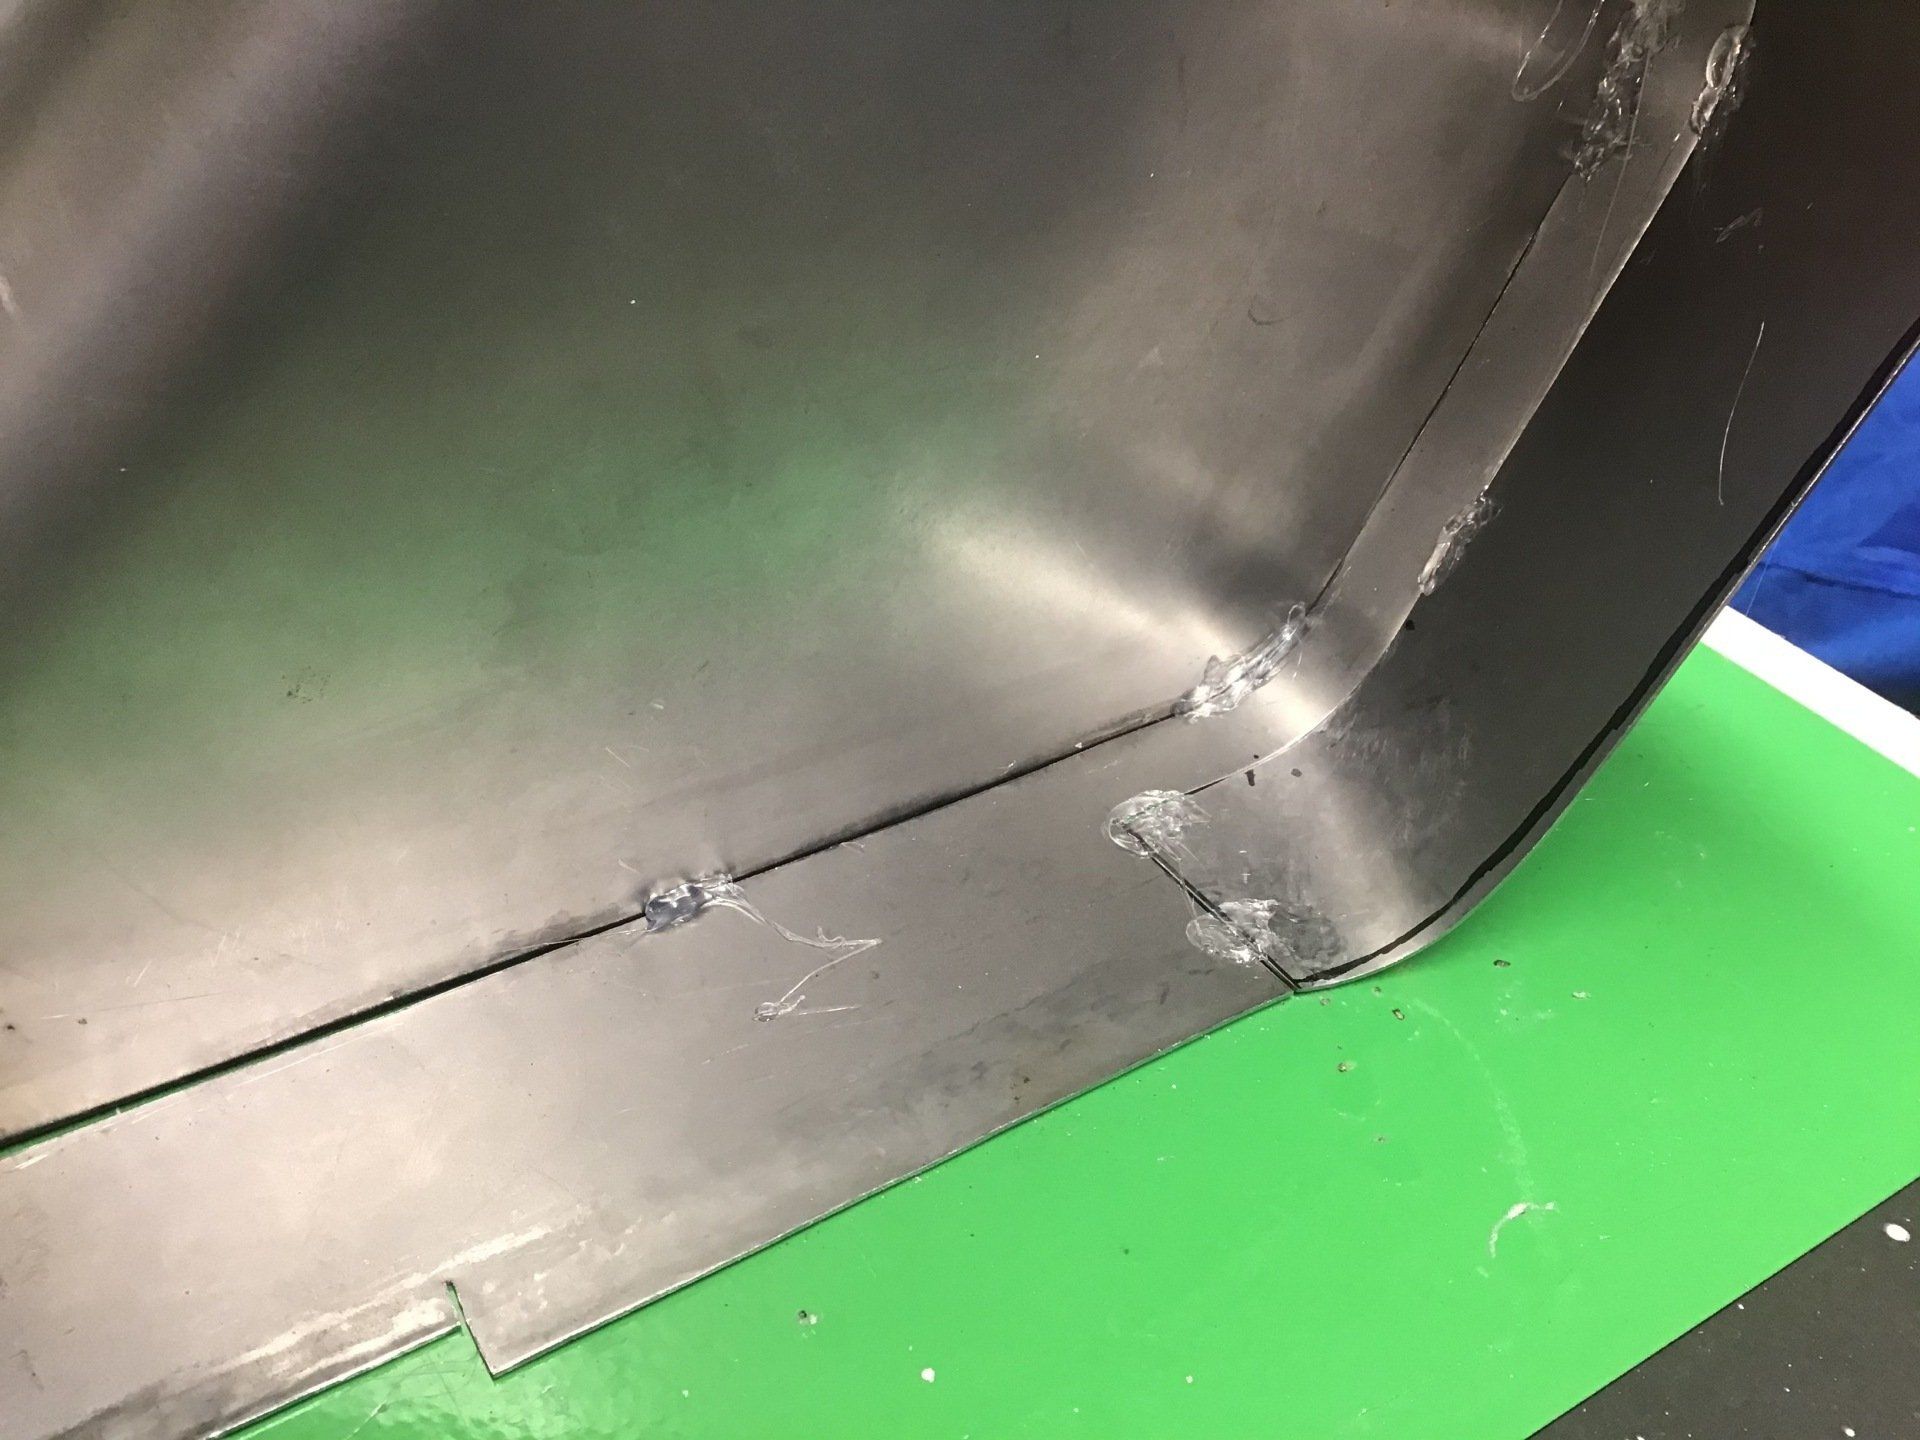
The right hand side pieces have mostly been trimmed to fit although there’s still some excess at the back that needs to be cut off.
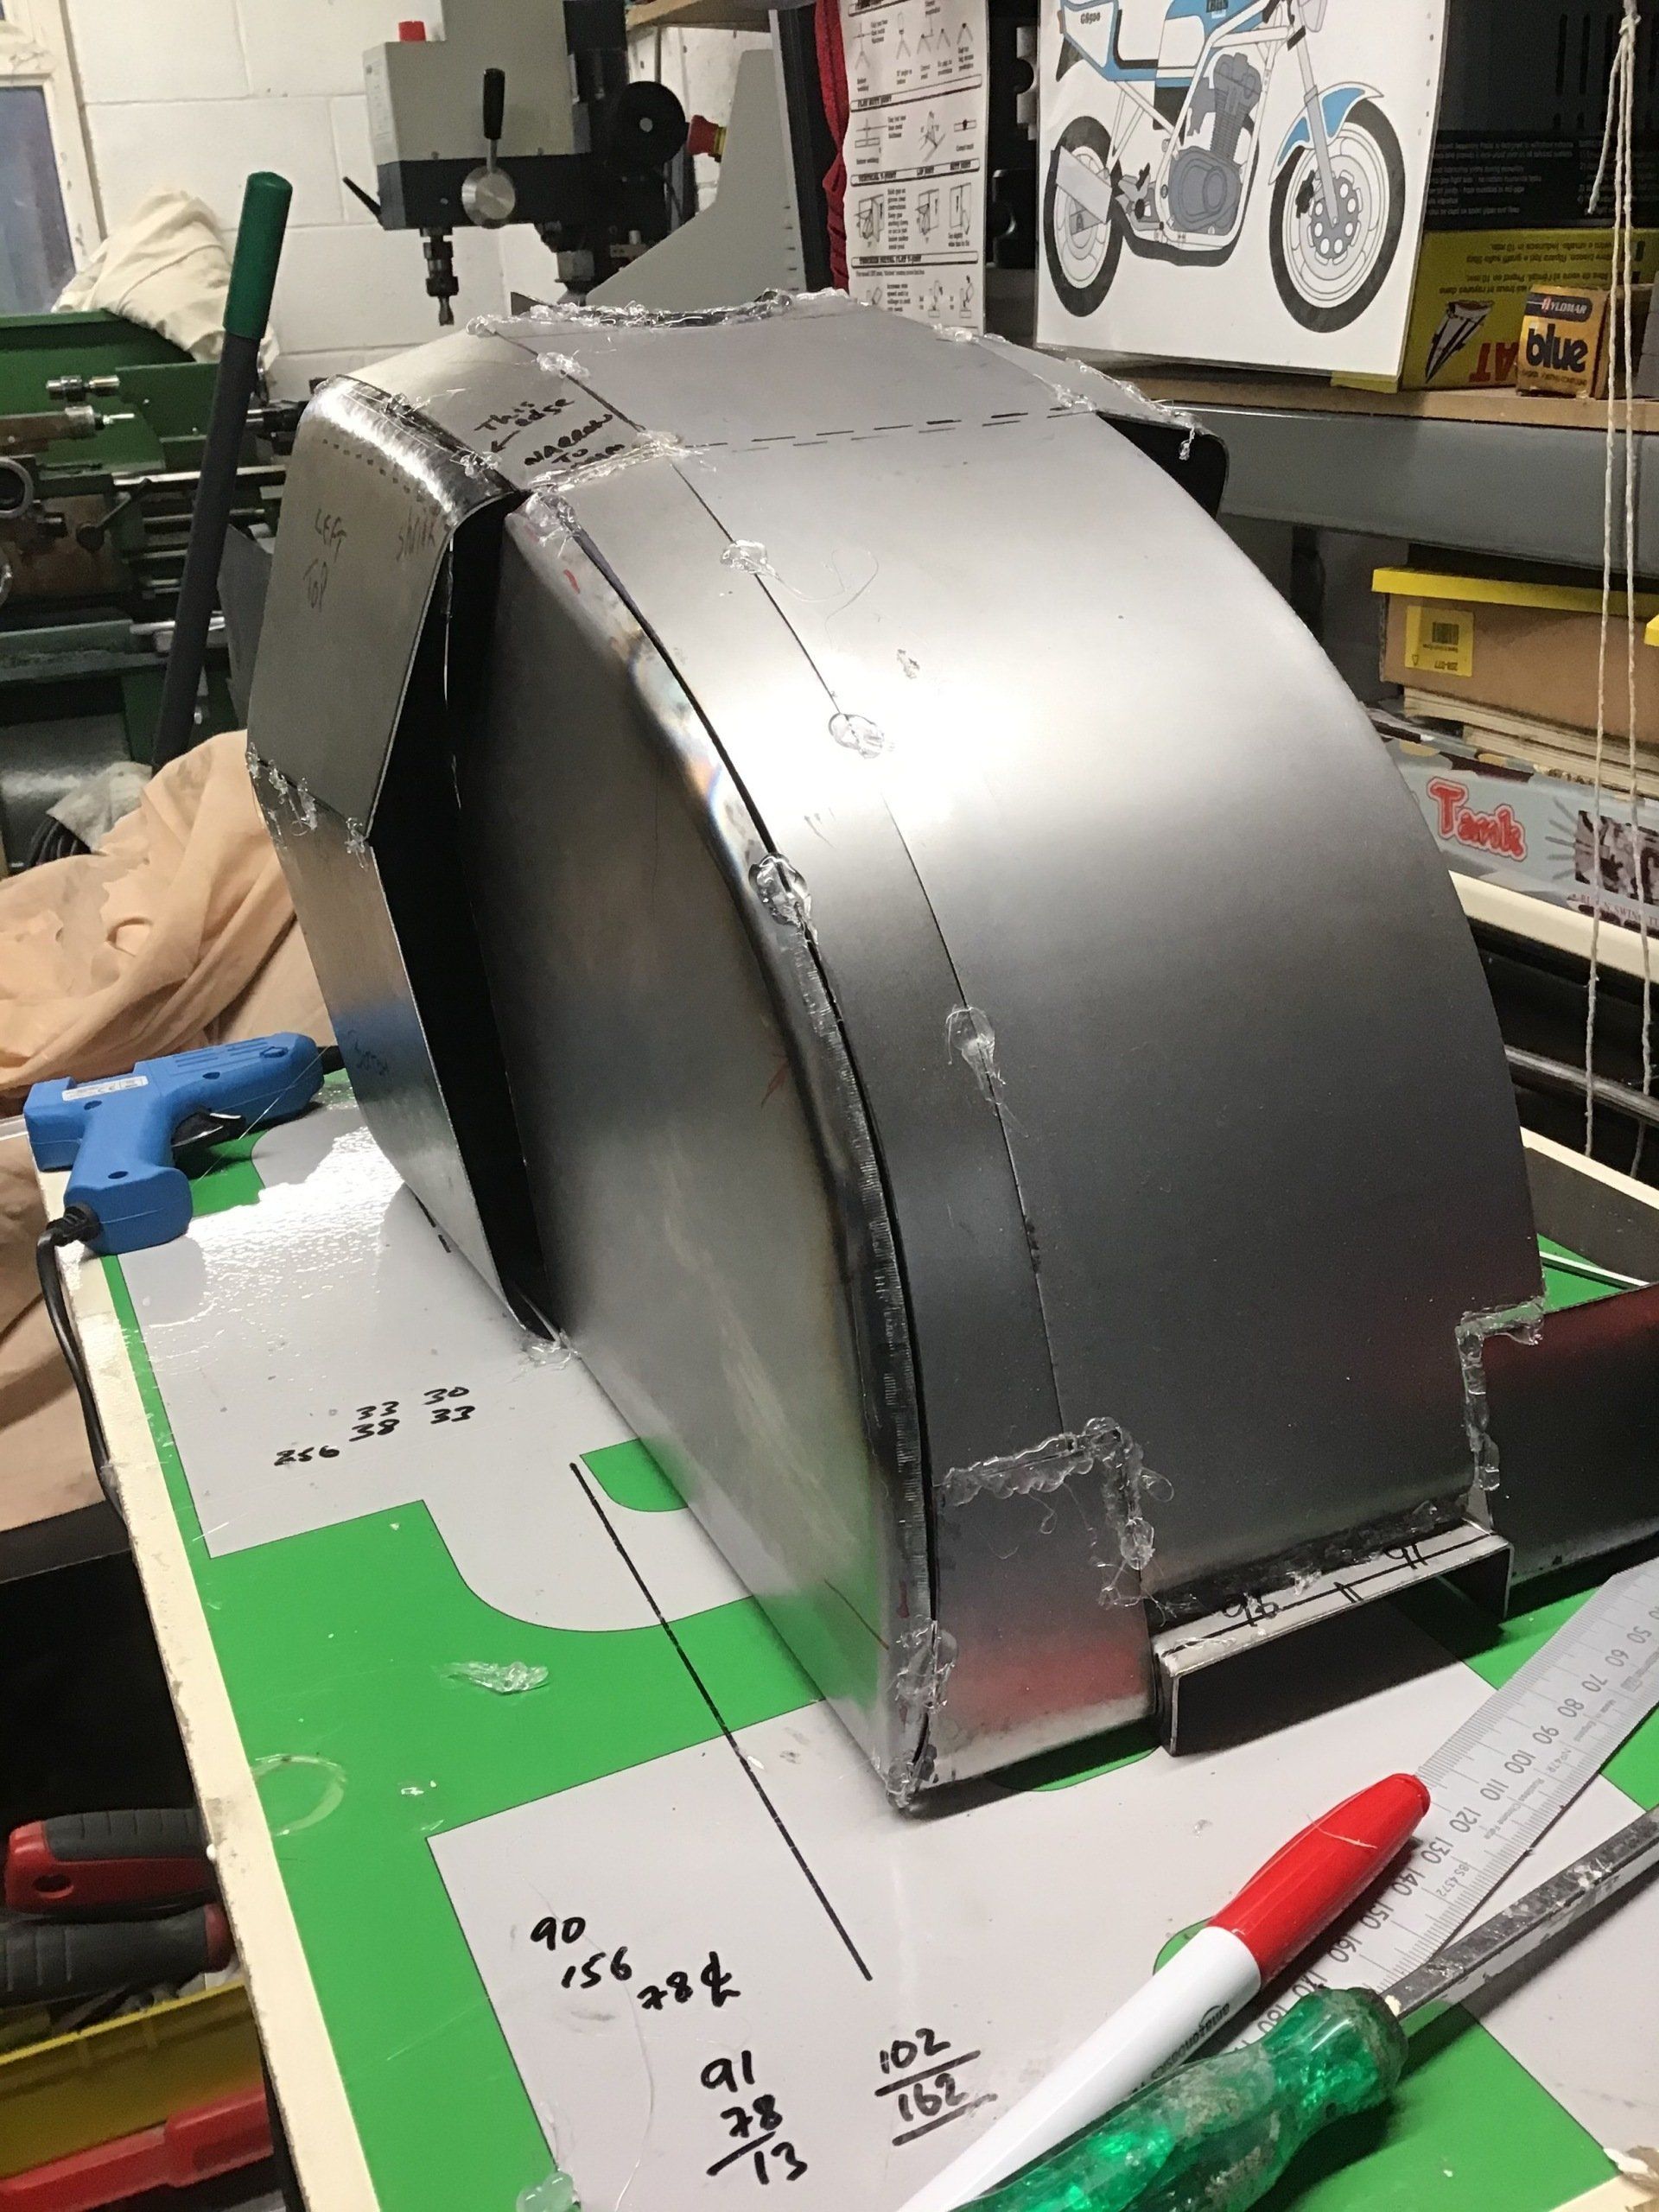
… and so the front of the tank is starting to take shape.
The back of the tank is the next area to attempt and quite frankly, I don’t know where to start! Can’t visualise how to make this at all!
At times like this, the only way forward for me is to just start somewhere, anywhere. Eventually, this trial and error method usually produces results, but the downside is that I often spend a considerable amount of time making something only to throw it away when a better idea comes along!
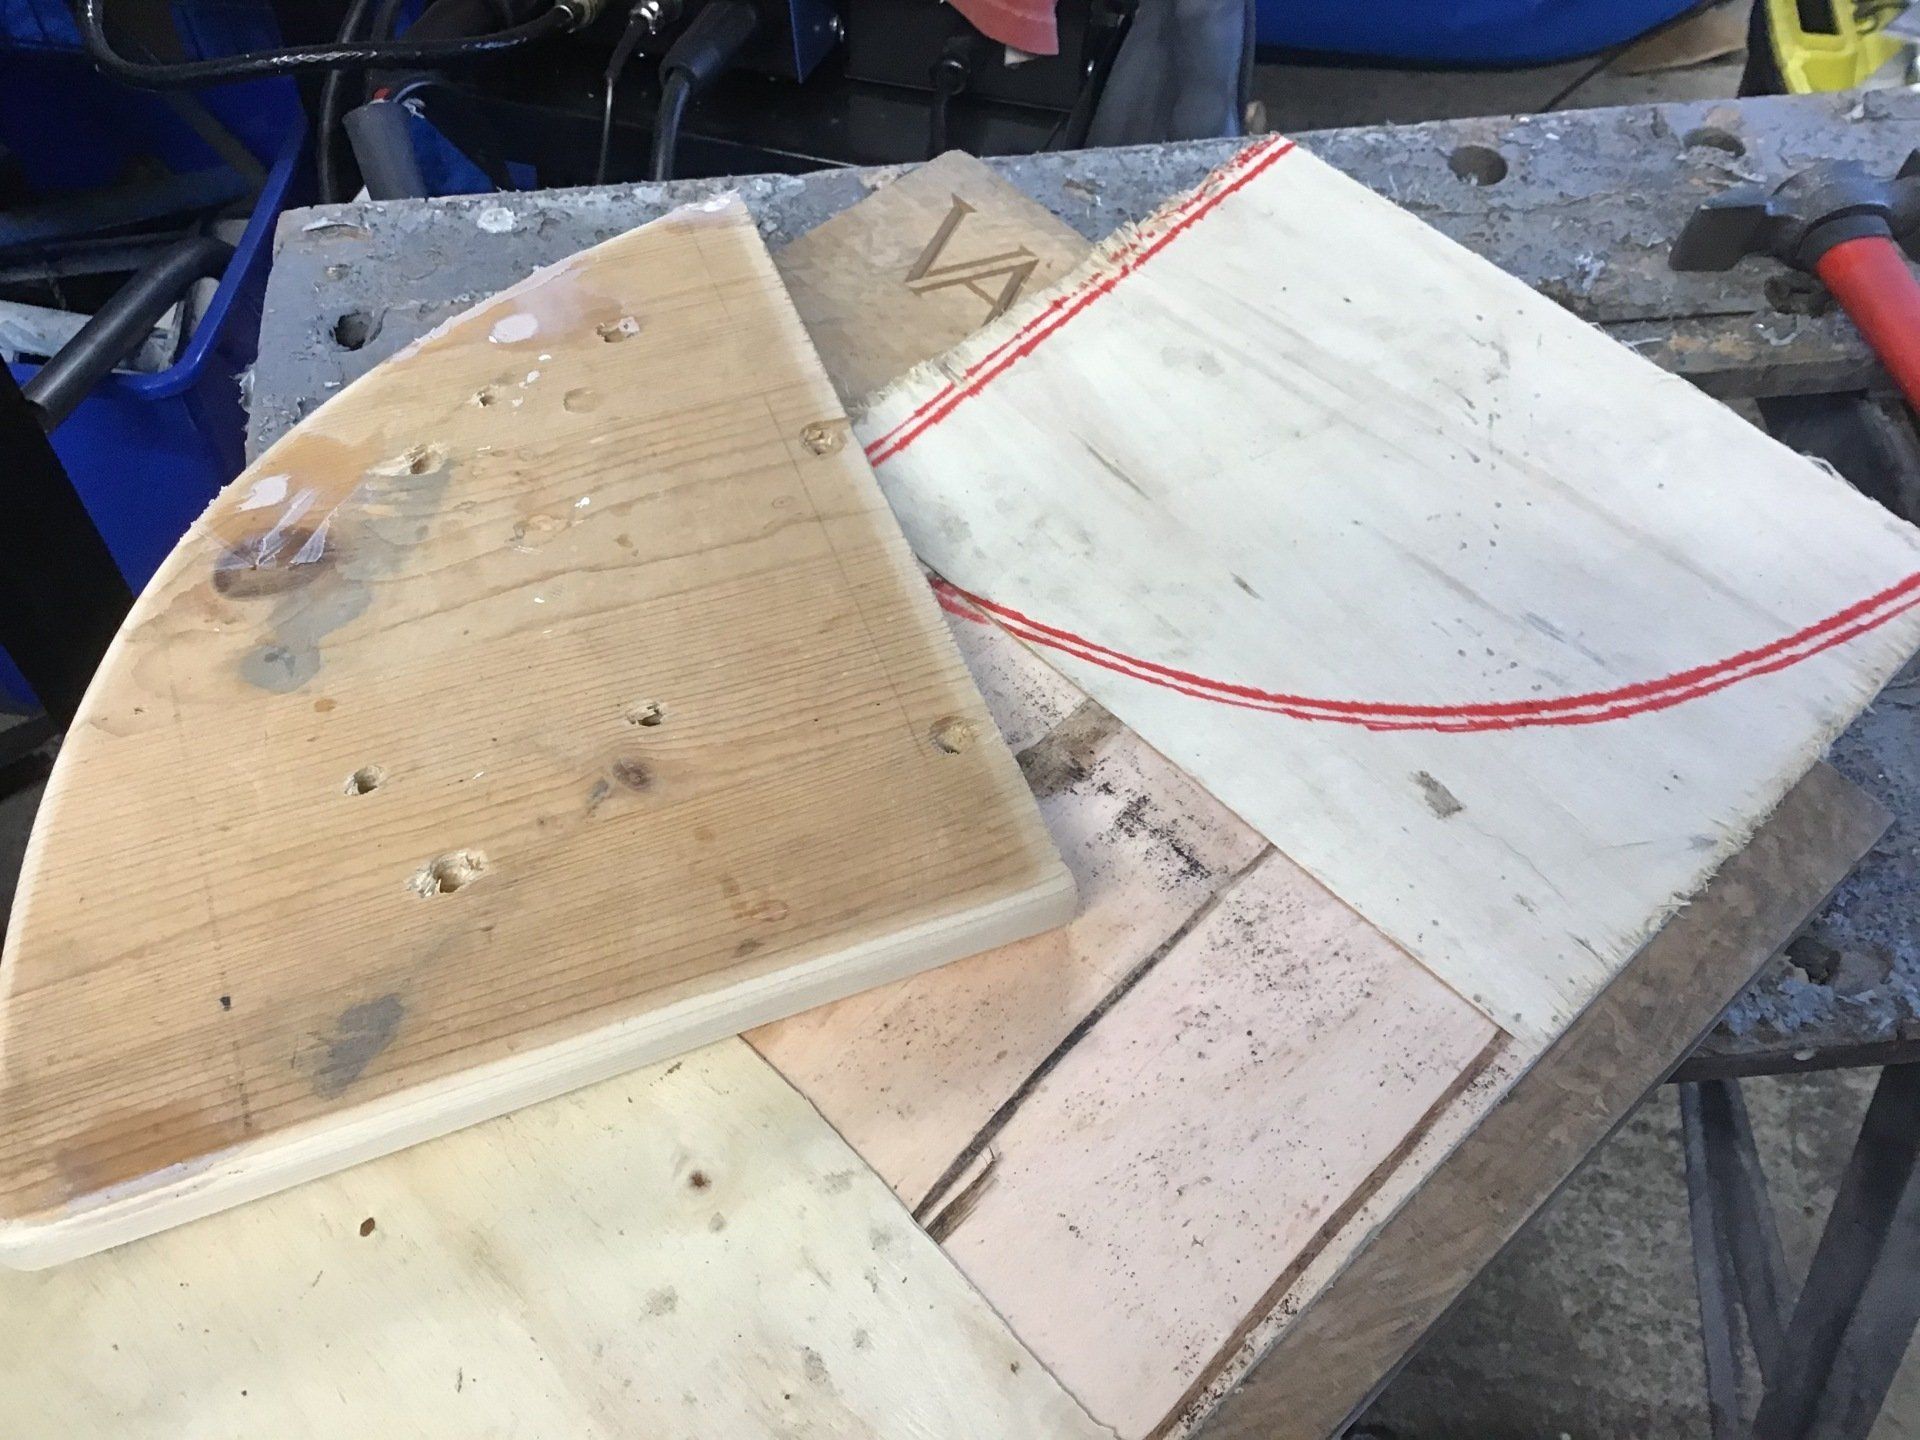
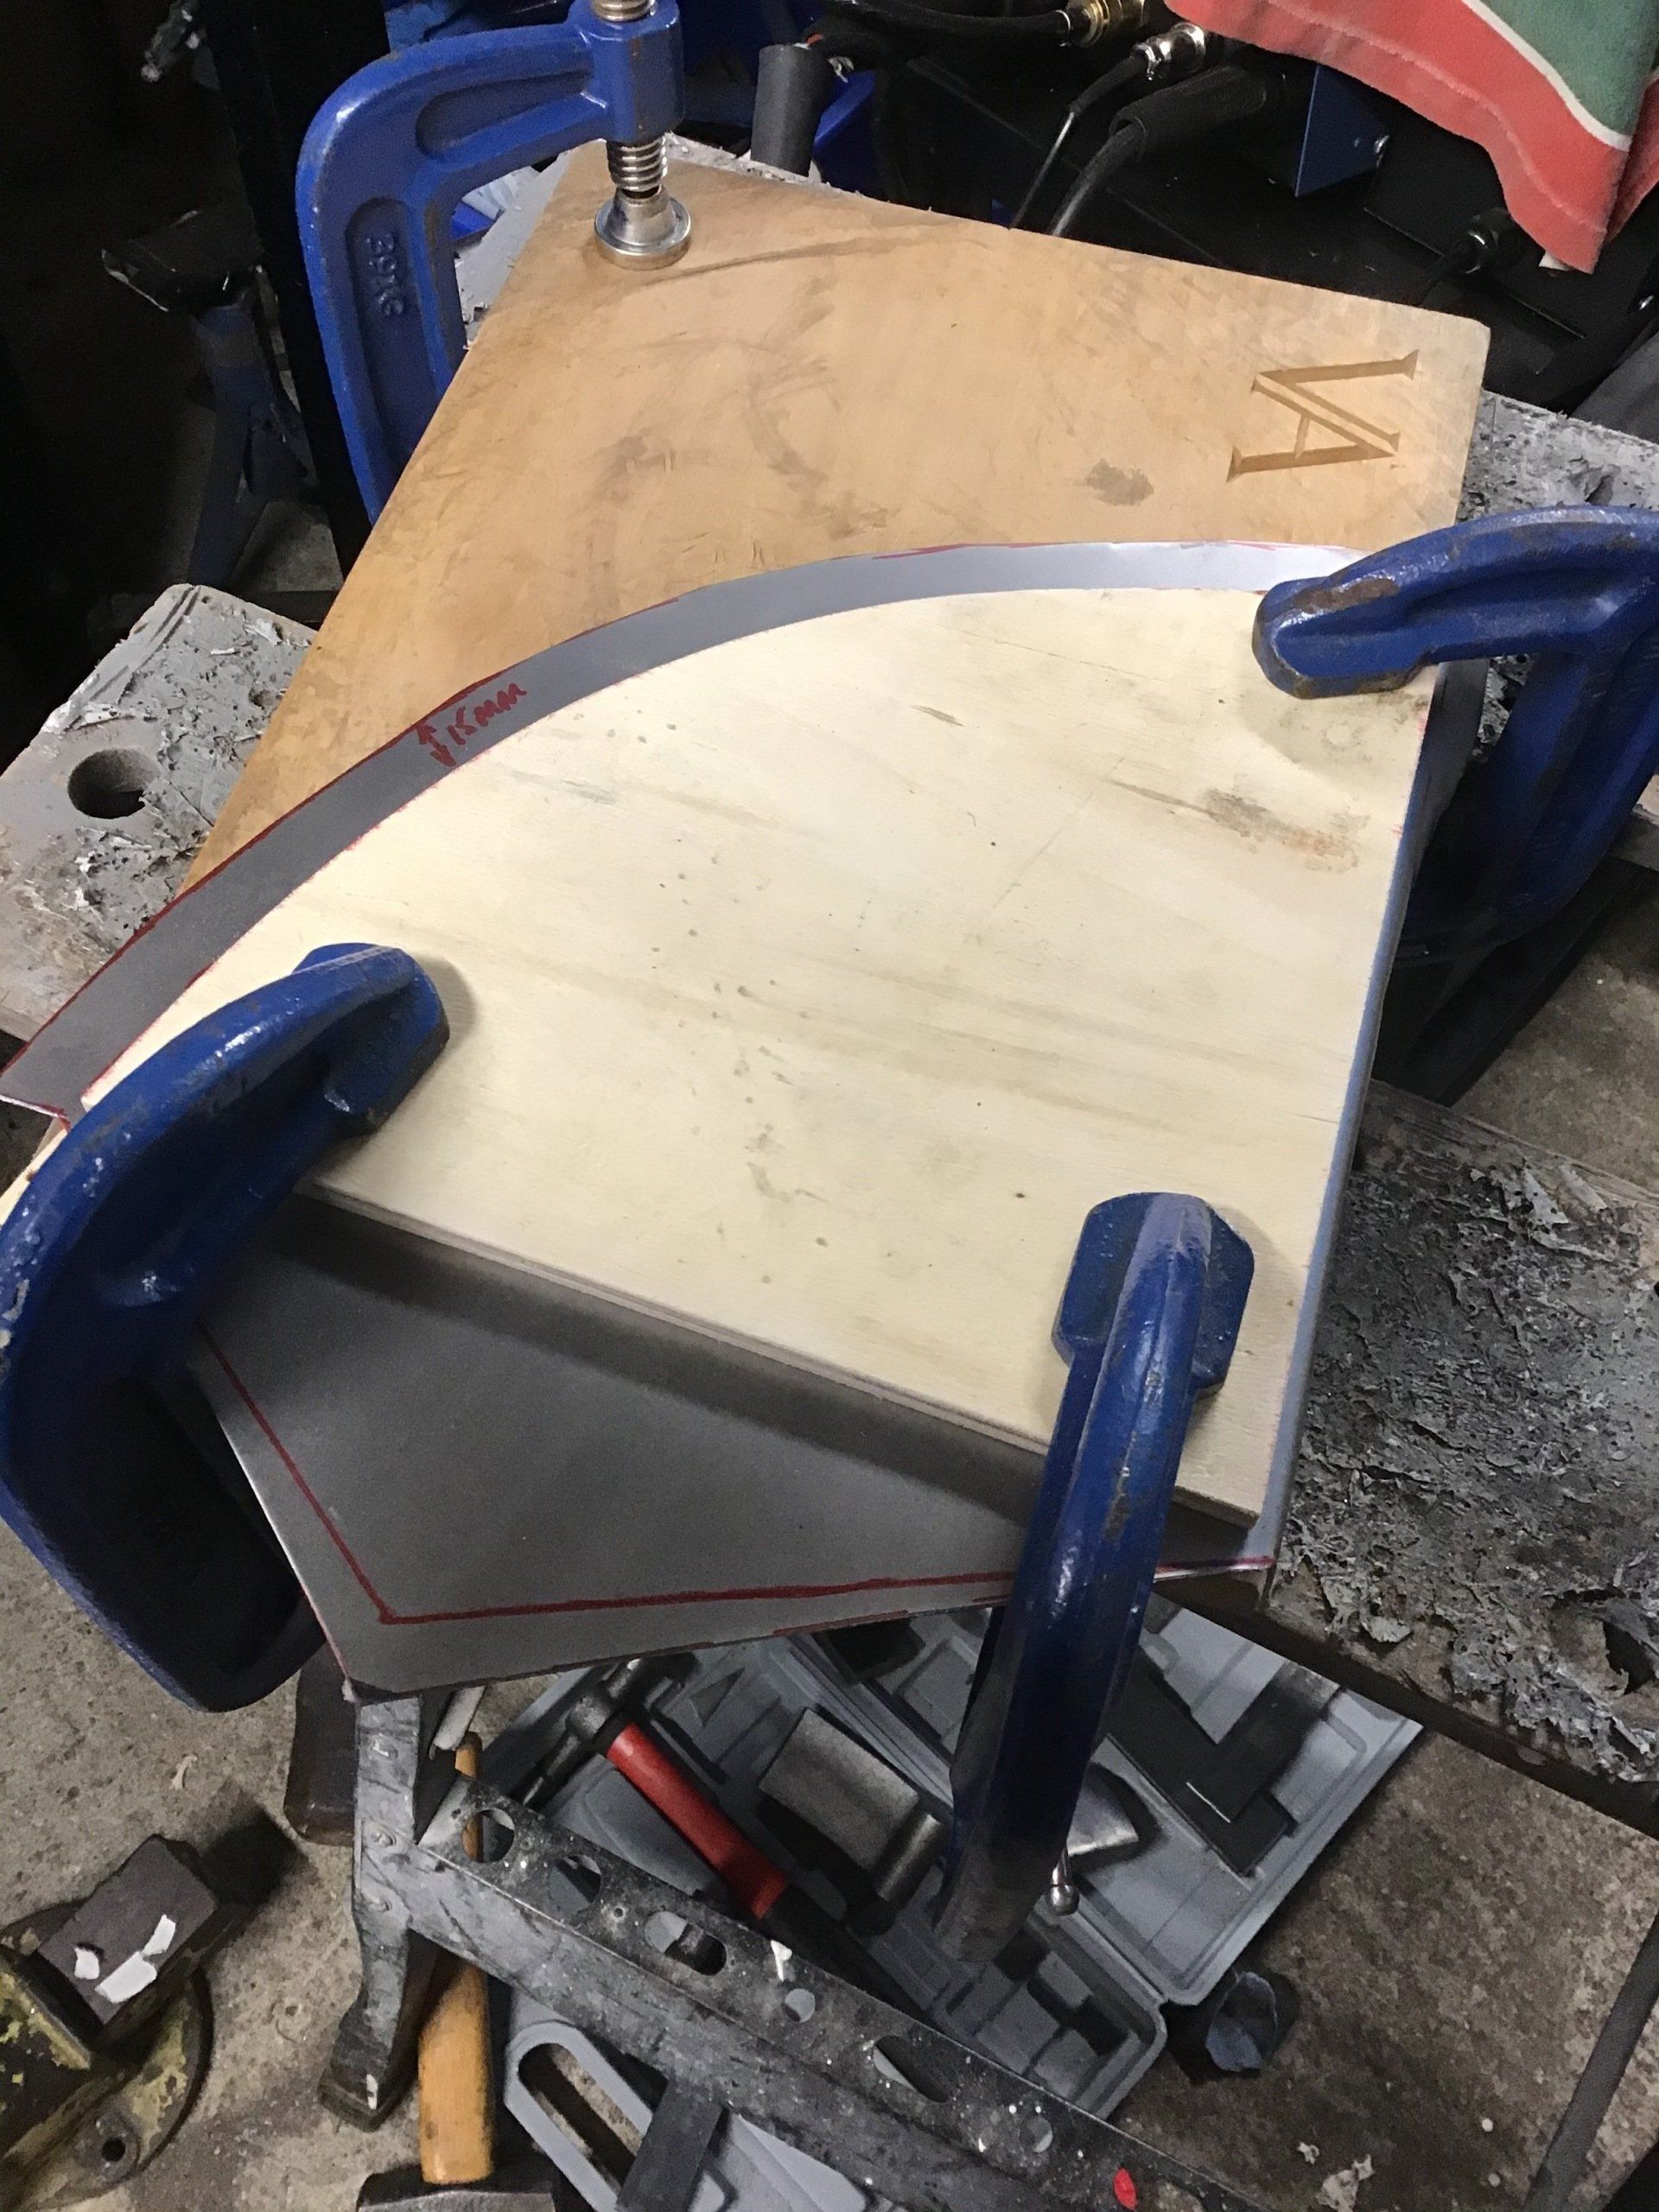
First, the cardboard template becomes steel reality, which is then bent by hand so that the curve matches that of the tank’s top.

The next bit is made quite easily from paper! Making it in steel is proving slightly harder. I also want to radius the join between the side and the top edge - somehow.
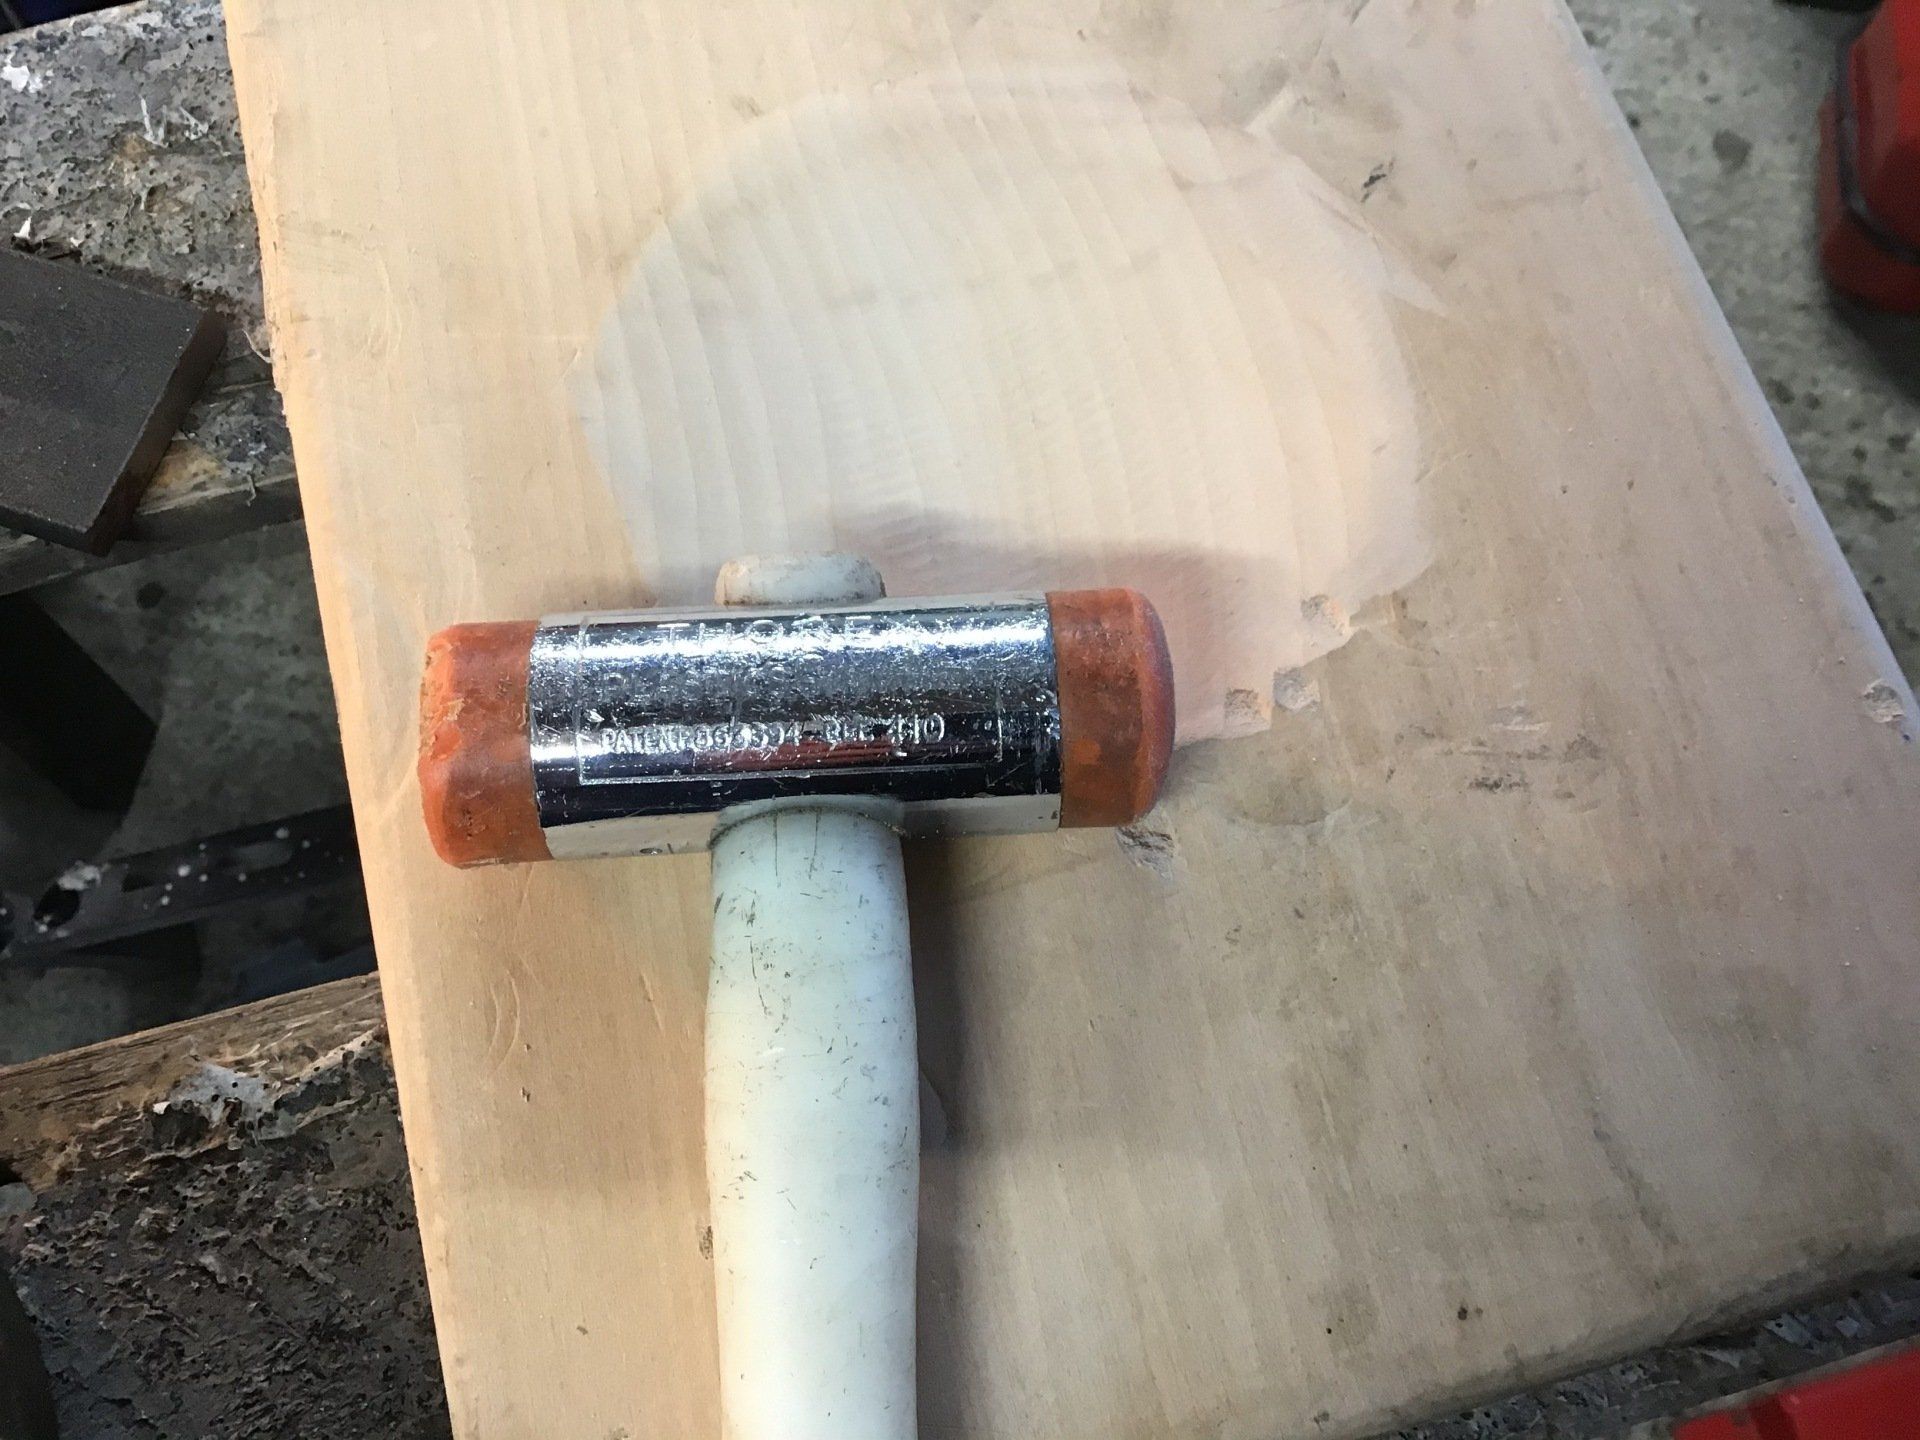
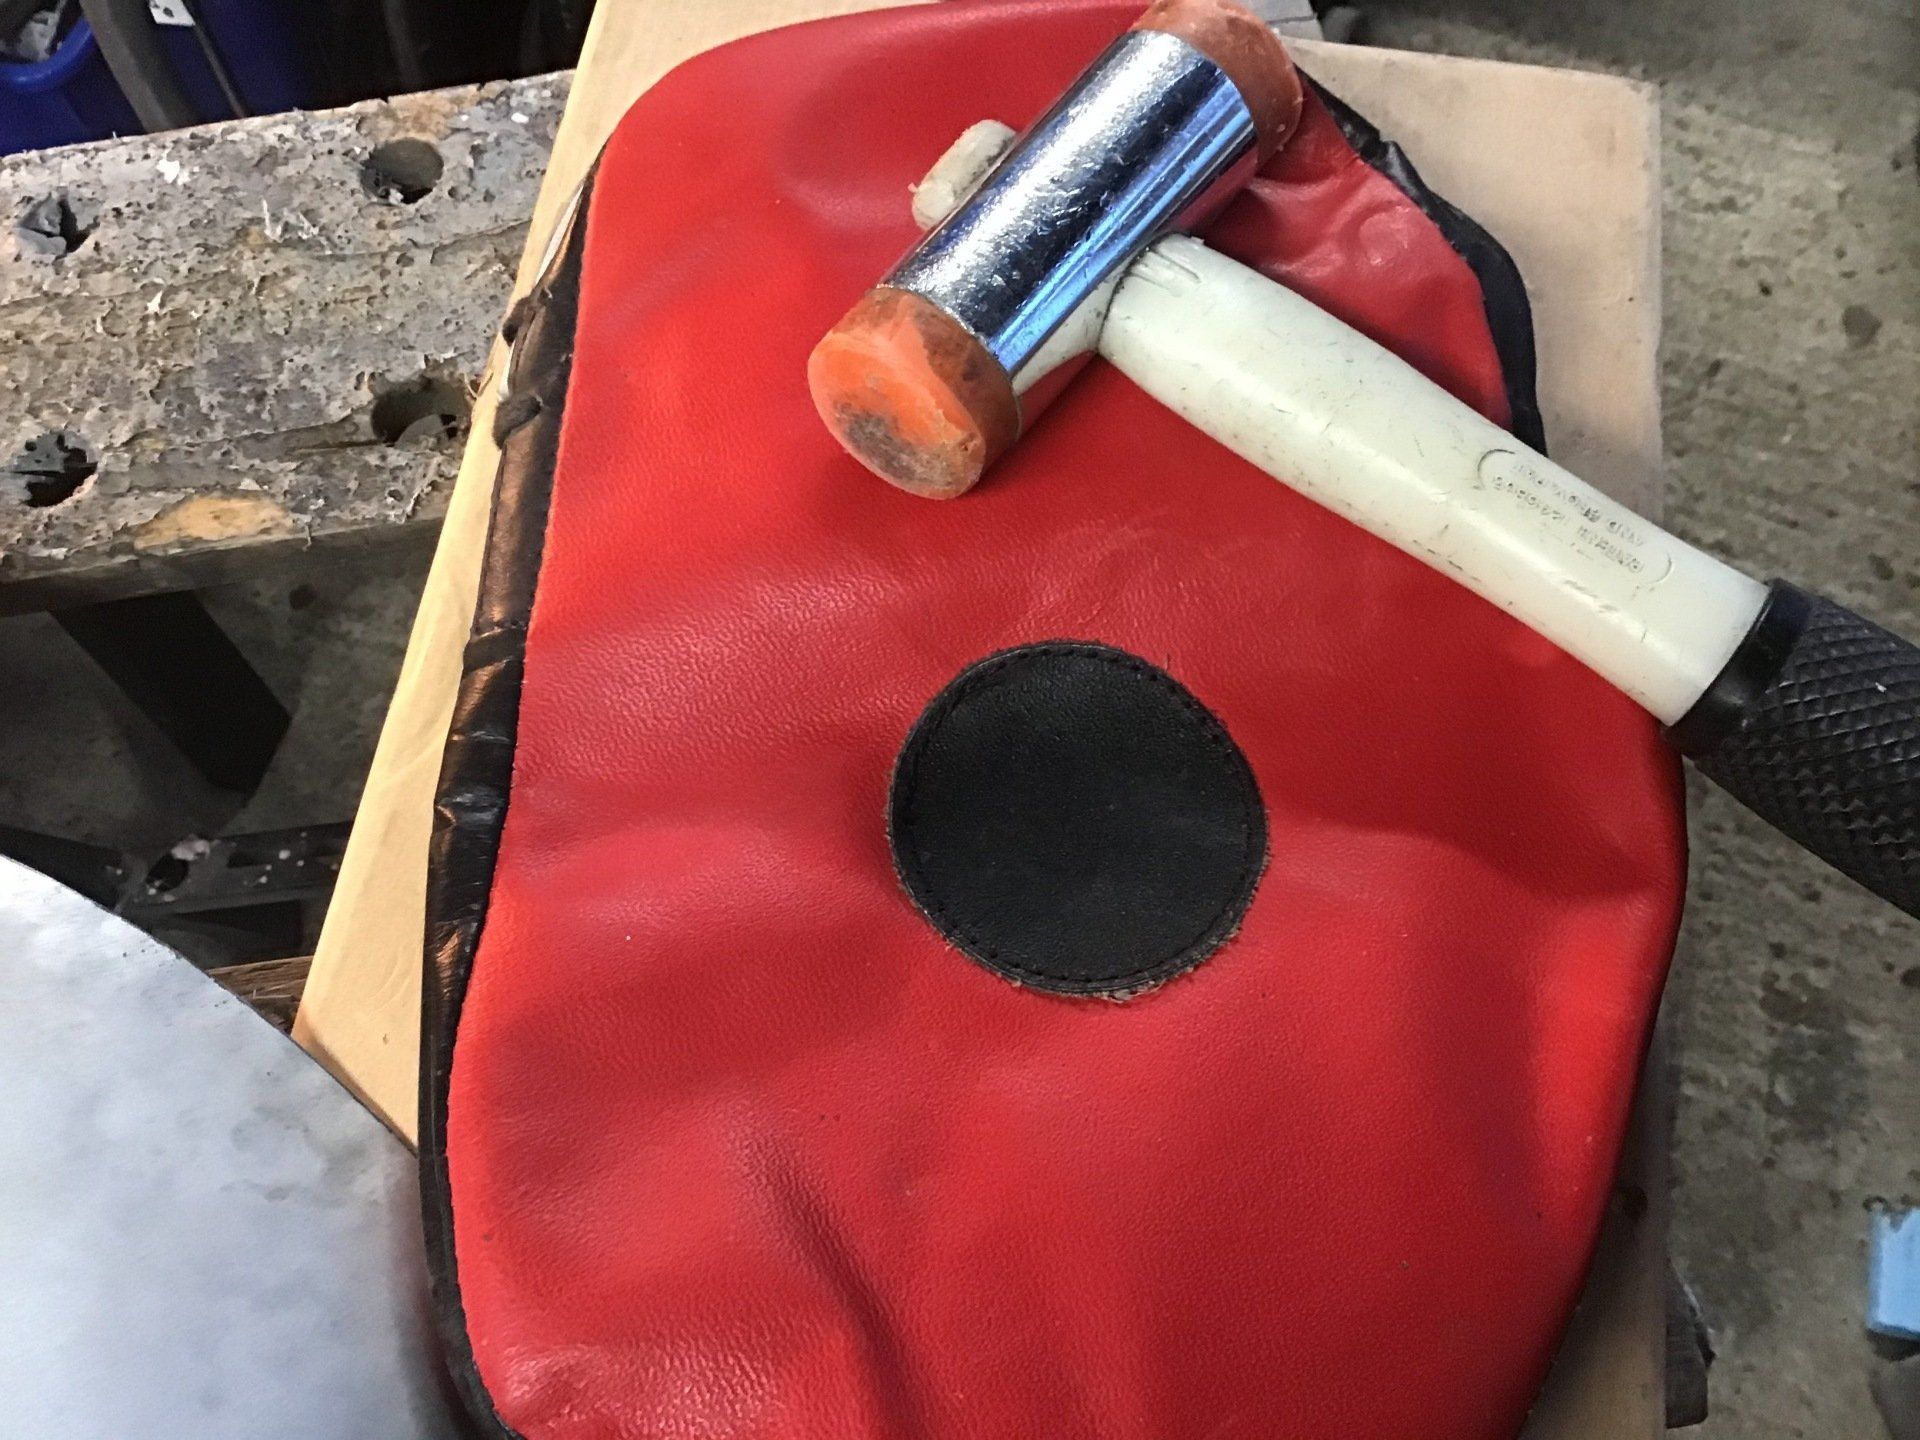
After reading in various books about shaping metal using a wood stump with a doke (concave radius) carved into it, I have fashioned my own from an old wooden chopping board. I ‘carved’ the indentation using the angle grinder. My wacker of choice is a small deadblow hammer with nylon faces. I’ve given one face of this a convex shape using a file.
The other item that most of the books recommend is a sand bag. This is my version of it. An old target mitt thingy left over from my martial arts days, with the foam middle replaced by a bag of sand.
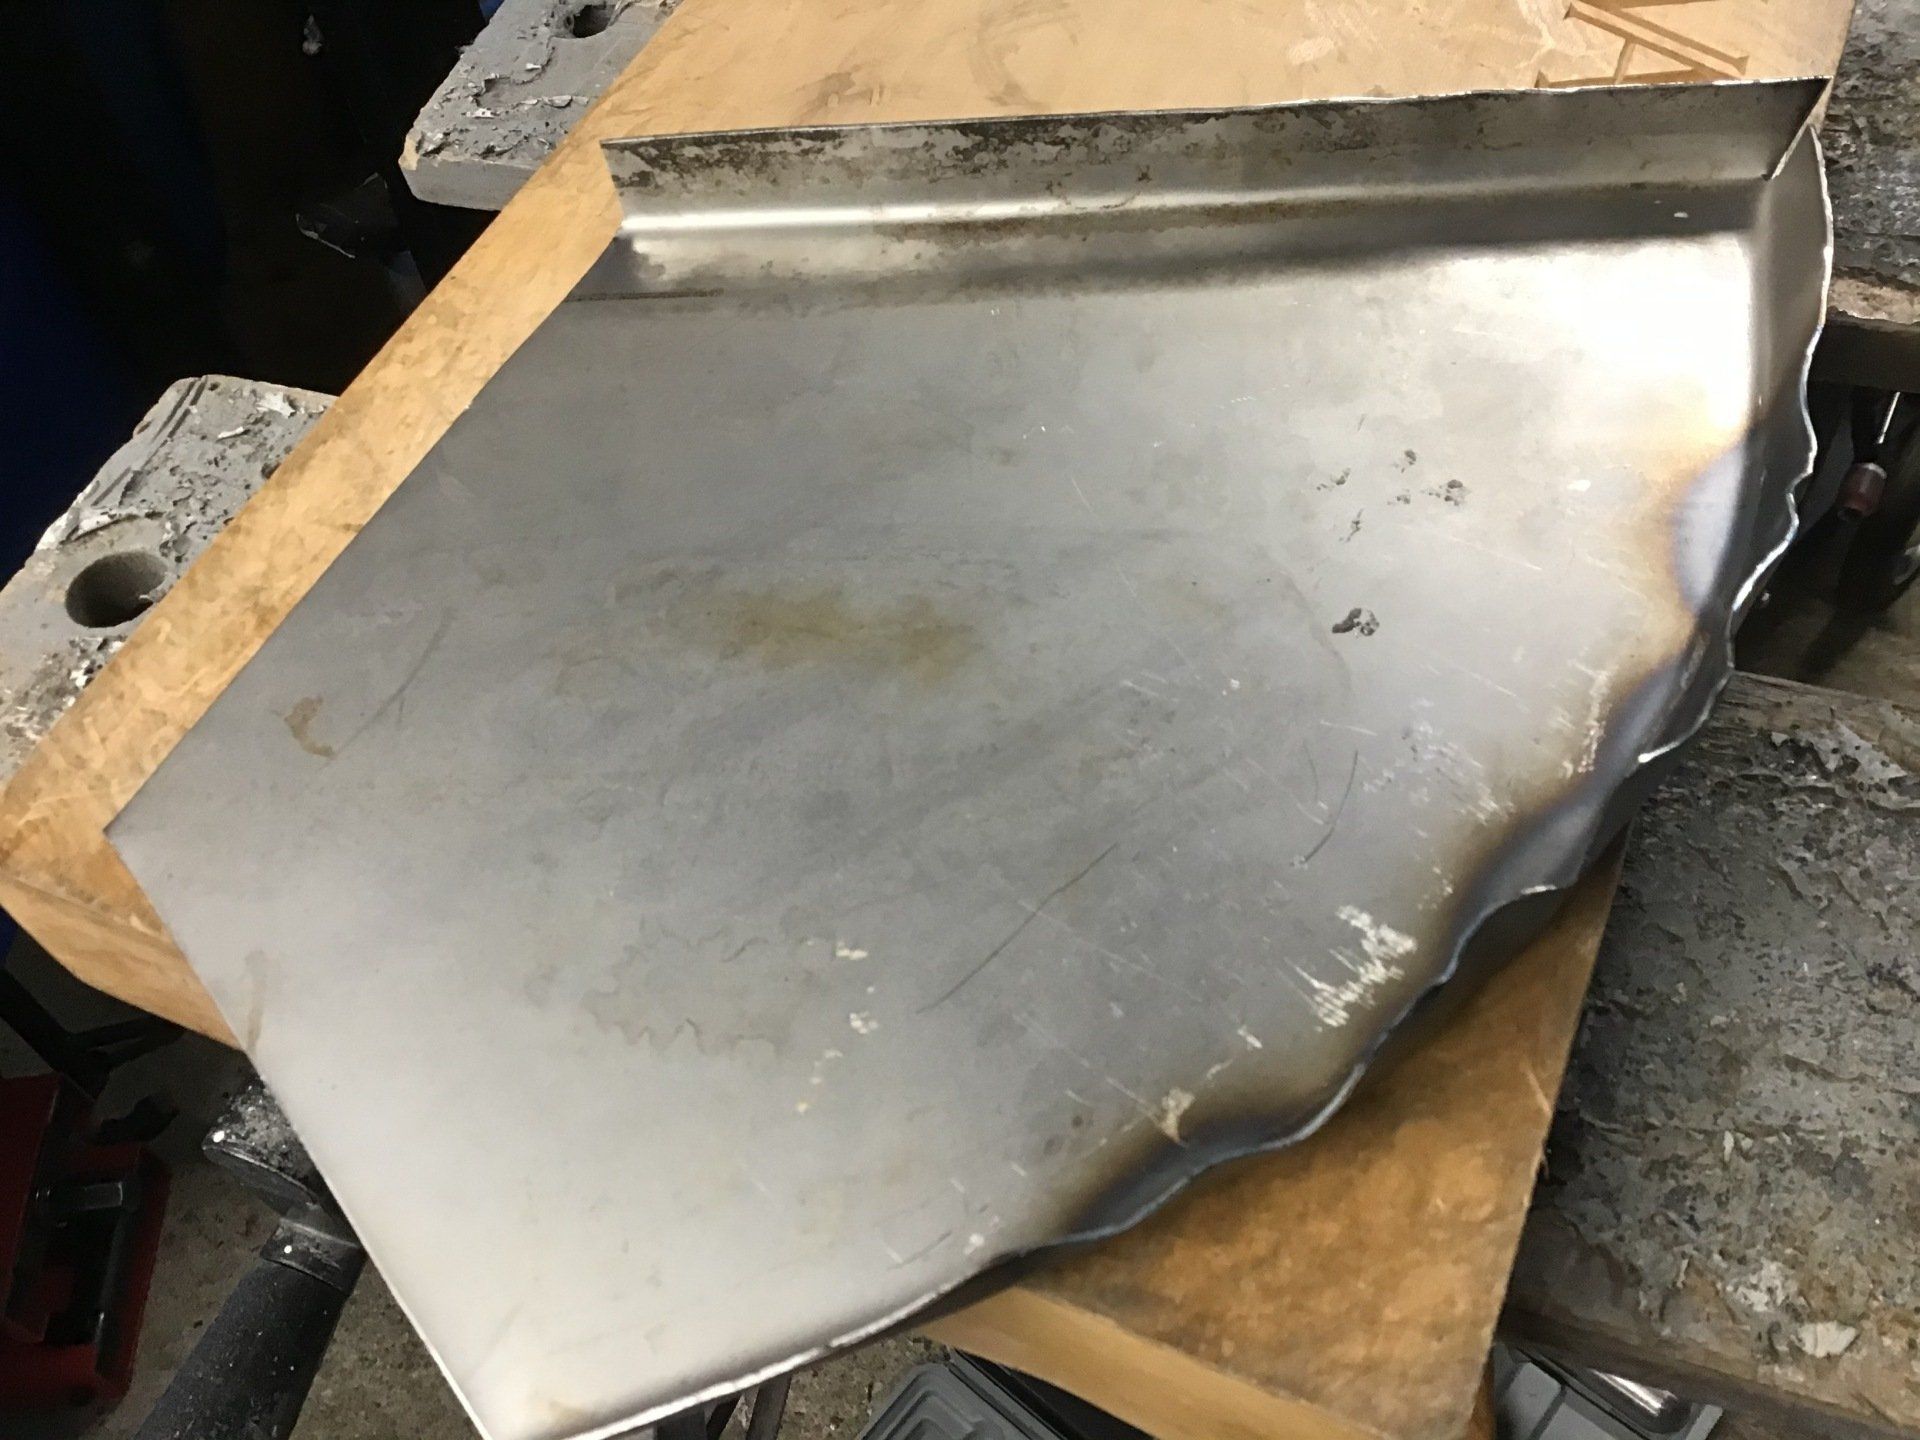
Here’s the metal blank before I’ve started hitting it. At this stage, I have no plan. I don’t know where to hit it to get it to magically form to the required shape. So once again, it’s back to hit and hope.
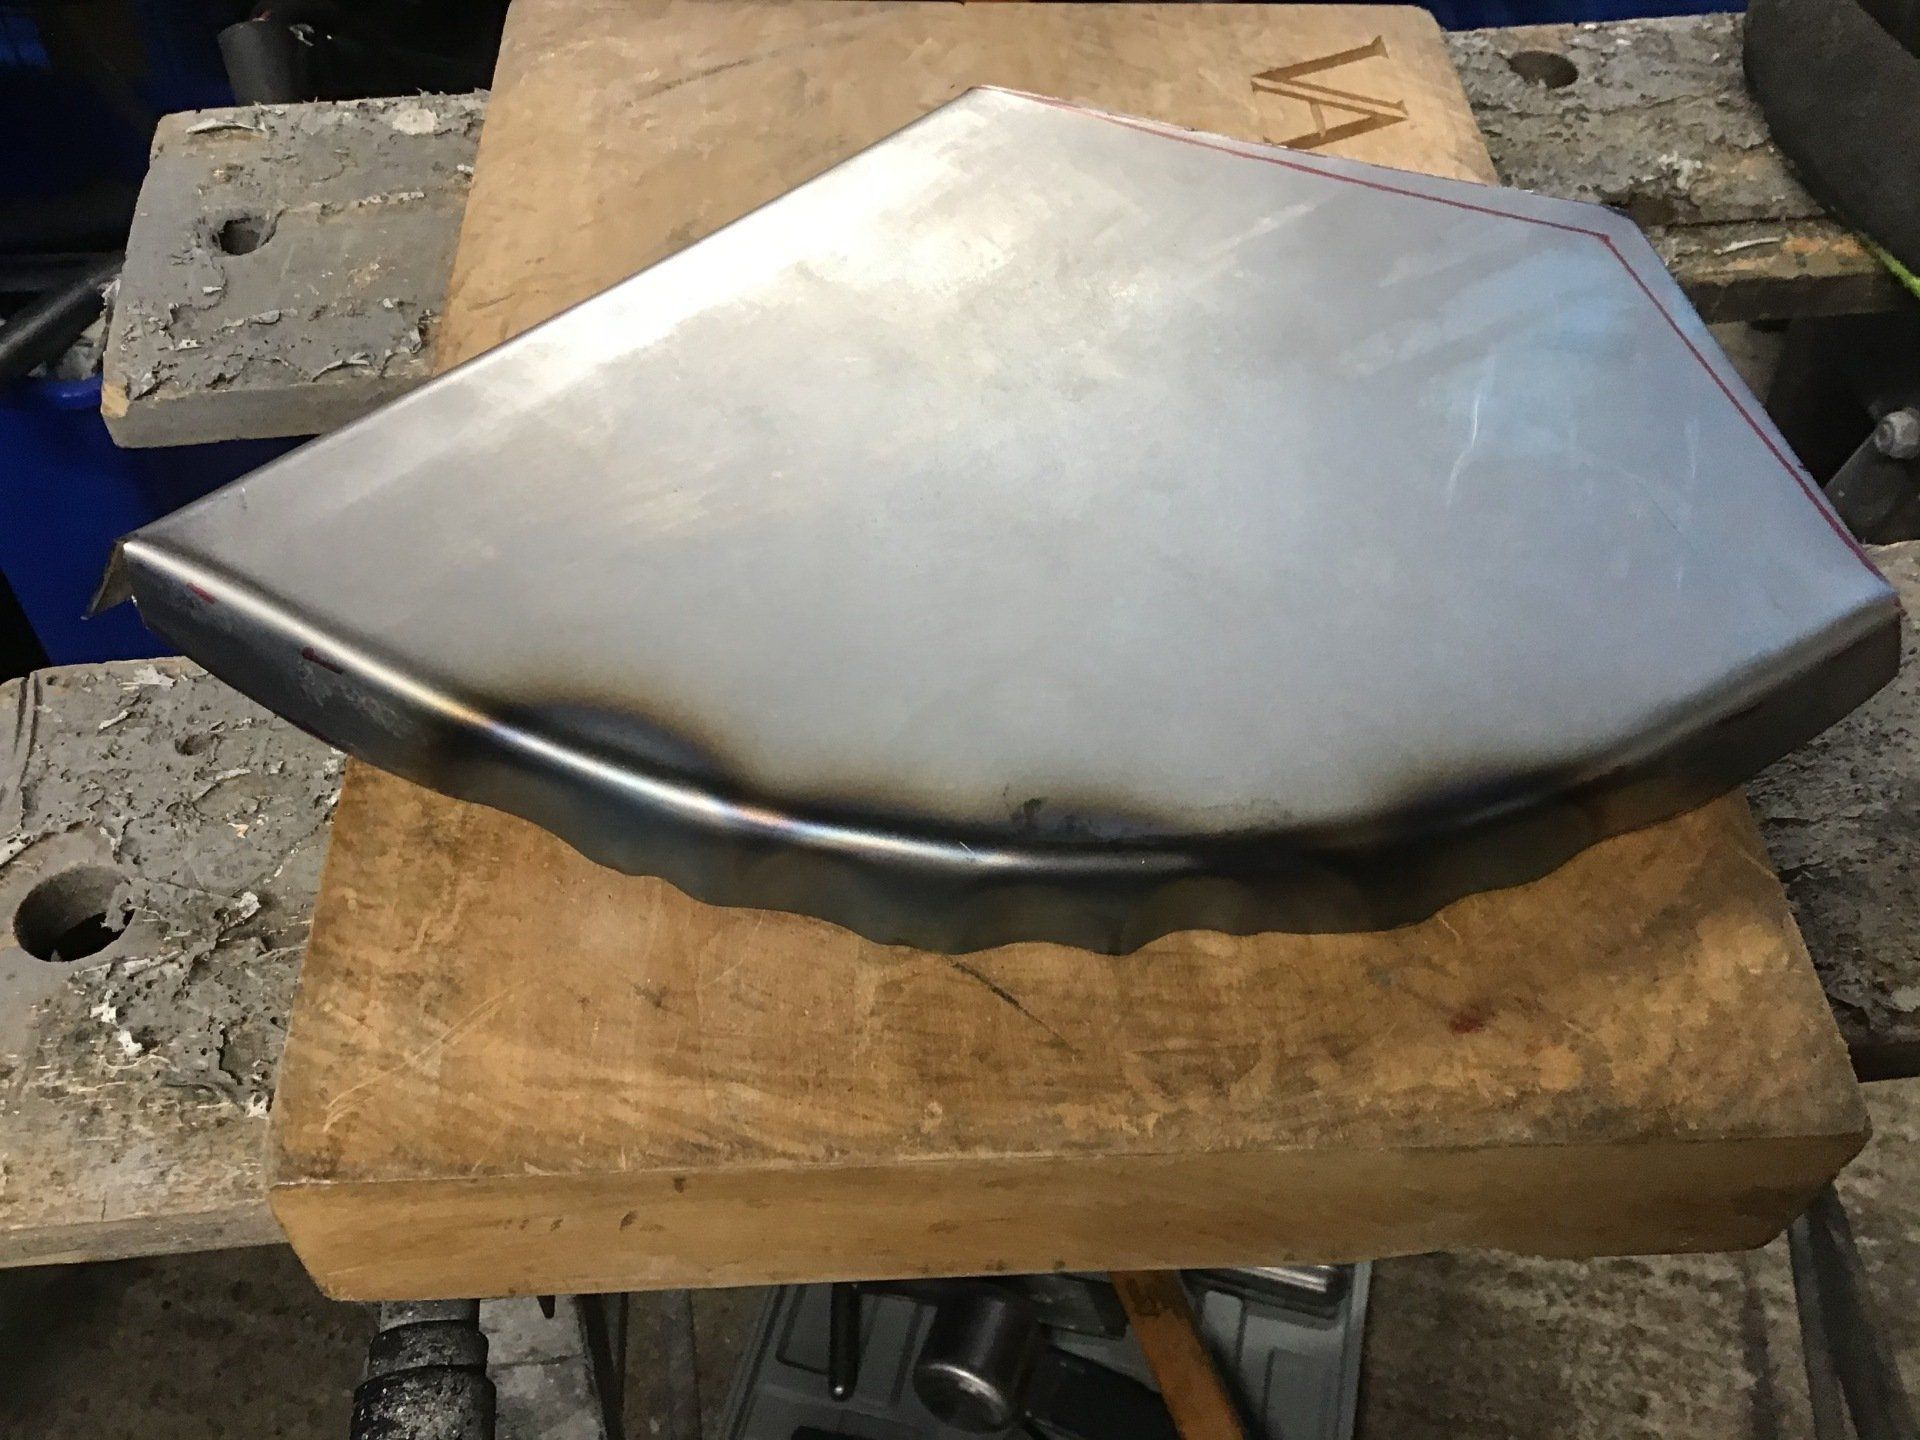
Looks pretty good doesn’t it, but it’s a flattering photo. Although the curve isn’t too bad, I need the other two edges to remain straight - and they’re not. So I’ve spent some considerable time trying to achieve all of the desired criteria, and as yet, I haven’t managed to achieve it…
Next week, I’m giving my brain a rest from thinking about sheet metalwork and intend to make some of the tank fittings instead.
This week saw a welcome break from trying to figure out how to make the sides of the petrol tank. Still did a little sheet metalwork, but this was just a small hammerformed part, so it didn't overload my brain too much!
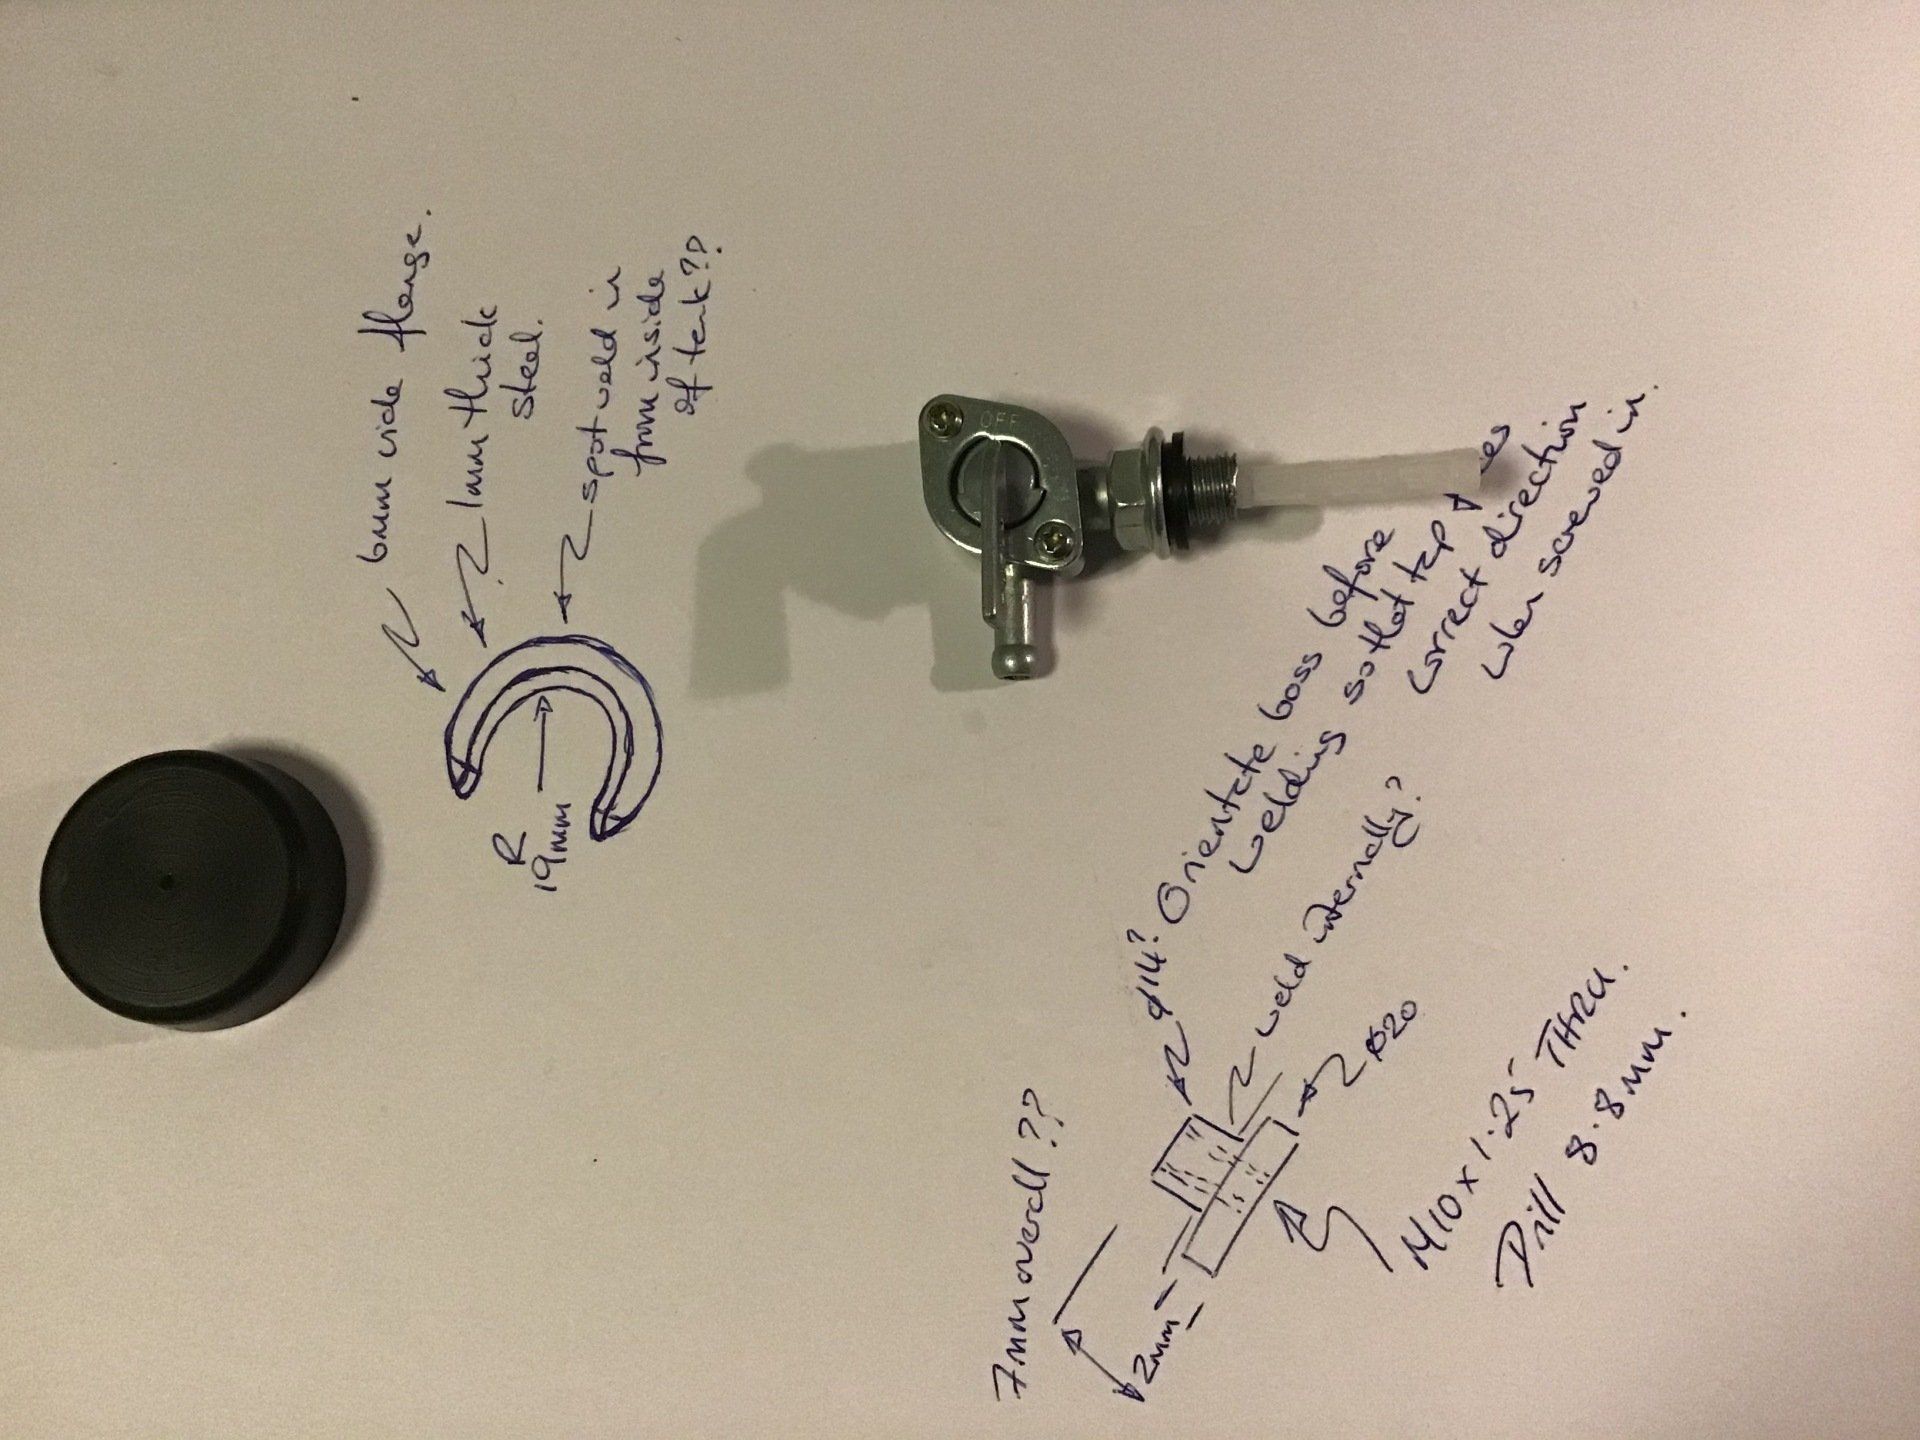
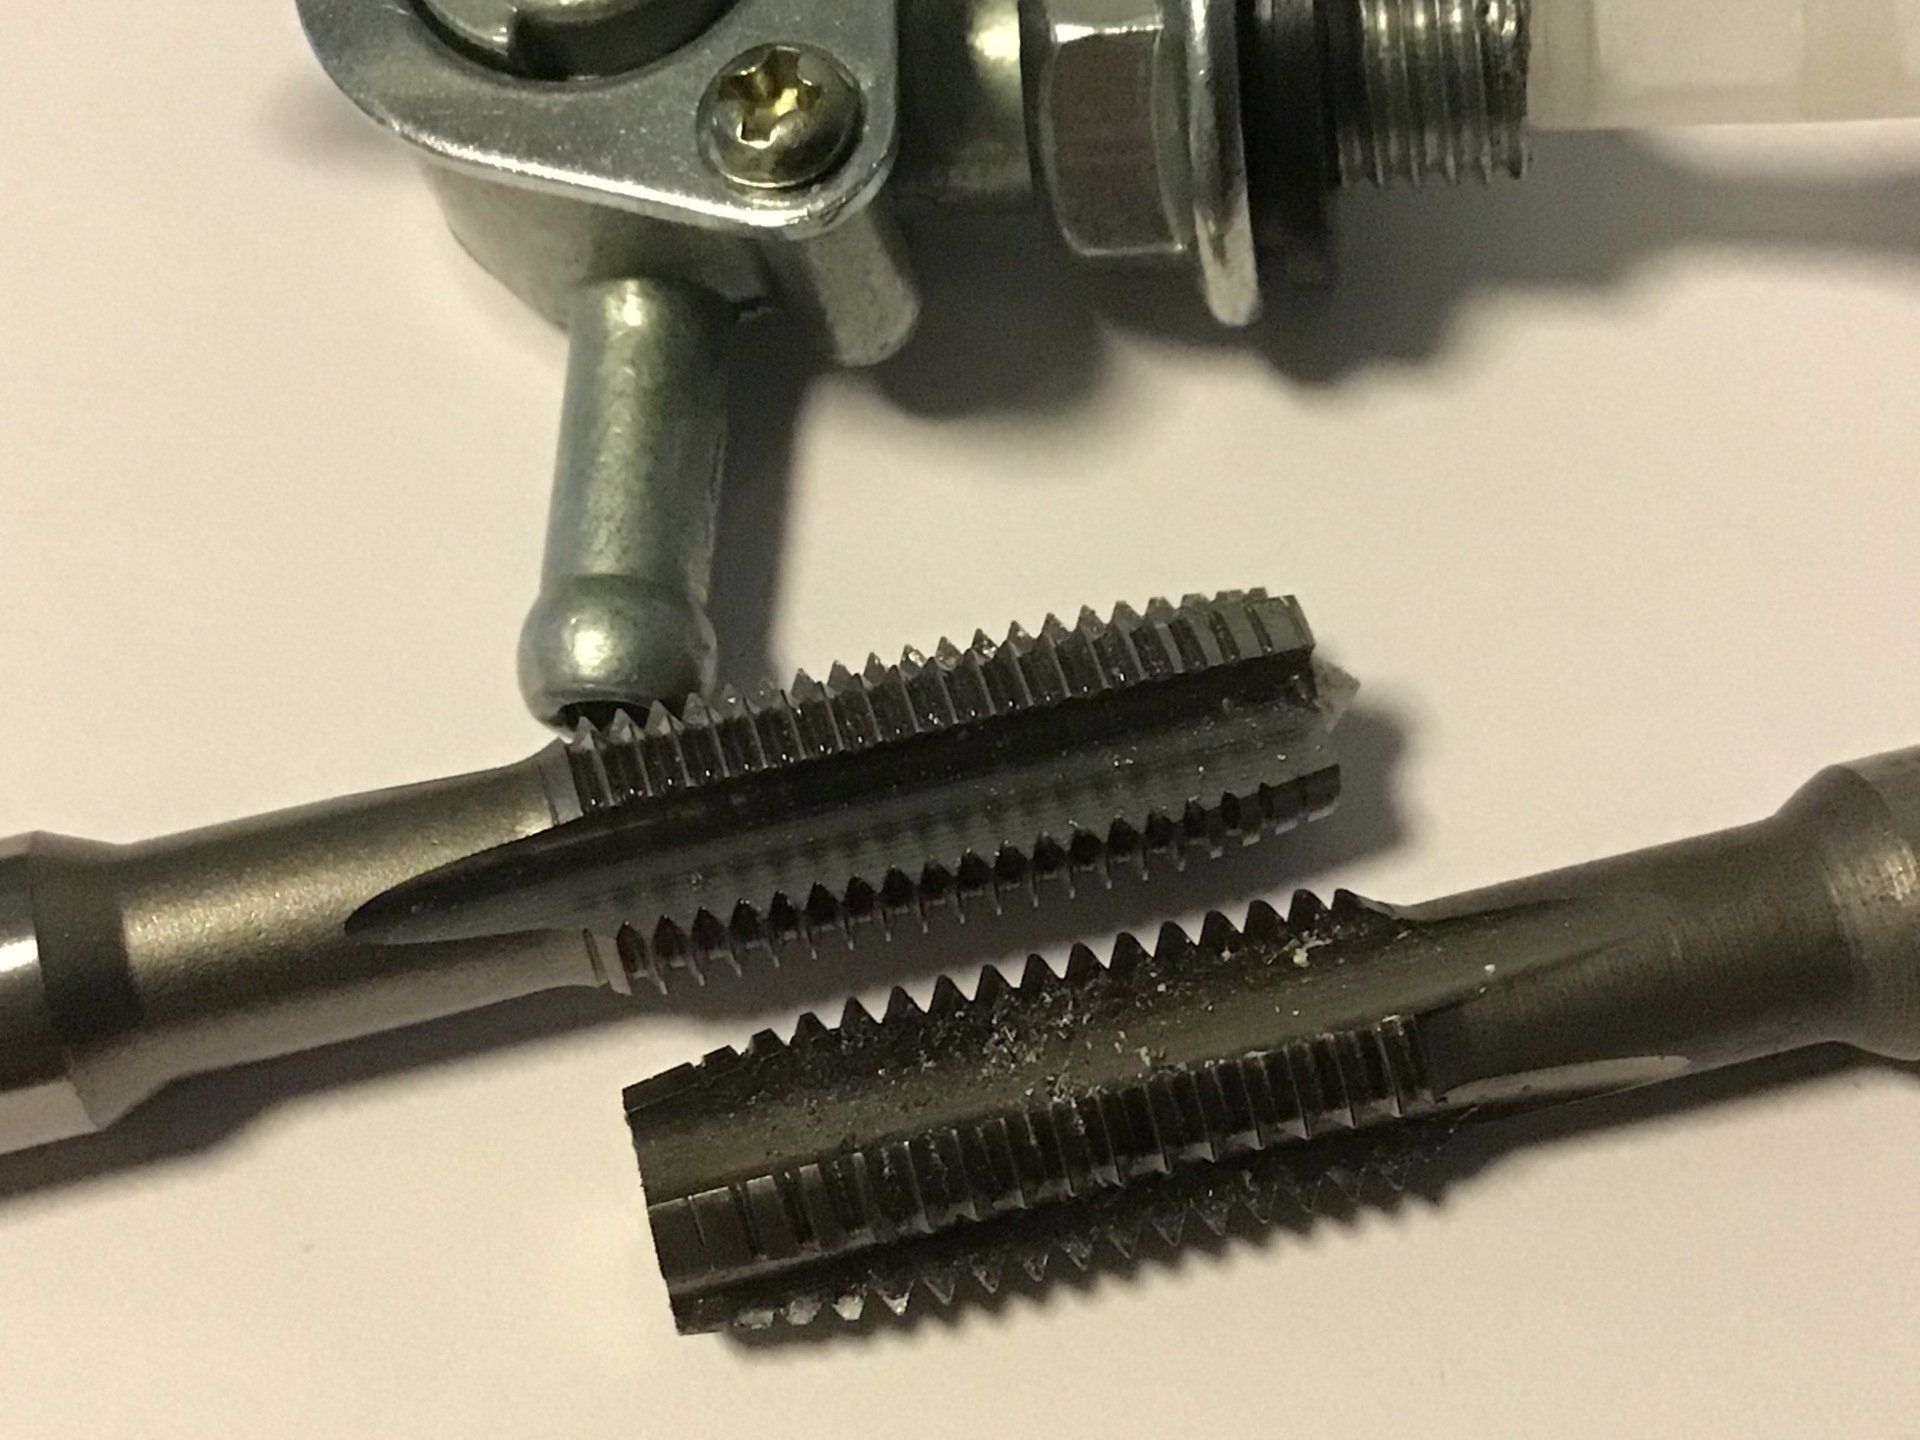
First job was to turn up the mounting boss for the fuel tap. This wasn't too taxing and it was nice to do a little bit of work on the lathe. Trickiest part was making sure that I used the right size tap. It's an M10 thread, but M10 x 1.25 rather than the usual standard M10 x 1.5. Luckily I already had a suitable tap in the toolbox.
If you want to know more about screw threads, taps, dies and thread repair kits, have a look at this article
METRIC THREADS.
Yay, it fits!

Finished boss will be welded into base of tank when (if) I ever manage to finish it.

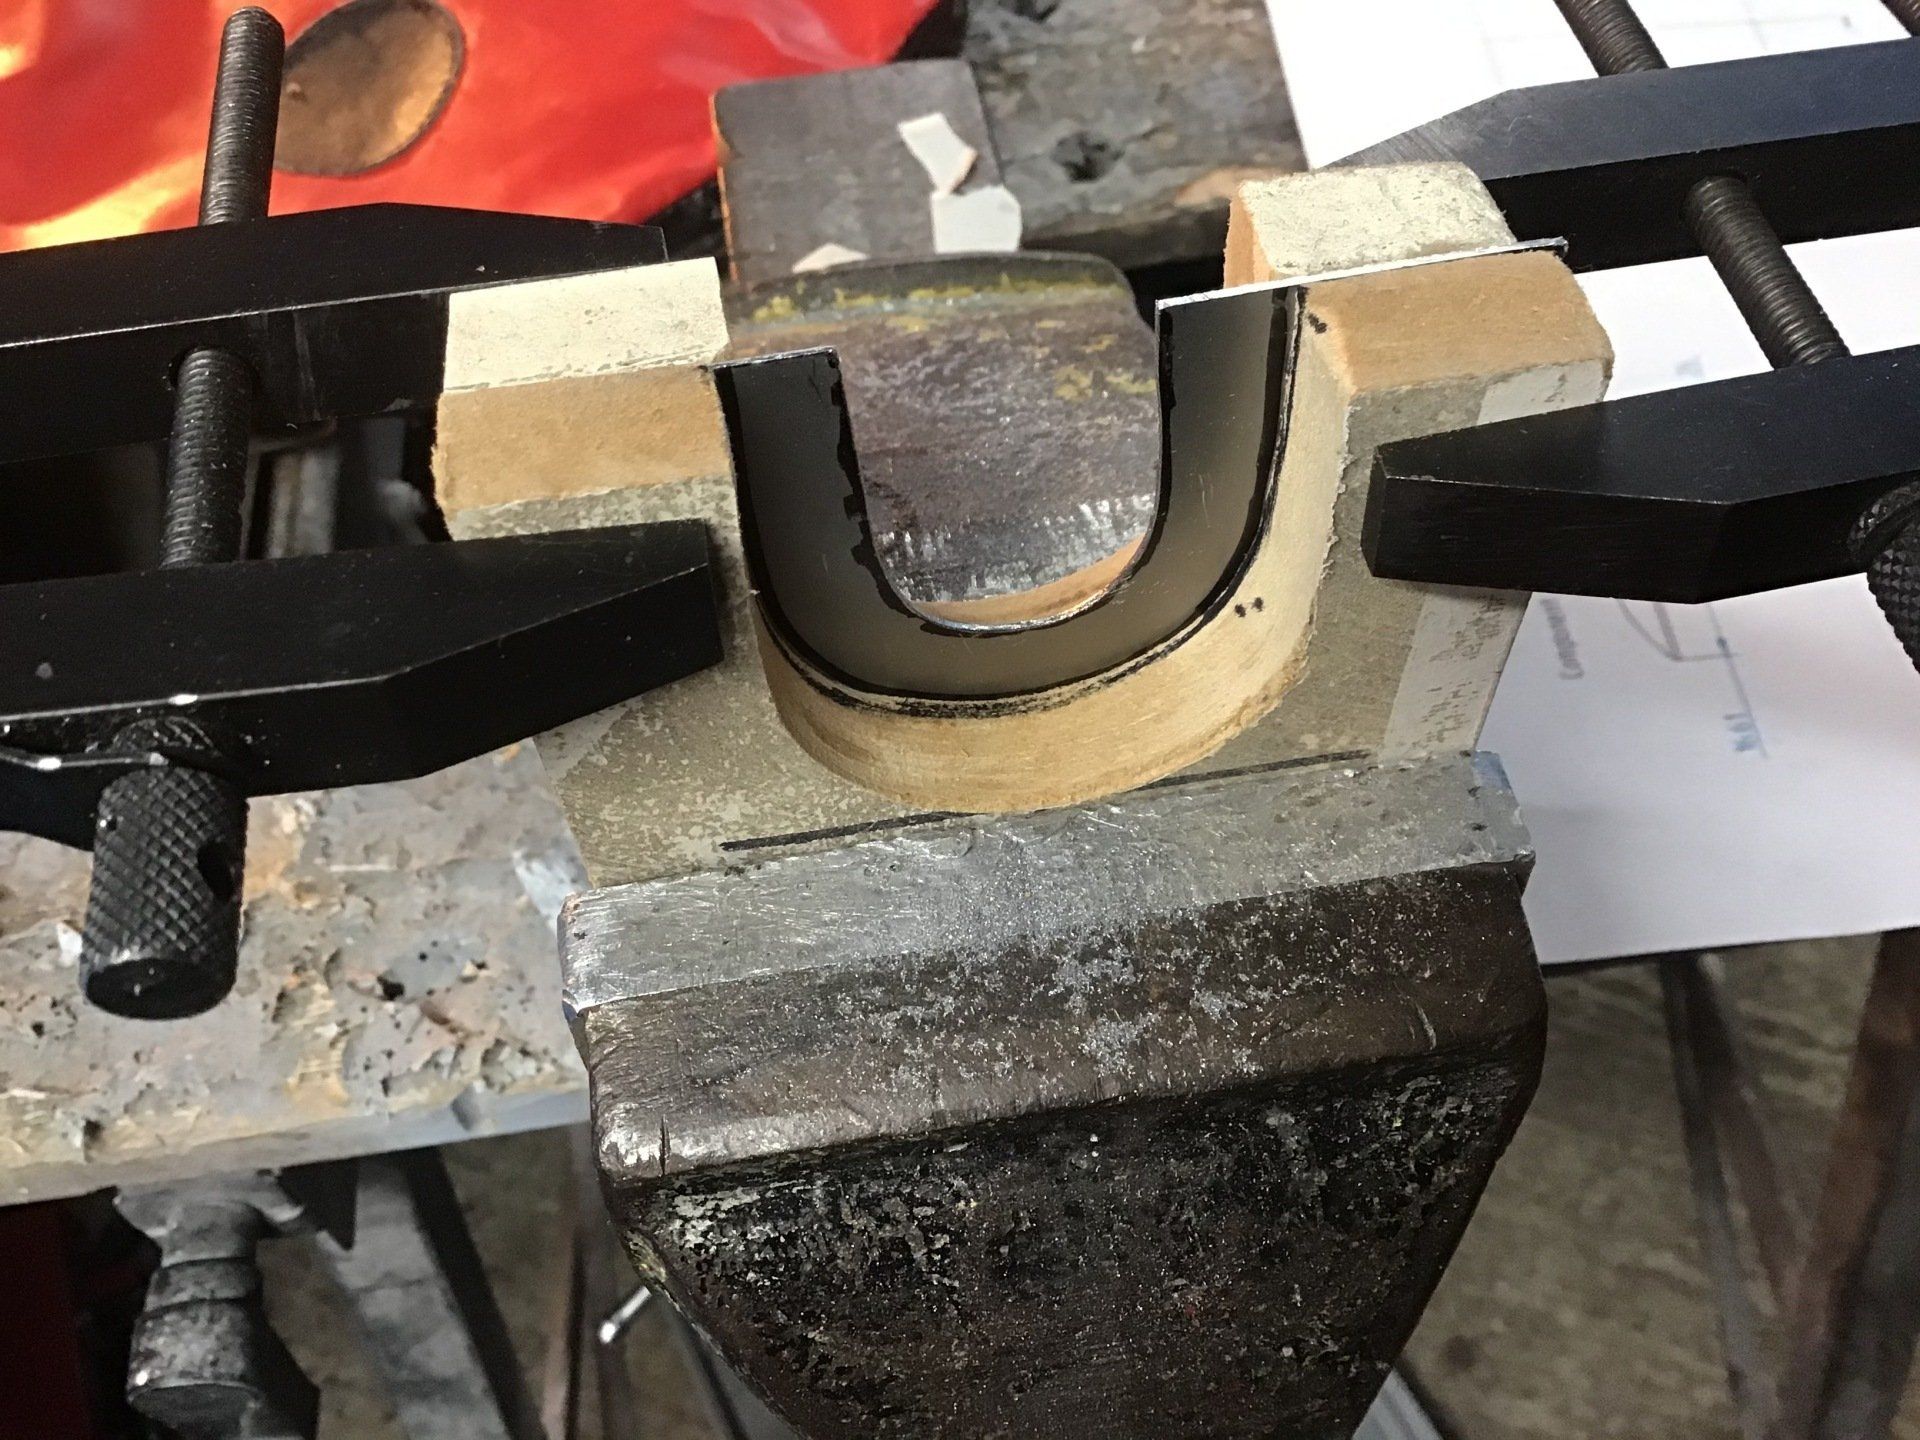
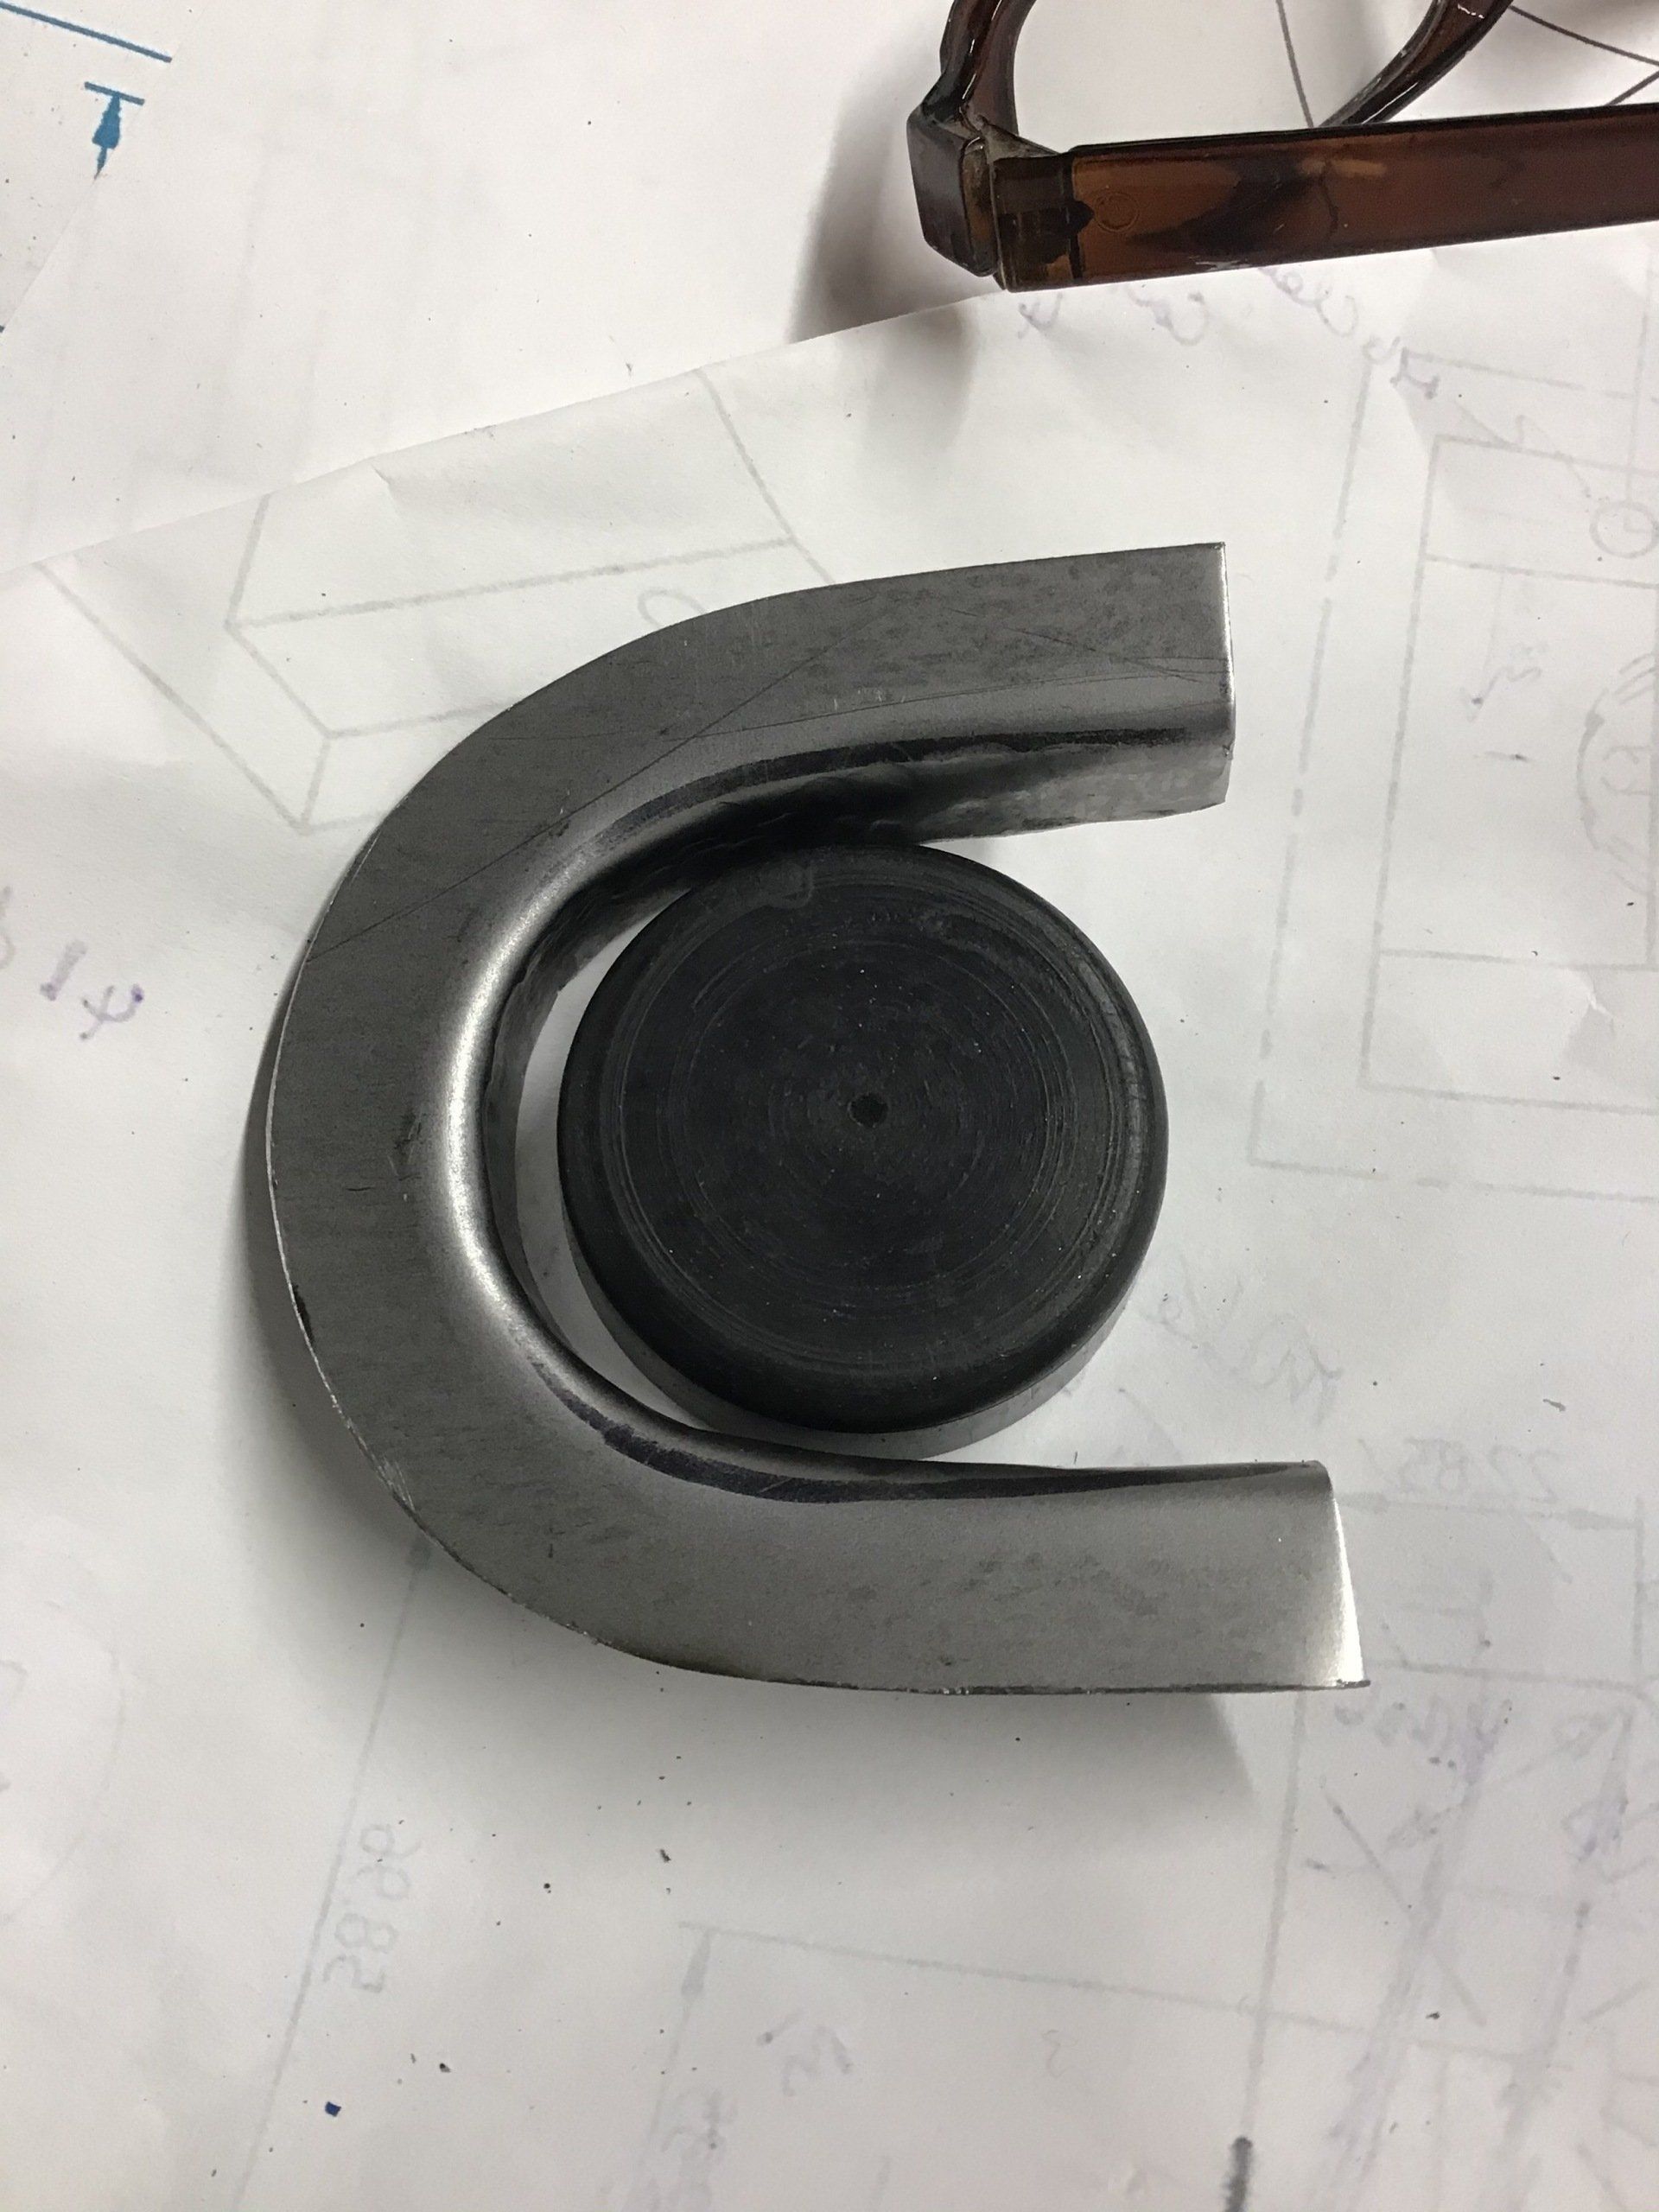
The finished tank will locate on the frame using 'C' shaped cups around the rubber bungs shown below.

This is the hammerform for making the 'C' cups. It only has to make two, so mdf will do the job.
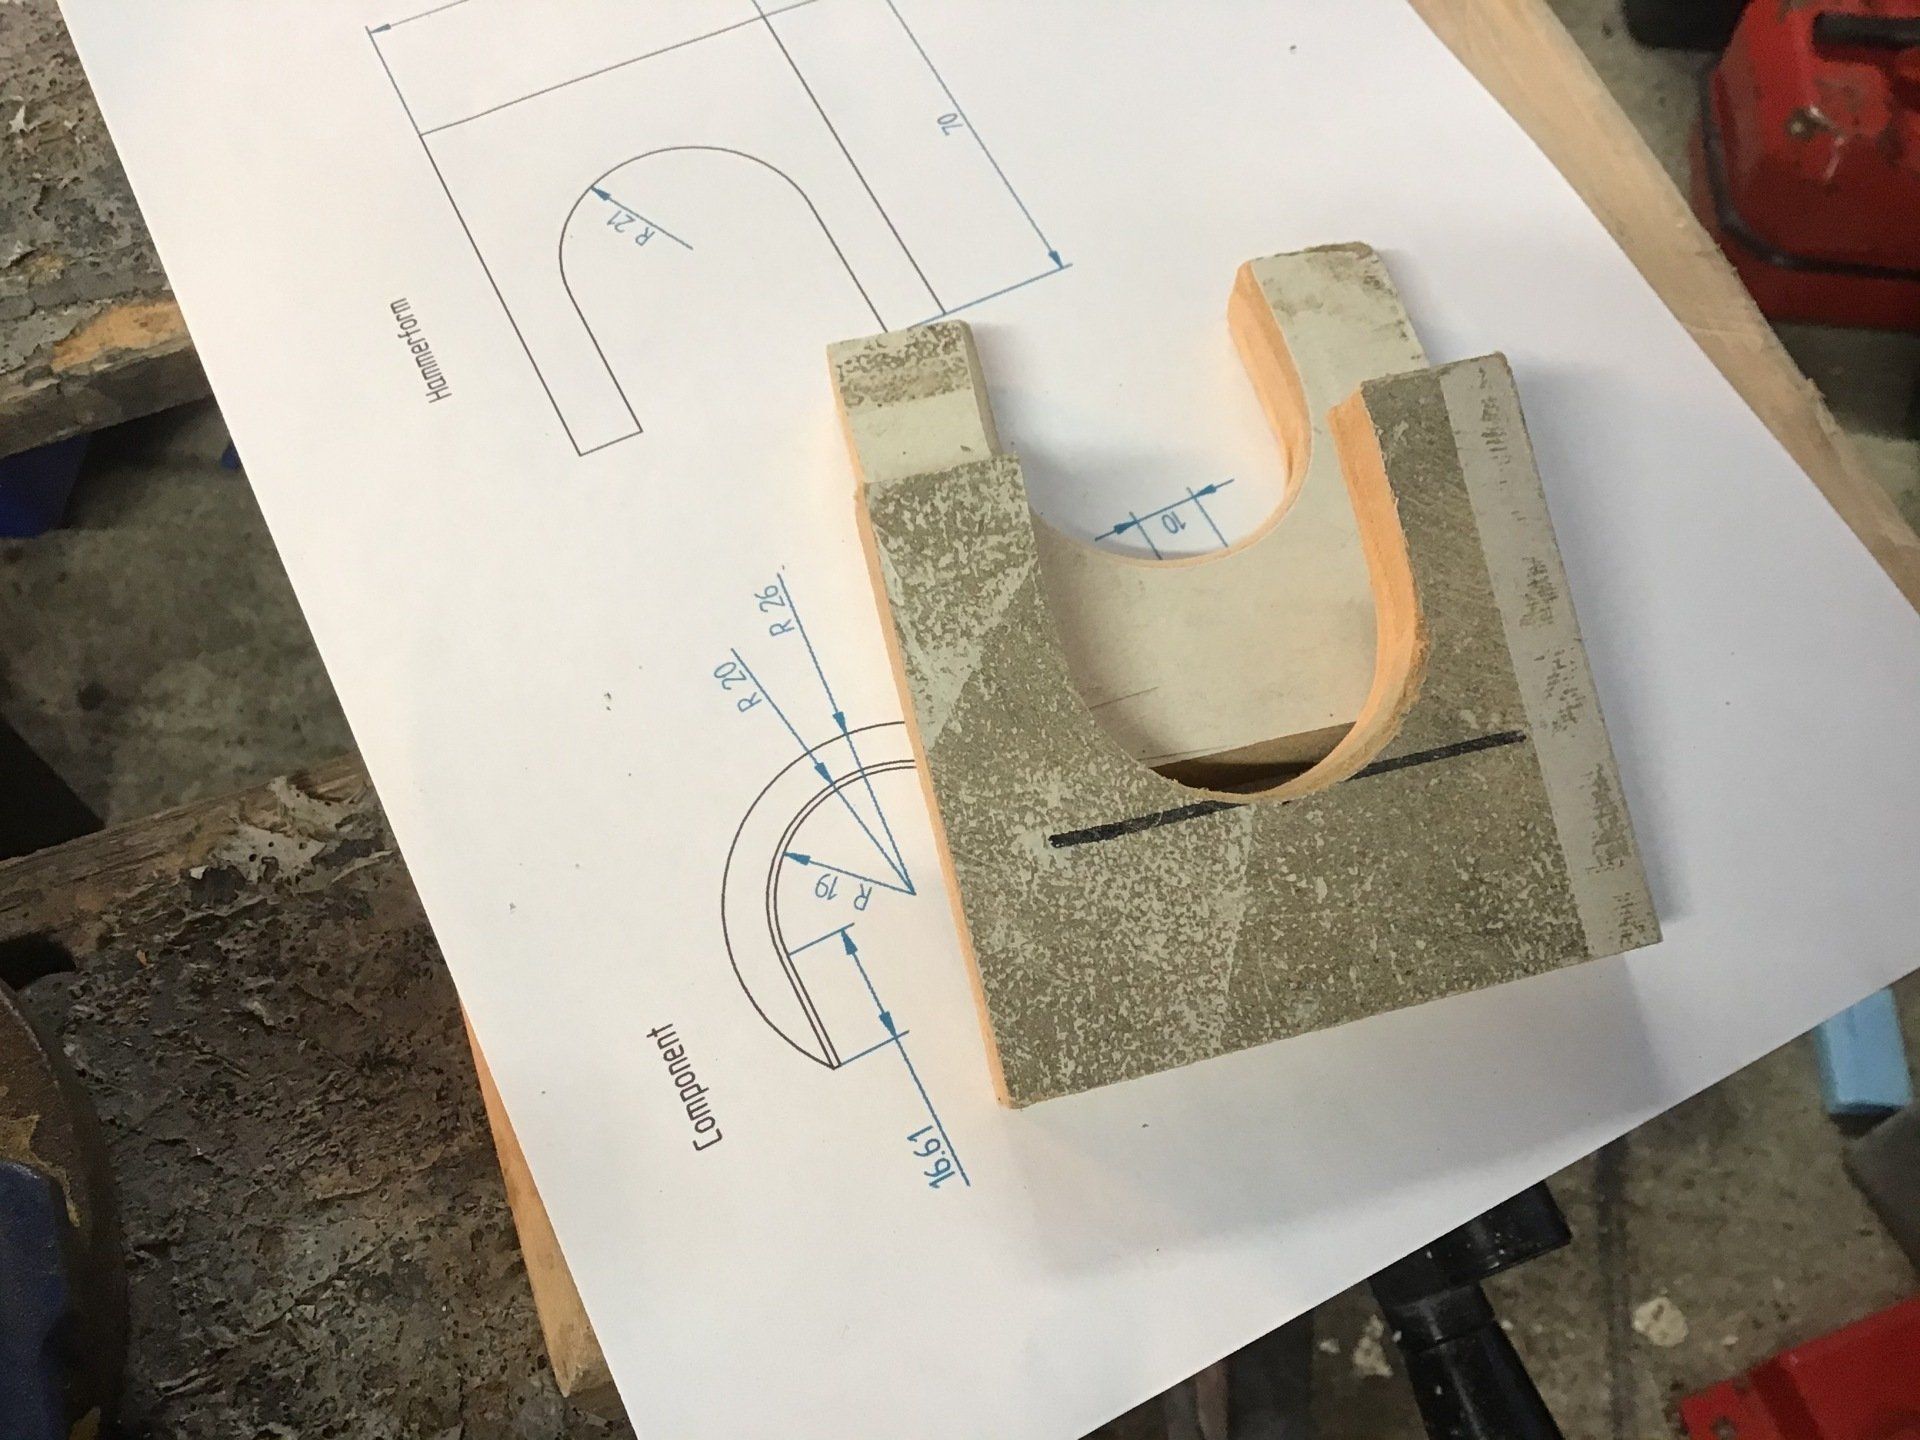
The hole for the hammerform was cut using this hideous (but cheap!) hole saw. It cut a little bigger than I wanted, but it was all I had to hand.

The steel blank. I had a guess at how wide to make the flange. It turns out that I really should have made it wider.

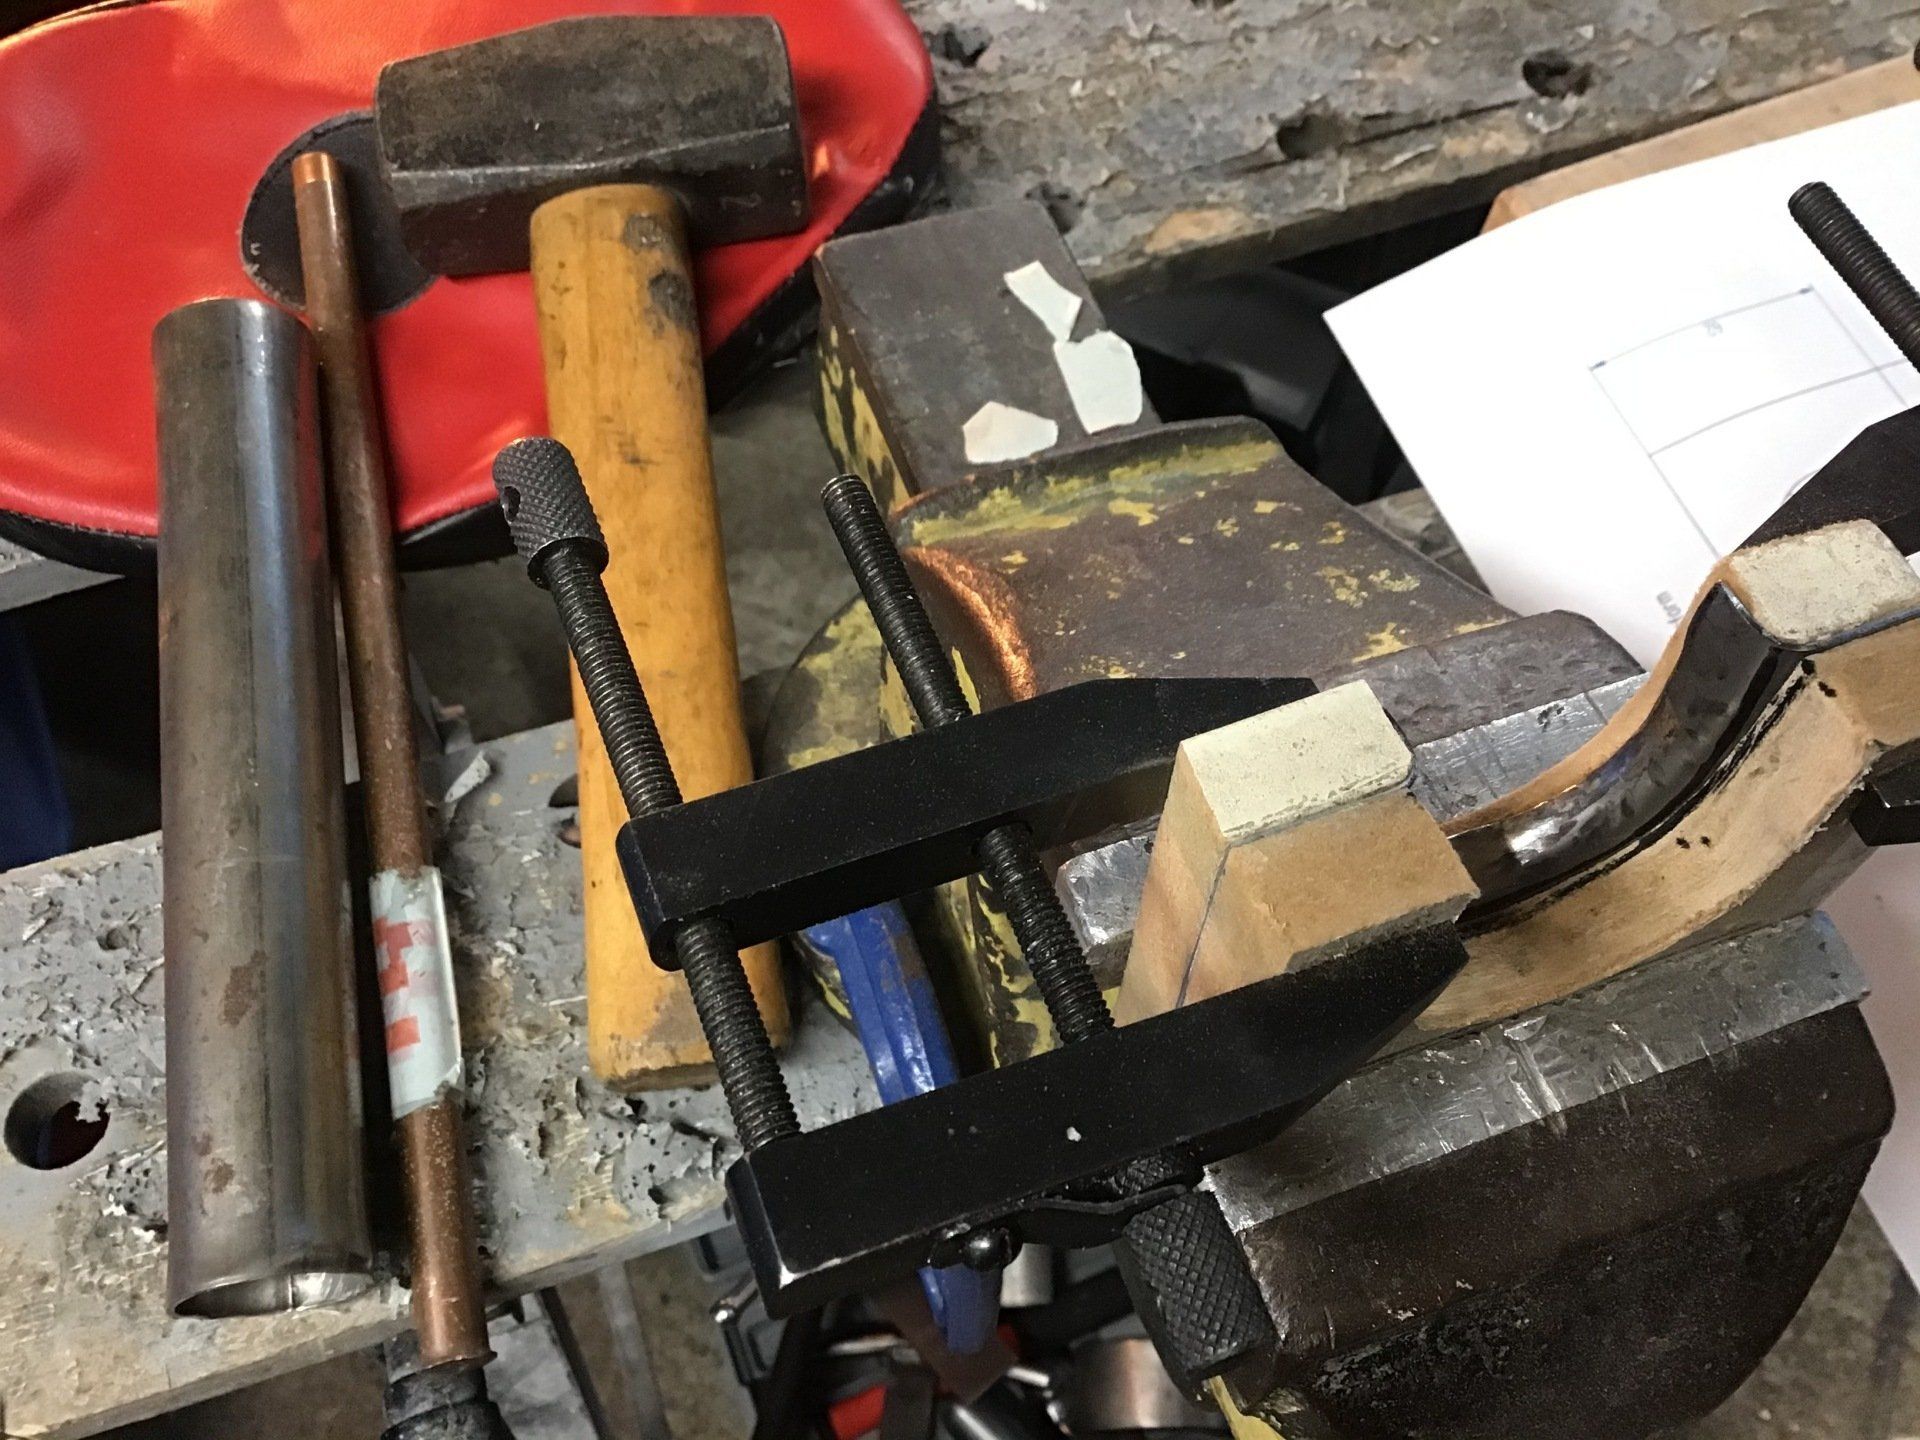
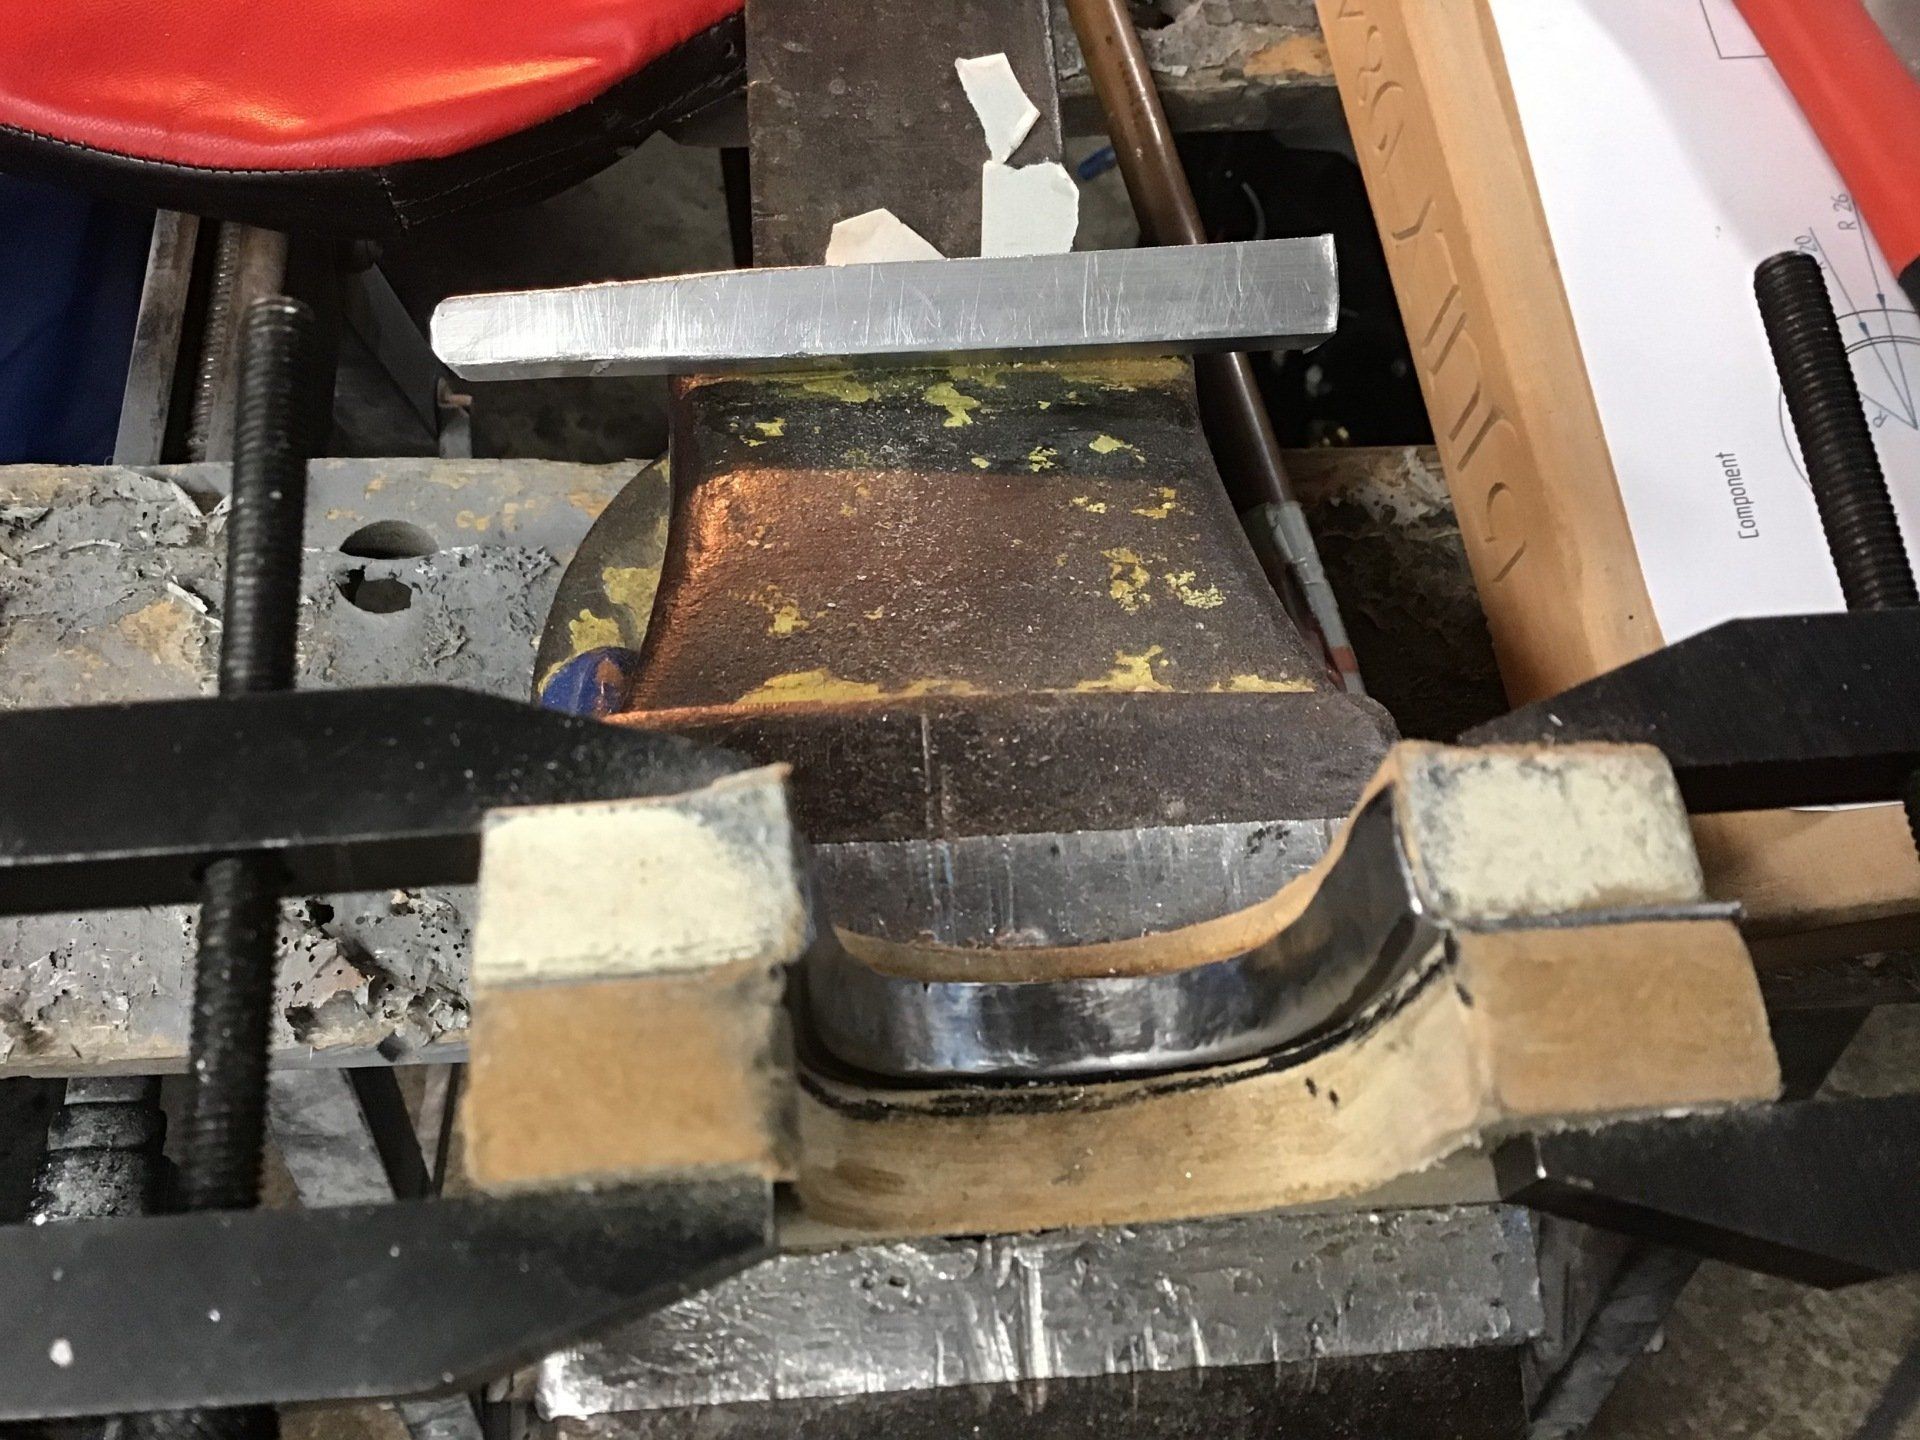
All clamped up ready to be hit with a hammer.
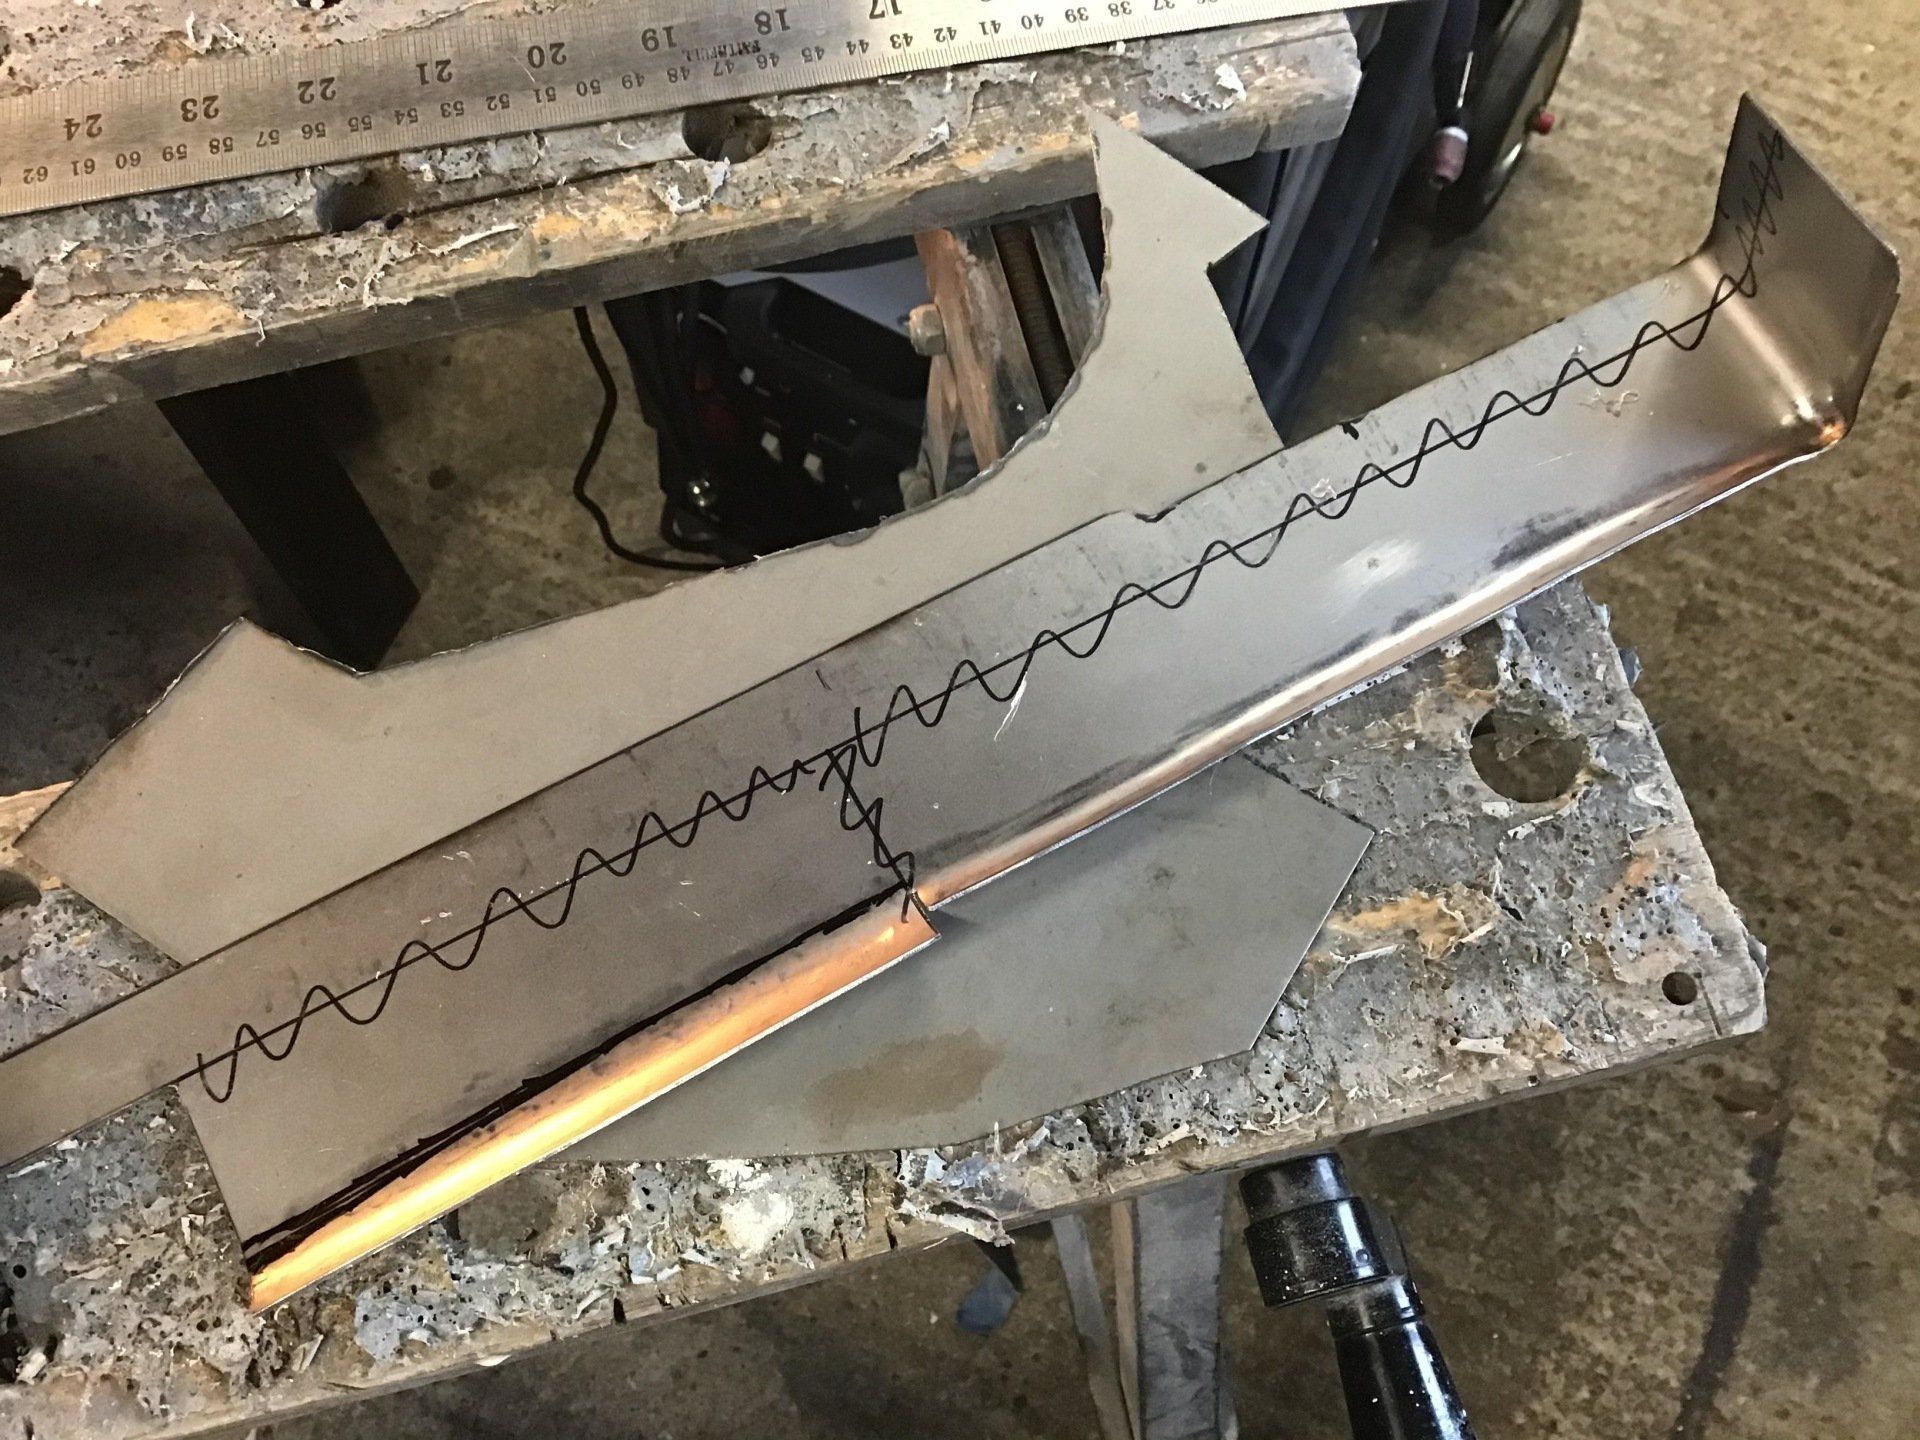
It's quite a small 'C' and I underestimated how little room there would be to actually hit it, but with the aid of a variety of bits of copper, steel tube etc. it was eventually persuaded to form to shape.
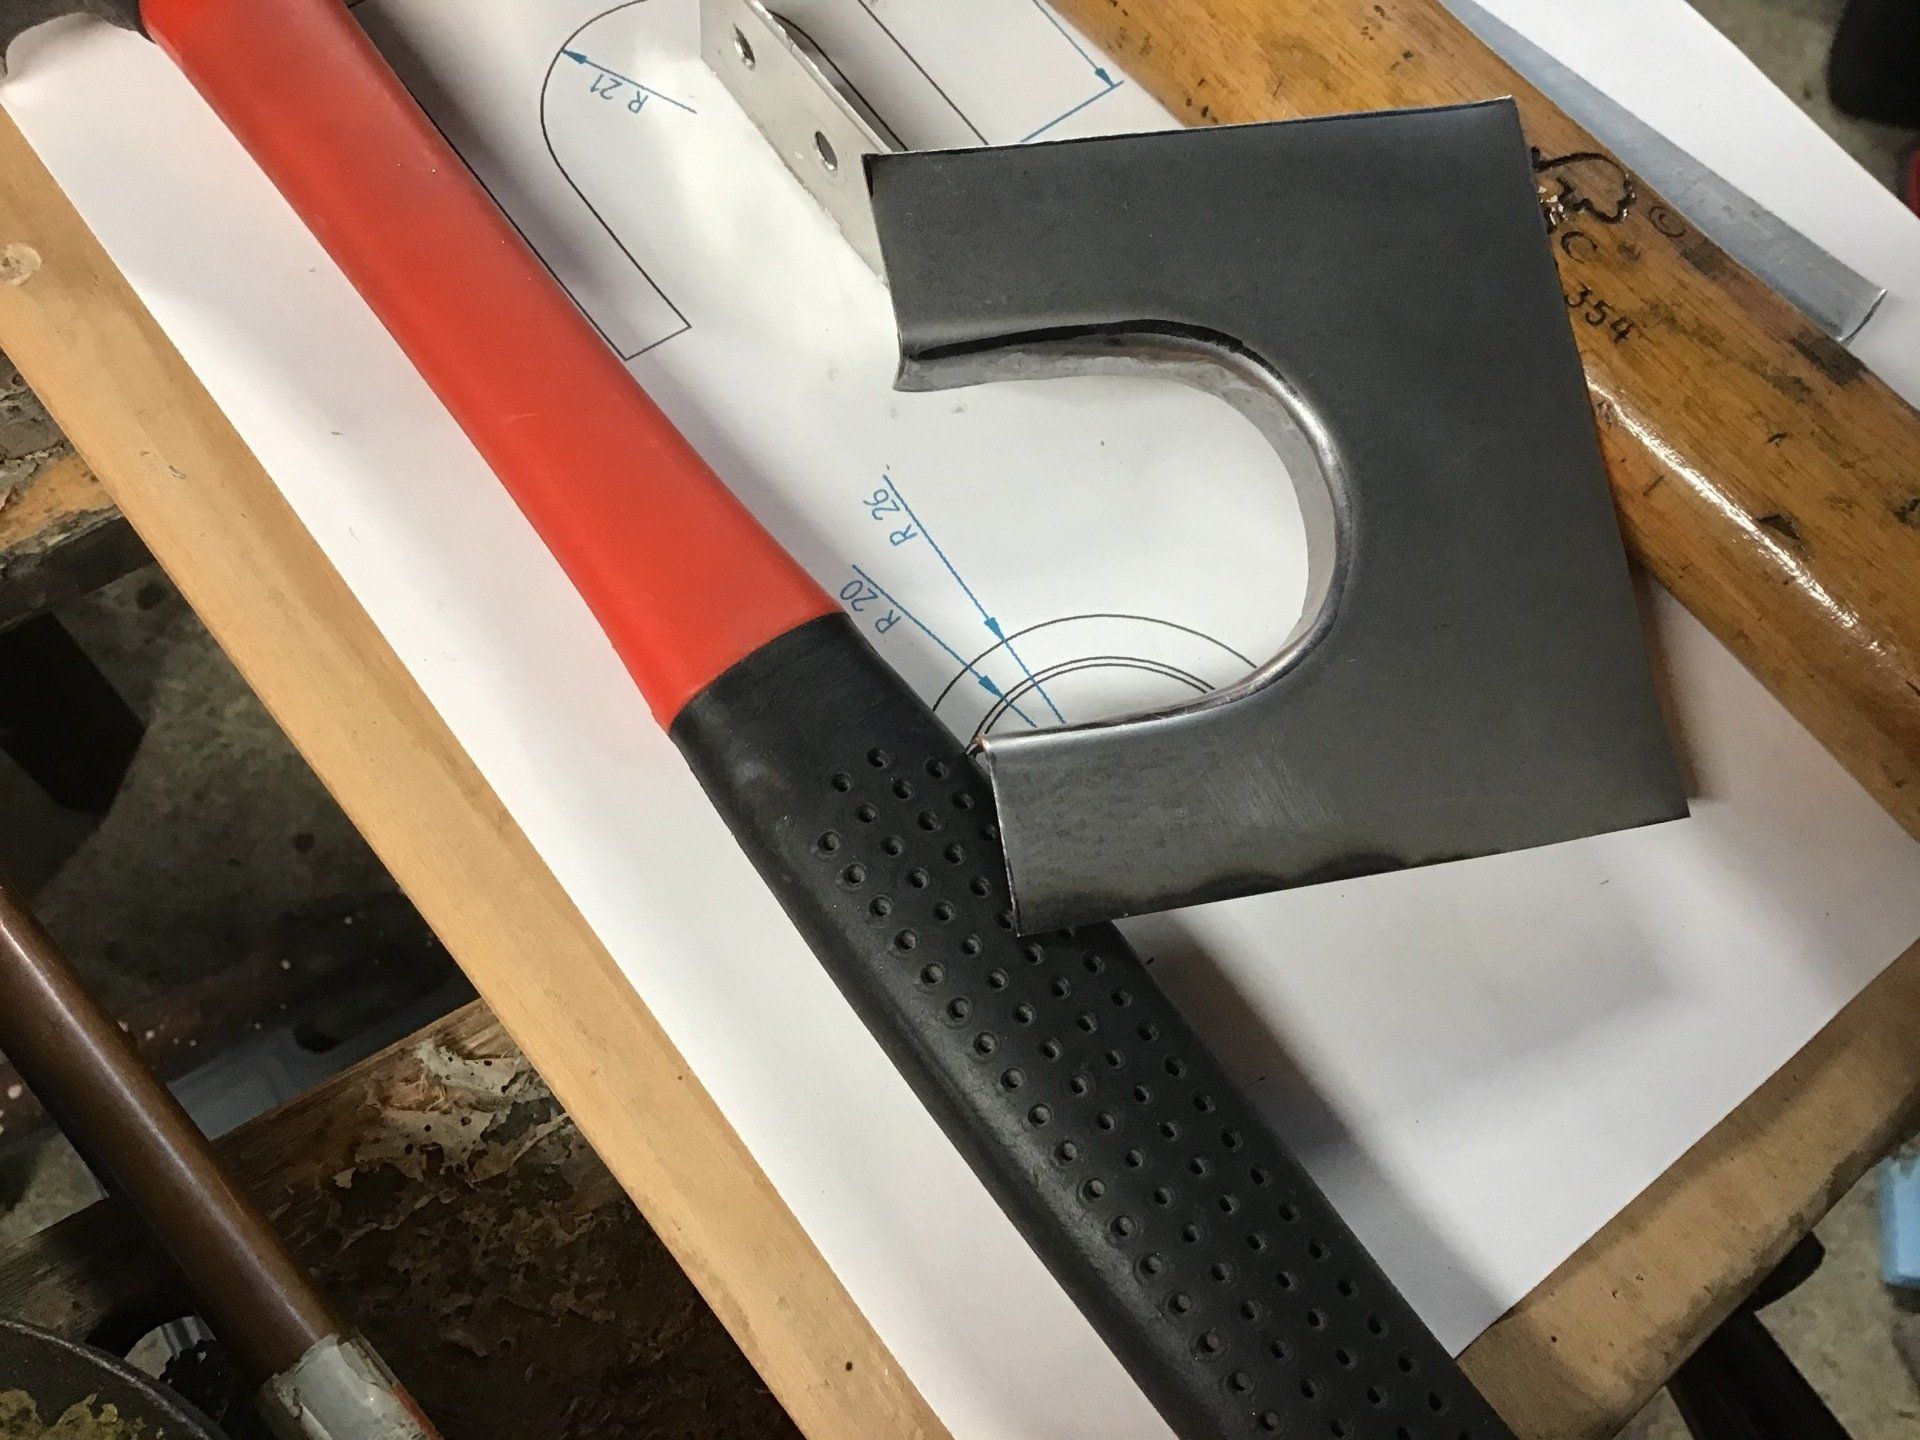
And here it is, released from the form.
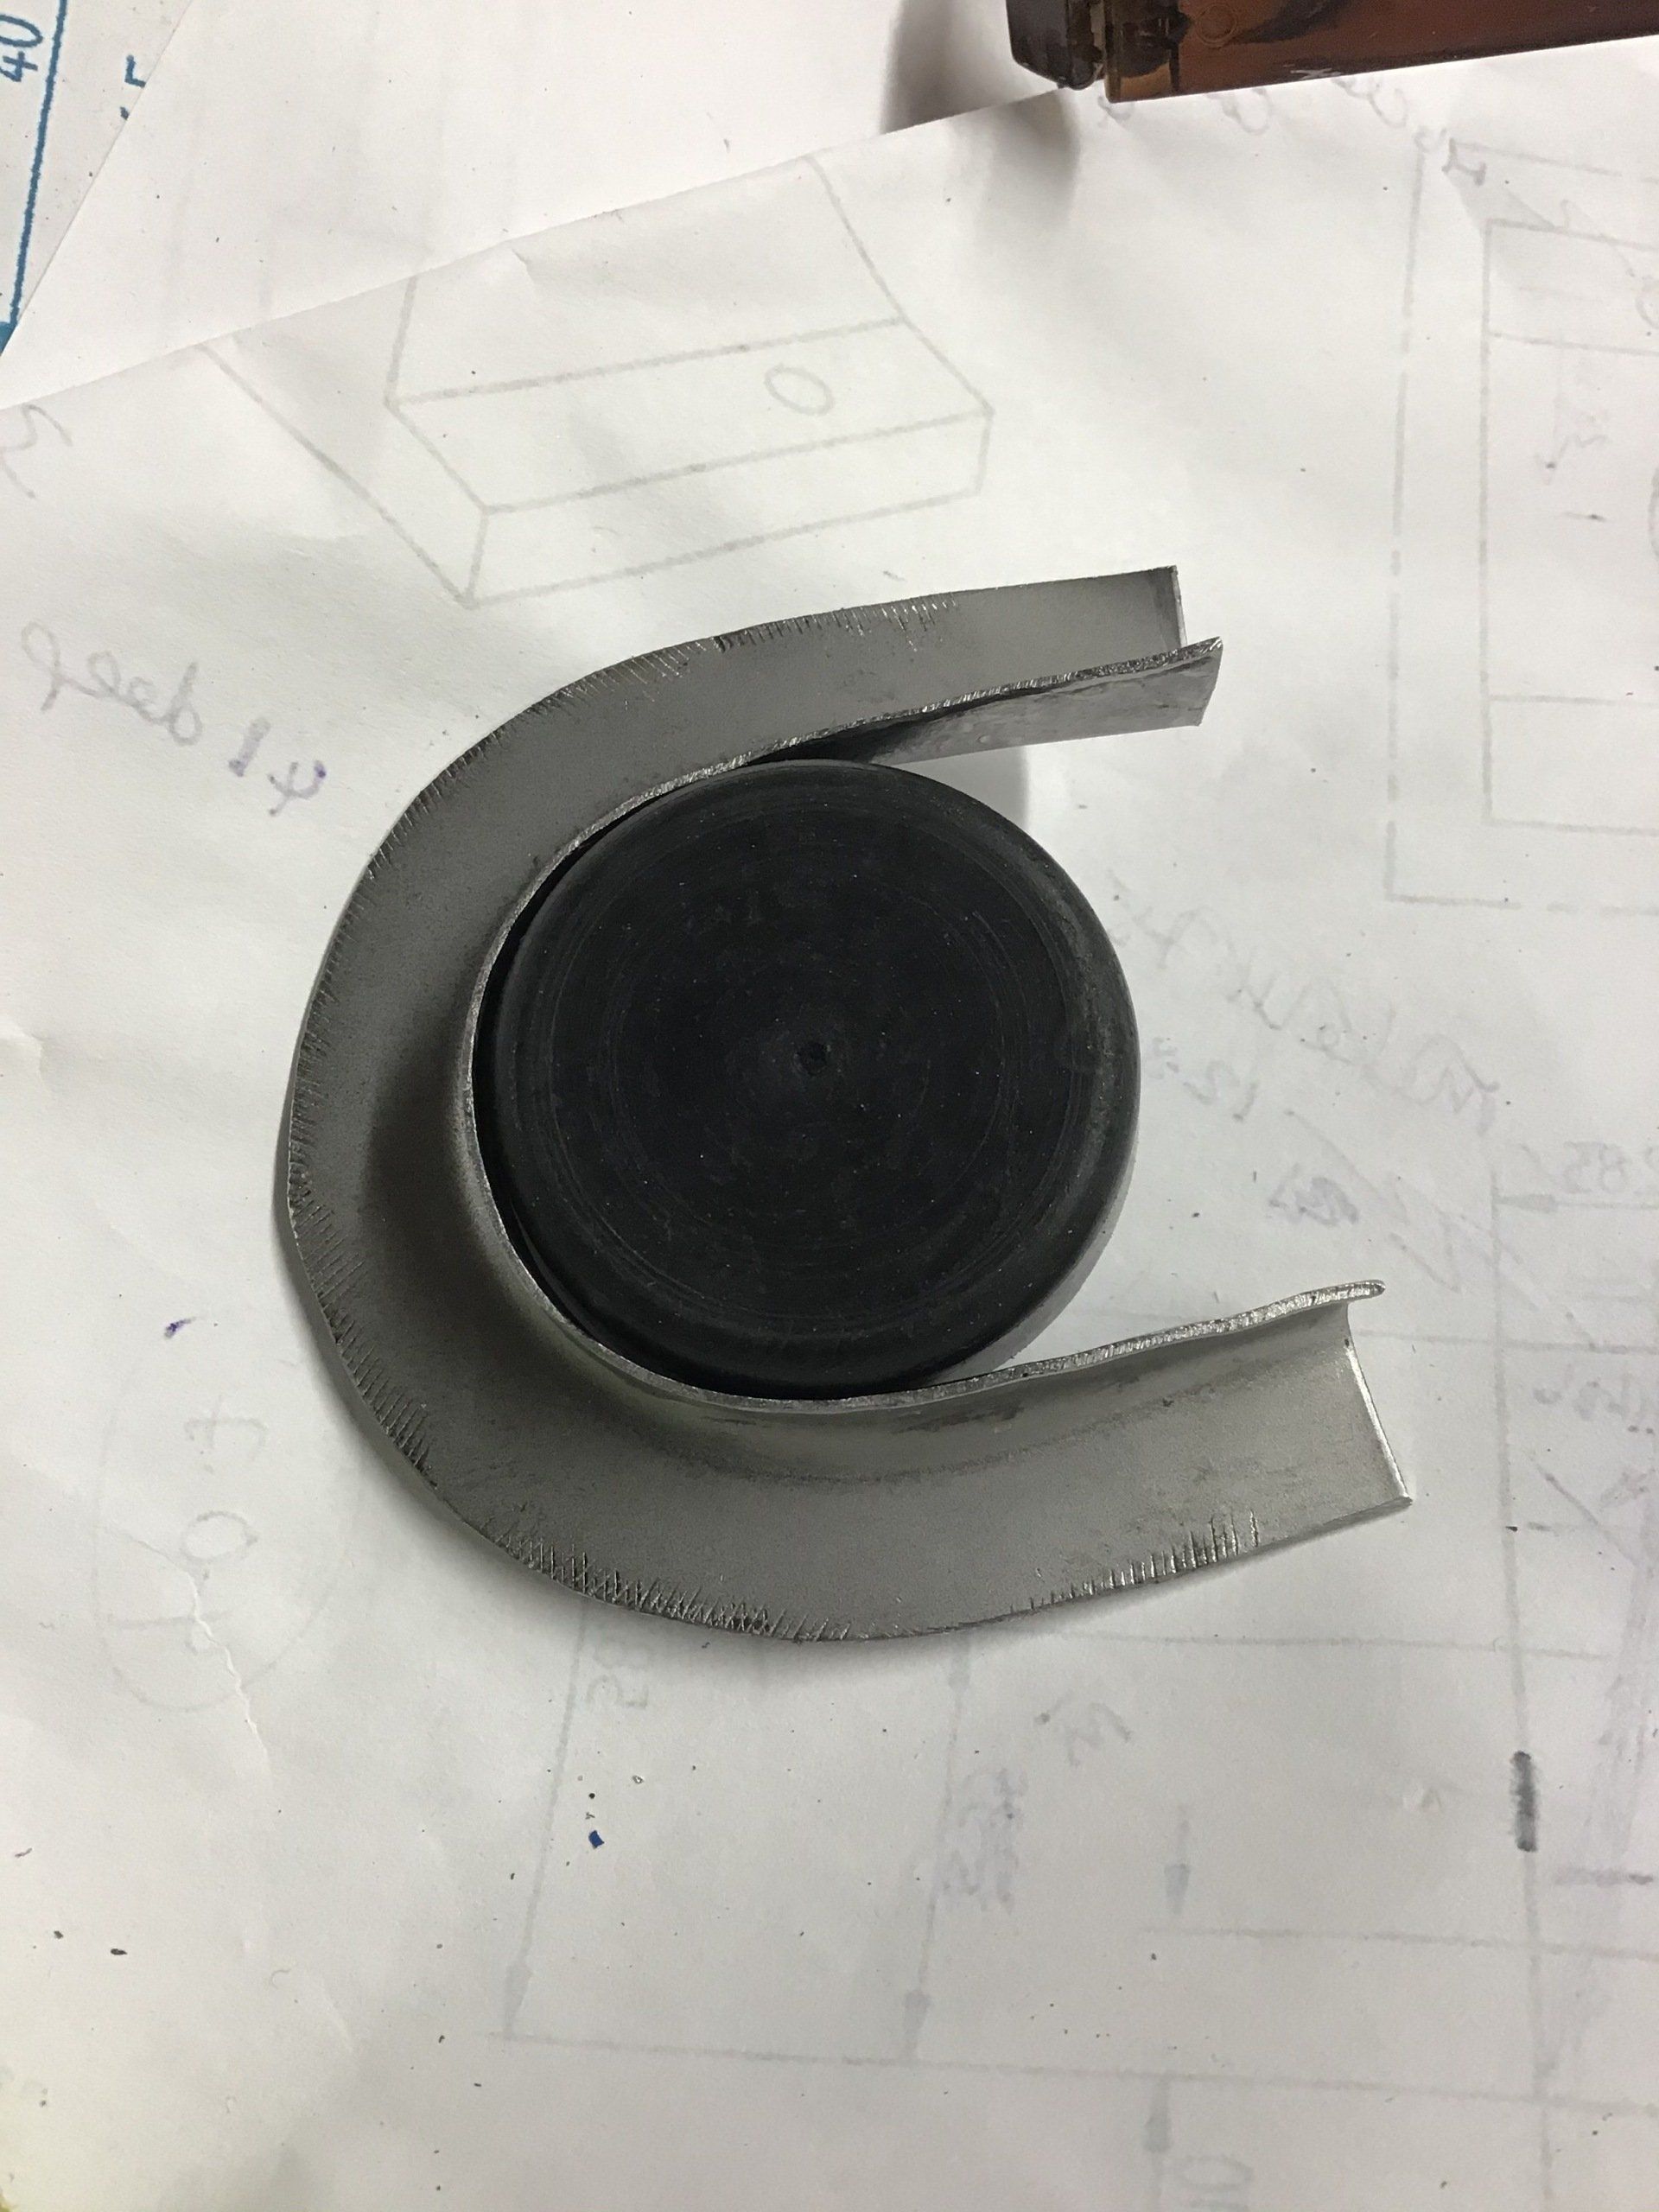
After a bit of trimming, it's time for a test fit on the bung. It's a little baggier than I would like.
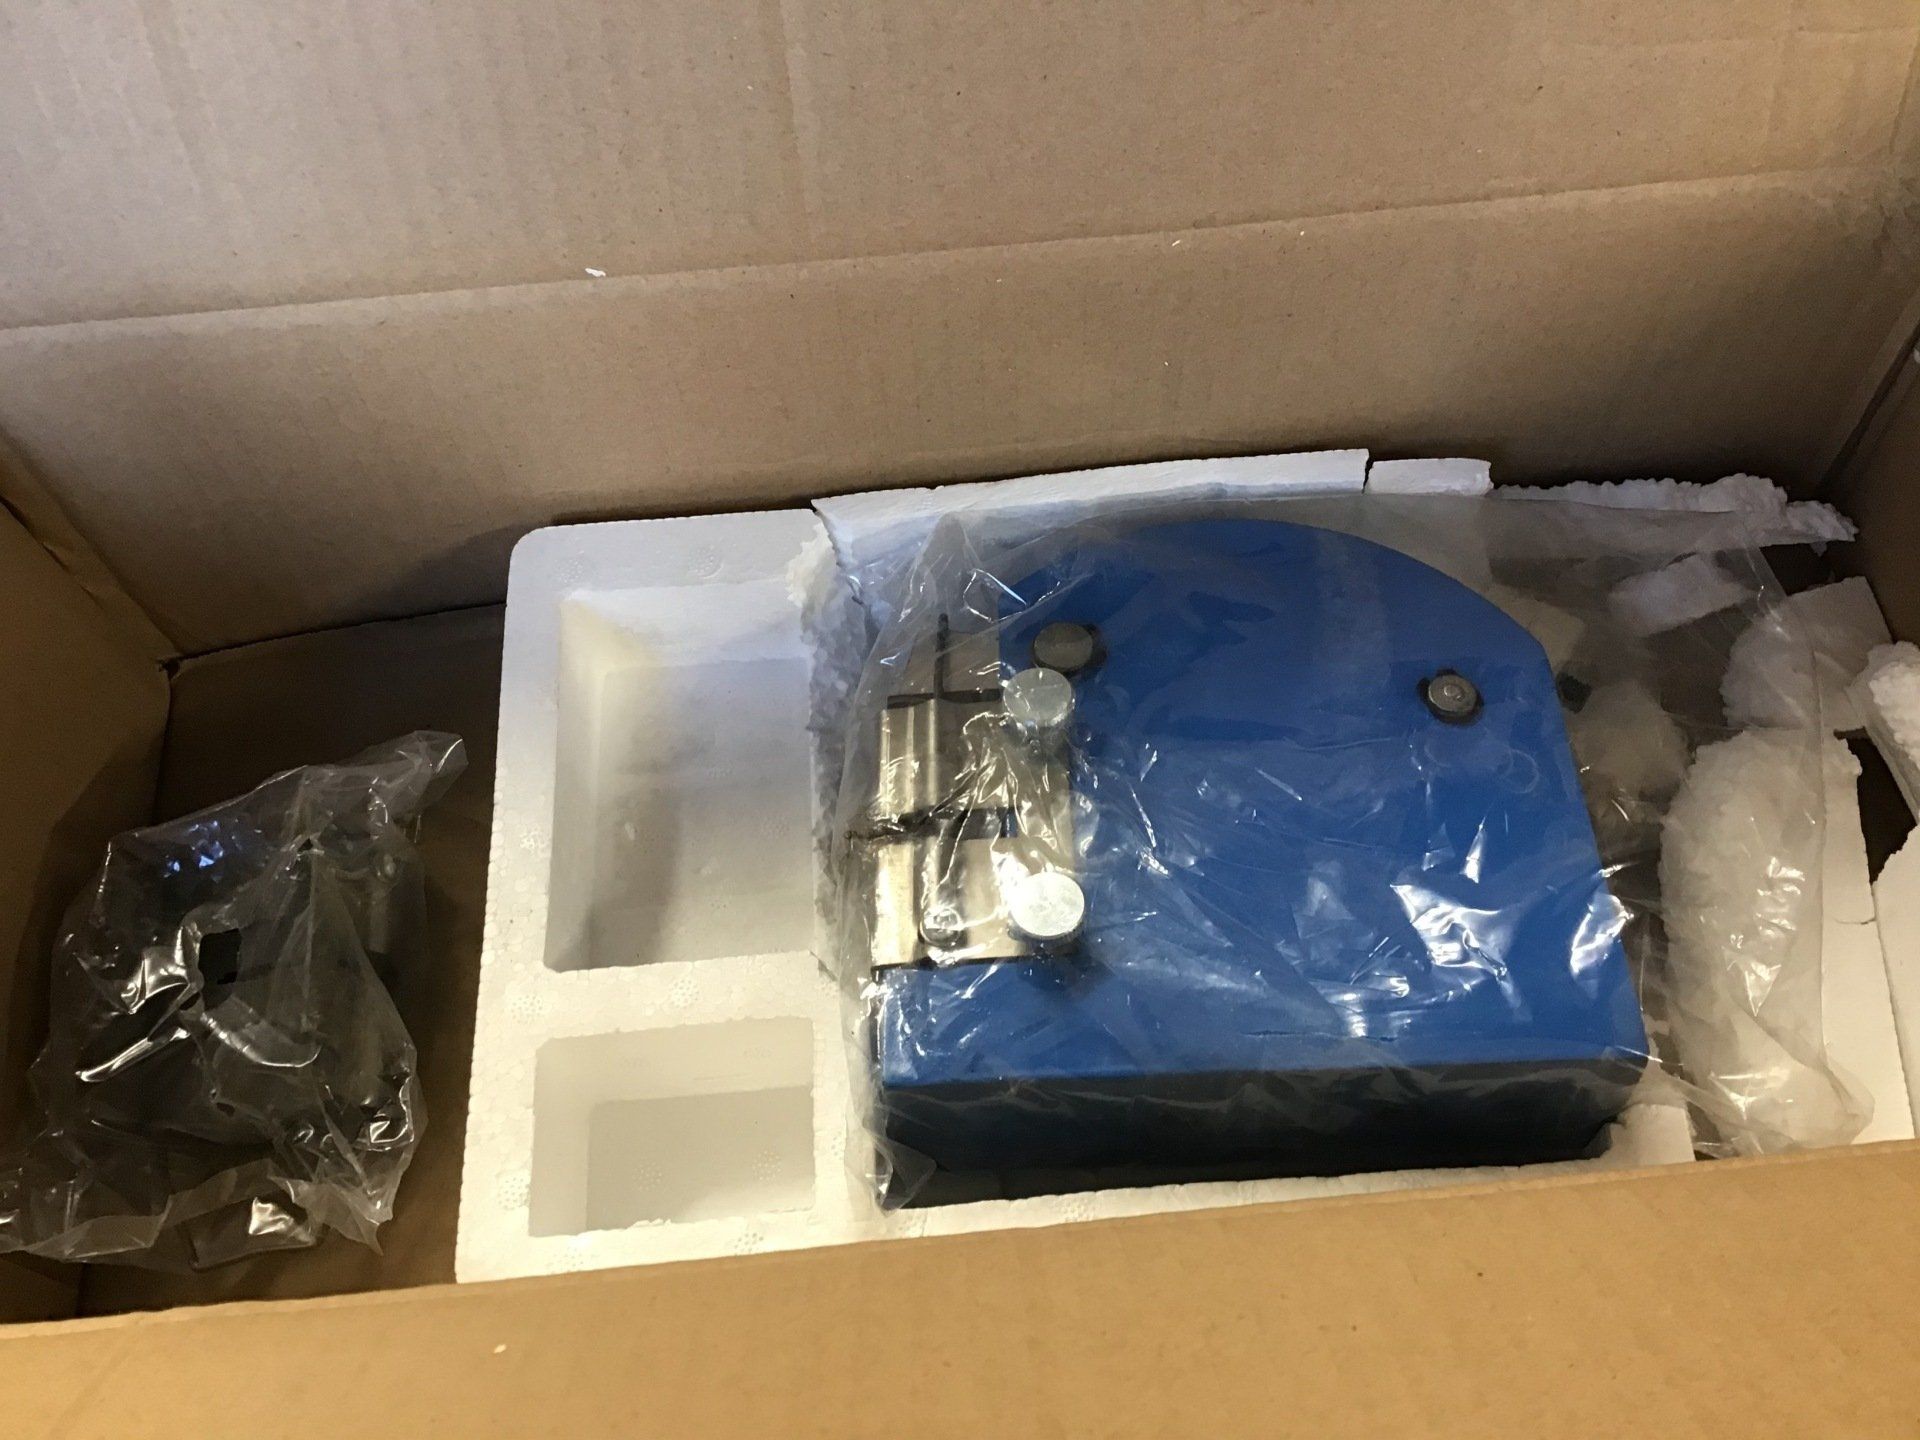
But I have a new toy...
... and after a little work with the stretcher, a better fit is achieved.
Look out for a review of the shrinker / stretcher when I've had a bit more time to play with it.
Now I have to get back to those tank sides. I've got two failed attempts so far! The third one is looking better, but you'll have to wait to see how that turns out...
So far, the tank sides have been proving problematical. I attempted the first version using a mallet, sandbag and hollowed out wooden block, but free-forming the metal in this way proved to be beyond my current skill level.
The next attempt involved a shaped hammer-form. I wasn’t ever optimistic that this would work, but in the absence of any other plan, it seemed worth a try.

This is the hammer-form that I tried. Hammer-forms work best when most of the surface is flat and only the edges need to be formed. Expecting to be able to hammer the sheet to conform to the curves required, before then folding over the edge, never seemed like it was going to work, and trying it only proved that to be the case. For a start, the ‘spring’ in the steel meant that it was never going to be possible to hammer the metal to conform exactly to curved top surface of the mdf pattern. And then, when the edge is hammered over, unless you can somehow clamp the curved area so that it cannot move, hammering the edge over will distort the already formed area.
I then had a little practice with an off-cut of steel. This time I just formed the edges over, initially using a flat hammer-form, and then finishing the edges using a hammer a dolly.
Forming the curved edge in this way had the by product of causing the whole work piece to curve. Usually this would probably be undesirable, but in this case it could be something that I could exploit.
I also used this test piece to try out the newly acquired shrinker / stretcher. Using the shrinking jaws allowed the panel to be straightened.
Using the stretching jaws meant allowed me to put curve back in. Now I had some more possibilities.
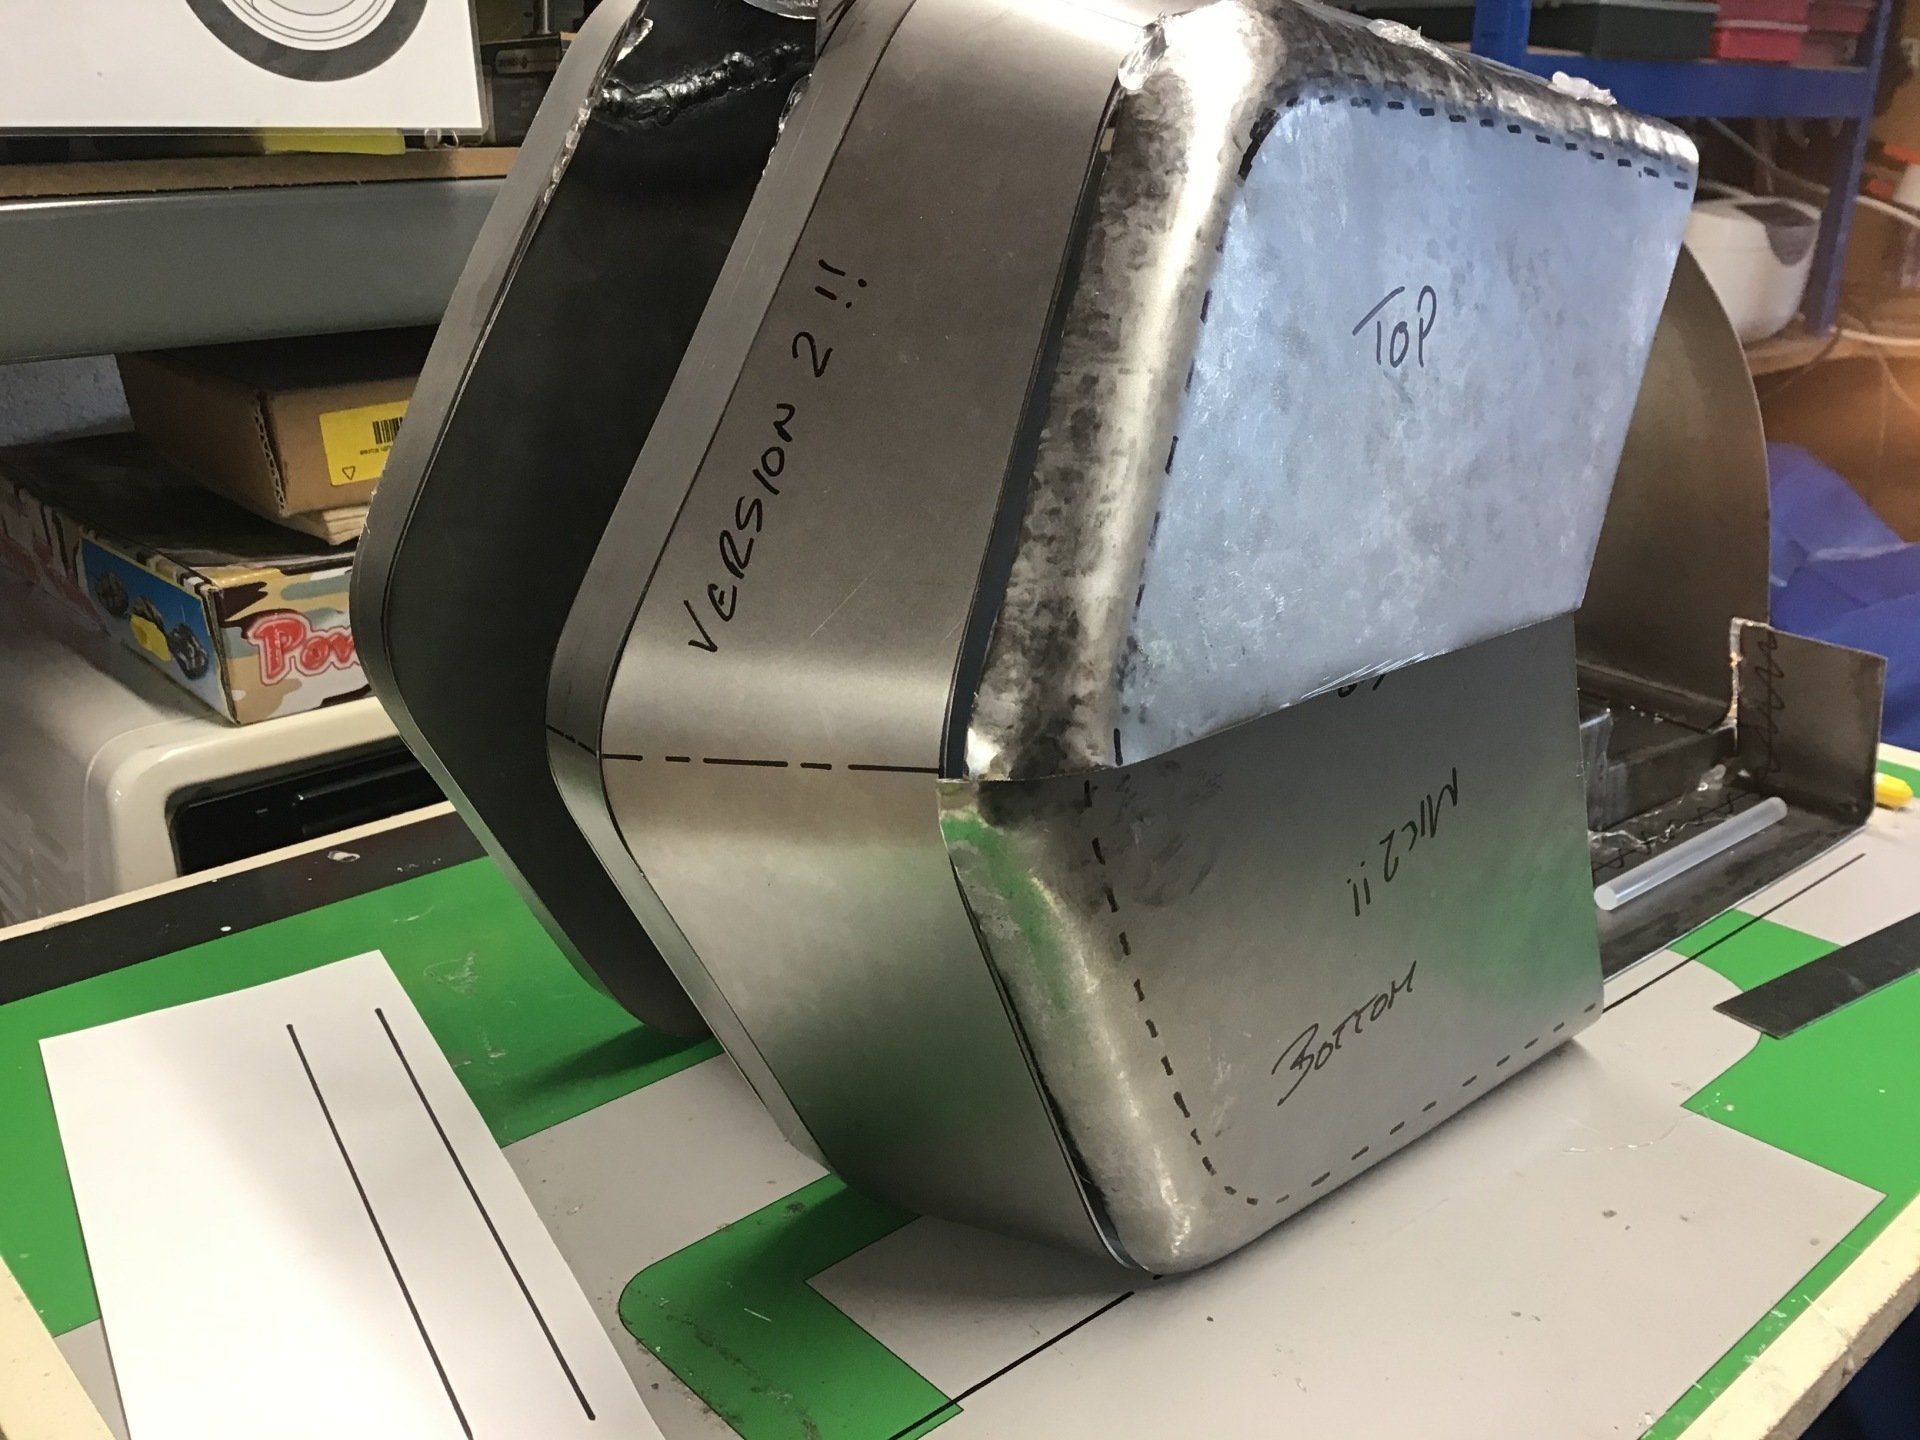
So, on to the third attempt at making the sides of the tank. This time I started with a simple hammer-form to make the basic shape.
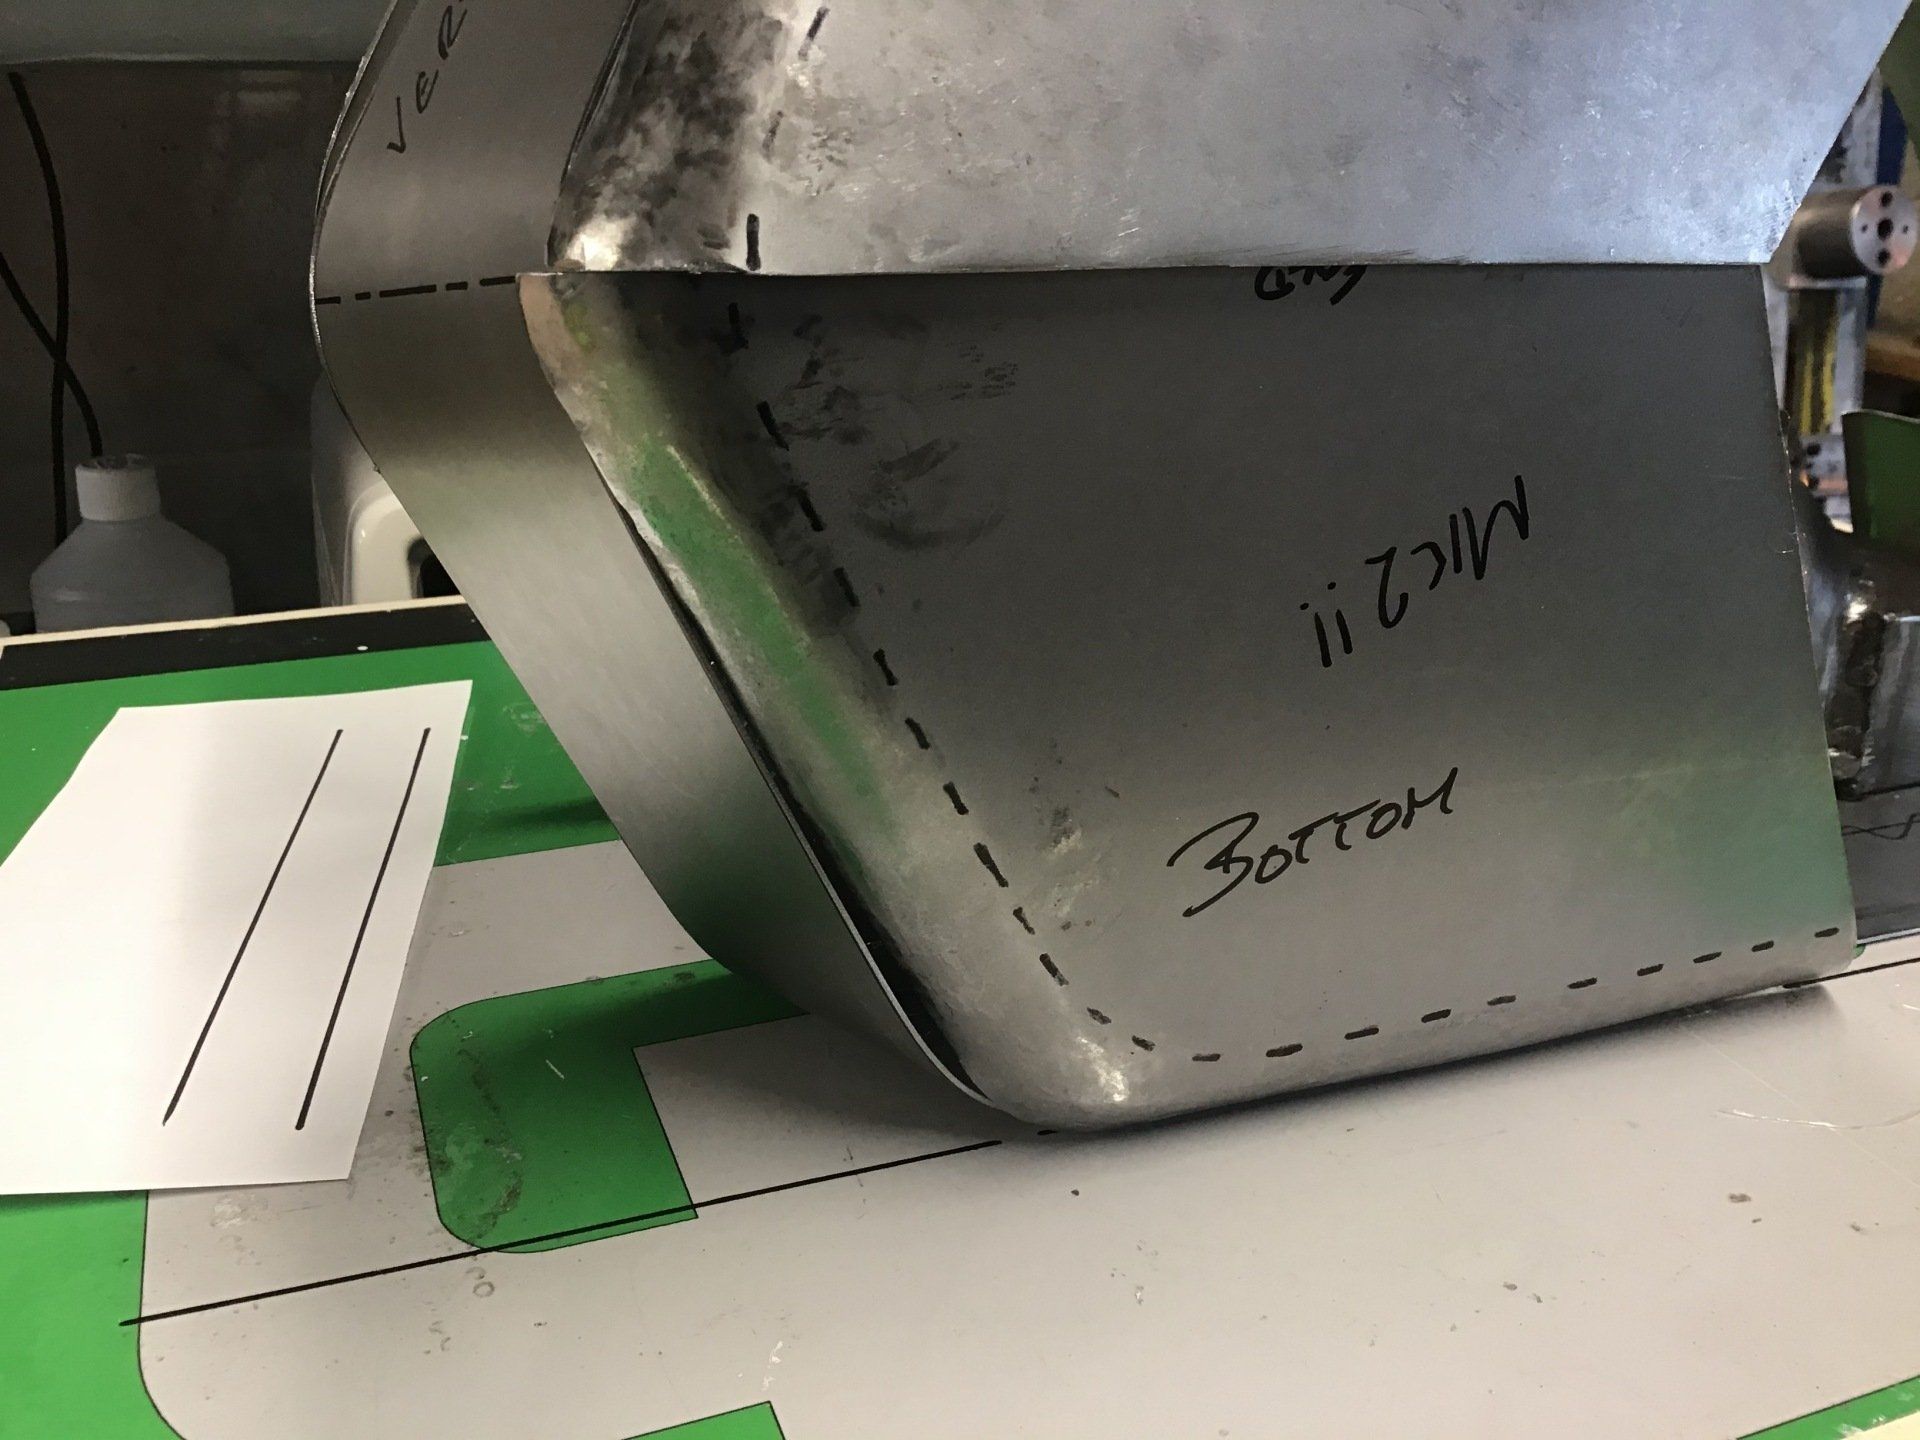
Here it is after some initial work. Straight edge (right hand side) has already been formed over.
Now the curved edge has been formed as far as possible - at this stage the edges started to pucker and these puckers need to be hammered out. It’s tough job to do this with steel without a bit of heat. So, out with the blowtorch…
A combination of blowtorch, hammer and dolly start to form the curved edge further over and reduce the size of the puckers.
Still a bit more work needed to smooth out that edge…
But what I’m also getting is a nice curve and I’m hoping (fingers crossed) that with a bit of help from the stretcher, this can be made to follow the lines that I require.

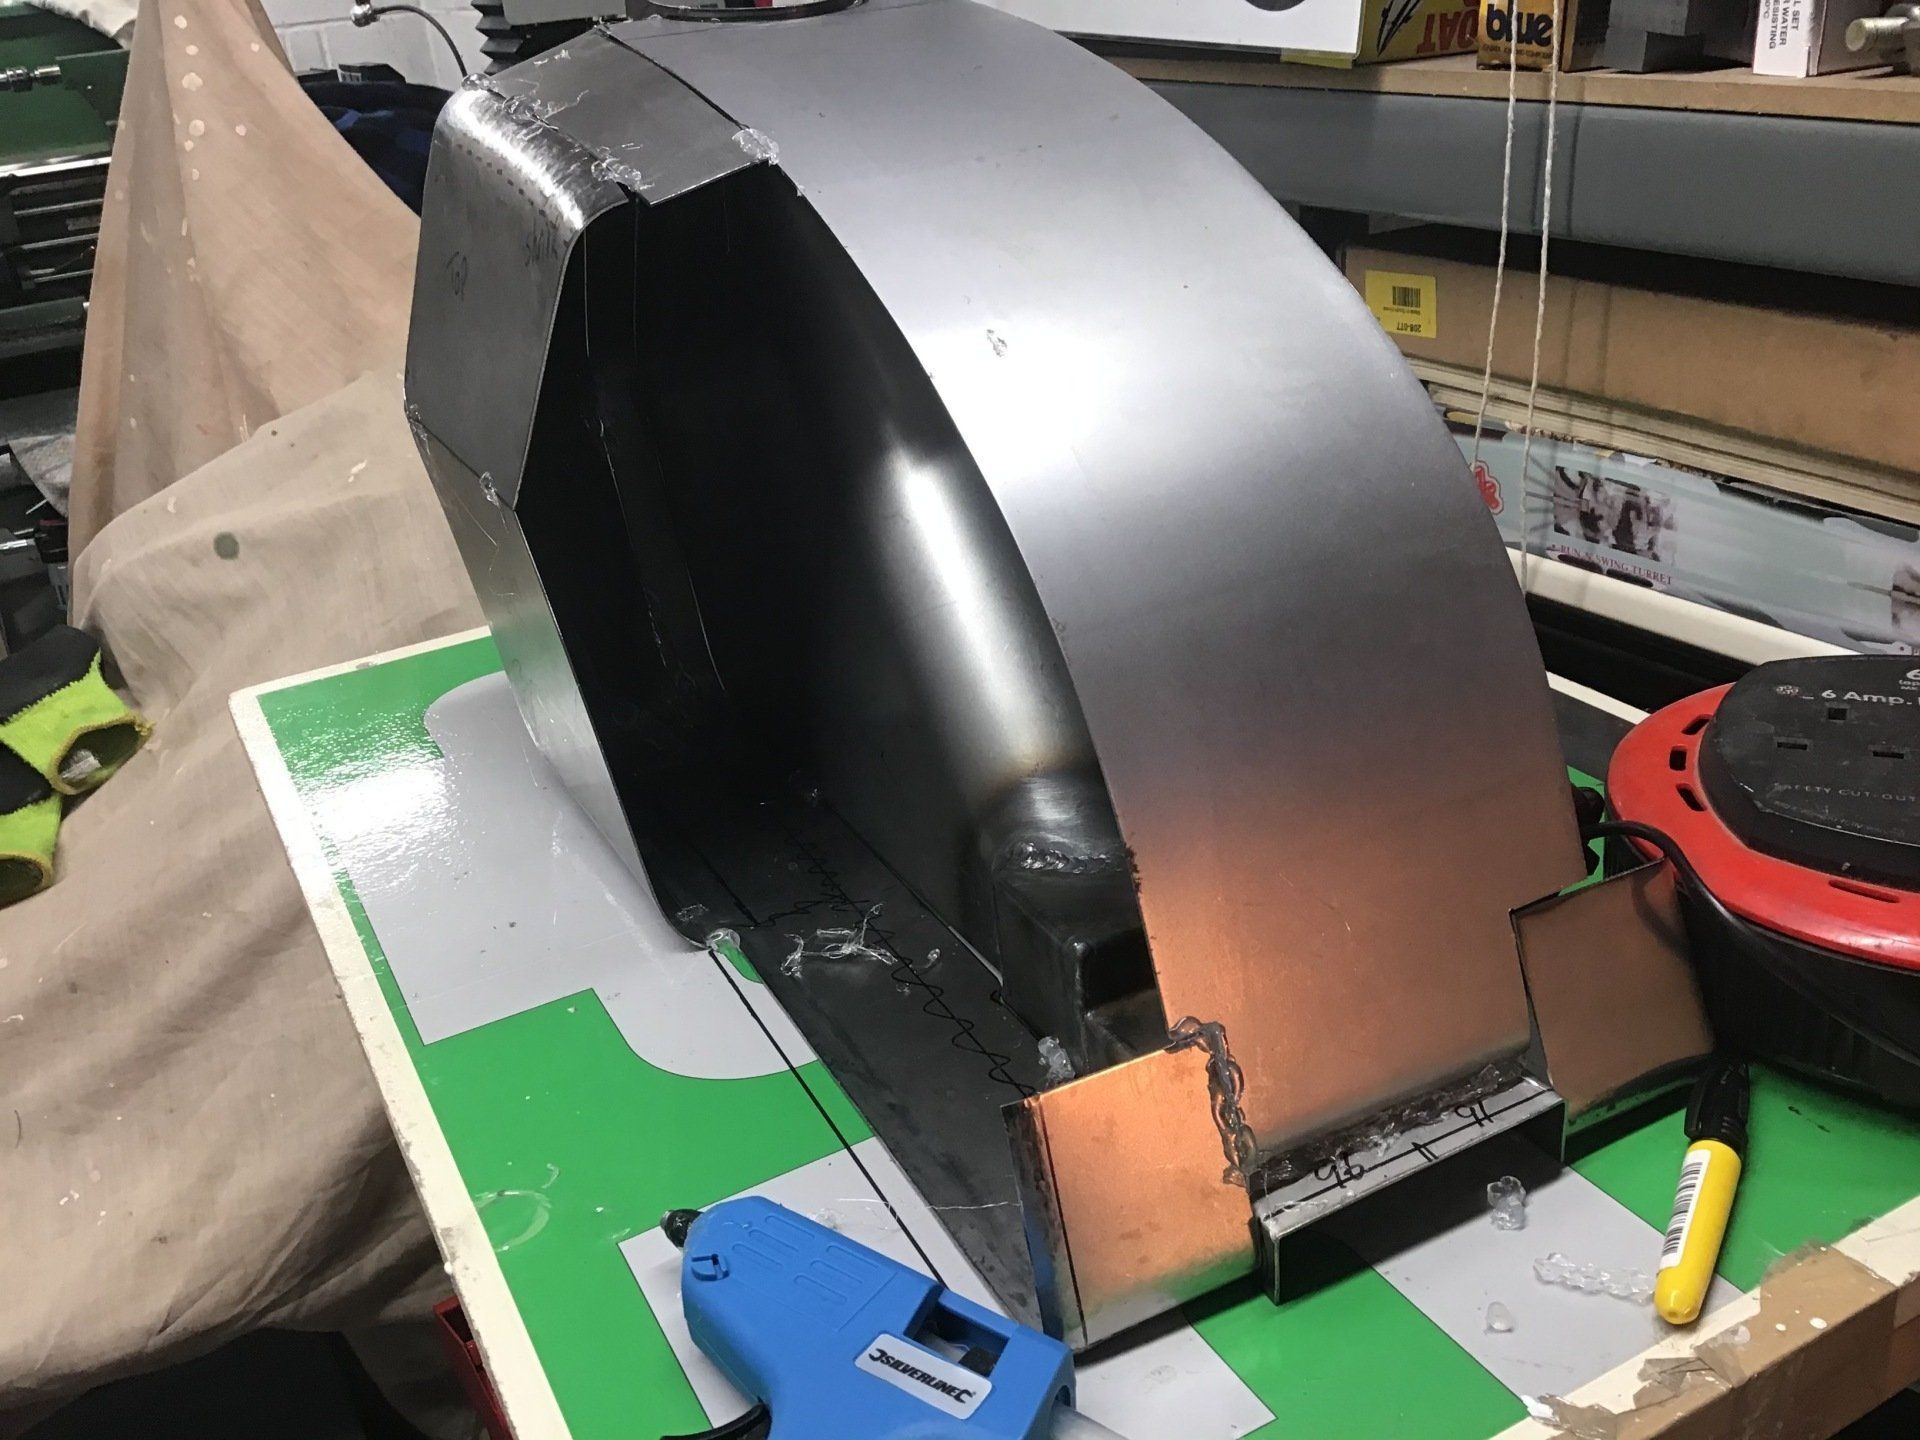
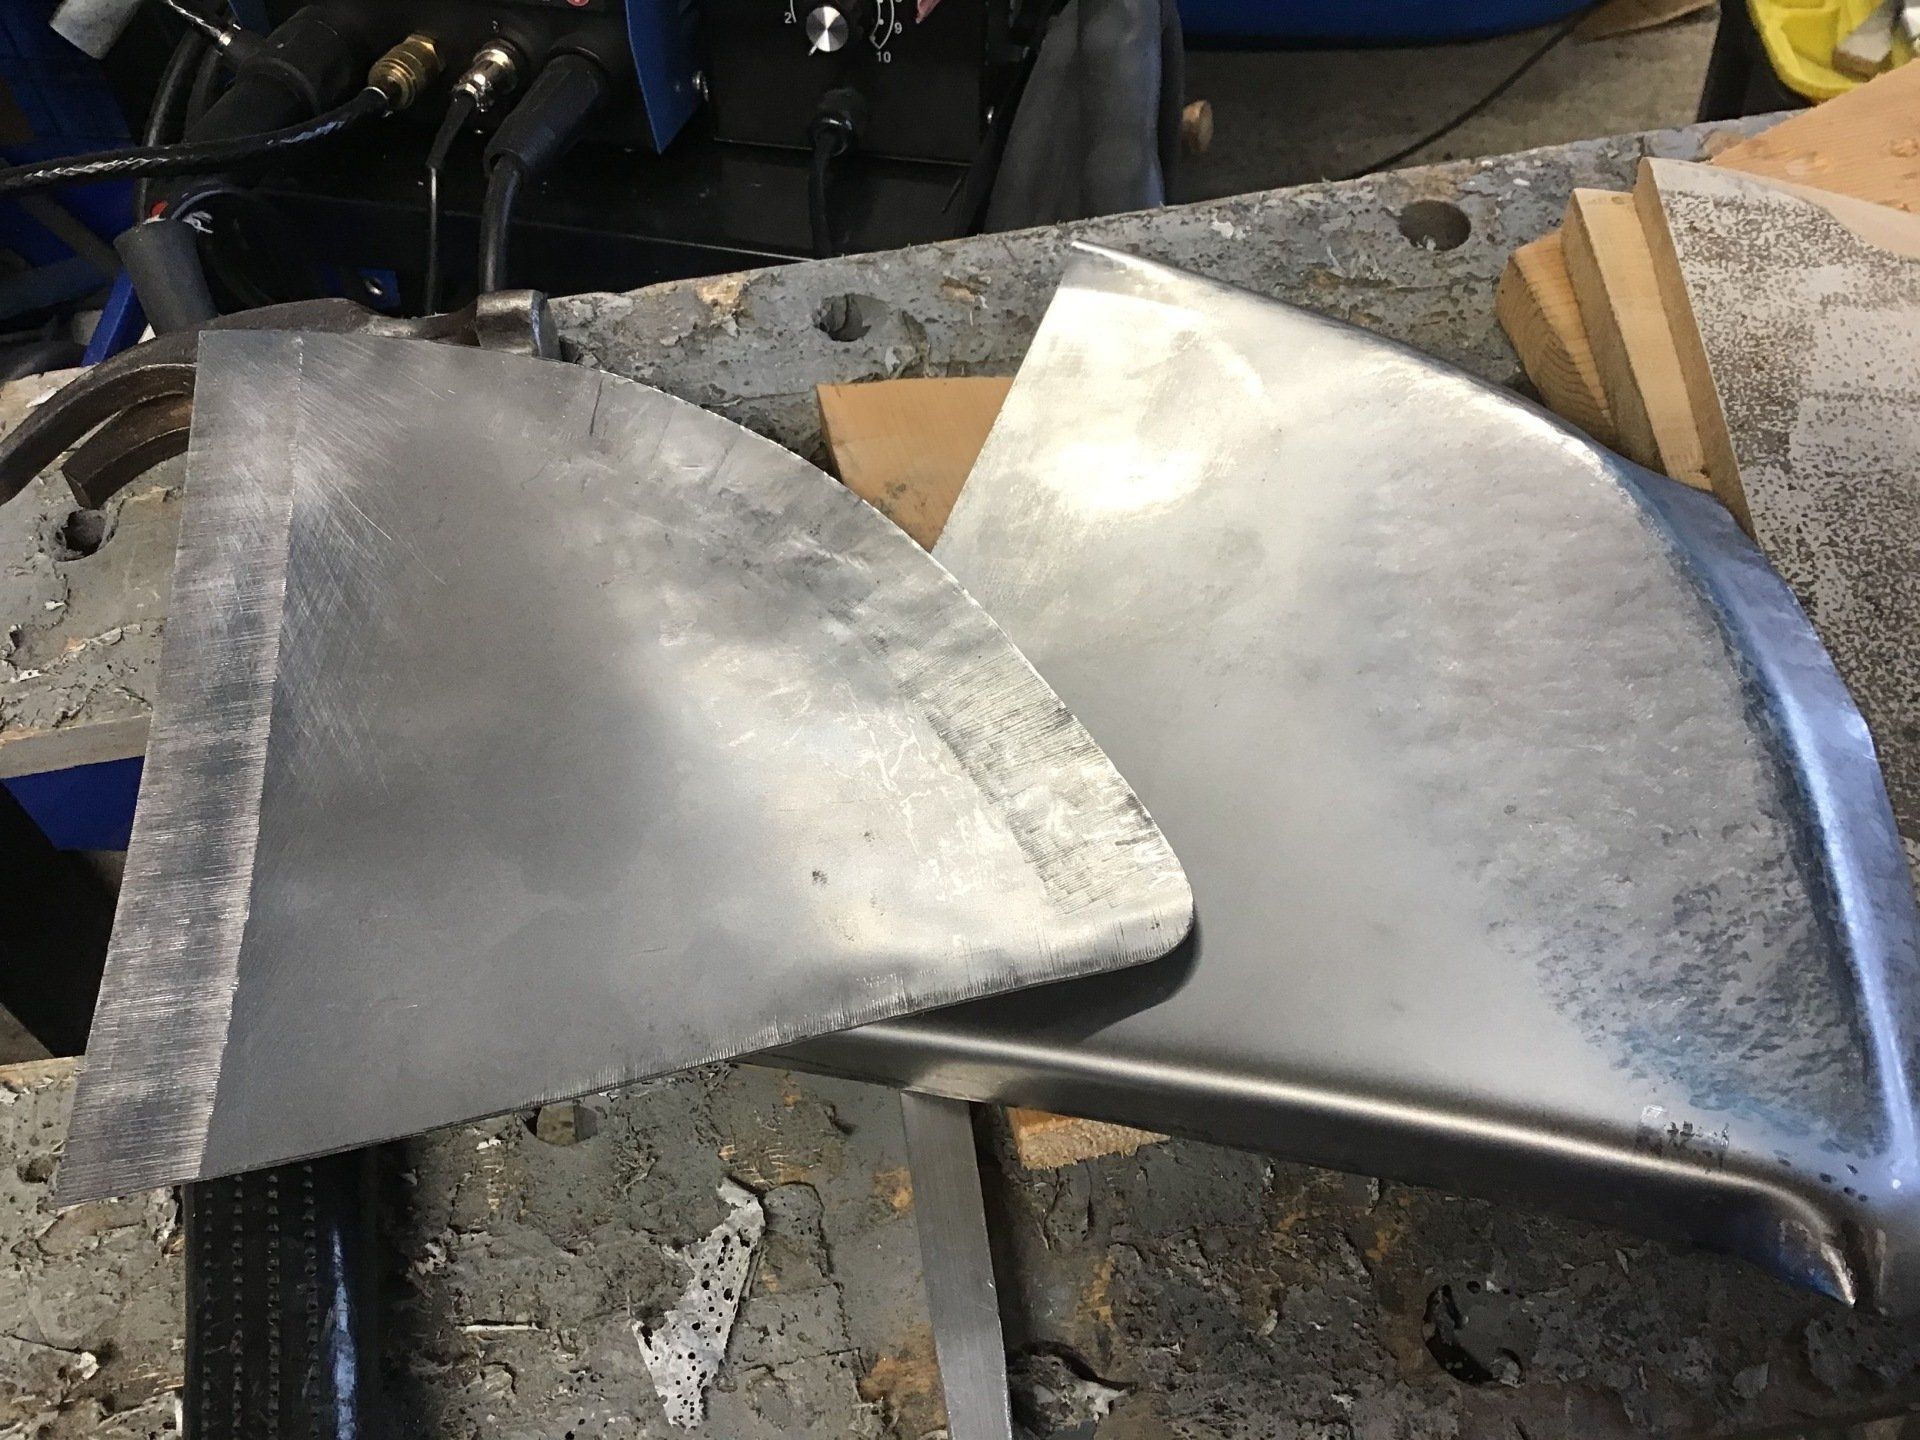
A initial trial fit shows promise, but the flange is far too wide.
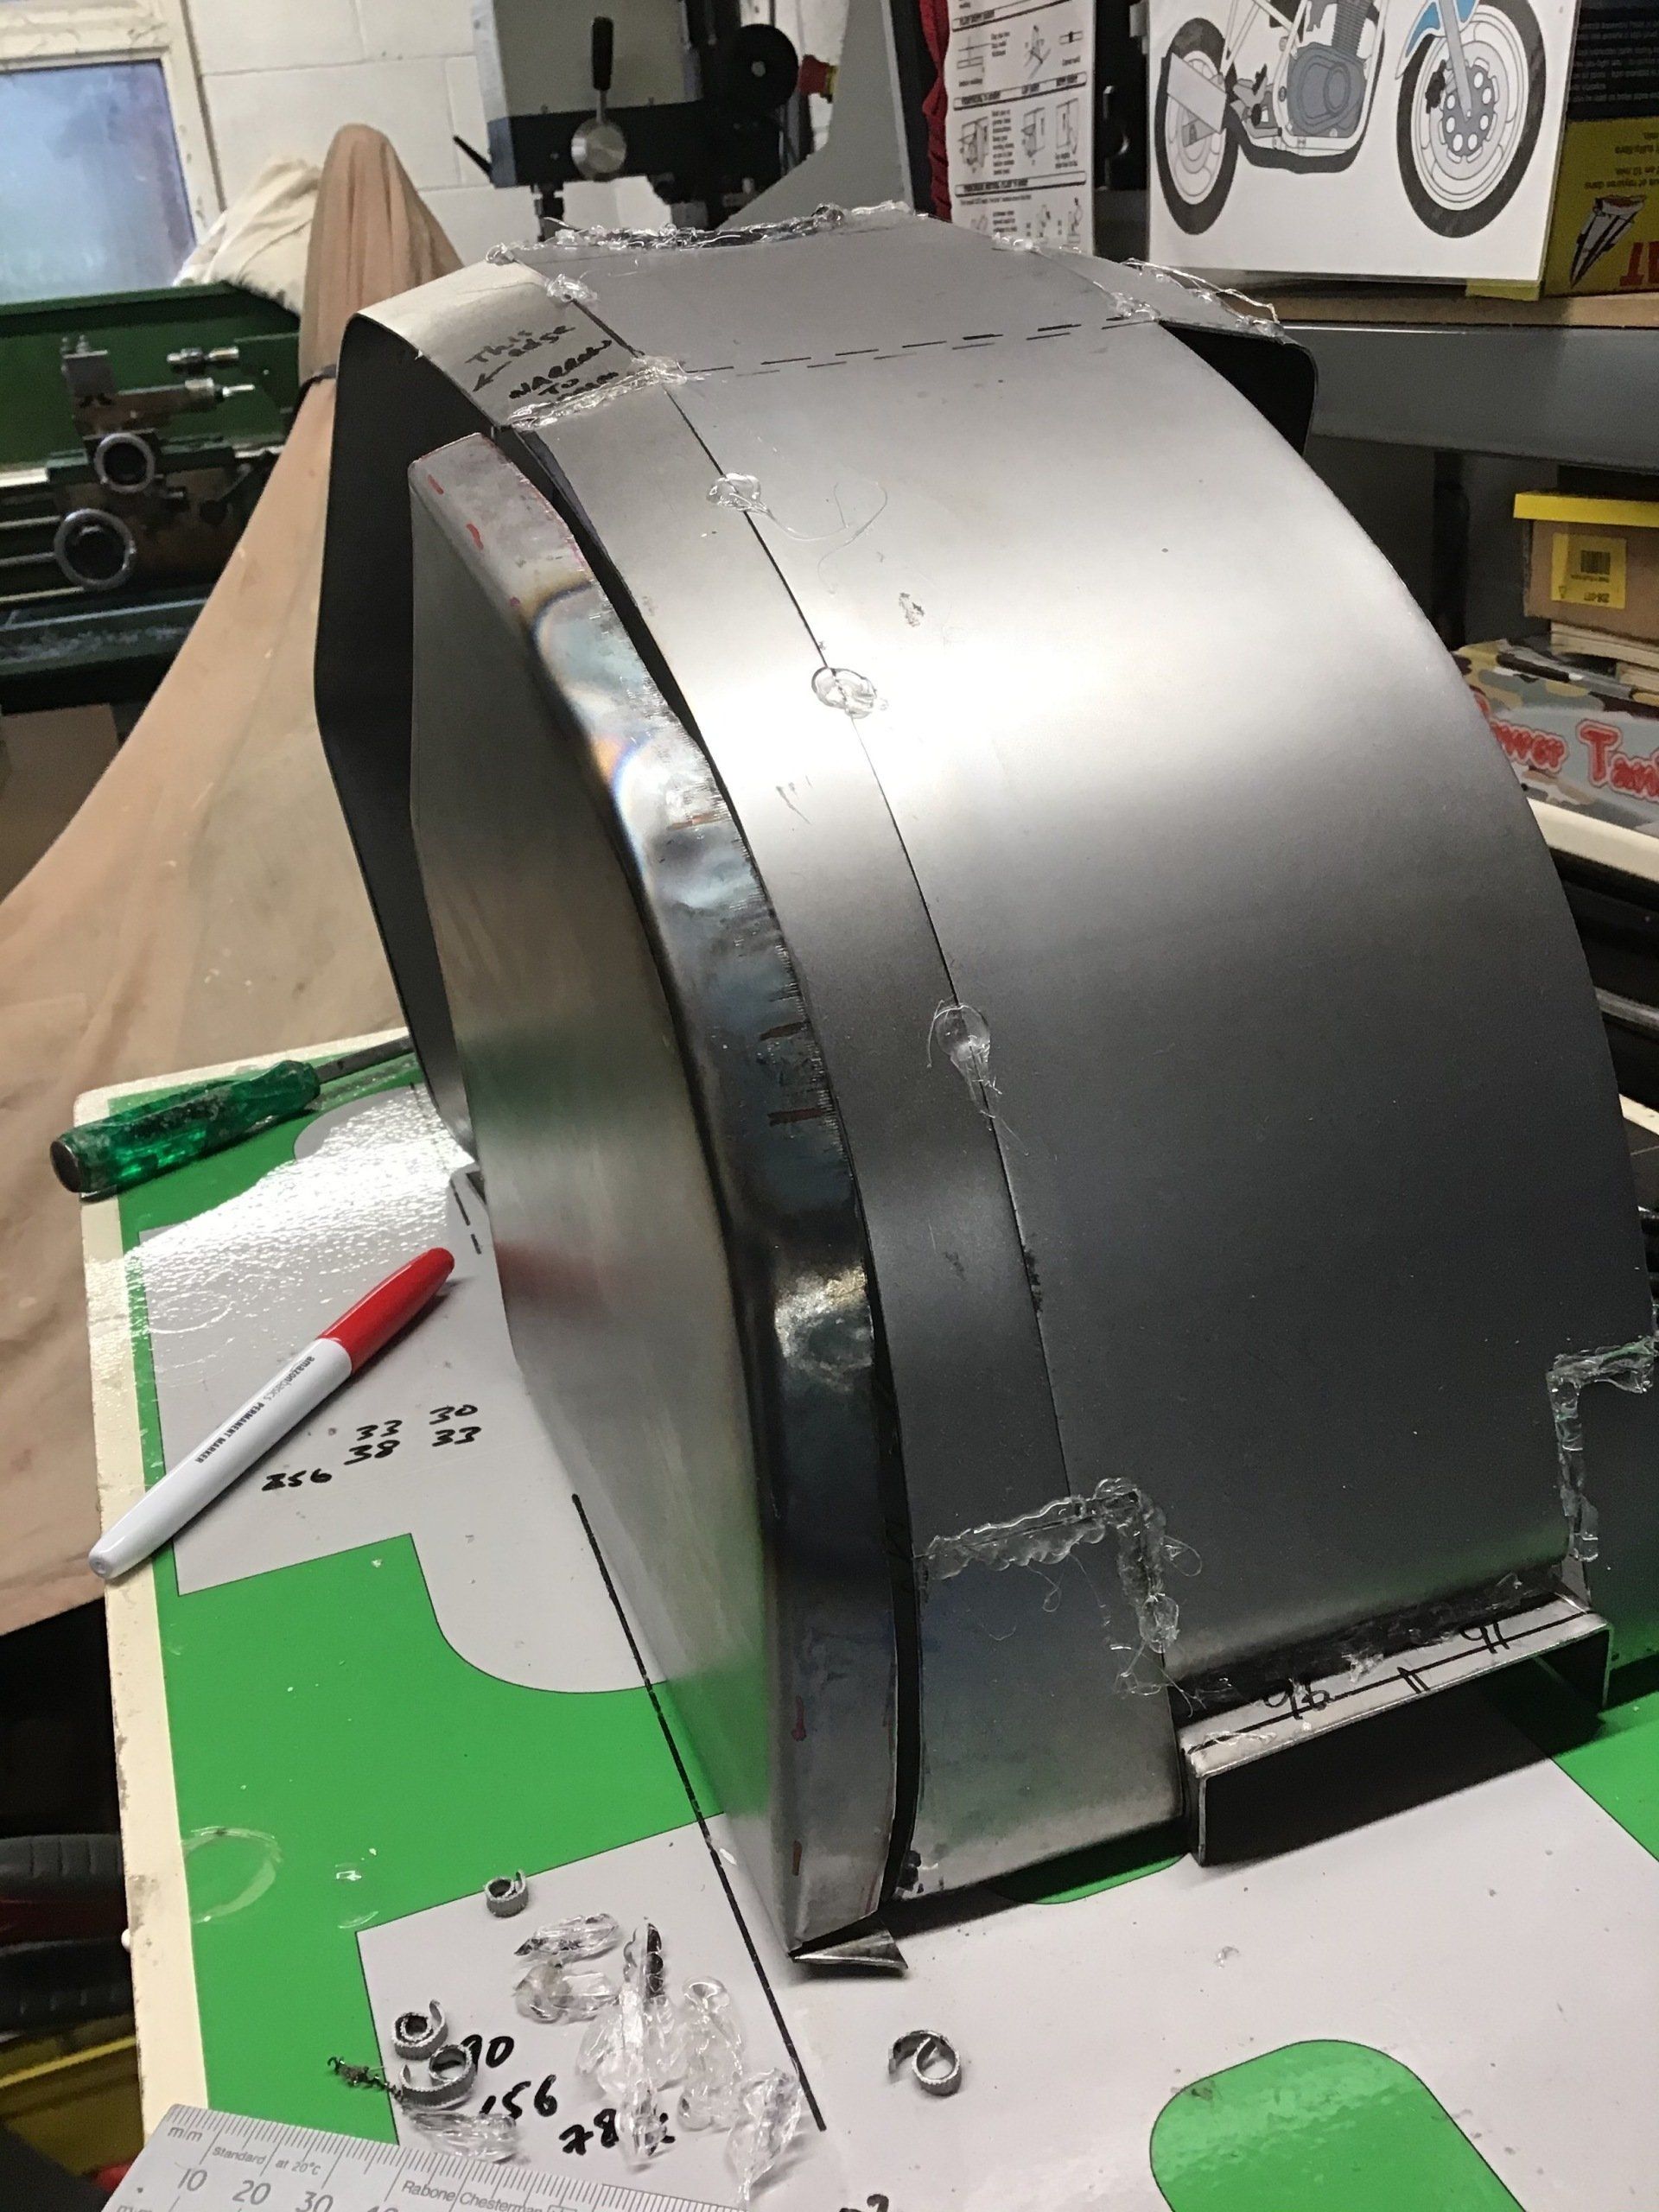
After trimming the flange and a a lot of shrinking and stretching as required, it's starting to take shape.
There we go, one tank side. Now onto the next job - trying to make the other side to match...