Monday Articles - September 2022
Scroll down for latest instalment
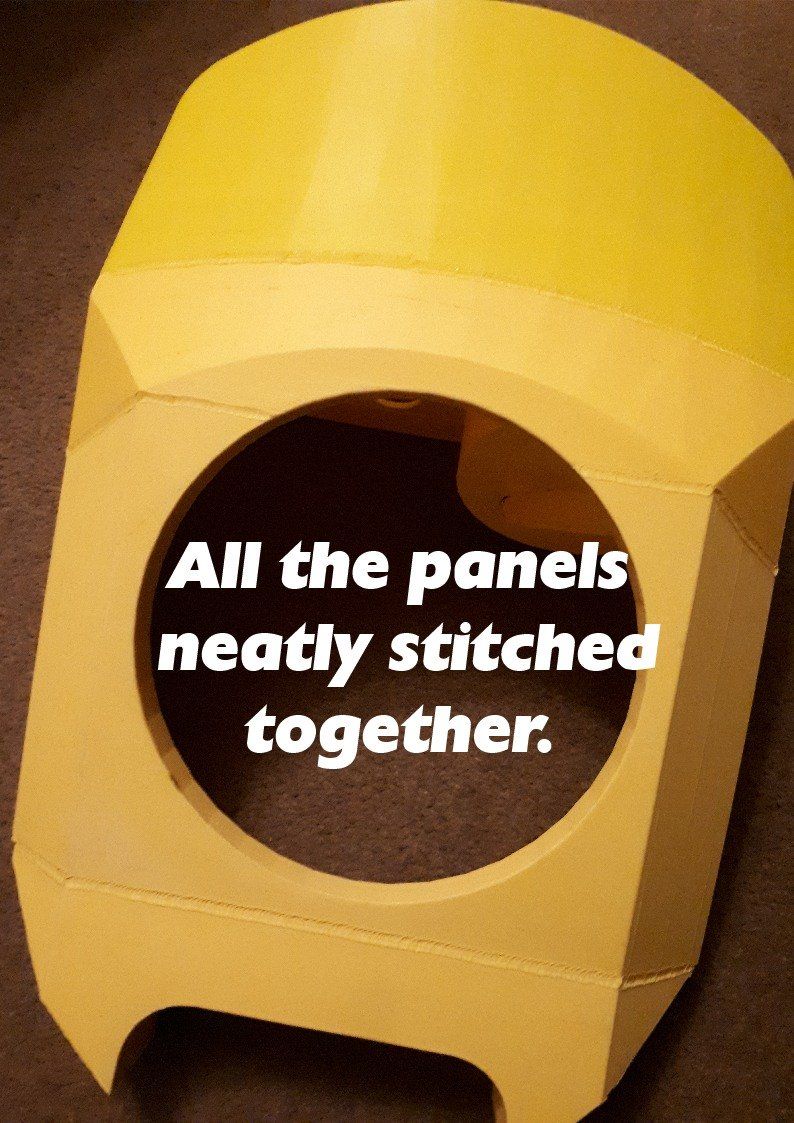
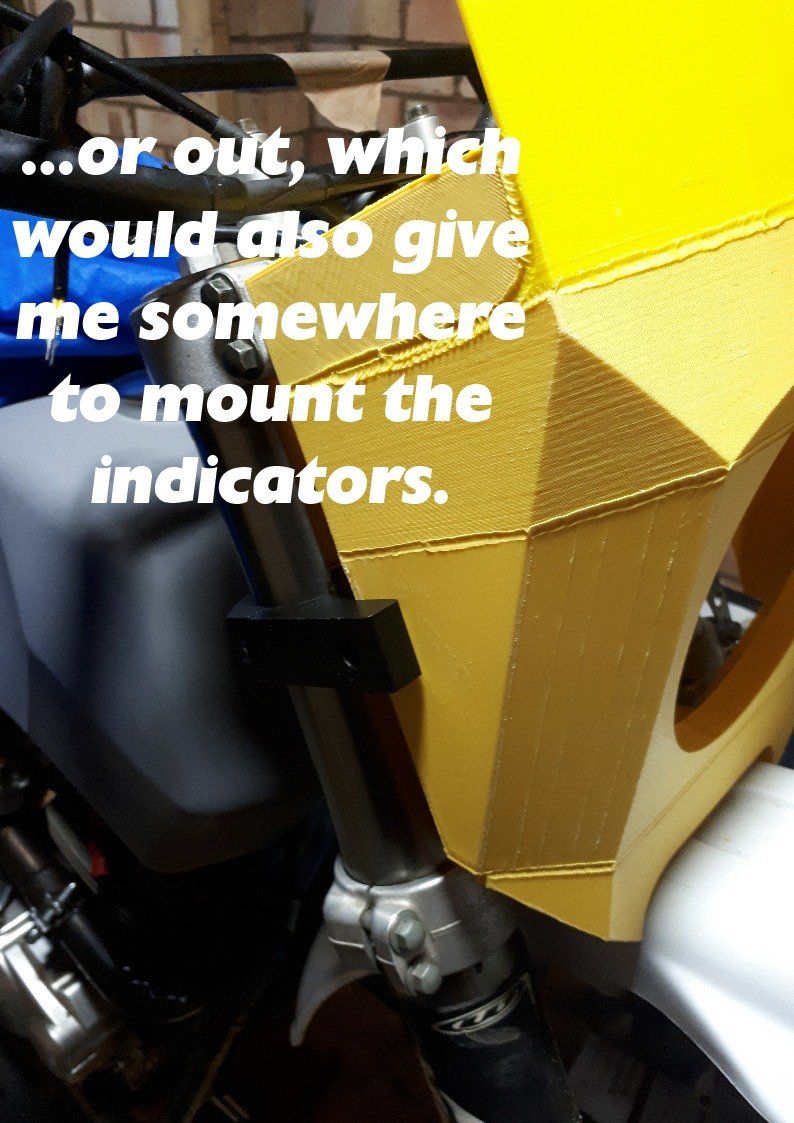
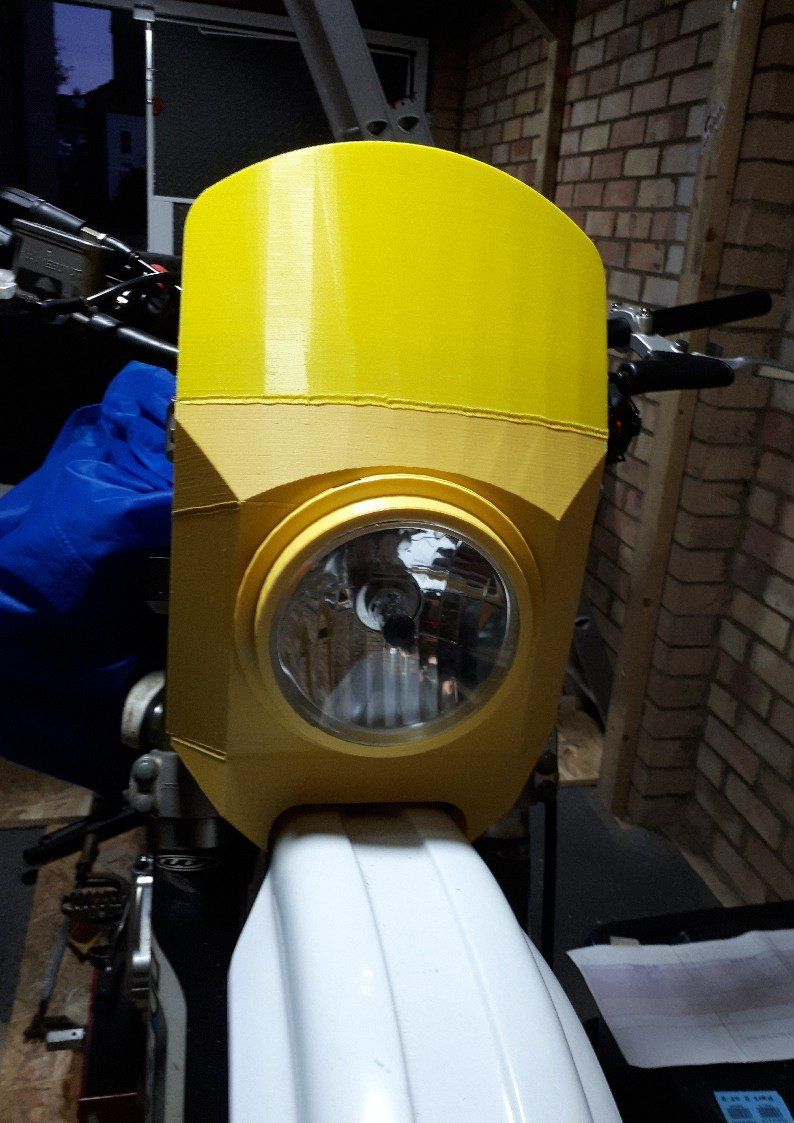
All the panels that make up the headlight cowl have been ‘stuck’ together by melting the edges where they butt up to each other. The result is surprisingly rigid.
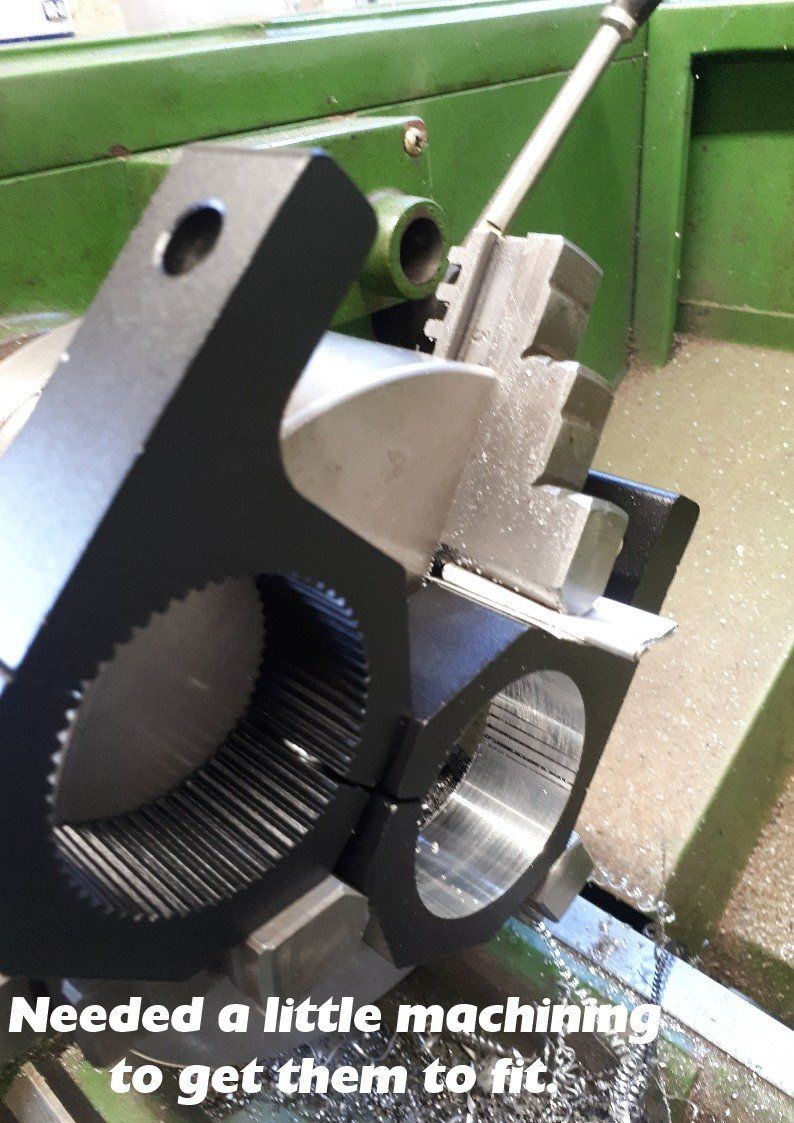
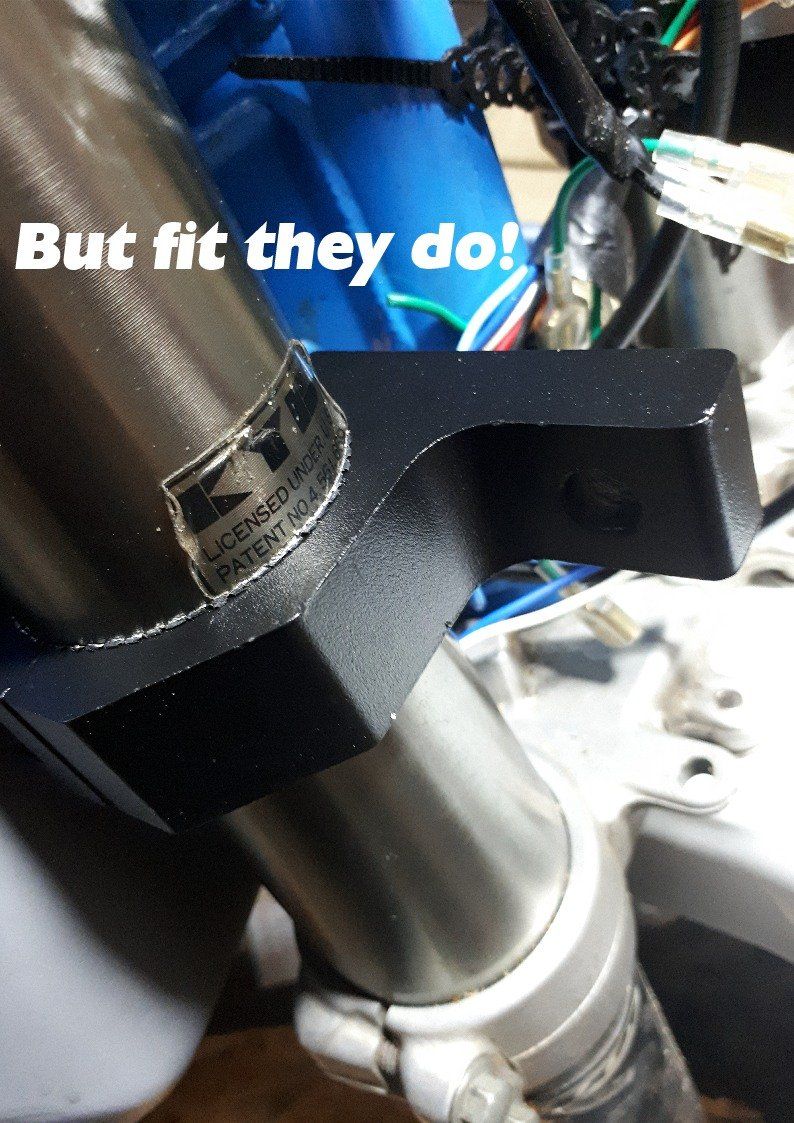
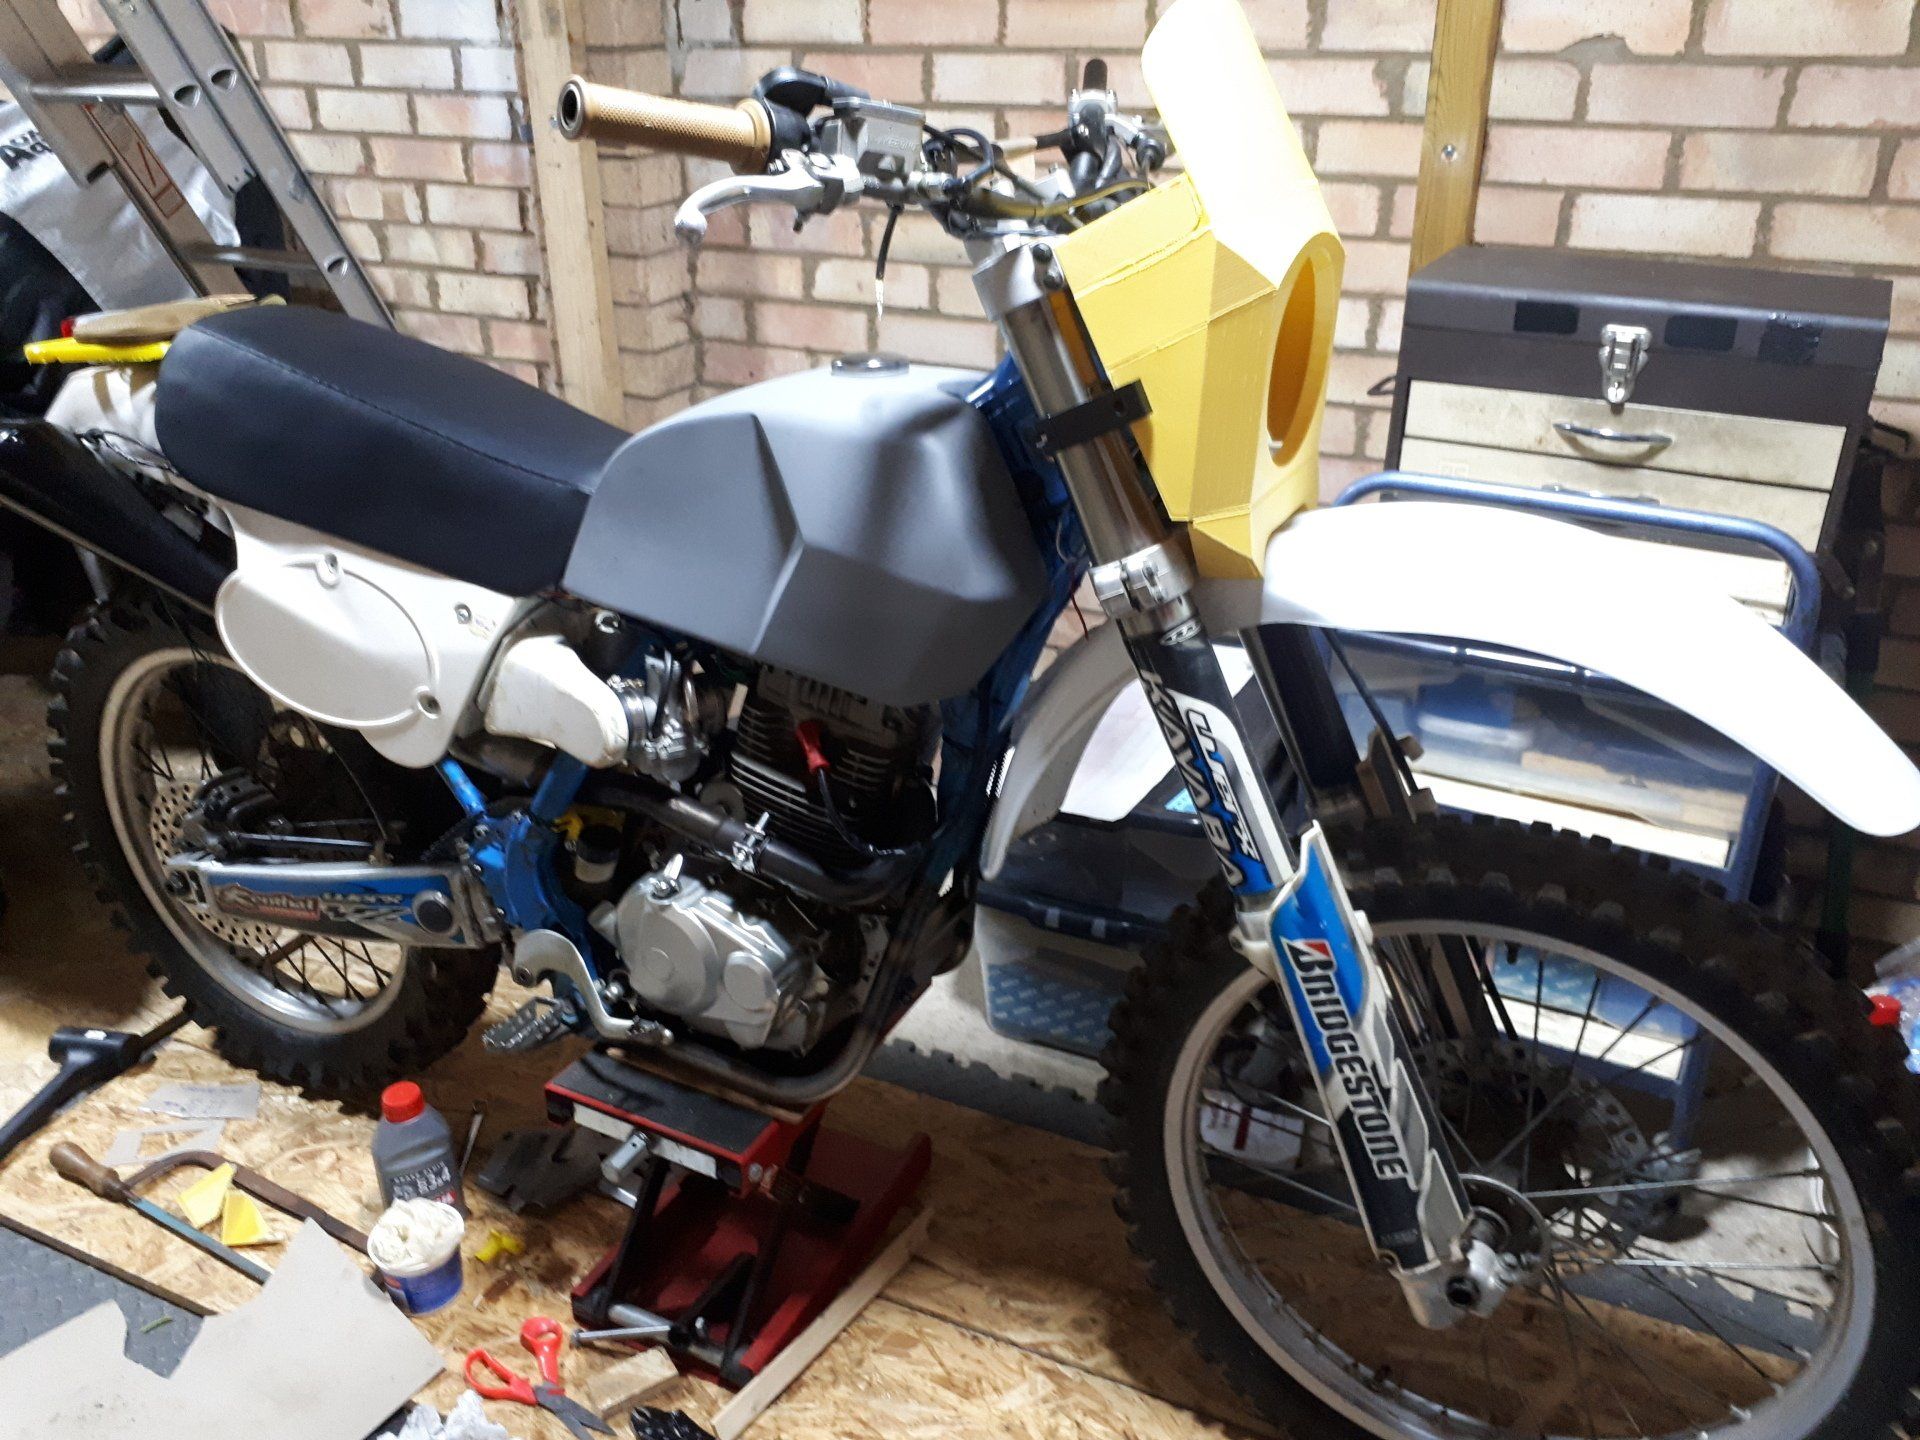
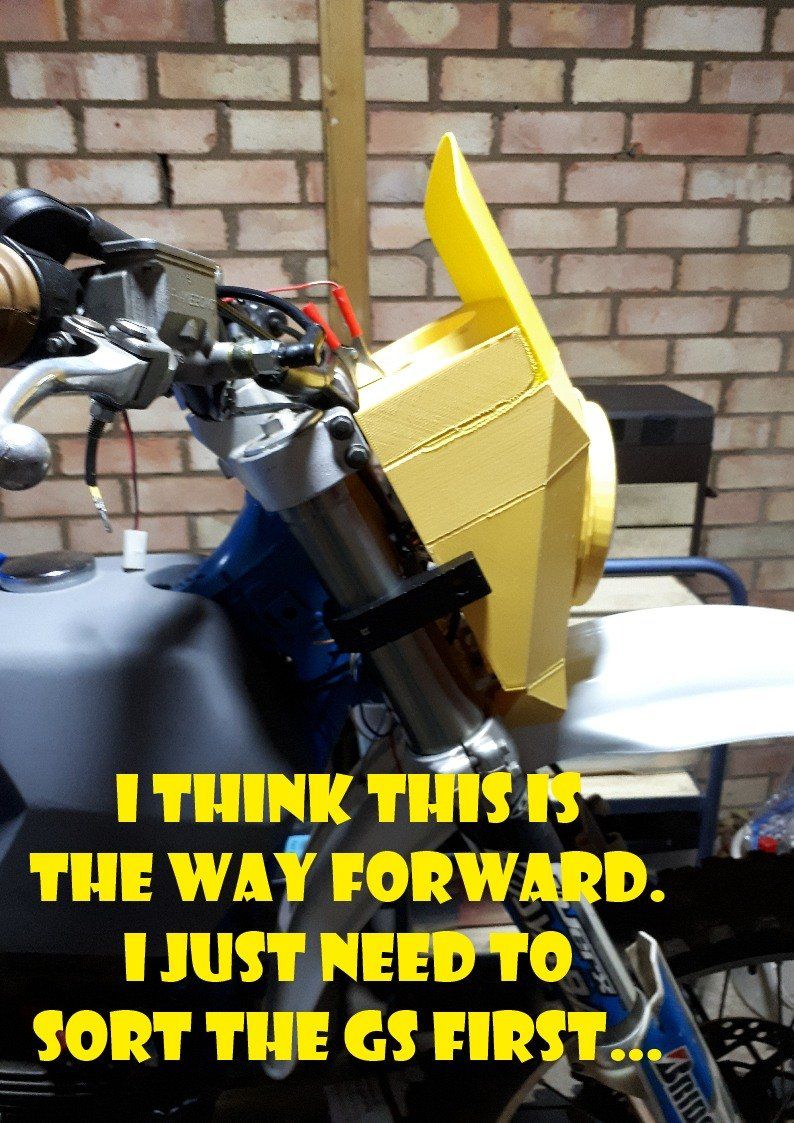
The next problem to solve is mounting the thing to the bike. I spent some time on Amazon and Ebay looking for inspiration and eventually found these split clamps. They’re intended to be used for mounting extra lights etc. on the bull bars of 4 x 4 vehicles. They come with rubber insets for different sized bars, but with the rubber bits removed they should fit a 50mm diameter bar. That’s still not big enough for this application as the forks are 53mm diameter so they had a little spin on the lathe to get them the right size. These are cast aluminium rather than machined from billet and the original hole was not perfectly round or central, which made set up for machining a little awkward in a 3 jaw chuck, but they’ve turned out okay - and they fit!
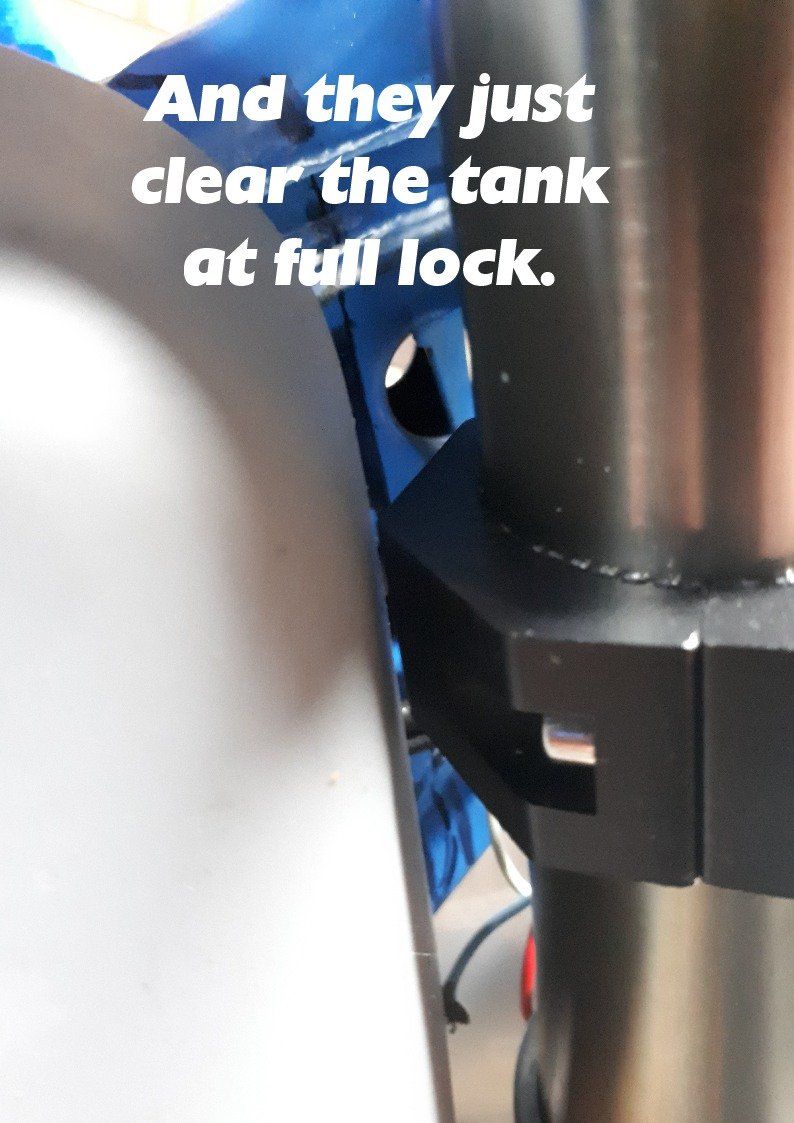
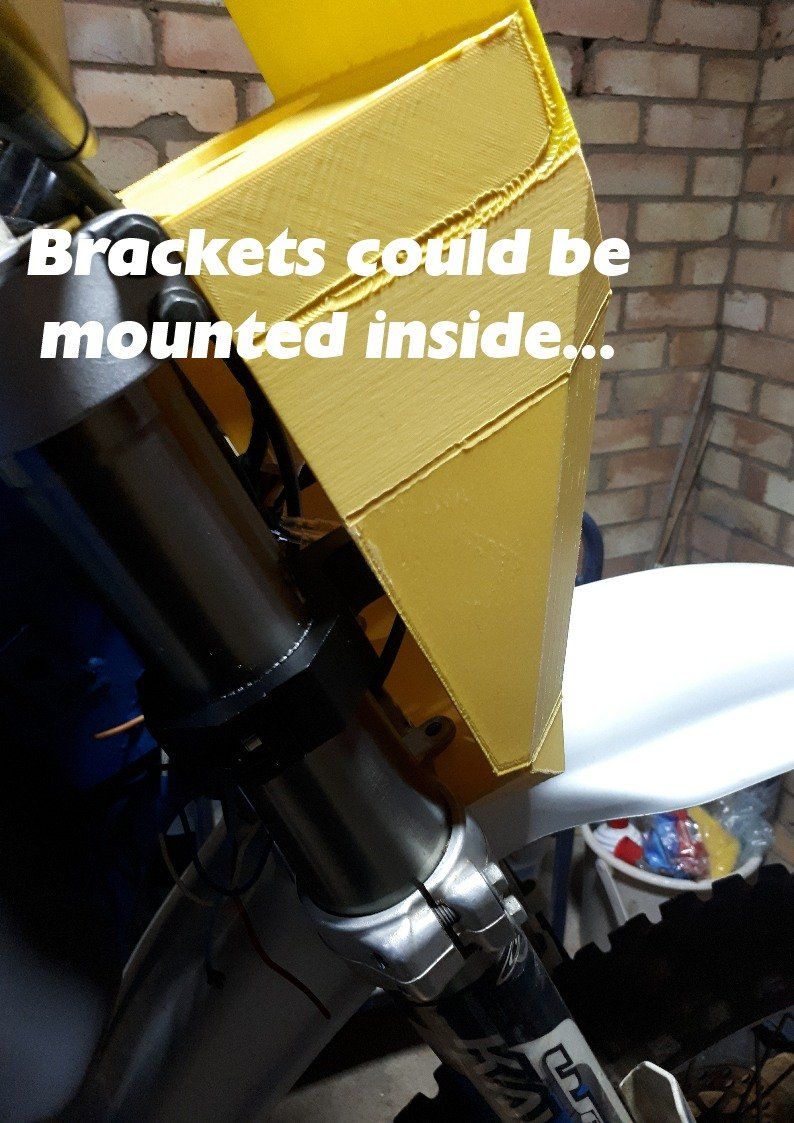
One thing I had overlooked was clearance between clamp and fuel tank on full lock. They don’t hit, but the gap is quite small so that may get attacked with the file to increase the clearance. They could be set up either inside or outside the headlight cowl. I favour outside as there is also room on the clamps to accommodate the indicators in that configuration.
I need to design and make a support bracket to go inside the cowl to hold the headlight (and allow its aim to be adjusted) then the complete cowl / headlight assembly can be mounted onto the clamps.

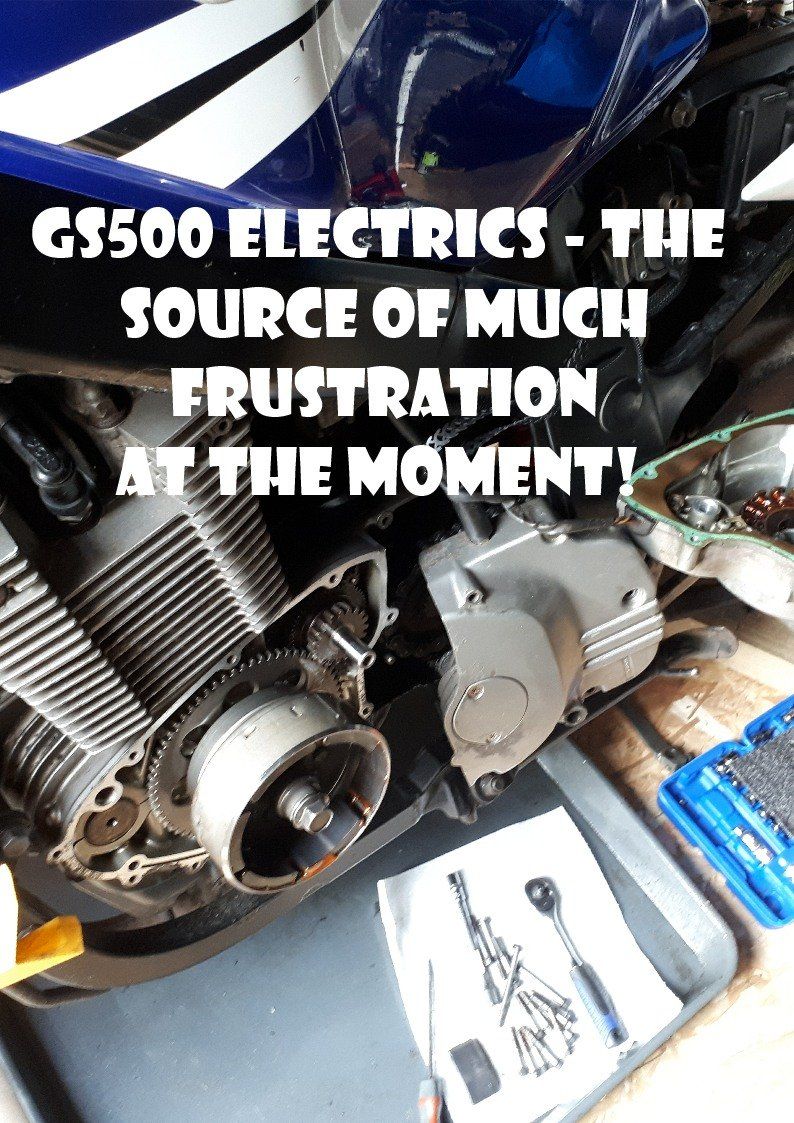
Once again progress is slowed, this time by electrical issues that need solving on the rusty, but not at this moment trusty, GS500.
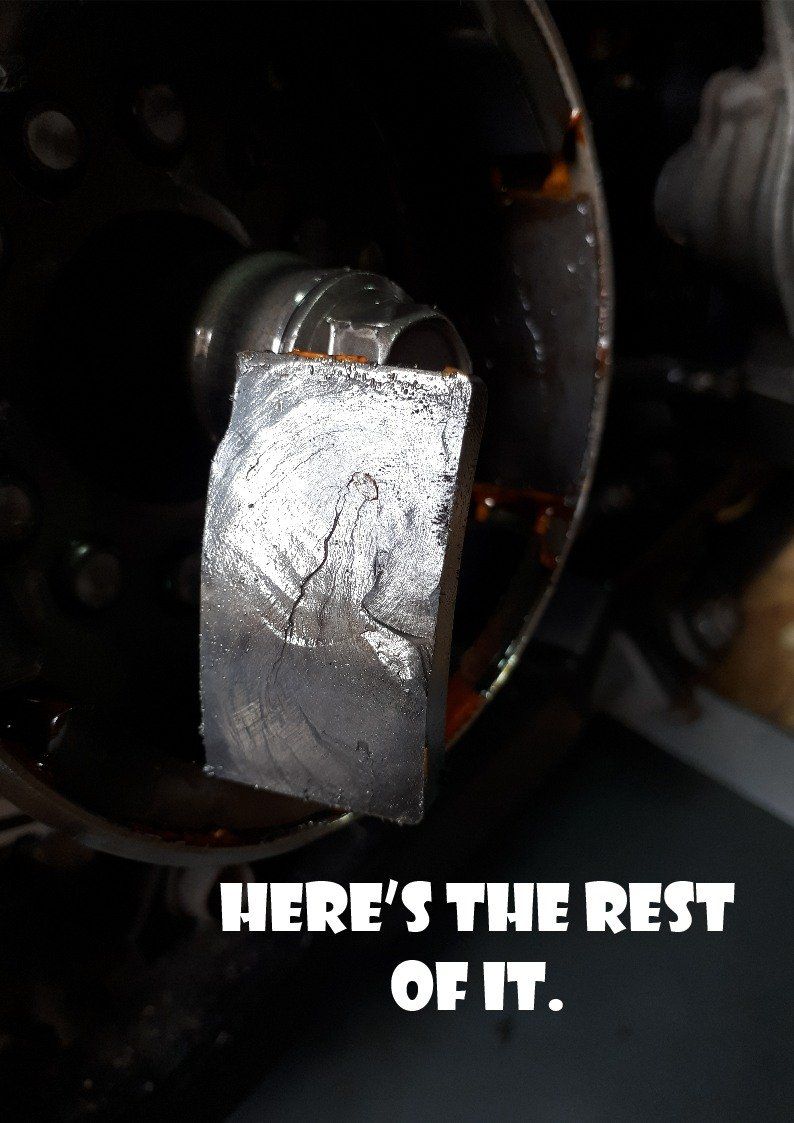
It’s one of those electrical faults where everything seems to work okay right up until the time when it doesn’t. And then, after a little rest, it’s all happy again. It’s making fault finding very frustrating! The battery’s good (I bought a new one). The reg / rec seems okay (I had a spare). The generator output voltage is a little low compared to book values, but not excessively so. Anyway, I’ve pulled the stator off to find that there is a loose magnet on the rotor. That will need sorting although I’m not convinced that it’s the source of the problem since it was still in the correct place. It’s an interesting one too. Usually the magnets come loose when the epoxy gives up, but it’s not the case this time. No, this has actually fractured. A very thin sliver of it is still in place on the rotor. It looks like fatigue has gradually caused a crack to propagate. Ether that or a previous owner has given it a good smack!
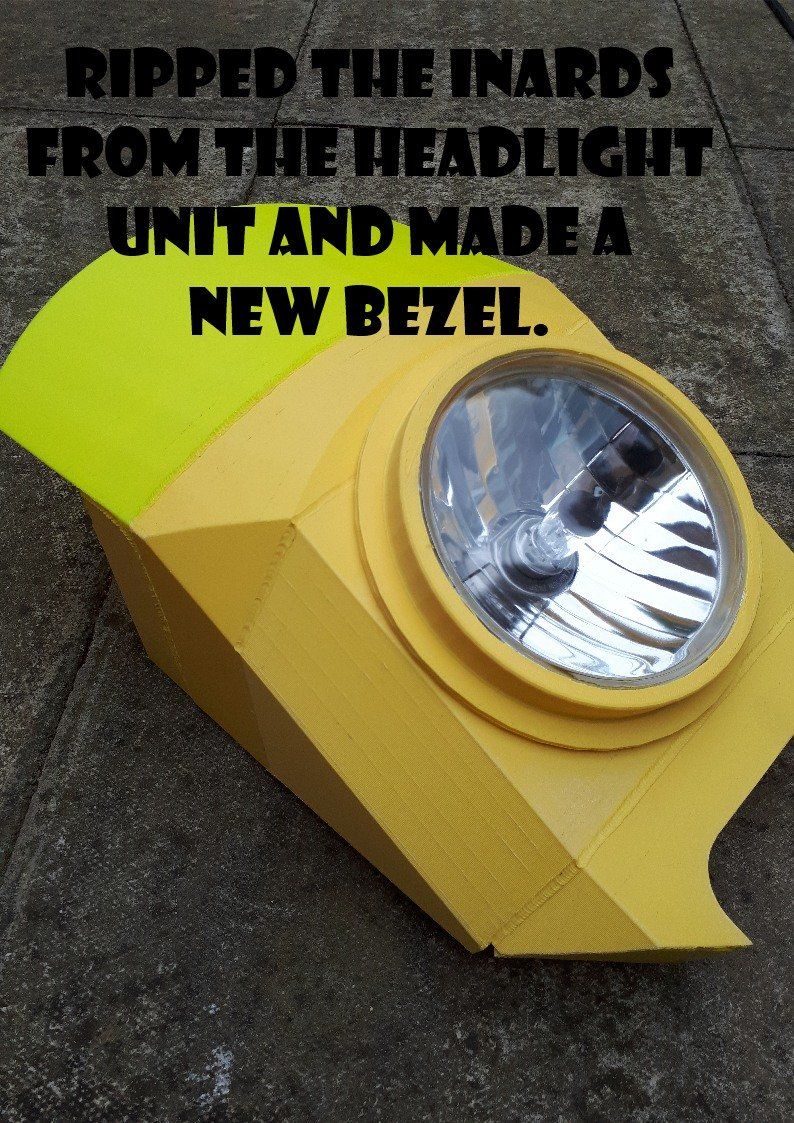
I have bits of an old engine complete with rotor and stator so some substitution tests will be taking place, but that all takes time. There has been some progress on the front cowl. I’ve taken the guts out of the headlight and made a new bezel. I think this is the way to go, if only I could get cracking on it without other interruptions…

I’m cautiously optimistic that the electrical gremlins that were attacking the GS500 have now been eradicated.
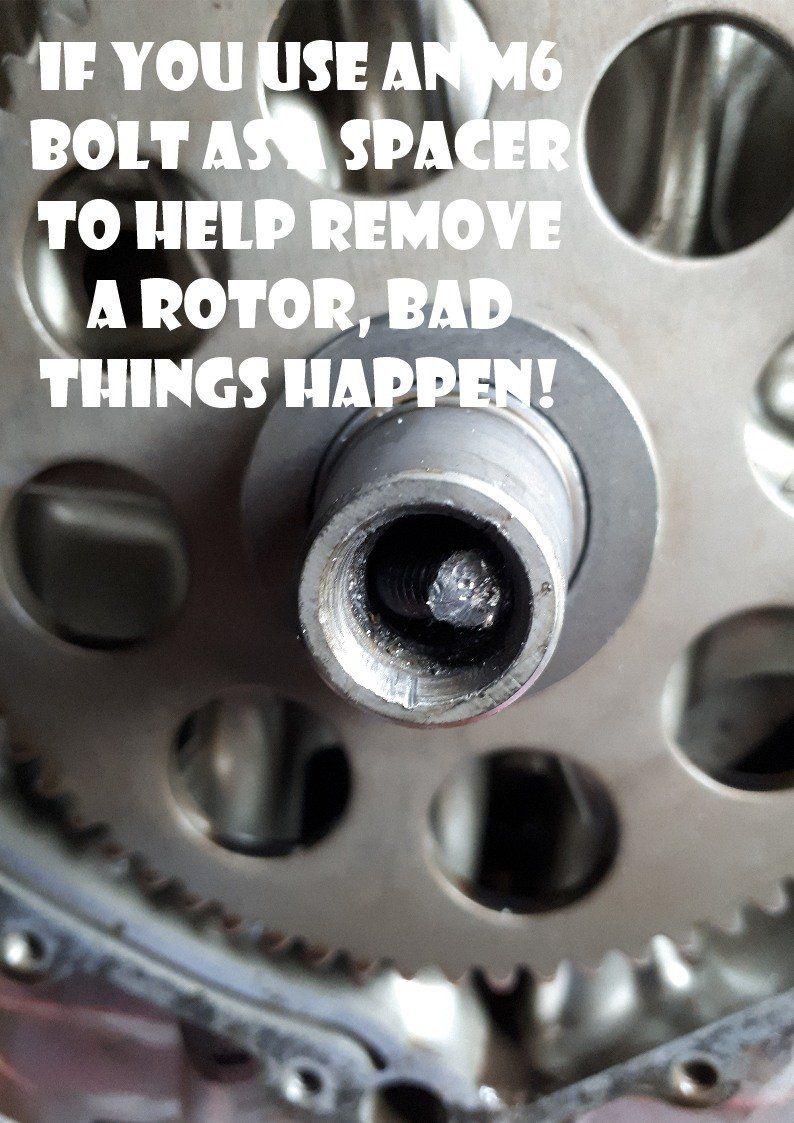
Removing the rotors off their tapers was slightly stressful. For the first one I used an M6 bolt as a spacer to help jack the rotor off. This was a bad idea. The rotor came off, but the M6 bolt was left jammed in the end of the crankshaft. As this was the scrap motor, it didn’t really matter, but it bugged me so it had to be removed.
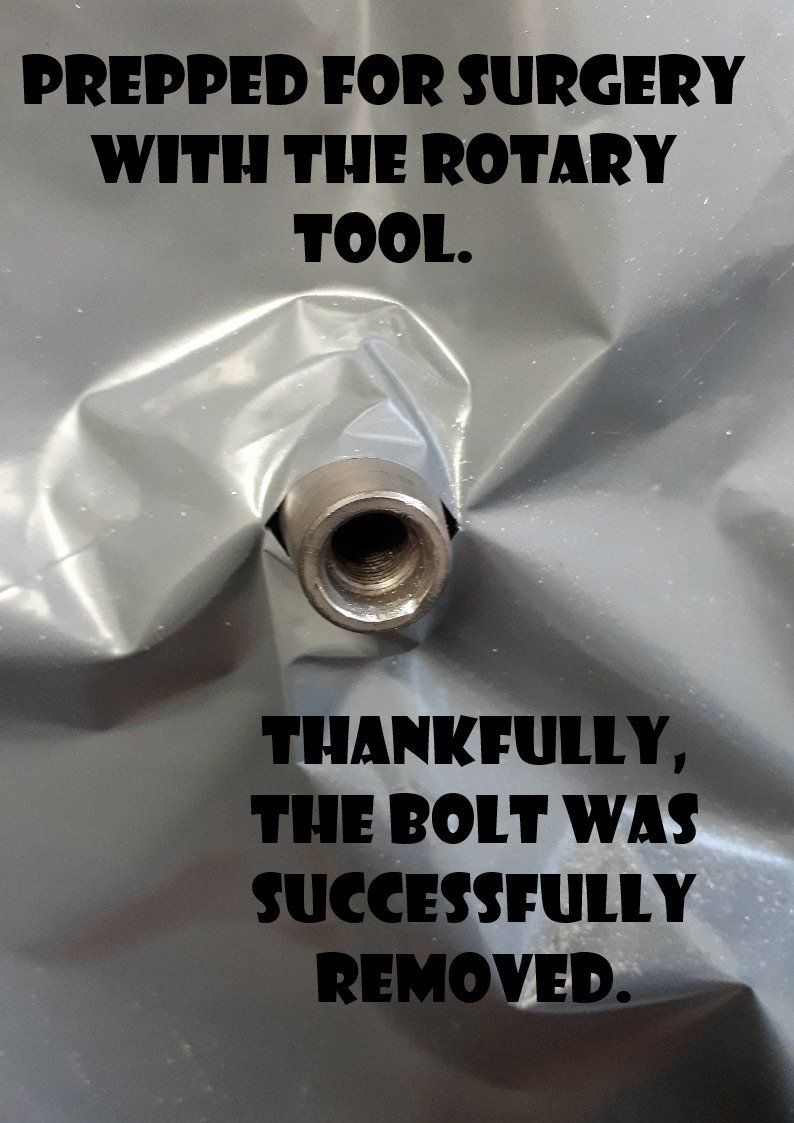
Careful application of a carbide burr in a rotary tool allowed it to eventually be extracted without damage to the thread in the crankshaft end.
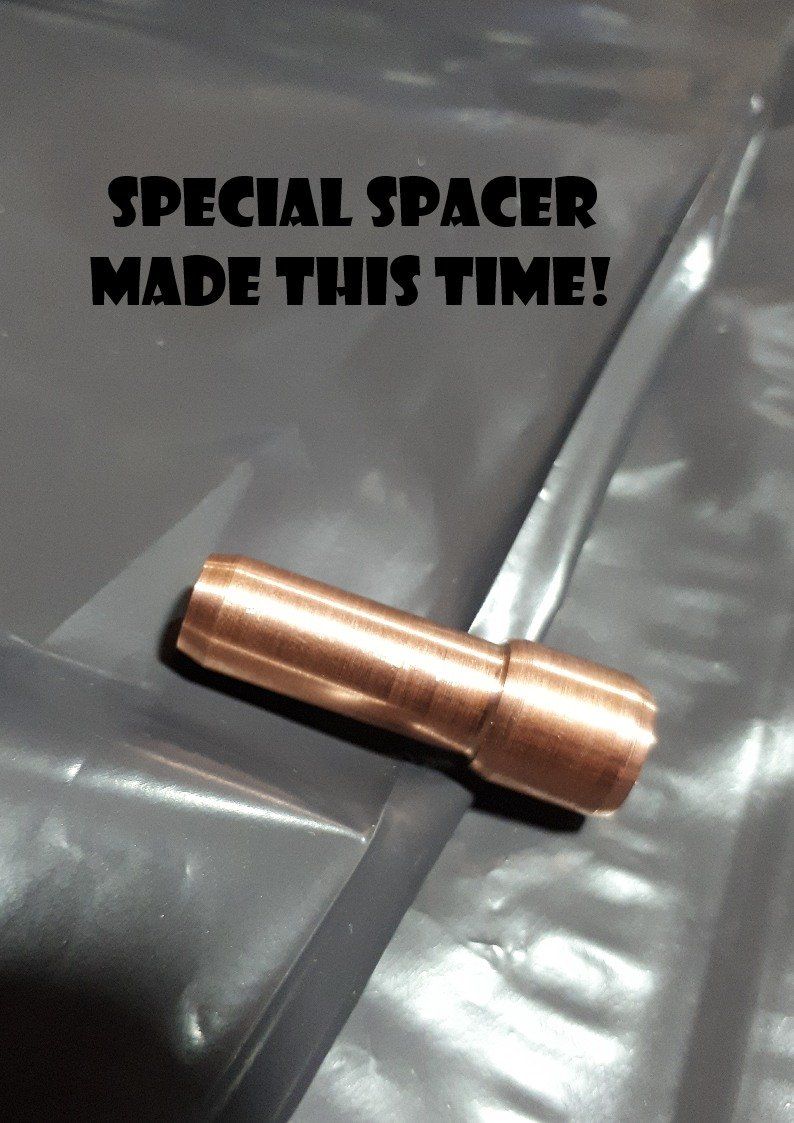
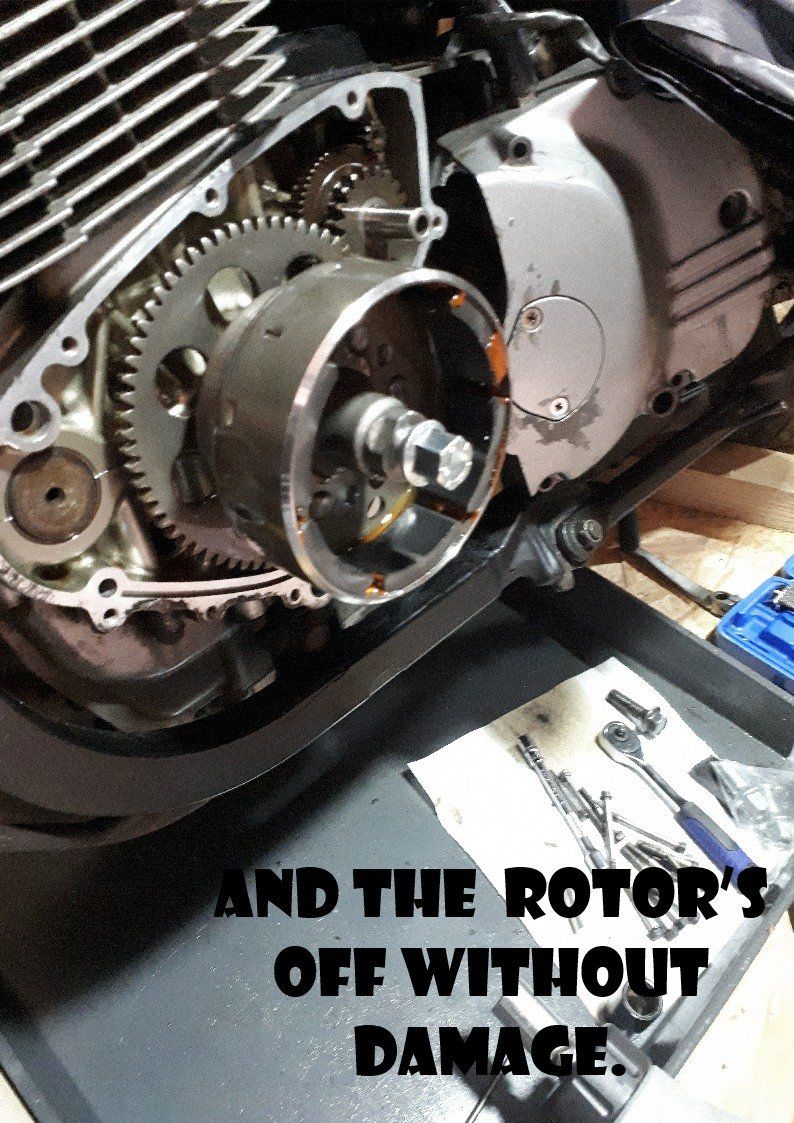
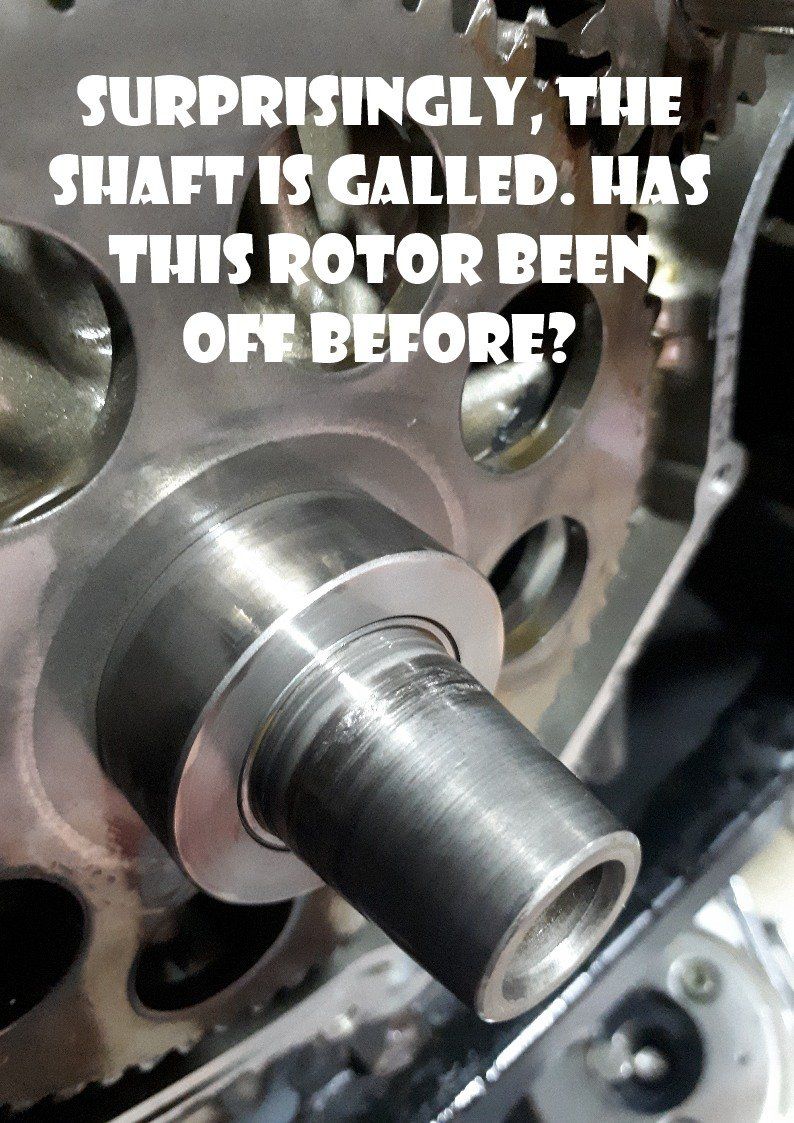
I didn’t want to repeat that slight cock-up on the good engine, so this time I made a copper spacer to do the job, and with the help of an impact wrench, the damaged rotor was removed without too much stress. Removing the rotor revealed a couple of things. The starter clutch that bolts to the rotor was loose (a common GS500 fault) and the crankshaft taper wass slightly galled. Not really sure what caused that, but it cleaned up okay with some emery cloth.
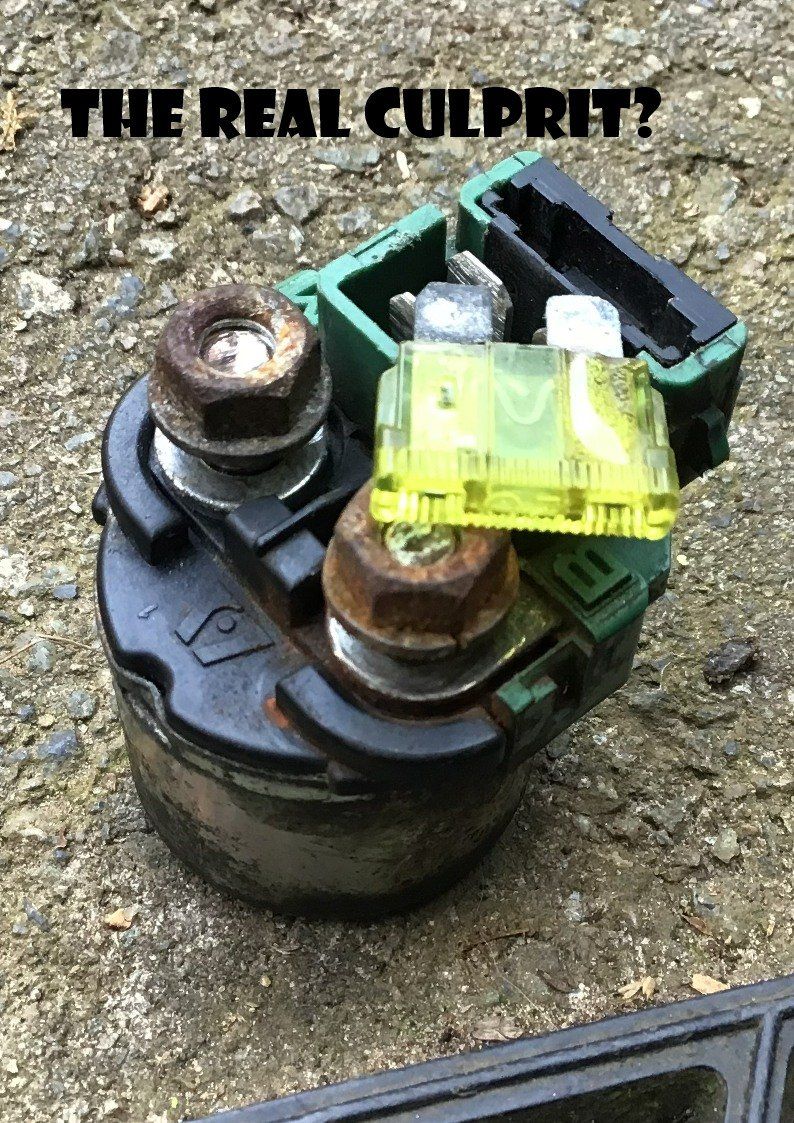
With the new rotor on (complete with firmly bolted on starter clutch) and all the wiring connected up again, I fired the bike up to find that (disappointingly!) it still wasn’t charging the battery. Time for another think. Studying the wiring diagram for a while prompted me to check the main fuse. (Perhaps I should have started there!) This wasn’t blown, but the contacts were badly corroded and you could see that things had been getting hot. A new fuse and cleaning up the contacts of the starter solenoid/fuse module still didn’t restore proper continuity, but my spares box yielded one that was slightly better. With this in place, the bike fired up and the battery was charging! That solenoid unit will now be replaced with a shiny new one and hopefully we’ll have no further trouble, at least for a while…
Potentially, then, work on the project bike could now restart.