Workshop Blog - October 2022
In my excitement at actually being able to work on the dirt bike project, I didn’t really do enough thinking before I started with the fibreglass work…
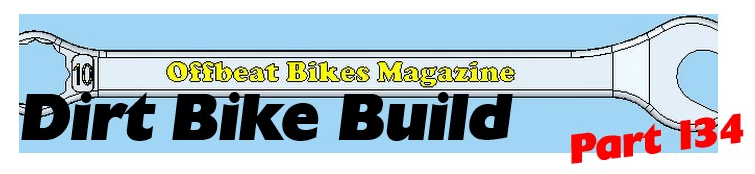
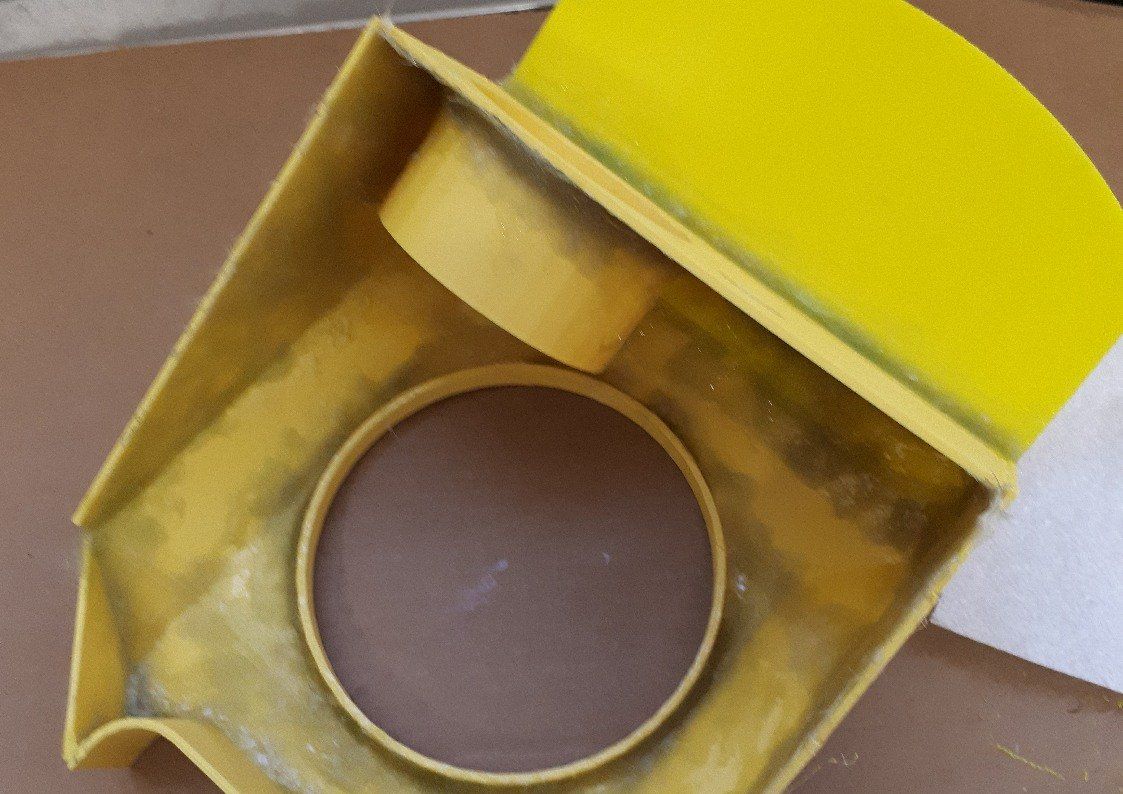
The intention is to reinforce the 3D printed headlight cowl, rear rack and tail light by adding some fibreglass. I’ve done this before on a much simpler front cowl that graces the front of the GS500. That was a simple 3D print encased by a couple of layers of surface tissue and a skim of car bodyfiller to smooth things out. It’s been on the bike for the best part of 18 months without issue, so I’d planned to do similar again. But, there’s a little nagging doubt that makes me feel that this project needs to be more robust and so perhaps I ought to use a proper layer of chopped strand mat as well as the surface tissue. I still haven’t made up my mind.
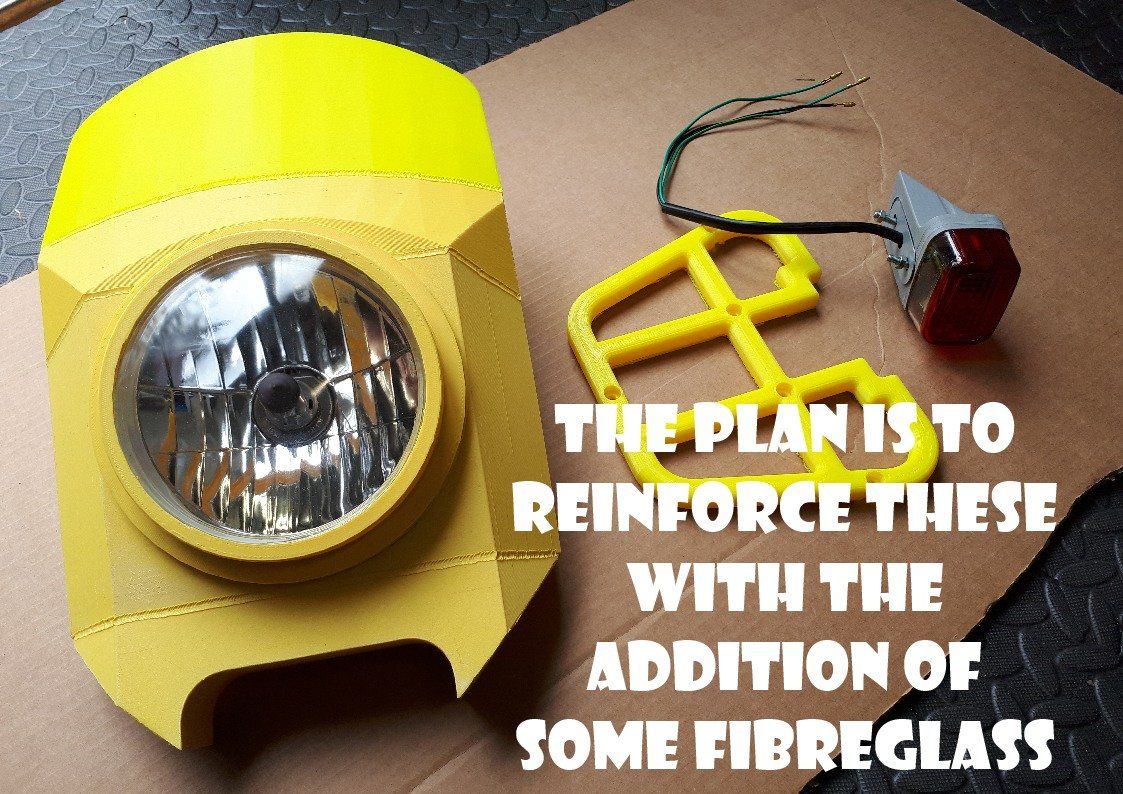
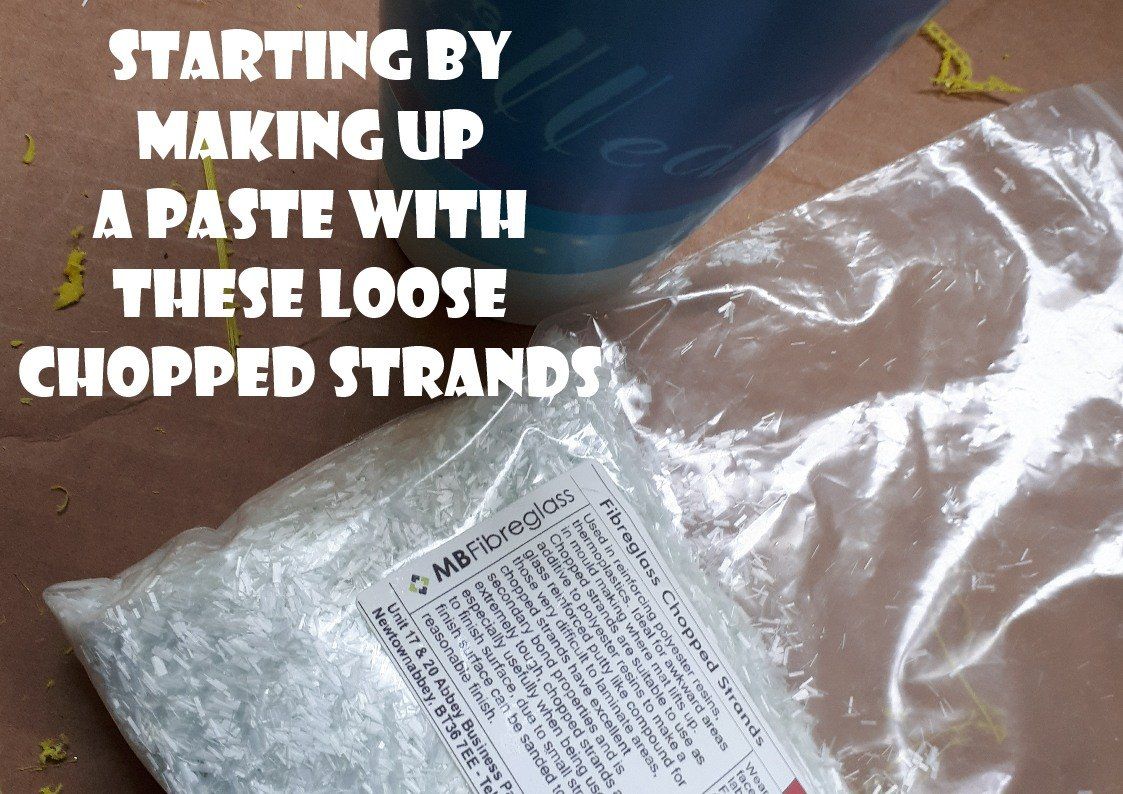
While I was pondering that, I decided to start reinforcing the back of the headlight cowl. It’s a good place to start since it won’t really be seen and so any cock-ups that I make as I get used to using fibreglass again will be hidden away. I decided to make up a fibreglass paste using some short fibre strands and use this to beef up the joins and inside corners of the cowl.
The fibreglass resin that I have is old and has gone a little thick. I thought this would be perfect for this job as it wouldn’t sag. In reality, it was too sticky, and it would much rather have stuck to the tools I was trying to apply it with than the cowl, but I persevered and eventually managed to get it somewhere near where I wanted it. I couldn’t get it everywhere that I intended as some areas (notably behind the speedo mount) were impossible to get to - should have thought about that during the design stage. I also used the paste to reinforce some of the flatter seams / joins and this is the another bit that I should have thought about more. In retrospect, some strips of chopped strand fibreglass mat would have been a much better choice. So I need to think a bit more about how I’m going to proceed with these, especially when it comes to the intricately shaped rack and tail light.

The time I had available for project work this week has been spent adding fibreglass to the front cowl.
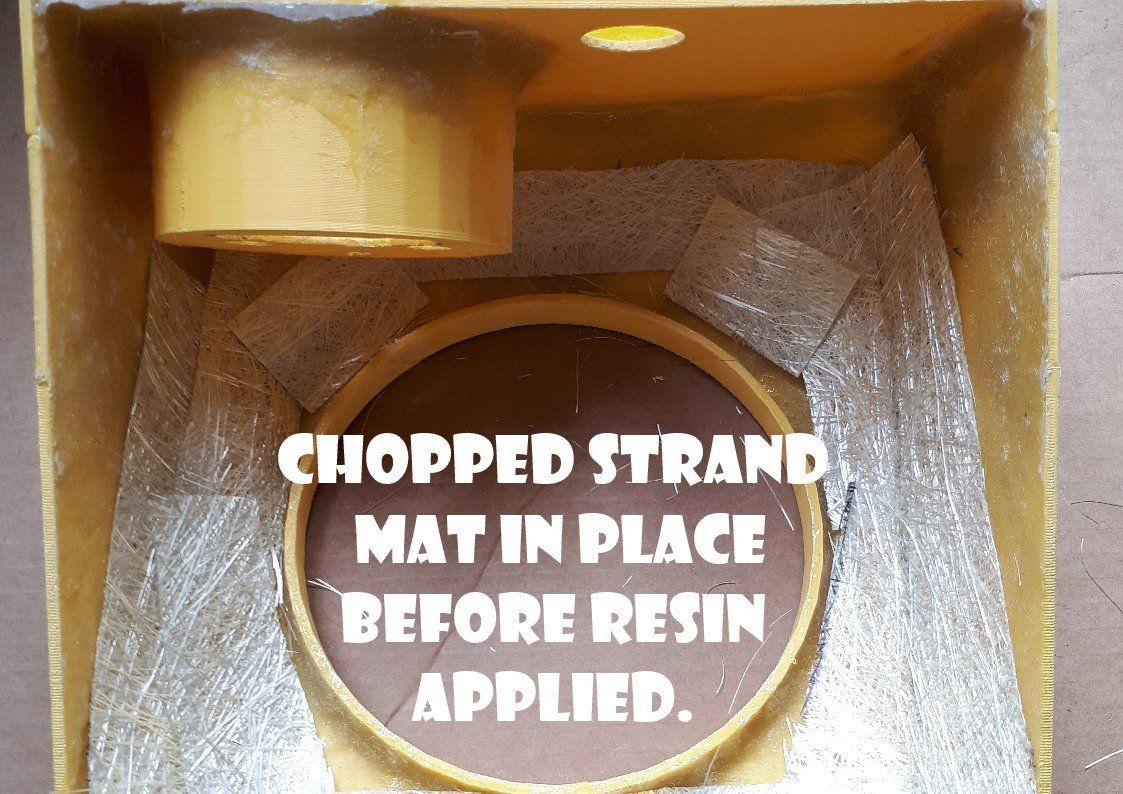
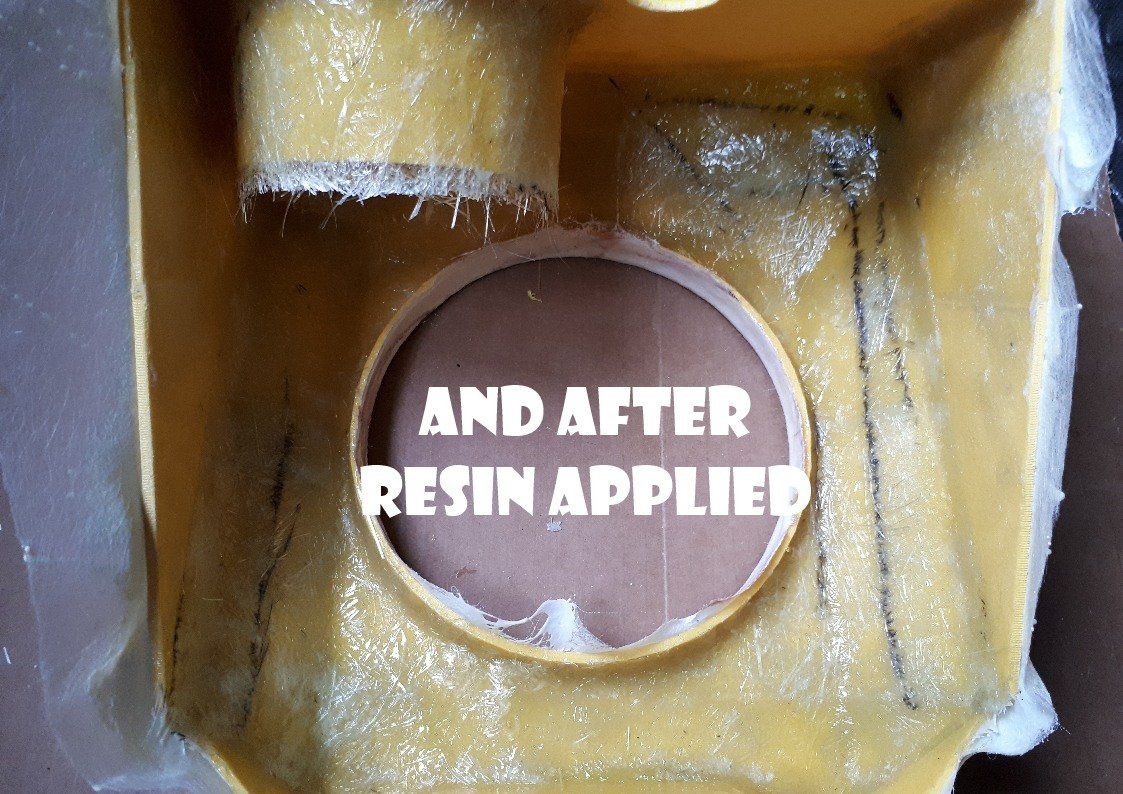
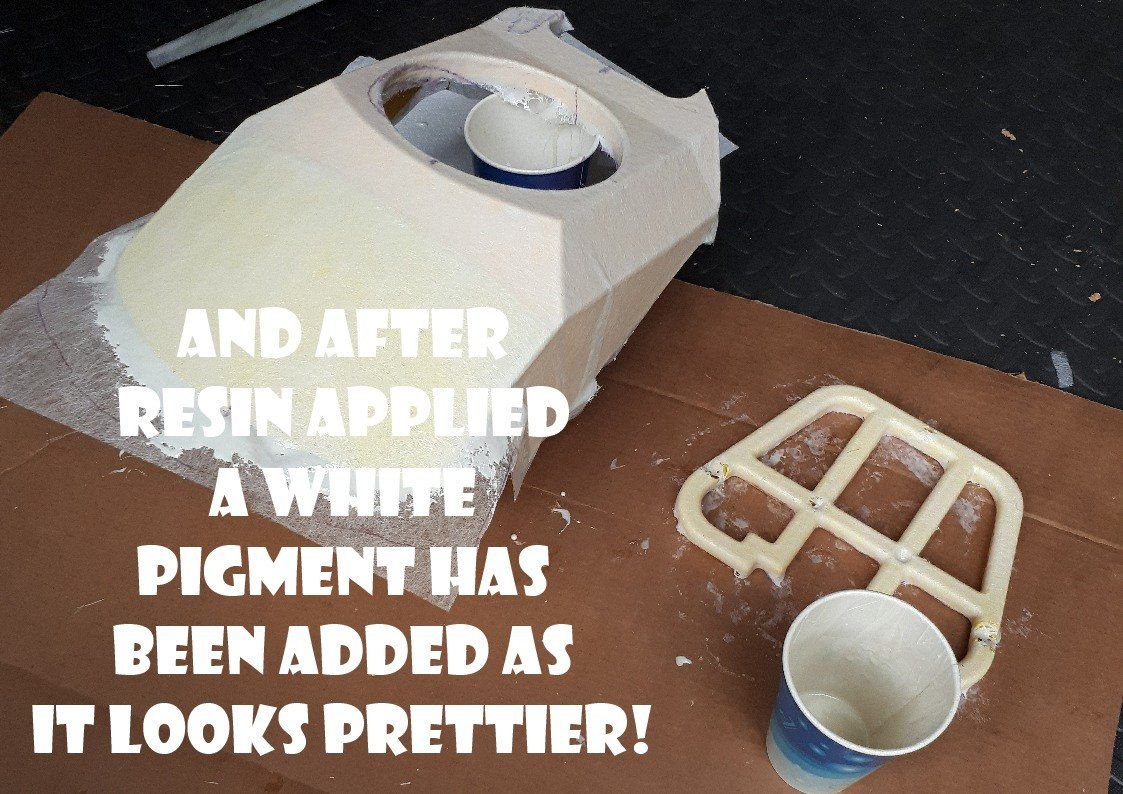
The back side of the cowl has has some reinforcing strips of fibreglass chopped strand mat and although it was fiddly, I even managed to get some around the speedo housing. Once this is fully hardened and trimmed as required, there’s a couple of other areas that I’d like to reinforce as well.
For the front side, where I eventually want a reasonable finish, I’ve used surface tissue. This is a very, very fine fibreglass layer. It won’t add much to the overall strength of the cowl but hopefully the CSM added to the back will take care of that.
I’ve also had an attempt at covering the rear rack. Again this is just surface tissue. I don’t think I could get anything heavier to conform to the shape required. It went on better than I expected. I’ll need to trim it up and do the other side and the mounting holes, but it looks promising.
Both this and the front cowl will need at least two layers so there’s still a bit of work to do. Fibreglass work isn’t tricky, but it is messy and time consuming.

Once again, a busy week elsewhere left little time for working on the project bike, but here’s what I did manage to get done this week…
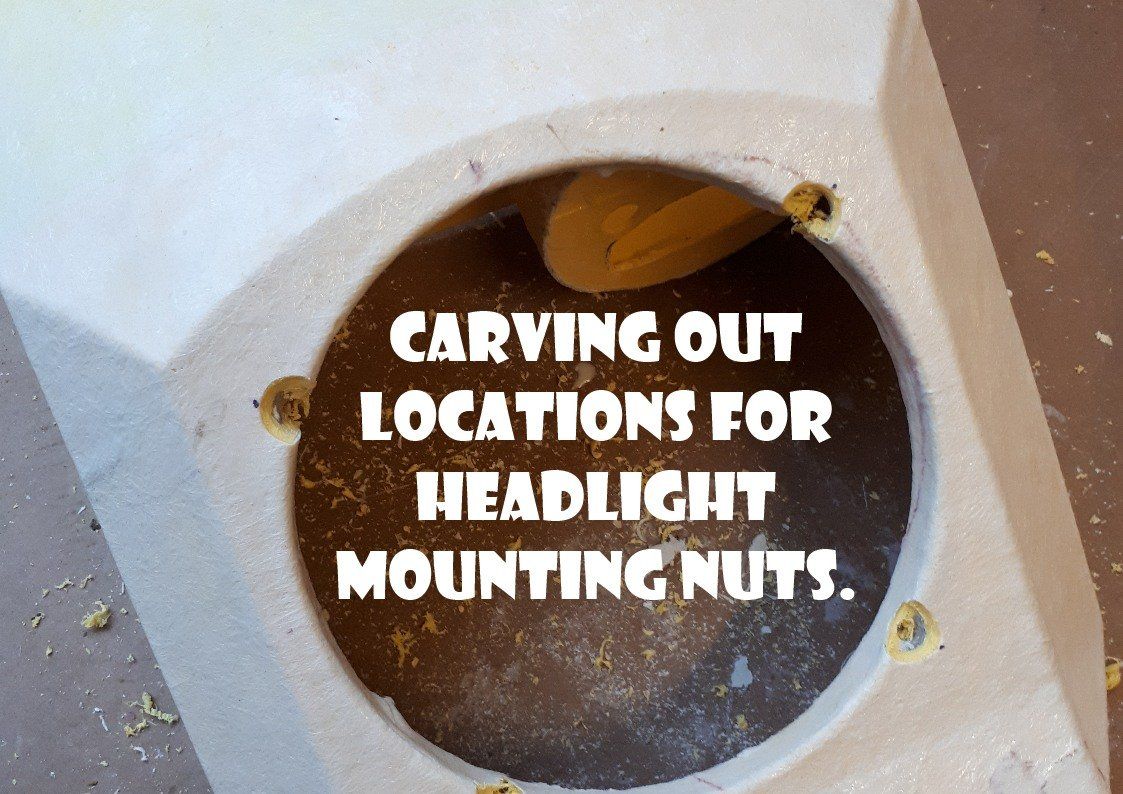
A problem that I had conveniently ignored until now was how the headlight was going to be fixed to the front cowl. I had previously made two 3D printed bezels that neatly sandwiched the headlight unit, but hadn’t given any thought to how they would then be fixed to the cowl. This week I tried to address that, and my solution was to sandwich some M4 flanged nuts between the cowl and the rear bezel.
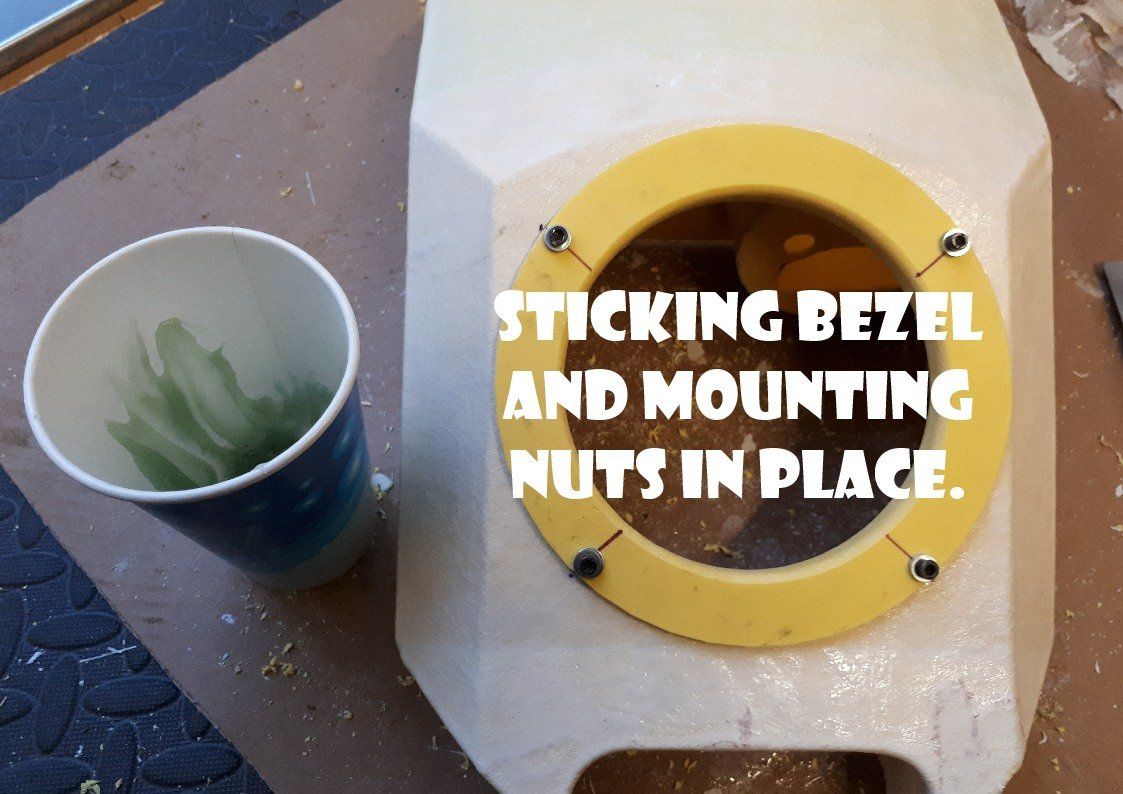
First step was to decide on the fixing positions and then carve away areas in the front cowl for the nuts to sit. With the nuts held in place by some cap head bolts through the rear bezel, a stiff fibreglass paste was made to bed the nuts in and ‘glue’ the rear bezel in place on the cowl.
After allowing everything to cure, I was mightily relieved when the little cap heads unscrewed leaving the nuts firmly in place.
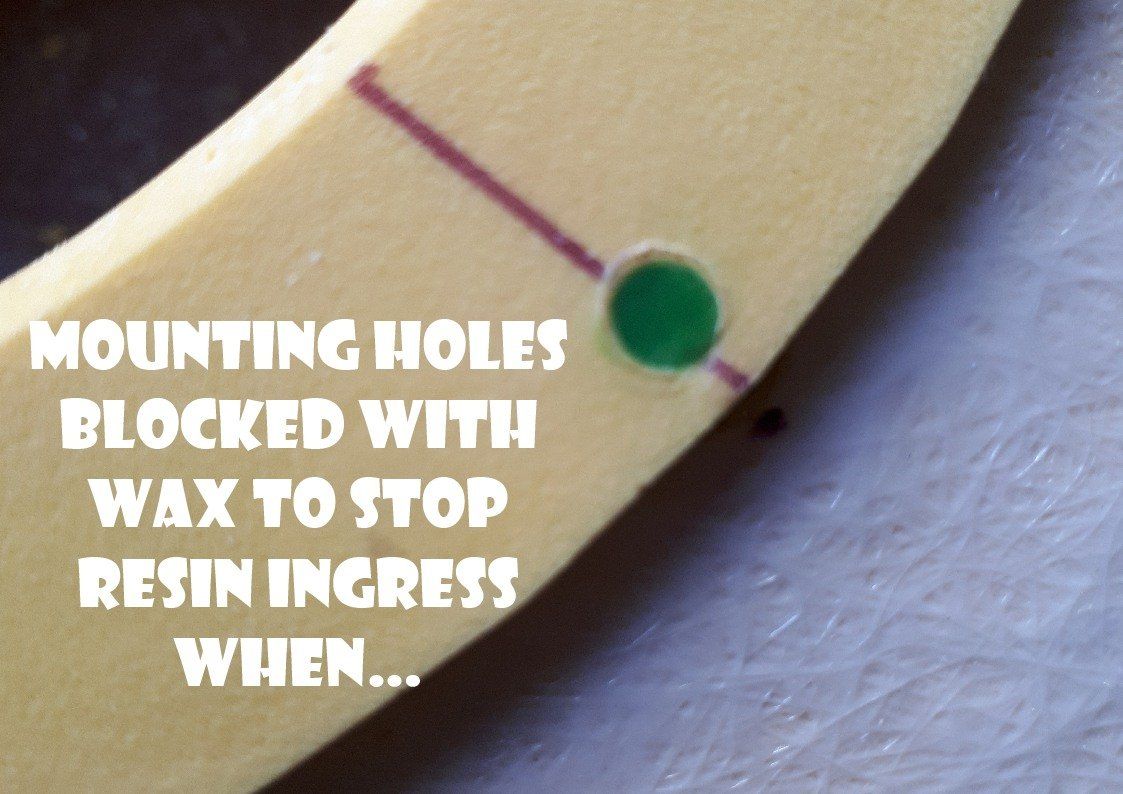
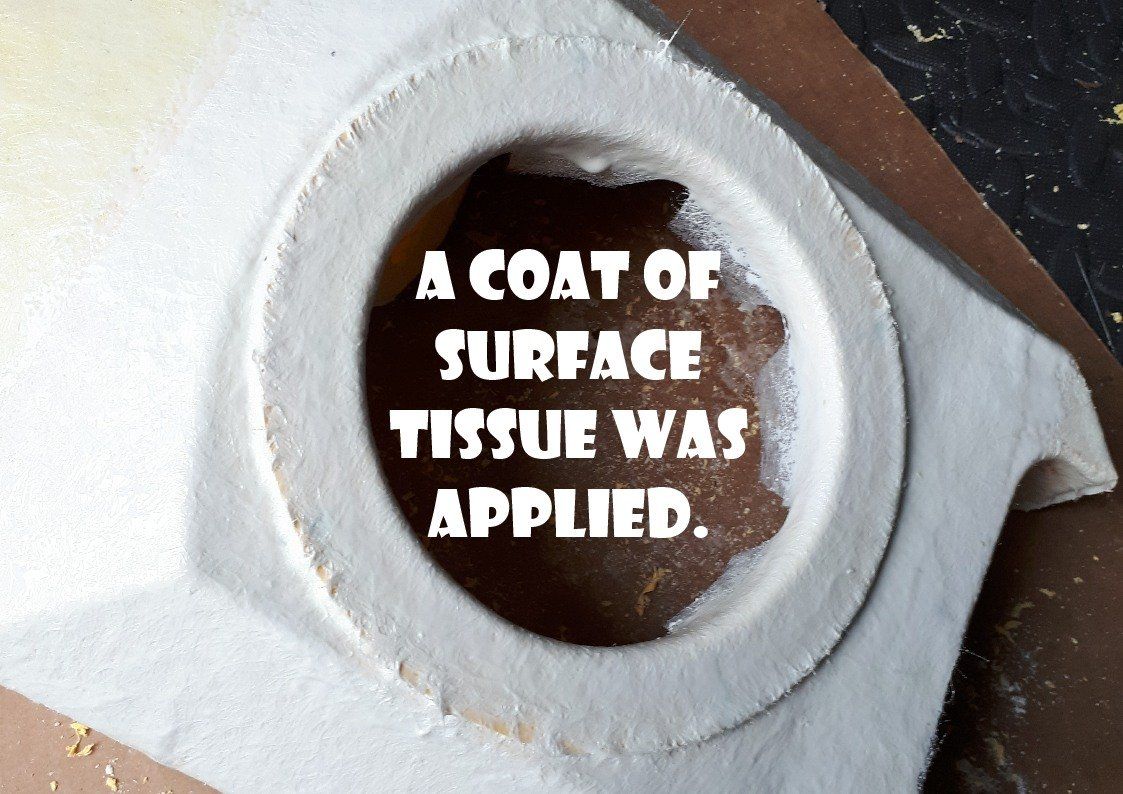
I now wanted to put a layer of surface tissue over the bezel. To stop the threads in the nuts filling up with resin, I used small blobs of moulding wax to seal the holes. I’m hoping that, if I’m careful, I’ll be able to drill through the fibreglass to open the bolt holes out again.
Unfortunately, the surface tissue layer didn’t go as well as I’d hoped. My fault for persisting with the old and very sticky resin. I’ve finally learnt my lesson now… I’ve bought some new resin to use on the next layers.