Workshop Blog March / April
March has disappeared, April is almost over and the poor old dirt bike project hasn’t had a look in. Instead, I’ve added another couple of projects to the already busy schedule, which always runs the risk that none of them will ever get done!
First new project is project mini dirt bike. This is intended to be an approximately 1/5th scale model of a mid 80s style trail/enduro bike. It’ll be based loosely on the Yamaha IT bikes of that era. Bikes that I spent a long while looking at in the glossy magazines of the time. I can remember the sense of anticipation when the arrival of the latest issue of Dirt Bike Rider through the letterbox was imminent. Then I spent hours looking at the bikes and trying to persuade Mum that I should have one!
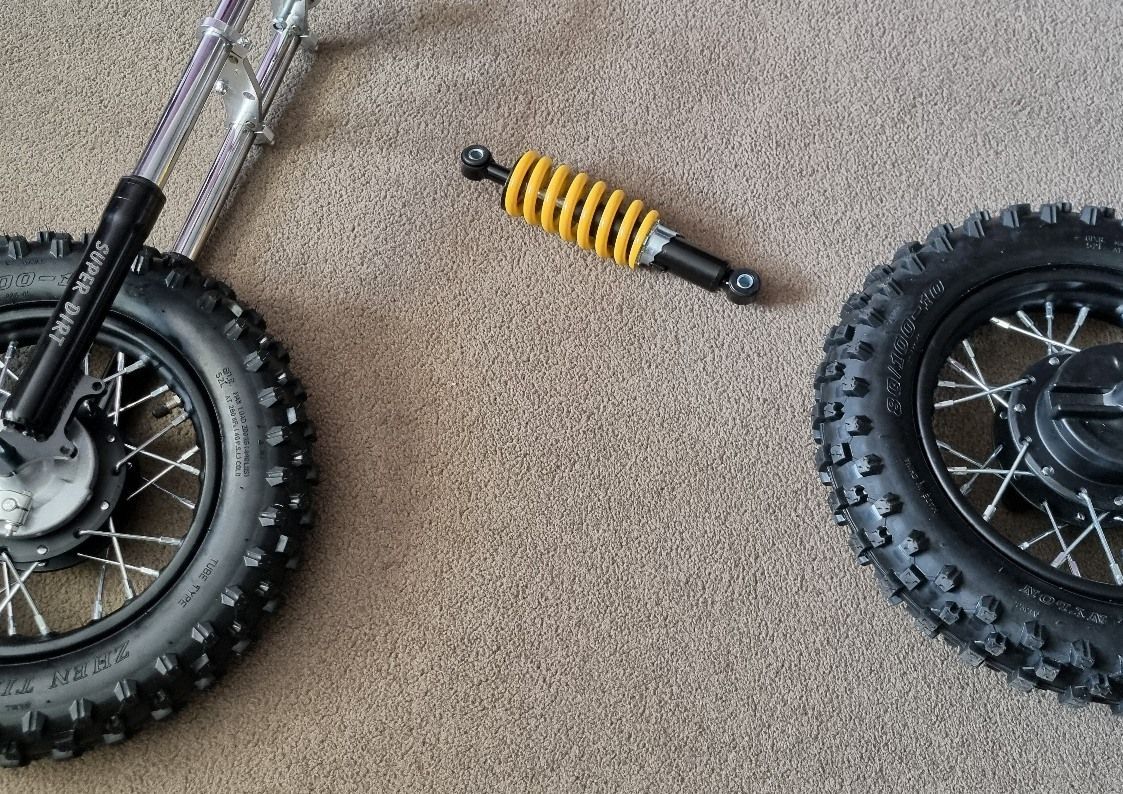
Anyway, that’s the plan. It hasn’t got far. Even putting the little tyres on the tiny rims proved to be a struggle. In an attempt to not damage the paint on the rims or nip the tube I used some Motion Pro rim guards. Whilst robust, they’re not really designed for use on these small rims and so I did manage to both damage the rim and nip the tube on my first attempt - bollocks! So I put the 3D printer to use making appropriately sized mini replicas of the Motion Pro guards.
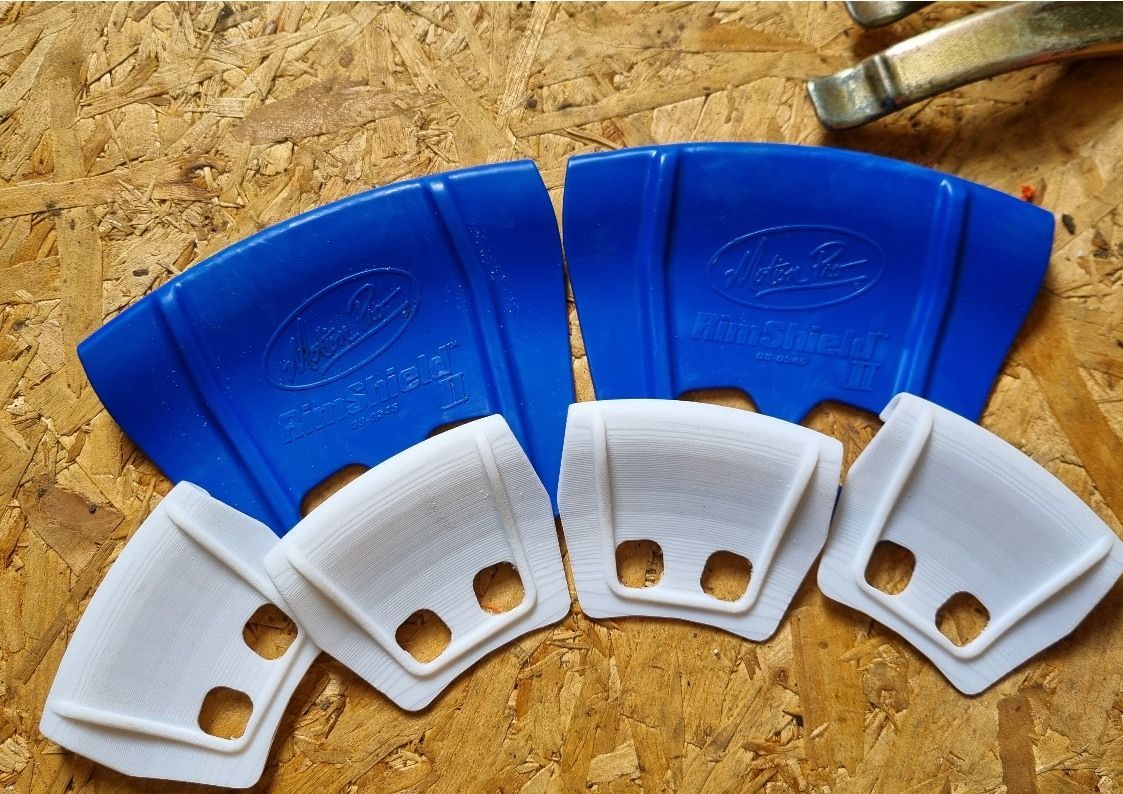
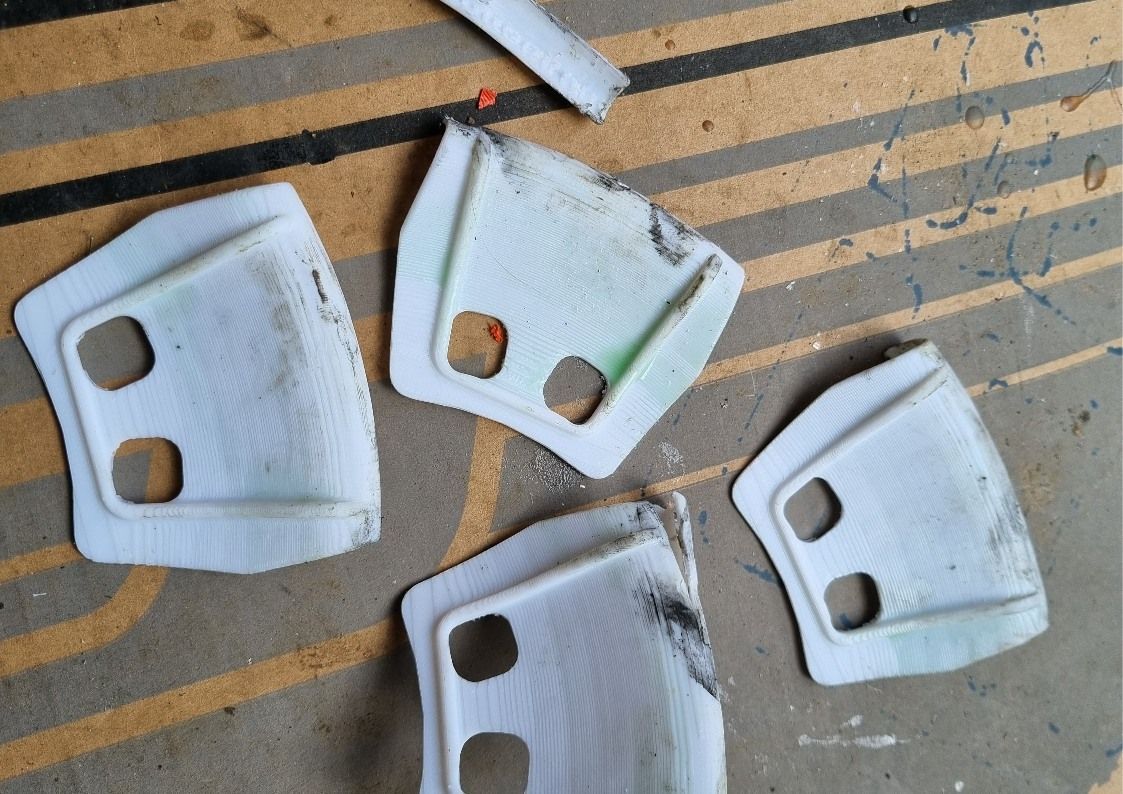
Not totally successfully. The printed guards were destroyed in the tyre fitting process and one broken bit dropped inside the tyre as it finally plopped on to the rim which was then an absolute git to retrieve…None the less, the tyres are on the rim and they still have air in, so that’s a result. But, it’s also about as far as that project has progressed.
The motive power for the mini dirt bike is currently planned to be electric and not wanting to spend too much on the project, I bought one of the cheap e-bike conversions kits available from ebay / Aliexpress etc. It also had to be 24V as I already had two 12V batteries kicking around.
I’d used a similar motor many years ago to power a Toylander jeep project for my son. It didn’t set the world alight, but it had enough gumption to tootle the jeep around the garden and that I felt would be enough for this project as well. As a proof of concept I decided to jury rig the motor to an Onza bicycle trials bike that had remained unused for some times - mostly because I was really crap at riding it, but also because my crapness once resulted in me scraping my right shin on the cheese grater like pedals. Just looking at them now makes me wince!
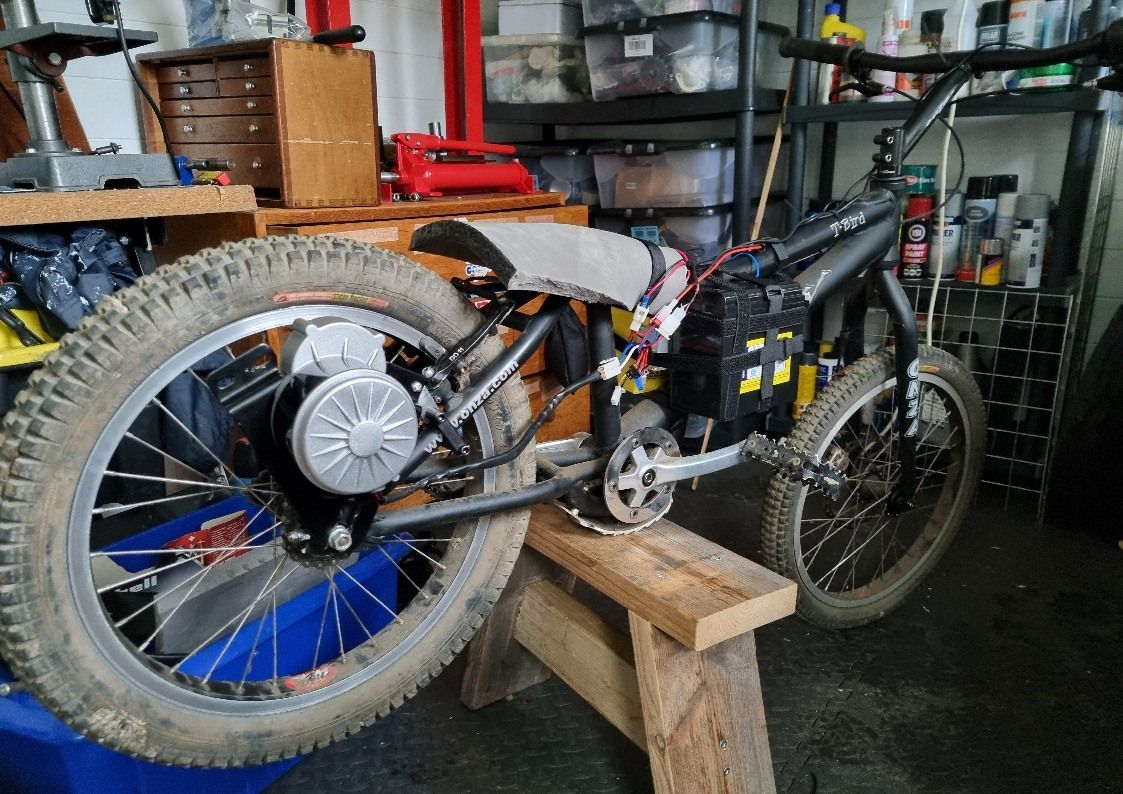
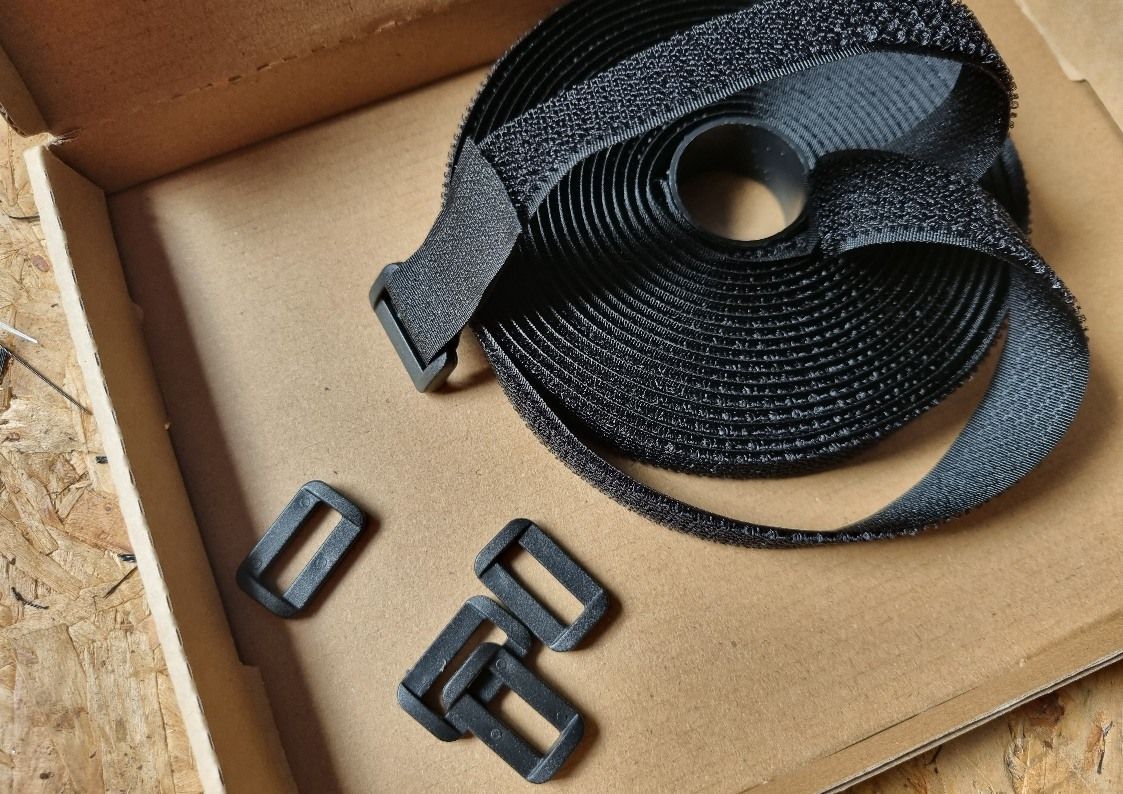
After a few failed attempts, I eventually managed to get the motor and batteries mounted securely enough for a test ride. I’ve just discovered velcro which has the hooks and loops on the same side and it’s proved incredibly useful stuff.
It usually comes in a kit which includes some elongated O shaped plastic rings. It’s been brilliant because you can actually tension the velcro around things quite well. Several strips of this held the batteries in place for the test ride quite successfully. However, I was so confident with this lash up of parts that I wore a motorcycle crash helmet - just in case. It worked pretty well, so well that I thought it would be fun to try and do a better job of mounting the motor as a more permanent fixture - and so I gained another project…
I can report, it has not been fun!
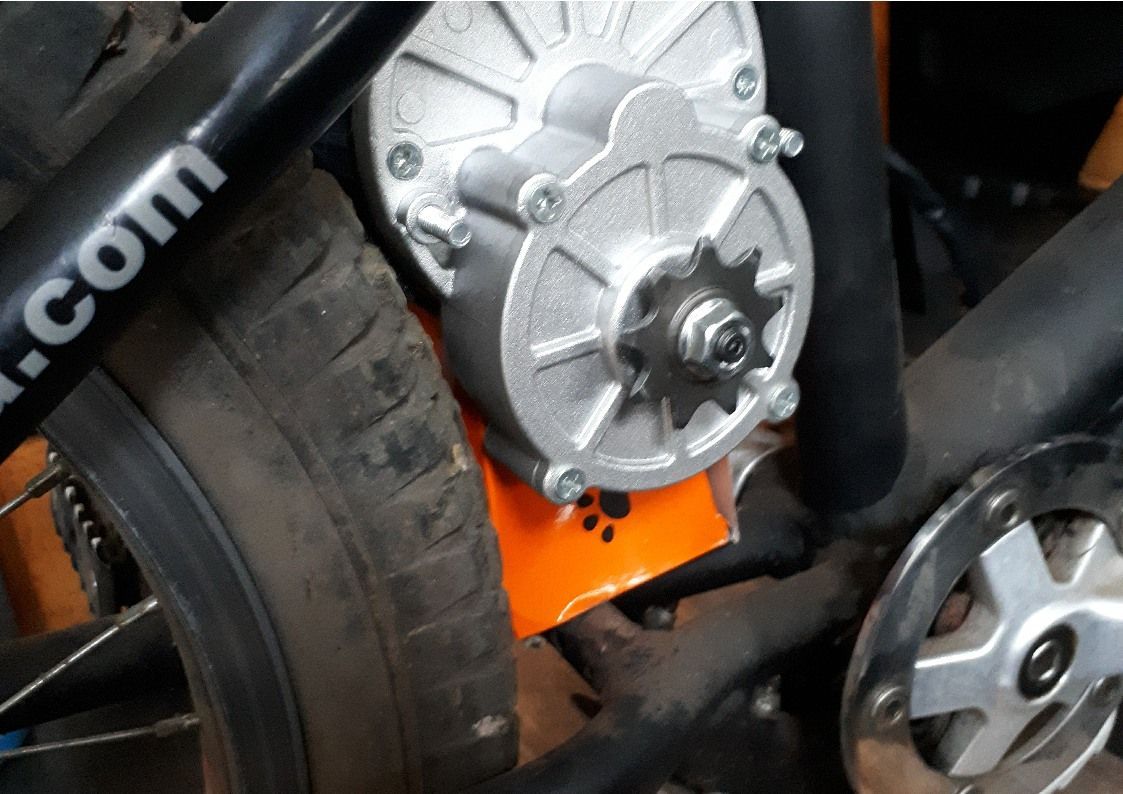
There was room (just) to mount the motor between rear wheel and seat tube, so I set to and modified the steel mounting plate that came in the kit to suit.
Brilliant, but here was the first problem, the motor is now turning the wrong way. I had hoped that being a DC motor if I just changed the leads round to the controller everything would be good. It wasn’t. Although the motor happily runs in either direction, the noises from the gearbox suggested that it was not happy at all about running backwards. And then things started to get more complicated…
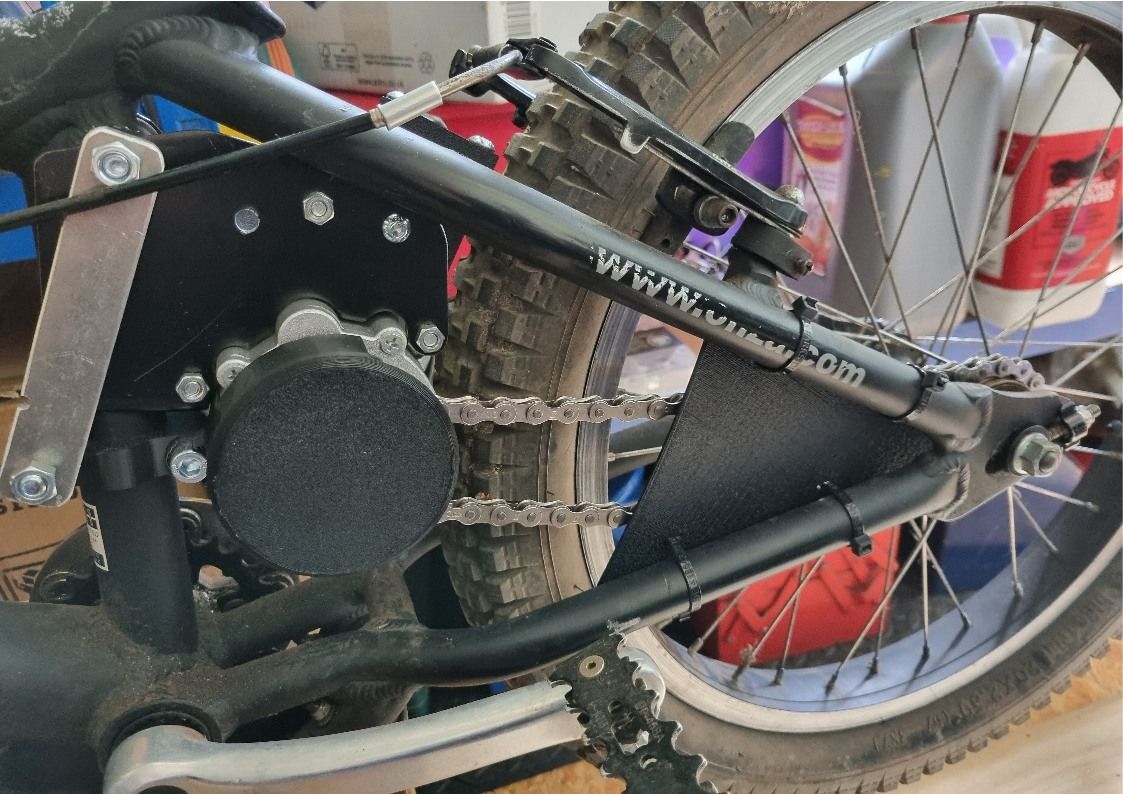
I reversed the motor in the frame which meant putting the rear wheel in backwards as well. The sprockets could be made to line up but as bicycles use a rear freewheel we now weren’t going to be going anywhere. The solution to this is to unscrew the freewheel and screw it back on backwards.
Removing the freewheel required a £20 special tool and a lot of force, but now I had drive in the desired direction except the freewheel screws on with a standard right hand thread. In it’s usual orientation, this is just what you need as the chain then tends to tighten the freewheel, now everything’s reversed, it just wants to unscrew it no matter how tight you manage to do it up. The solution so far (and not one that I really like) is thread lock. This has held up in initial test rides so far...
The 3D printer has also been busy making battery mounts to replace the vecro straps. They do the job, but I should have given more thought to their design and location, they are now ideally positioned for whacking your knees on! If (and it’s a big if) I persevere with the project further, those SLA batteries may make way for a much smaller Lithium battery pack, but I’m not ready to spend out on one of those yet.

To preserve both the bicycle frame and my ankles should anything go awry the 3D printer also churned out some guards. I am now (as I type) waiting for the batteries to charge so that it can be tested in anger.
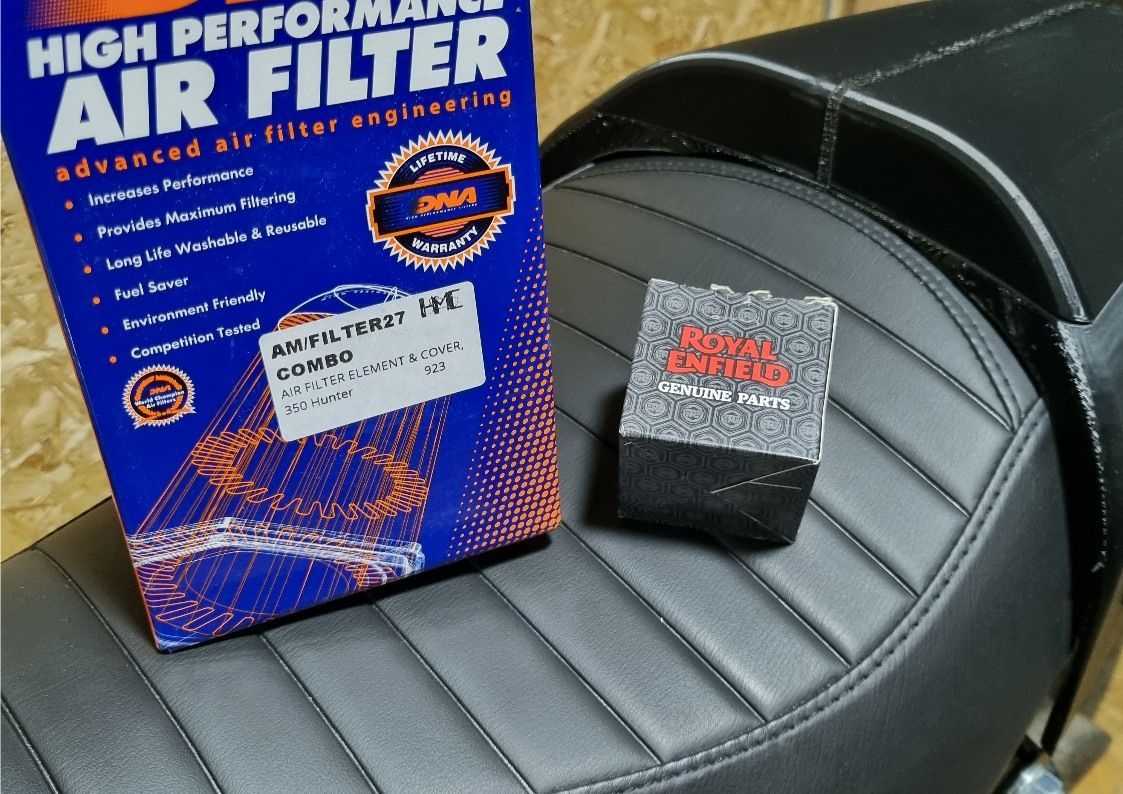
March was also the month of the Royal Enfield Hunter’s 12 month service (you can read more about that HERE). Buying a new oil filter online also lead to the unplanned purchase of the DNA air filter and cover kit. A purchase that (should Hitchcock Motorcycles’ video clip be correct and I don’t doubt it) should deliver nearly 2 extra HP. I know that doesn’t sound much but that’s nearly a 10% increase. Anyway, I wanted one so I bought one…
Can I feel the increase in power? I can’t say that I can but then I’m sure I read somewhere a long time ago that by the seat of your pants you can’t detect a difference until you get to the 3HP plus range. You do get a noticeable increase in induction noise when you’re on the throttle. I’m not fussed by this (in fact I quite like it) but I could see that some riders may find it annoying.
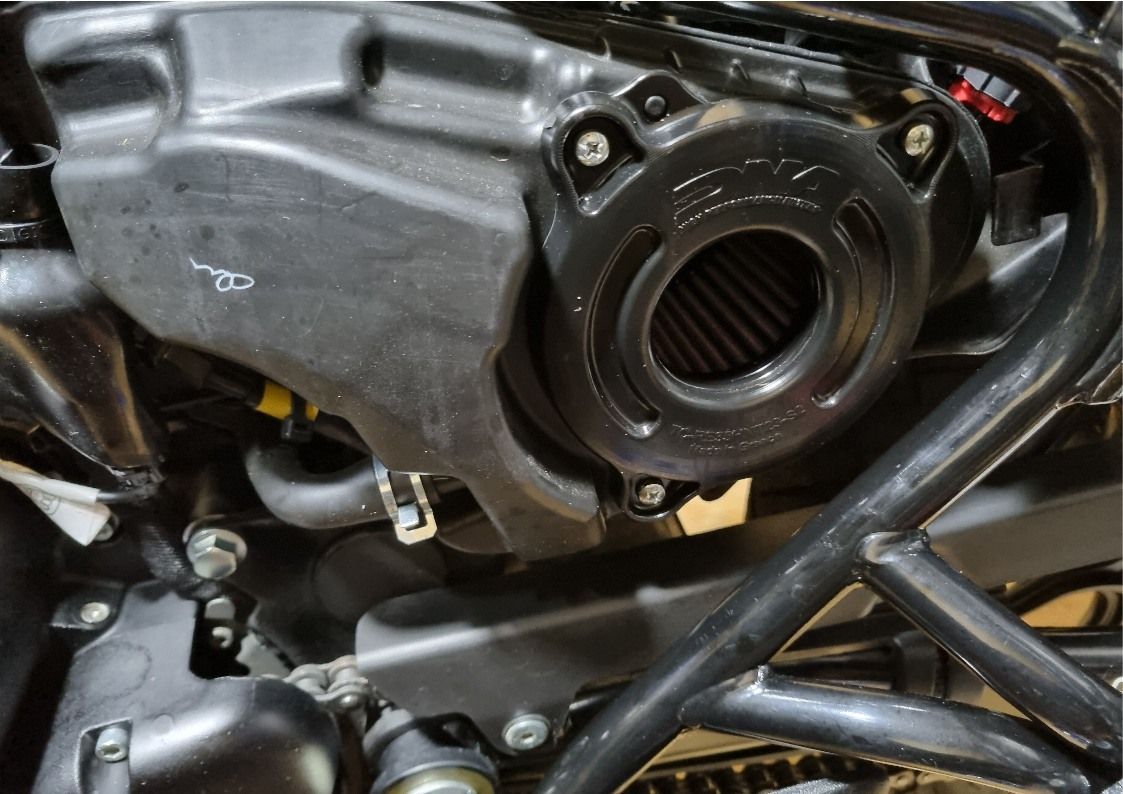
It’s not surprising that induction noise increases, the DNA cover is fairly minimal compared to the original version.
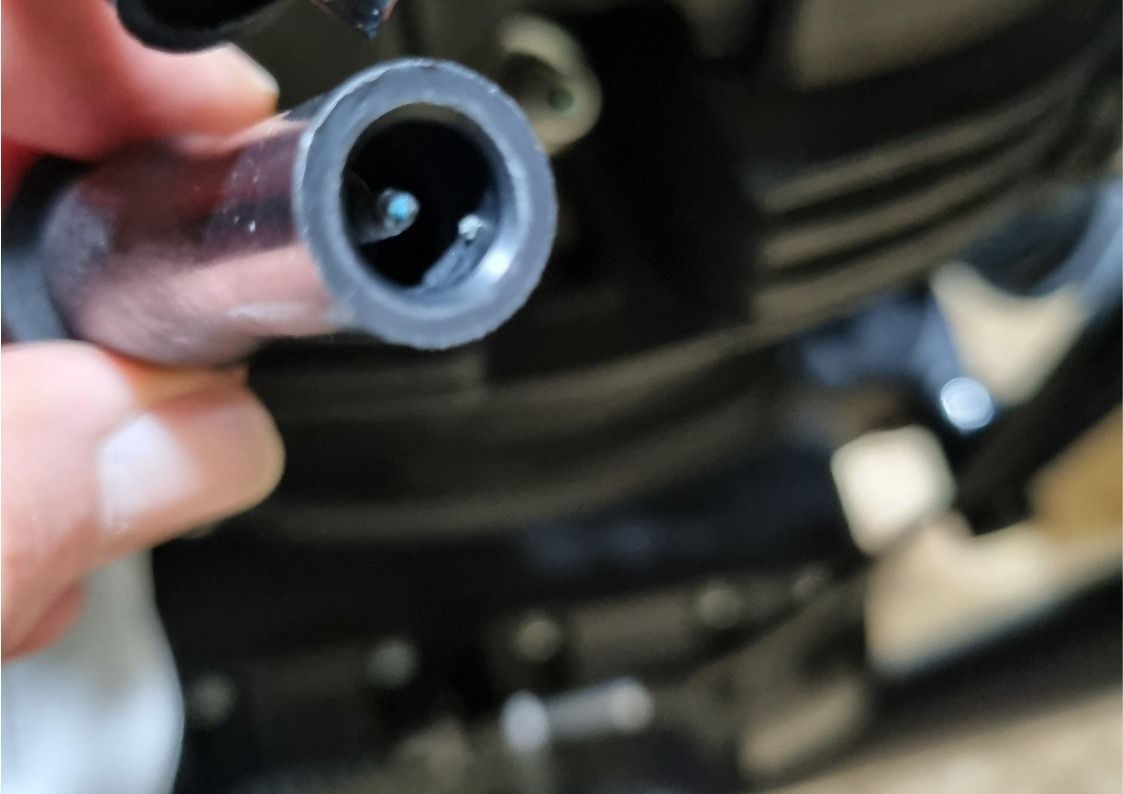
I was very surprised to find that the plug cap parted from it’s lead very easily when I removed it from the spark plug. Further investigation revealed that the core of the HT lead is not central and so the cap had mostly been screwed into the surrounding insulation instead. It is now (hopefully) more firmly attached.
The 12 month service also meant that I had to wash the thing. I’m not a big fan of motorcycle cleaning since I never, ever seem to manage to do it without missing a bit. I was determined that his time I would do an absolutely super job, no bits would be missed and I would then dry it with the Bruhl dryer leaving it looking showroom fresh. Once again I failed in that endeavour…
Two things I did note:
i) It’s worth lifting the fork gaitors and checking everything is clean and dry as water can make its way inside them when washing.
ii) I took off my handlebar fairing (more about that
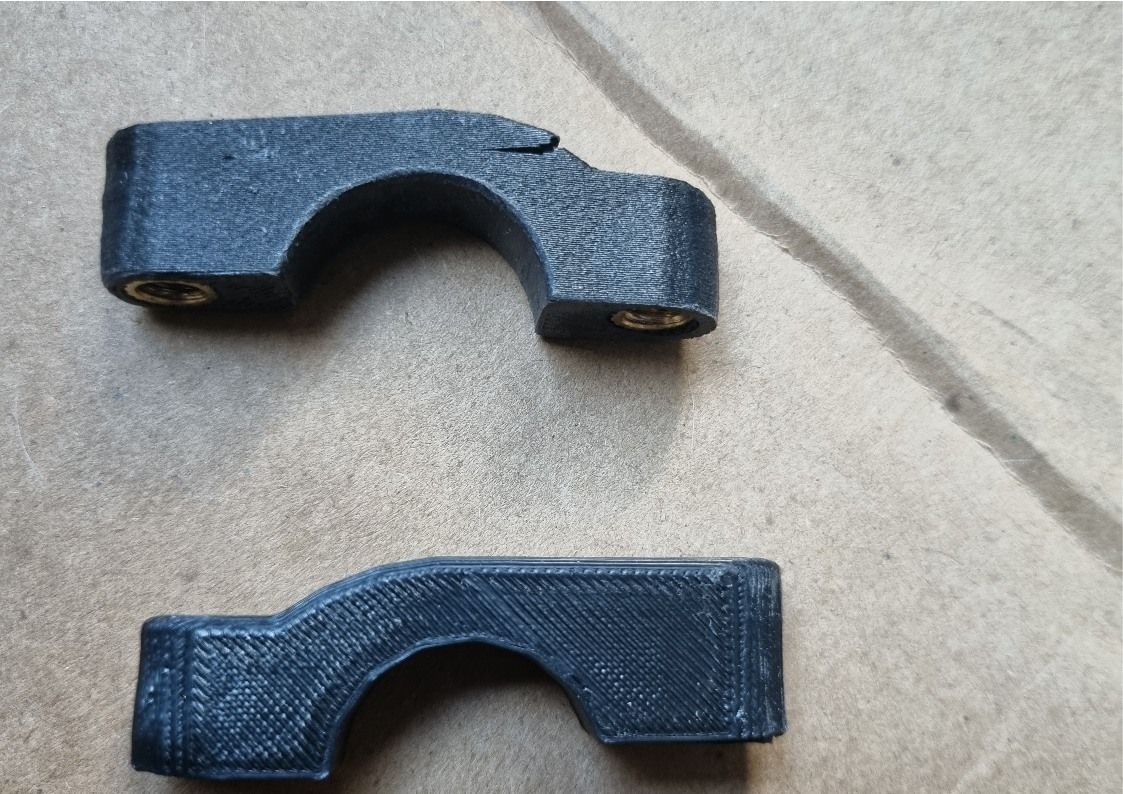
HERE) and found that the bottom clamps had cracked. I was a little surprised as I’d filed these to fit snuggly to the handlebar without (I’d hoped) too much clamping force / stress on the printed clamps.
These were printed in PETCF, which is very rigid but also quite brittle. I’ve now printed some in ABS (bottom of picture) but also changed the print orientation by 90 degrees. Time will tell if these last better.
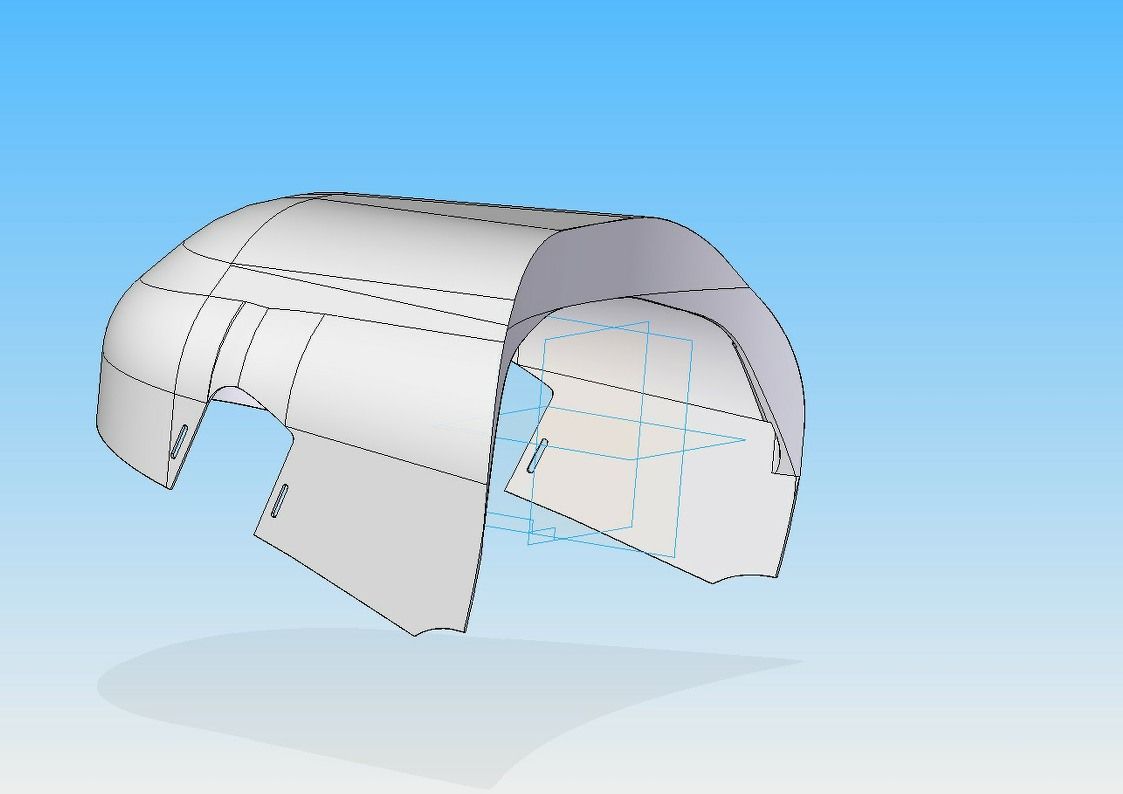
I’ve also spent many hours working on the pillion seat cover. I can’t quite get a design that I like the look of (mostly it’s because my 3D drawing skills are poor) and what started off quite tall…
...has now shrunk to quite small. The bike currently sports version 5. The printer is currently working on version 6…
Being able to draw it successfully in 3D is my downfall at the moment.
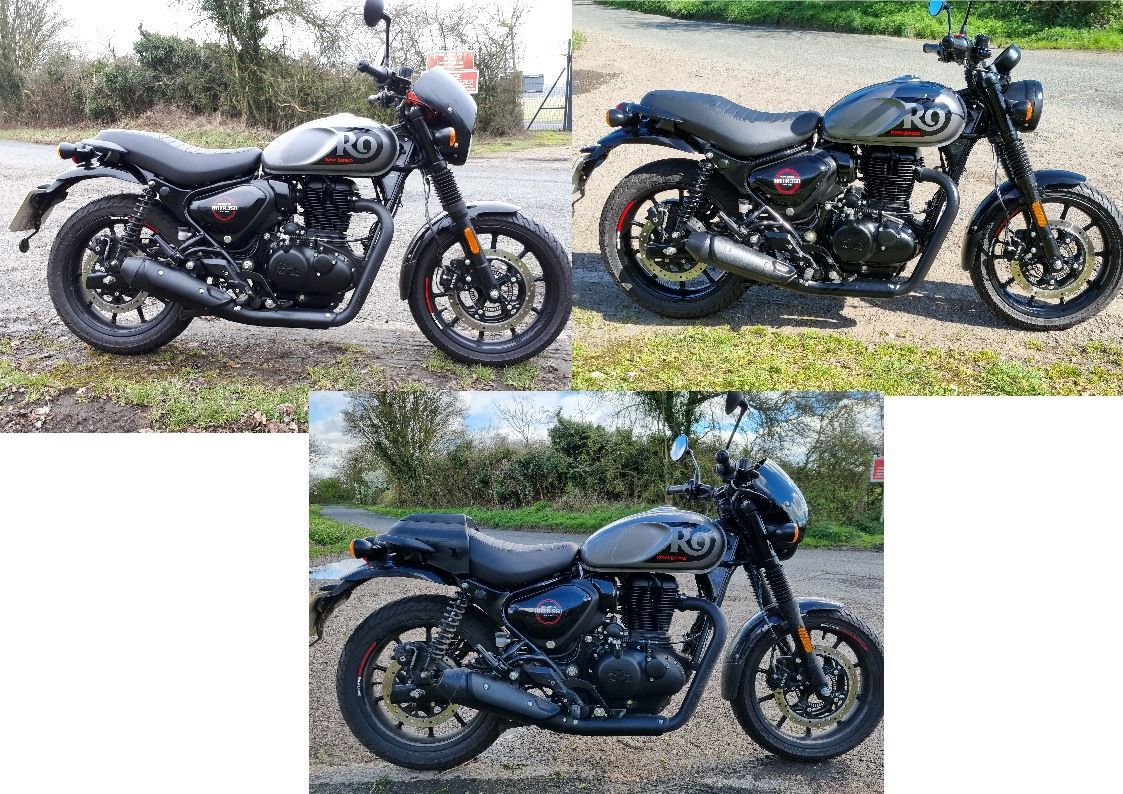
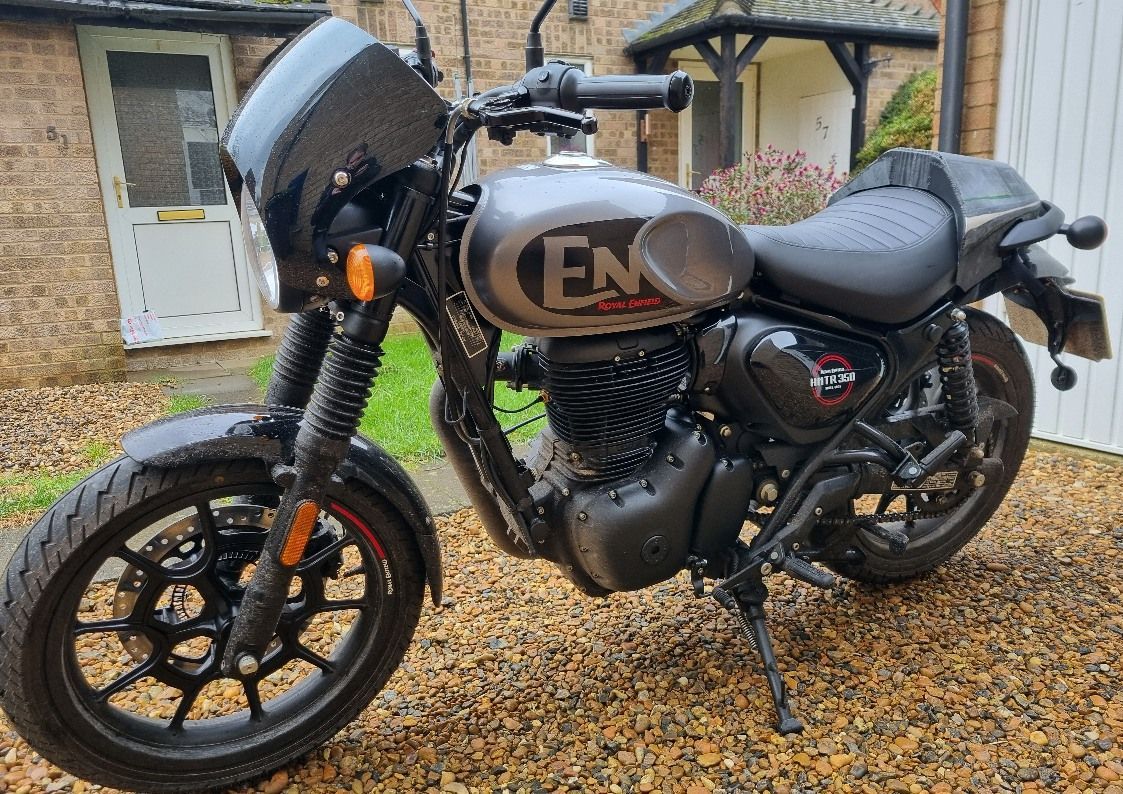
These are a few shot of the Hunter with the Mk. 5 seat cowl in place.
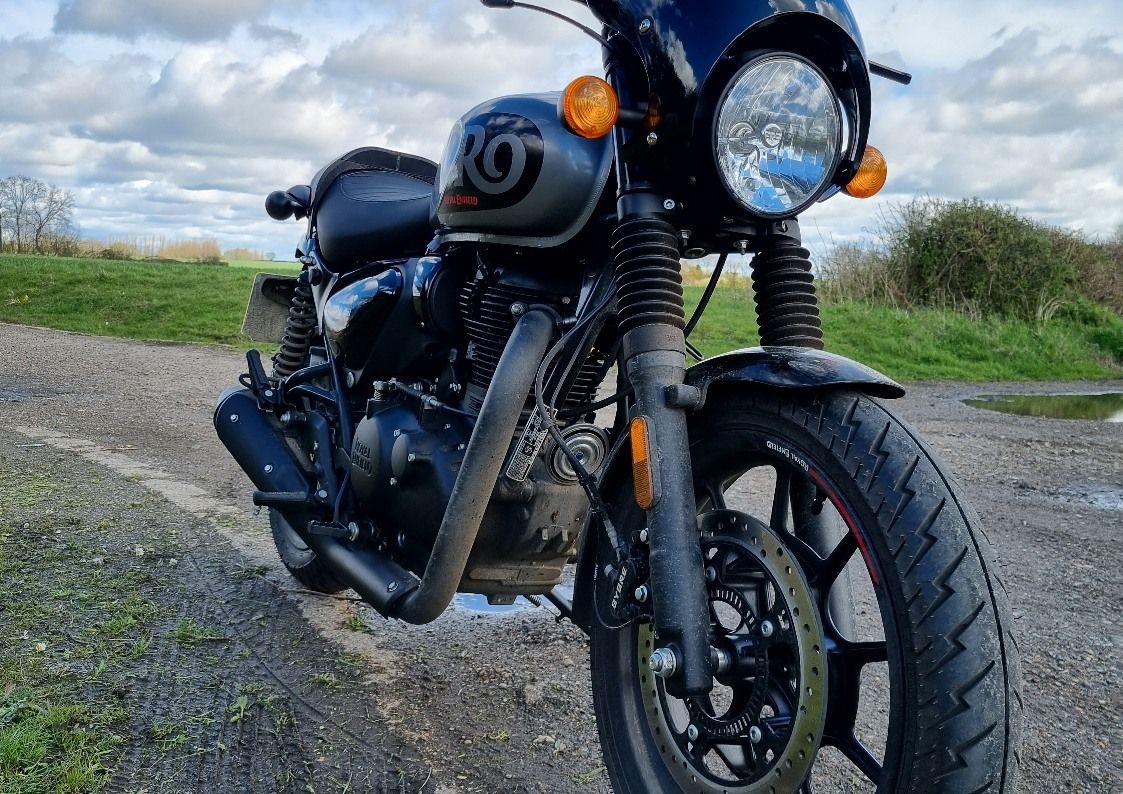
Devising a method the hold this in place has also been challenging. I want it to be removable / replaceable without the use of tools or removal of the seat. As a temporary solution it has velcro around the grab handles and a hook at the front. These hold it securely in place and the seat cowl has managed a trip to my favourite camera location.
These are the hooks used to hold the seat cowl in place. Once again, the 3D printer has proved very useful.
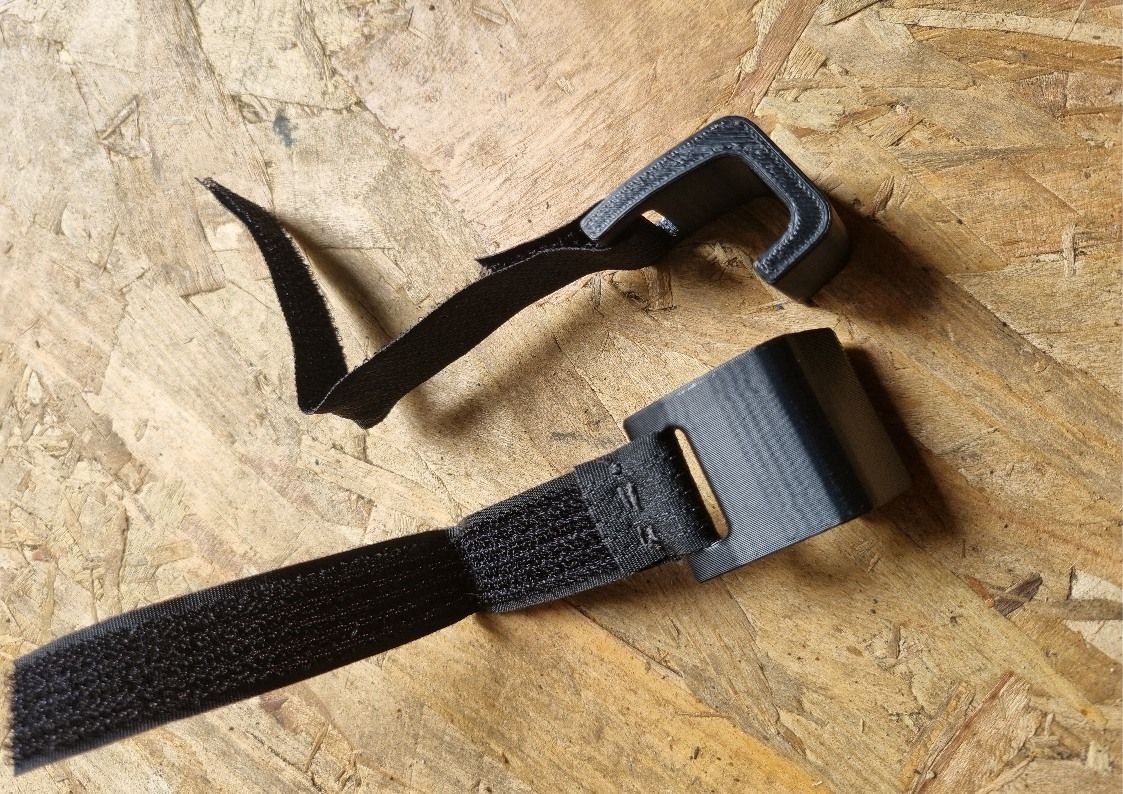
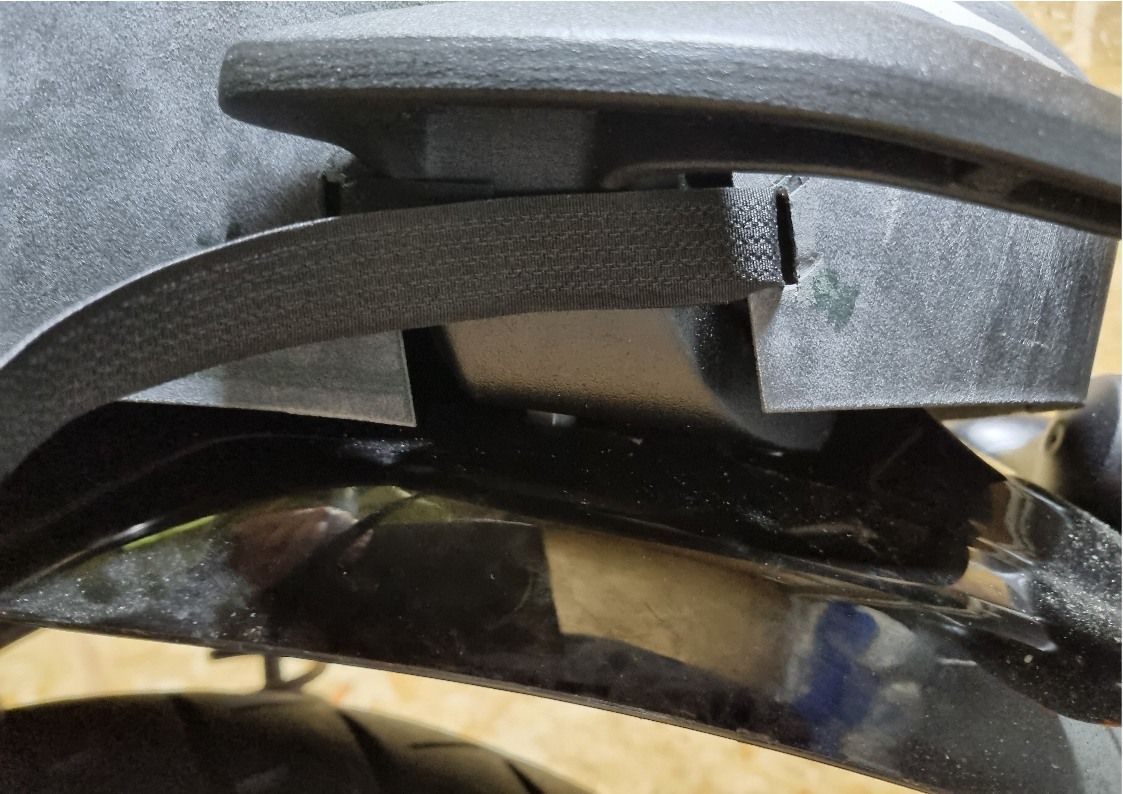
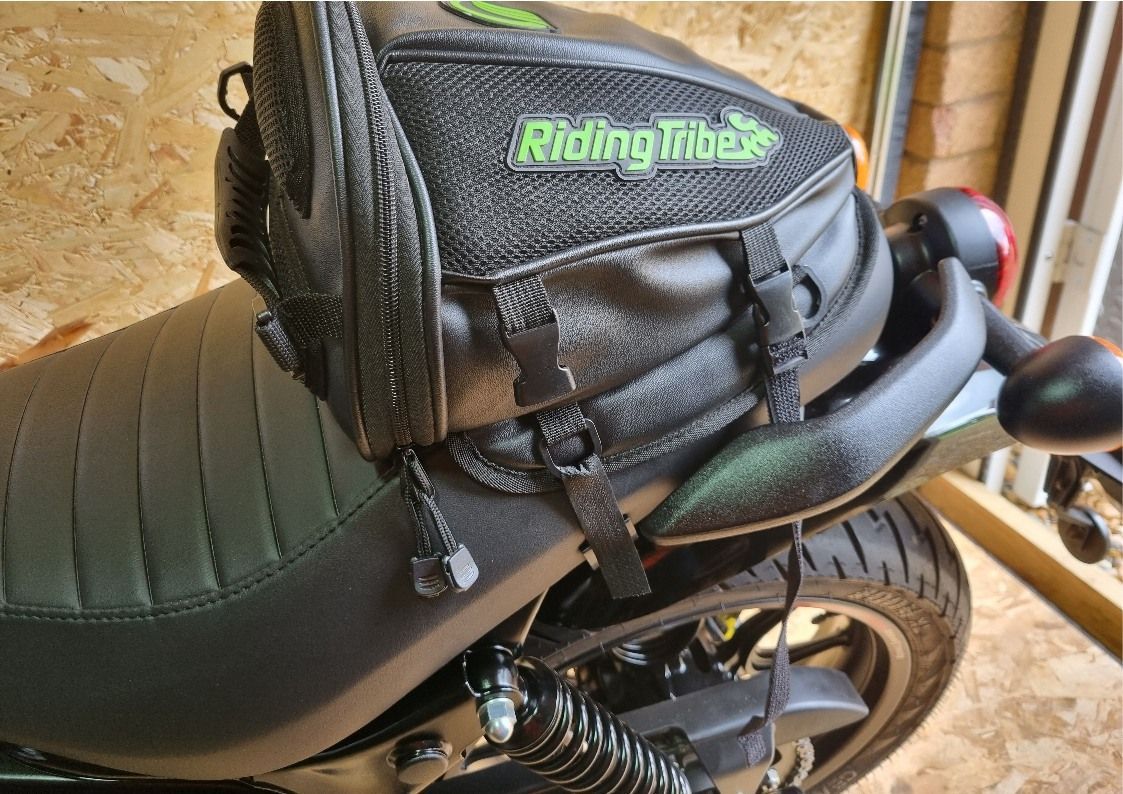
I also thought that the hook / grab rail strap might work okay to hold on my tail bag. This is usually fitted by straps that go around the seat. They are a faff to fit on the Hunter’s tapering seat but I have managed it okay. The hook / grab rail replacement system shows promise. I will experiment more with this…
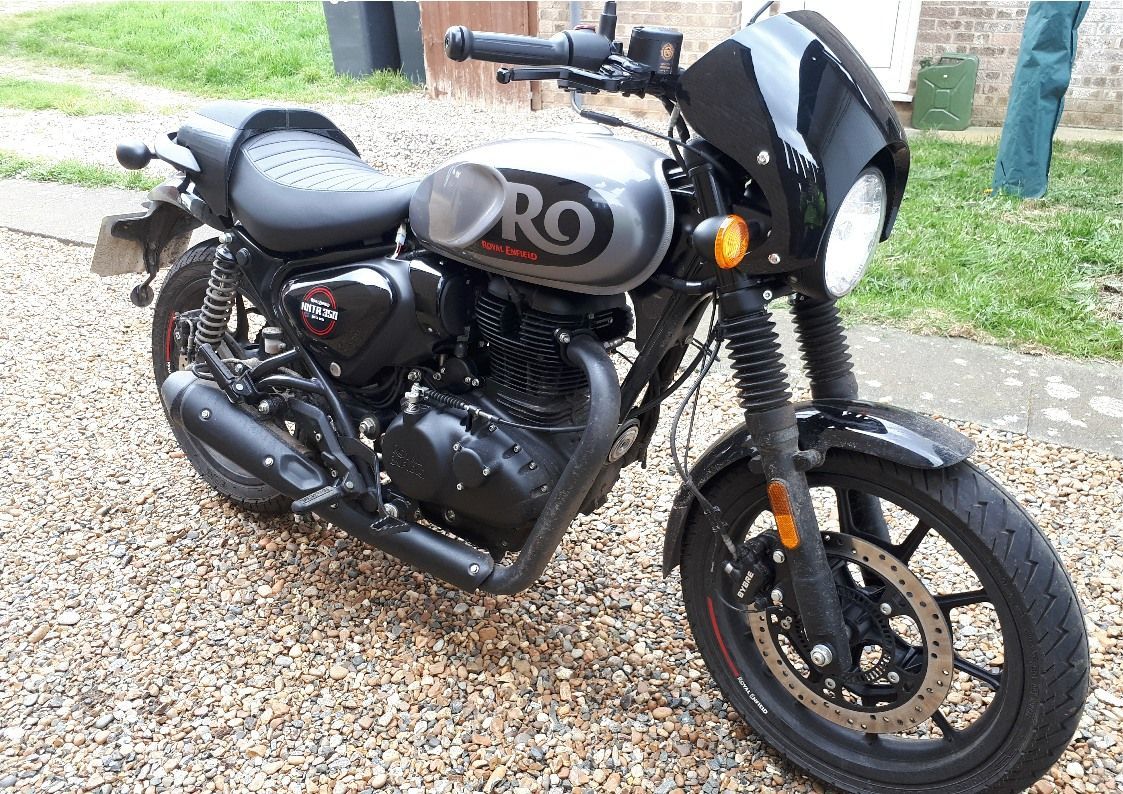
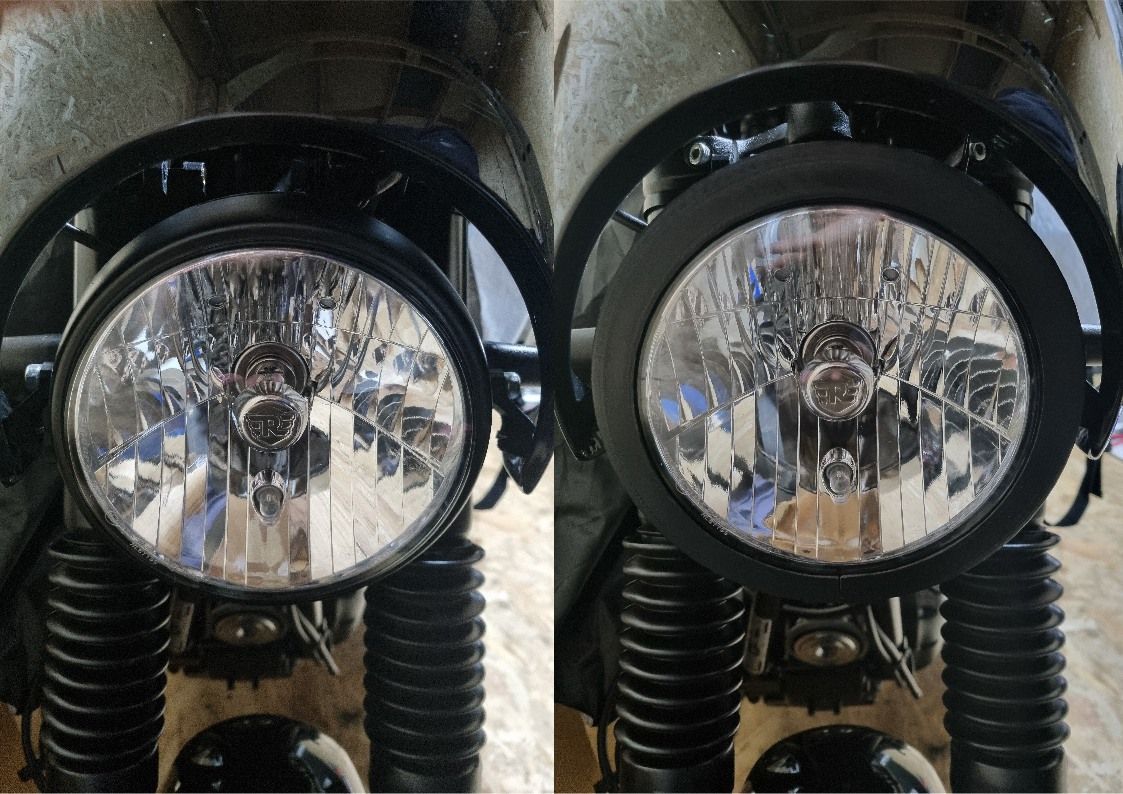
And finally this month, some more work on the handlebar fairing. There’s a sizeable gap around the headlight (which actually looks more unsightly in photos than it does in real life) which I thought might be improved with the addition of a larger bezel.
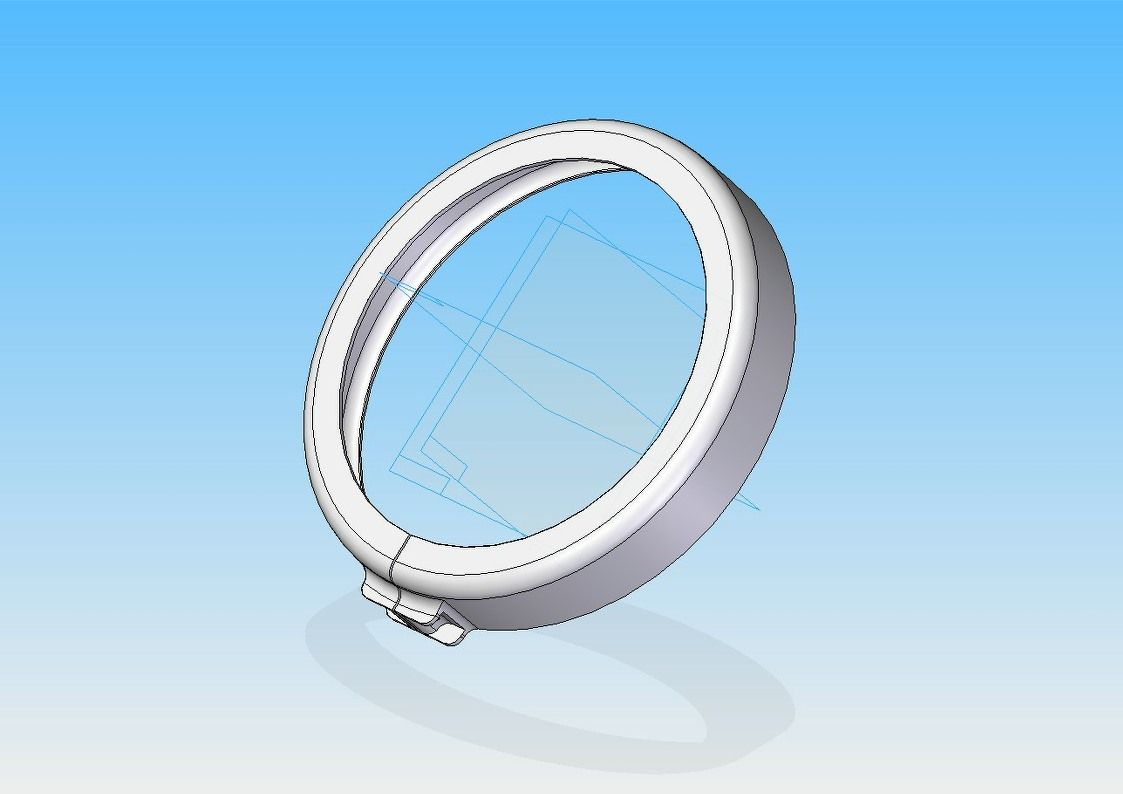
Once again, the 3D printer was called into service and I think the result is an improvement.
Not taken it for a test ride yet to see if it stays in place though.
A fairly productive couple of months although I constantly get frustrated at my lack of project progress.
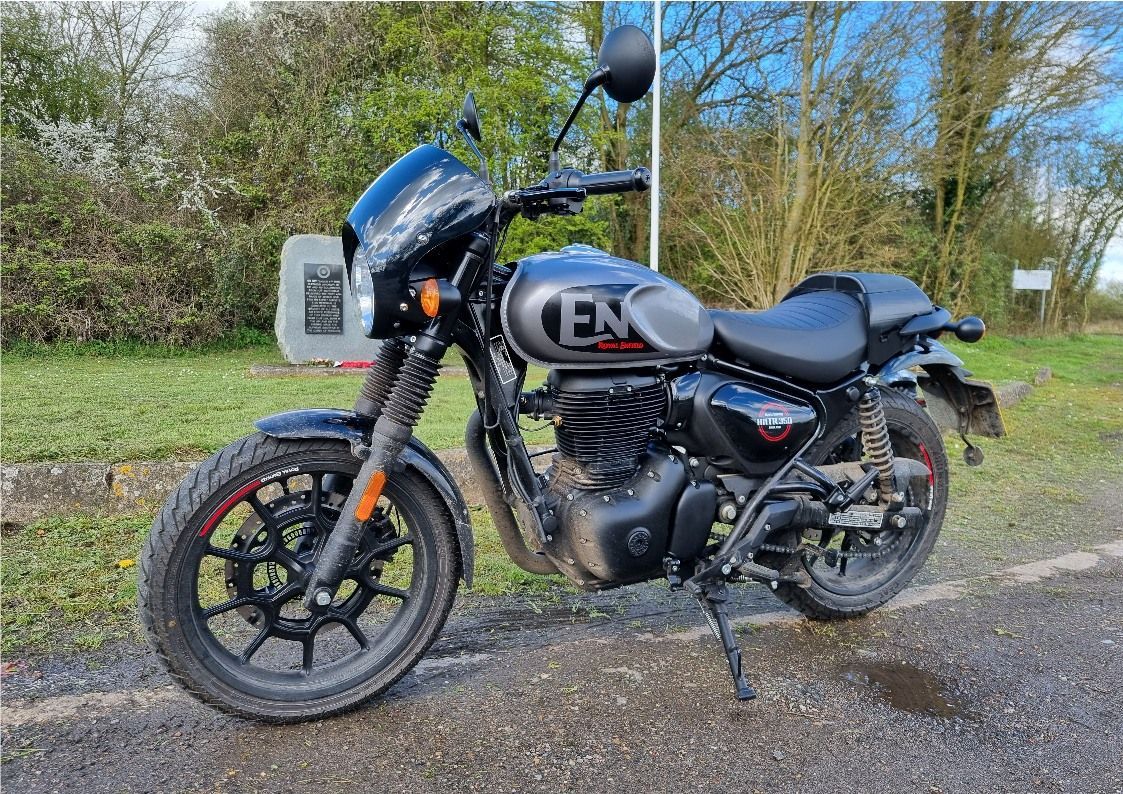
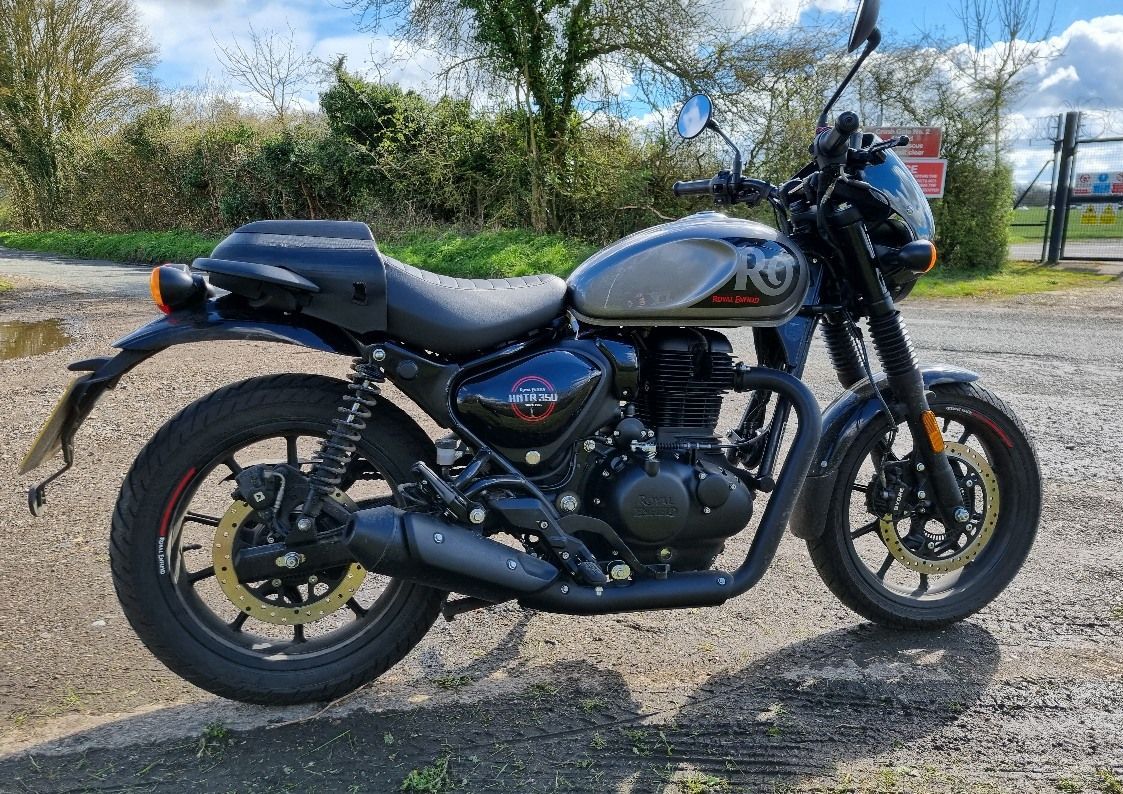
Here’s a picture of the Hunter in it’s 3 guises. You can make up your own mind which you prefer best. Personally, I can’t decide.