Monday Articles - August 2021
Scroll down for latest instalment
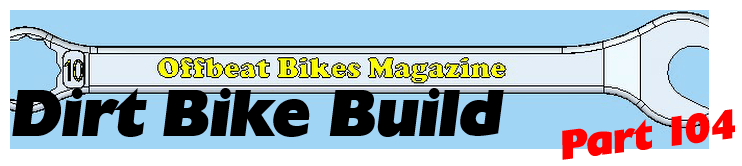
Progress on this project has slowed as the day job has taken over, but it’s still ticking along, and with the exhaust on, I used what little free time I had available to attack the wiring loom. The loom is from the same bike that donated the engine, and if I could locate all of the electrical gubbins in similar places (mostly under the tank) it would fit with little modification, but I can’t, so it won’t!
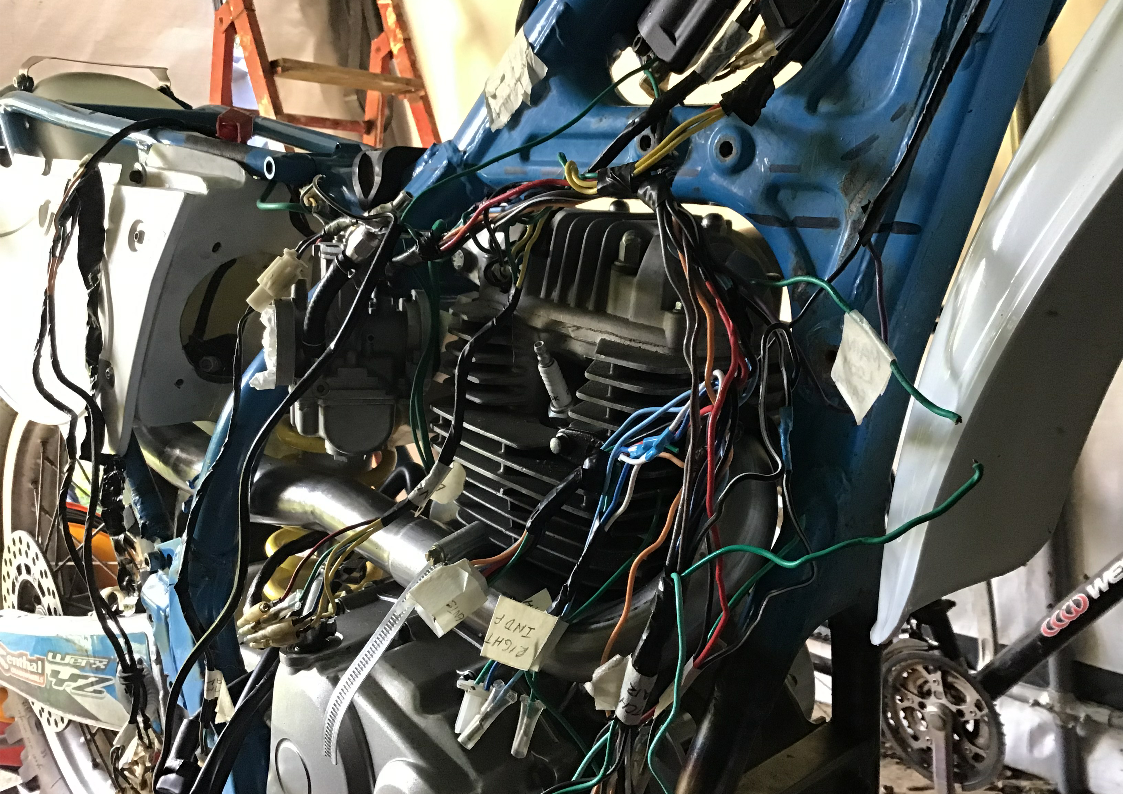
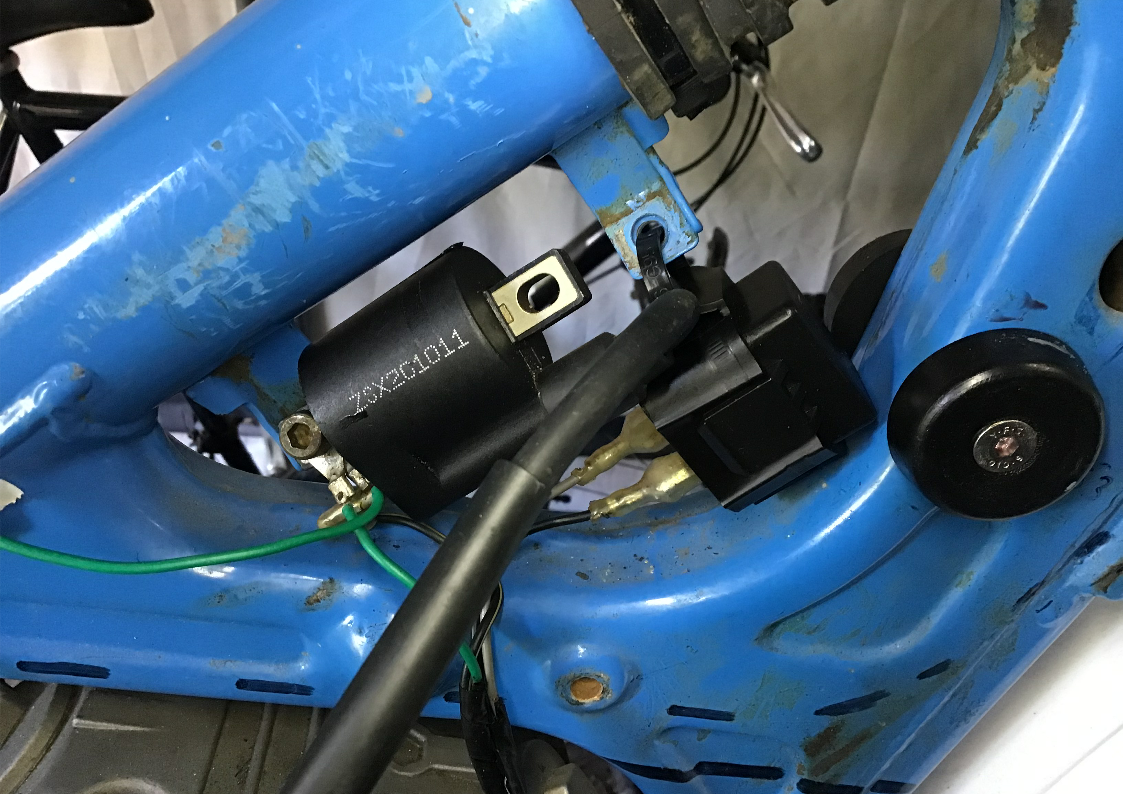
Under the tank, and after I’ve made some suitable brackets, there will be room for the ignition coil and the indicator relay. Space is so tight under the tank that there’s not even enough room for all of the wires required for switch gear, headlights etc. to run down one side of the tank. Instead the loom will have to be split so that some wires run either side of the fuel tank’s tunnel.
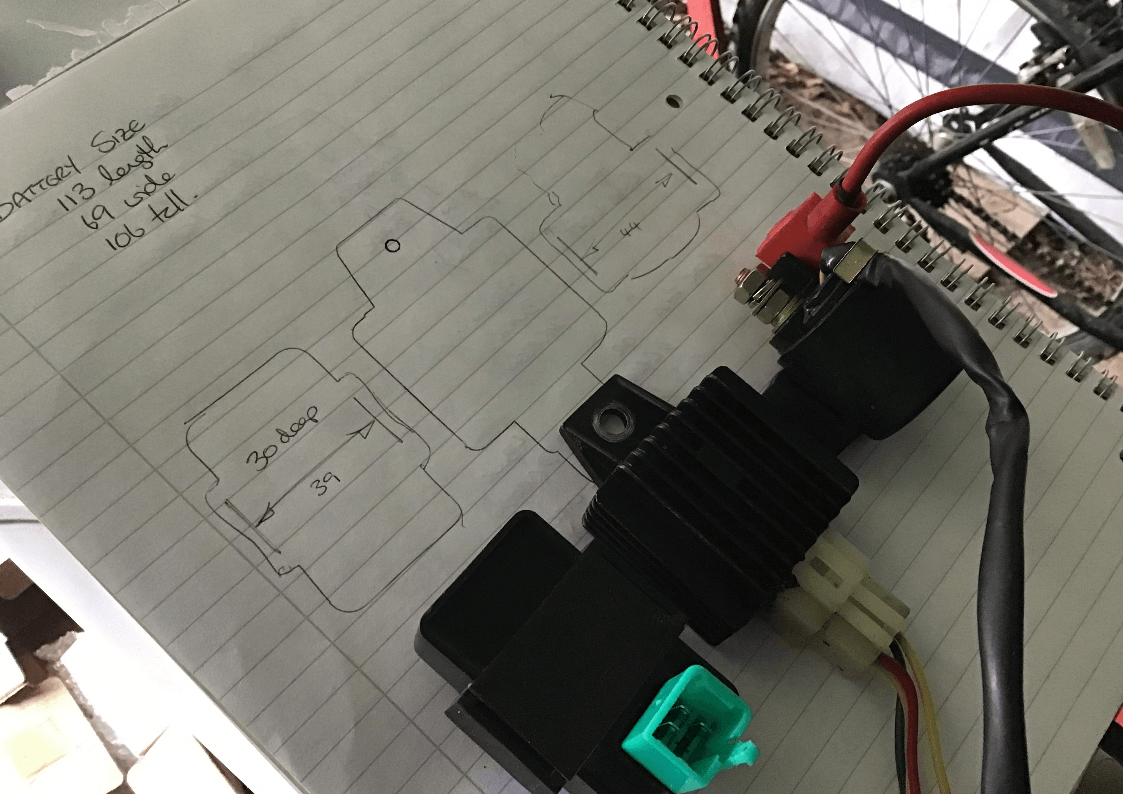
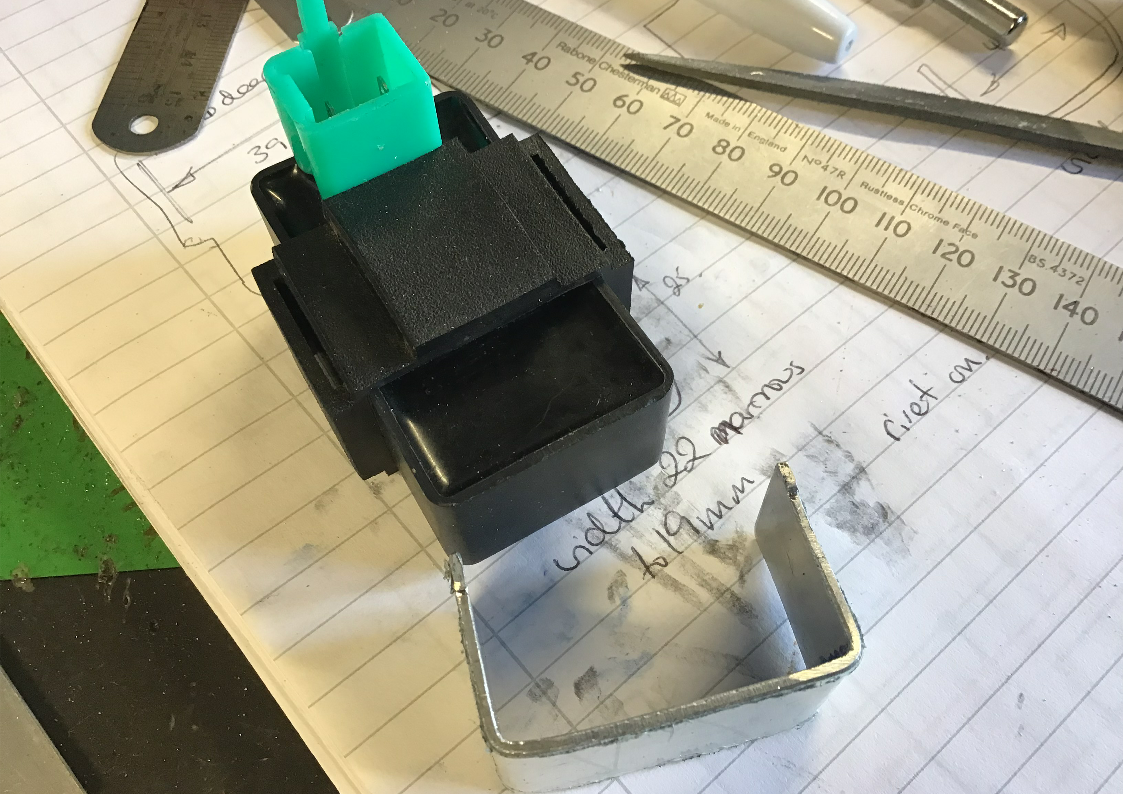
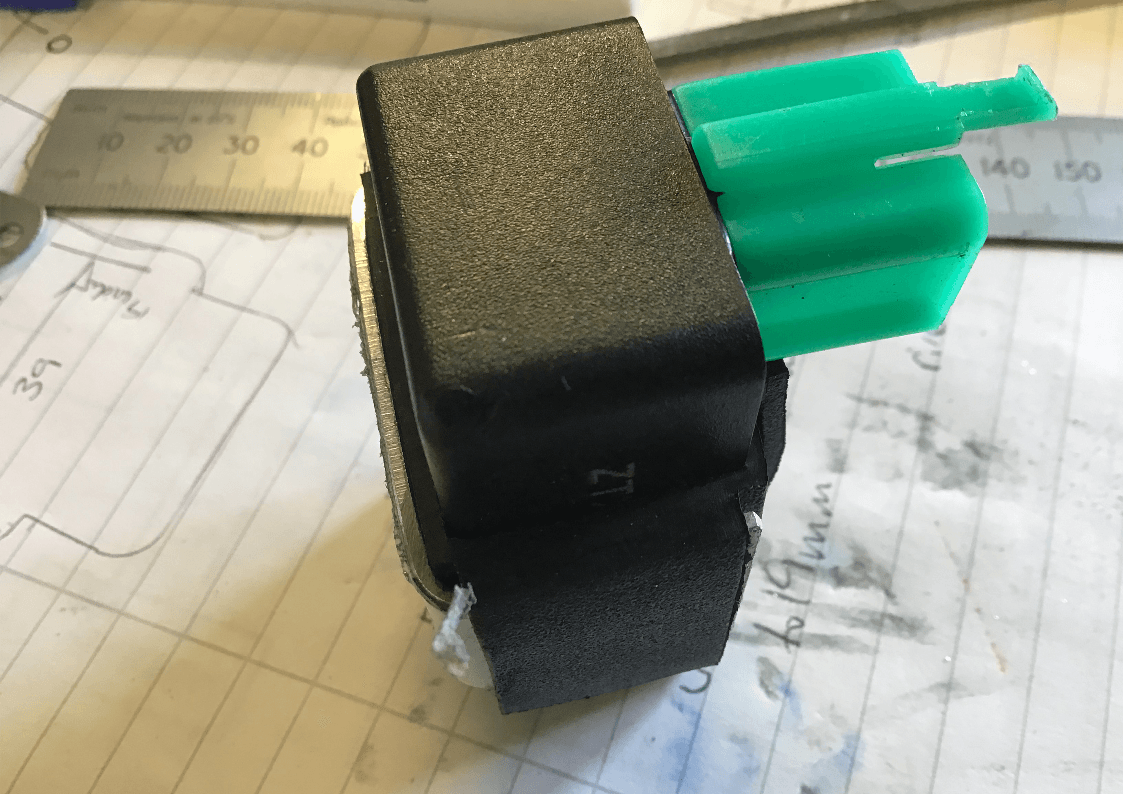
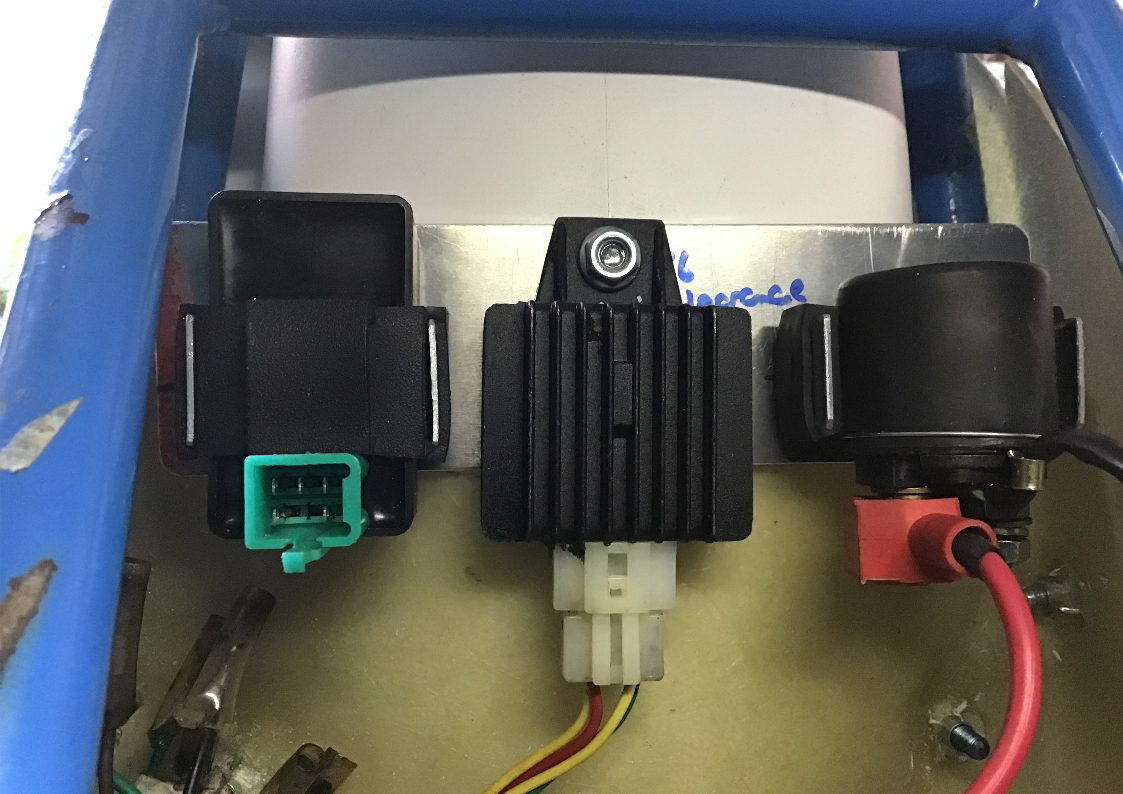
I still needed to find a home for the ignition box, reg/rec and starter relay. There wasn’t really much choice as the only space available would be under the seat. After some thought and measuring, a couple of U shaped brackets were made to fit the rubber mounts of the ignition box and relay. These were then fixed to an aluminium plate using some M4 countersunk screws. The reg/rec was bolted directly to the aluminium plate. Ideally, the reg/rec needs a flow of air to keep it cool. The under seat location is probably not ideal for this, but I’m hoping that the aluminium plate will act as a heatsink and help dissipate the heat. Time will tell…
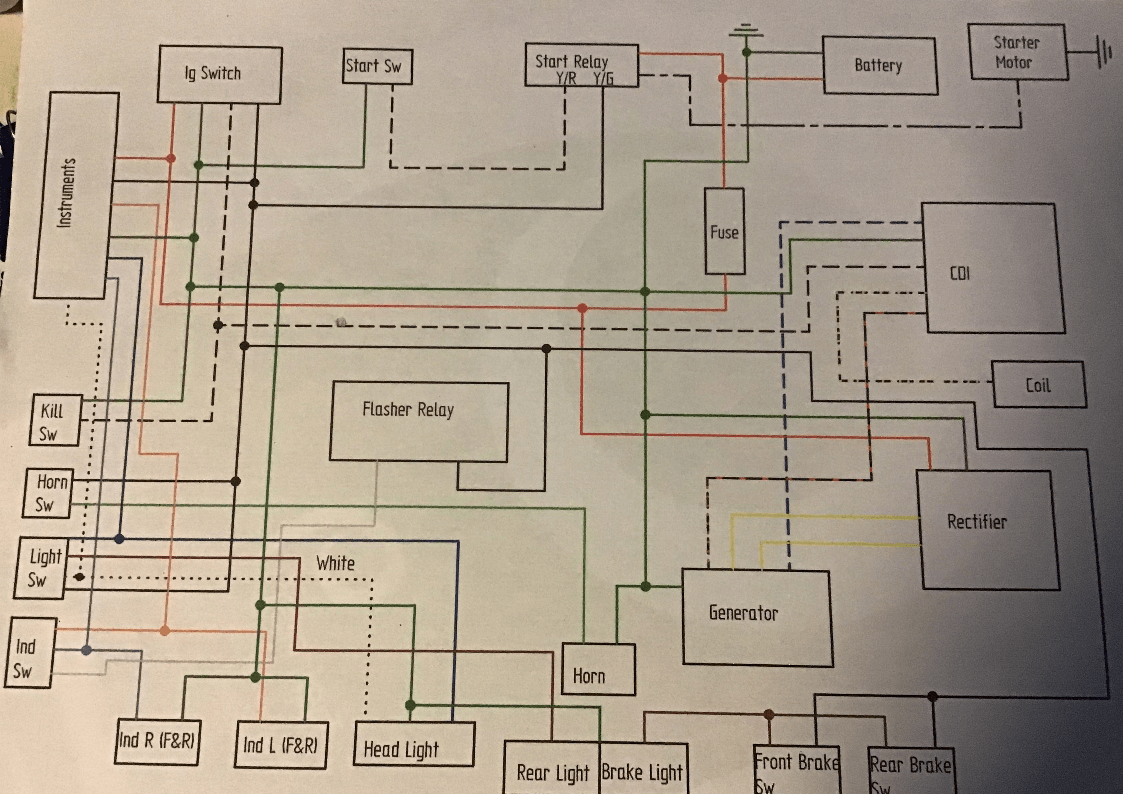
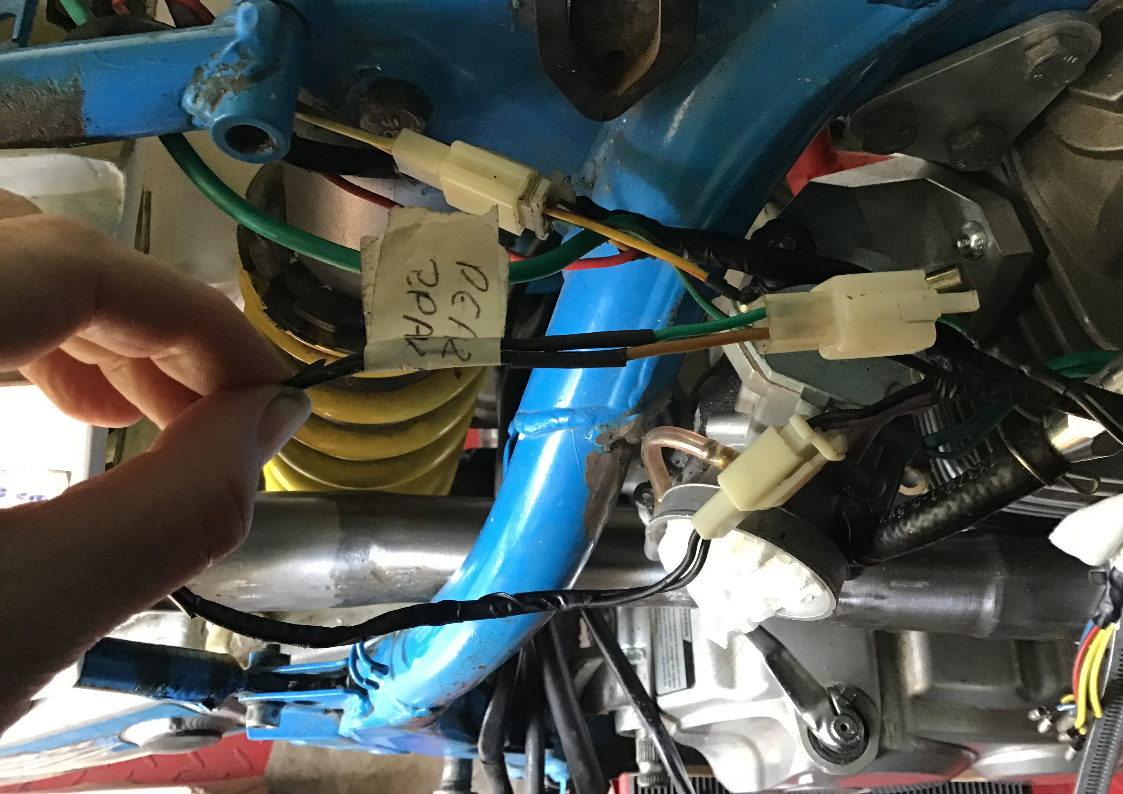
With home found for the electrical bits, the next challenge is to get everything connected up. I decided that I needed to draw myself a wiring diagram and so started tracing the wires through the loom. This was made harder by the annoying propensity for the wires to mysteriously change colour! For example, this is the connector for the rear brake light switch. The wires start off as green and brown, both then become black for a while, before joining up to black and purple wires in the main loom.
Eventually, though, after no little frustration, I think I’ve sorted where everything needs to go on my block diagram. All I need now is some more spare time so that I can start wiring it all up.