Monday Articles - July 2021
Scroll down for latest instalment

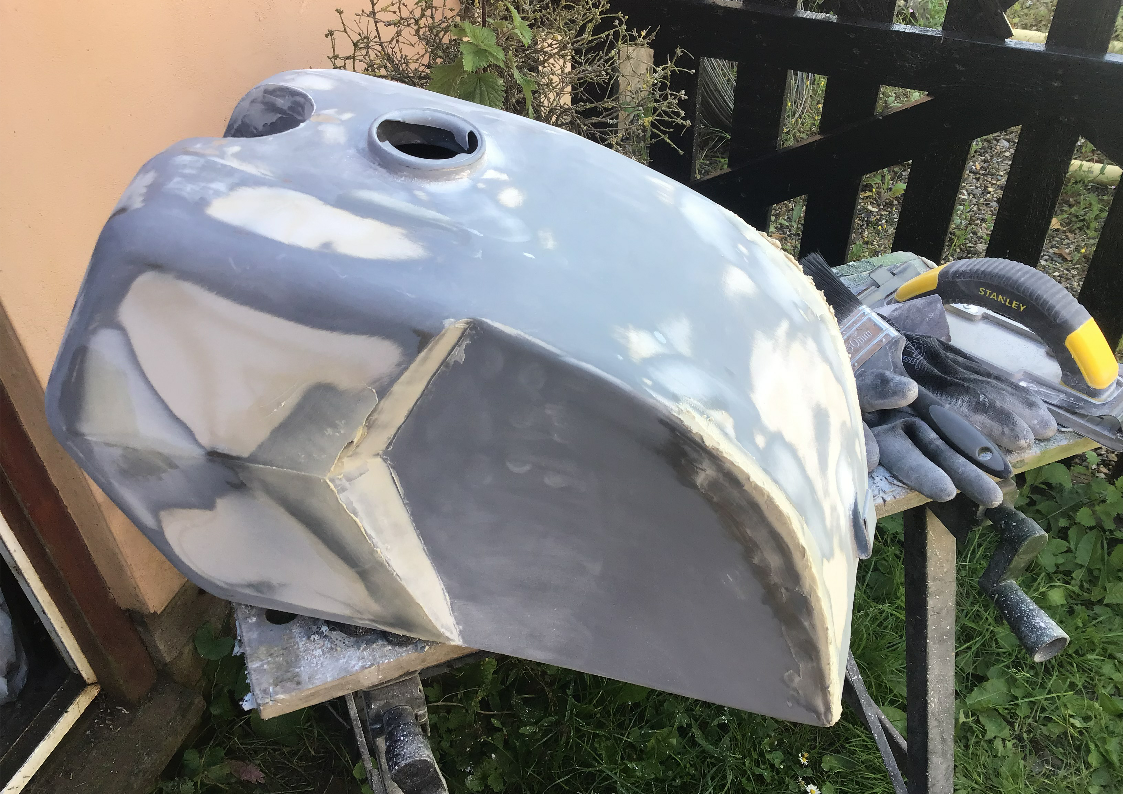
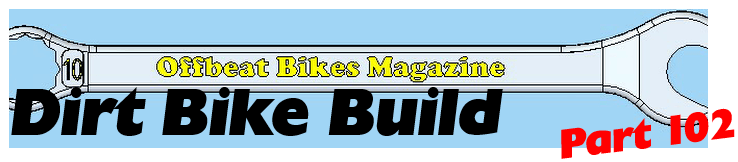
Well, after more hours of getting covered in body filler dust, it was finally time to give the tank its first coat of primer. Getting it sprayed up in a uniform colour starkly highlights all of the blemishes that still remain, so while it doesn’t look too bad in this picture, up close is a very different matter!
That means only one thing, more filling and sanding with the help of my friend Stanley...
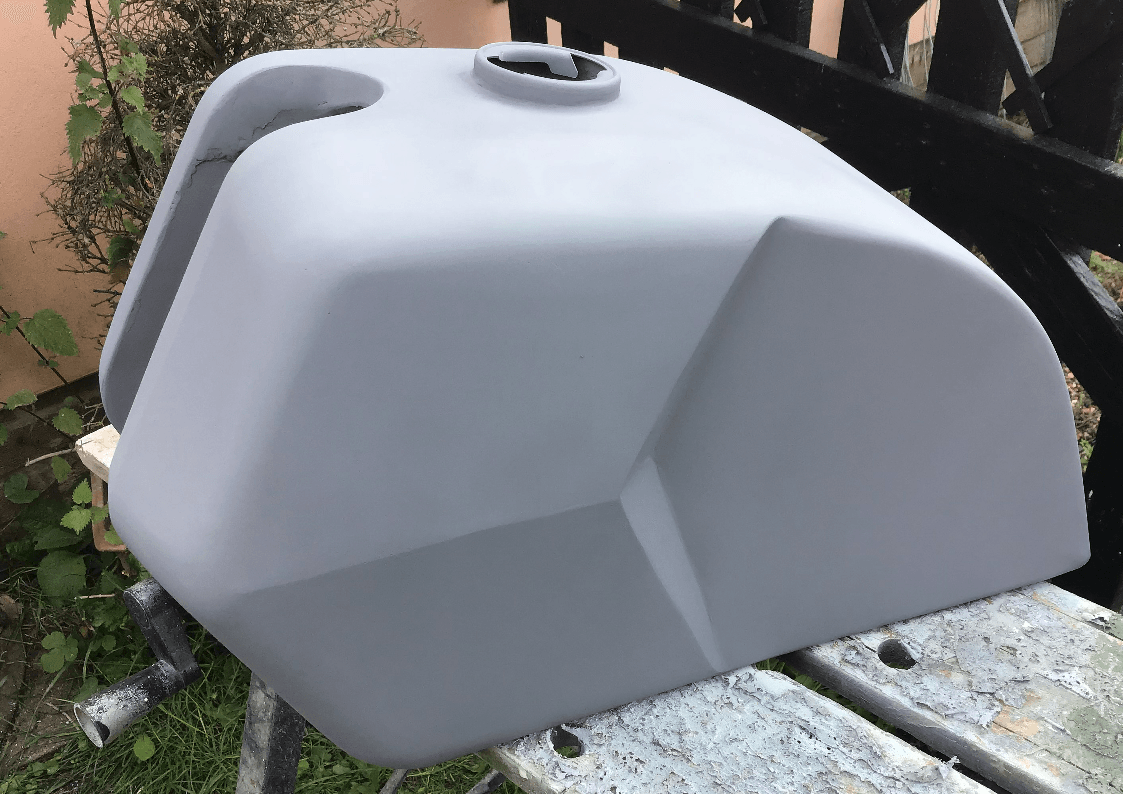
Until once more it’s primer time. Looks a bit better, but there’s at least one more round of filling and sanding to go before I’ll be happy with it.
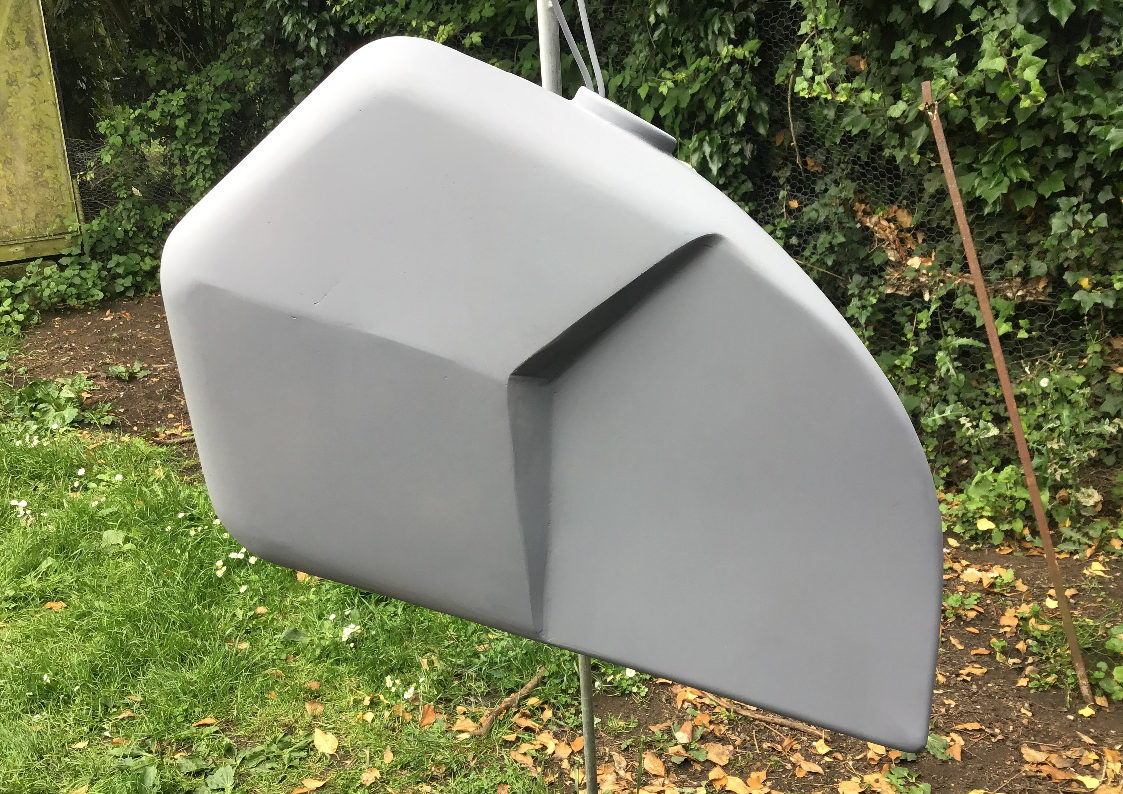
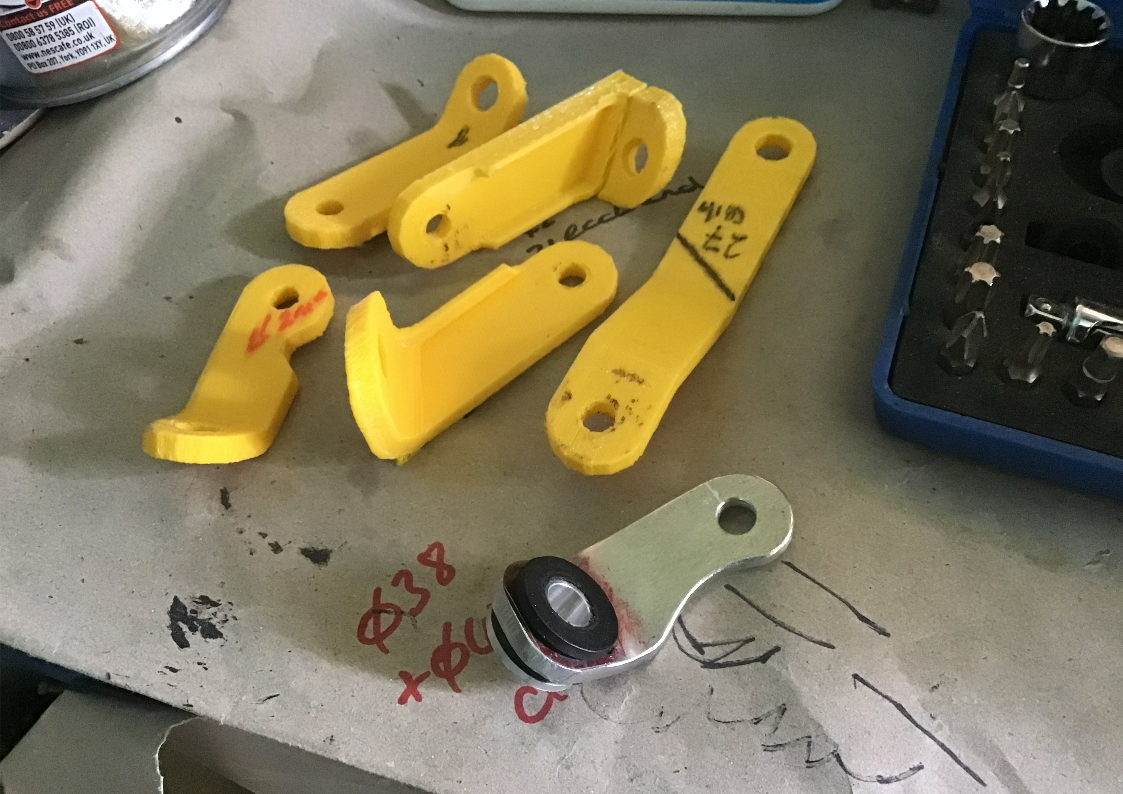
More filling and sanding has resulted in a petrol tank that is still not perfect, but it will do for now. The next job on the list is the exhaust pipe. I’ve done some work on this previously ( a long time ago!) using some 3D printed bends to mock up a suitable system. It seems that I then recorded my results in what looks like some kind of code: which obviously made sense then, but means very little to me now. Hopefully, after I’ve stared at it for a bit, my memory may kick in…
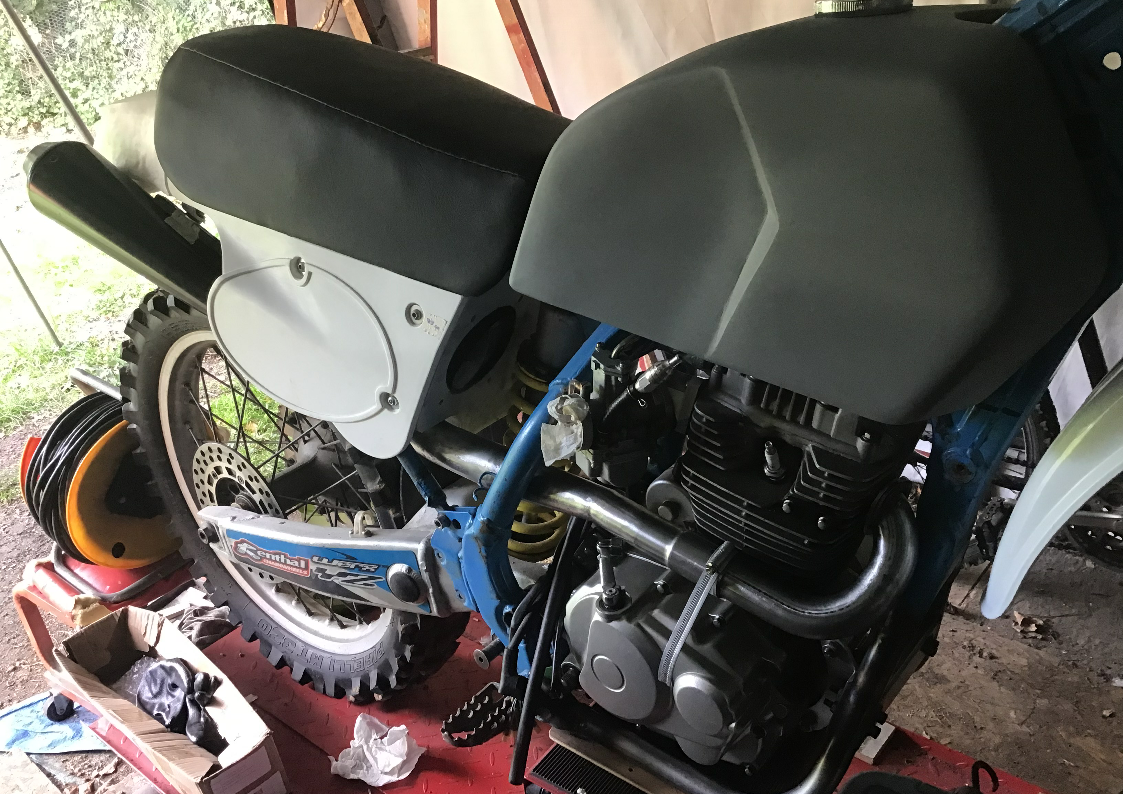
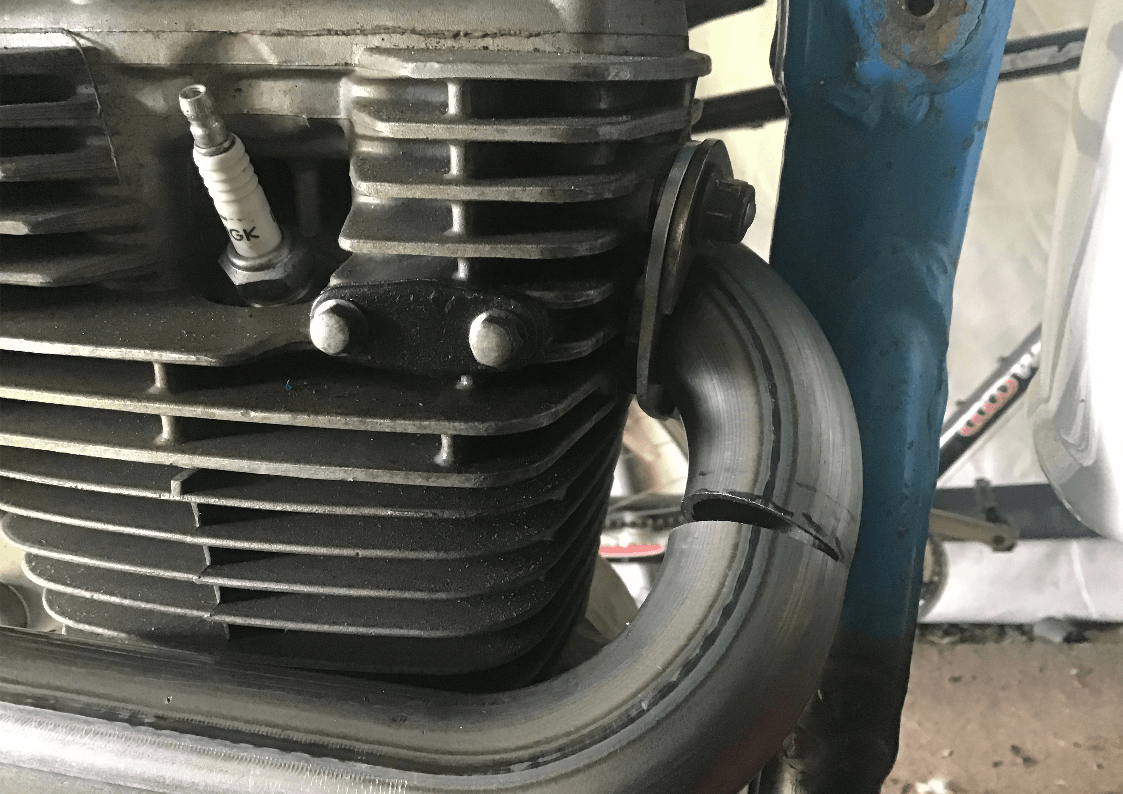
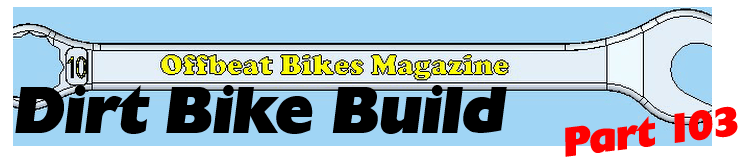
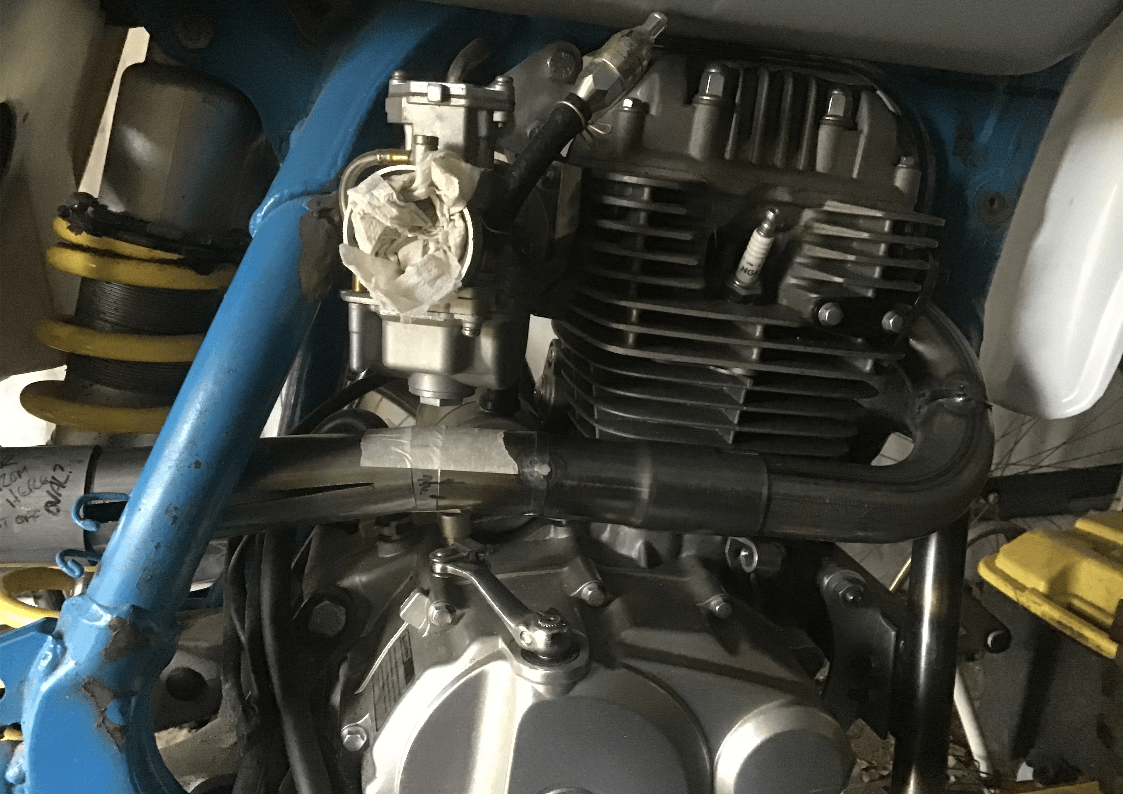
What I do remember is that there is very little room at the front of the engine for an exhaust pipe to exit and miss the frame’s down-tube.

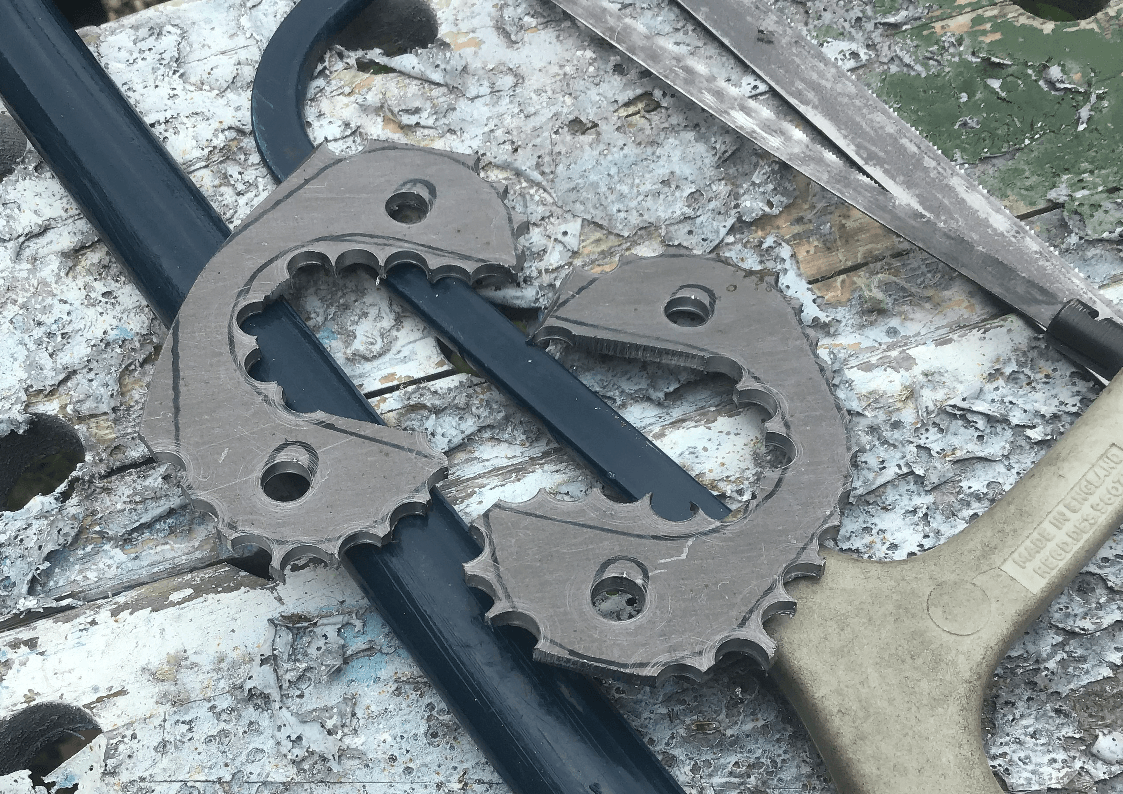
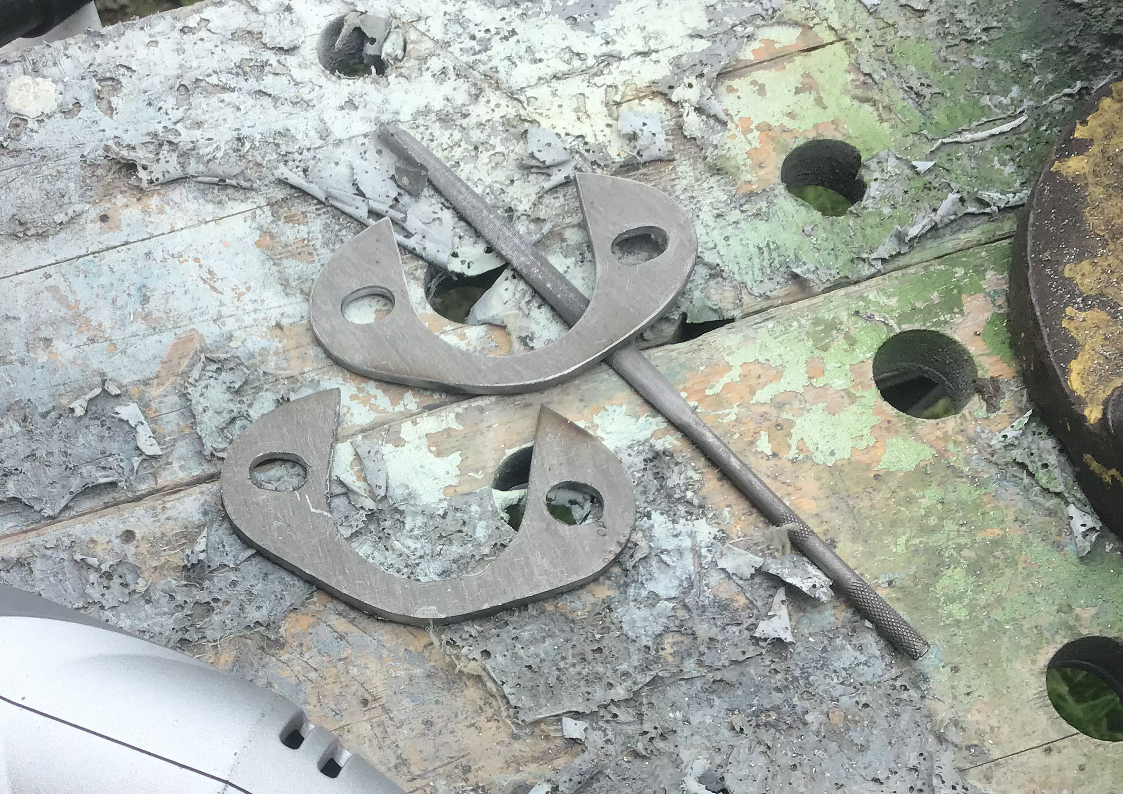
This is the current solution, a very tight bend out from the cylinder head. This fits, but makes clamping it in place difficult, so we have one ring to seal against the exhaust gasket and a second for the exhaust clamp to butt up against. The clamp itself has to be of a split design because there isn’t sufficient room to manoeuvre a solid one between frame and exhaust.

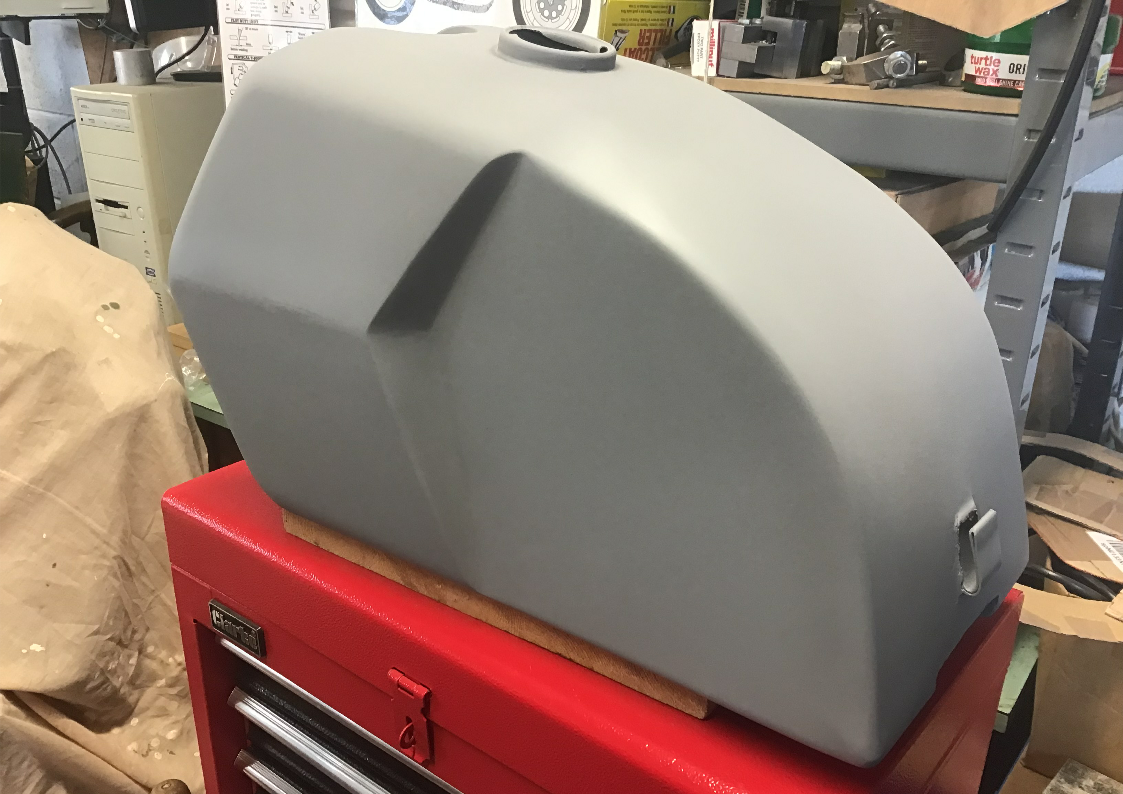
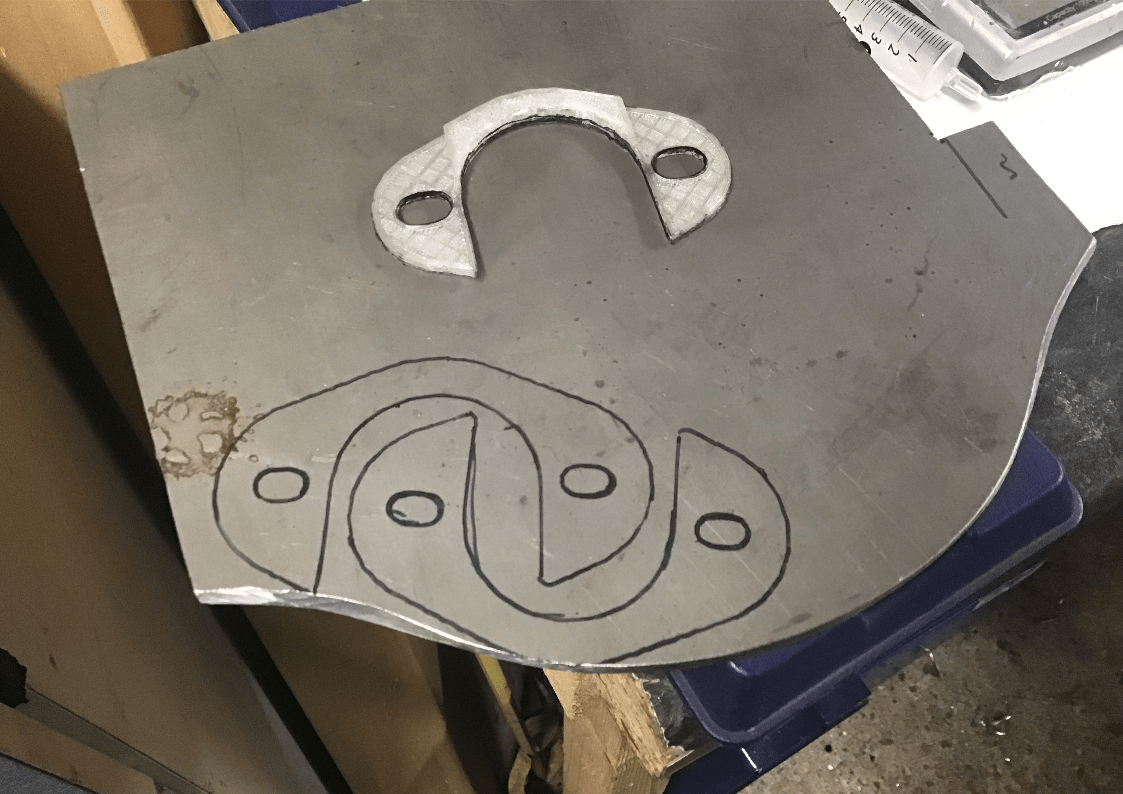
The split clamp was made from 3mm steel using the tried and trusted method of drilling, hacksawing, grinding and filing, with a little bit of welding to add the required step.
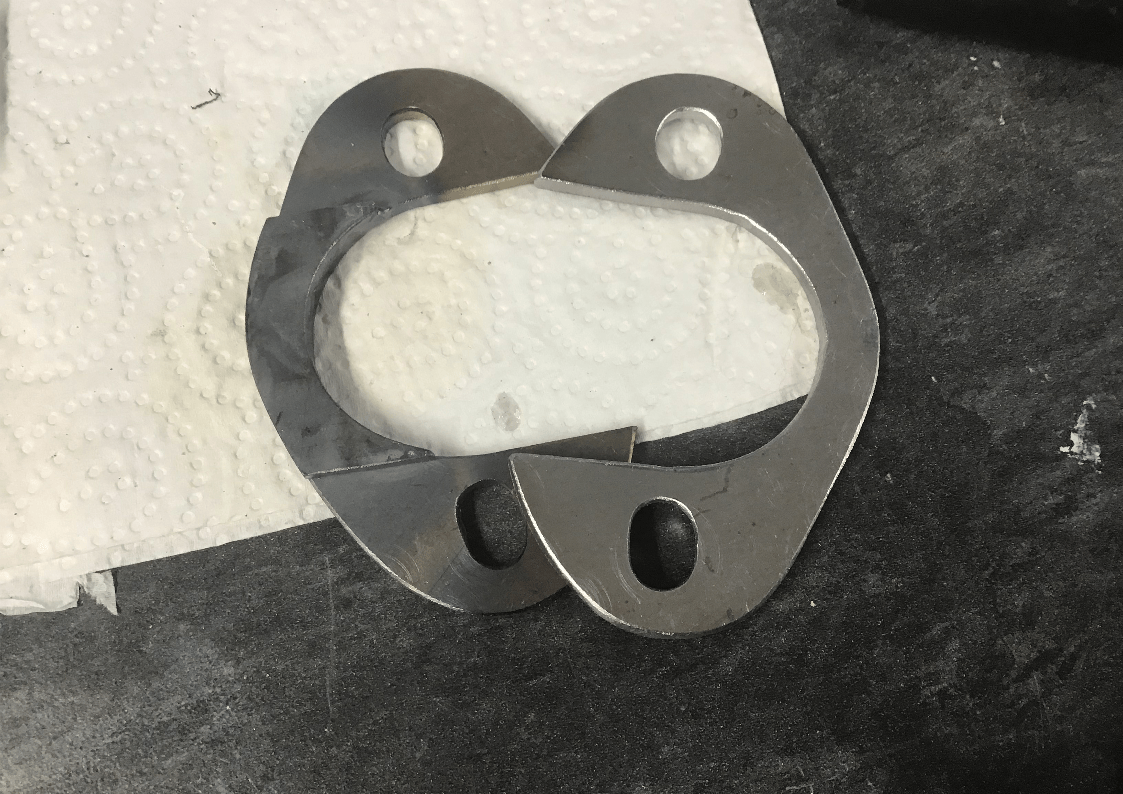
It seems to be doing a reasonable job of holding everything in place. At least its a start…
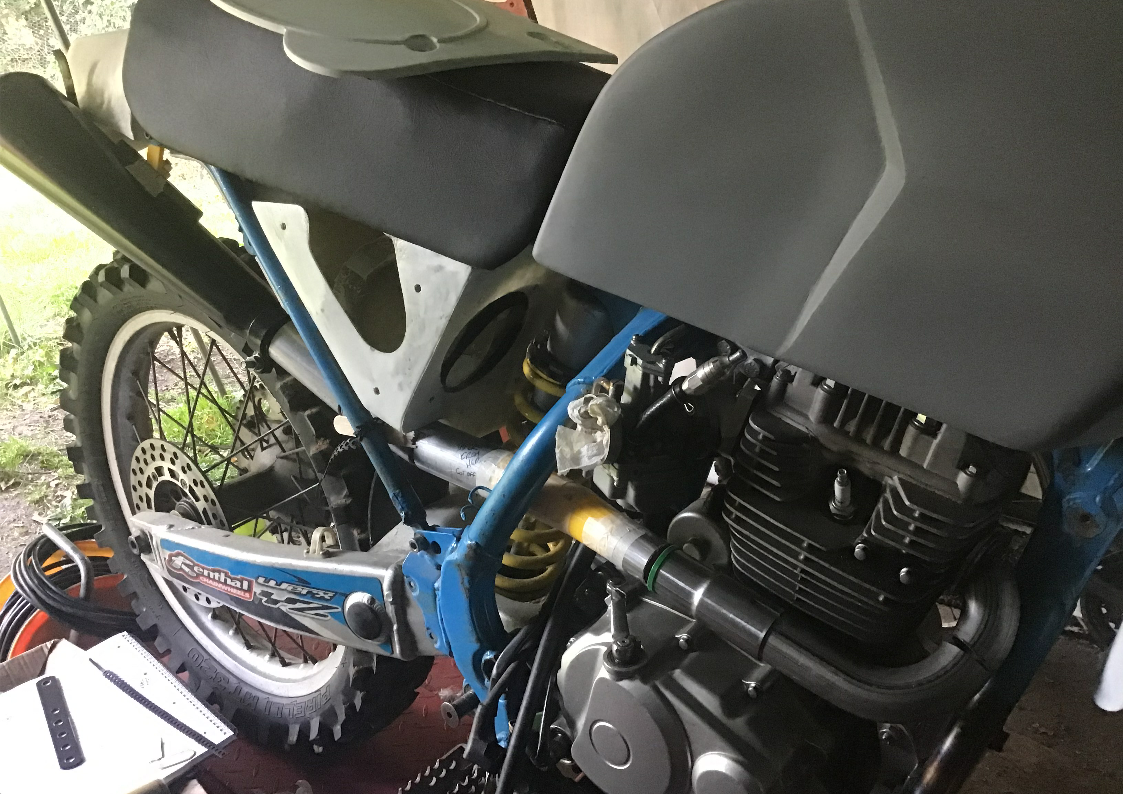
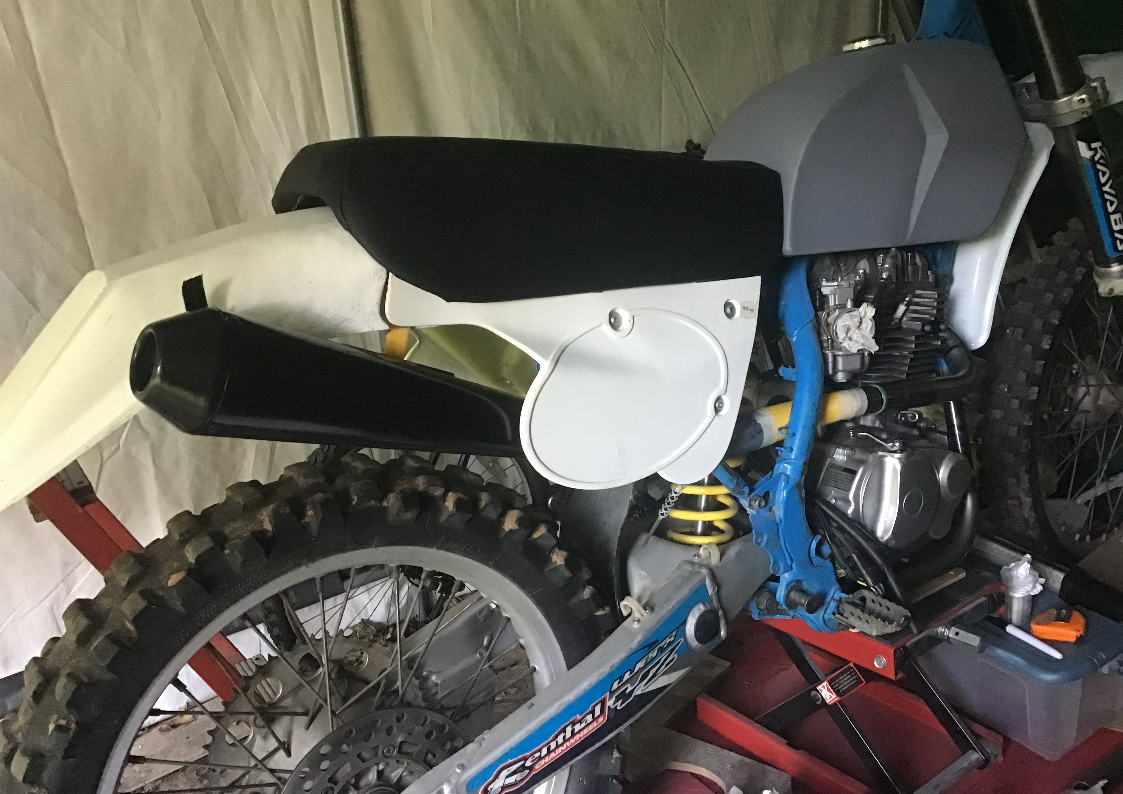
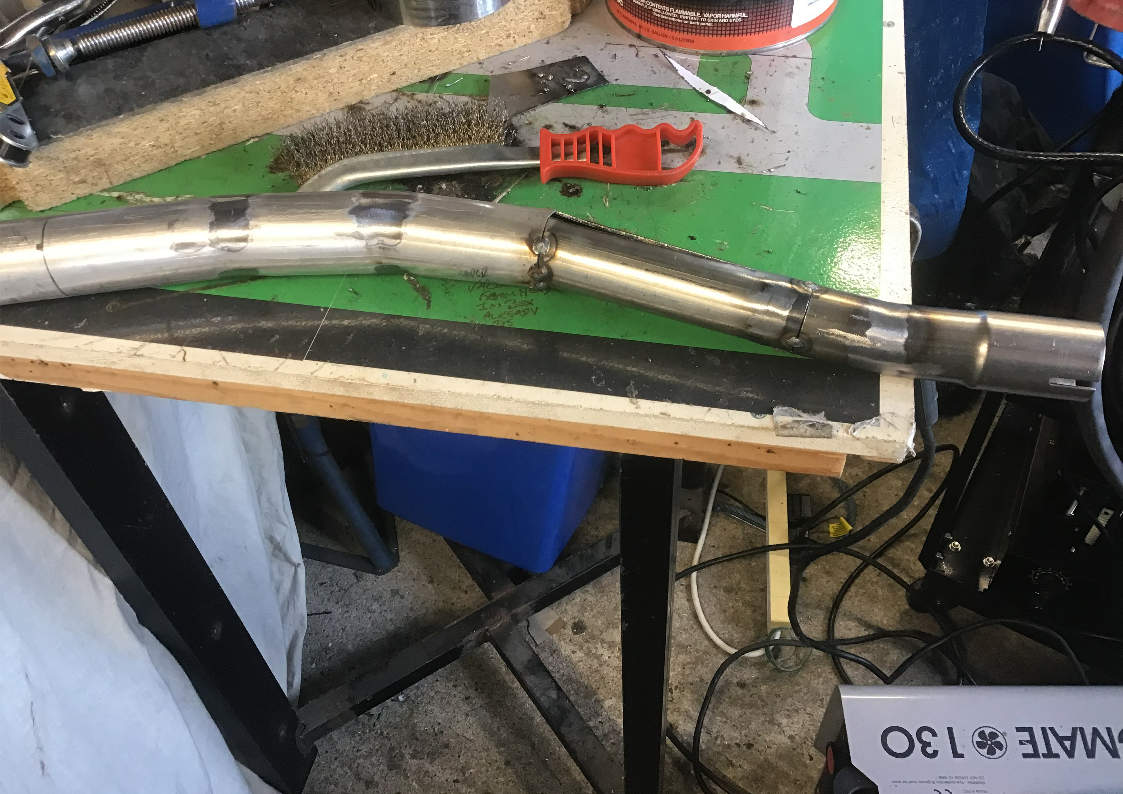
Progress on the exhaust system has been better than I expected. In the end I went for the simplest design that I could. Basically it’s as straight as I could make it, except for a little wiggle around the frame / shock area. There were a few gentle bends necessary and these were made using the ‘cut part way through the pipe with a hacksaw and then bend to shape’ method. This did, of course, leave gaps that would eventually need filling, but it allowed the basic shape of the pipe to be rapidly be determined. The difficult bit occurred around the rear shock; here the pipe needed to both expand from 35mm to 45mm, and avoid the frame and shock absorber. In the following two pictures, the gap is bridged by a 3D printed prototype.
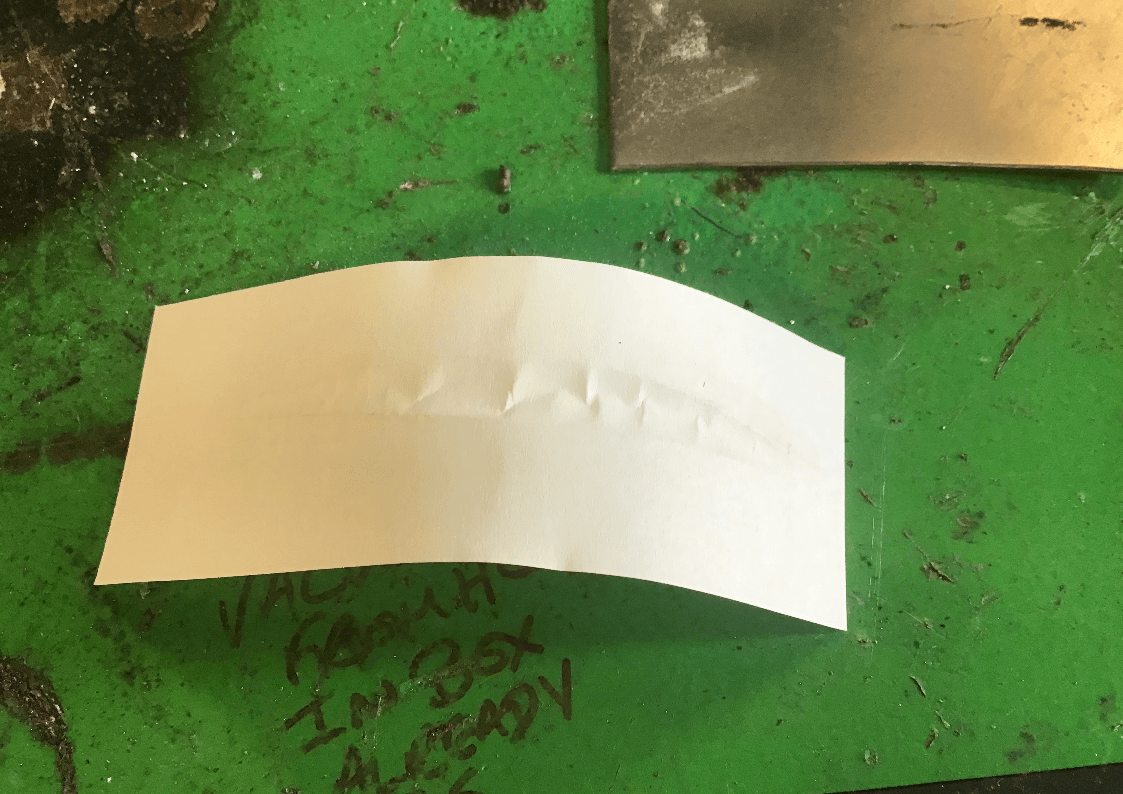
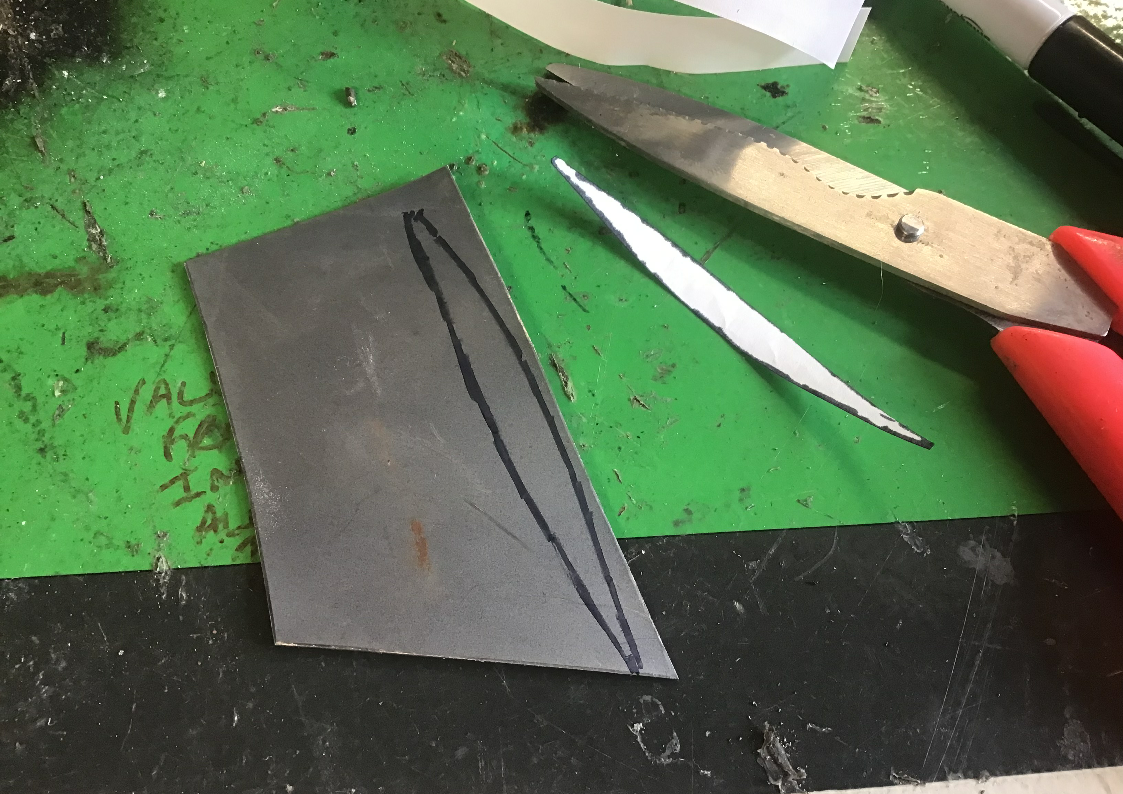
Before attempting to replicate the 3D part in metal, I decided to first weld up the gaps in the rest of the pipe. This required ‘slivers’ of metal to be cut and bent to fit the gaps. I used the clean piece of paper and grotty finger technique to make a pattern.
With the gaps filled and tack-welded together, it’s time to try and bridge the big gap in the middle using something more heat resistant than PLA plastic. To give a little more wiggle room, the end of the 45mm pipe was ovalised (by a gentle crushing in a vice) and the required taper made by hacksawing most of the way along the length of a piece of 35mm pipe and then opening it up to suit. Once tack-welded into place, this just left the gaps at the side to be plated over.
The silencer needed a suitable bracket; after 5 tries with the 3D printer to get the correct dimensions, a suitable aluminium version (complete with rubber mount) was fabricated.
It needs some better exhaust clamps, and the design is not going to trouble Mr Akrapovic or Yoshimura, but hopefully it’ll do the job.