Monday Articles - September 2021
Scroll down for latest instalment
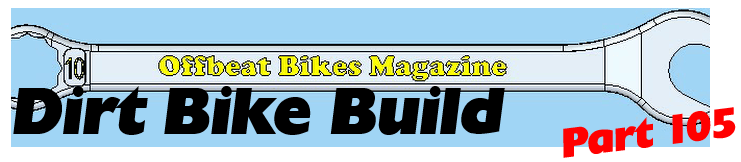
Armed with my wiring diagram, a supply of crimp connecters and some cable, the wiring begins in earnest.
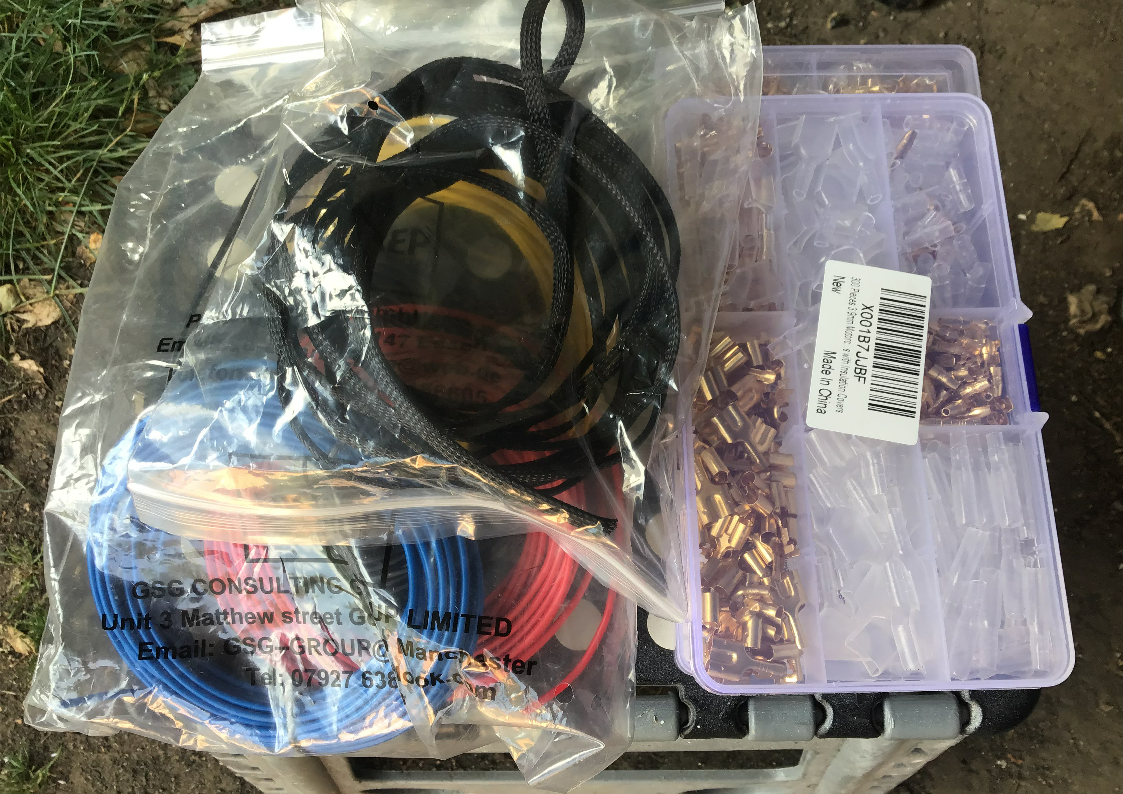
And now it’s starting to look a little better.
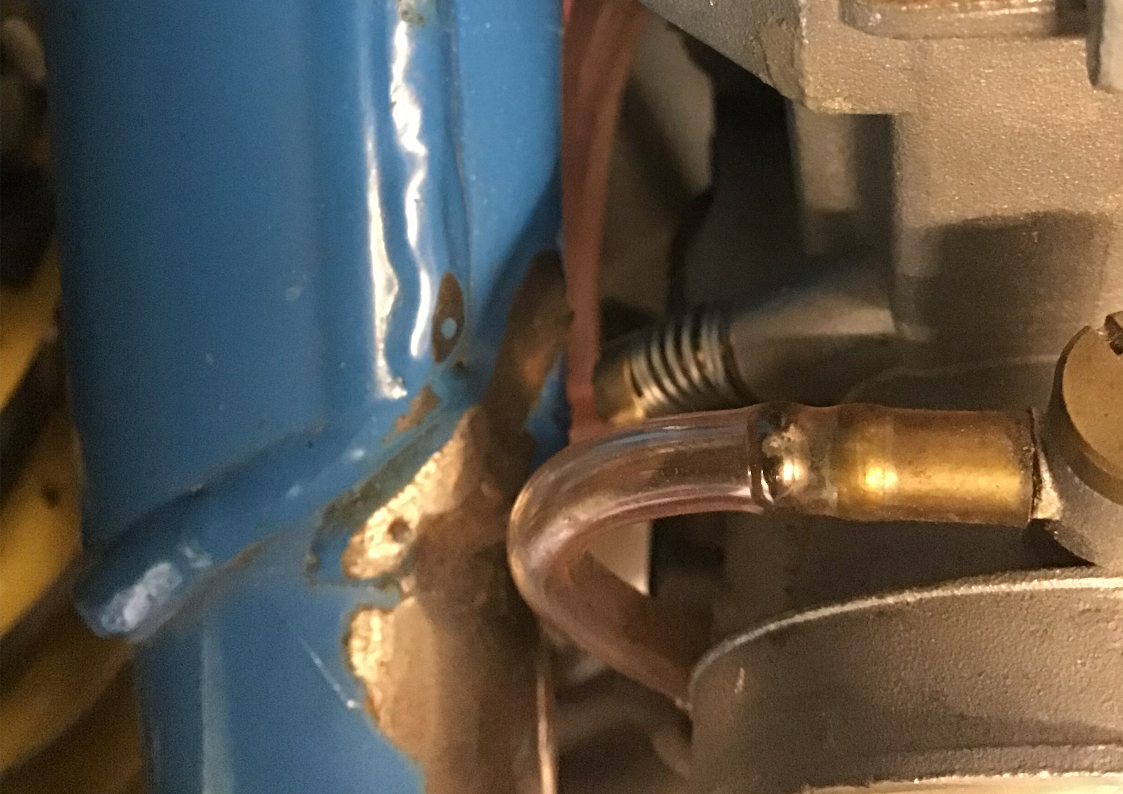
Also gave the carb a clean. Couldn’t remember why I’d left the idle adjuster out. The reason is now clear!
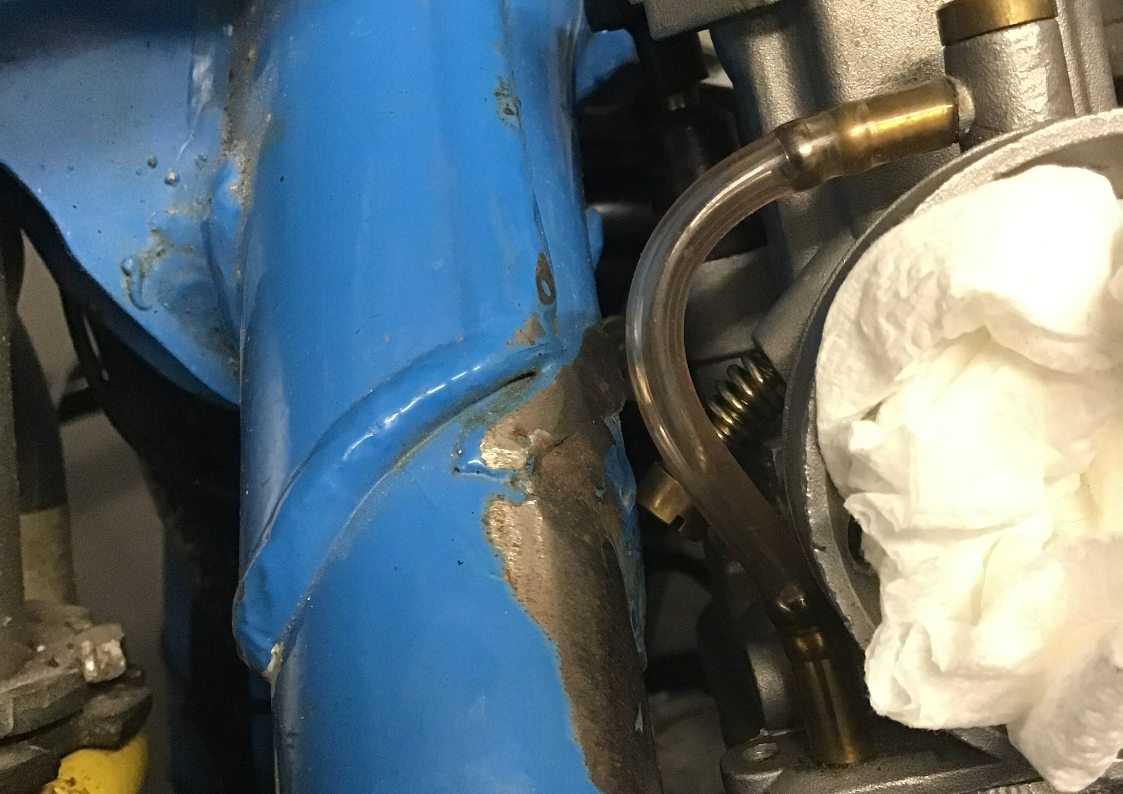
Shortening the idle adjuster screw means that it now clears the frame but once the air box’s ‘snorkel’ is in place, the adjuster becomes inaccessible.
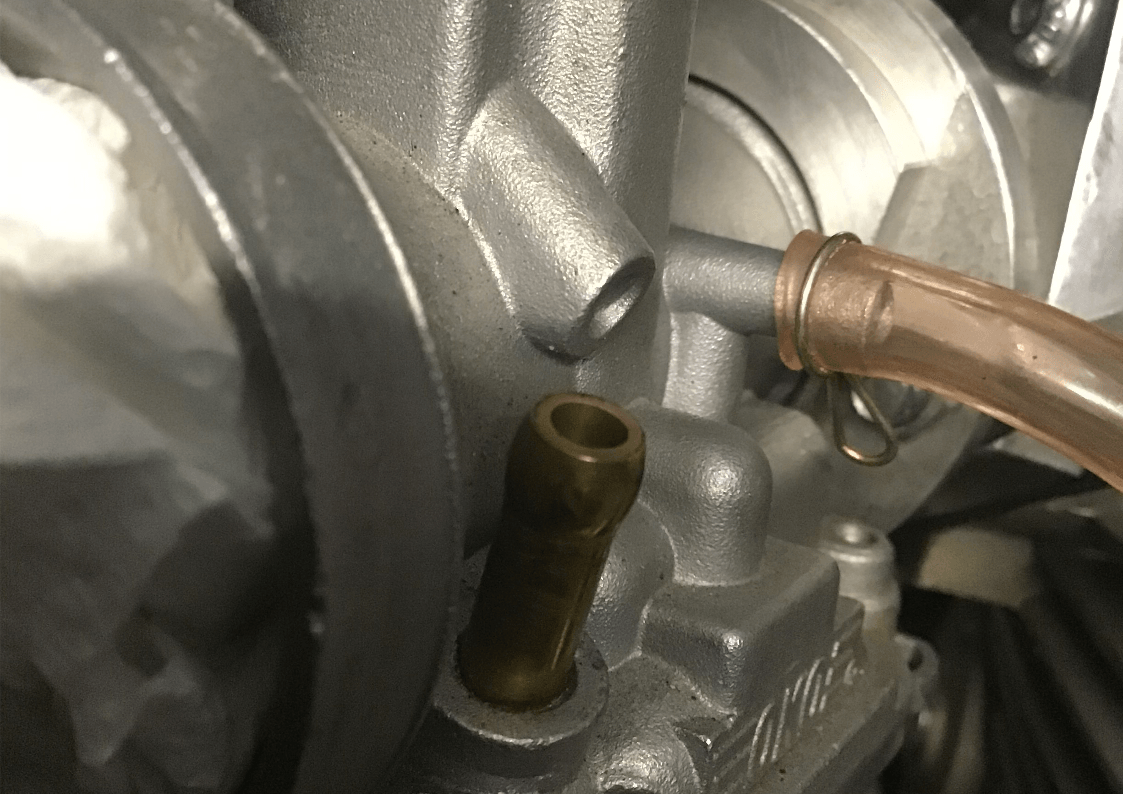
Fortunately, there is the facility to fit the adjuster to the other side of the carb, with a bit of drilling and tapping (and, of course bunging up the original hole on the other side). But that’s a job for another time.
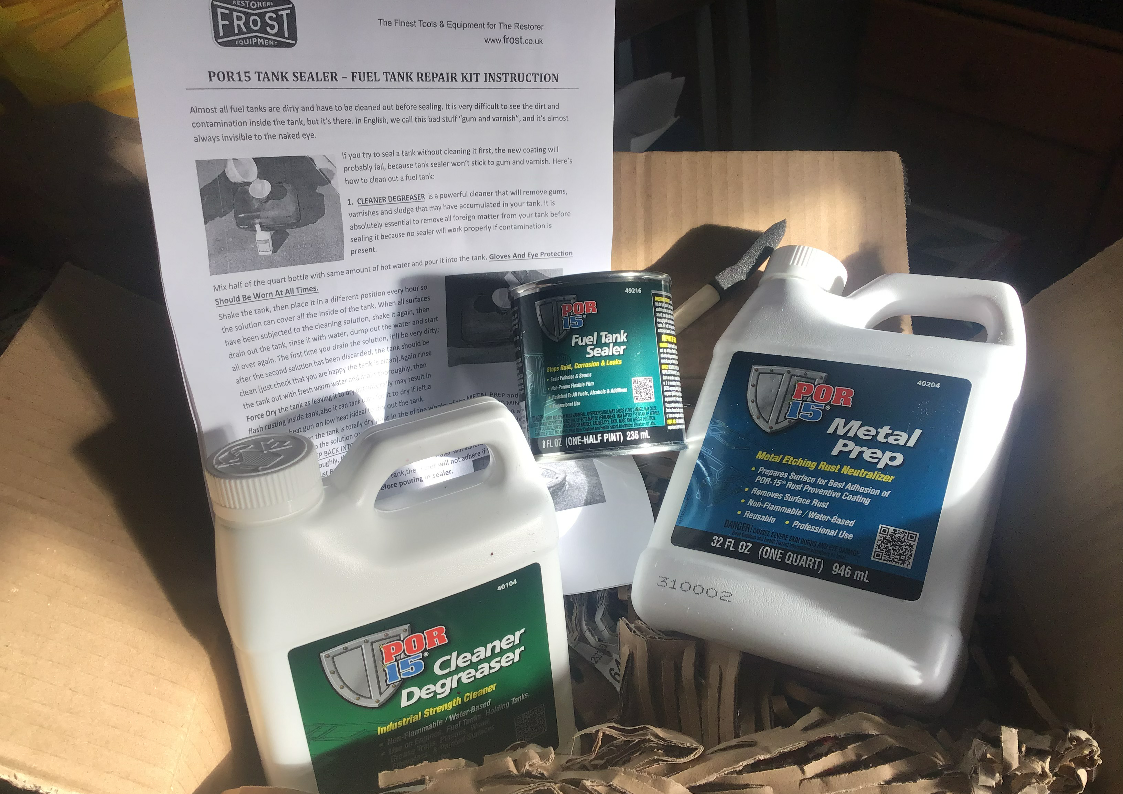
Tank sealer stuff also arrived. This is the Por 15 version from Frost Automotive. There are lots of videos etc. dealing with tank sealing, but basically it’s a case of following the instructions to the letter for best results.
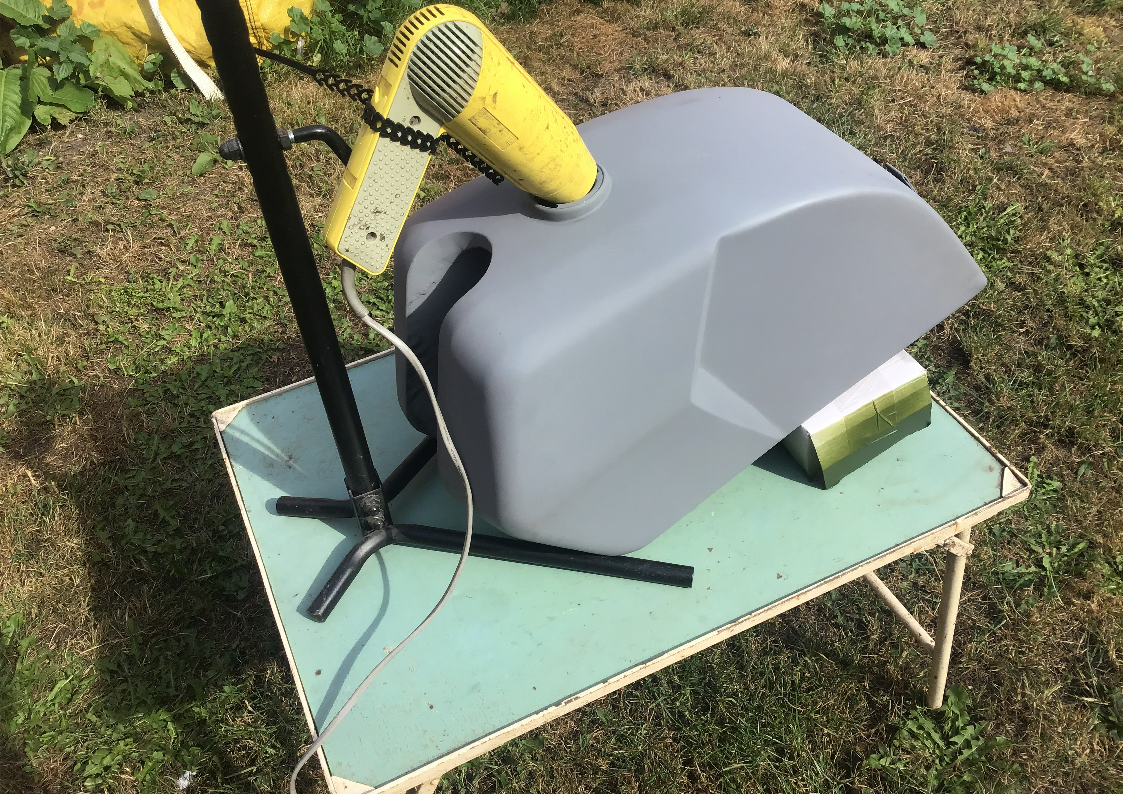
The hardest part was trying to dry the tank thoroughly between solutions. I thought a hot, sunny day and a hairdryer would do it quite quickly. Despite my patented hairdryer stand, I was wrong. It took ages. After some experimenting, I eventually found using an air line from the compressor did a much quicker job.
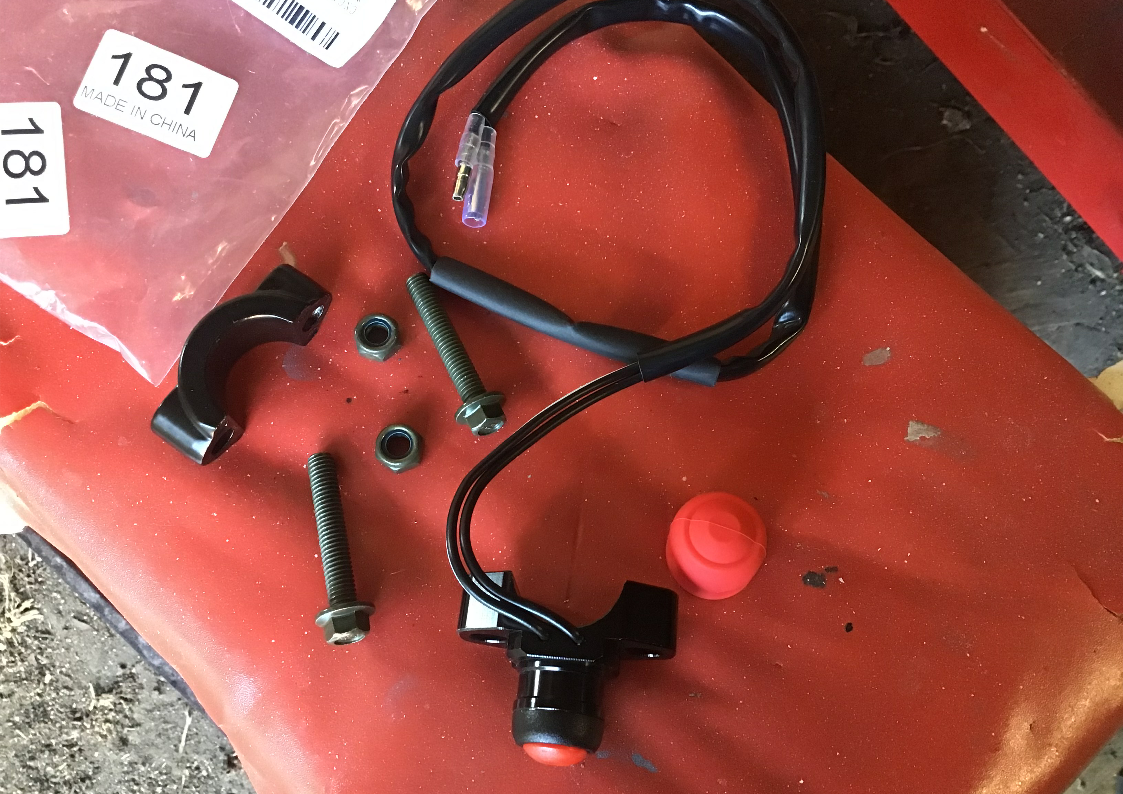
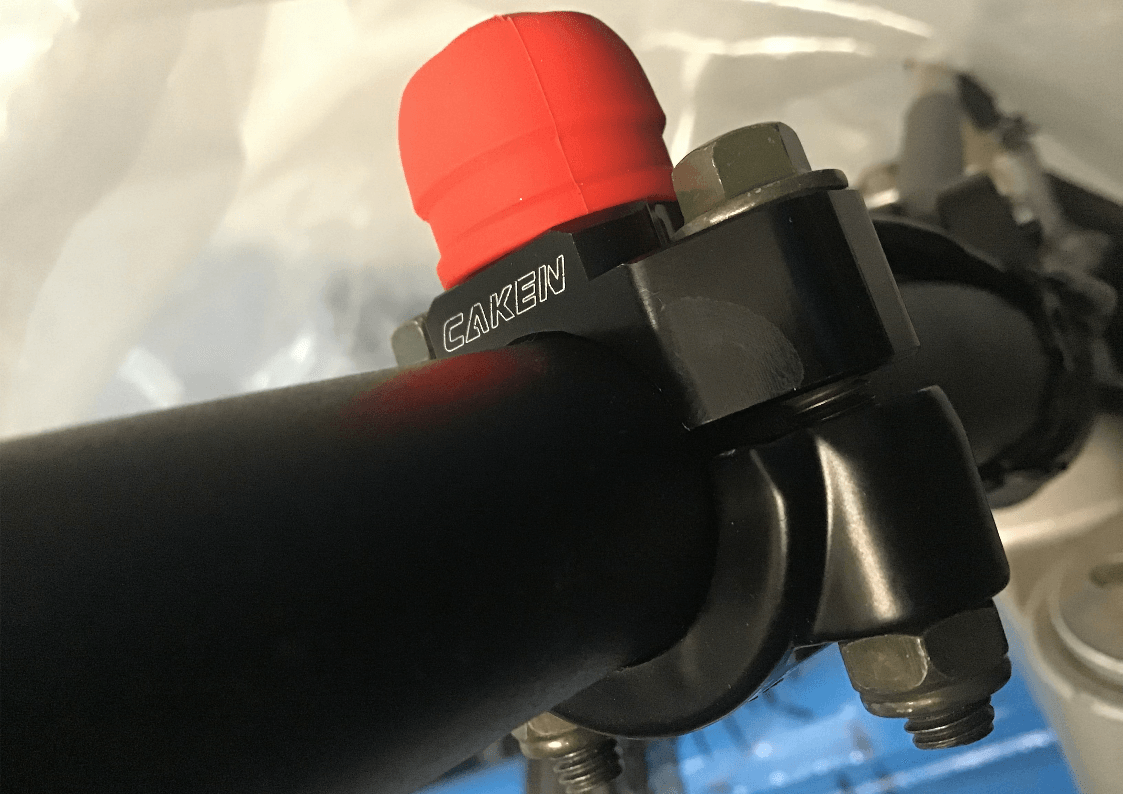
The original starter button was a cheap plastic kill switch. I didn’t need much excuse to replace it with this aluminium version. (From Amazon, it was good value for just under £7.)
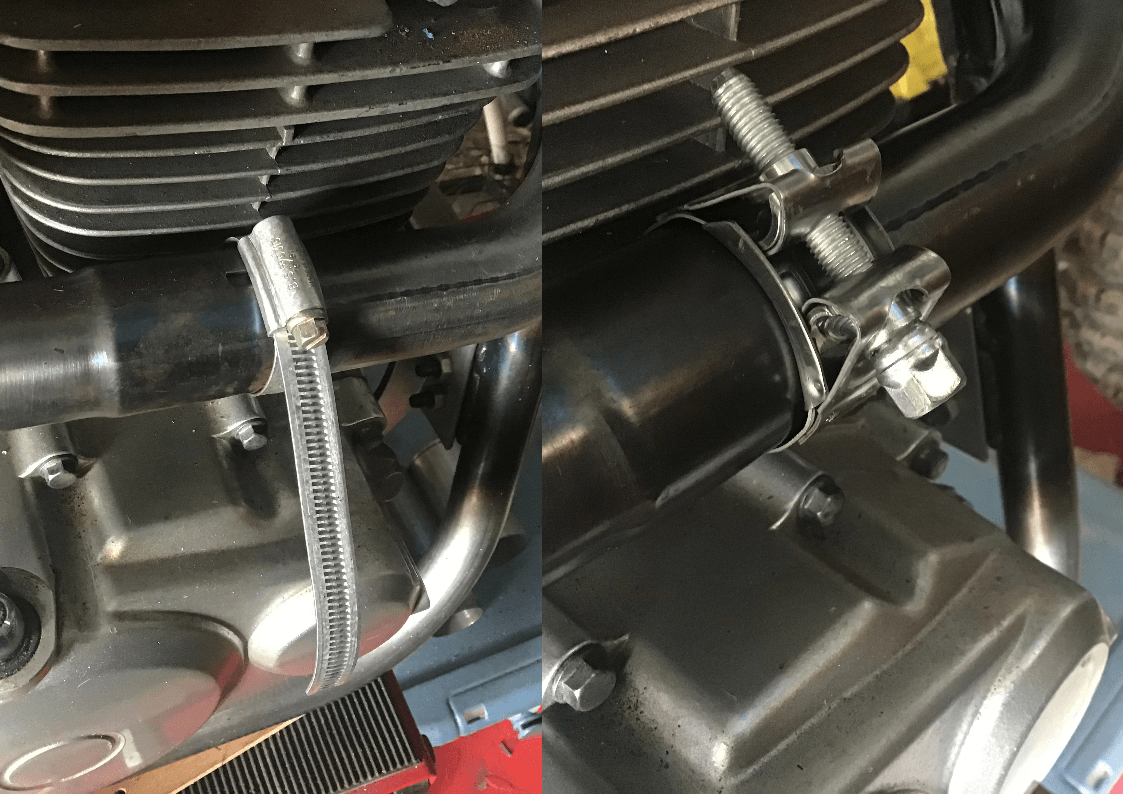
I also replaced the temporary exhaust clamp with a much nicer one. It would have looked even better if I’d shortened the bolt and mounted it the other way up!