December 2019

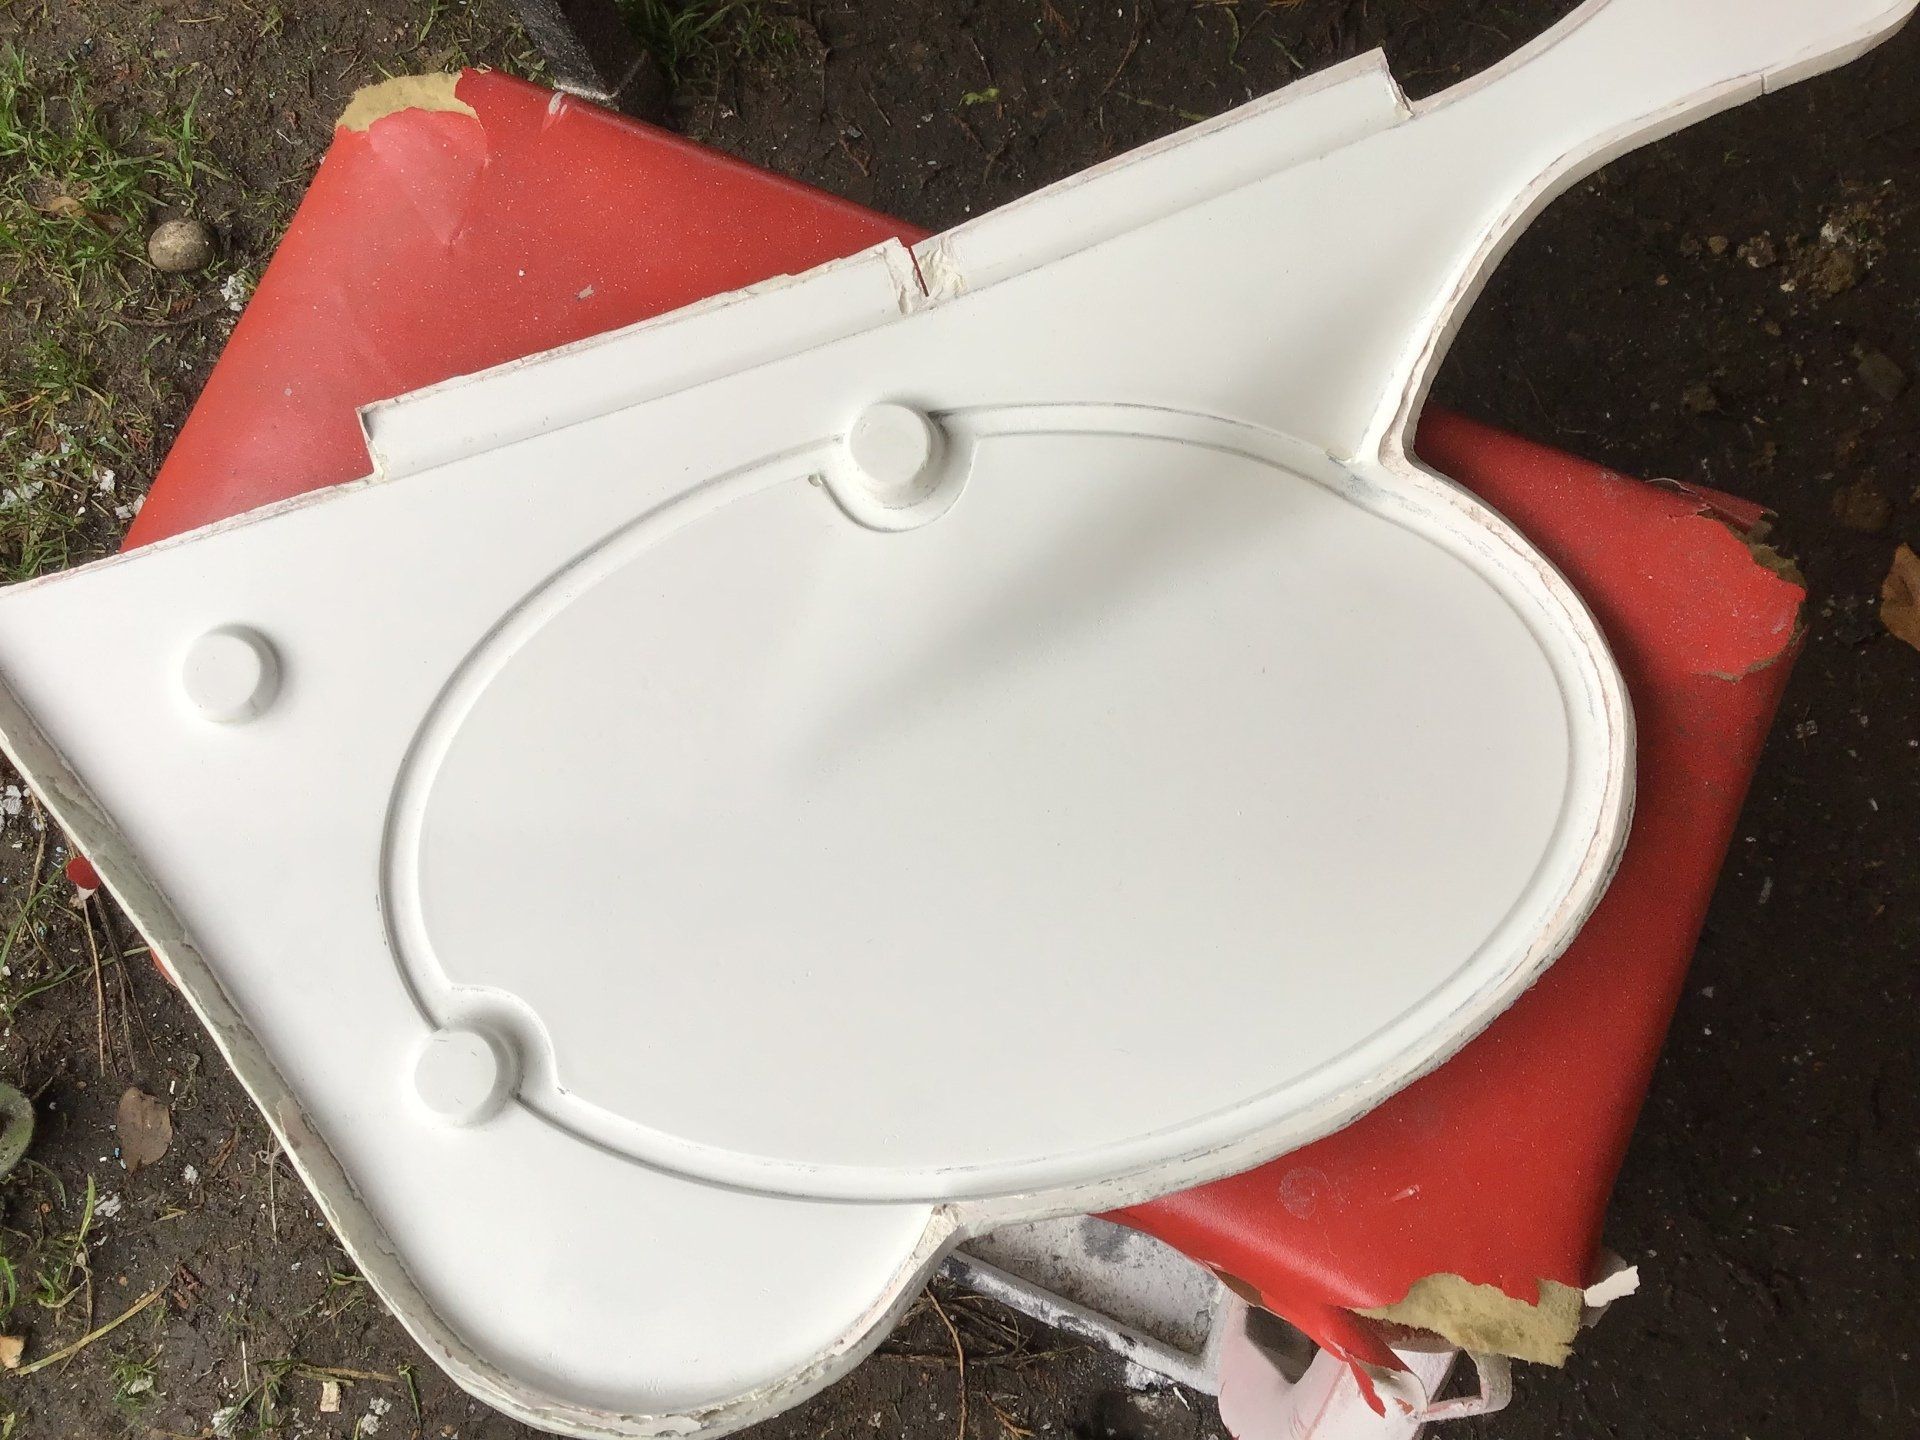
After a good soaking in the bath the pattern was persuaded to part company from the mould. It required a little bit of filling and tidying up before use, but otherwise it was good to go.
Here it is, all polished up, with surface tissue and chopped strand mat prepared and ready to go.
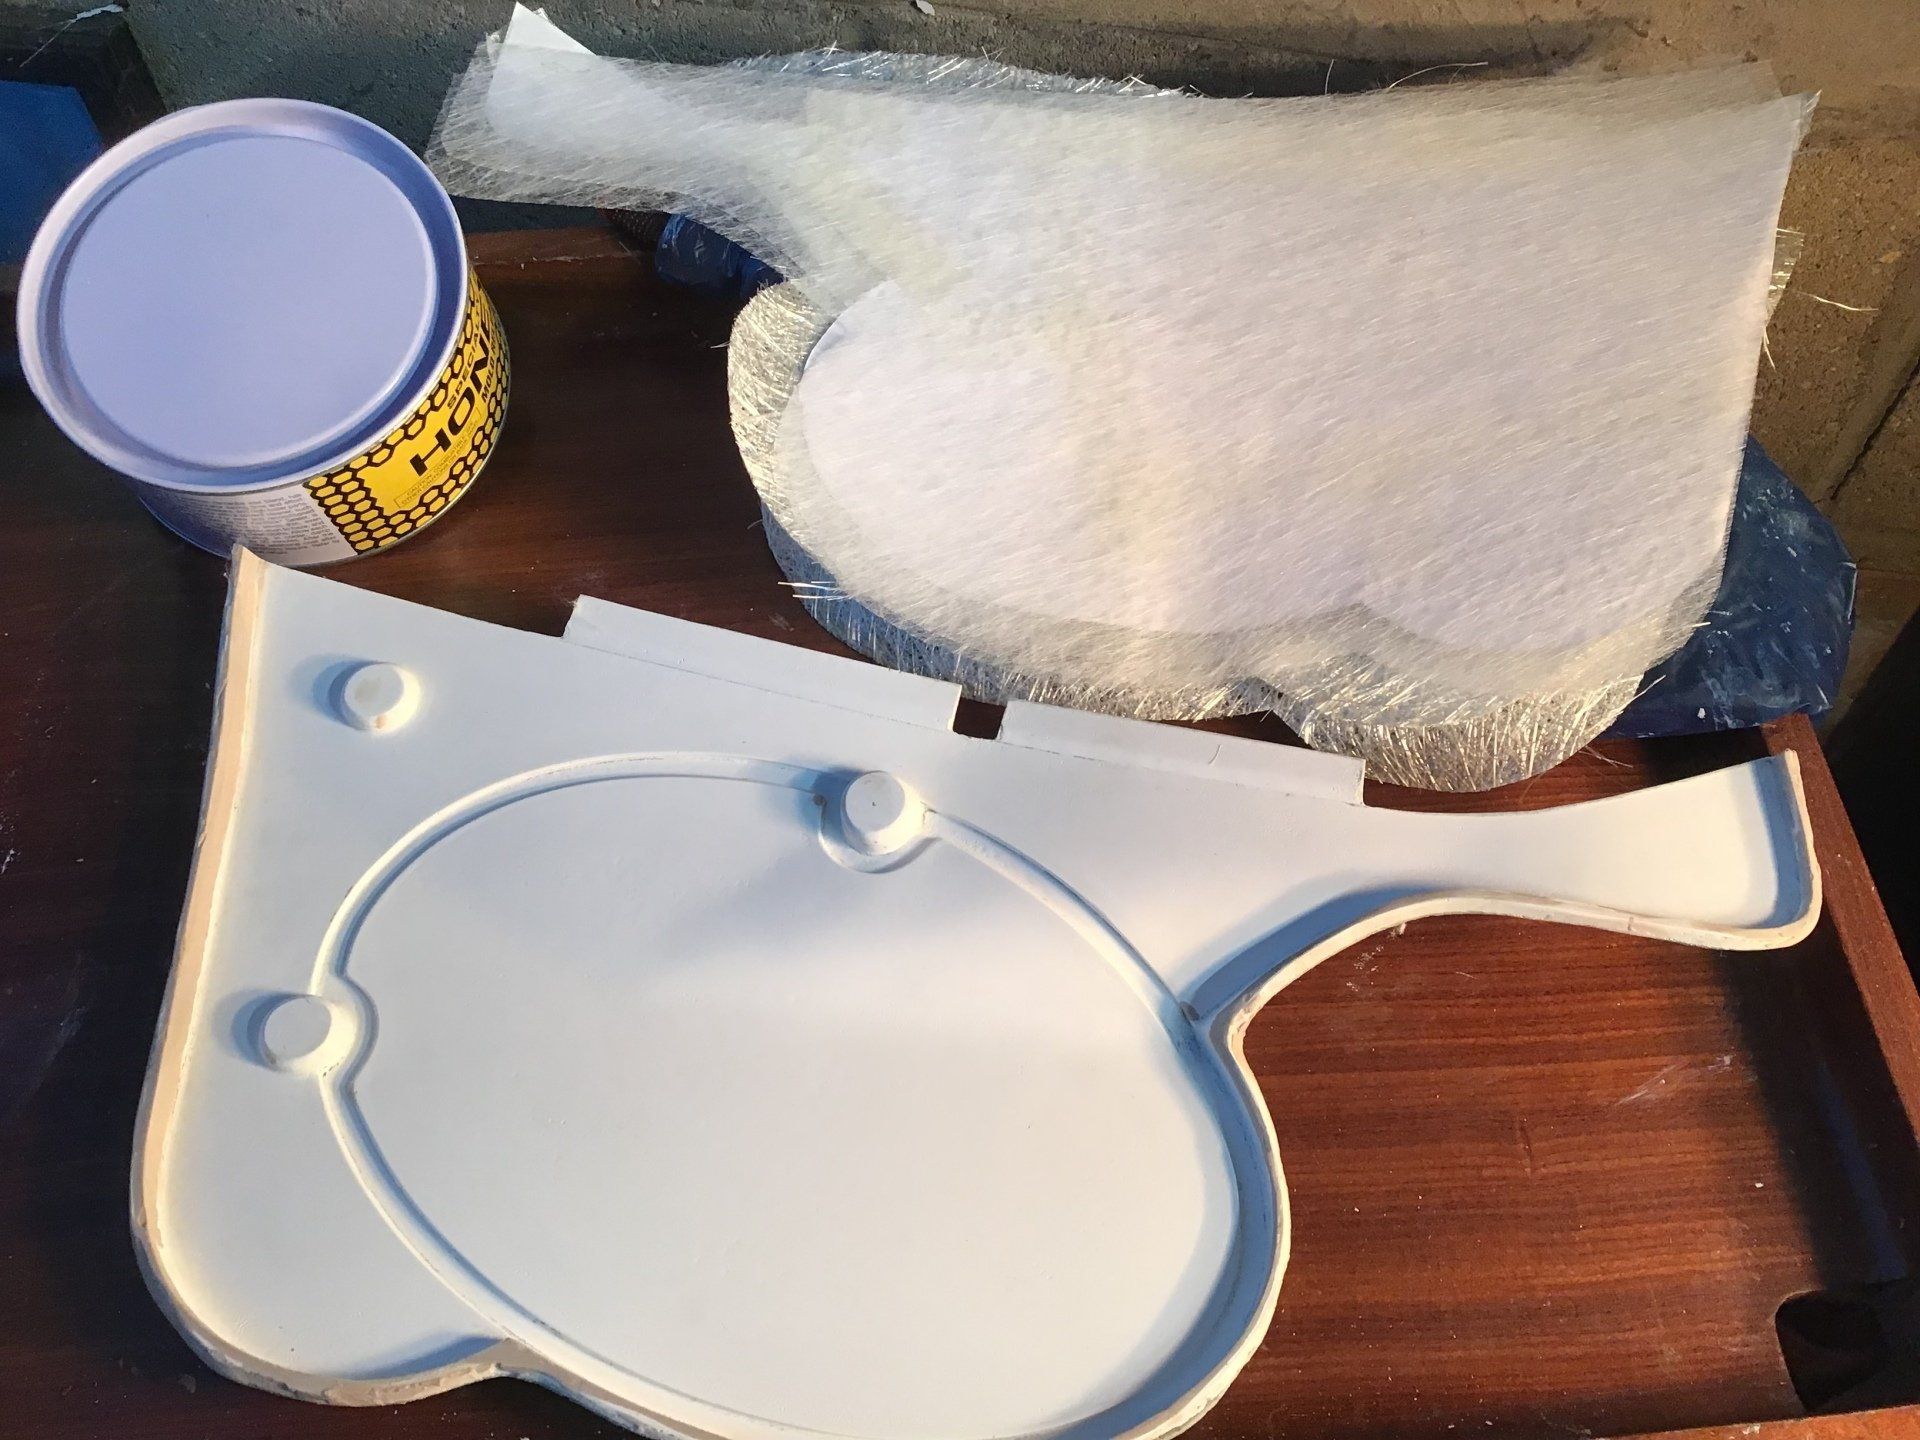
And here it is again, all laid up. Using the clay to support the odd shaped mould made the lay up much easier.

Thankfully, the moulding didn't stick. It took a bit of effort to free it, particularly around the mounting holes, but it released eventually without damage.
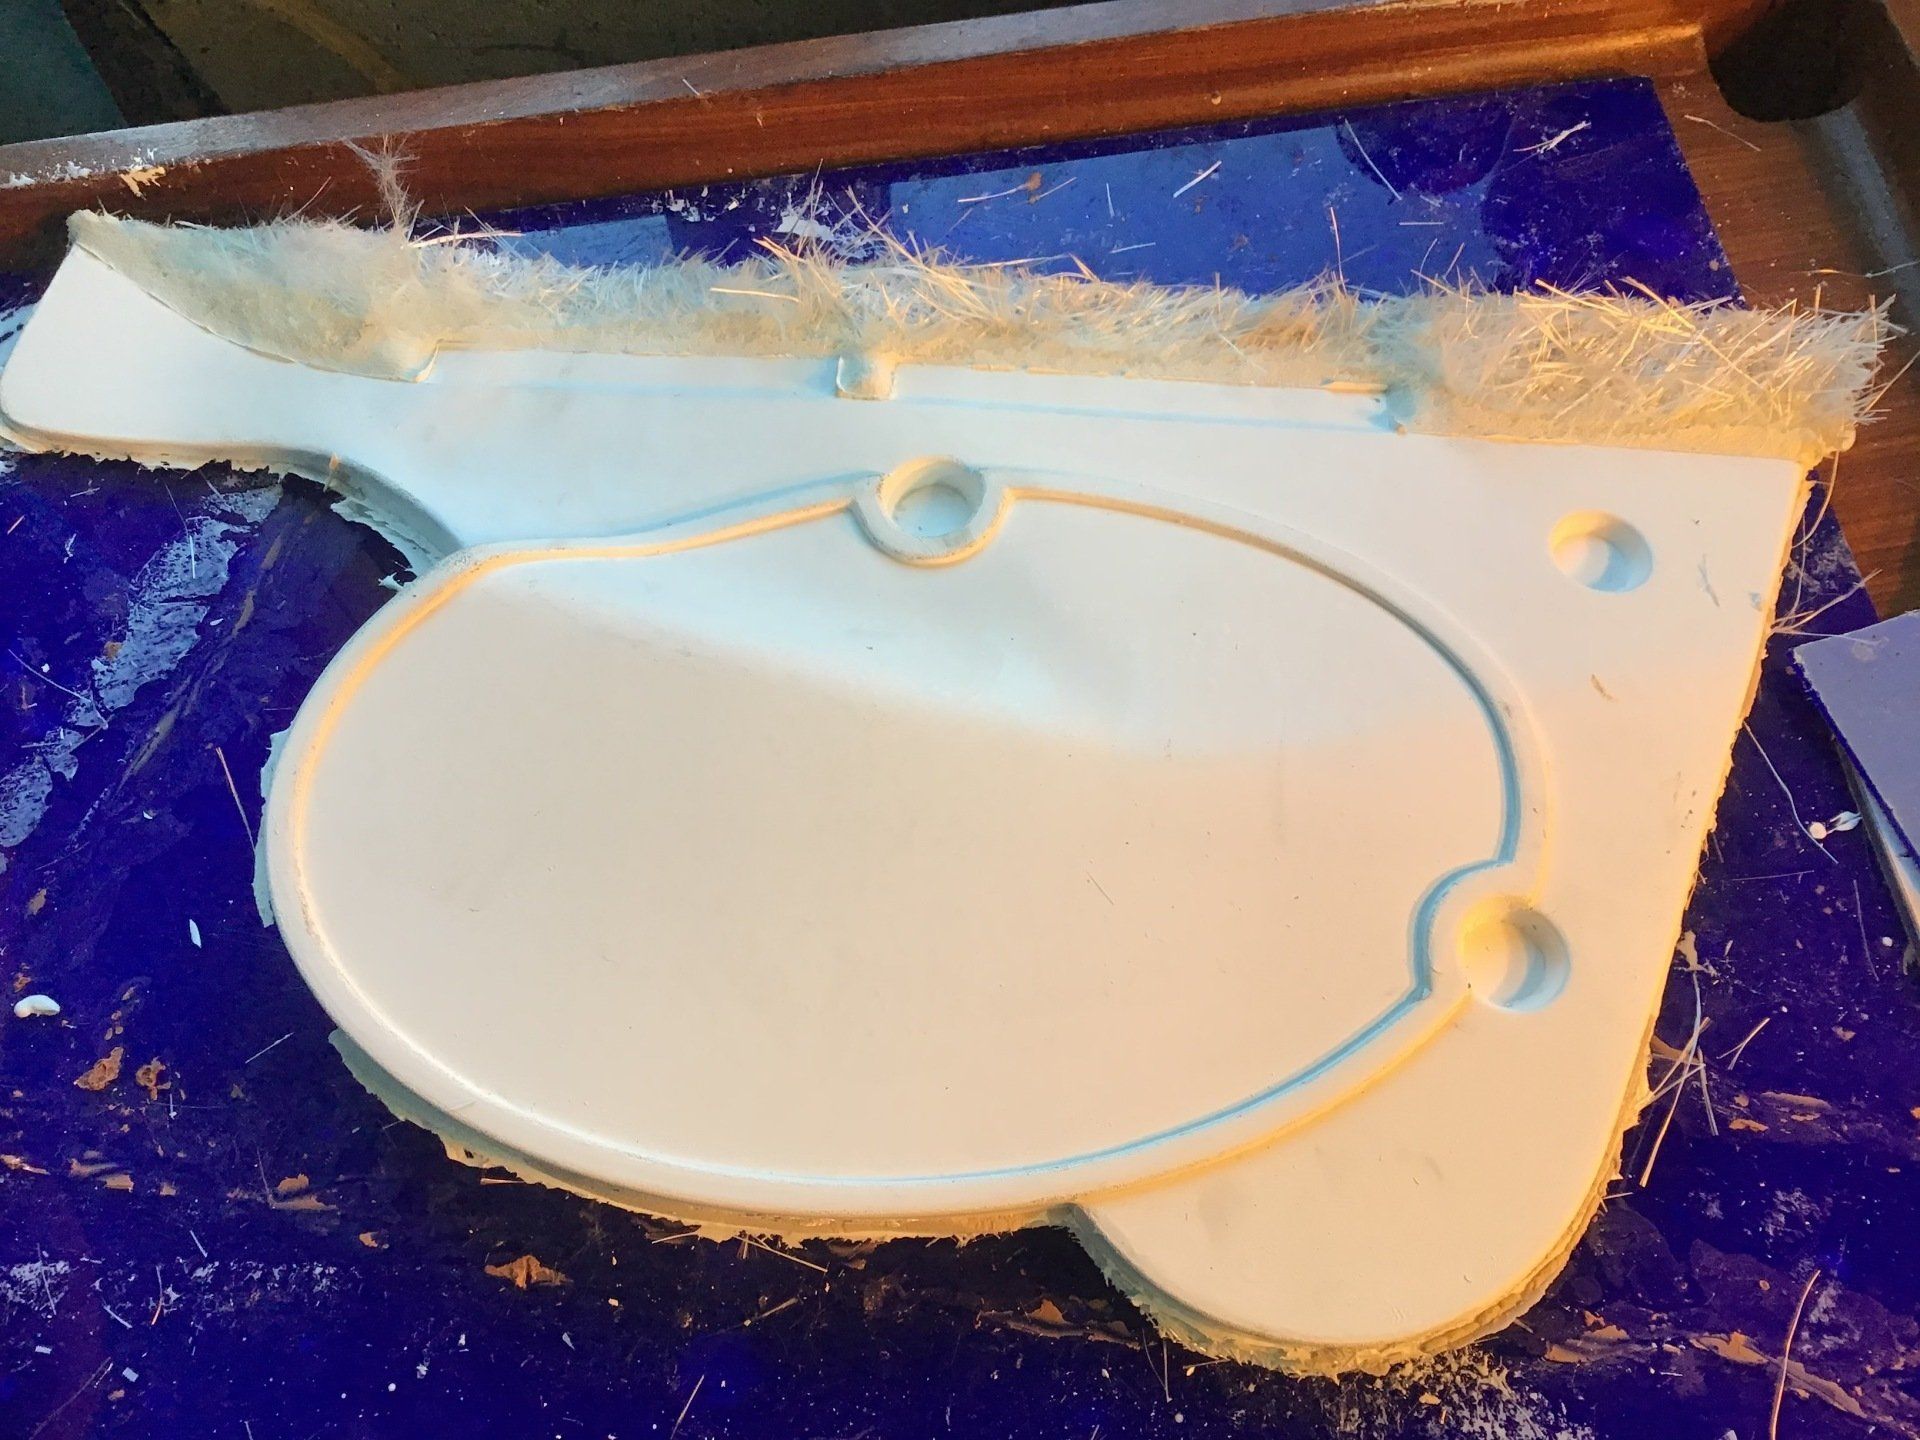
And so, finally I have a pair of moulded side panels - and the moulds to make more should these ever get damaged.
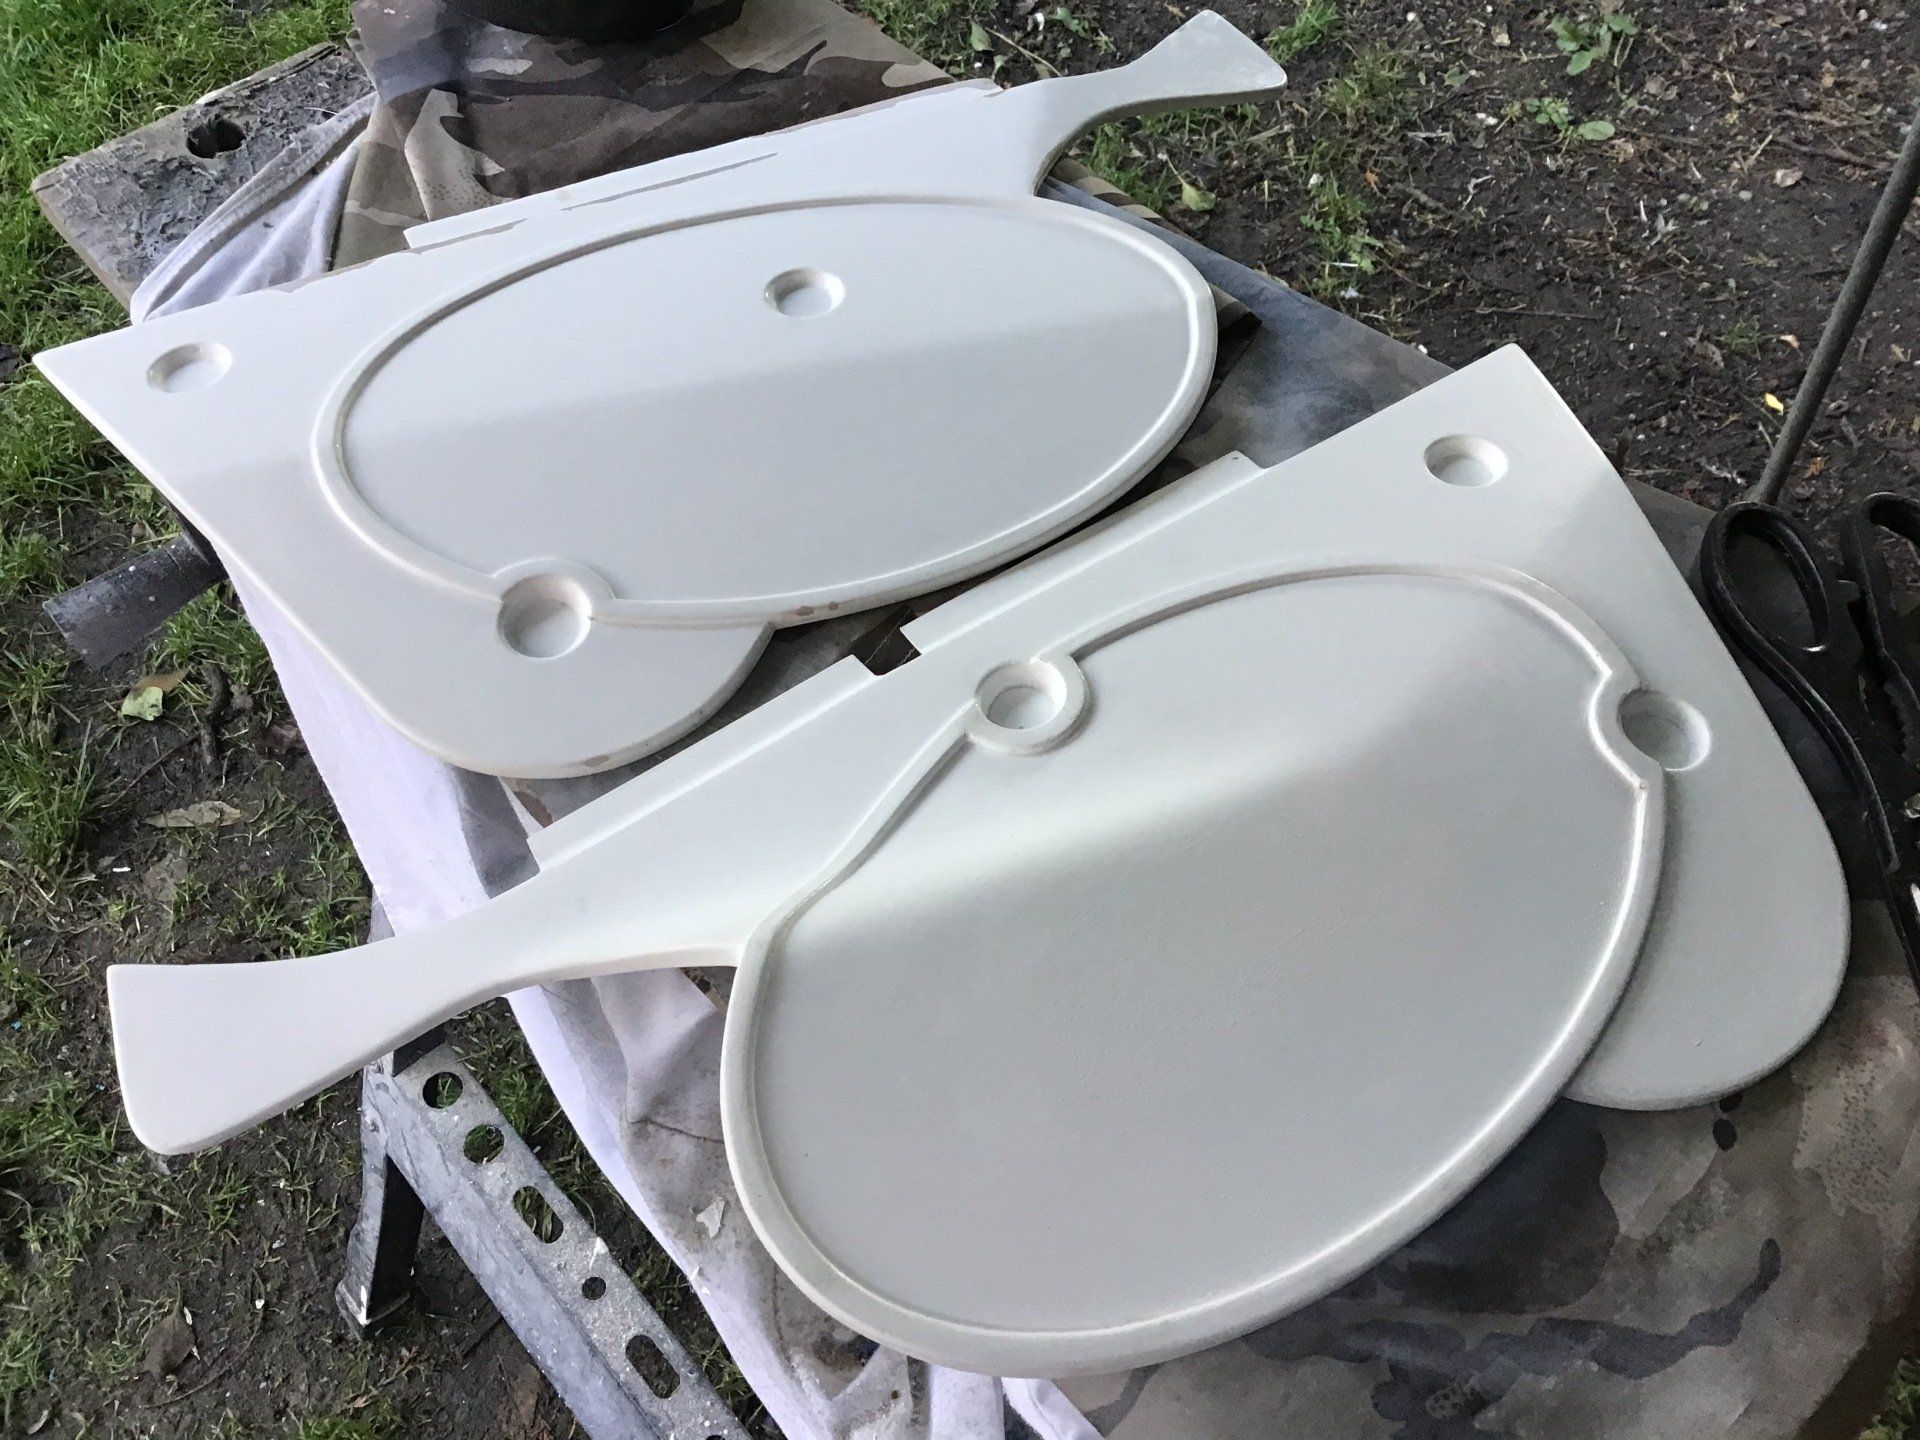
Even better, they actually fit!!! Now I need to get on with the air box / air filter arrangement.

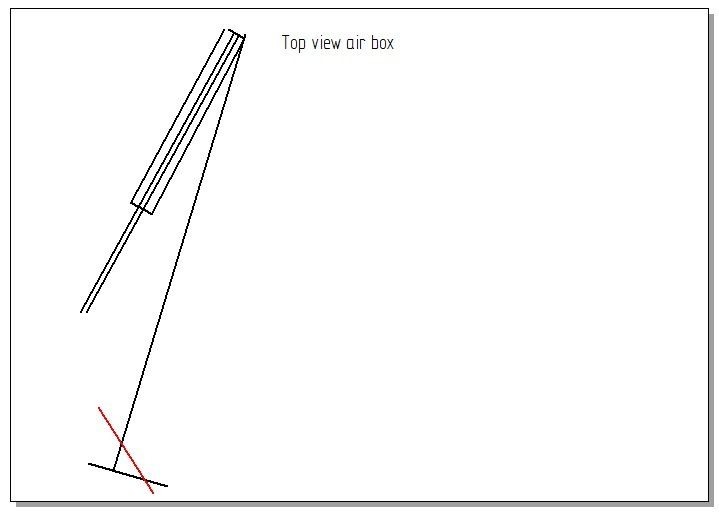
After several hours thinking about the next problem to solve on the bike - the air box / air filter / battery box arrangement - all I came up with was the rather unimpressive drawing below. It seemed that my brain was taking a duvet day and try as I might I couldn’t get a mental picture of what kind of structure I wanted, or how everything was going to fit together.
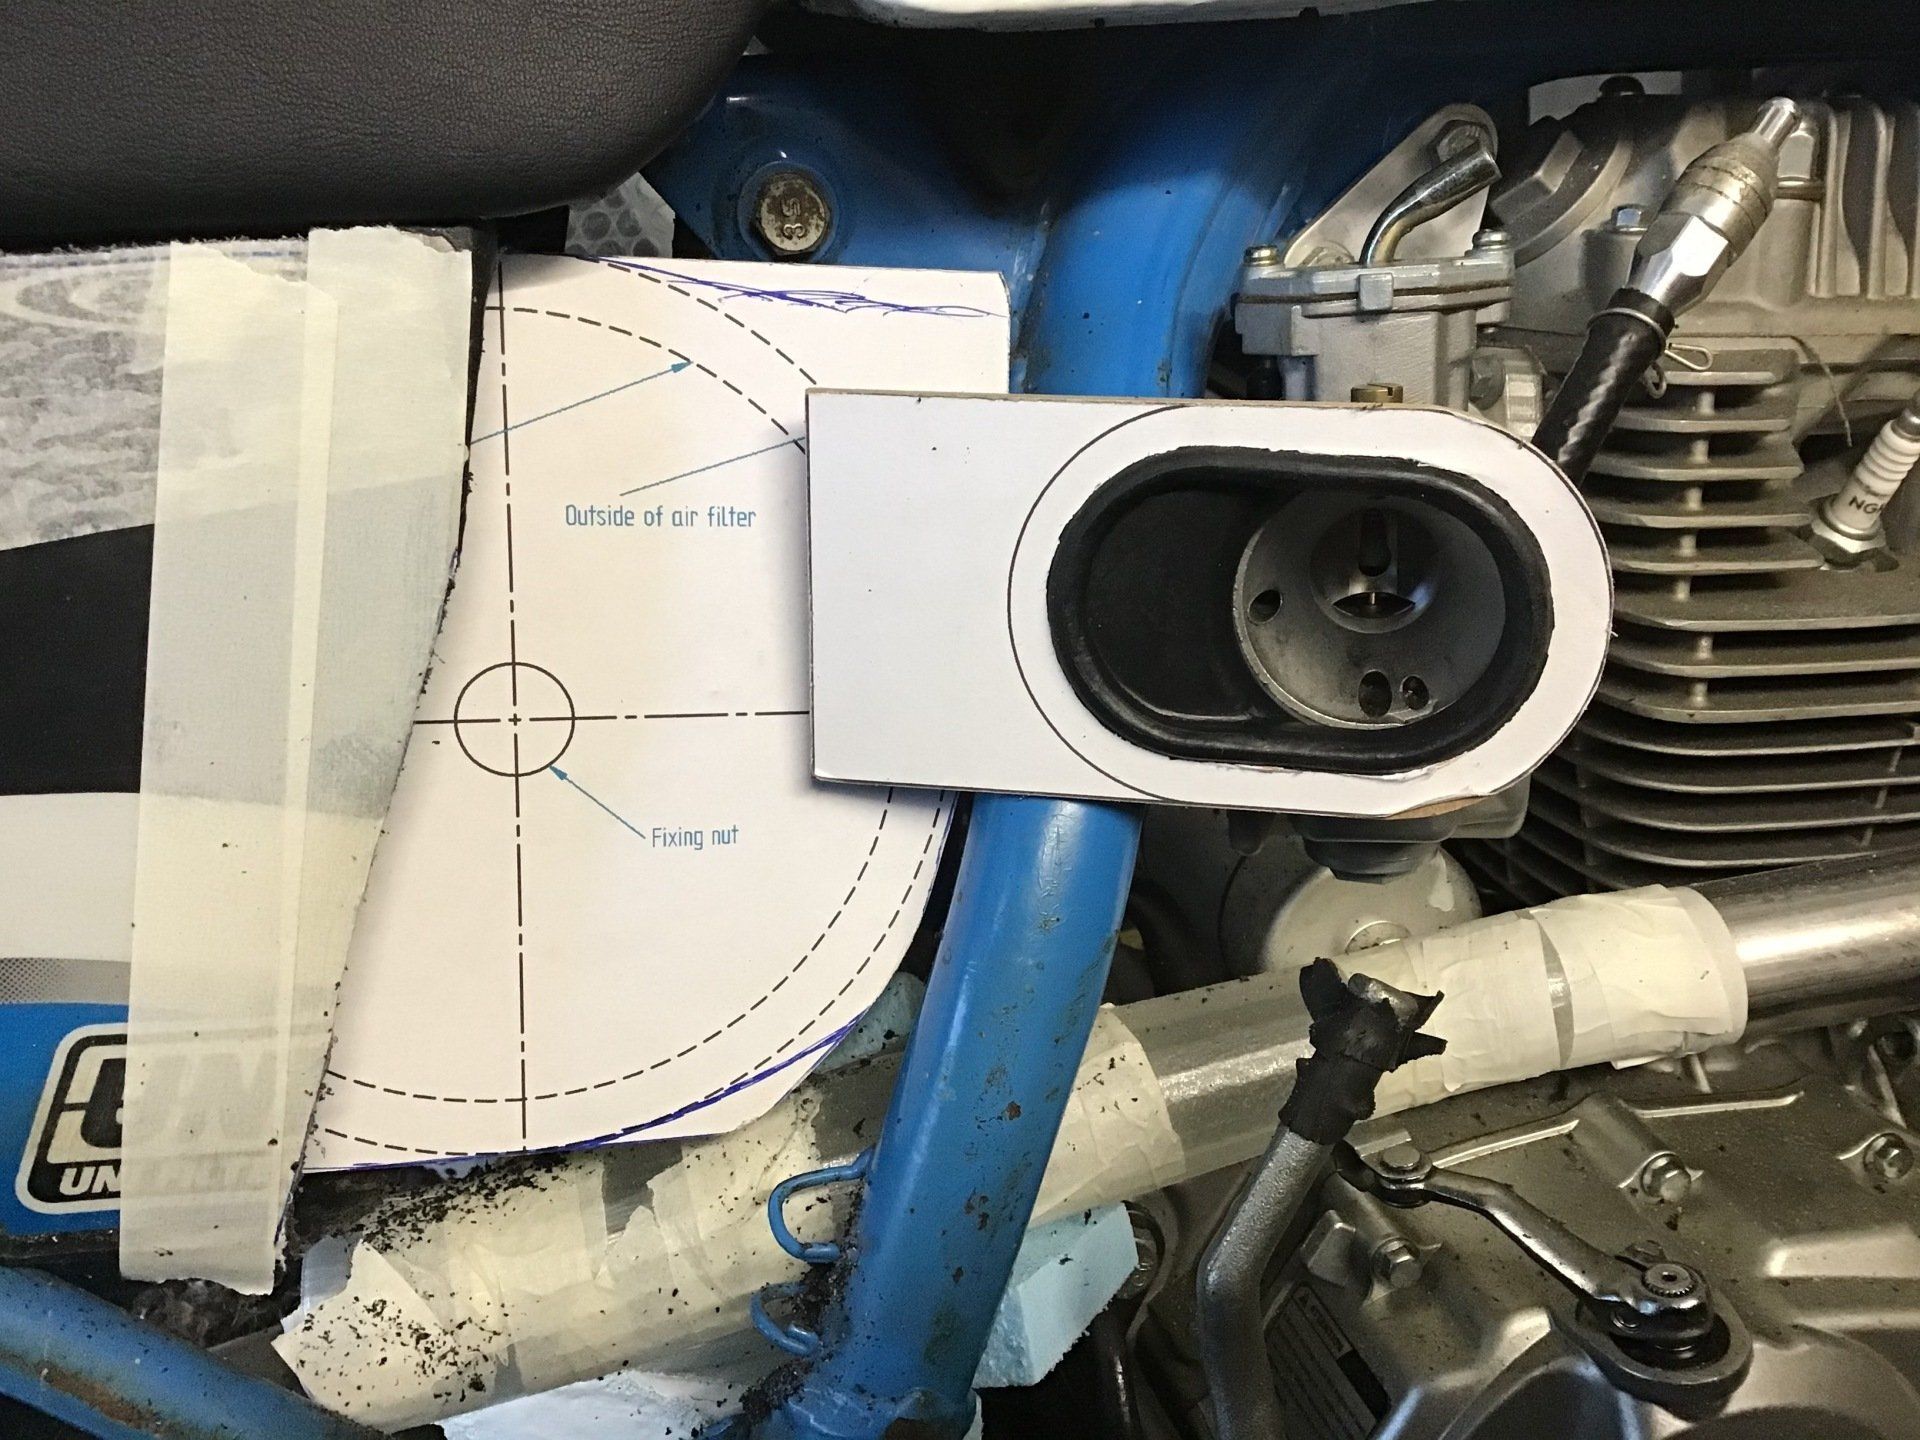
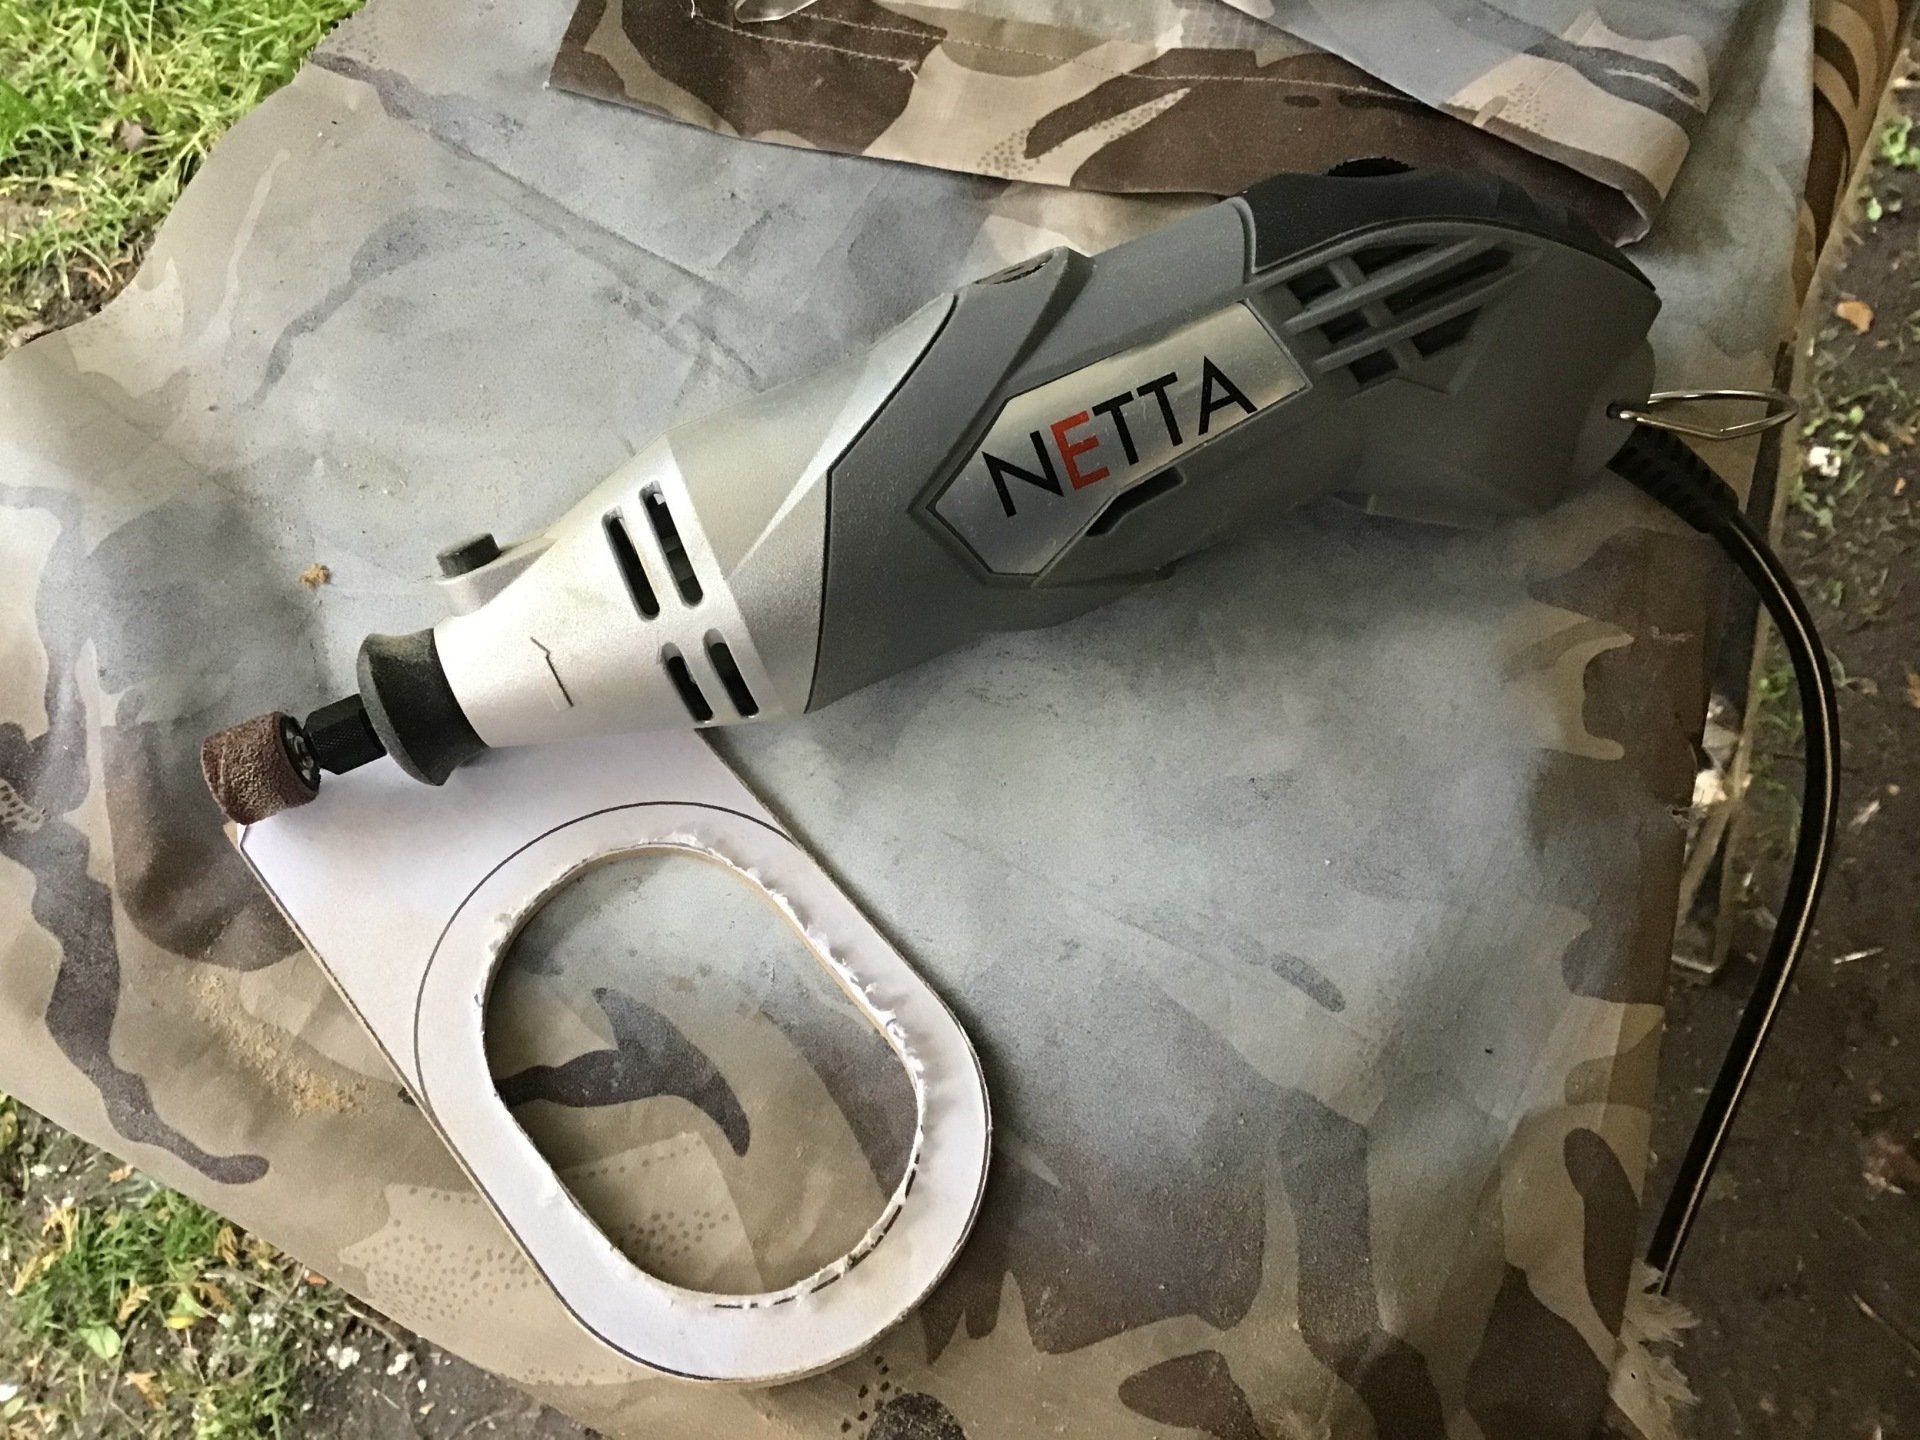
The only way that I can get around any mental block is to start making something (anything!) in the hope that it may kickstart some ideas. So once again I reached for some 2mm mdf and cut out a couple of shapes: one to fit around the carb. rubber, one to mimic where I hope to mount the air filter. Working with mdf is quick and easy, so if what I make turns out to be of no use whatsoever, at least I haven’t wasted too much time on it. But, it does at give me something physical to look at, which is a lot better than staring at a sheet of paper (especially if that sheet of paper remains frustratingly blank!).
It also gave me a chance try out my new rotary tool. Previously, I had a Duratool version which has just died. I felt that it hadn't lasted well, but on reflection I have had it 5 years, it came with loads of accessories, had been used a fair bit and only cost just over £20, so I guess it did Ok. While browsing the internet trying to decide if I was going to stump up the money for a proper Dremel, I came across this Netta version. This had some decent reviews on Amazon, came with a smattering of accessories including a flexible drive and only cost a smidge over £13. The seemed more in keeping with my current financial situation, so I bought one. So far it seems good. Fairly quiet. Minimal vibration. Once I've used it a bit more I'll do a proper review, but it sanded out the oval for the carb rubber in short order.
And here it is, mounted on the carb. I've also got the side panel clipped in place, as for a start I intend to cut the original air box to match the angle on the front edge of the new side panel.
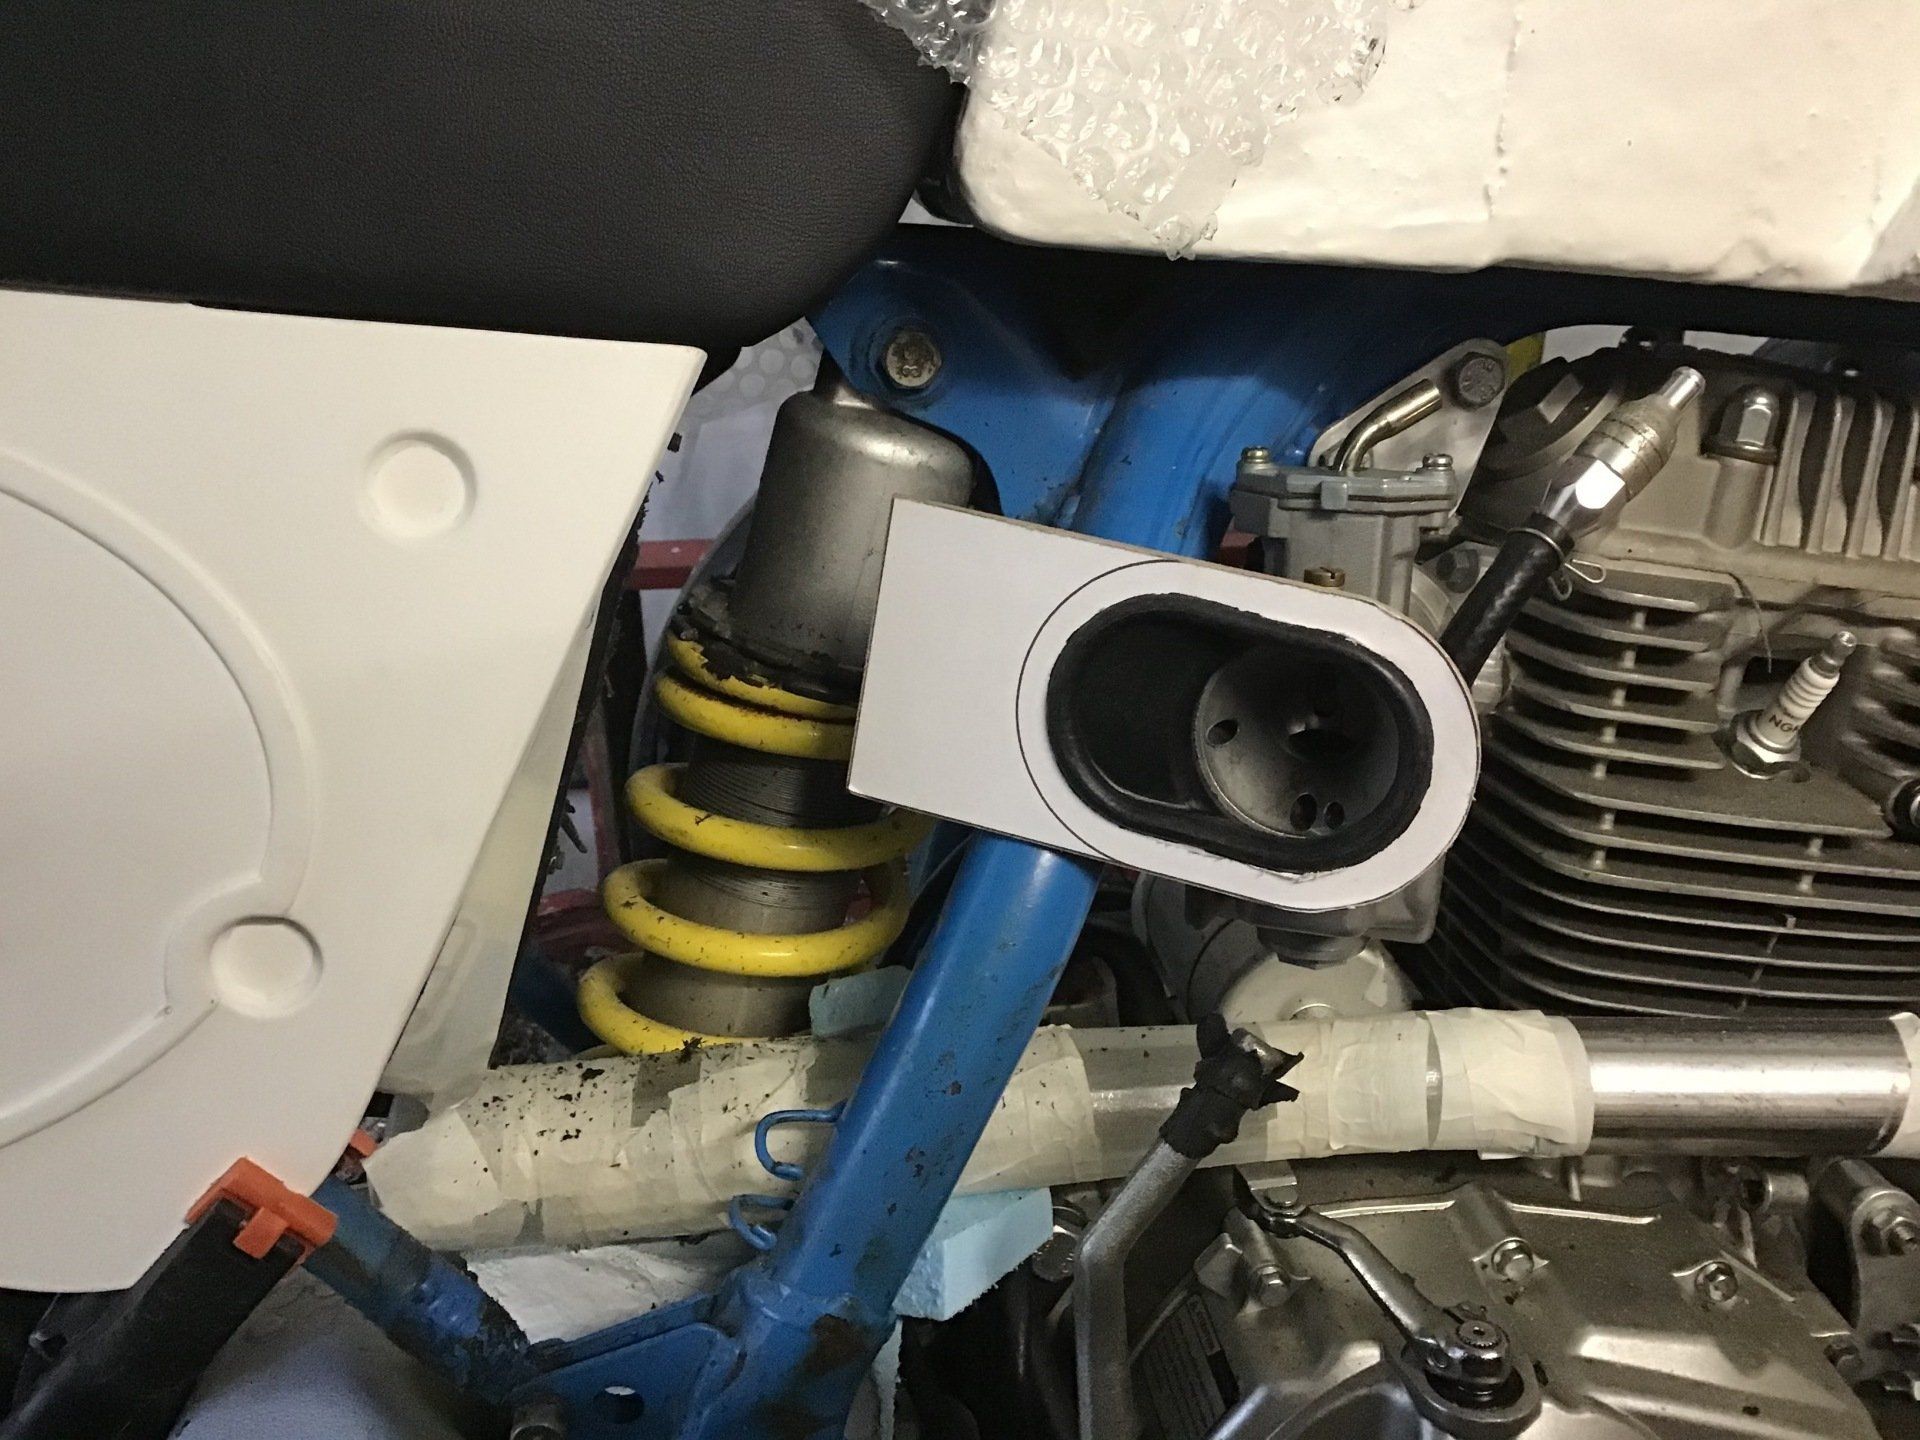
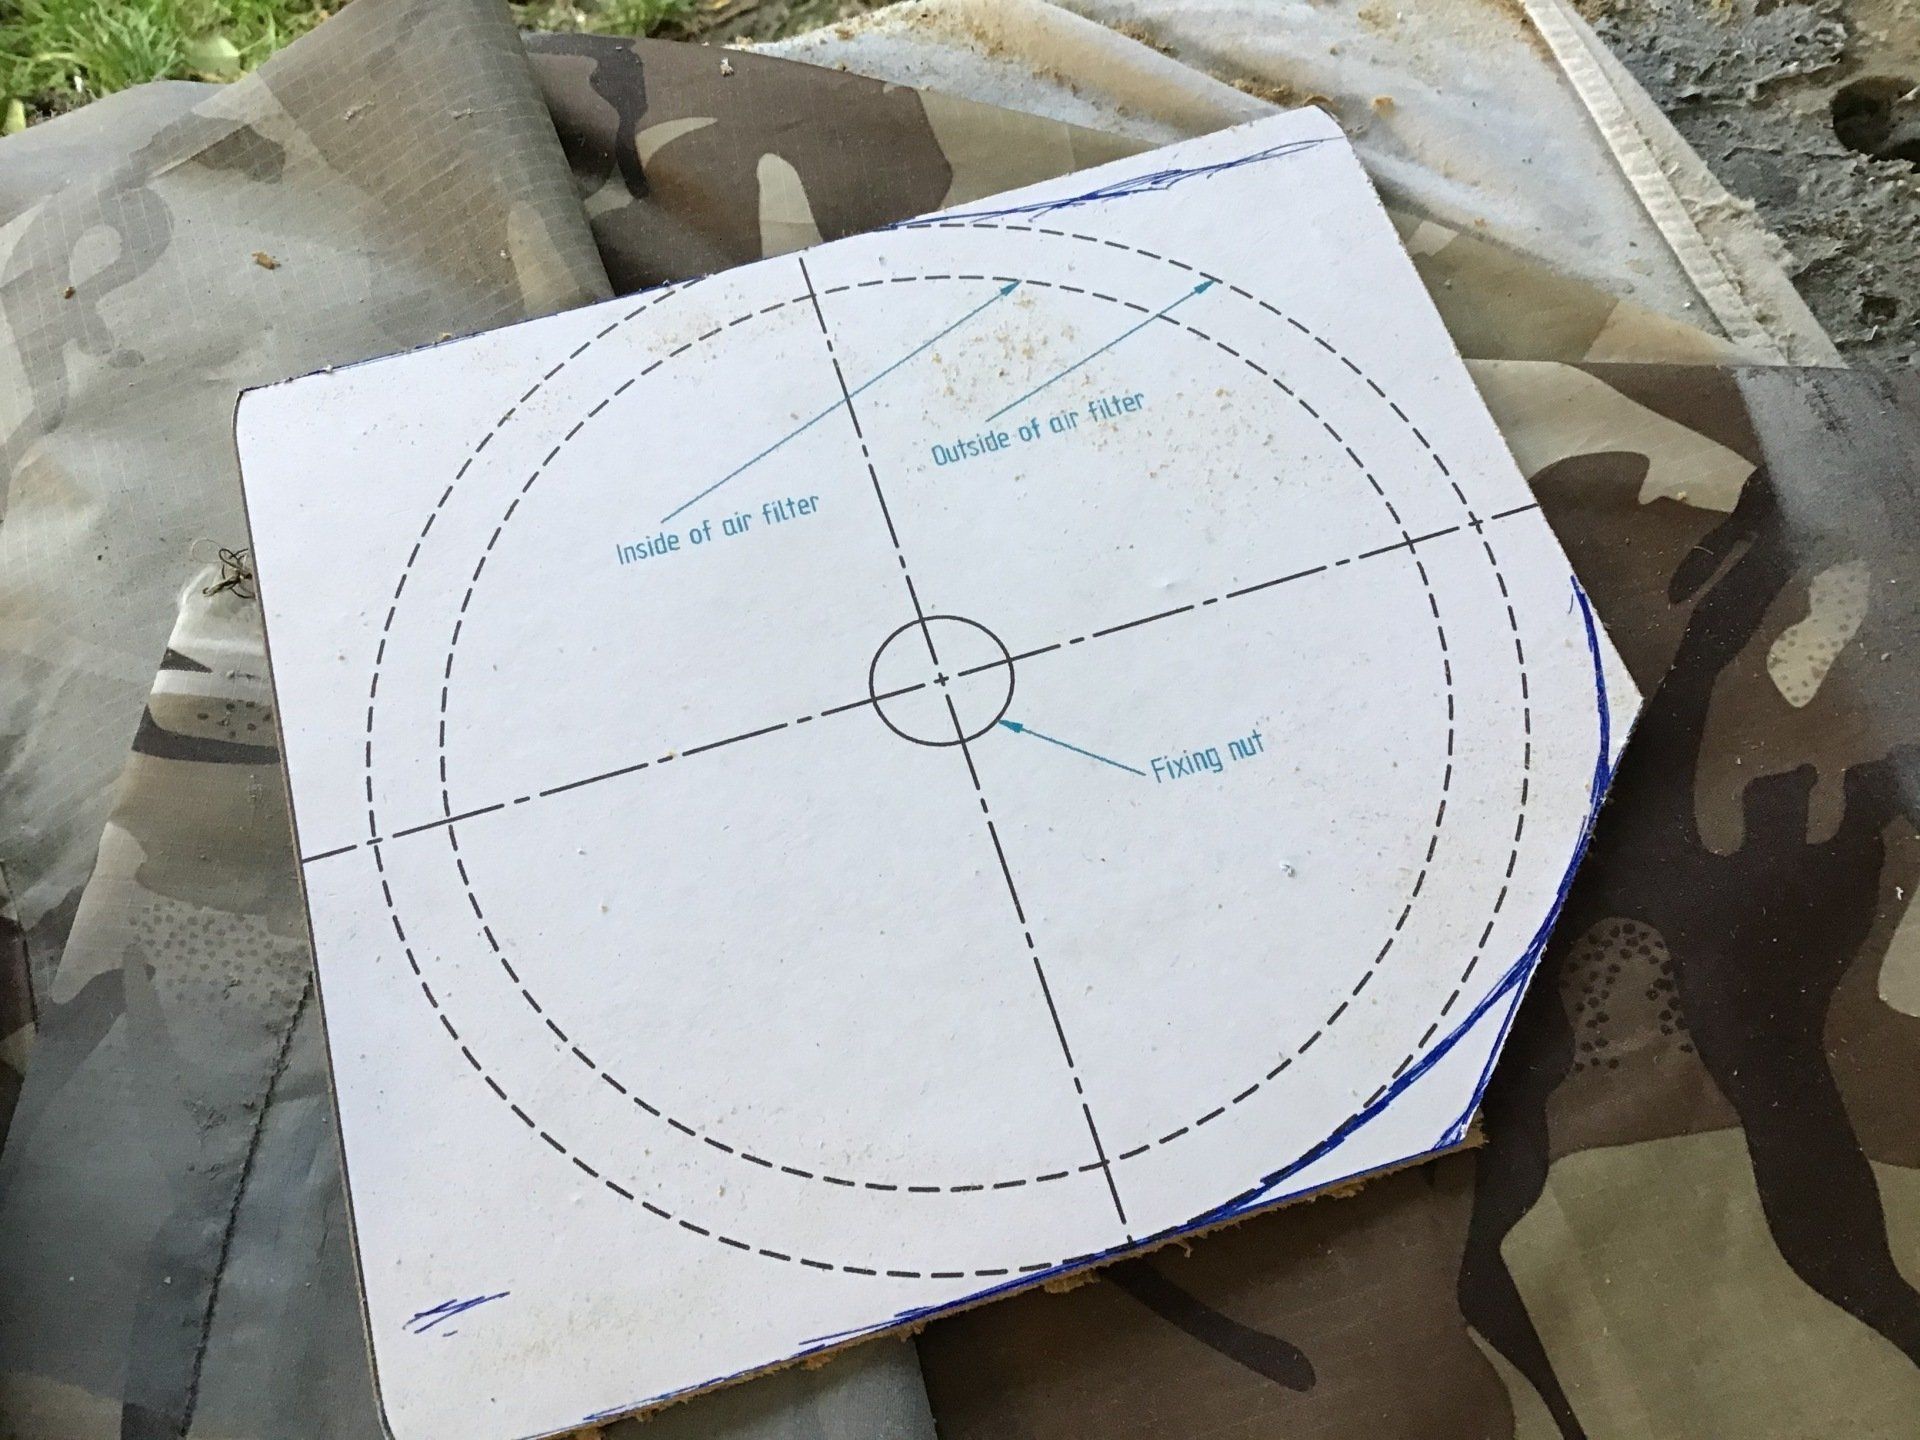
This second piece of mdf is intended to mimic the size of the proposed air filter. As you can see by the additional pen marks this already needs modifying to fit the actual gap available.
Pictured below is what I have at the moment.The air box has been cut away as required, using the new Netta rotary tool, and the mdf templates offered up. It’s yet to trigger a light bulb moment. I’ll just have to stare at it for a little longer…