November 2019
I've modified the current air box to allow the new air filter to be recessed into it. It will require some kind of duct to connect air filter to carb boot. Before I start work on this, though, I need to finalise the new air box design. But, before I can do that, I need to make the side panels for real. So, the next task is to make the moulds from the patterns made previously.
Top view of proposed air filter location.
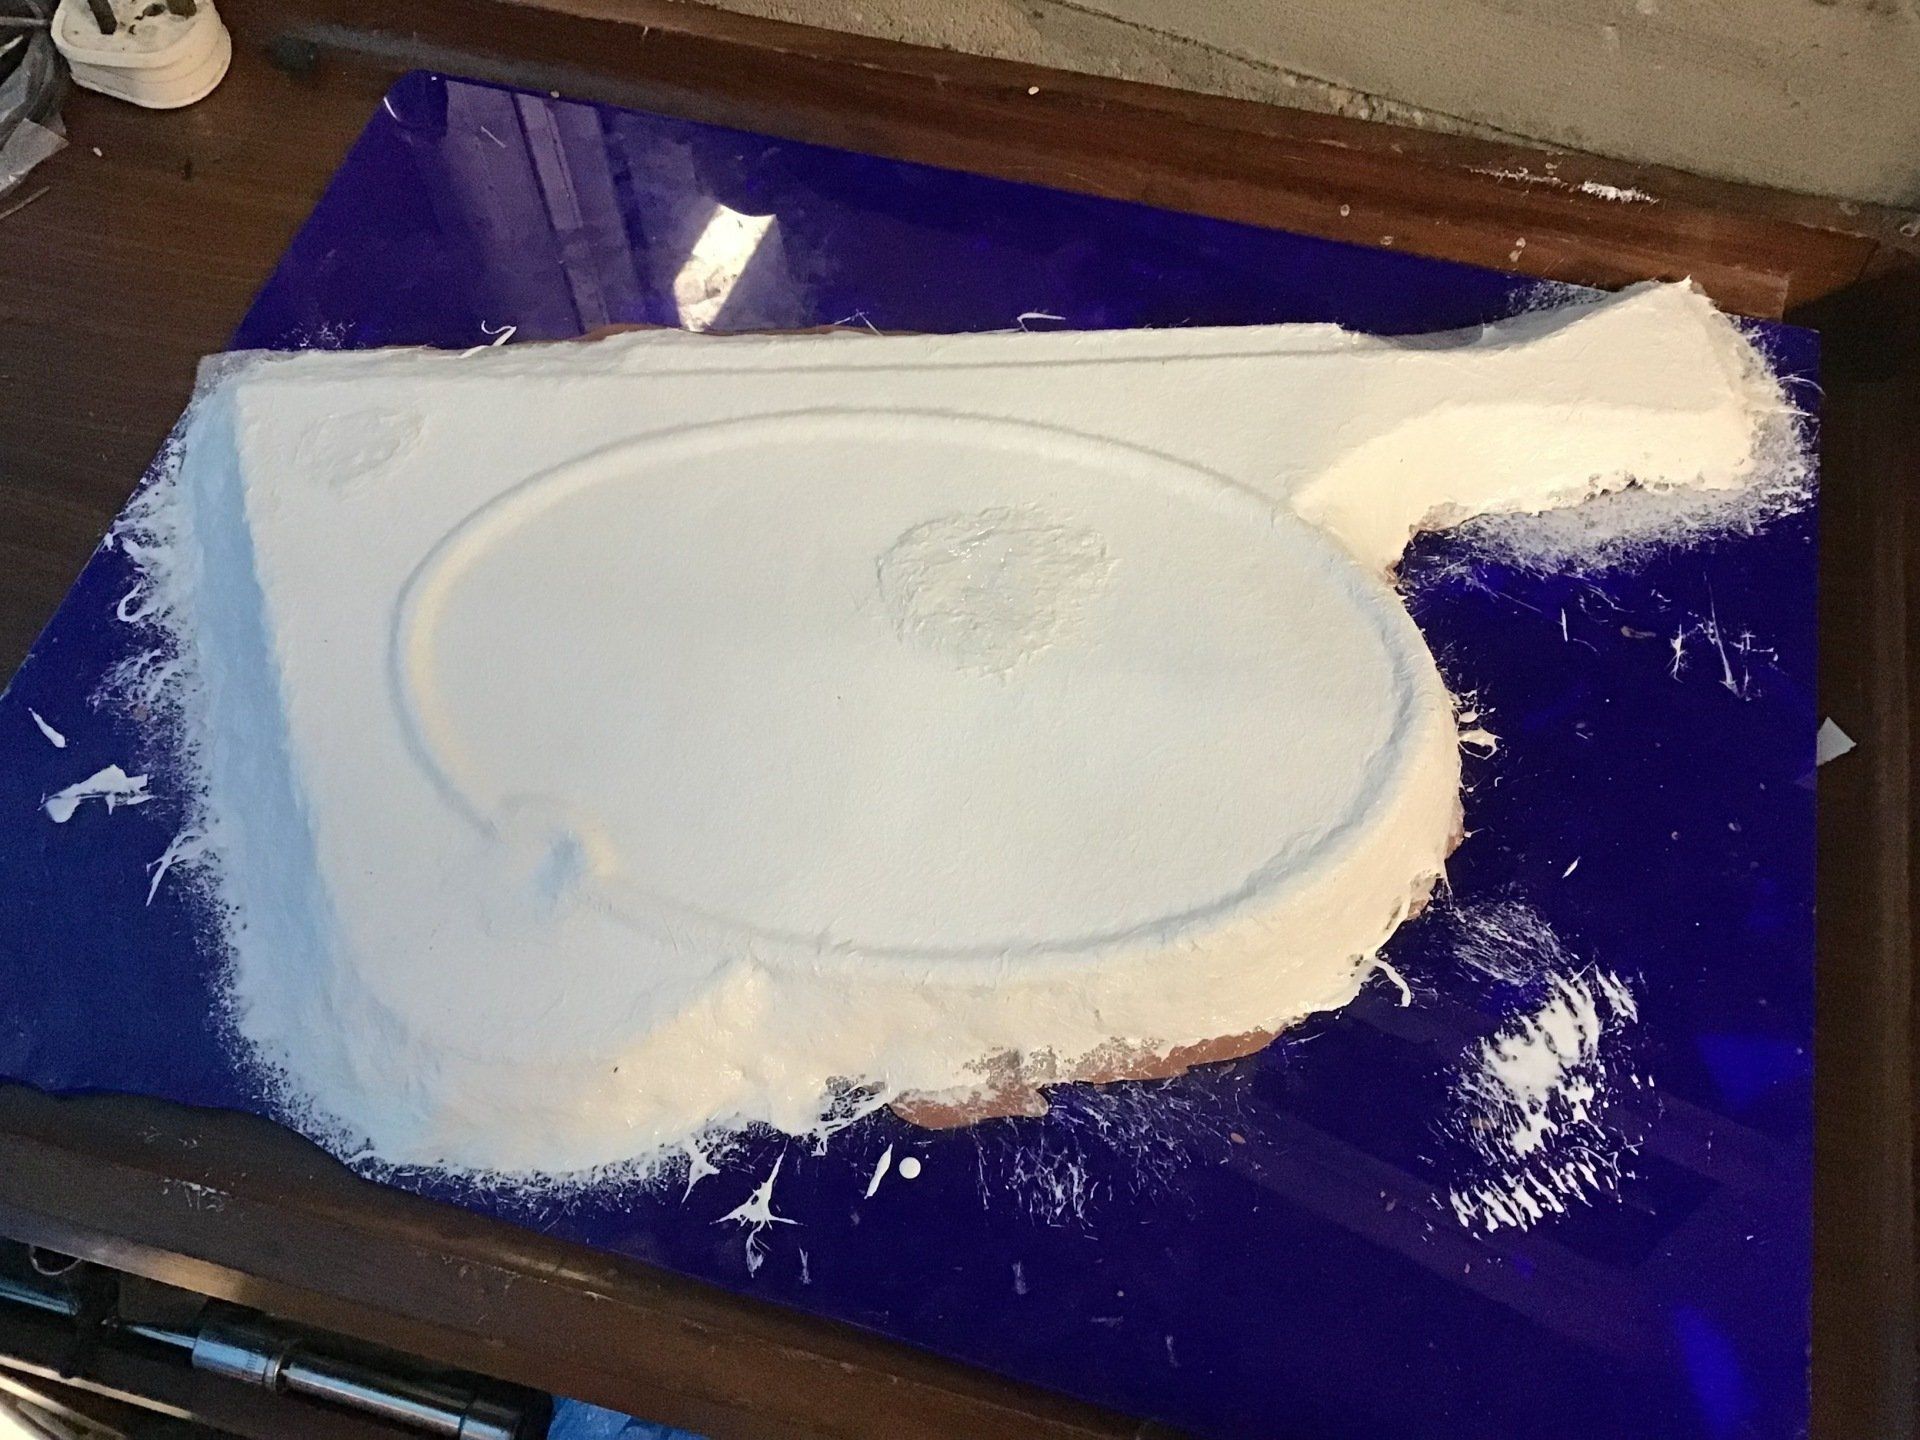
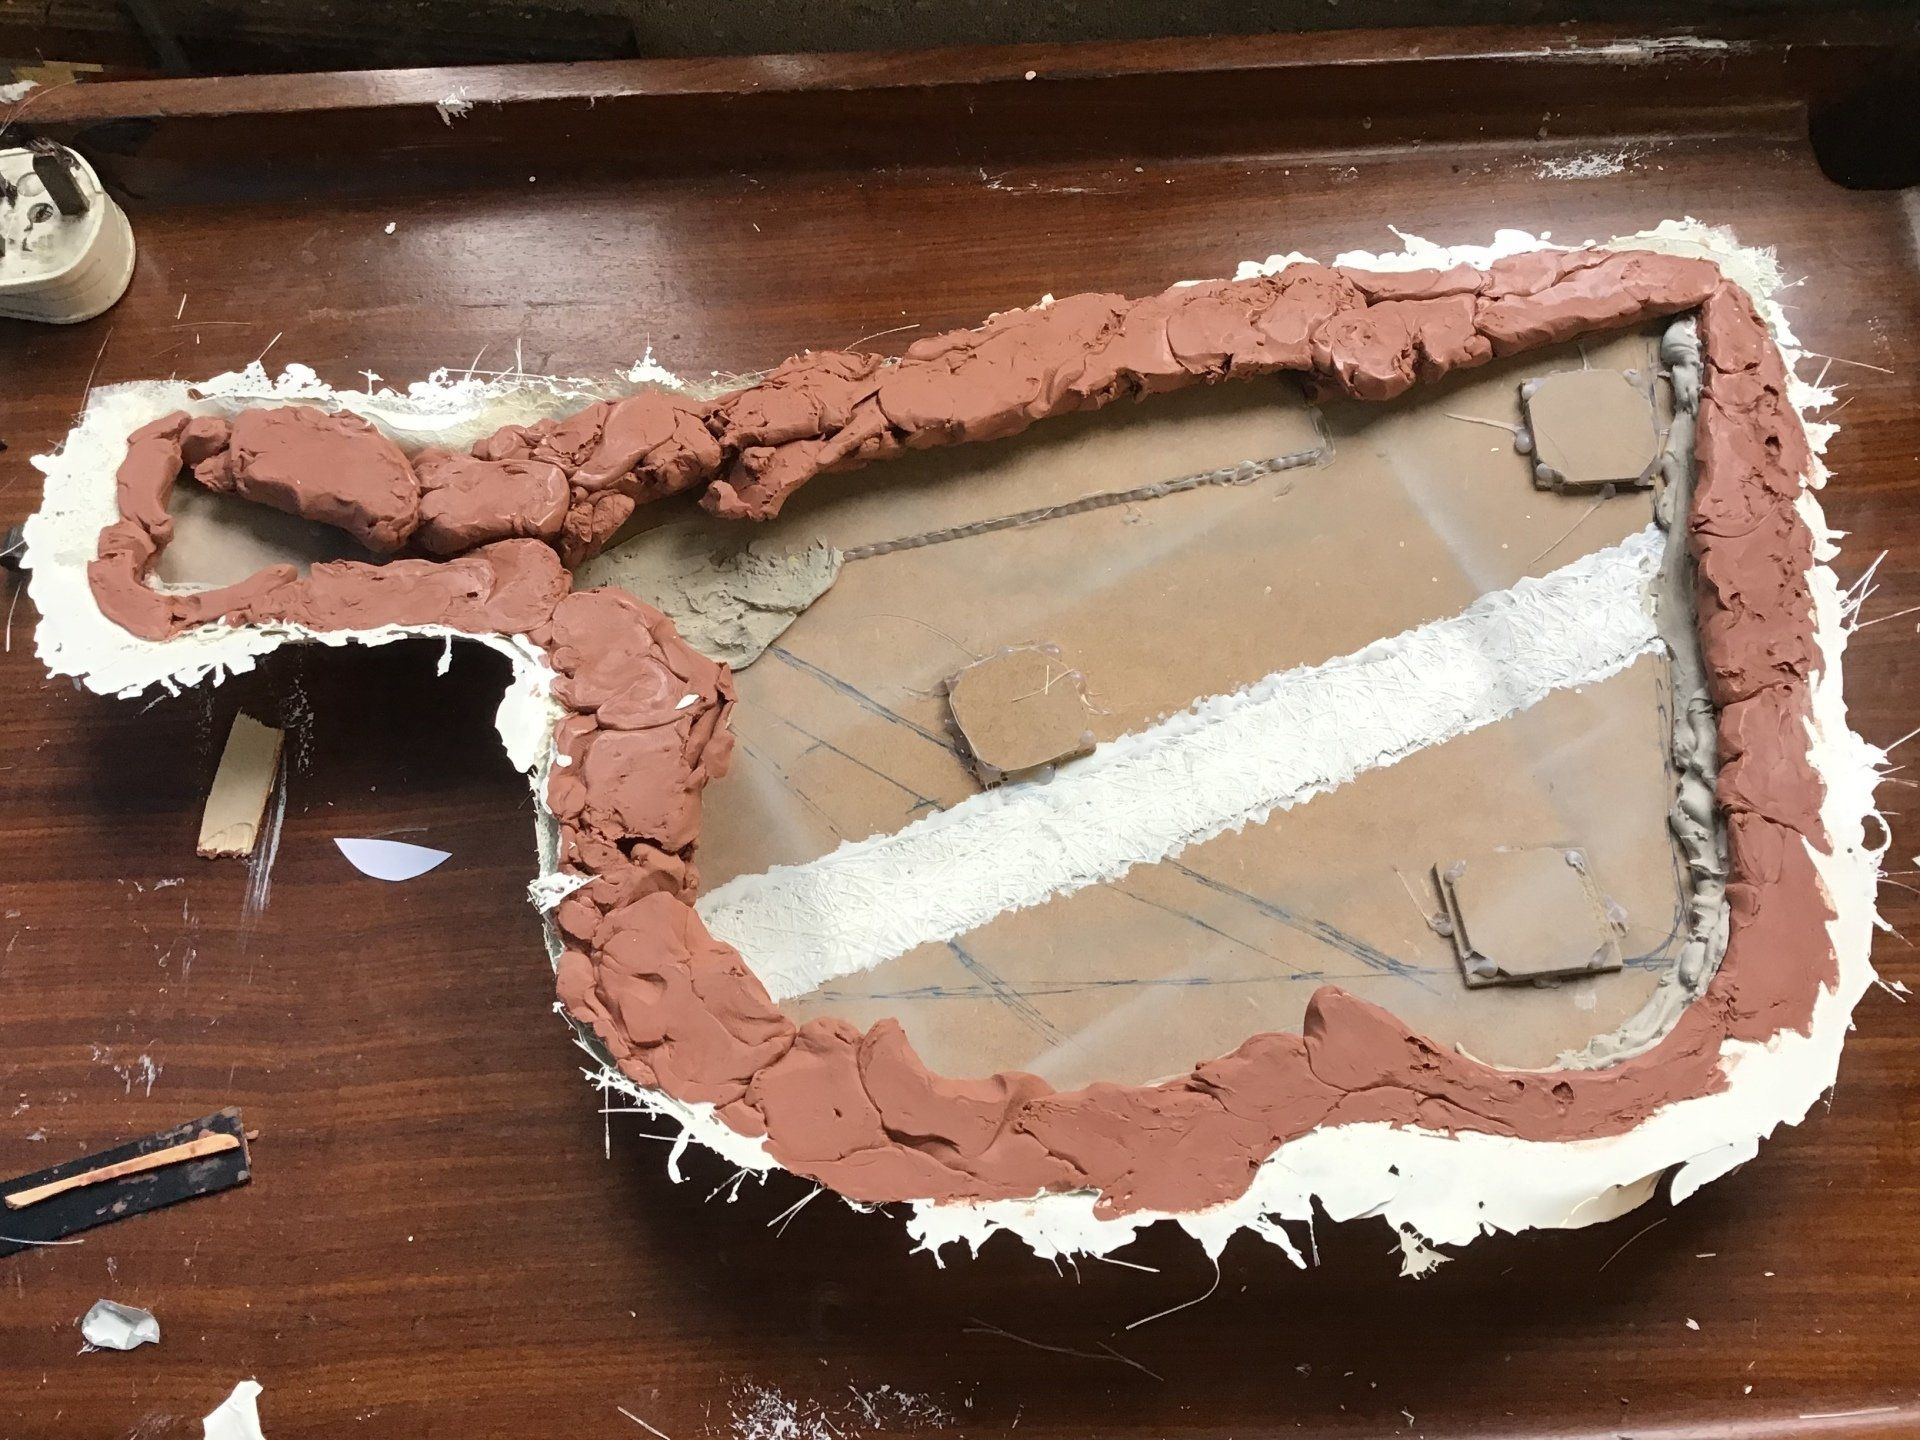
Mould making time, then. As the side panel is an odd shape, this time I tried embedding the pattern in Chavant clay to hold it firm whilst laminating. (It does the job, but it took ages to do!)

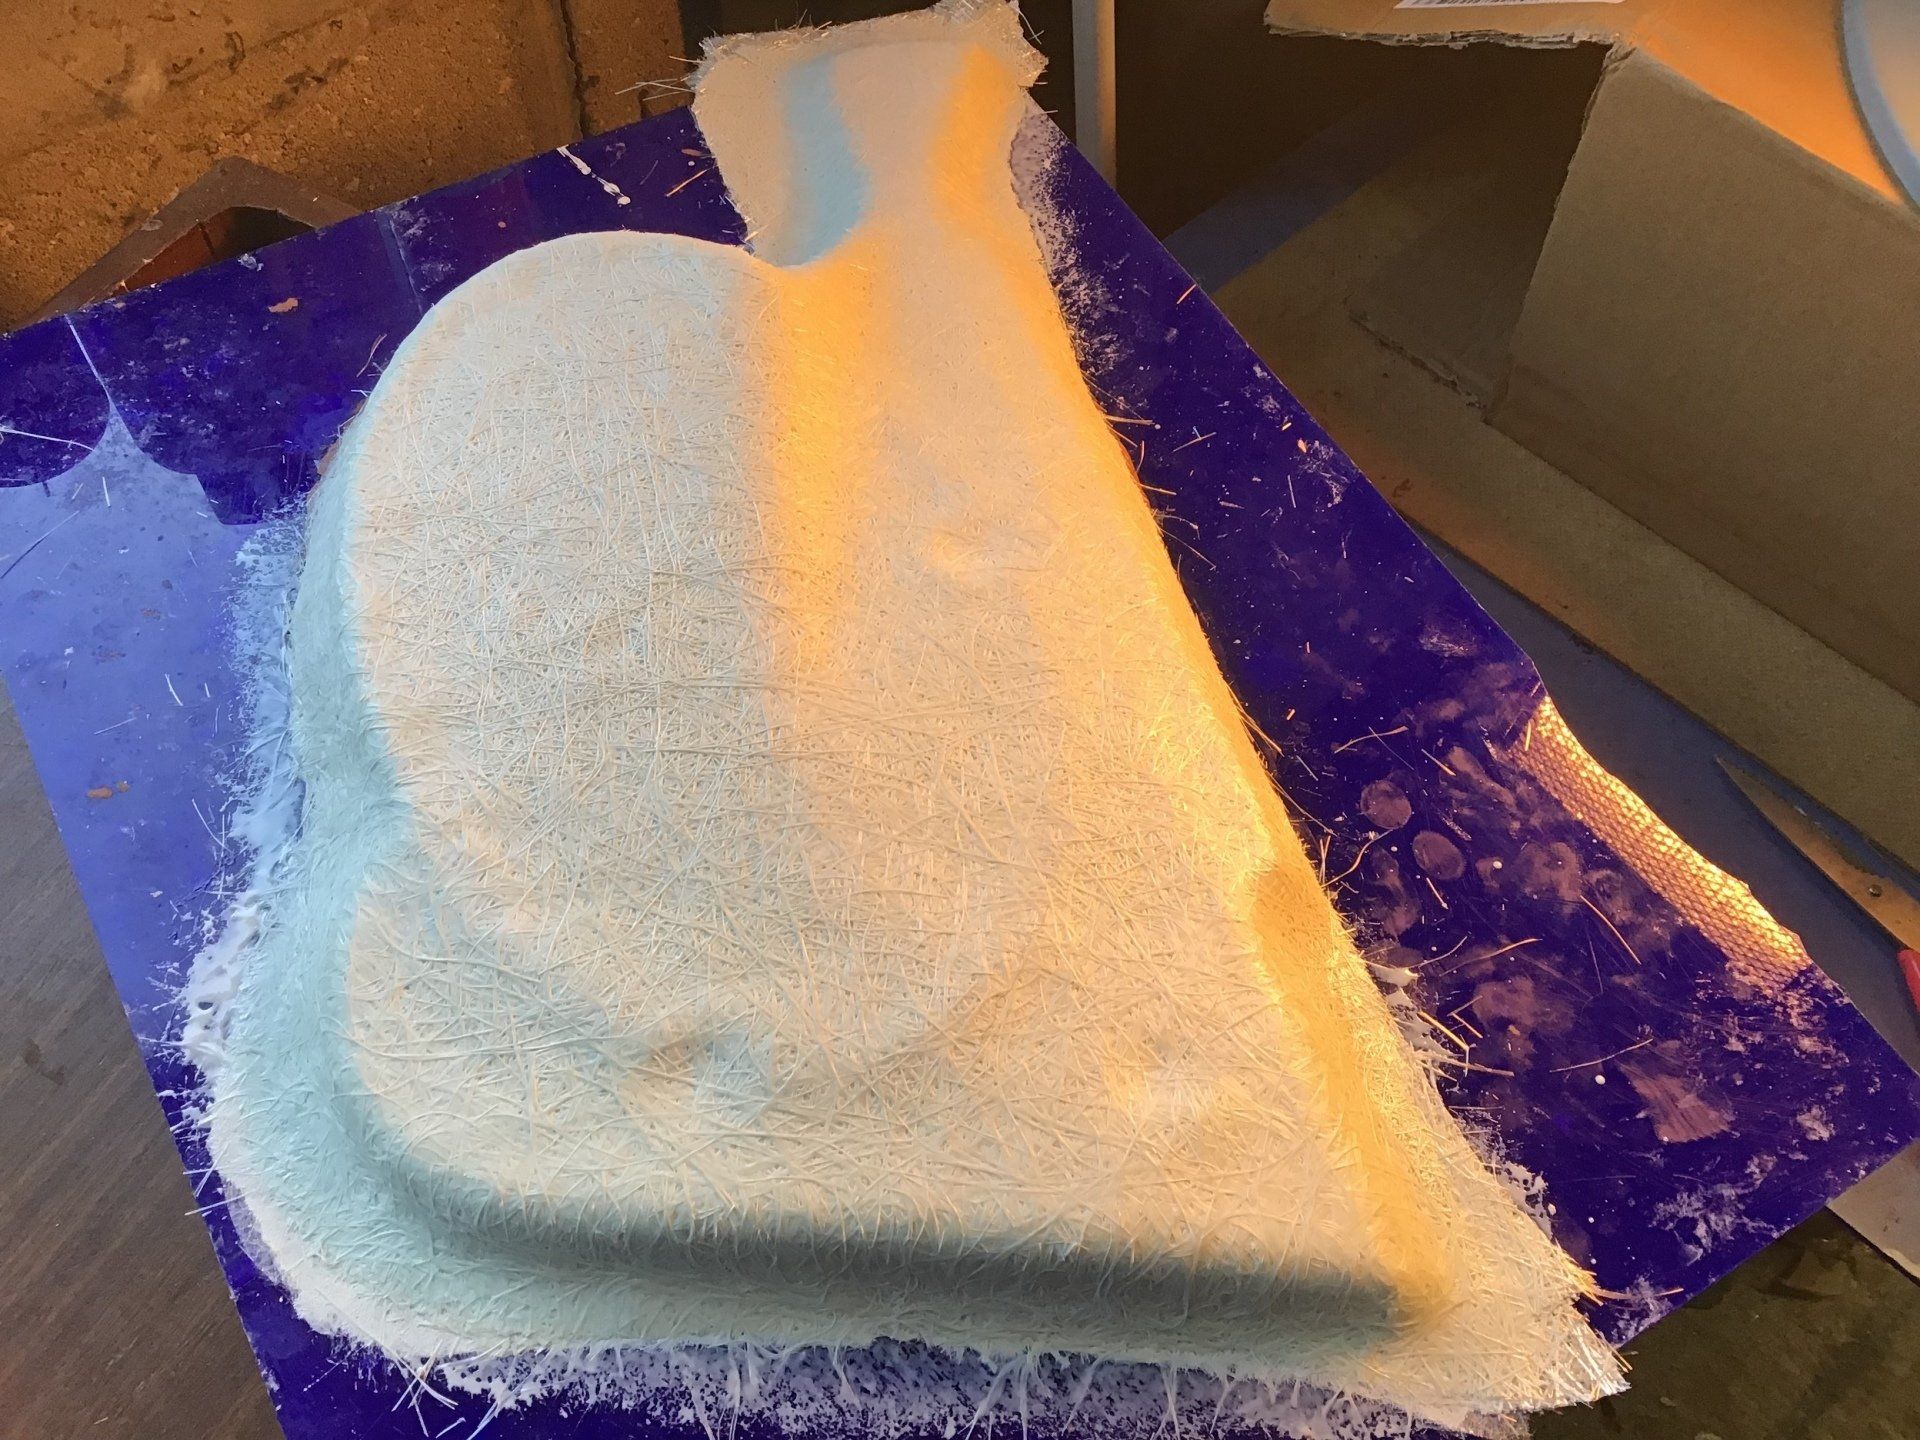
Here it is, part way through laminating. It's had gel - coat, surface tissue and a couple of layers of chopped strand mat so far.
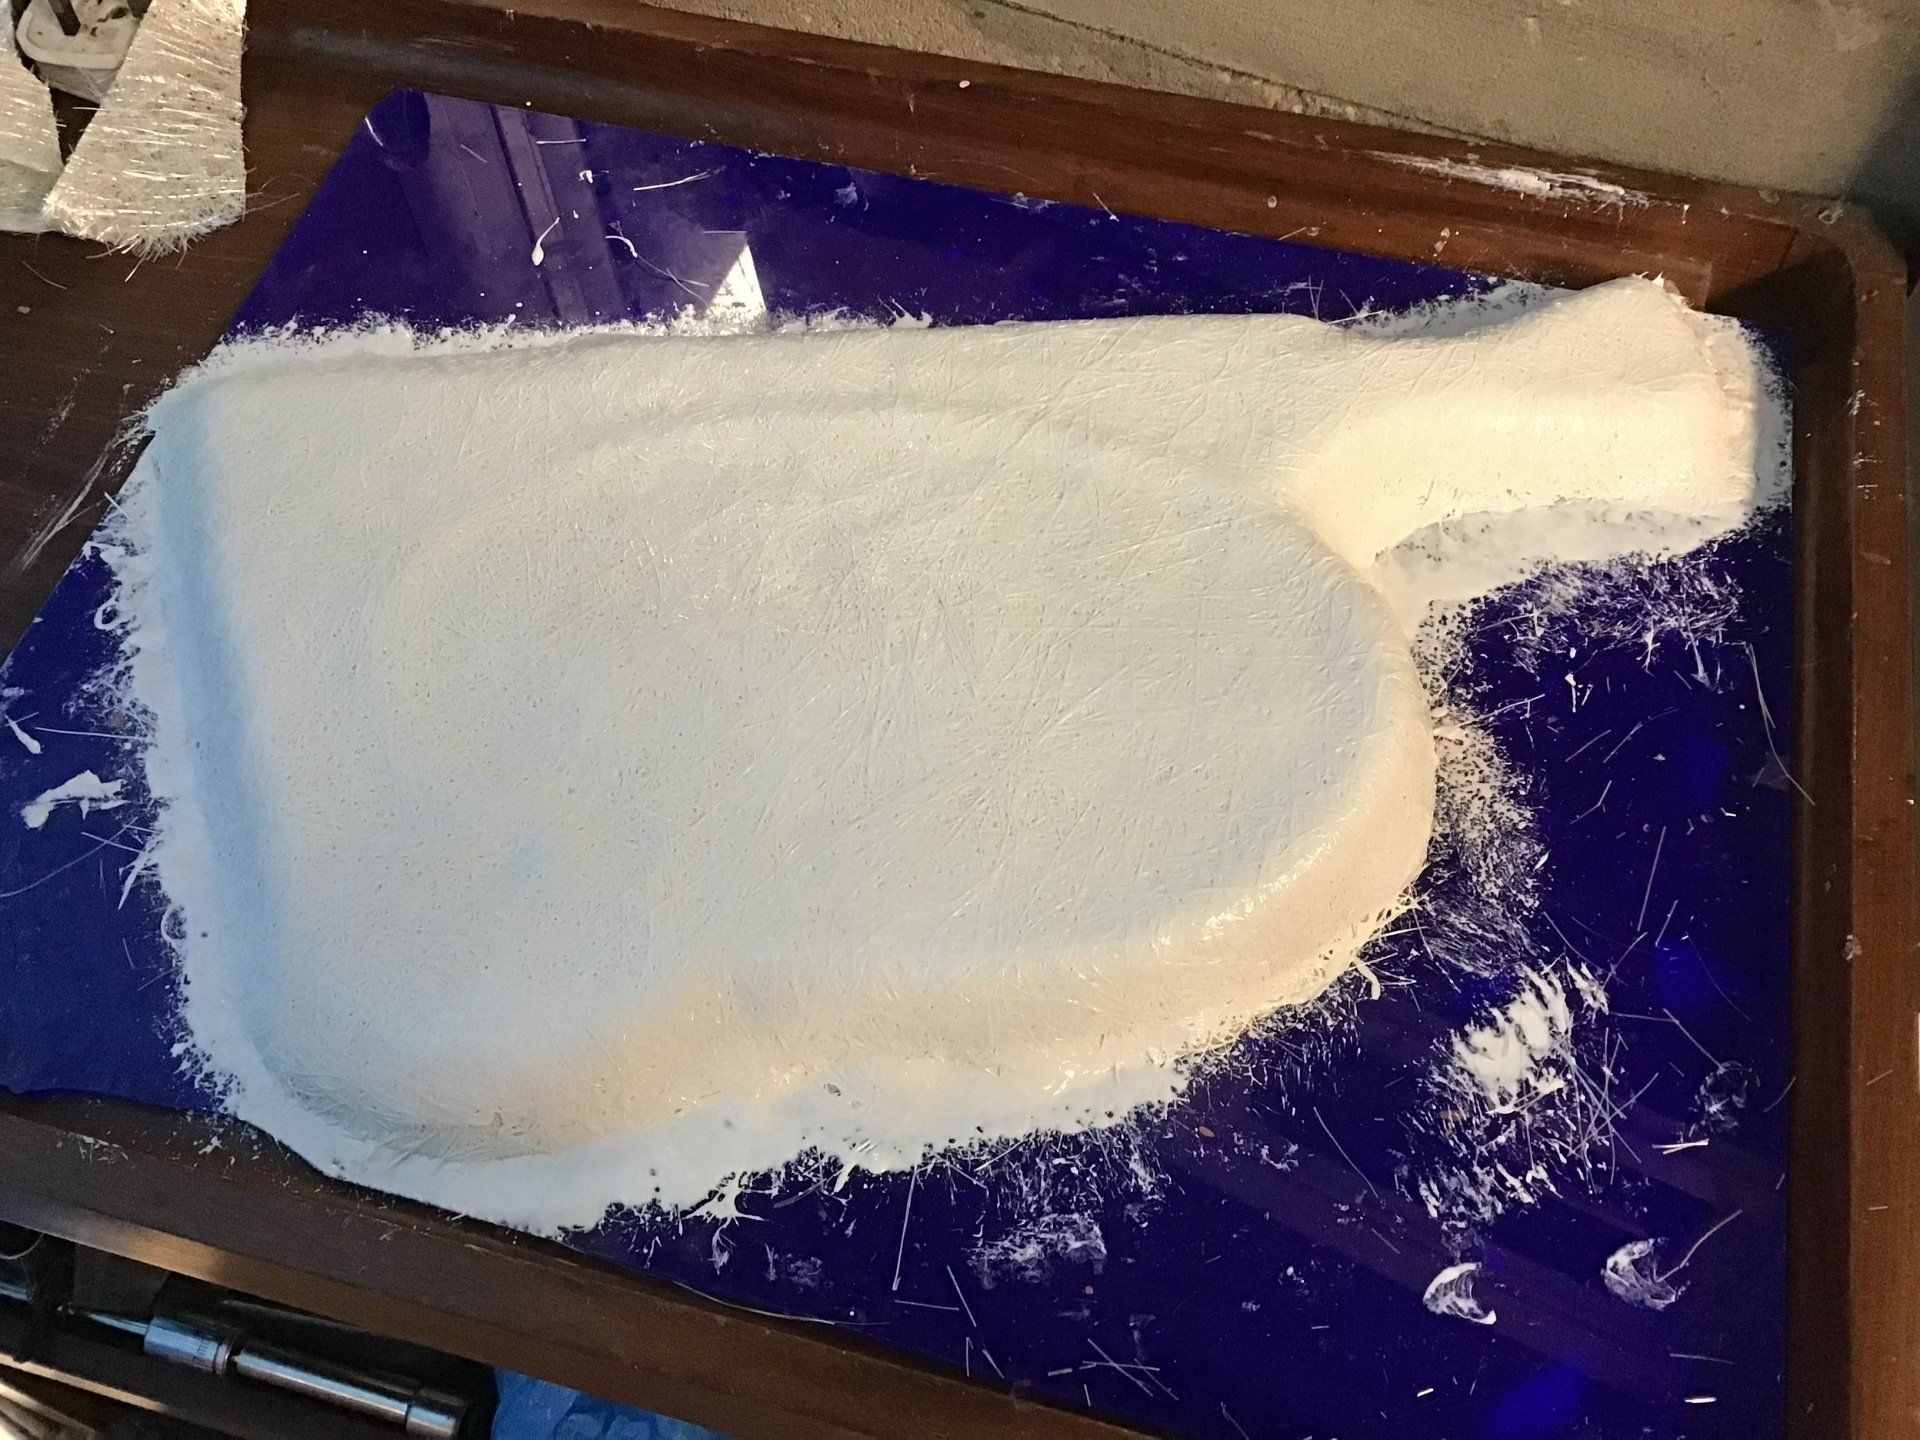
Three more layers of chopped strand mat and this one is done. It just needs to cure for a suitable length of time before I try extracting the pattern.
On to the second panel and this is where everything started to go a bit wrong. For some reason, the gel-coat reacted with the paint used on the pattern. I don't know why, as far as I can remember, it was the same paint as used on the first panel. But, in this case, the gel-coat proved to be a quite good paint stripper.
I can write about it calmly now, but I was not at all happy. I had my 'don't speak to me' face on for quite some time!
I can write about it calmly now, but I was not at all happy. I had my 'don't speak to me' face on for quite some time!
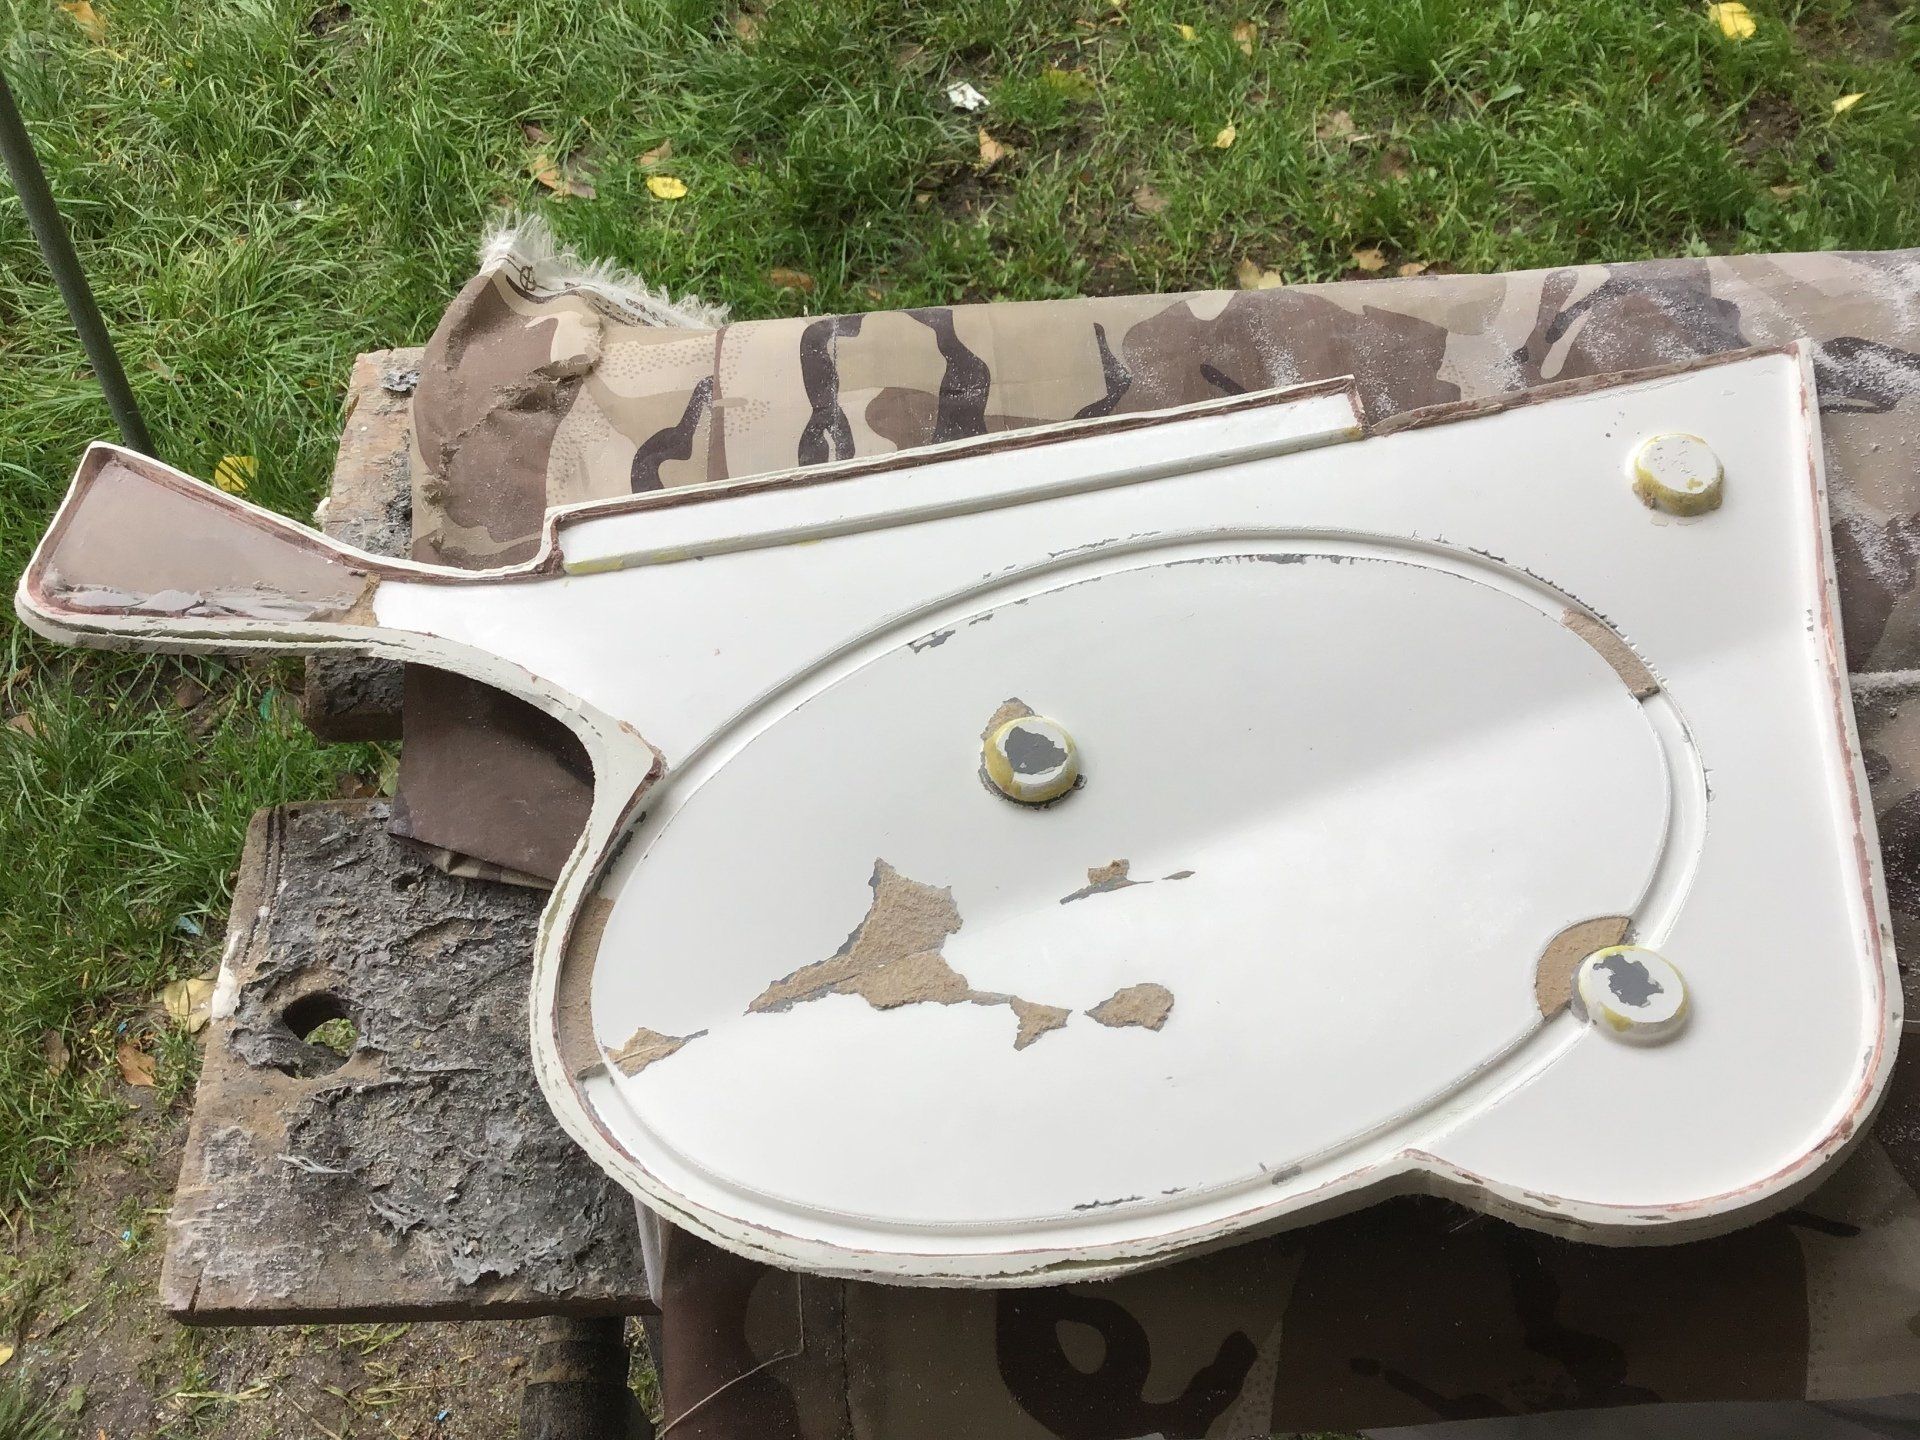
This is the result. I have to get the rest of the original white paint off and refinish the panel. Then I can have another go at making the mould. (Having first tested that the paint I use this time doesn't react with the gel-coat!)
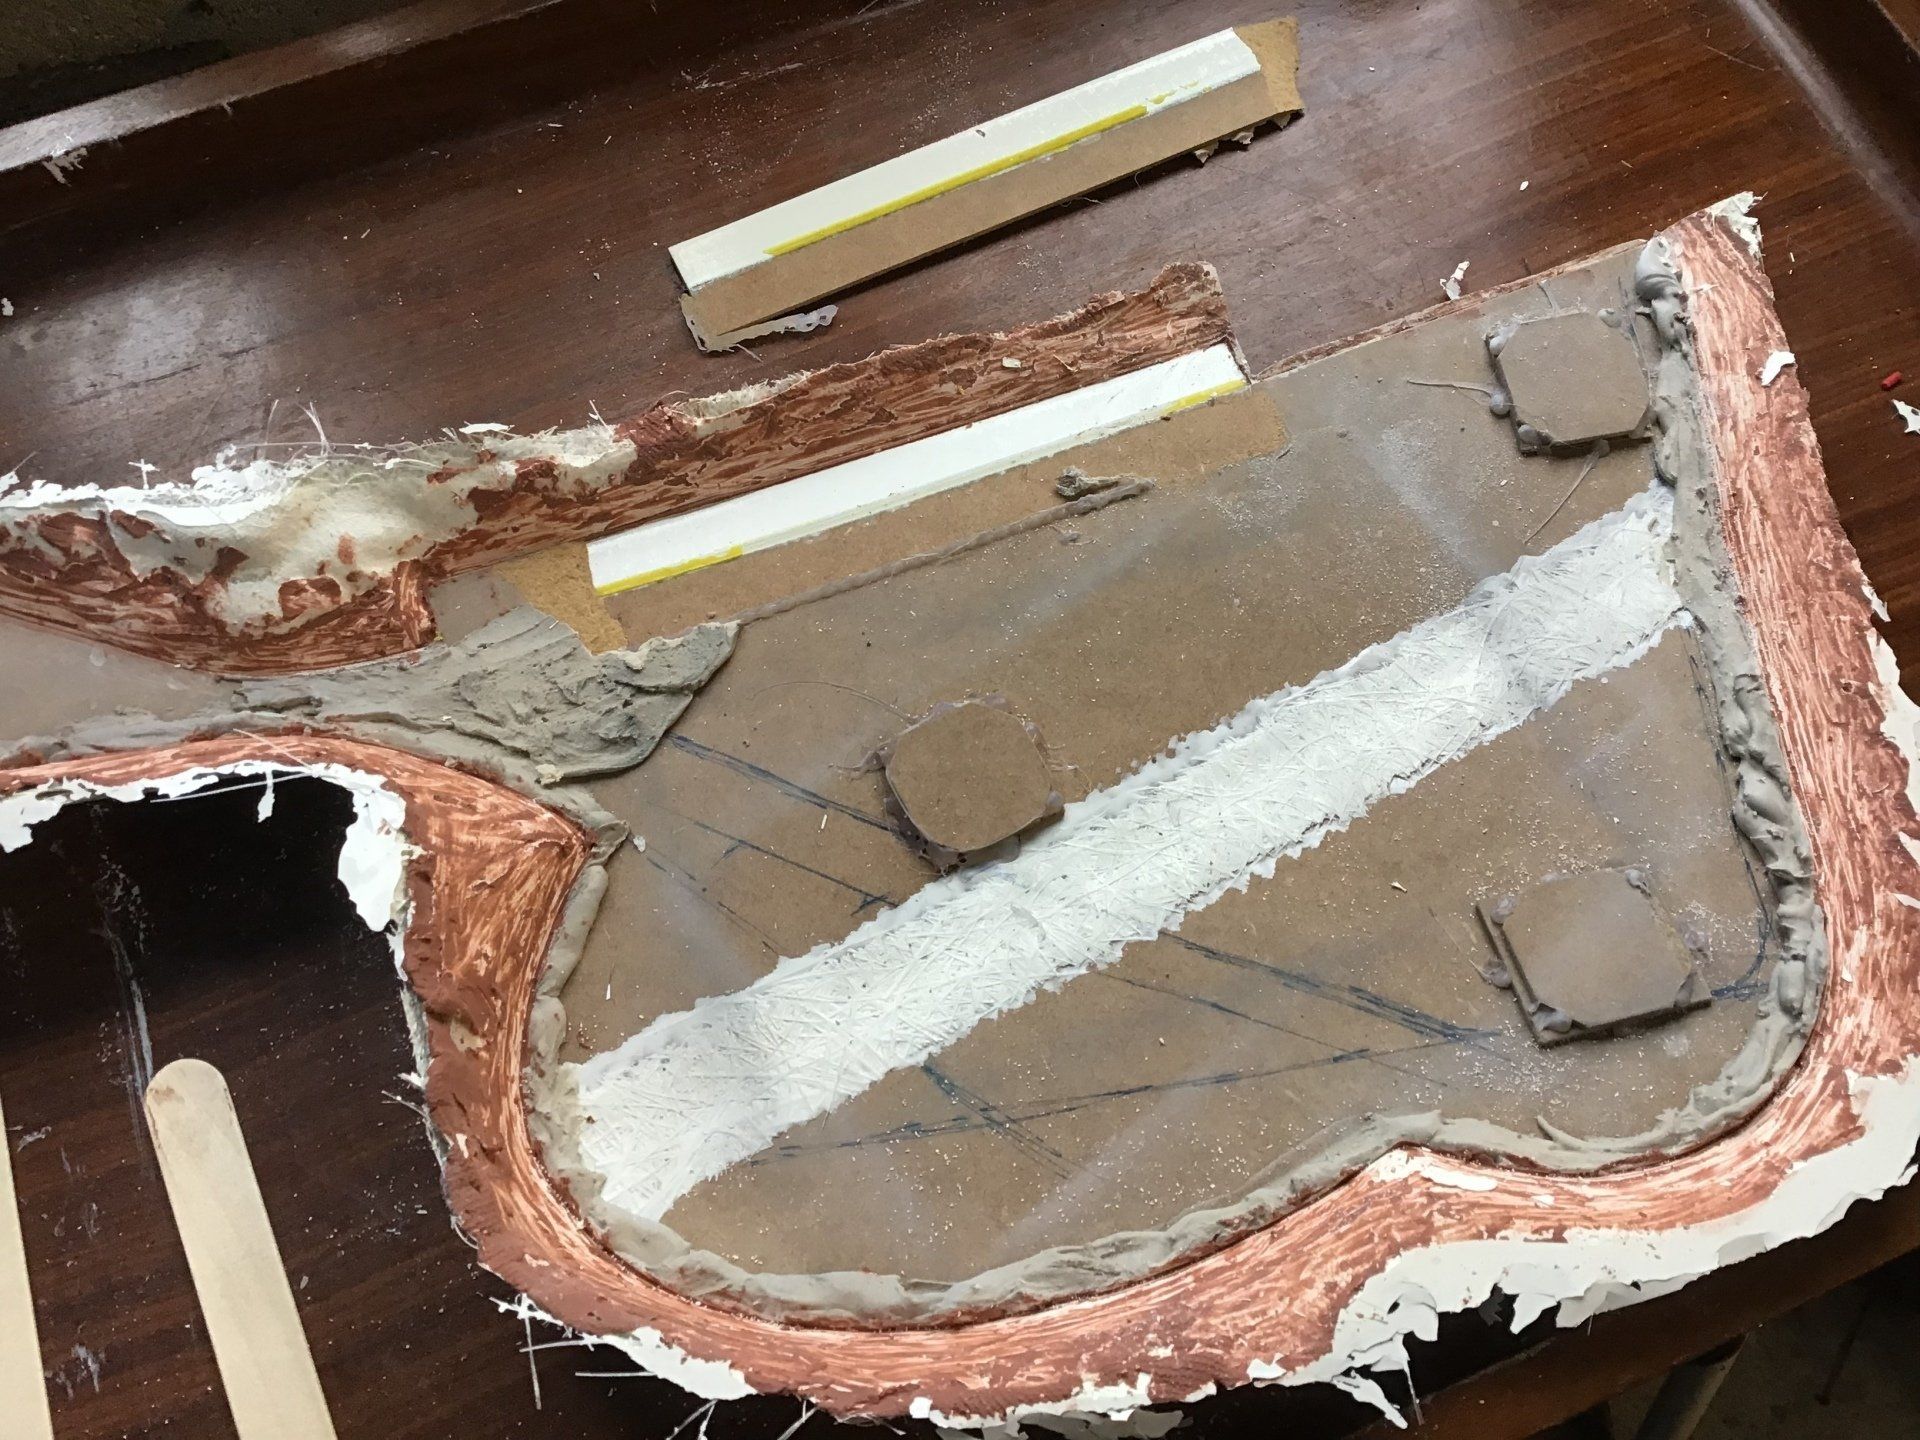
This is the back view of the left hand side panel mould (the one that didn't go badly wrong!). It's time to try and release the pattern. The first stage is to dig out all that clay.
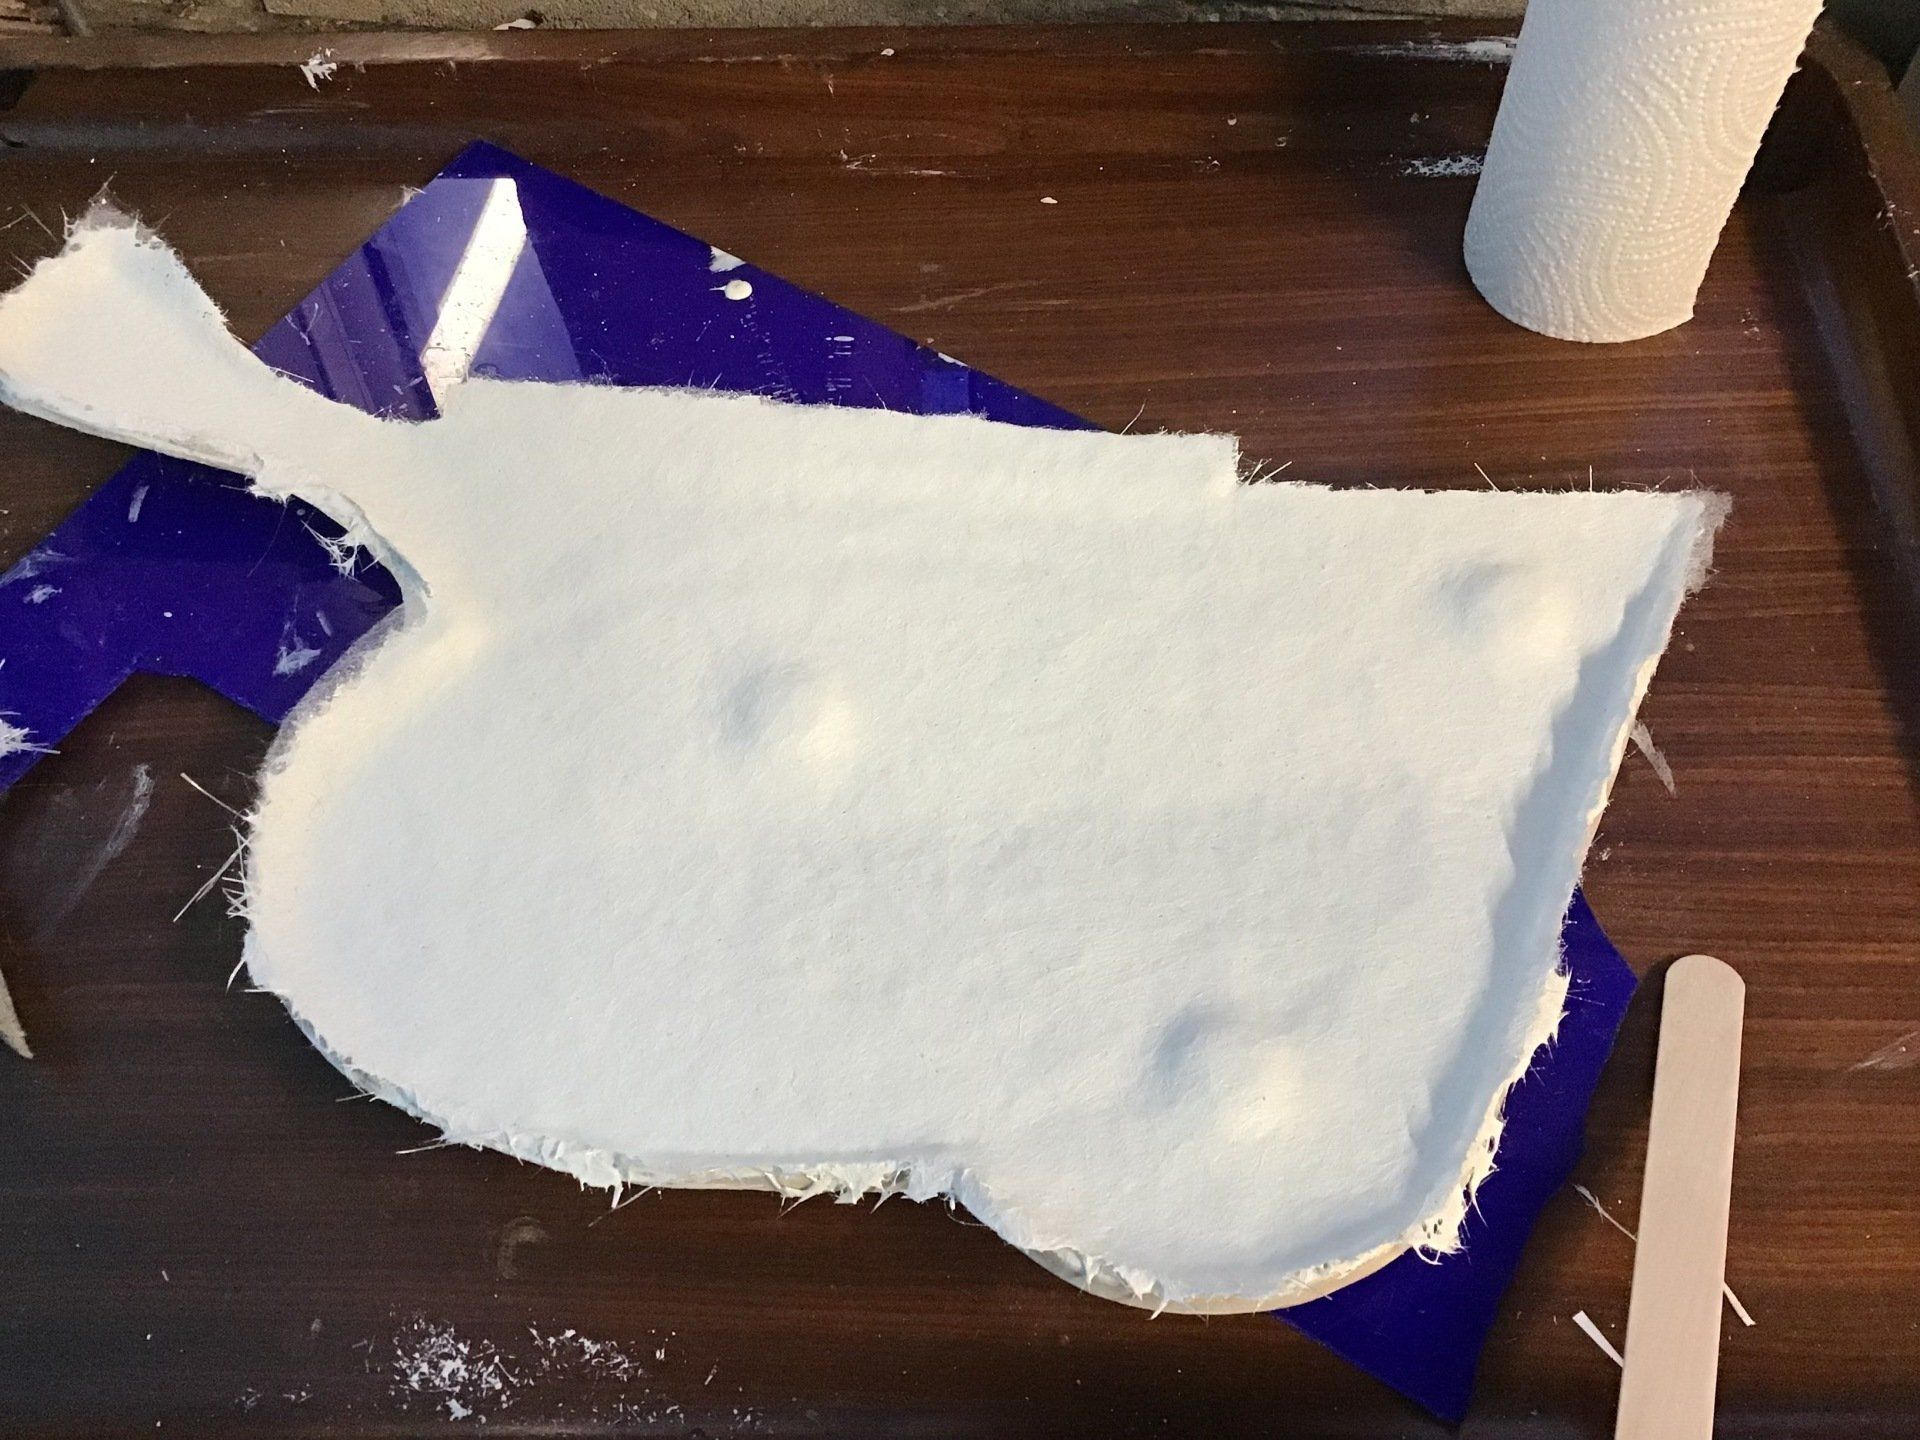
Most of the clay has been removed (the residue can be removed at a later date using hot, soapy water and a stiff brush).

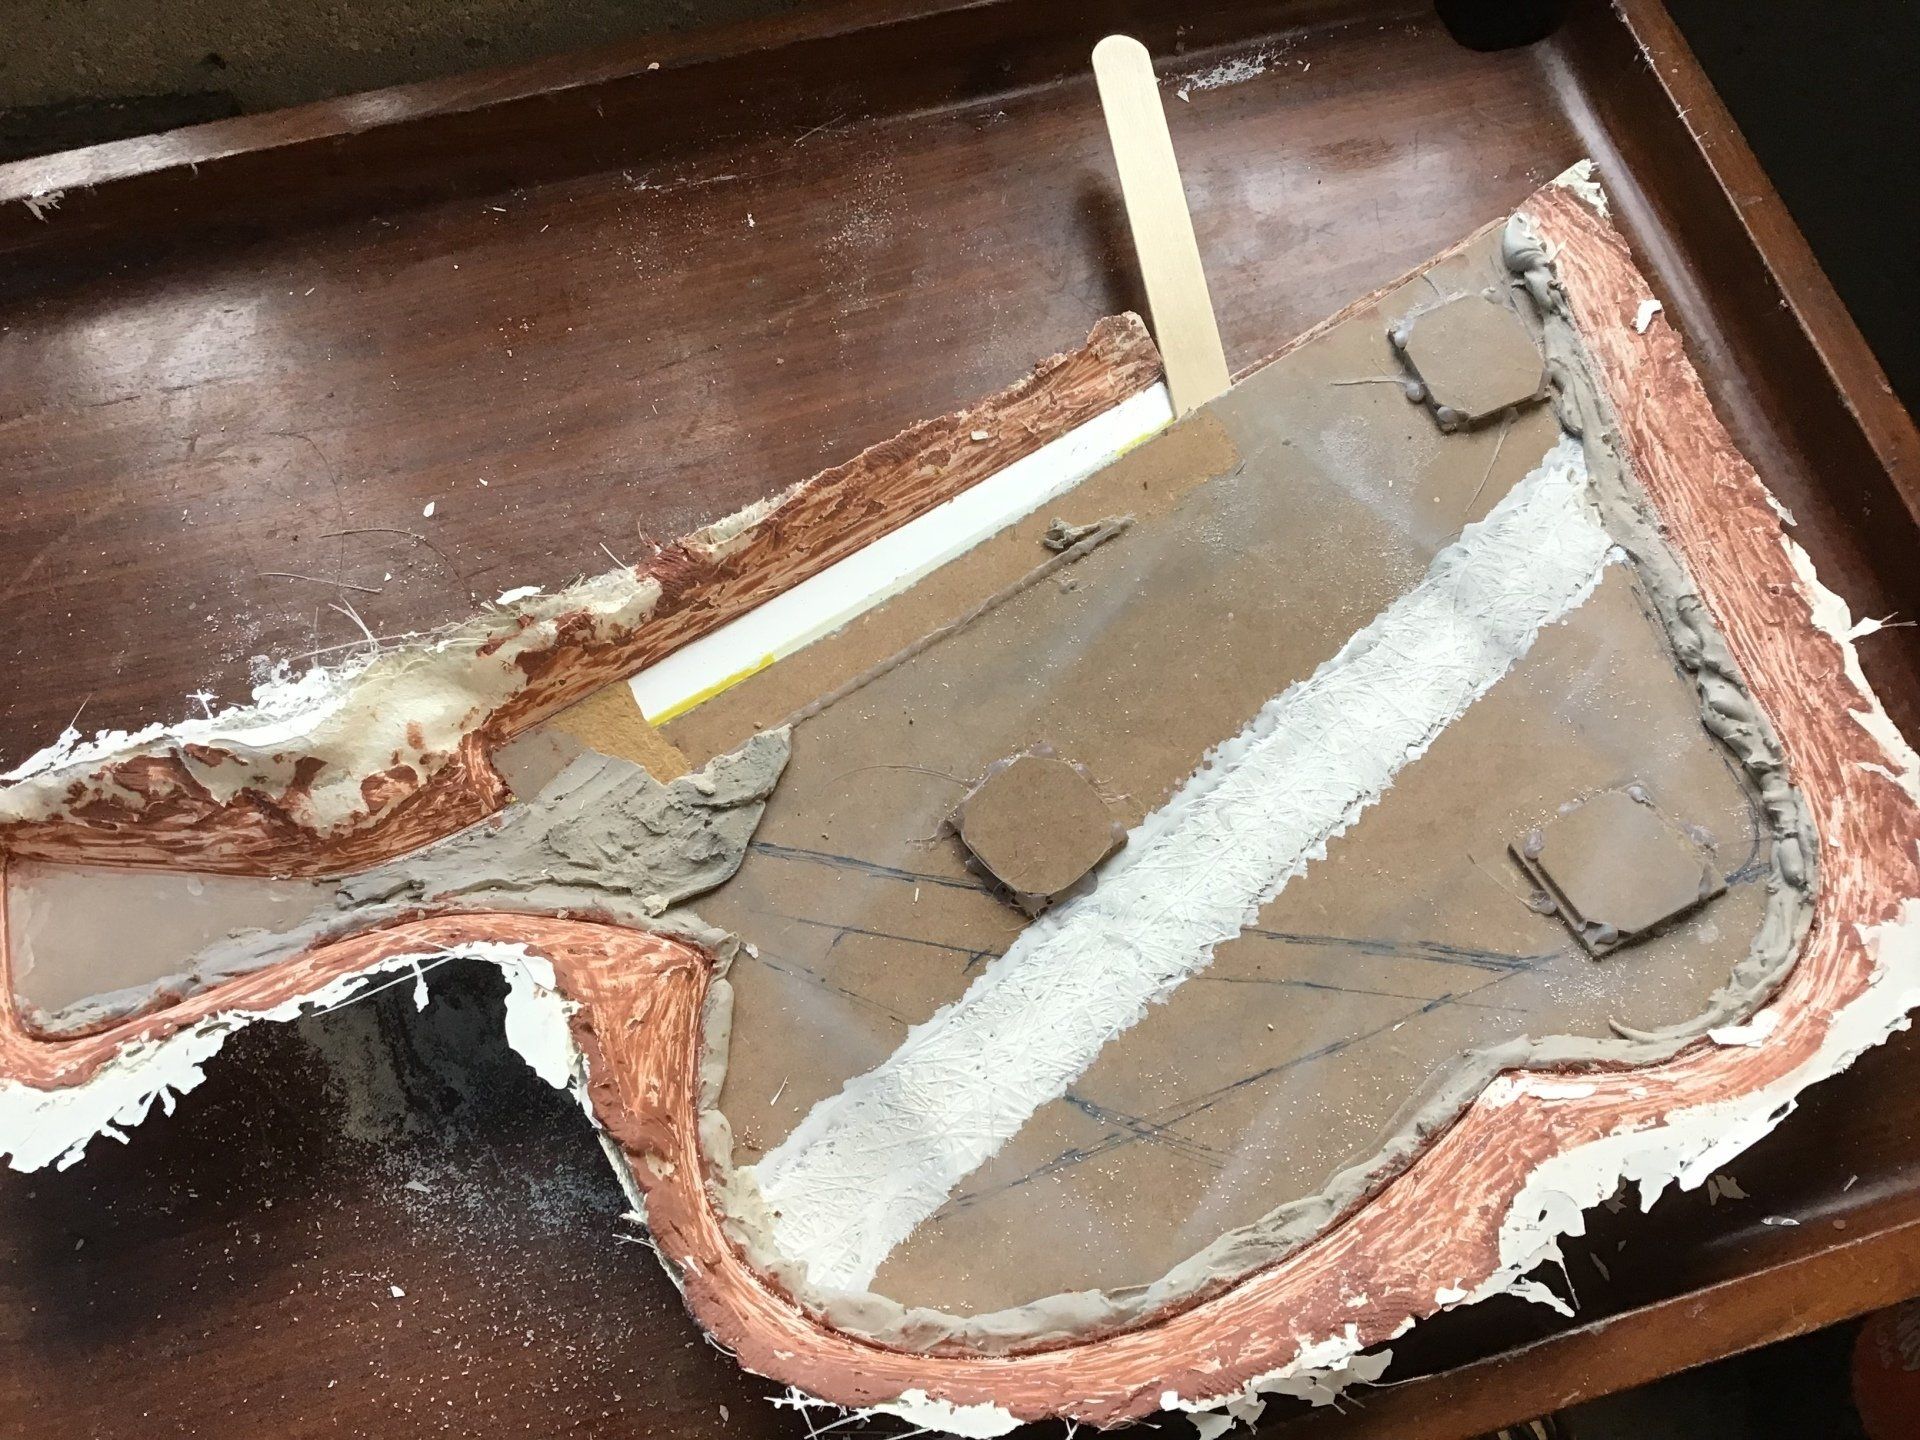
In order to get the pattern out I need to work a wedge under one edge. Here I've trimmed the top right hand edge of the mould (and also managed to break the top edge of the pattern trying to use that as a leverage point!)
But I have now managed to flex the mould enough to allow me to slide a lolly stick in between mould and pattern. By manipulating this (and adding others if required) the pattern and mould can be prised apart.
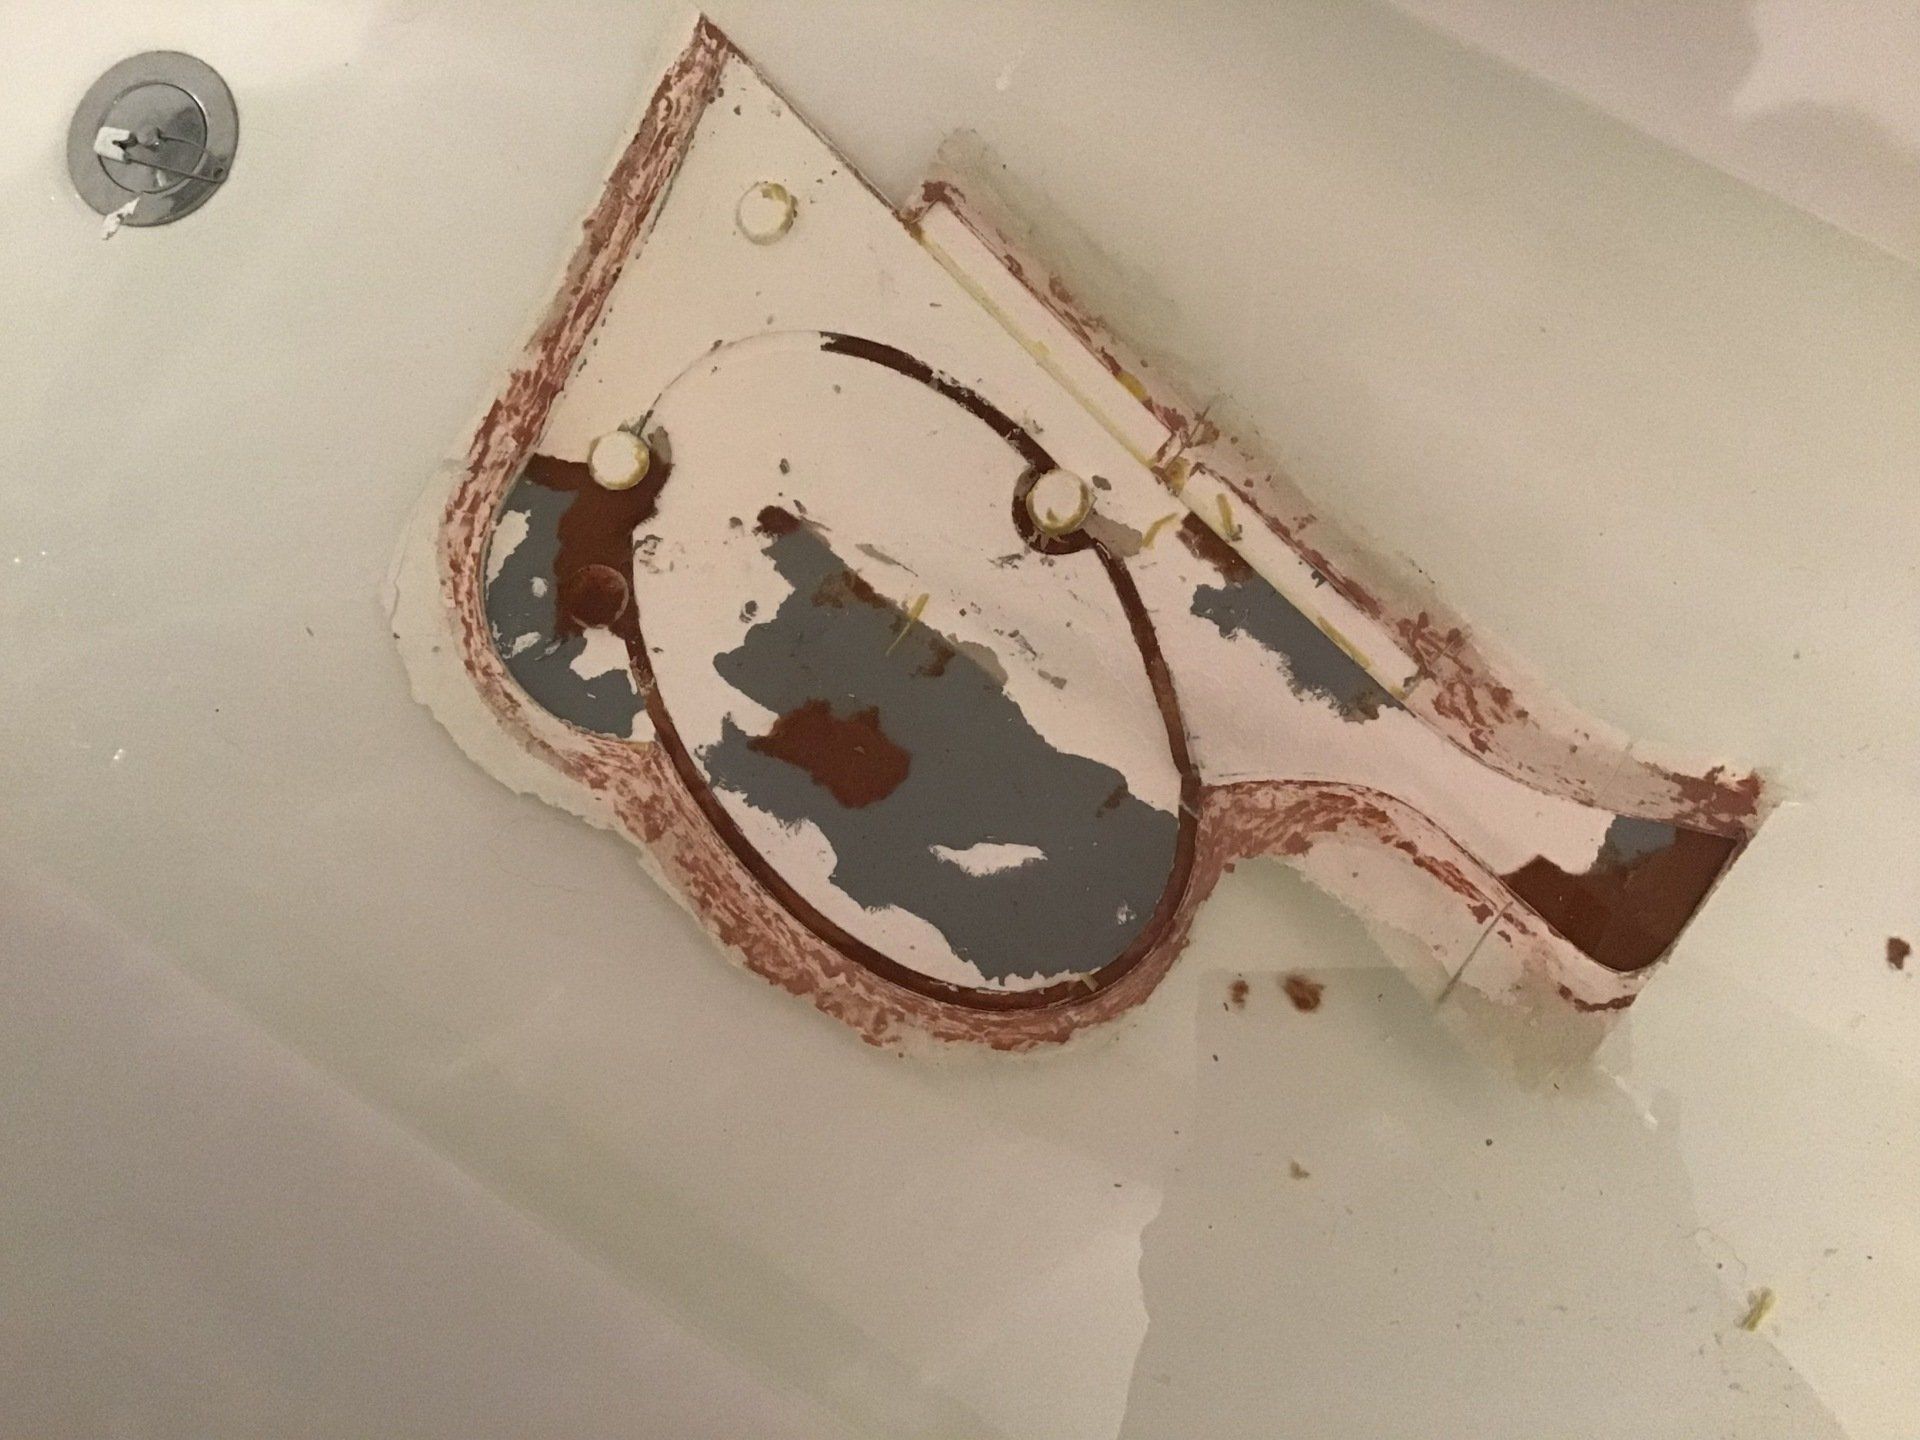
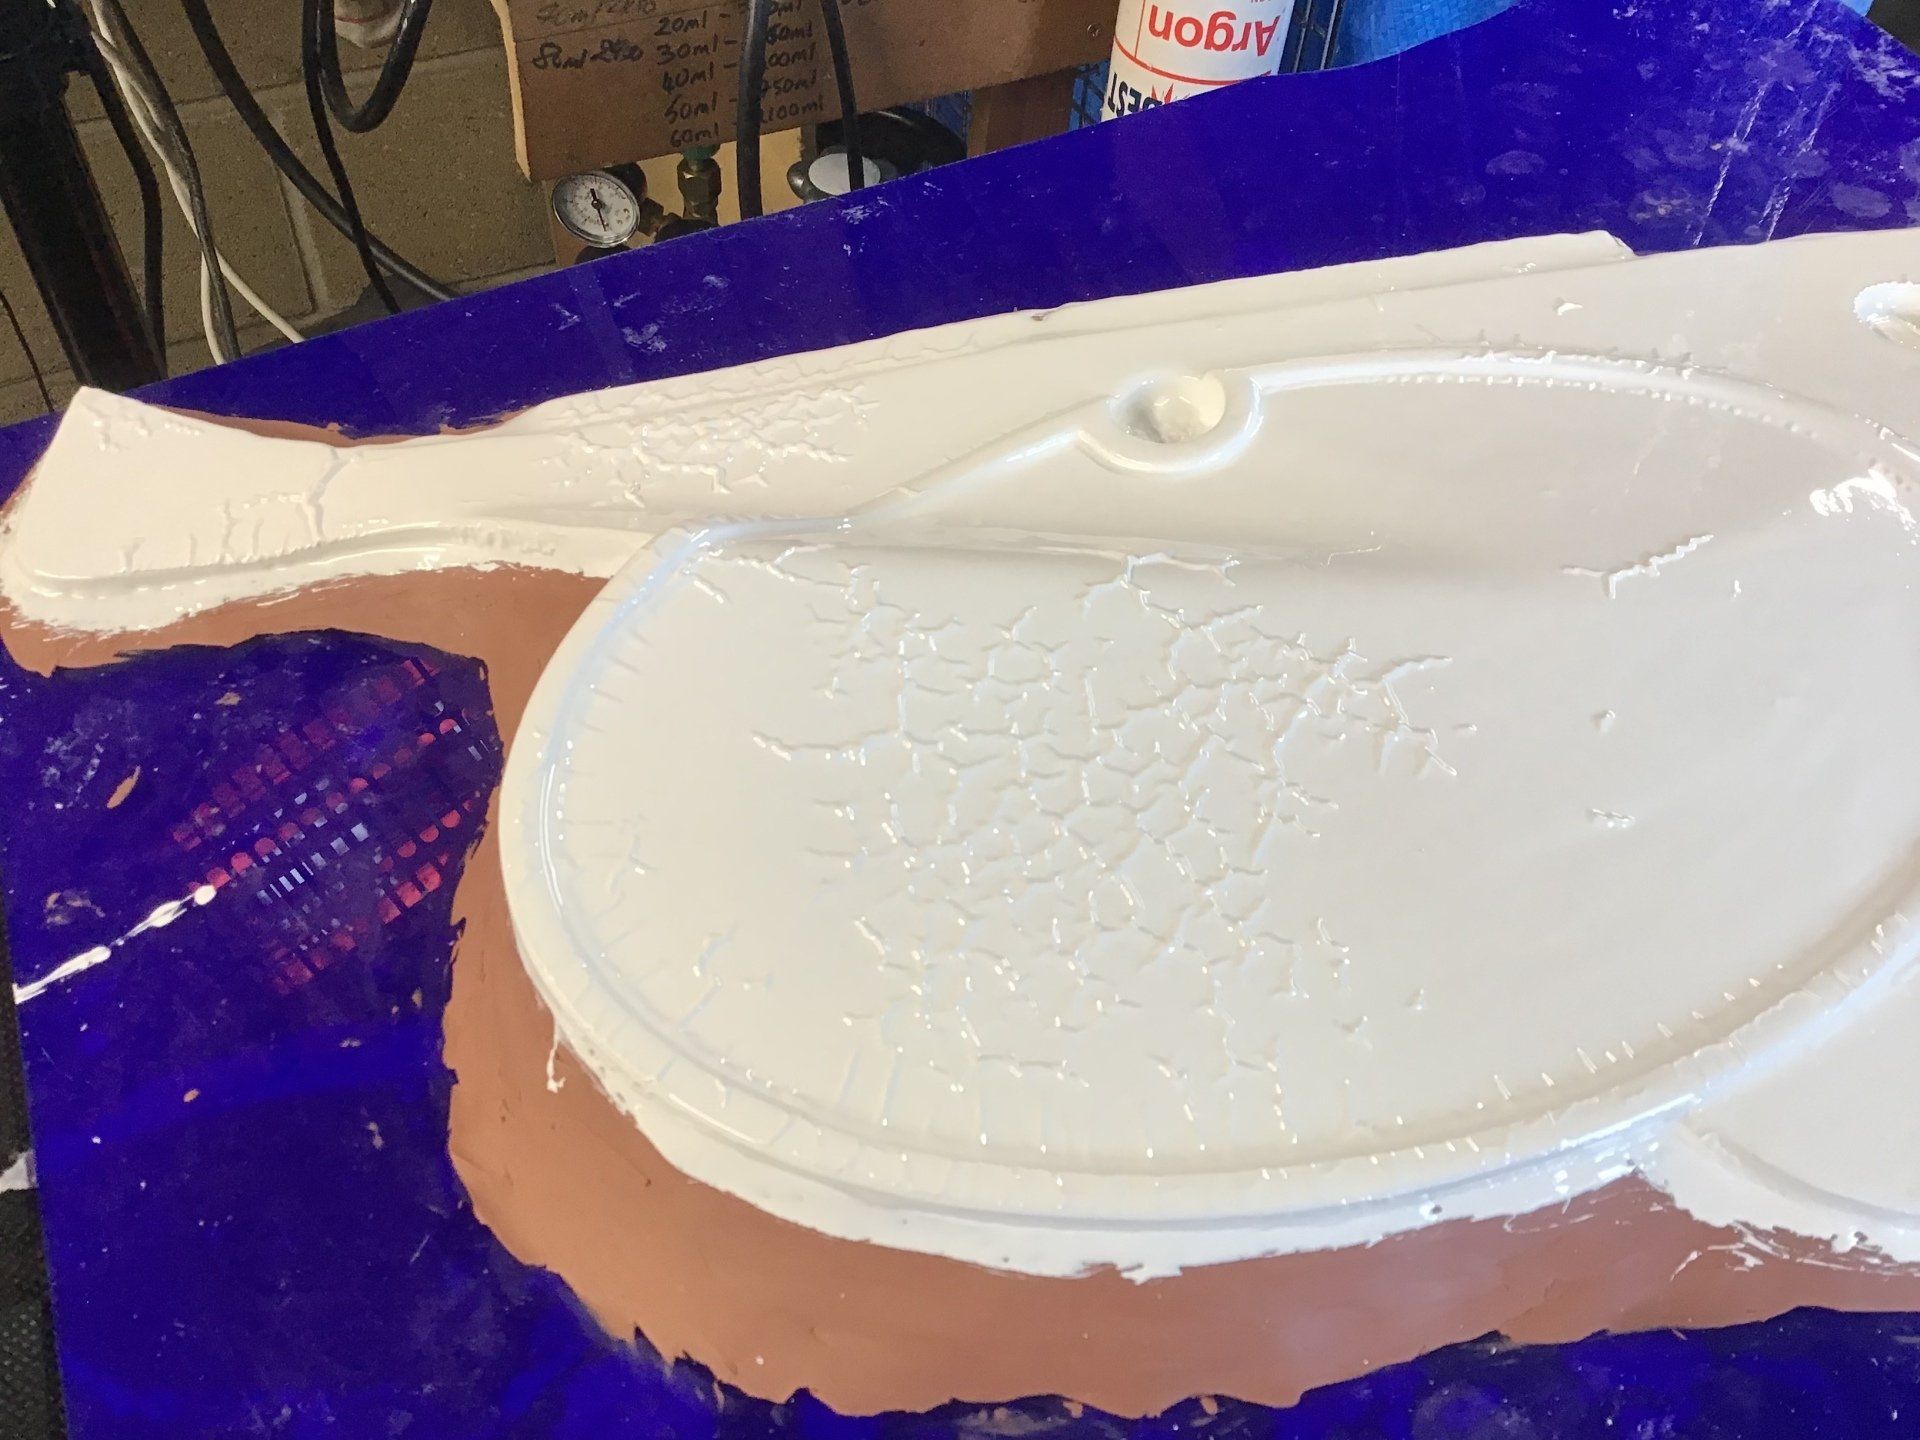
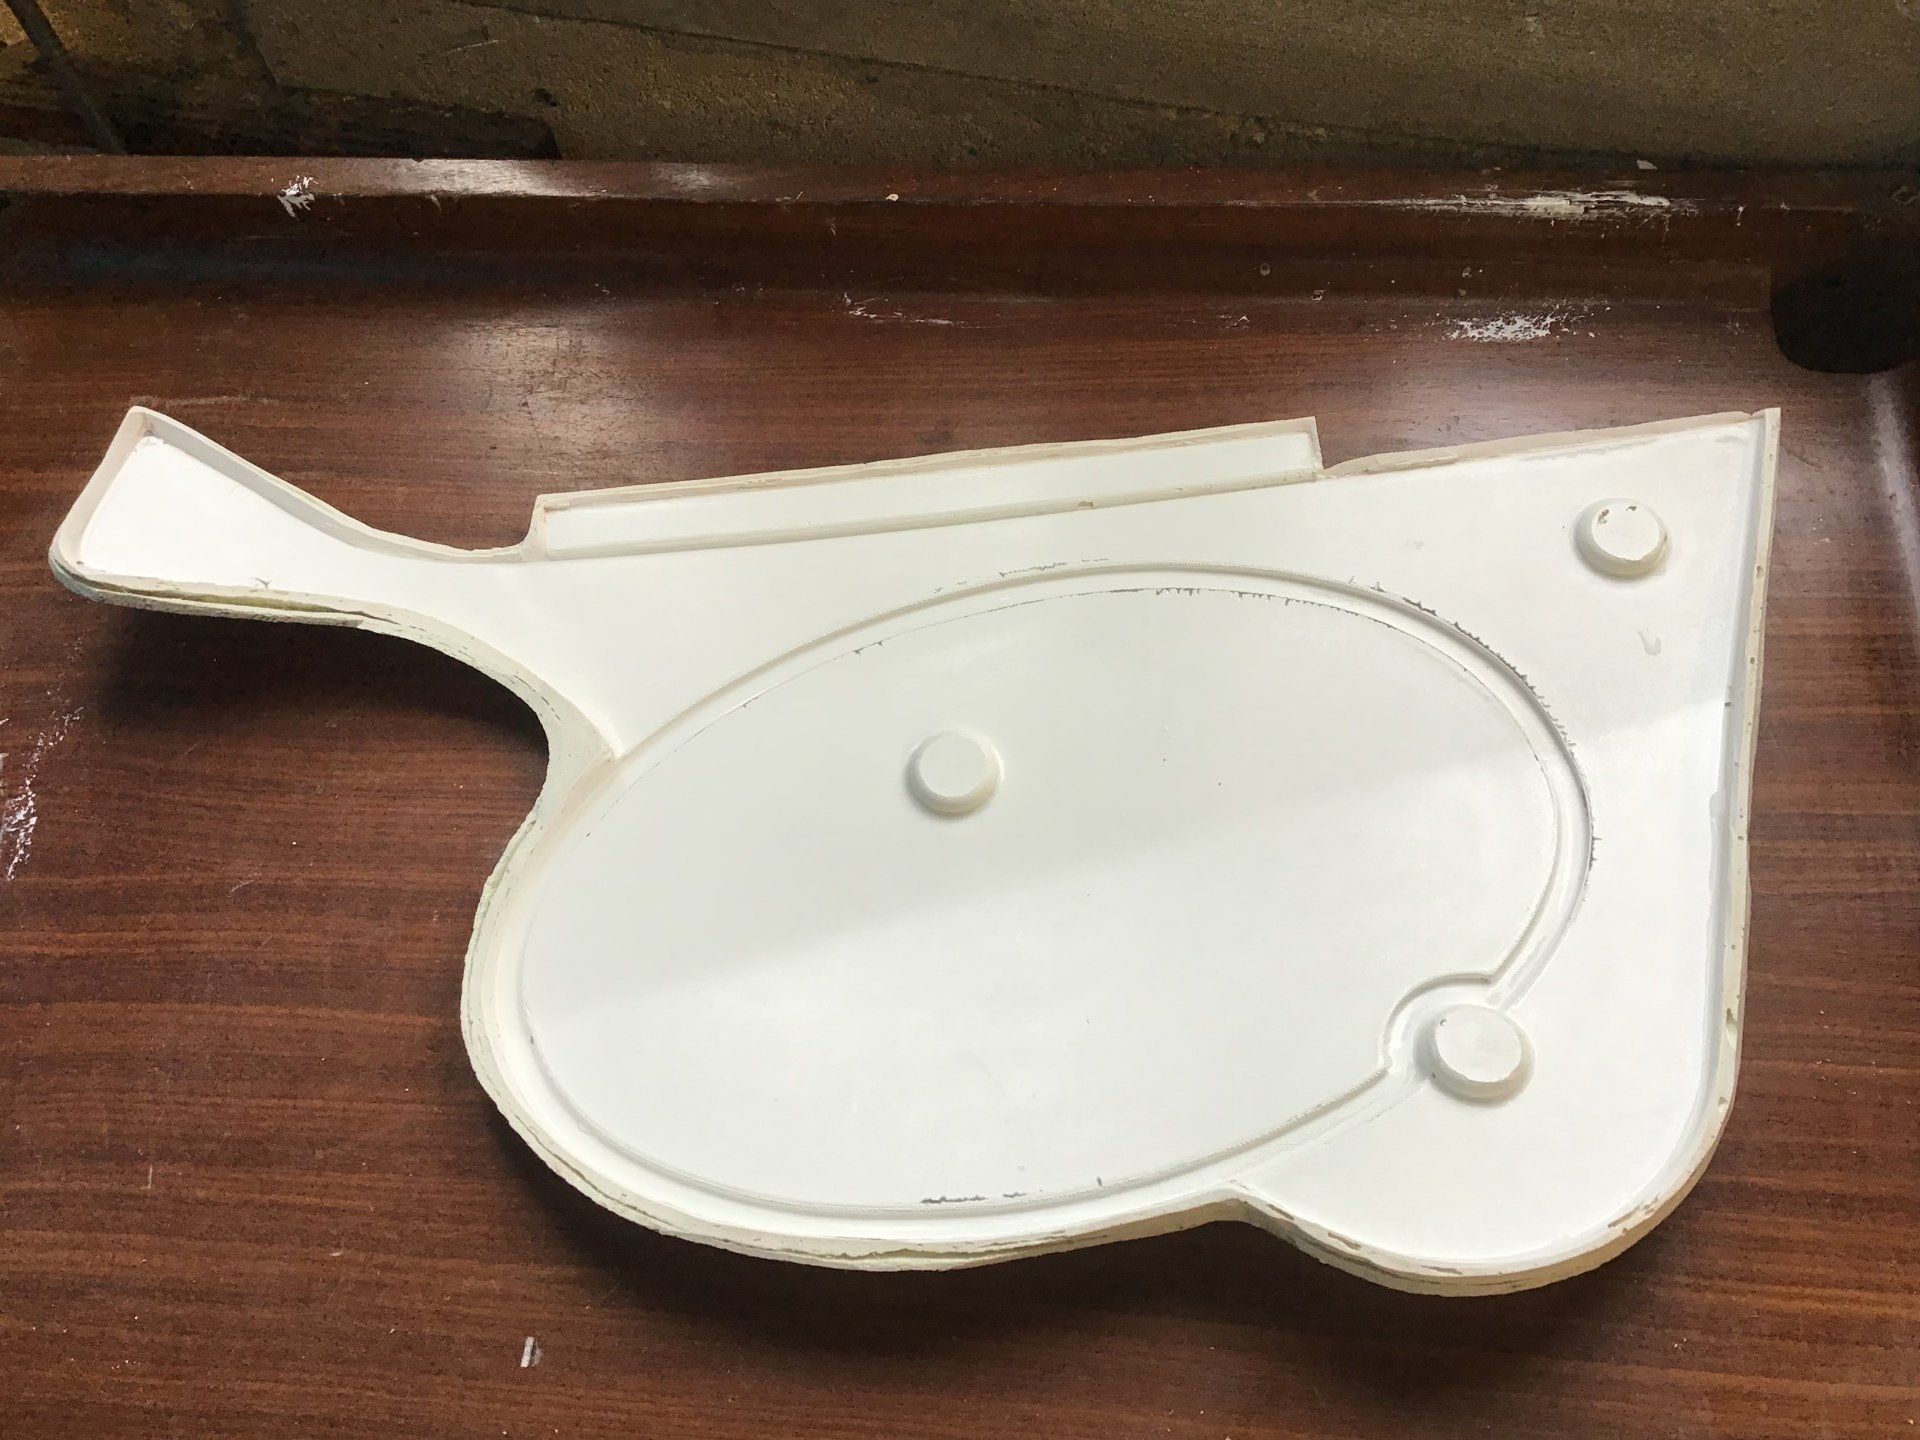
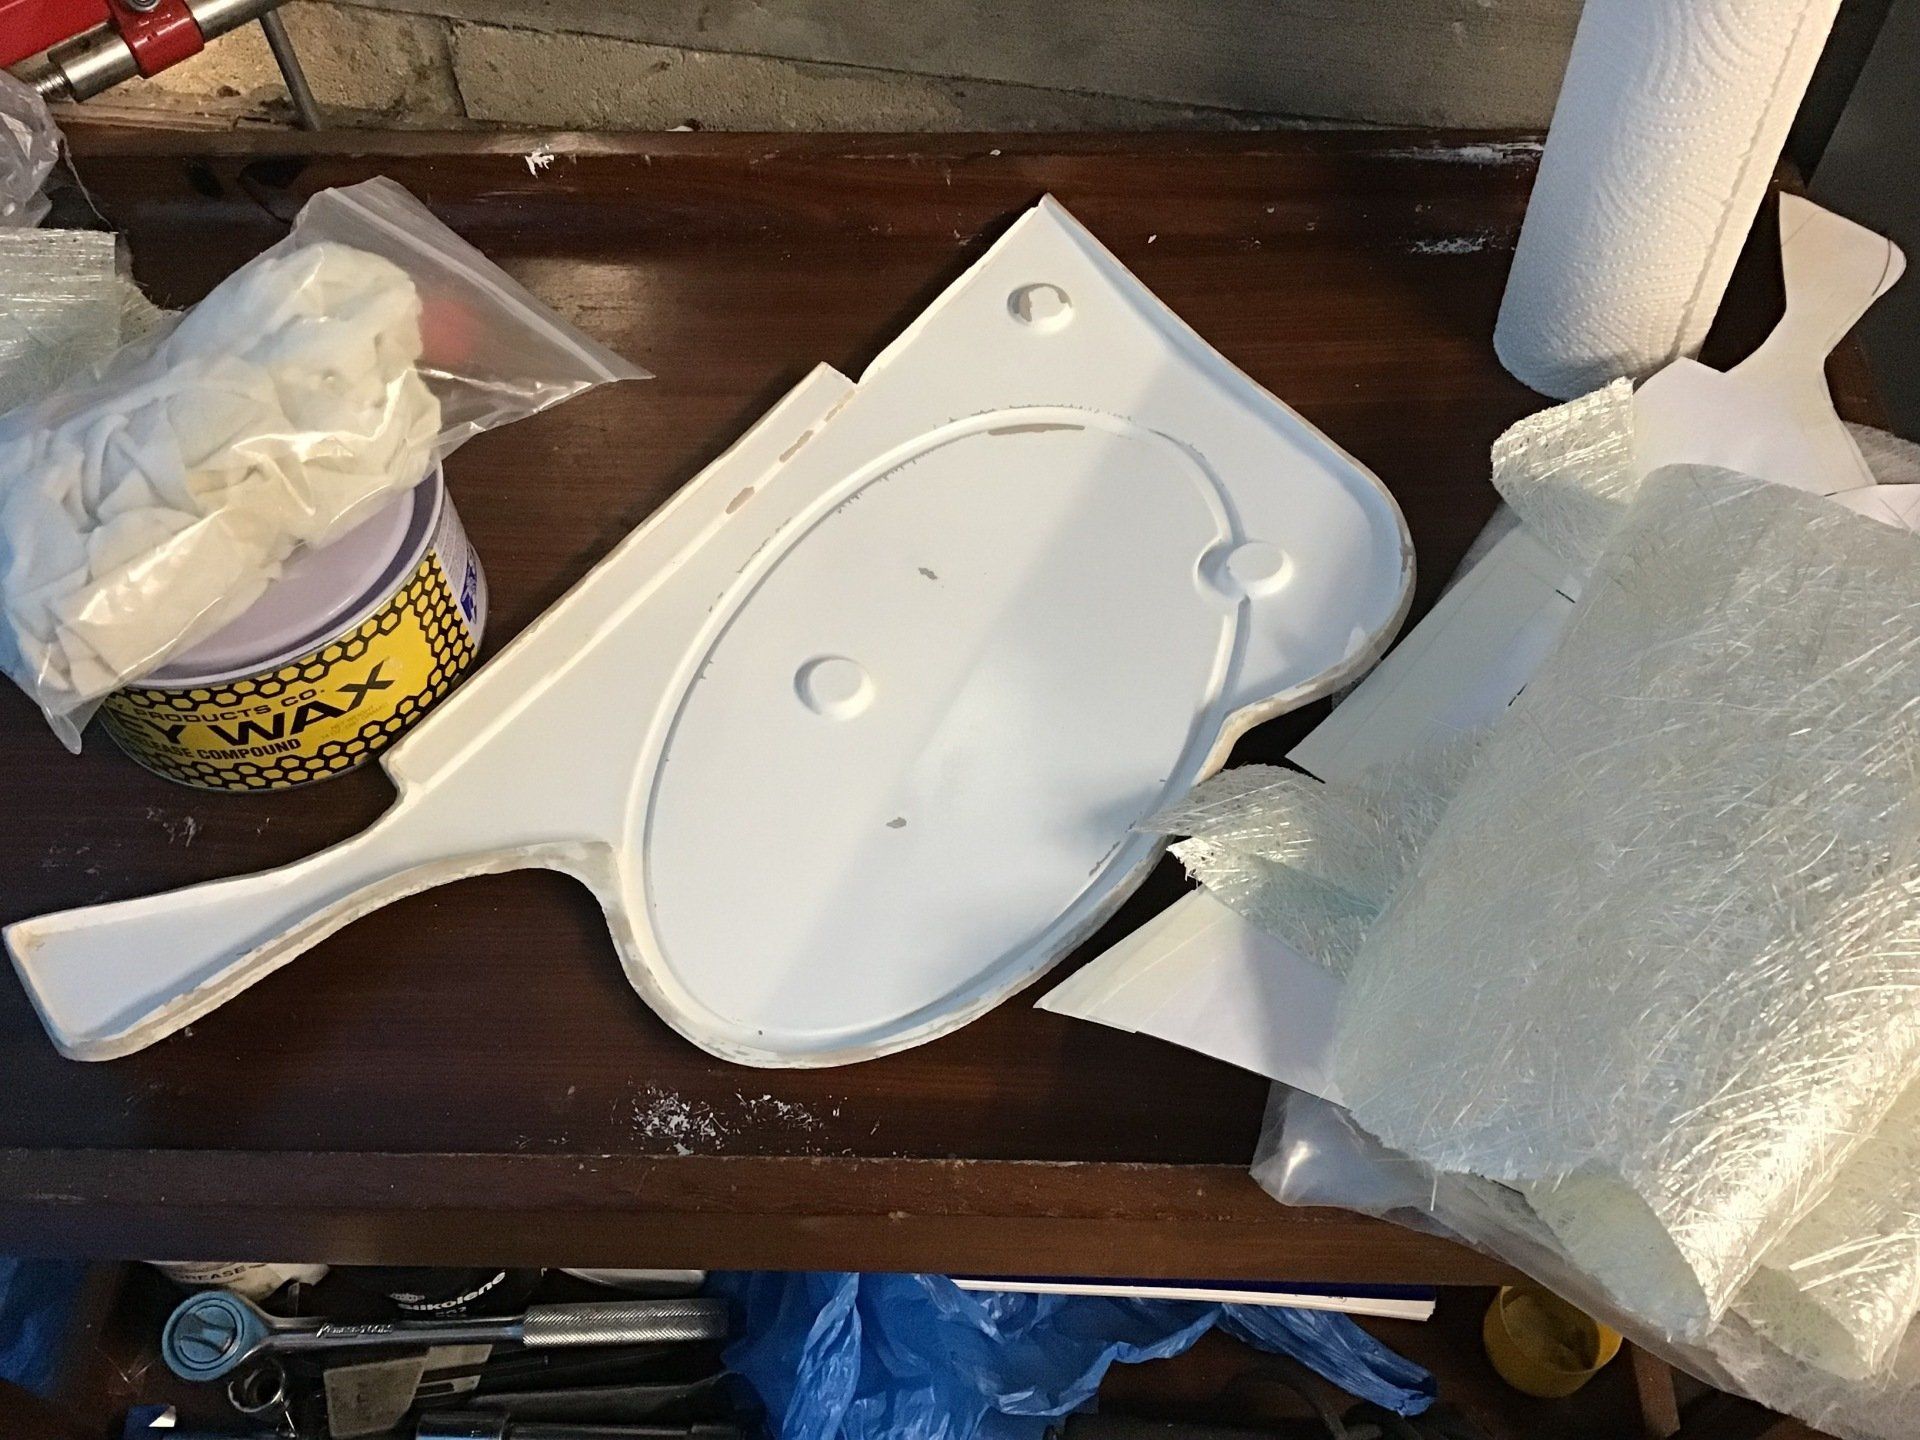
Eventually most of the pattern is out. Hopefully this mould will be OK to use because the pattern is wrecked! It should be good; the gel coat has reacted a little bit (mostly around the edges of the oval - they're the areas that look grey in the picture) and the stuck bits can be removed by soaking in water to soften the remains of the mdf pattern . Then it will need a little bit of filling and sanding to repair any damage etc.
Here's the pattern, all trimmed up and with all the stuck bits of pattern removed.
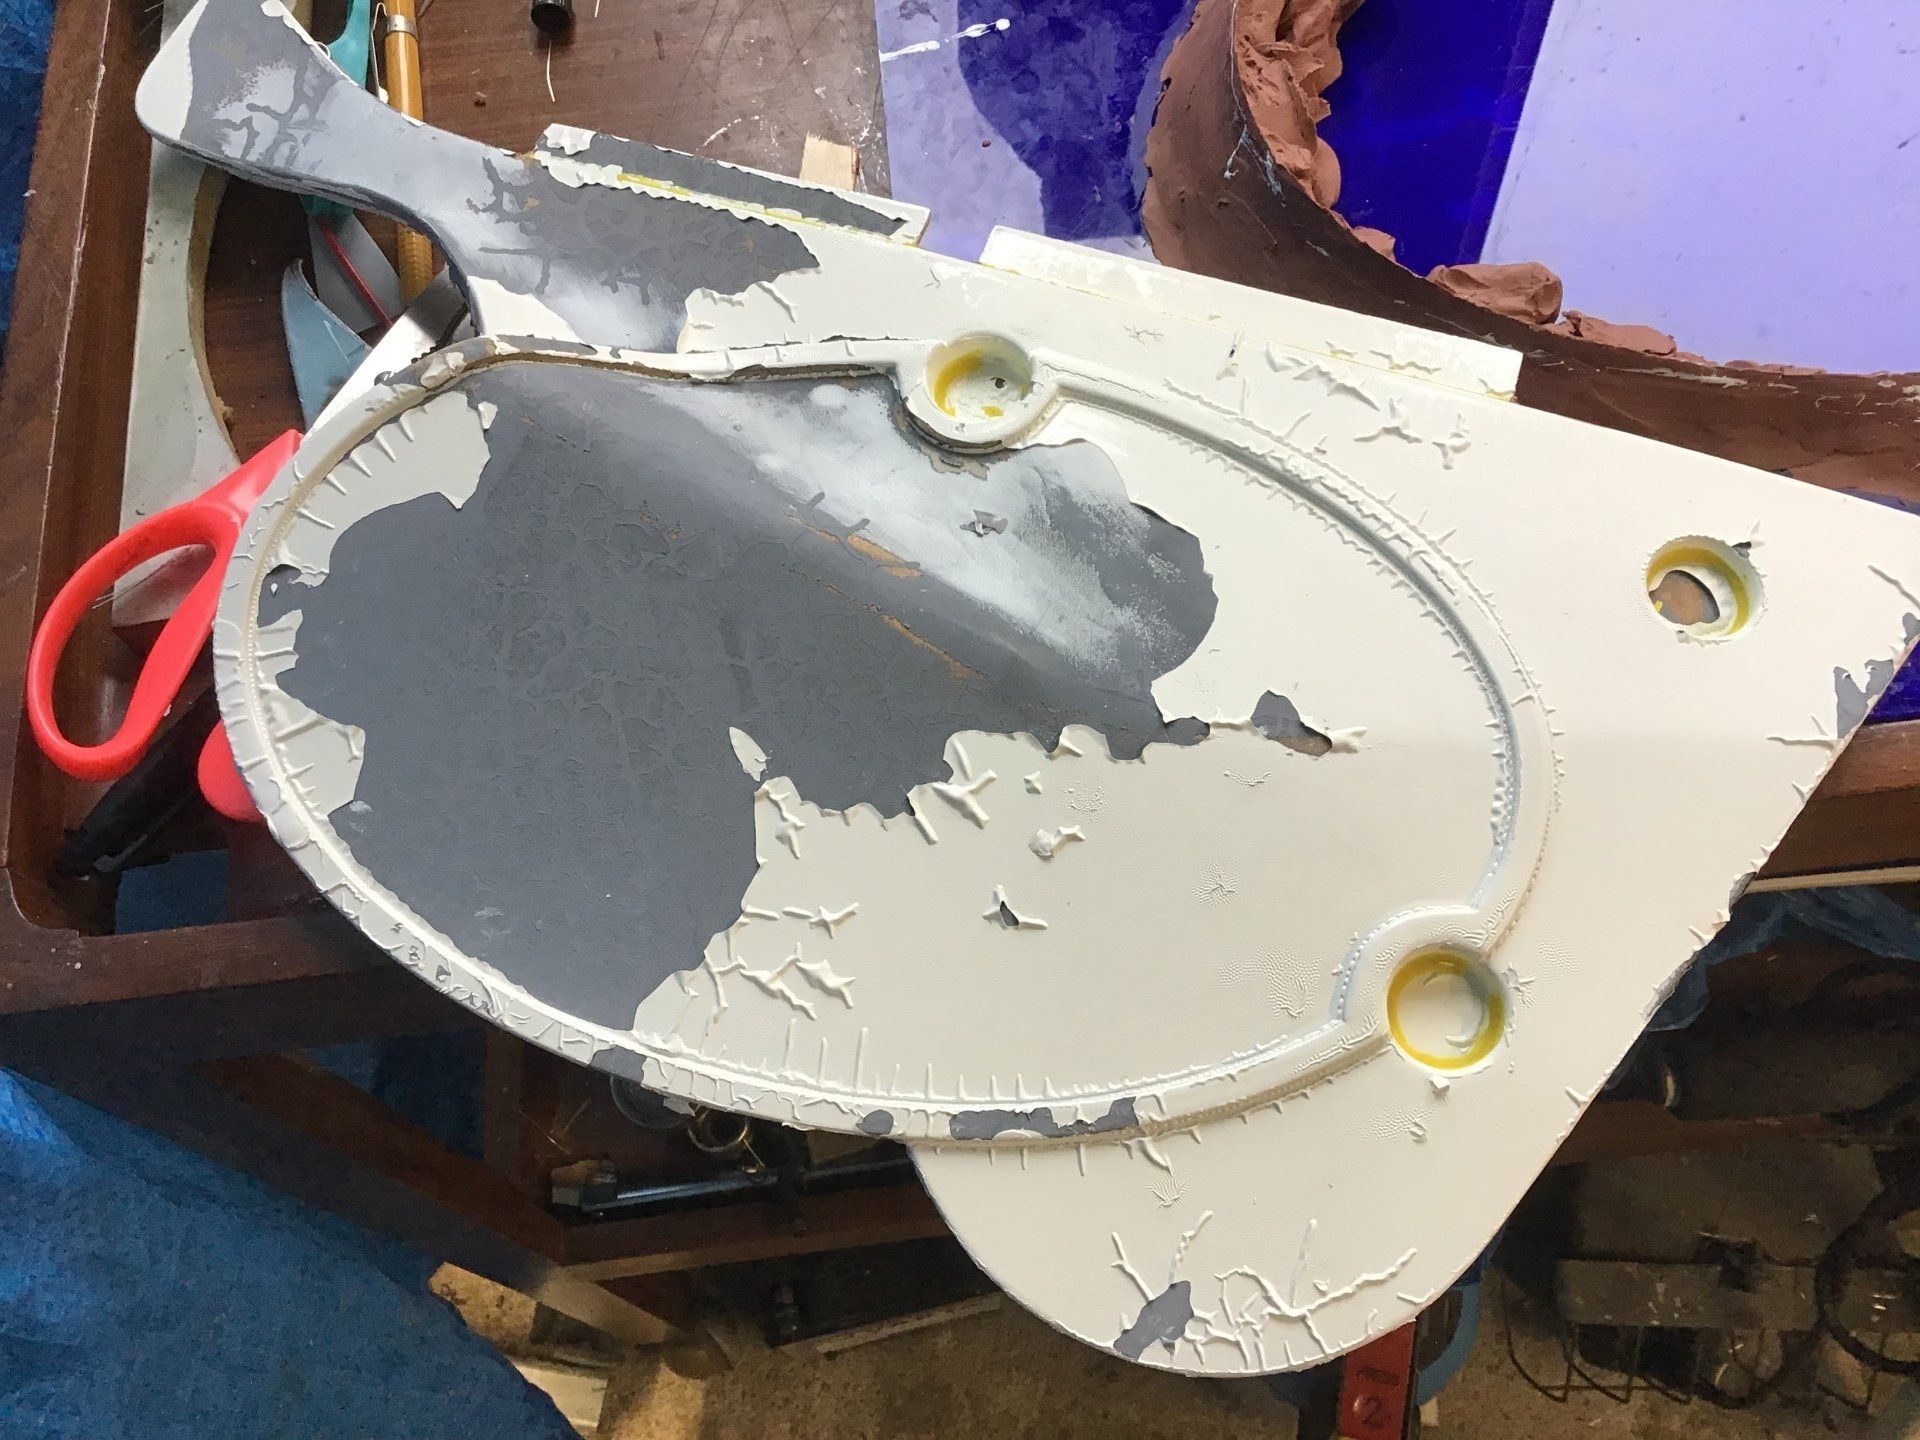
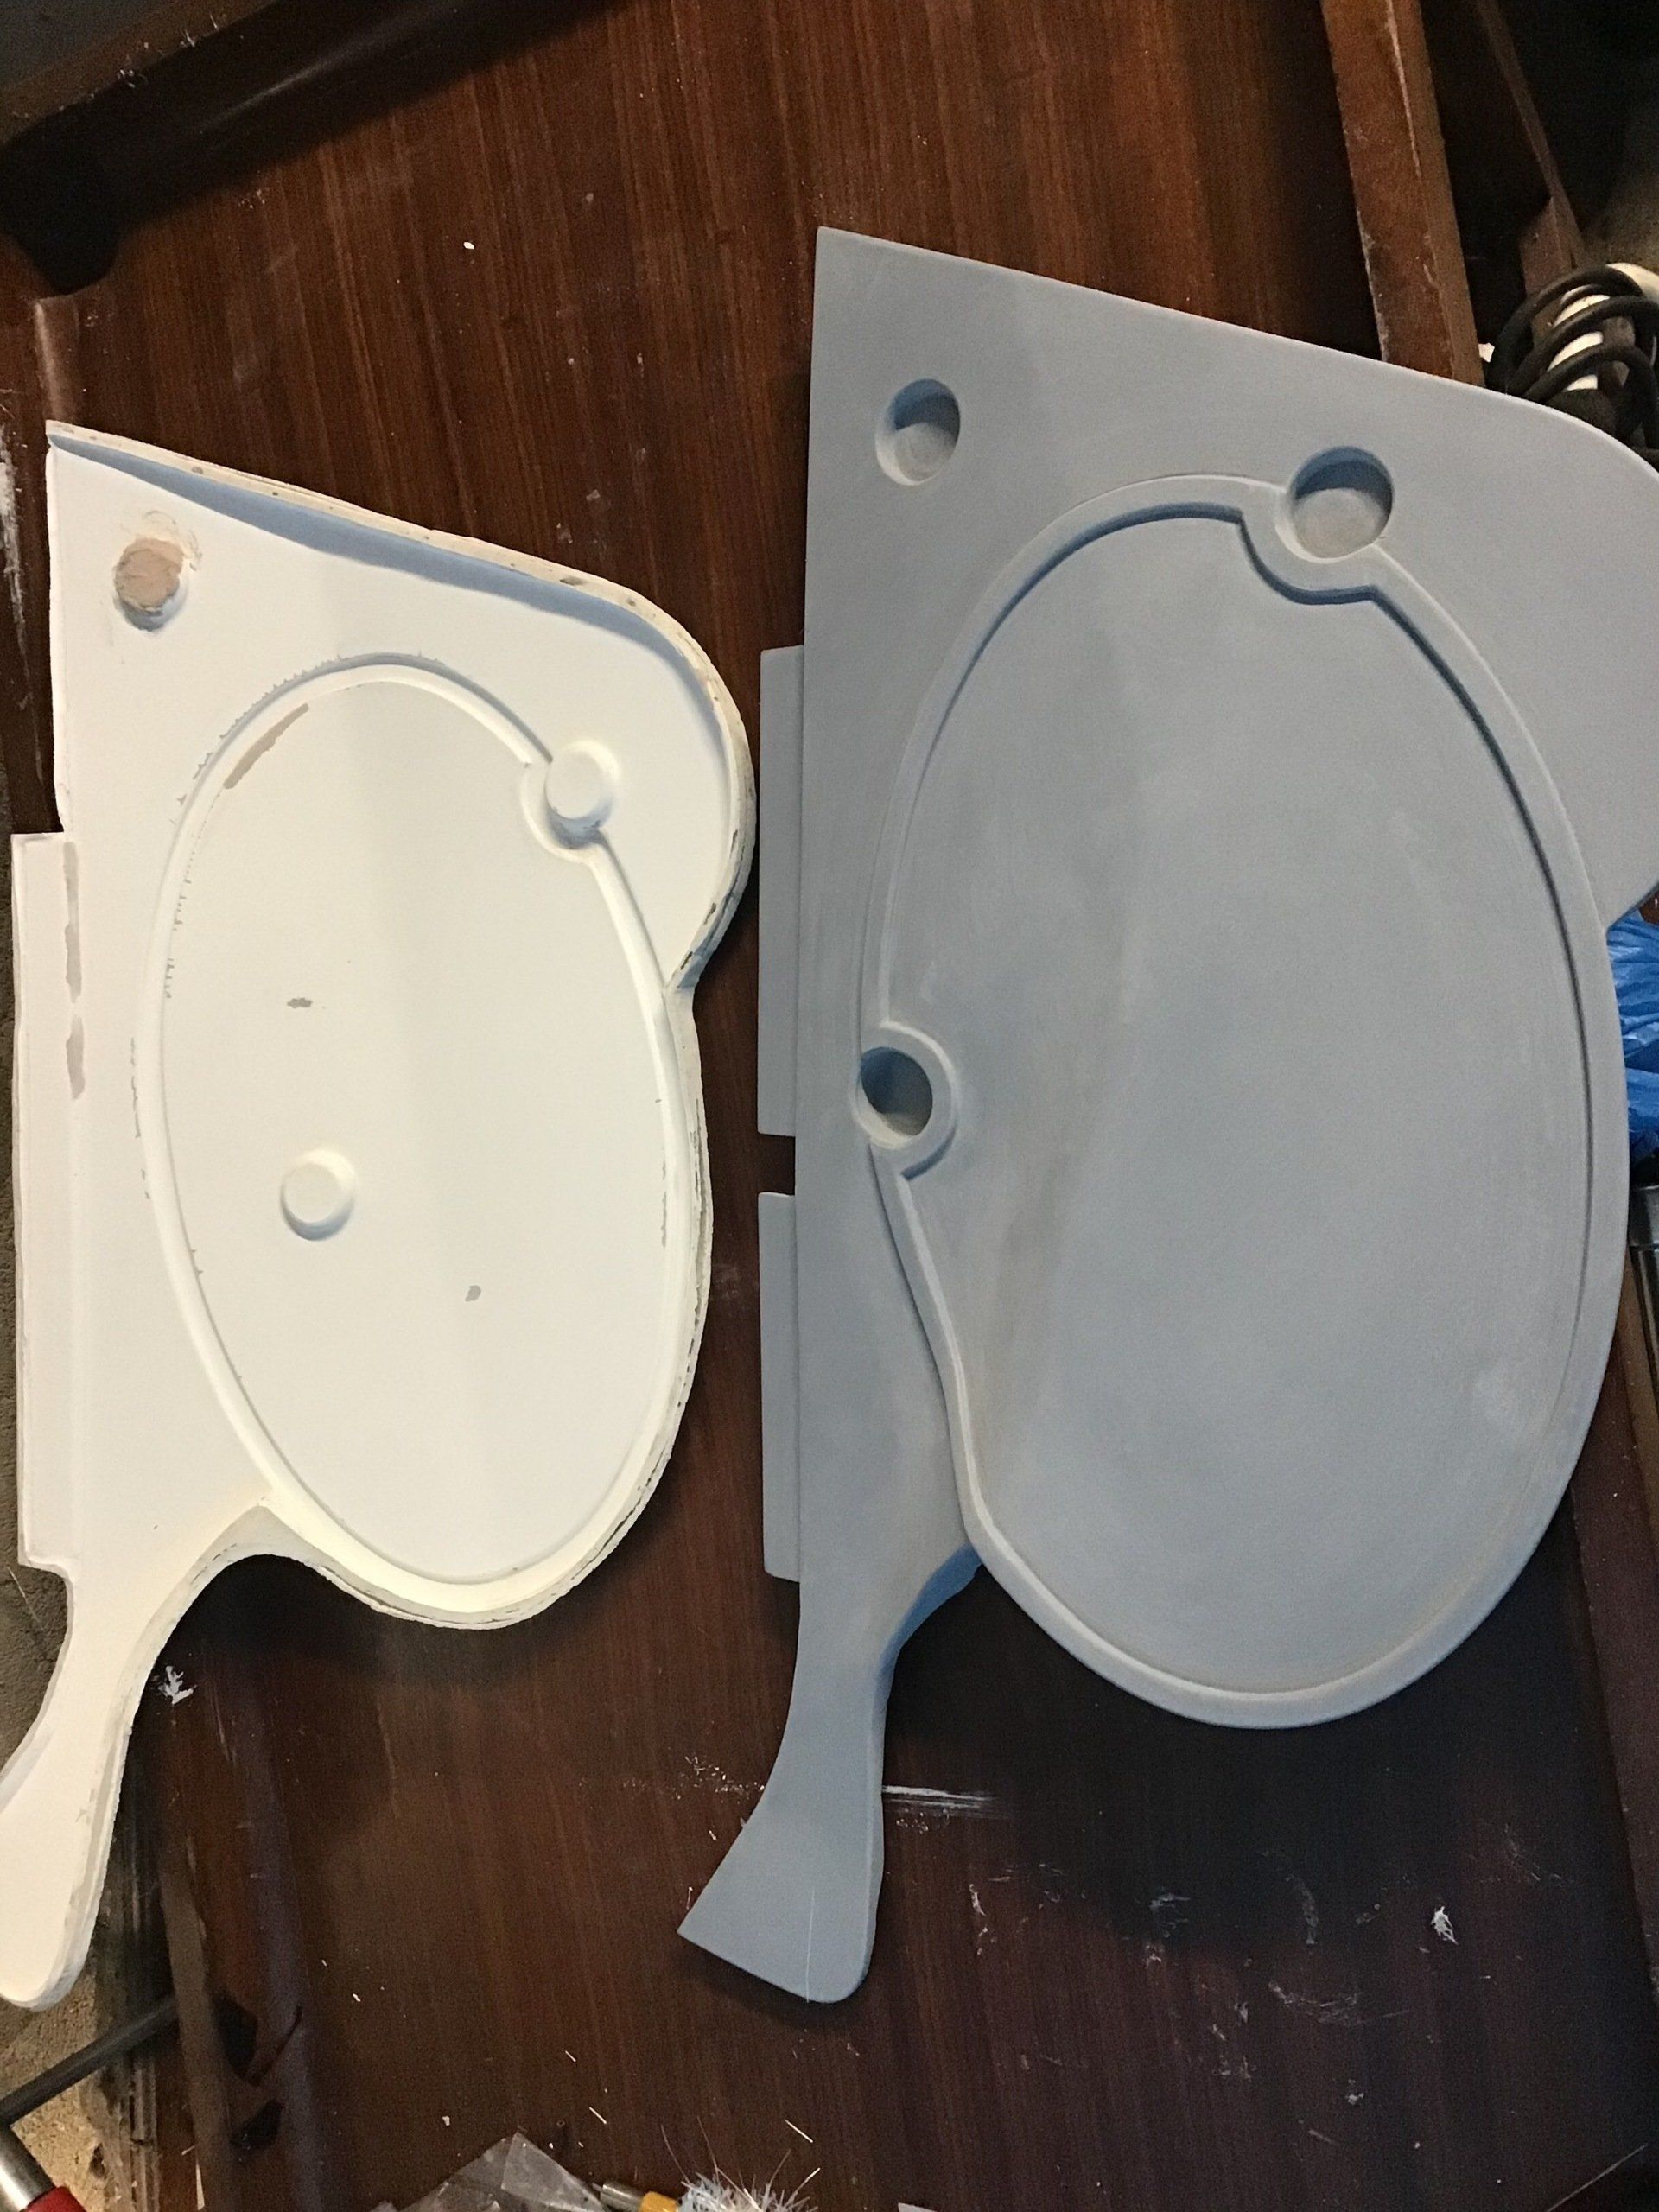
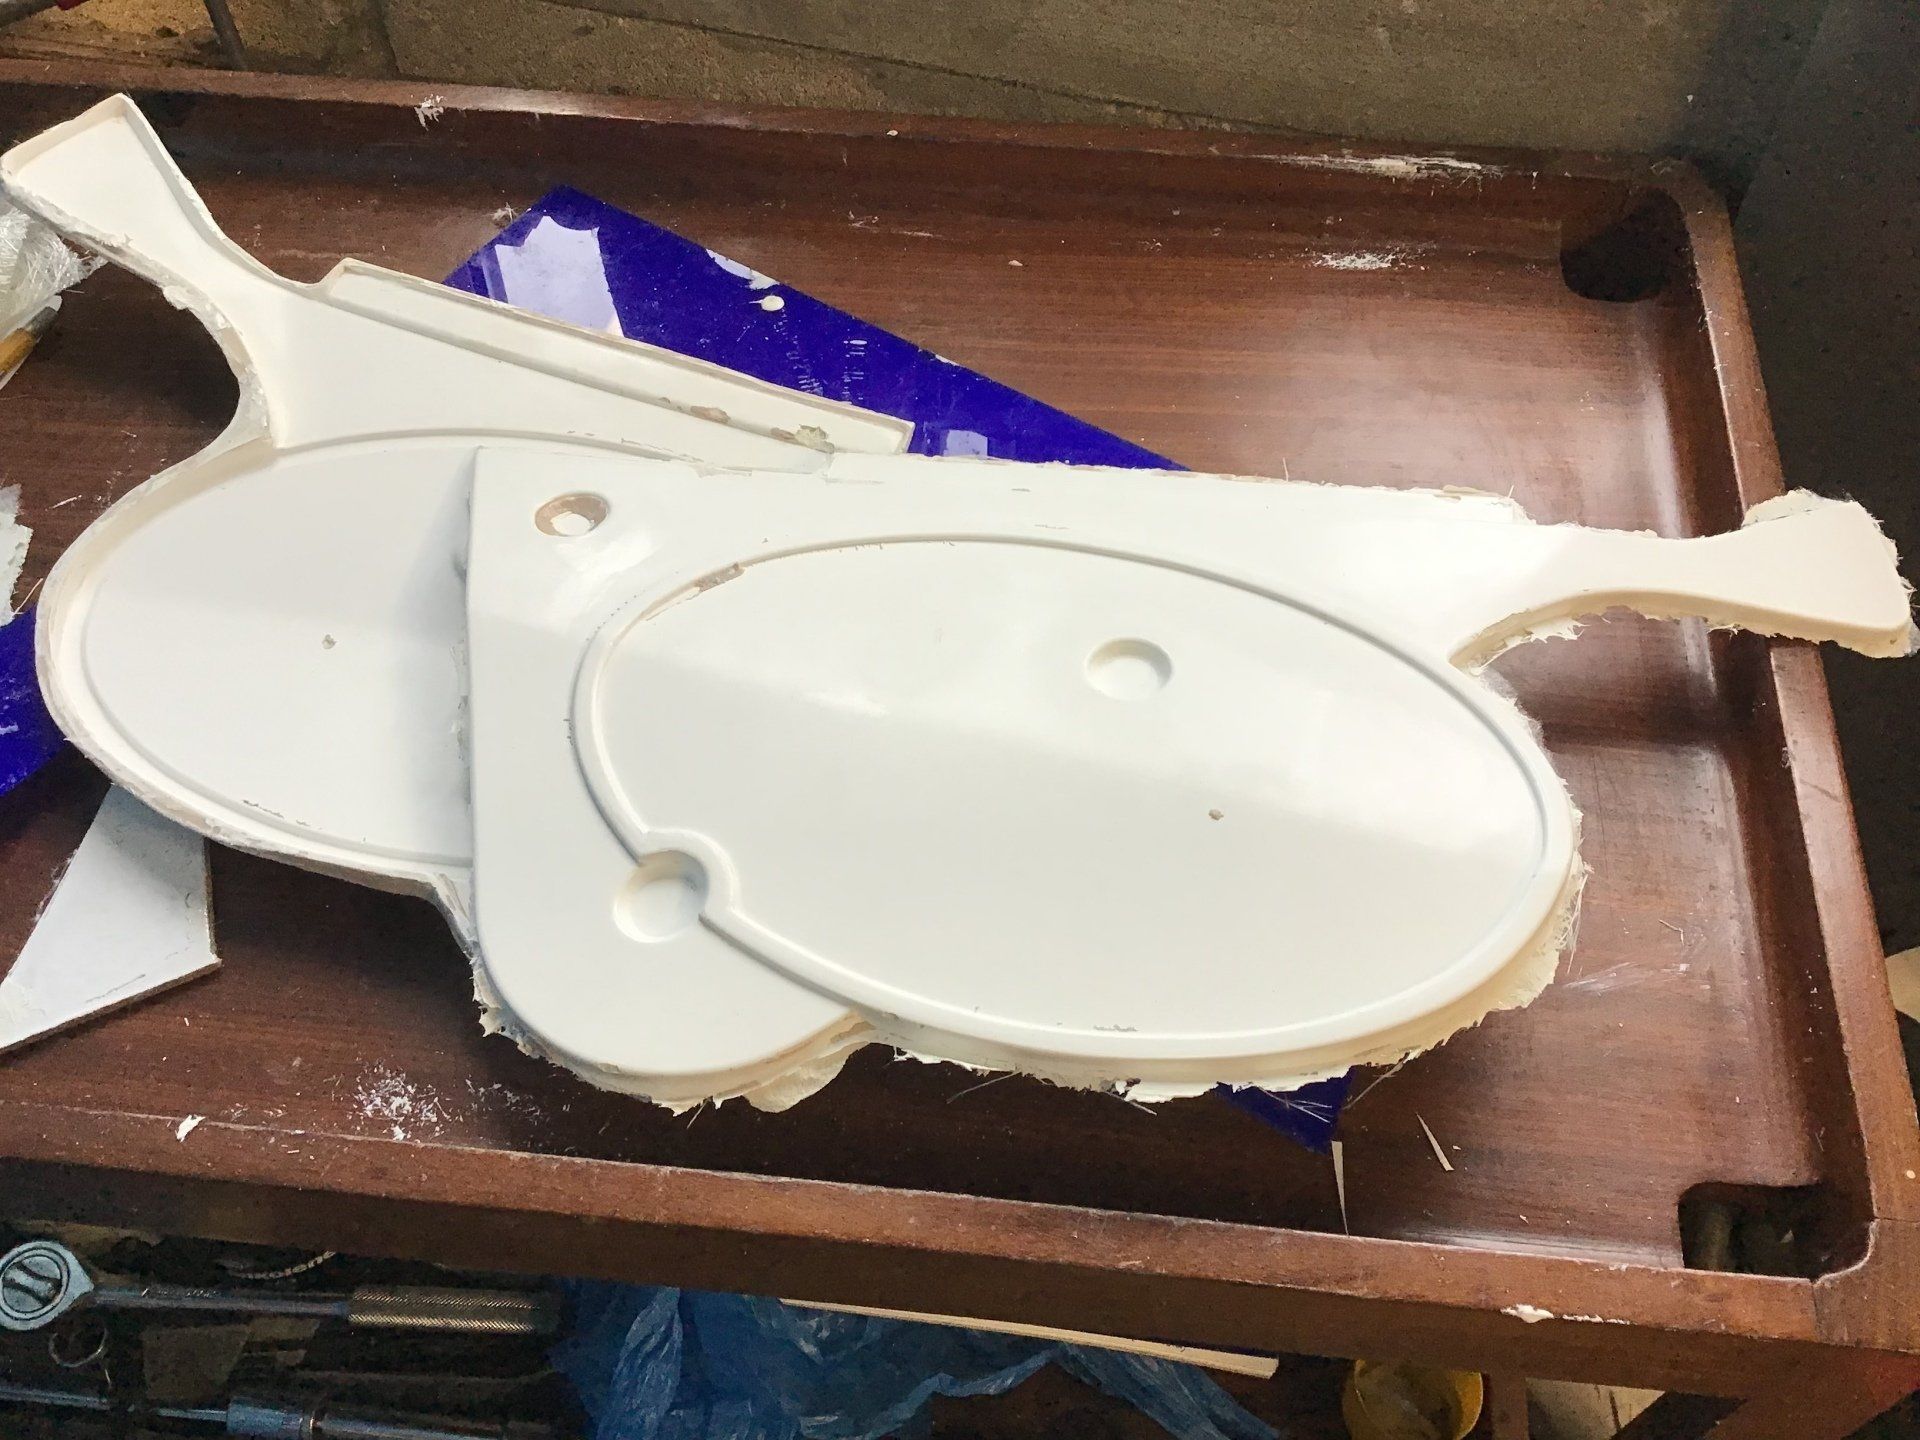
Filling and sanding underway. White panel is the mould for the left hand side panel, which is part way through the filling and sanding required to repair any imperfections. Grey panel is the pattern for the right hand side. All the mess of paint and gel-coat has been stripped and the pattern sanded down, before several layers of high build primer has been added and sanded as required.
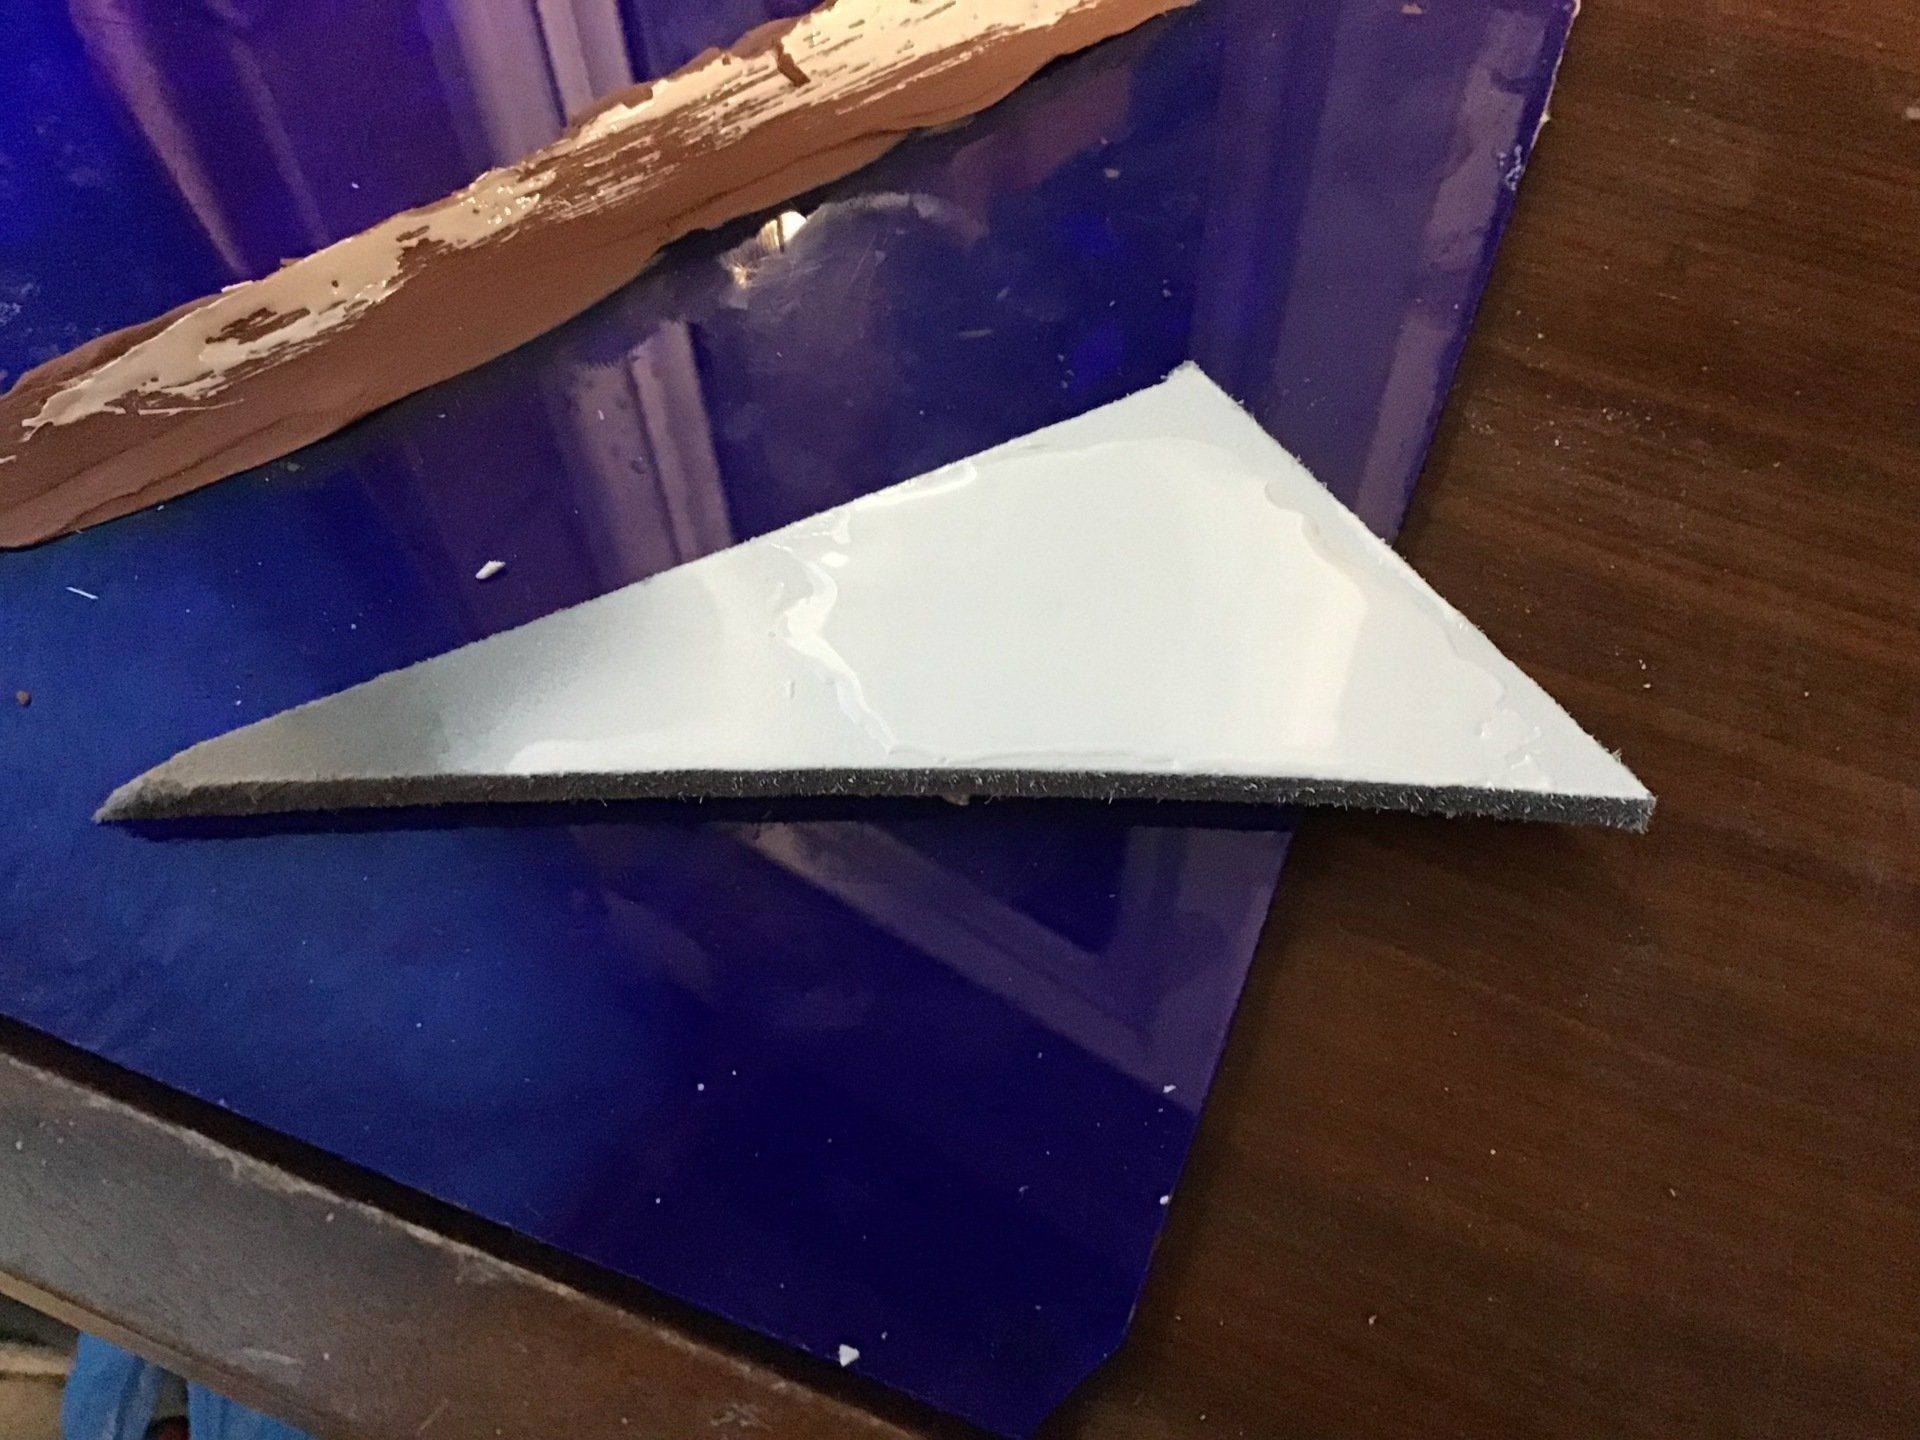
Here's the right hand pattern again, this time with top coat. I've used a different brand of paint this time and I've also made a little test piece!
This is the test piece with a liberal coating of gel-coat applied. No wrinkling, so (hopefully) I should be able to make the mould for the right hand side panel this week.

The mould is all polished and the cloth cut ready to be laid up. As the side panel is mostly decorative and doesn't need to support any load, I've tried to make it as light as possible, without making it floppy.
Here's the panel all laid up. It's had gel-coat, surface tissue, 2 layers of 450gsm chopped strand mat and a final layer of surface tissue to make it look prettier.
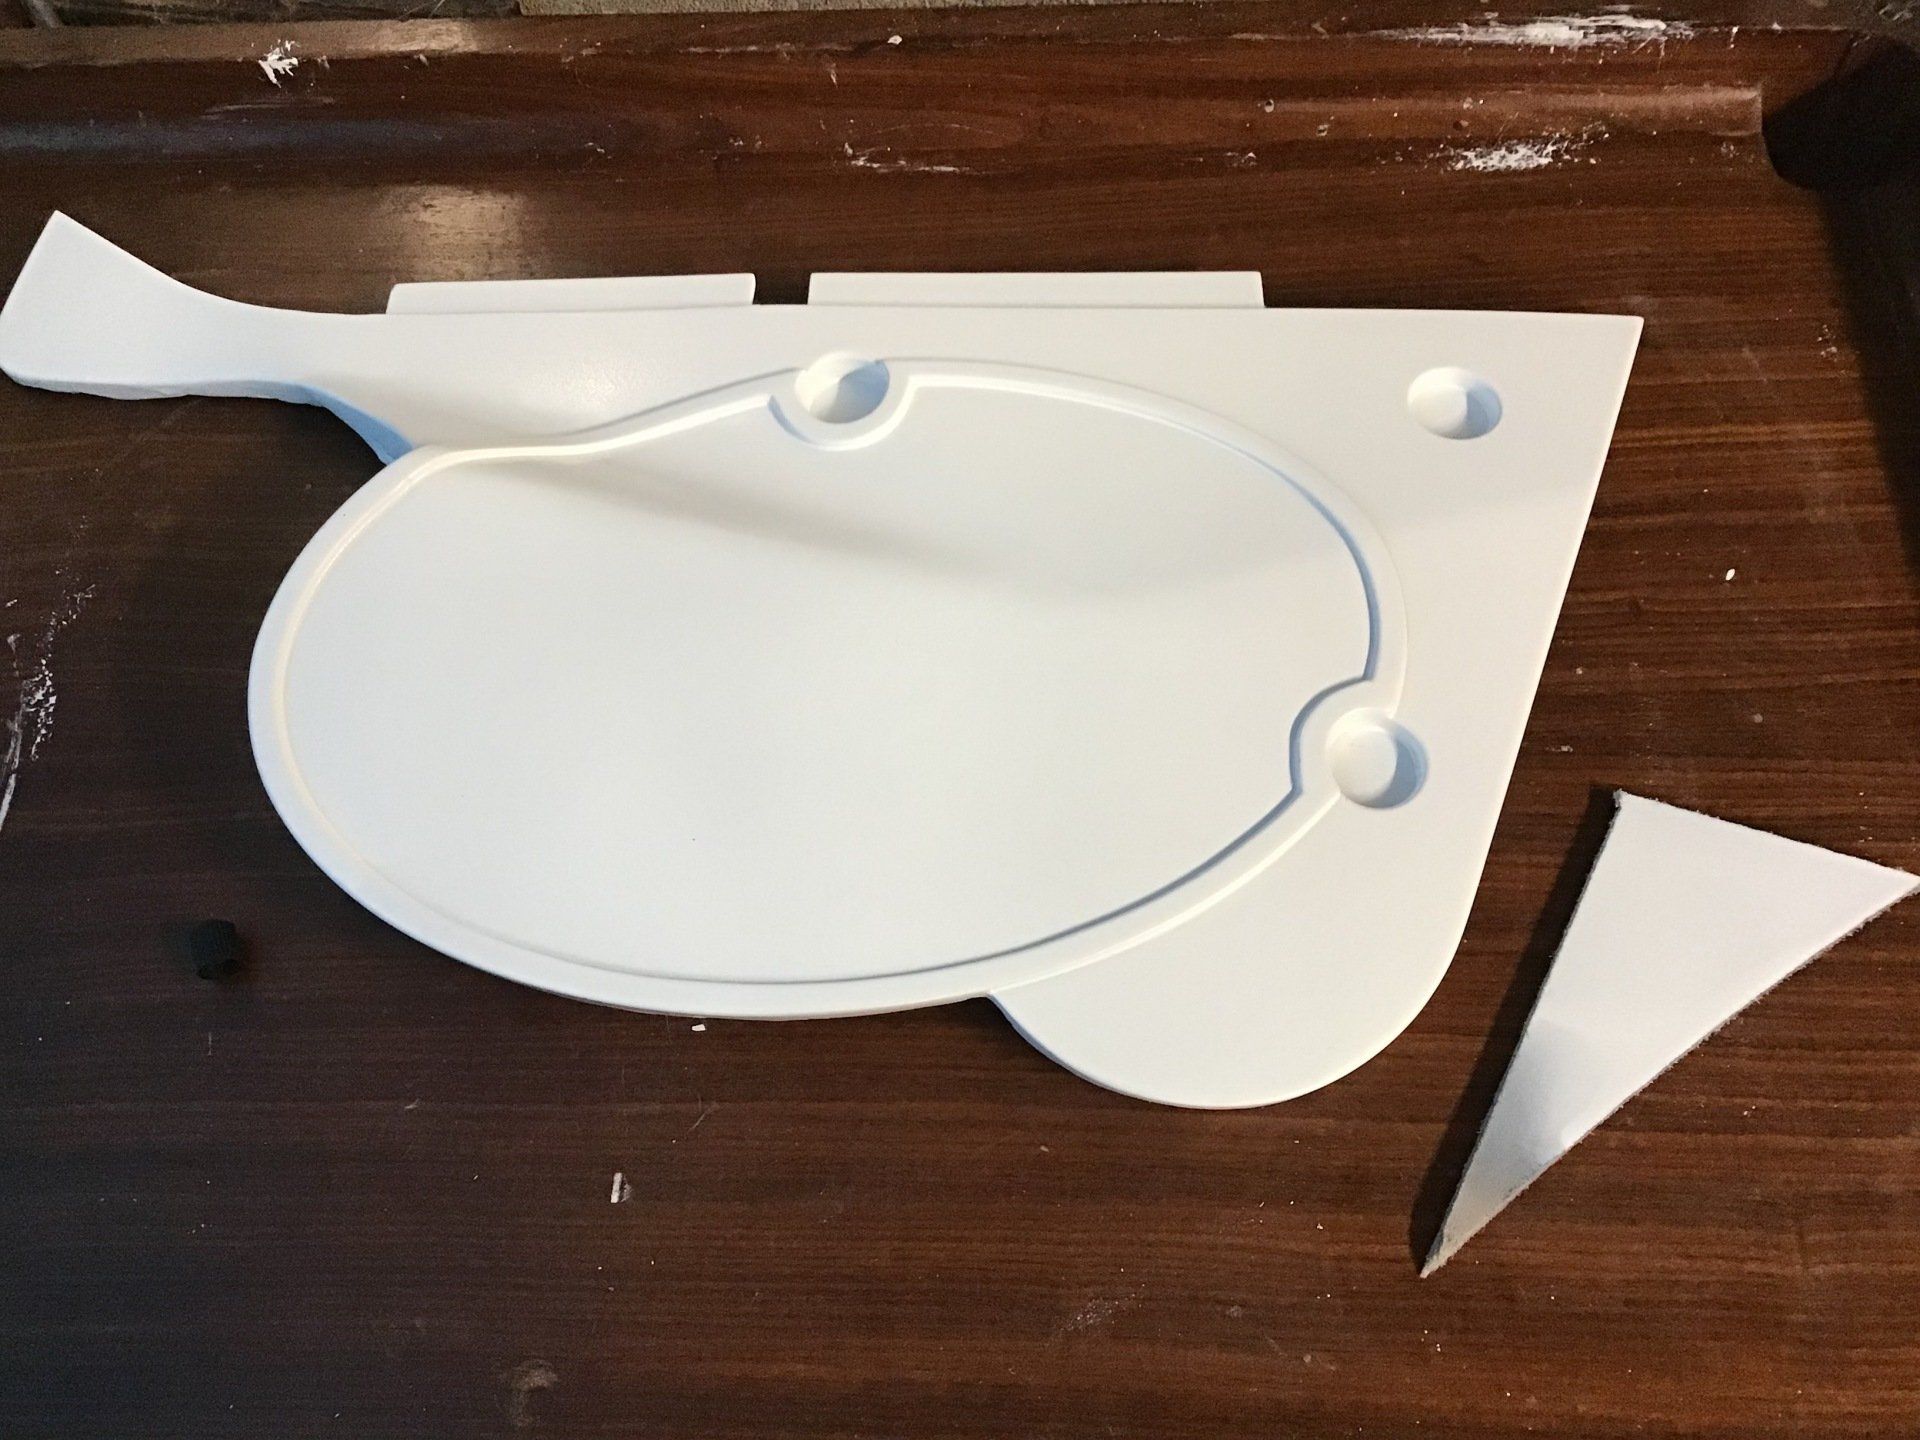
After a couple of days to fully cure, it's time to remove panel from mould. With the aid of several lolly sticks, the two were separated without too much drama. The panel isn't perfect, some of the filler used to repair the mould has pulled out with the panel and in a couple of places the gel-coat needs repairing. The panel will eventually be painted, so a bit of filler will soon sort out all of the defects. I'll also repair the damage to the mould and make another panel, just to have a spare ready on the shelf - should it ever be needed!
The raised oval detail and edges to the panel means that, despite the lack of chopped strand mat layers, the side panel is light but still fairly rigid.
I seem to have had more trouble making these side panels than I normally experience with GRP. It's really cold (and damp) in the garage at the moment (well below the optimum temp for fibreglass work) so I don't know if this is having an effect. I'll try to find a heater before I attempt (again!) to make the mould for the right hand side panel.

Not too much progress this week as I've been working on the new issue of the magazine. I have, however, managed to lay up the mould for the right hand side panel. No obvious gel-coat wrinkling this time...
But the pattern is stuck in the mould...
So it's taking a bath. The water will soften the mdf pattern and then I can remove it. The mould itself looks to be fine, so once it's cleaned and trimmed, it should be good to go. Not sure why these side panels are proving so difficult, I don'y usually get so many problems.