Monday Articles - November 2020

Very little project progress this week as I’ve been experimenting with new toys/techniques that might make project building a little easier.
First up, I thought that I’d try the glue gun as a method of temporarily holding parts of the petrol tank together to check fit when I'm not confident enough to actually tack weld them in place. Previously I’ve used magnets, but they just frustrate me as they always seem determined to only stick firmly when in the wrong position - and then prove insanely difficult to move. Or, if I do (magically) manage to get everything in the right place then, the (previously mega strong) magnet suddenly comes over all peculiar and drops whatever it was holding. Argh!
This is just a cheap, bog basic, Silverline one. It’s a mini sized one, rather than an industrial sized version. I think it cost me about £6. There seems to be enough hold to do the job, without making removal difficult. I need to test it in anger a bit more before I decide if I’m going to ‘stick’ with this or go back to the magnets.
Next on the list of things to try was using a 3D printed hammerform. Hammerforms have been mentioned briefly before (part 76) but to recap, basically you make a pattern of the size/shape you require – often from wood - and then hammer sheet metal over it to form it to shape – would a 3D print withstand the hammering?
I performed a rough and ready test using some 3D printed model Spitfire exhausts that I’d made the wrong size(!) I just wanted to see if it could take the hammering without smashing into a million little pieces. So I found an off-cut of steel, clamped it up and gave it a bashing. Here it is before.
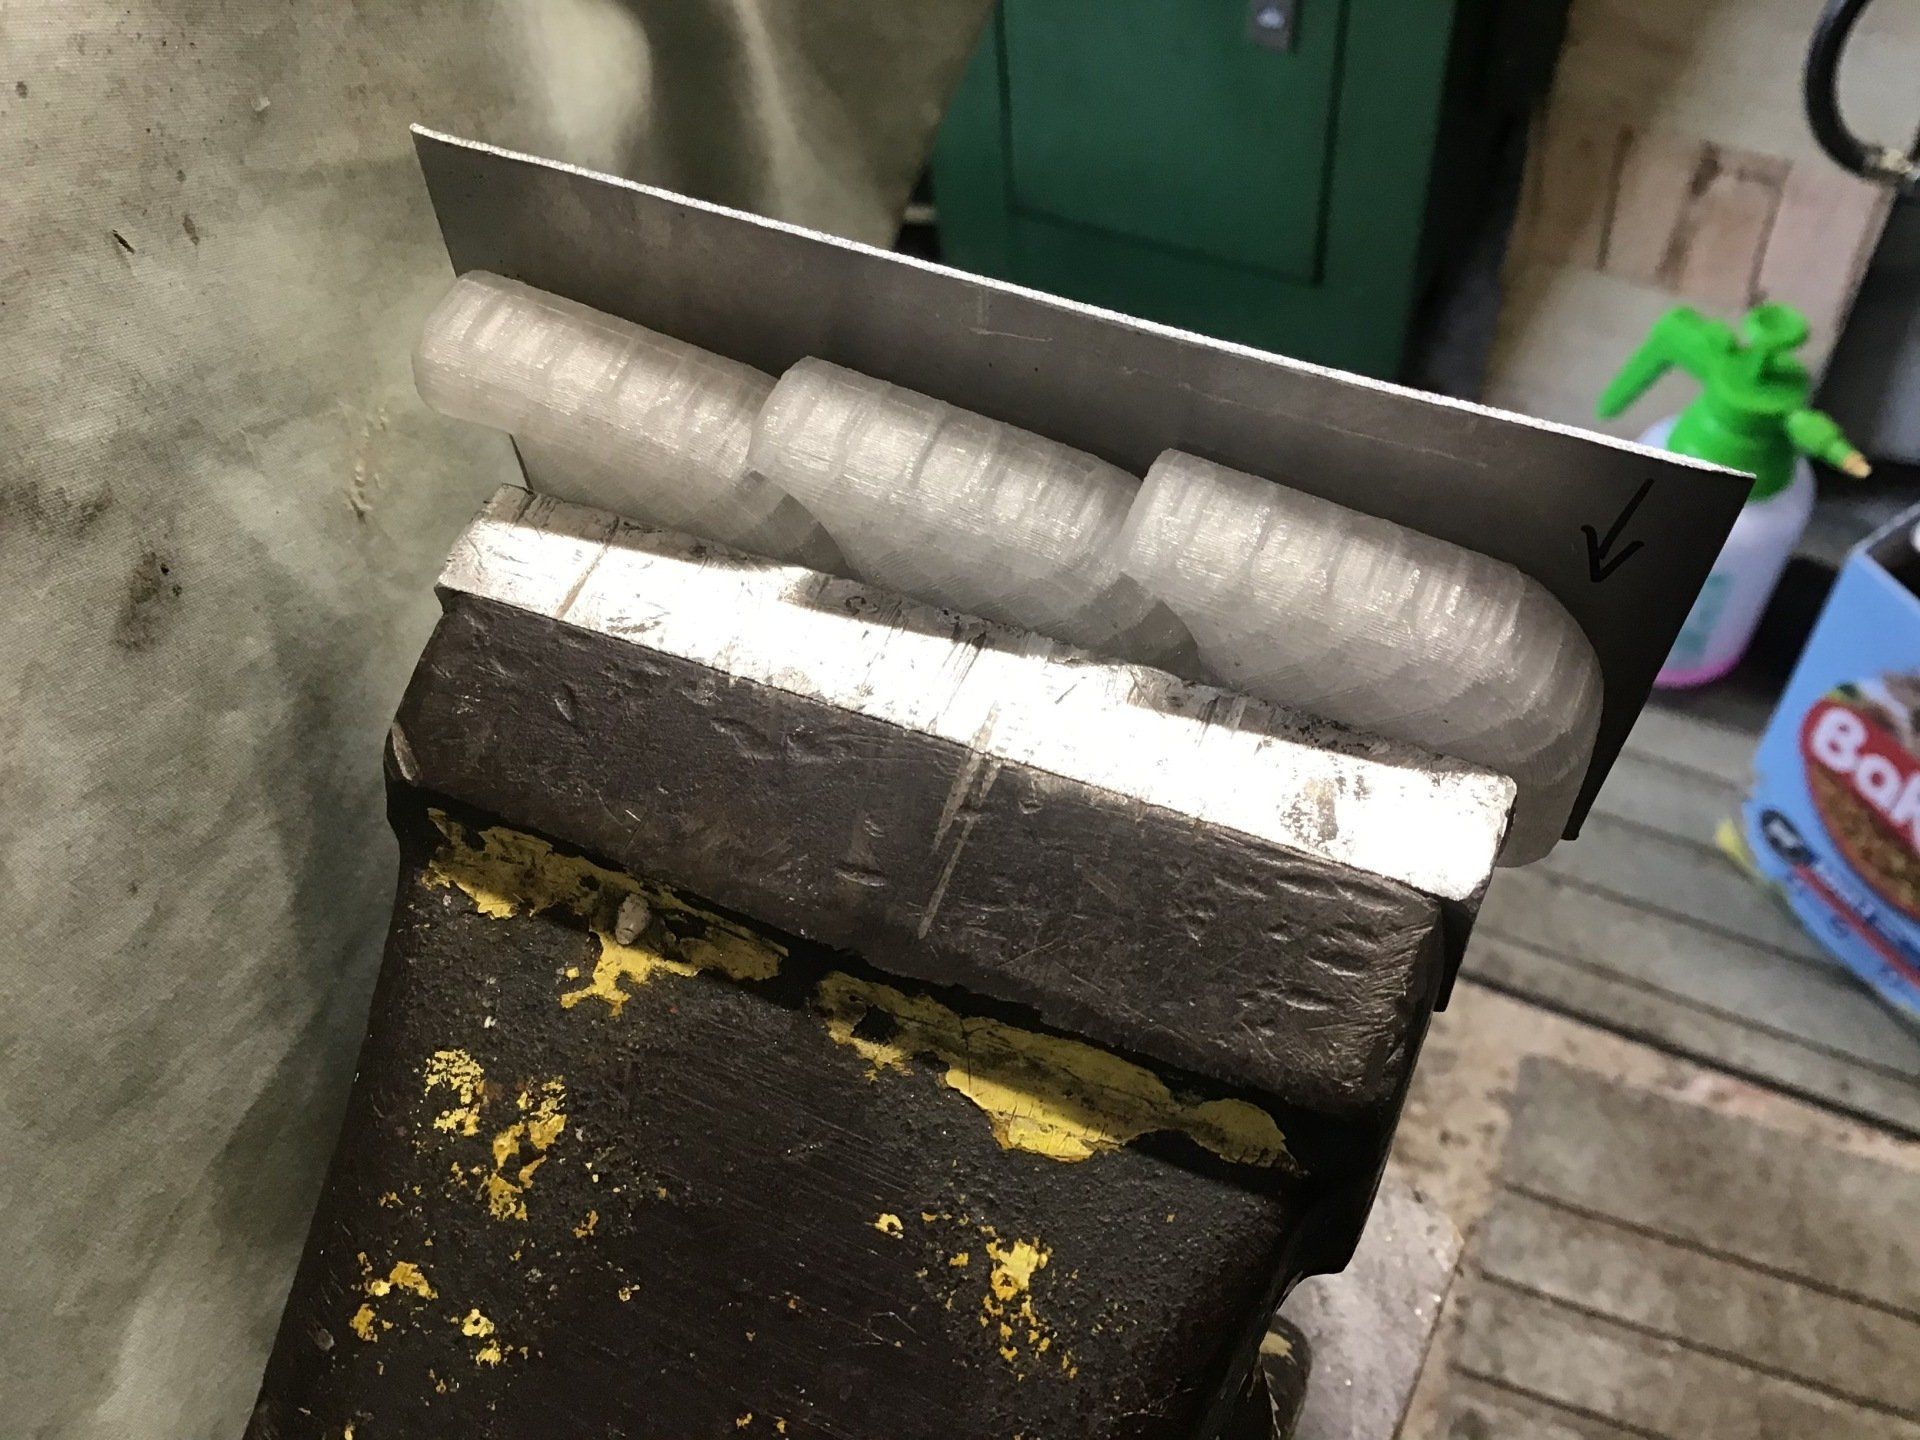
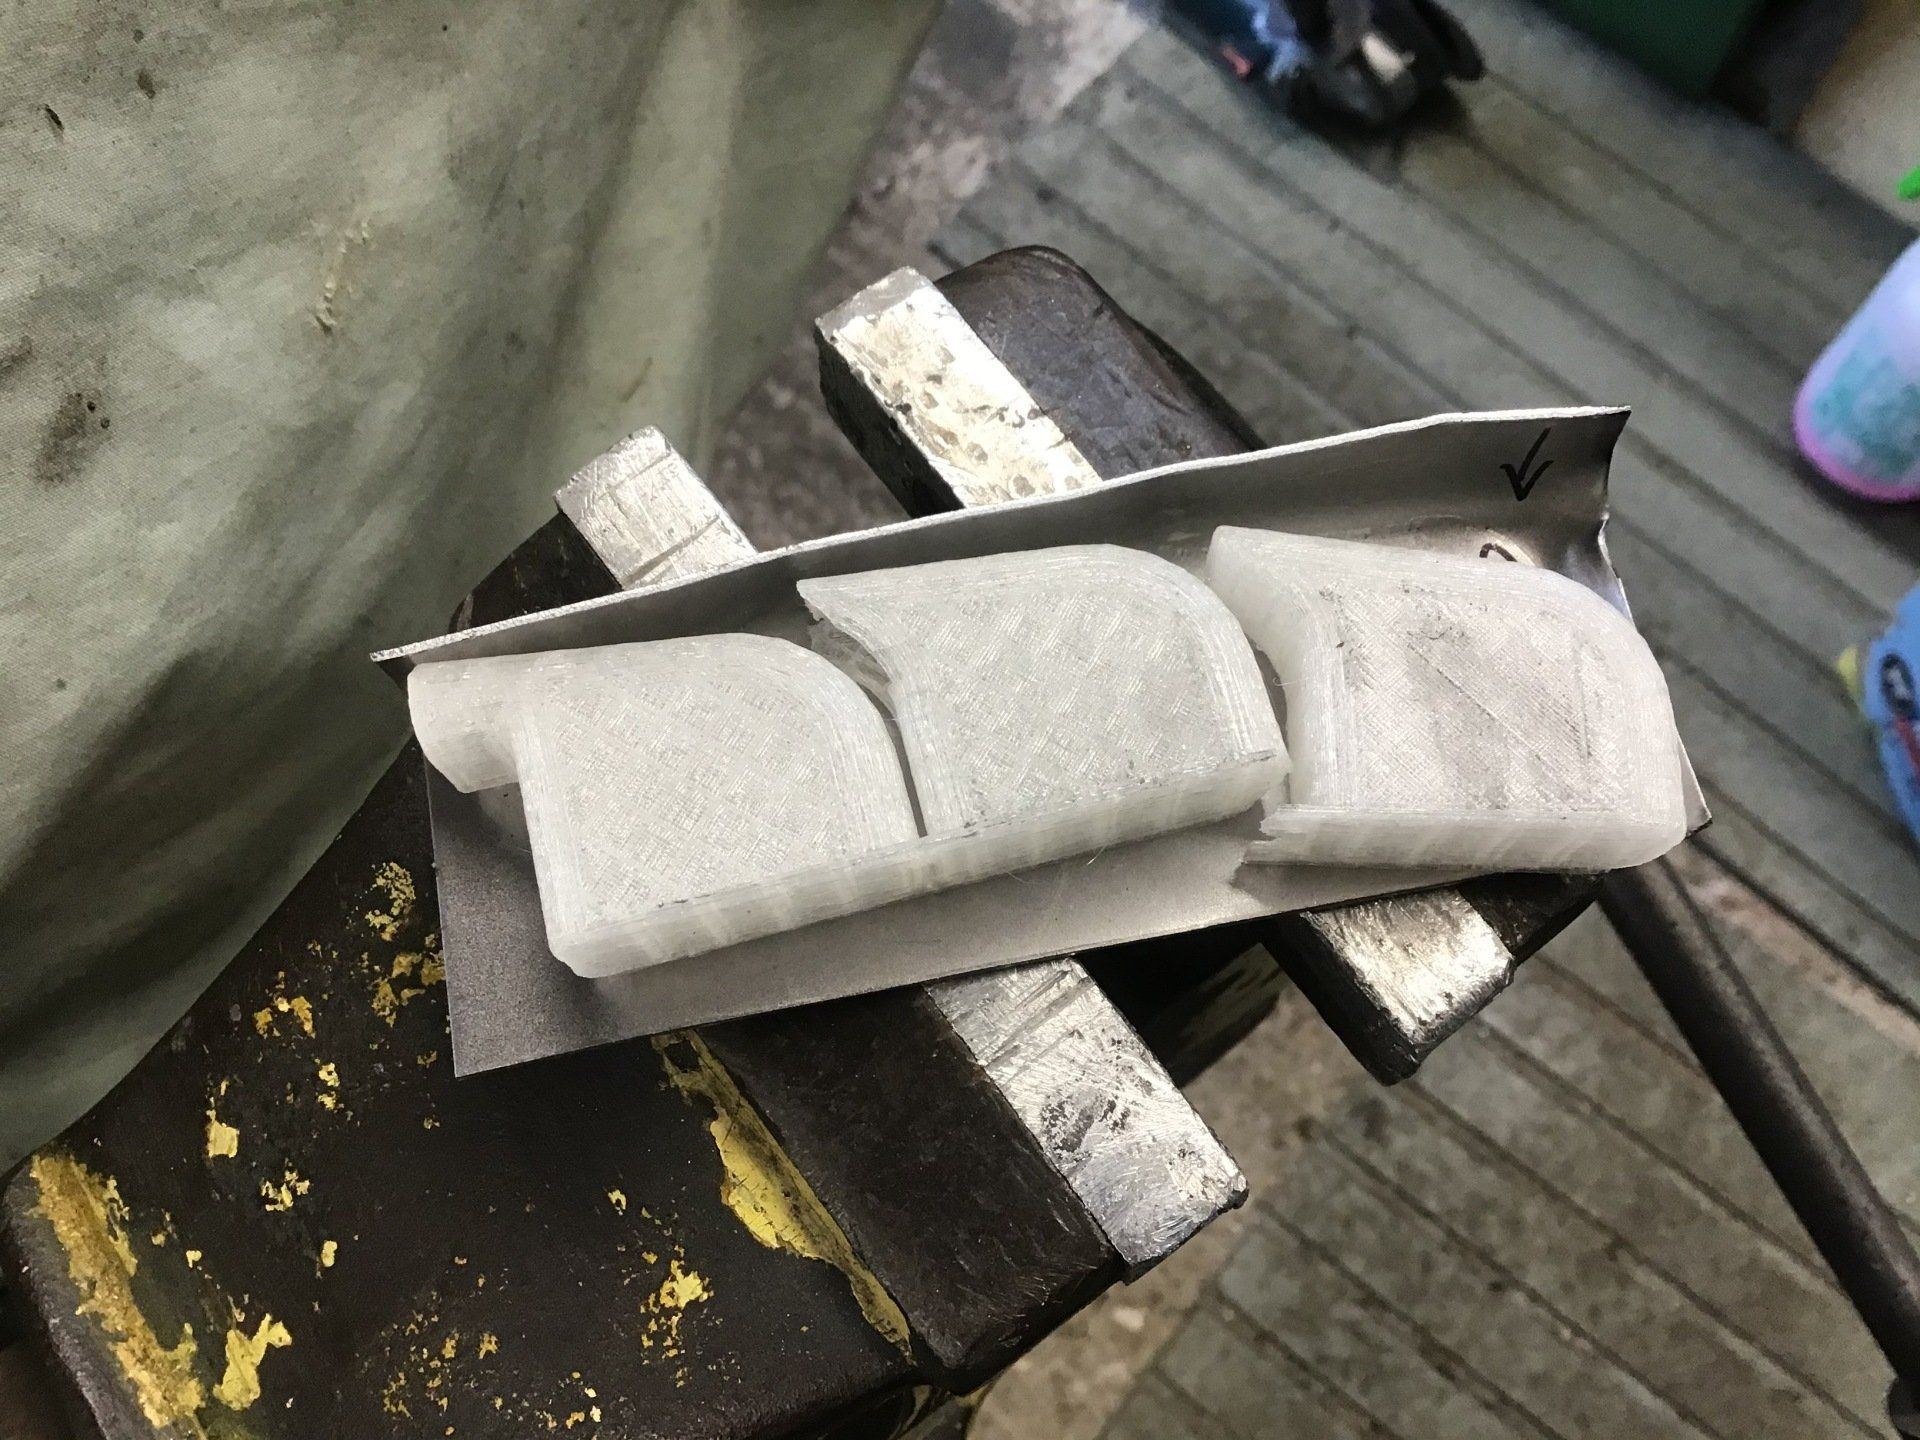
And after. As you can see, the plastic broke, but this part was never designed with the intention of being hit with a hammer and the plastic is very thin in this region. It did, however, seem to be rigid enough to let the steel be formed over it. So, time permitting, there’ll be a more thorough test of this idea in the near future.

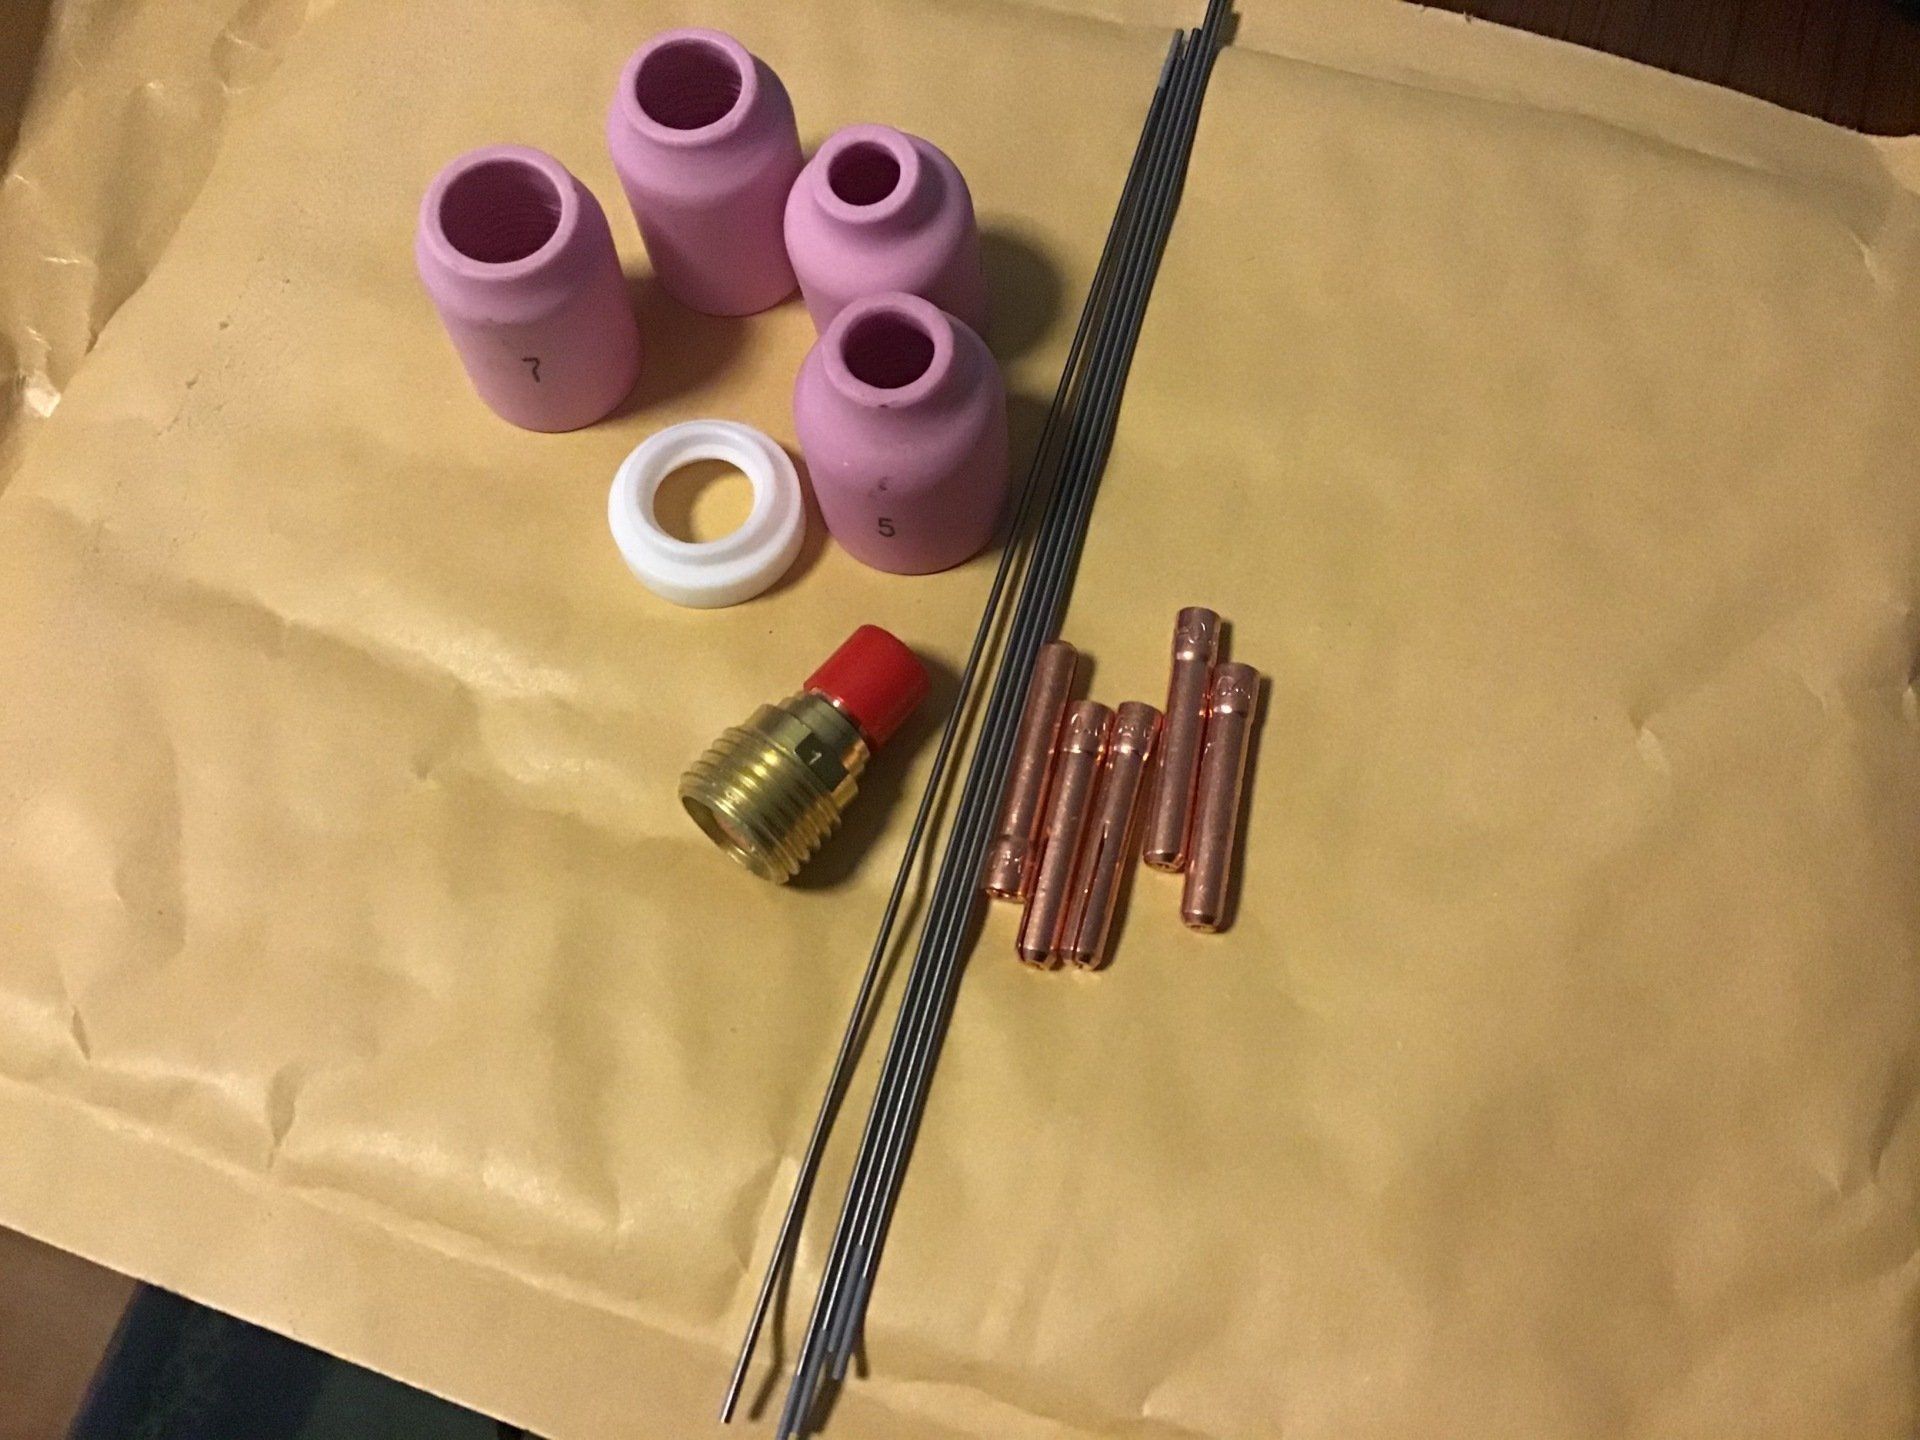
The TIG welder has been treated to some dinky 1mm electrodes, with matching collets, gas lens etc. I've not had a chance to play with these yet. I'm hoping that they manage to magically improve my welding of thin sheet steel!
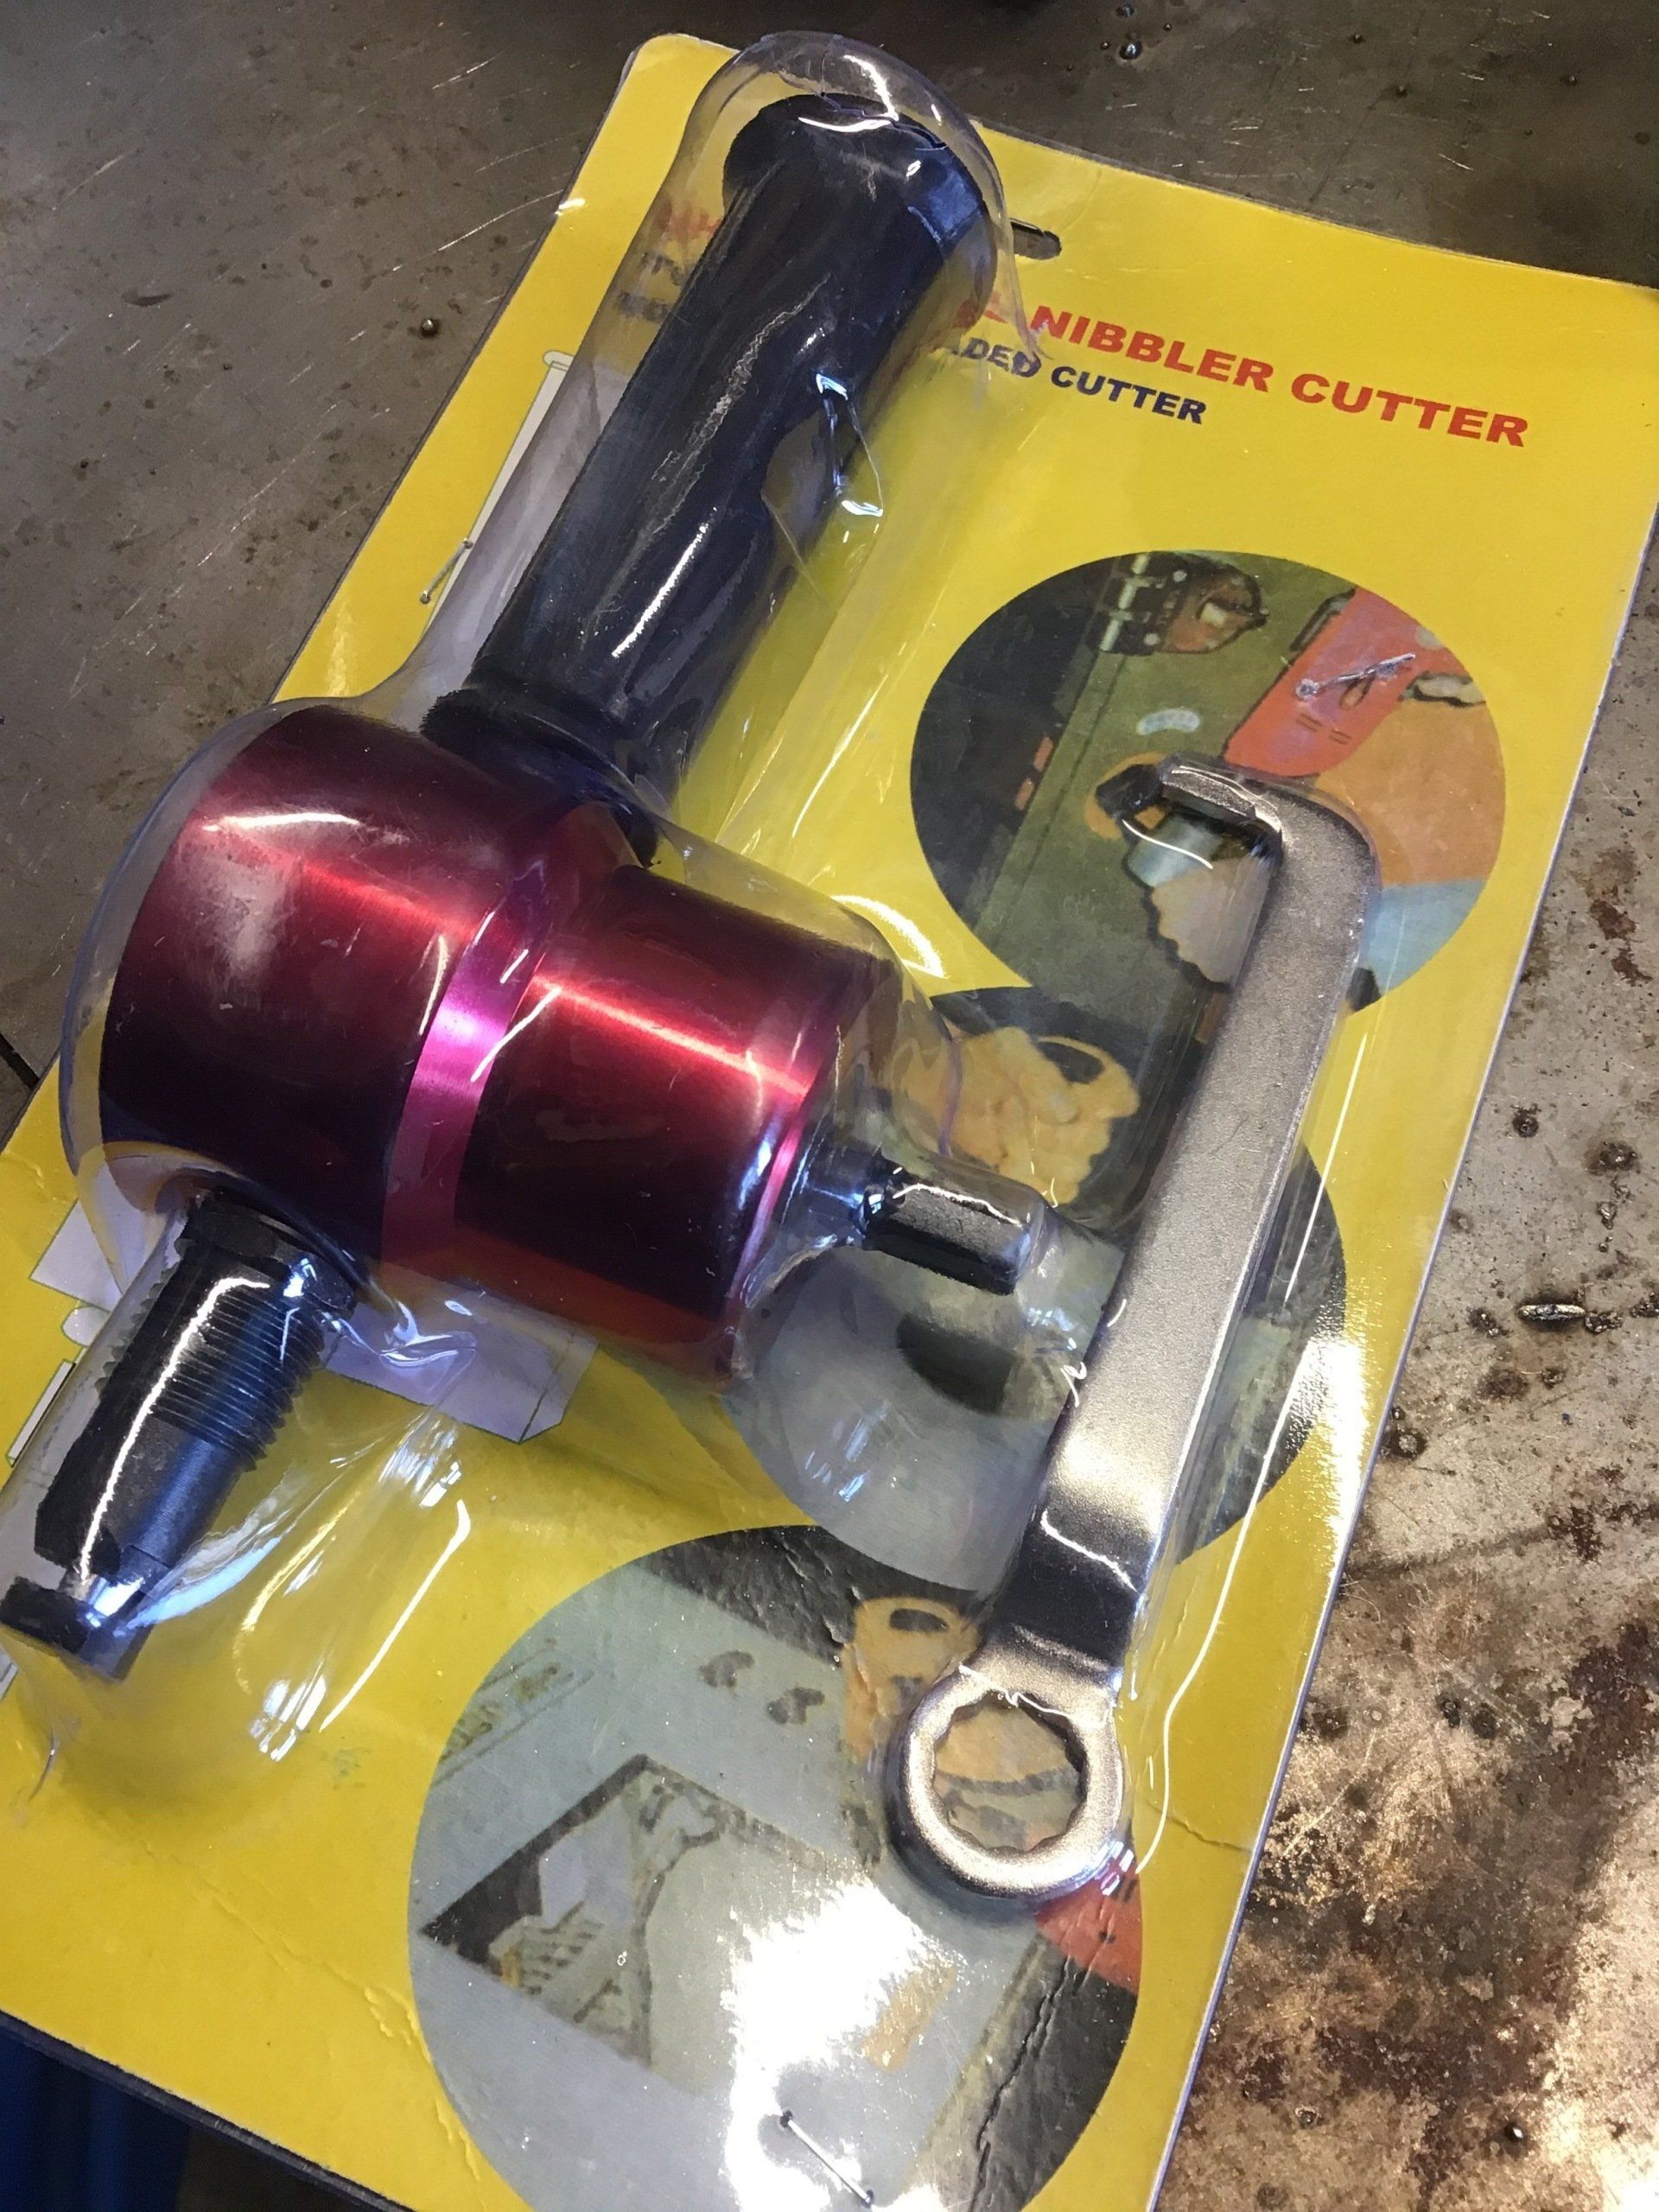
Having to use the hand operated nibbler a couple of weeks ago reminded me of just how much of a trial it is. (Unless you have arms like Popeye!) This nibbler should fit on a standard electric drill and it should also make my life much easier when it comes to cutting steel. There are many versions of this tool available online (most of which look similar) so I’ve used my usual criteria to sort out which one to buy – yes, I bought the cheapest one, costing under £10 delivered. Reading reviews before I made my purchase, it was either going to work perfectly or break – I can now confirm that both opinions are correct. More on this next week...
This week I decided to try and make one of the parts that would (hopefully!) make up the side of the tank. It would also give me a chance to try out the £10 nibbler.
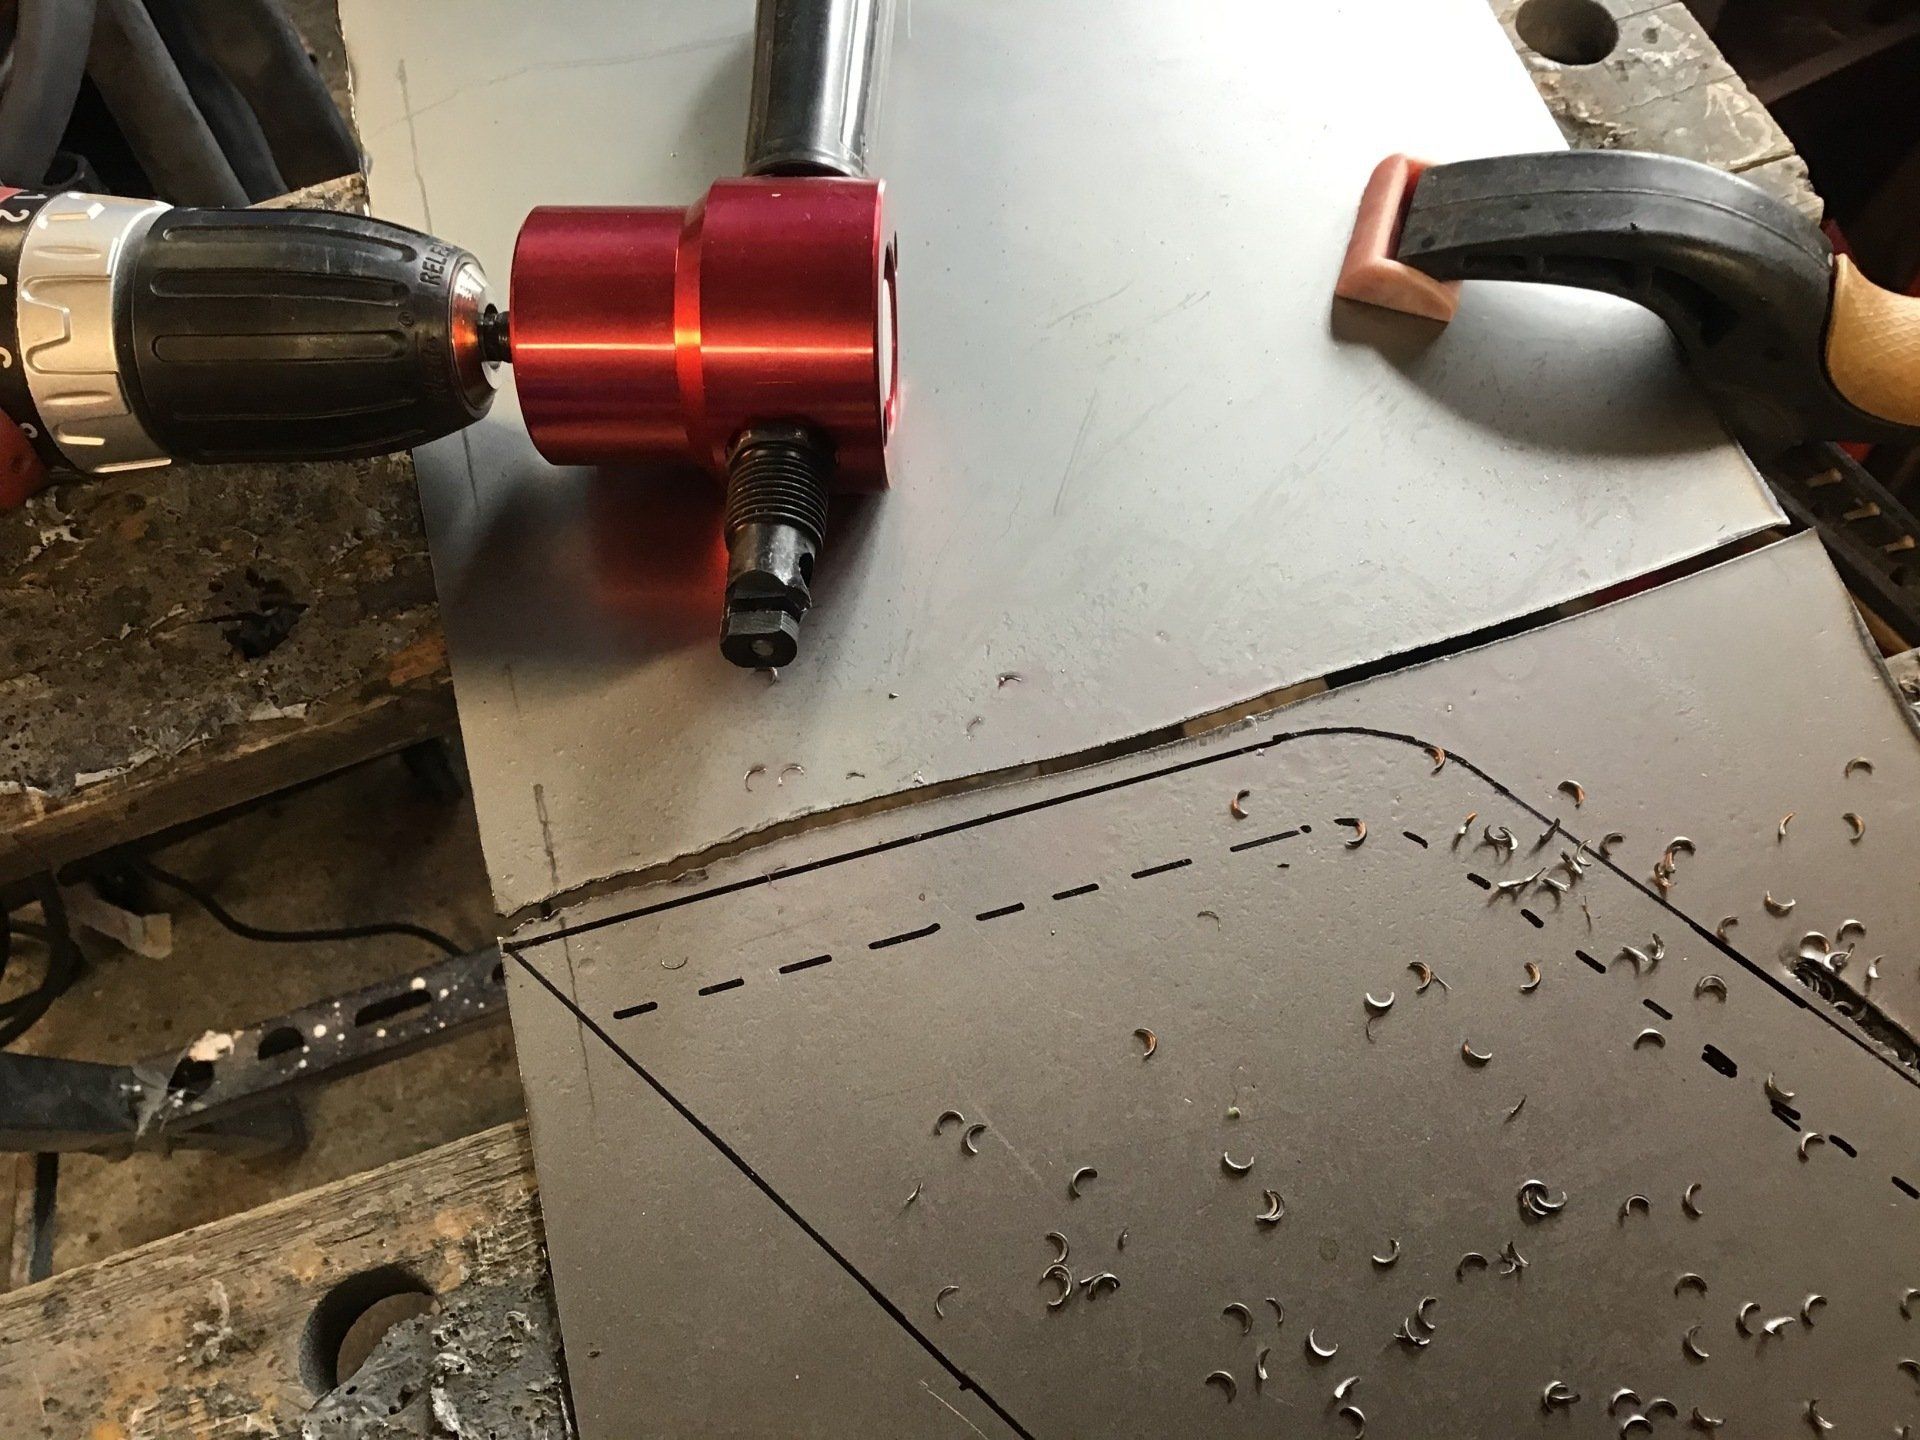
As mentioned at the end of last week’s installment, reviews of the nibbler stated that it would either work perfectly, or the cutting bits would fail in short order. Still for under a tenner, I took the plunge and purchased one. Turns out that both reviews were right. It cut perfectly well, but the ends broke off the cutting bit very quickly.
This was as far as the first cutting end went, although up until that point, it was doing a good job and I was pleased that a cordless drill had enough oomph to power it. (Saves getting tangled up in cables!)
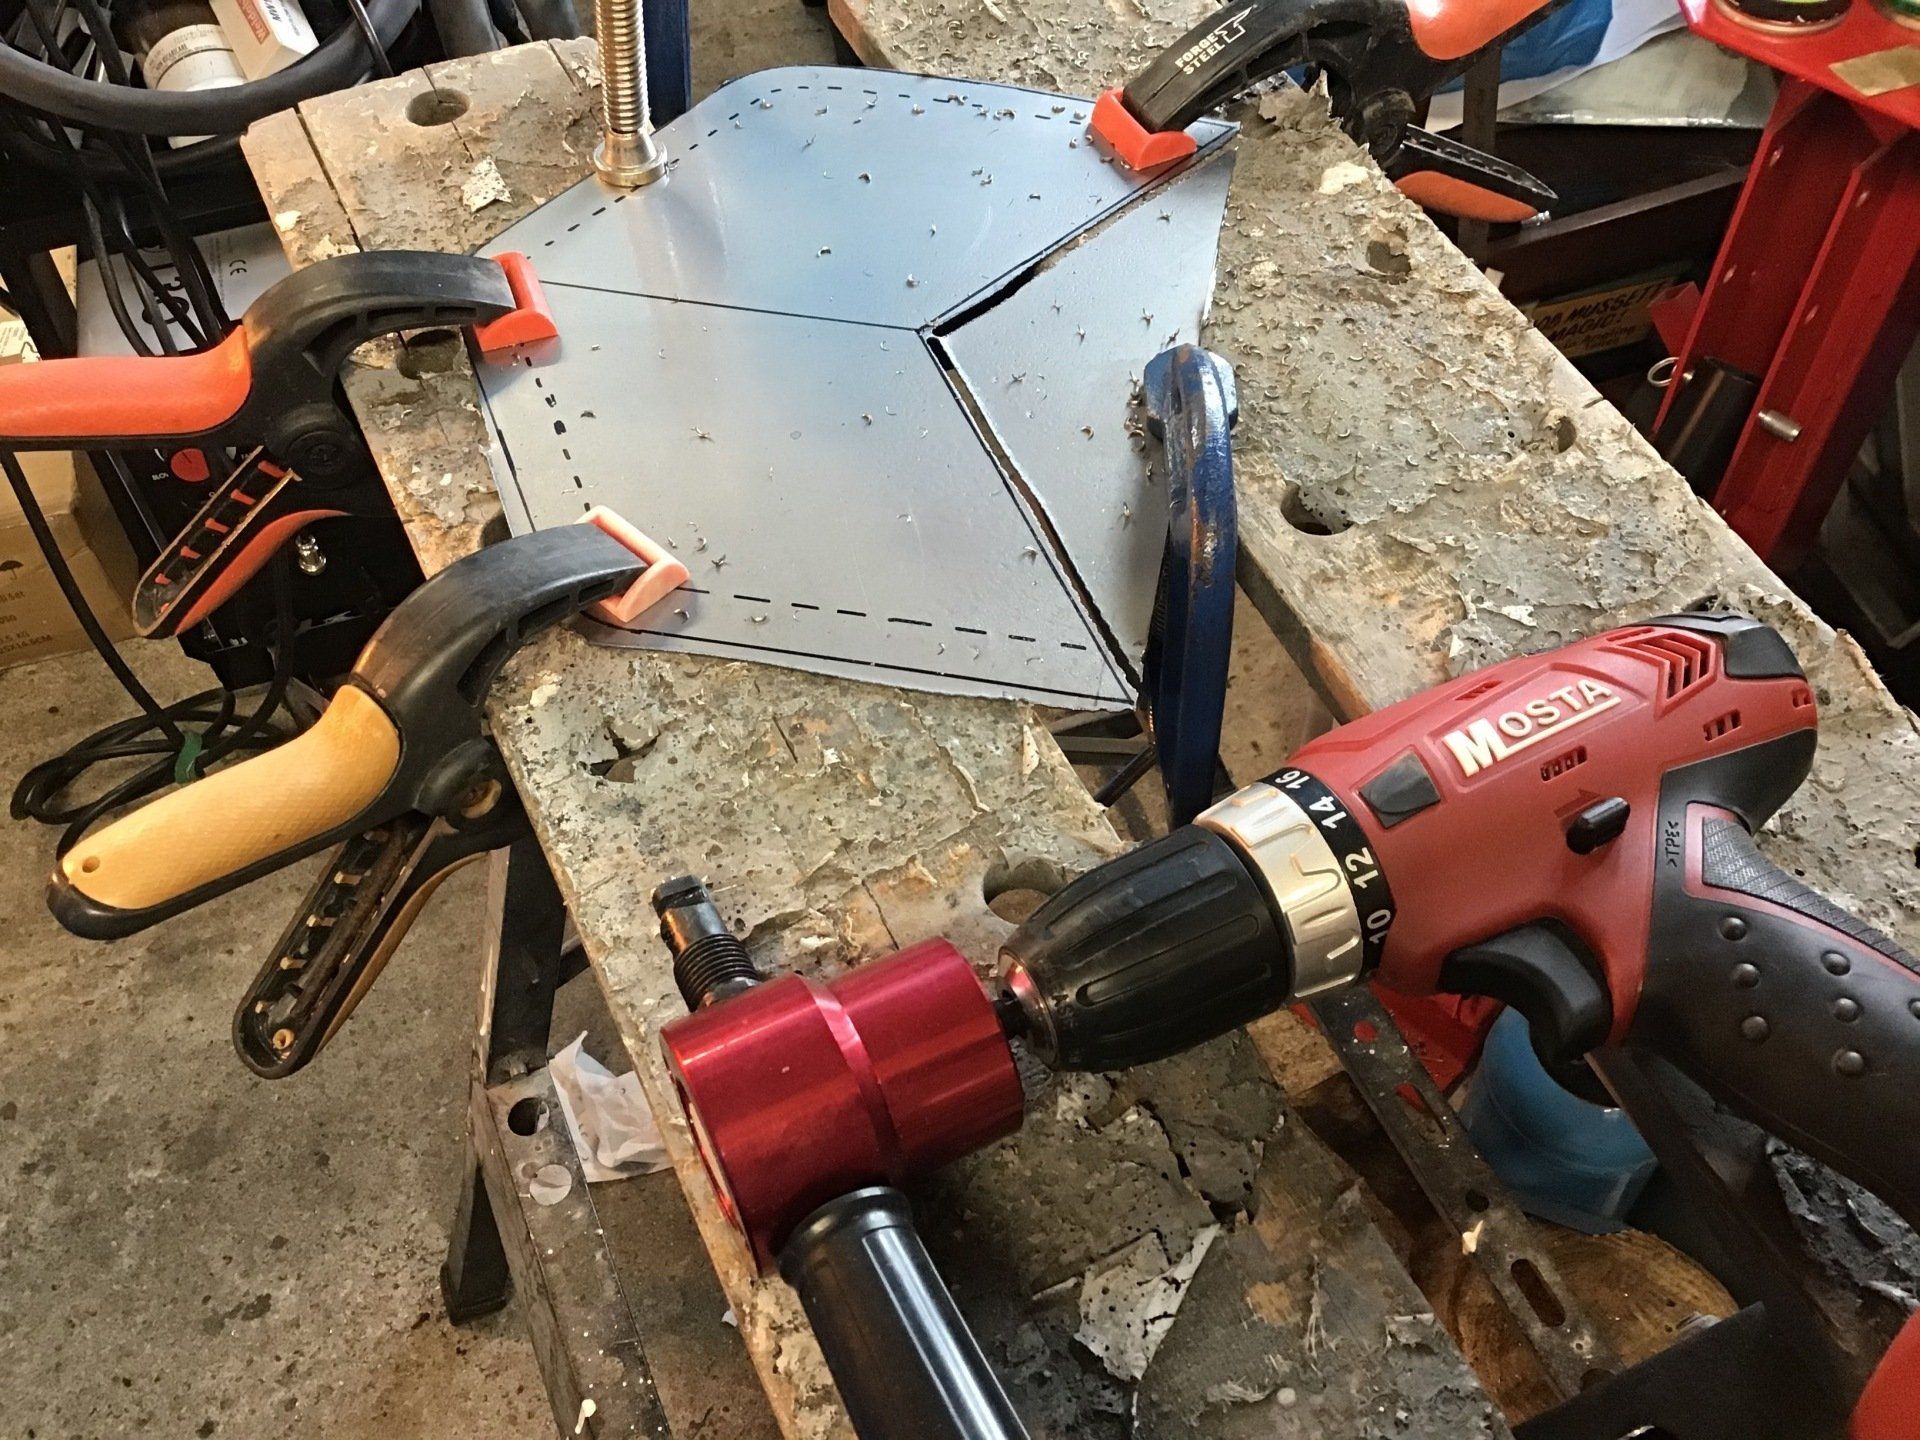
And this was as far as the second bit went. To be fair, the bits seemed to break when the material started to vibrate a lot. Perhaps if the material was better supported during cutting, breakages would be less likely to occur.
With both cutting ends broken, it was back to using the cutting disc, or was it? I decided to dismantle the nibbler and have a look.
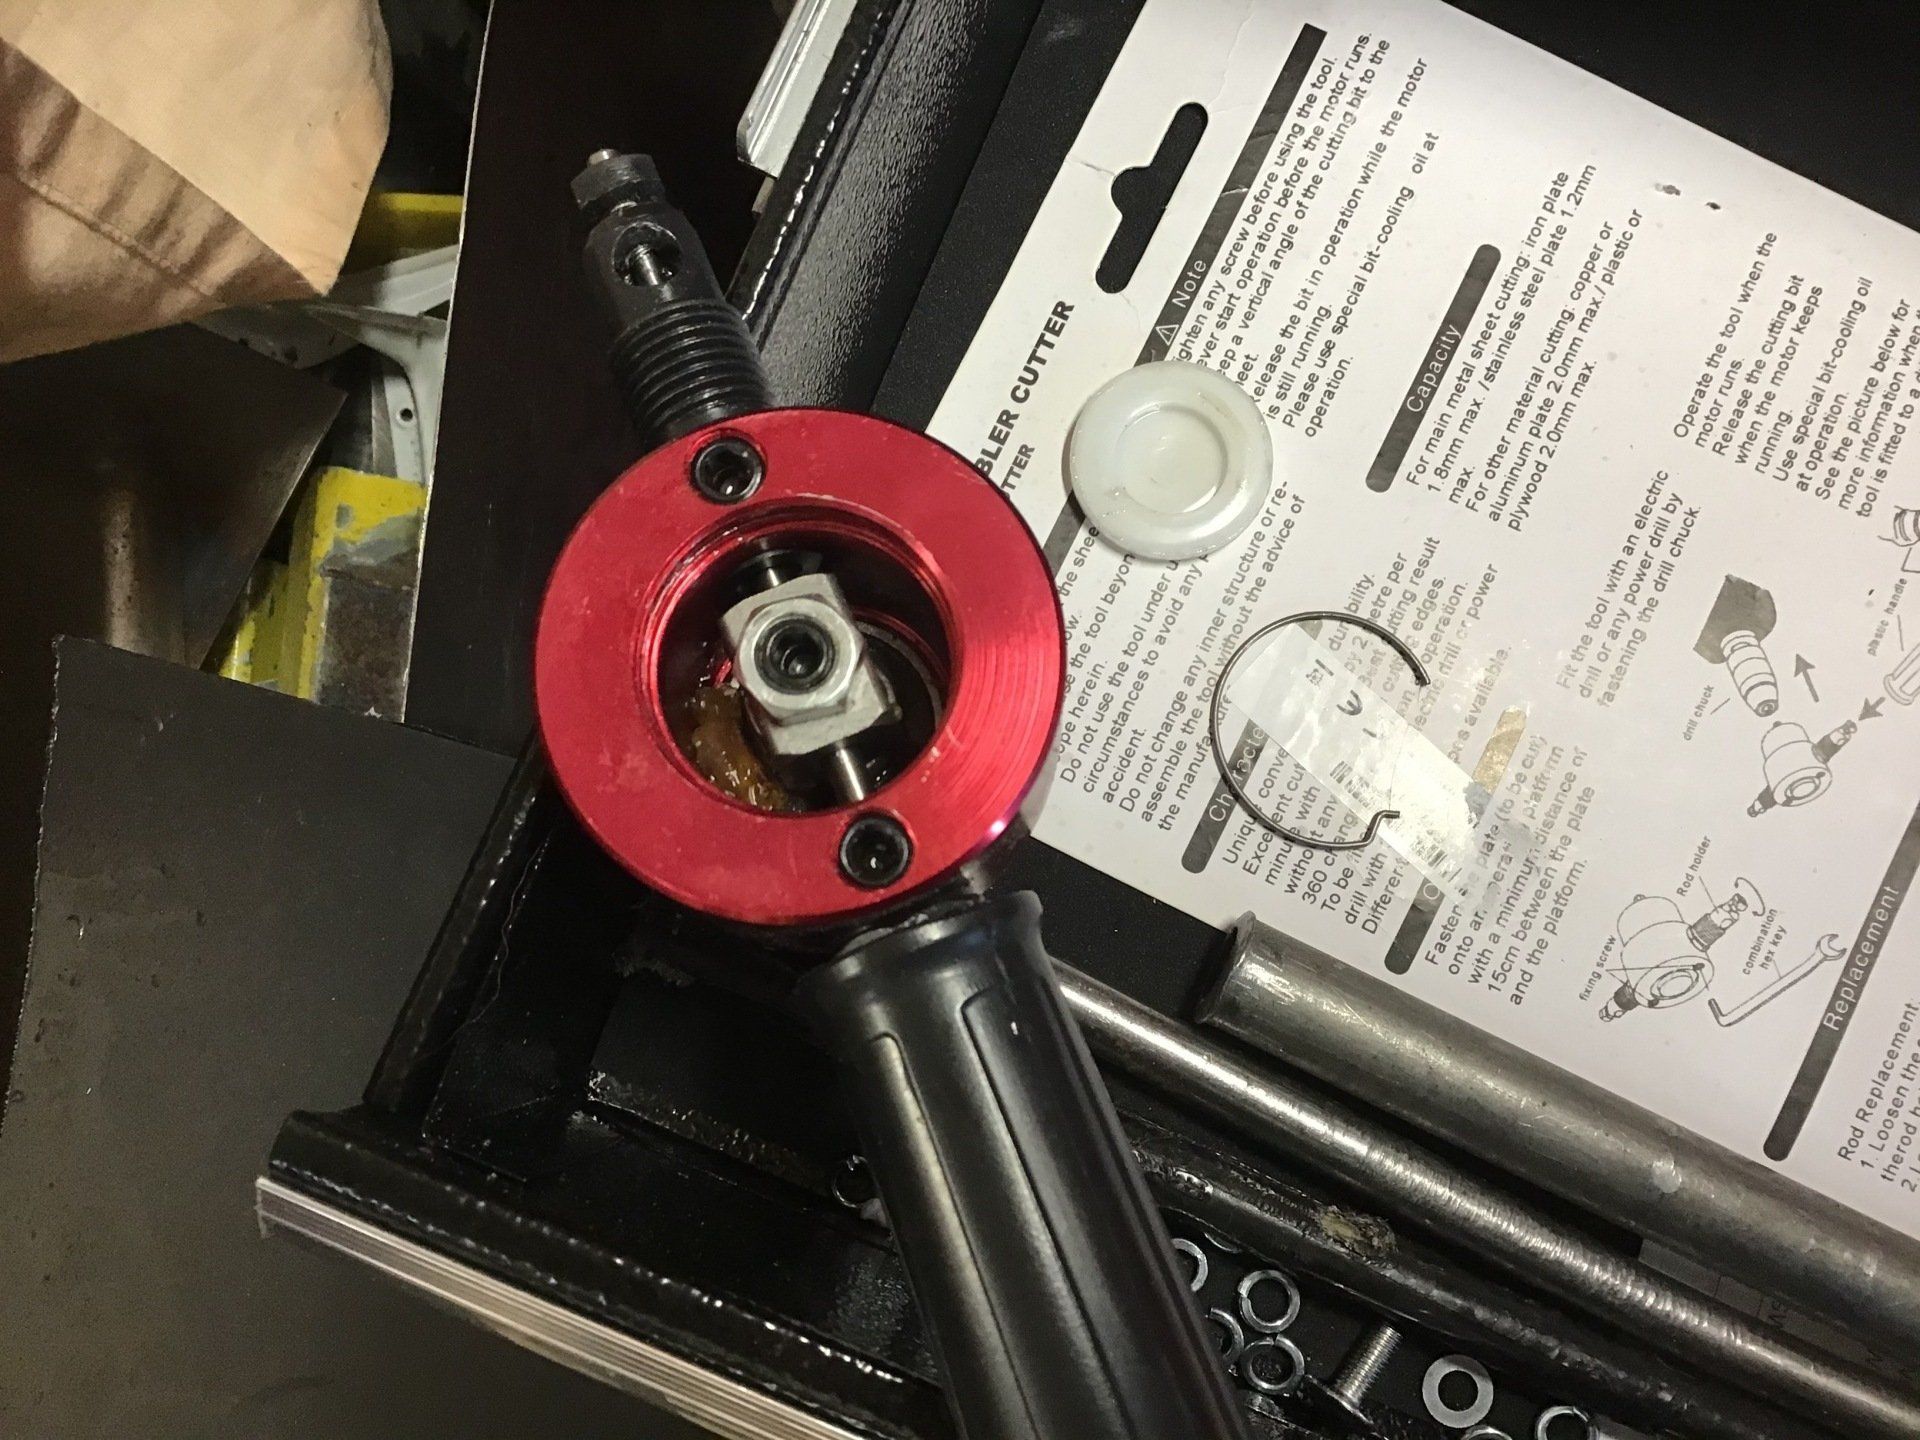
The back cover is held in place with a simple spring clip. The grub screw and lock nut hold the cutter in place. Subsequently, I’ve found that this grub screw will frequently work loose and require regular retightening. The cutter bar slides out from the block underneath.
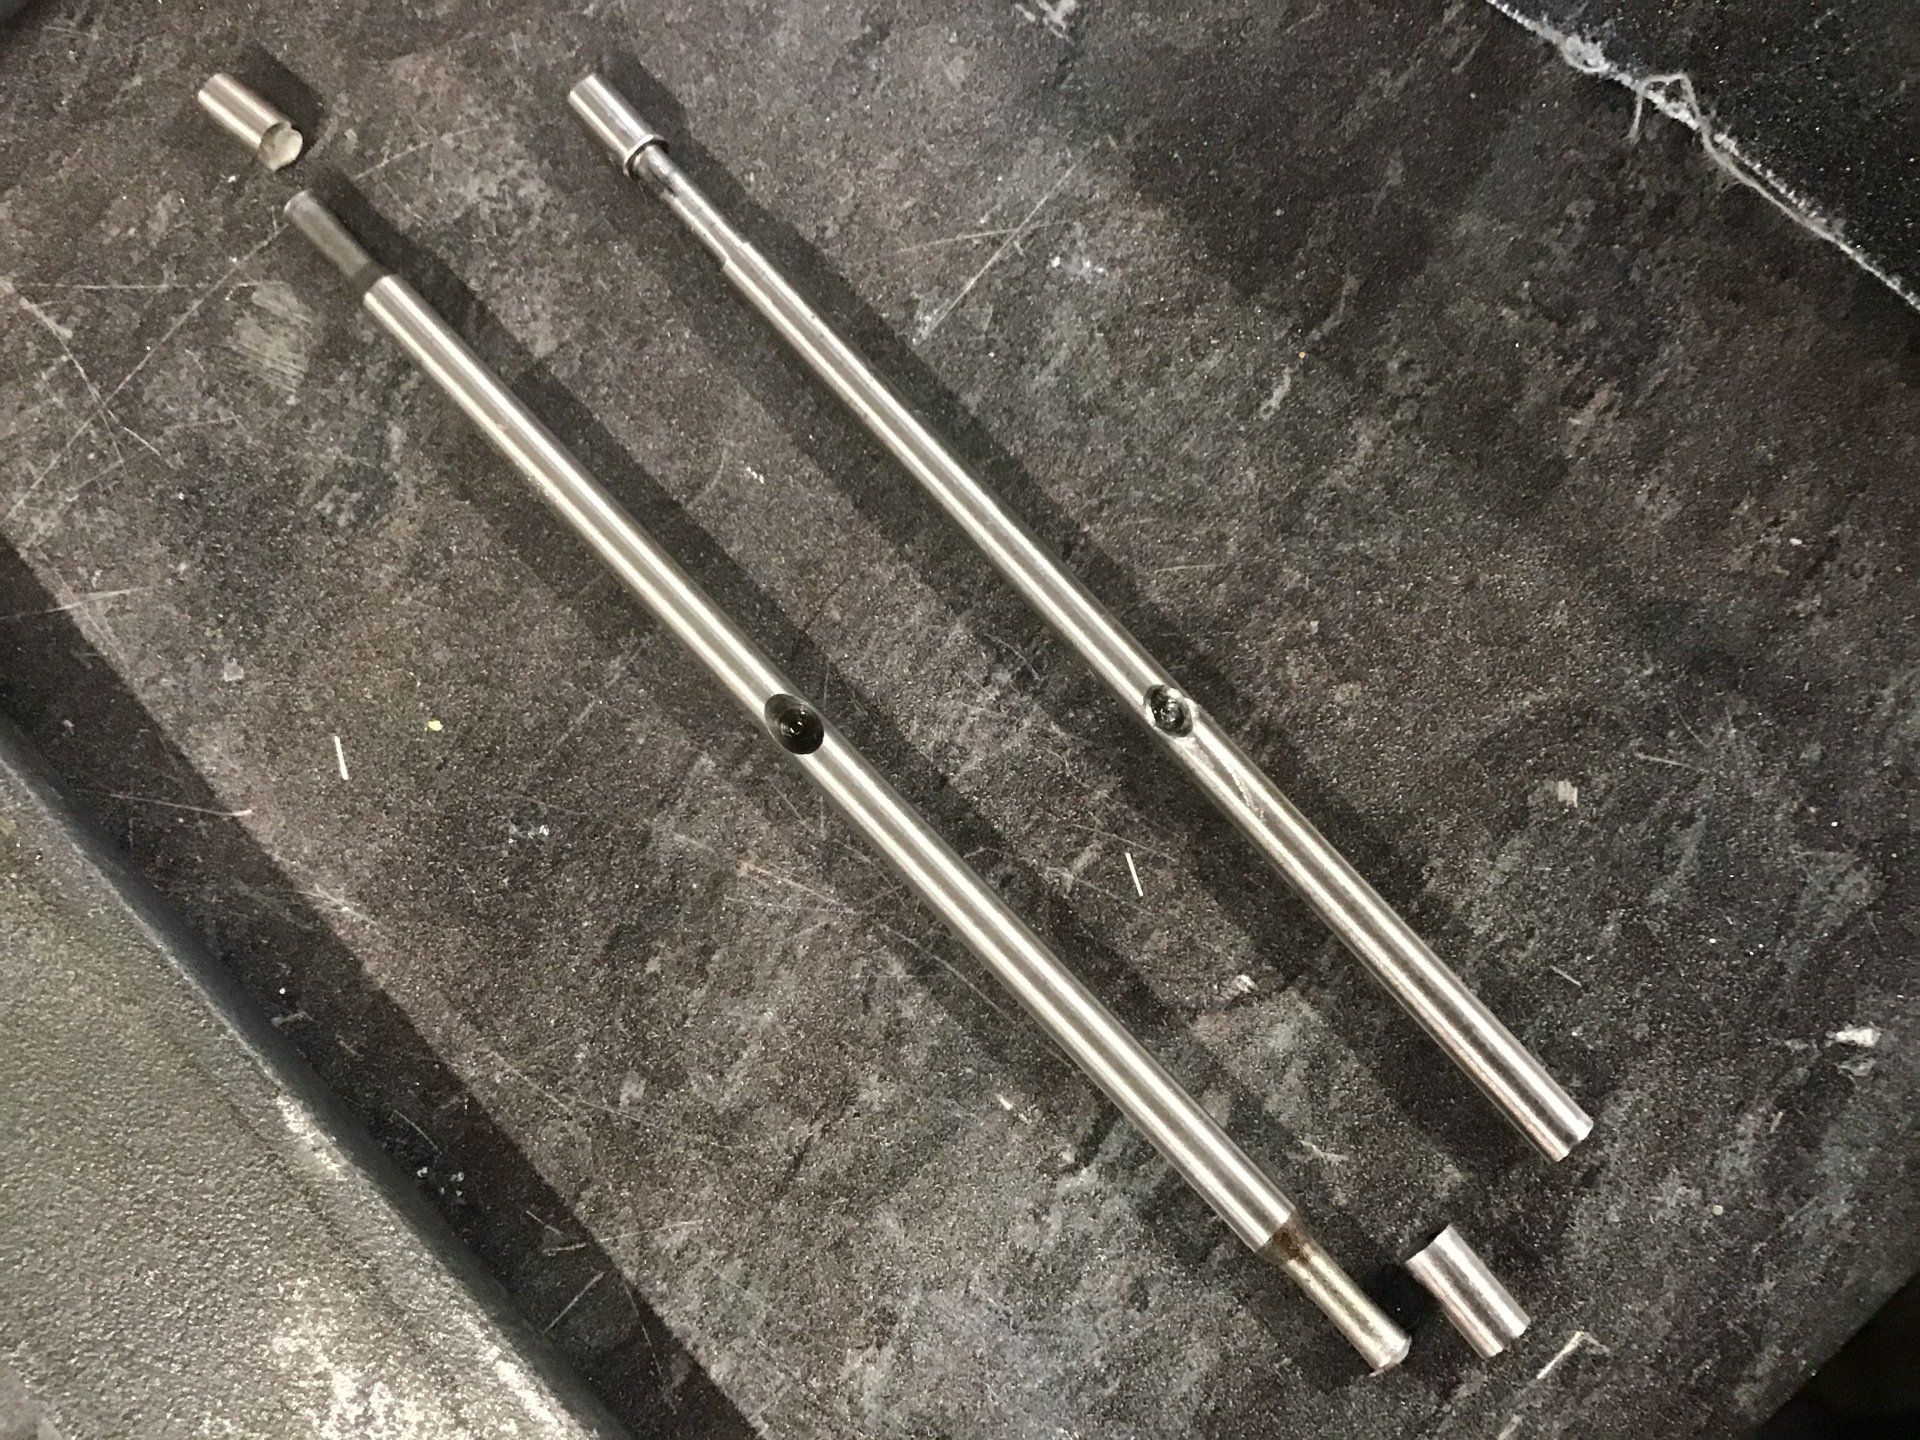
The bar on the left (below) is the standard one, with its ends broken off. It measures a smidge over 4mm in dia. As I had a short length off 4mm silver steel to hand, long enough to make a single ended cutter, I decided to have a go at making my own replacement. (The one on the right). I dithered over whether to harden and temper it, but in the end just decided to try it as it was, and much to my surprise it worked.
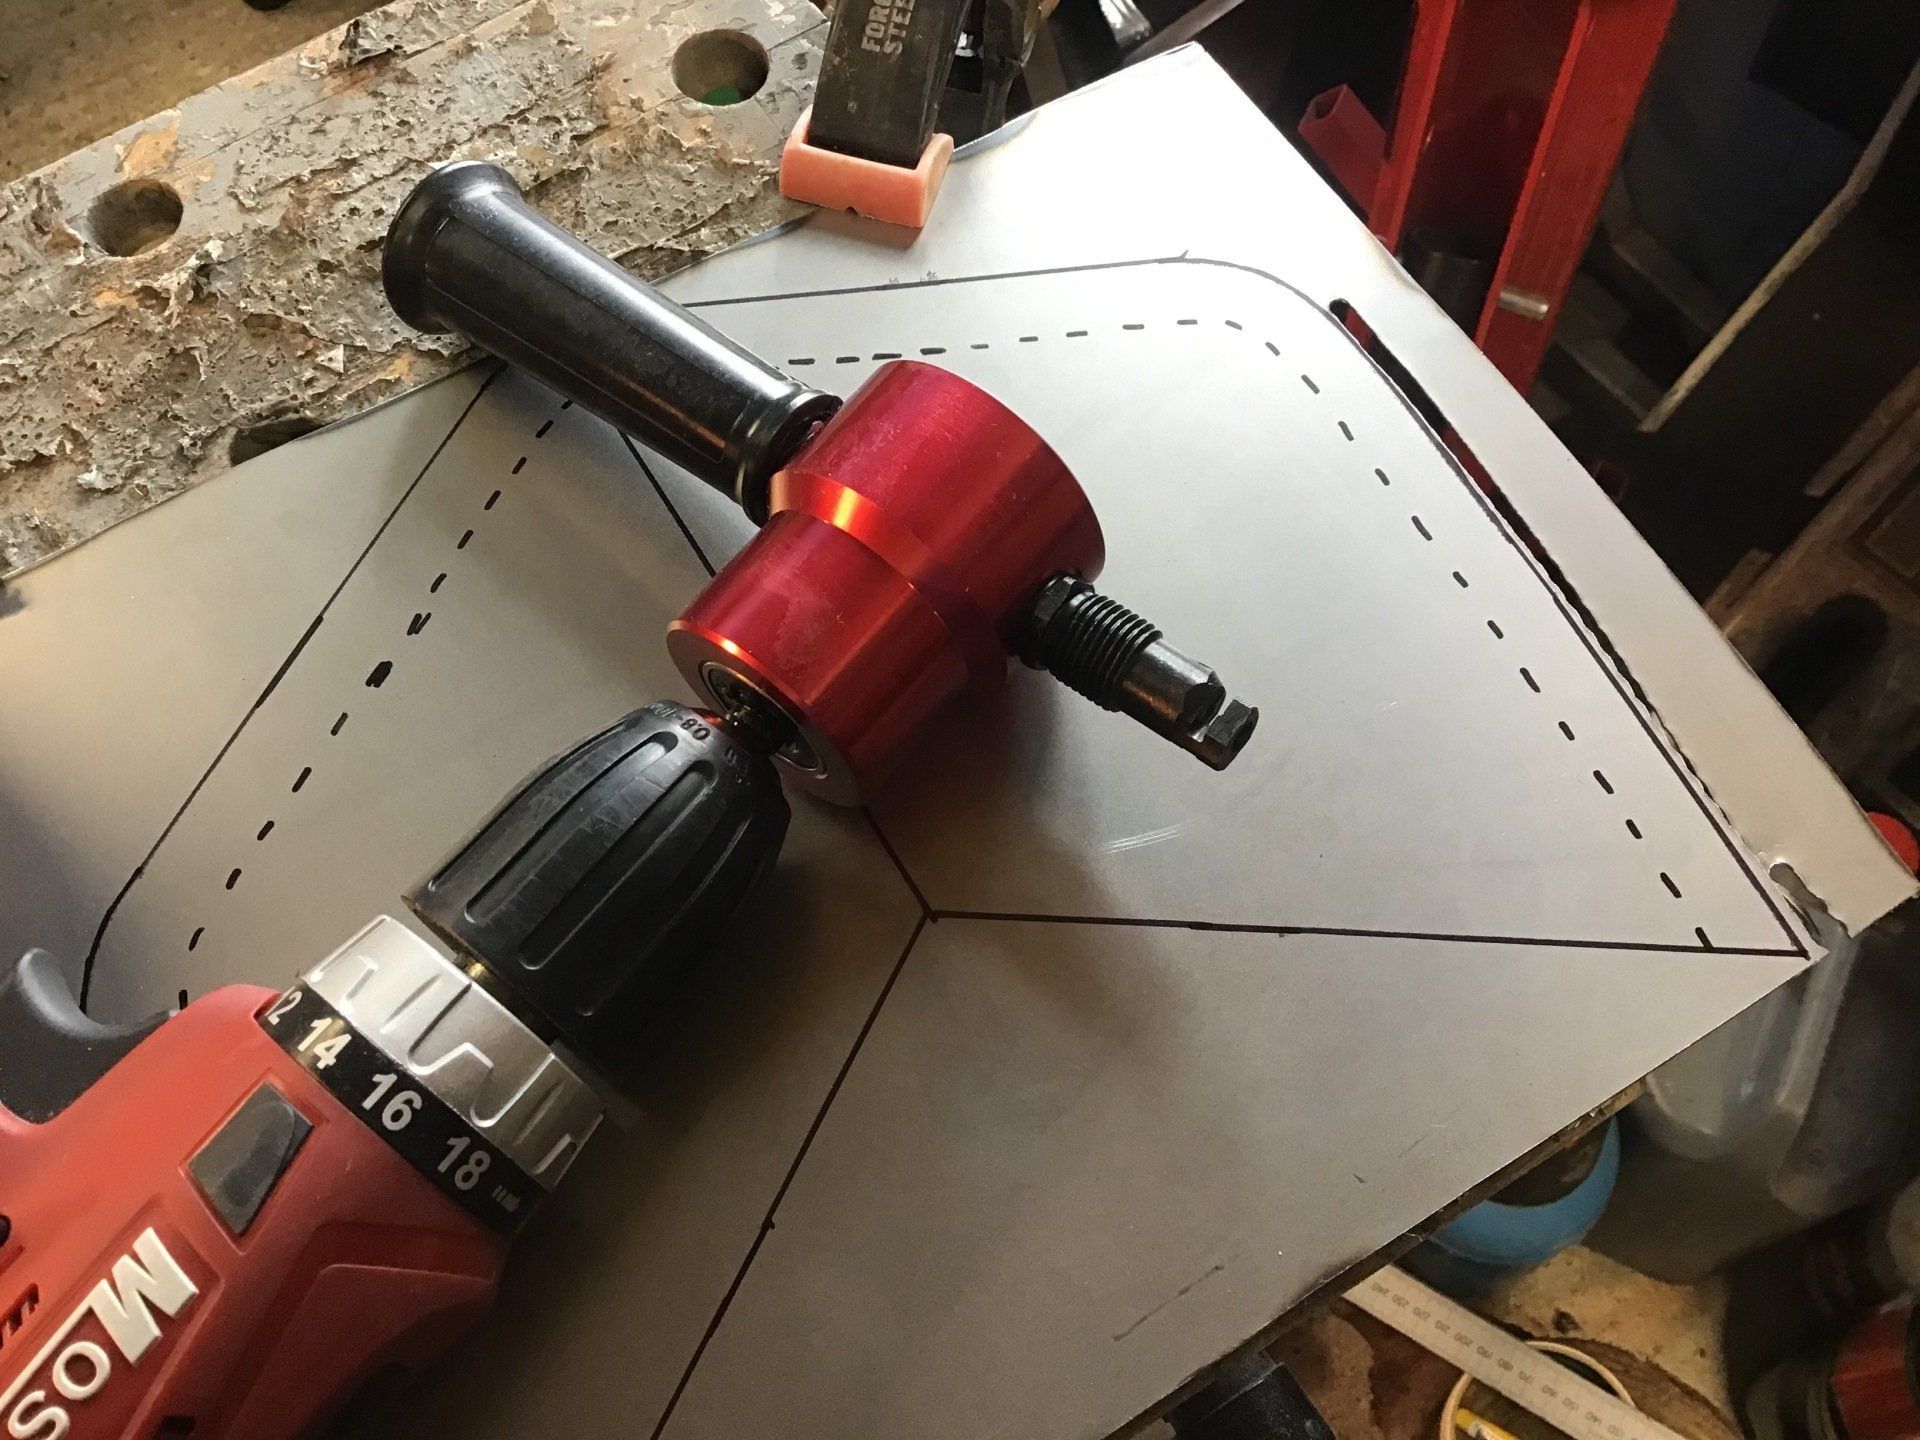
This was its first cut.
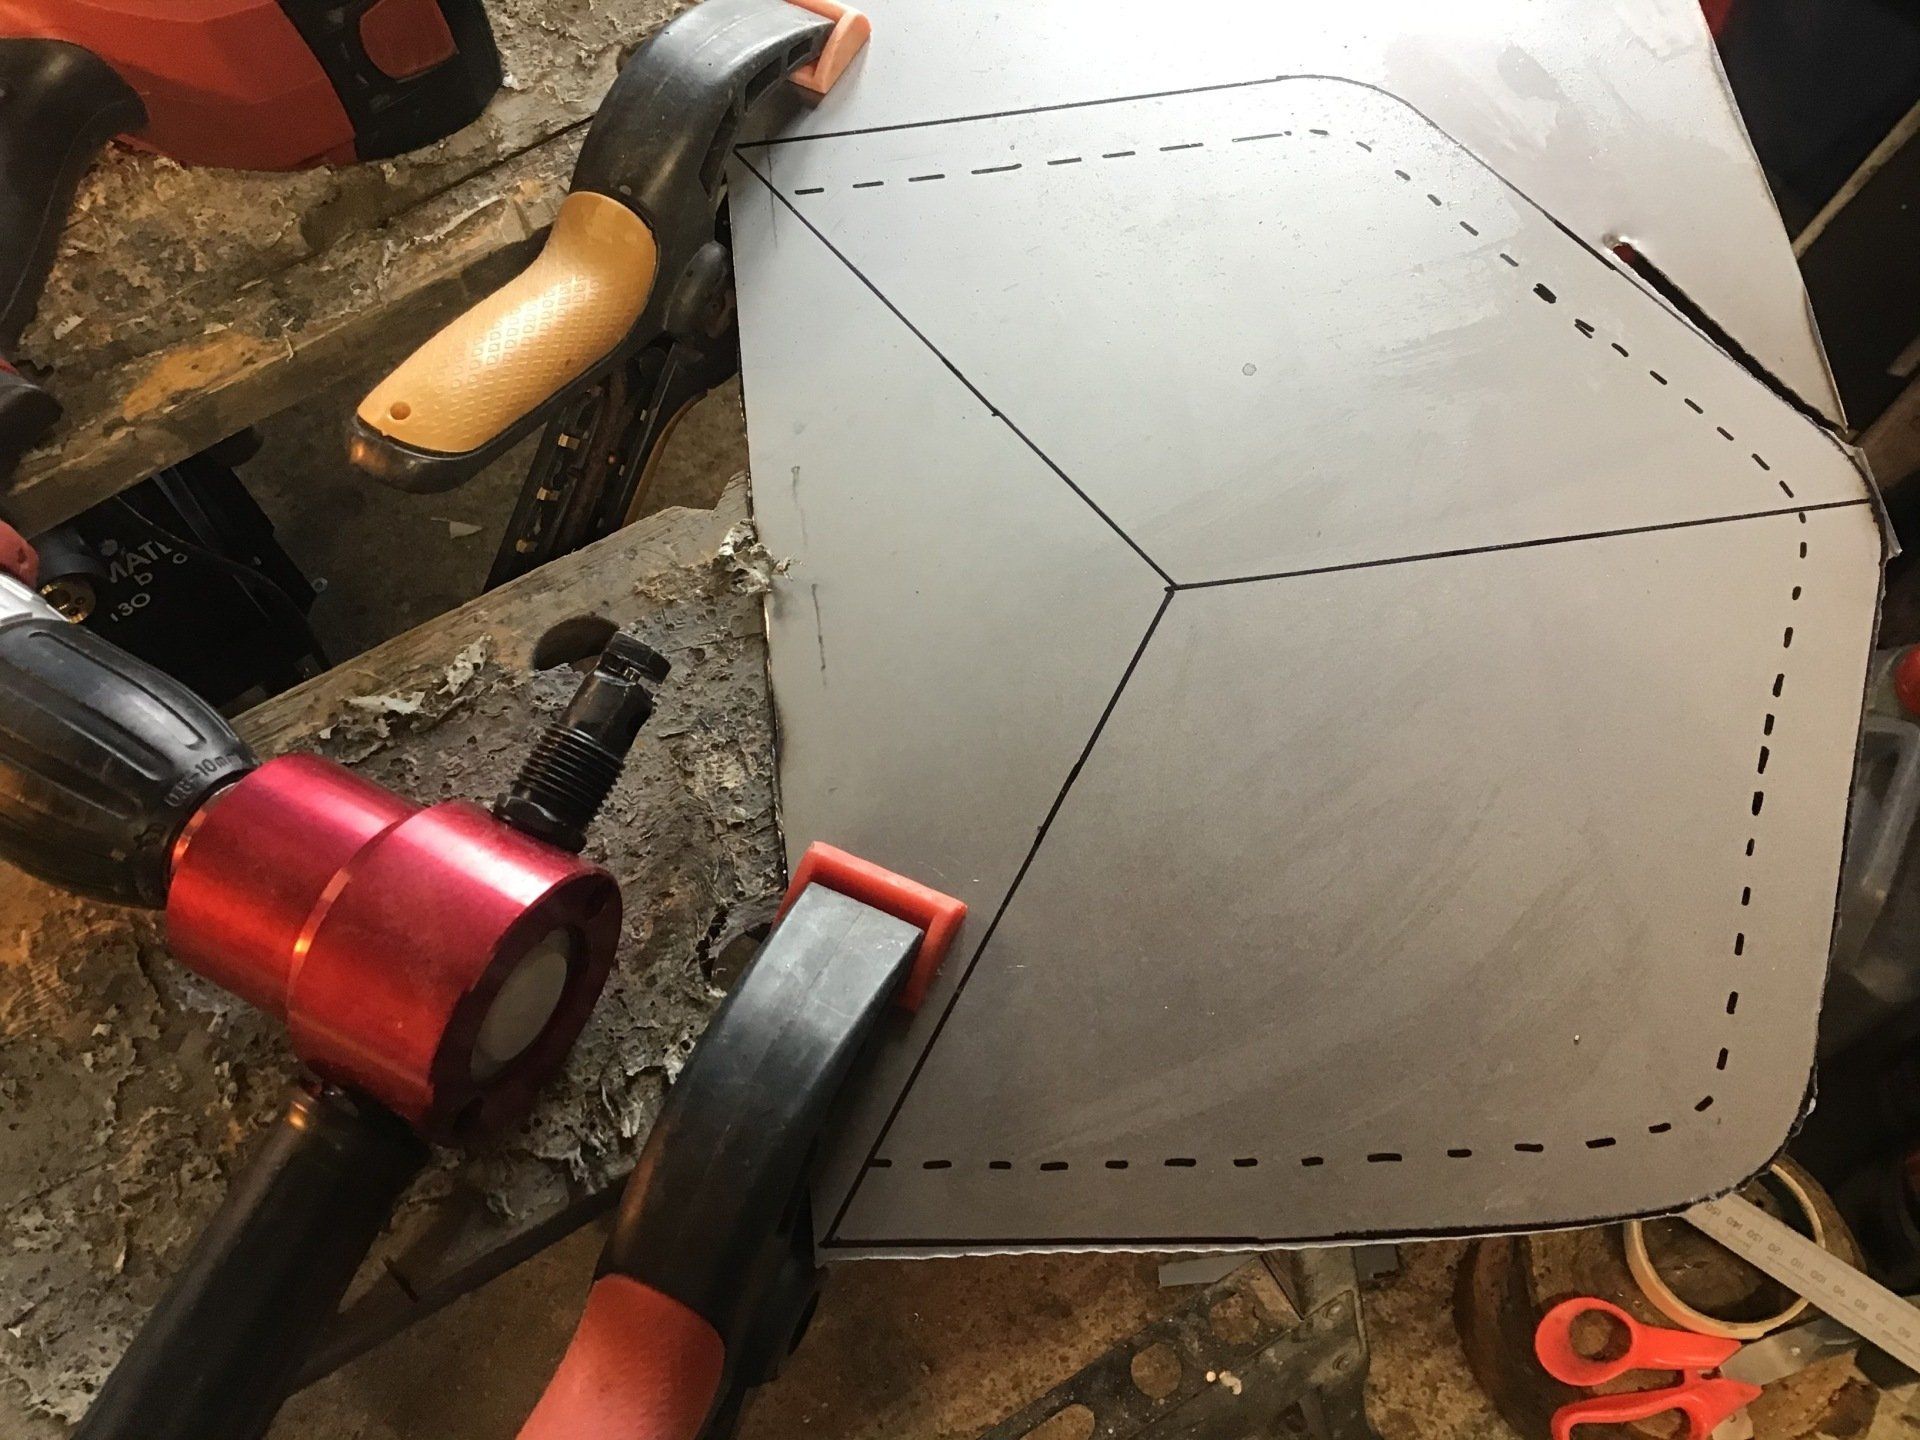
And it continued to work until the shape was cut out.
And after tidying up the edges with a flap disc, it looked much better and was ready for me to try and bash some shape into it.

Now to the bit that I've still not really got the hang of - trying to shape sheet metal. I make no bones about the fact that currently I'm hitting it with a hammer and hoping that it might turn out the correct size and shape!
And this is as far as I've got. No idea whether it'll actually fit!
I've now inspected the cutting end of my home made cutter and it's obvious from the wear sustained that it isn't going to last long. There must be a sweet spot, where the cutting edge is hard enough to resist wear, but not too hard and brittle that it breaks easily. A little experimentation would be needed to find this holy grail.

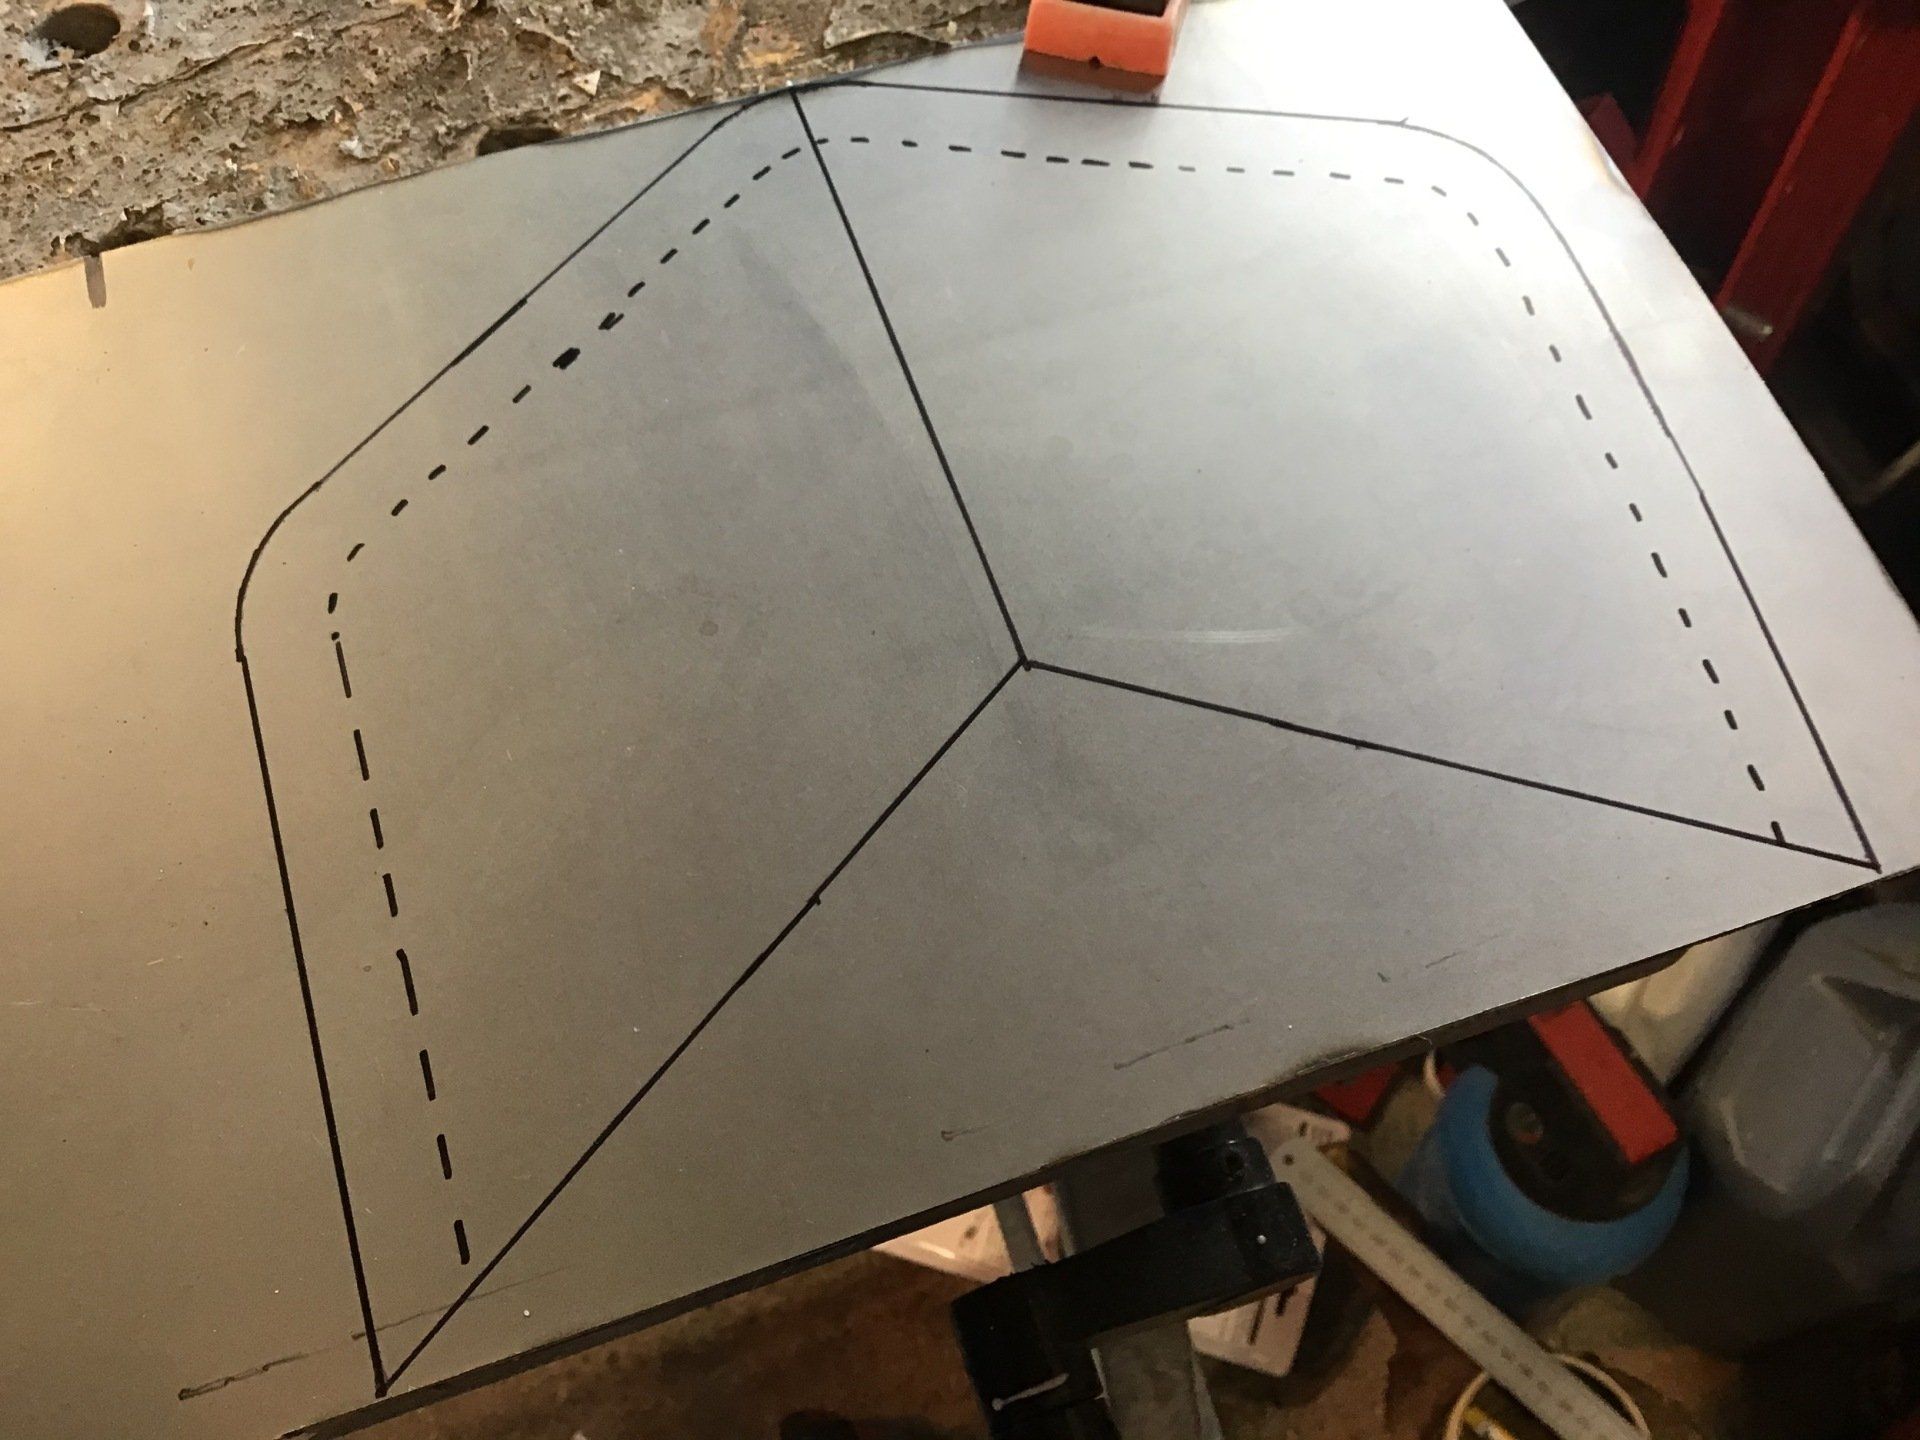
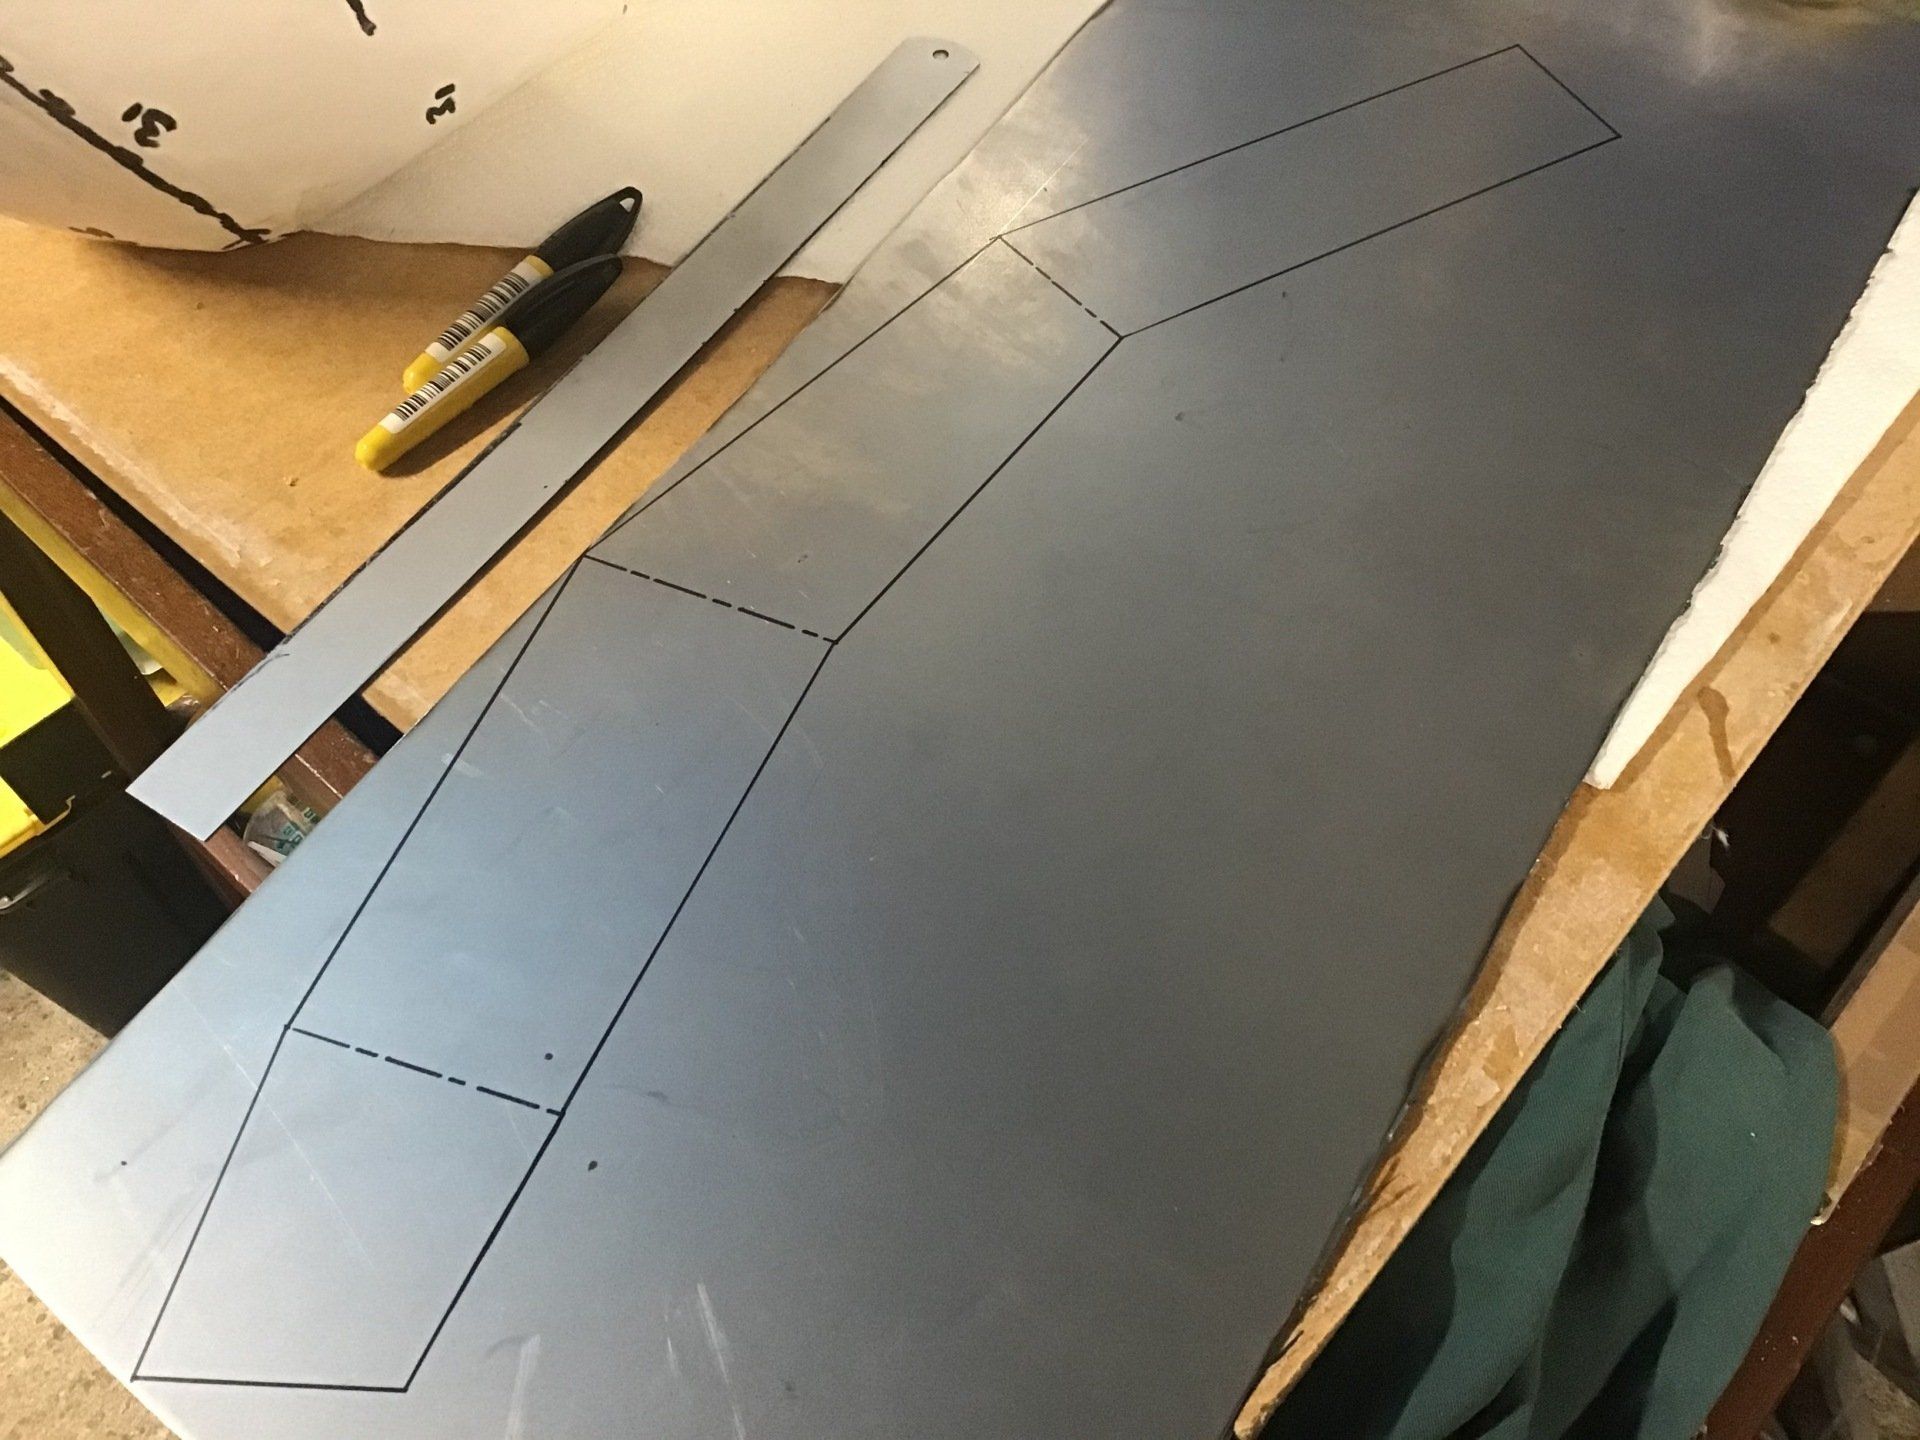
On to attempting to make another part of the petrol tank. This bit should join the existing tunnel to the tank side made last week. Again it’s a leap into the unknown, but I’ve made a paper template, transferred that to the sheet steel and I’ve got a vague idea of the angles it needs to be bent to!
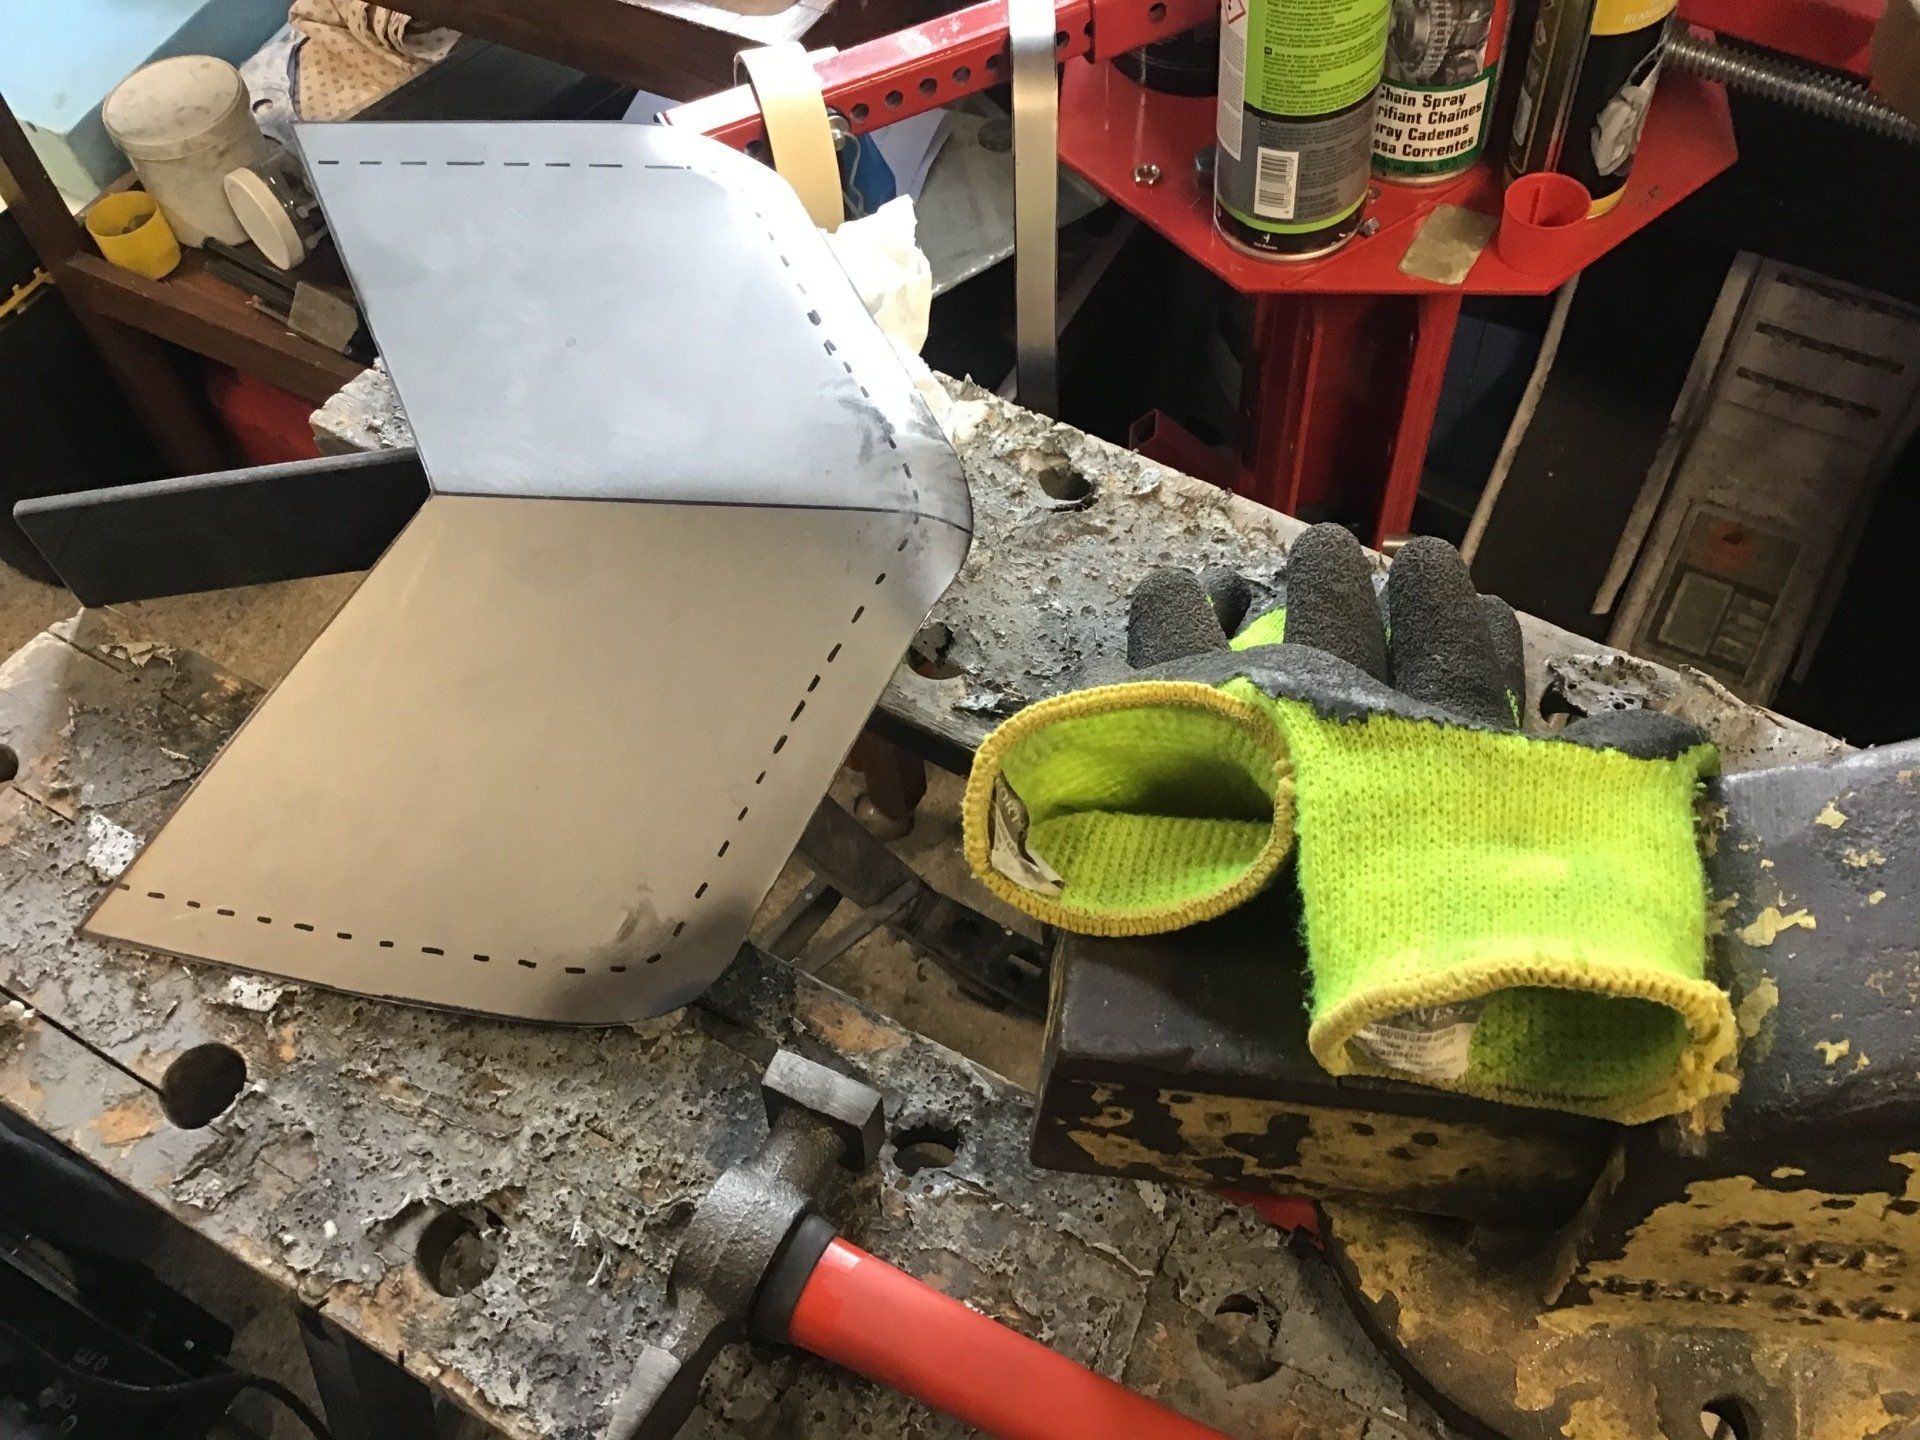
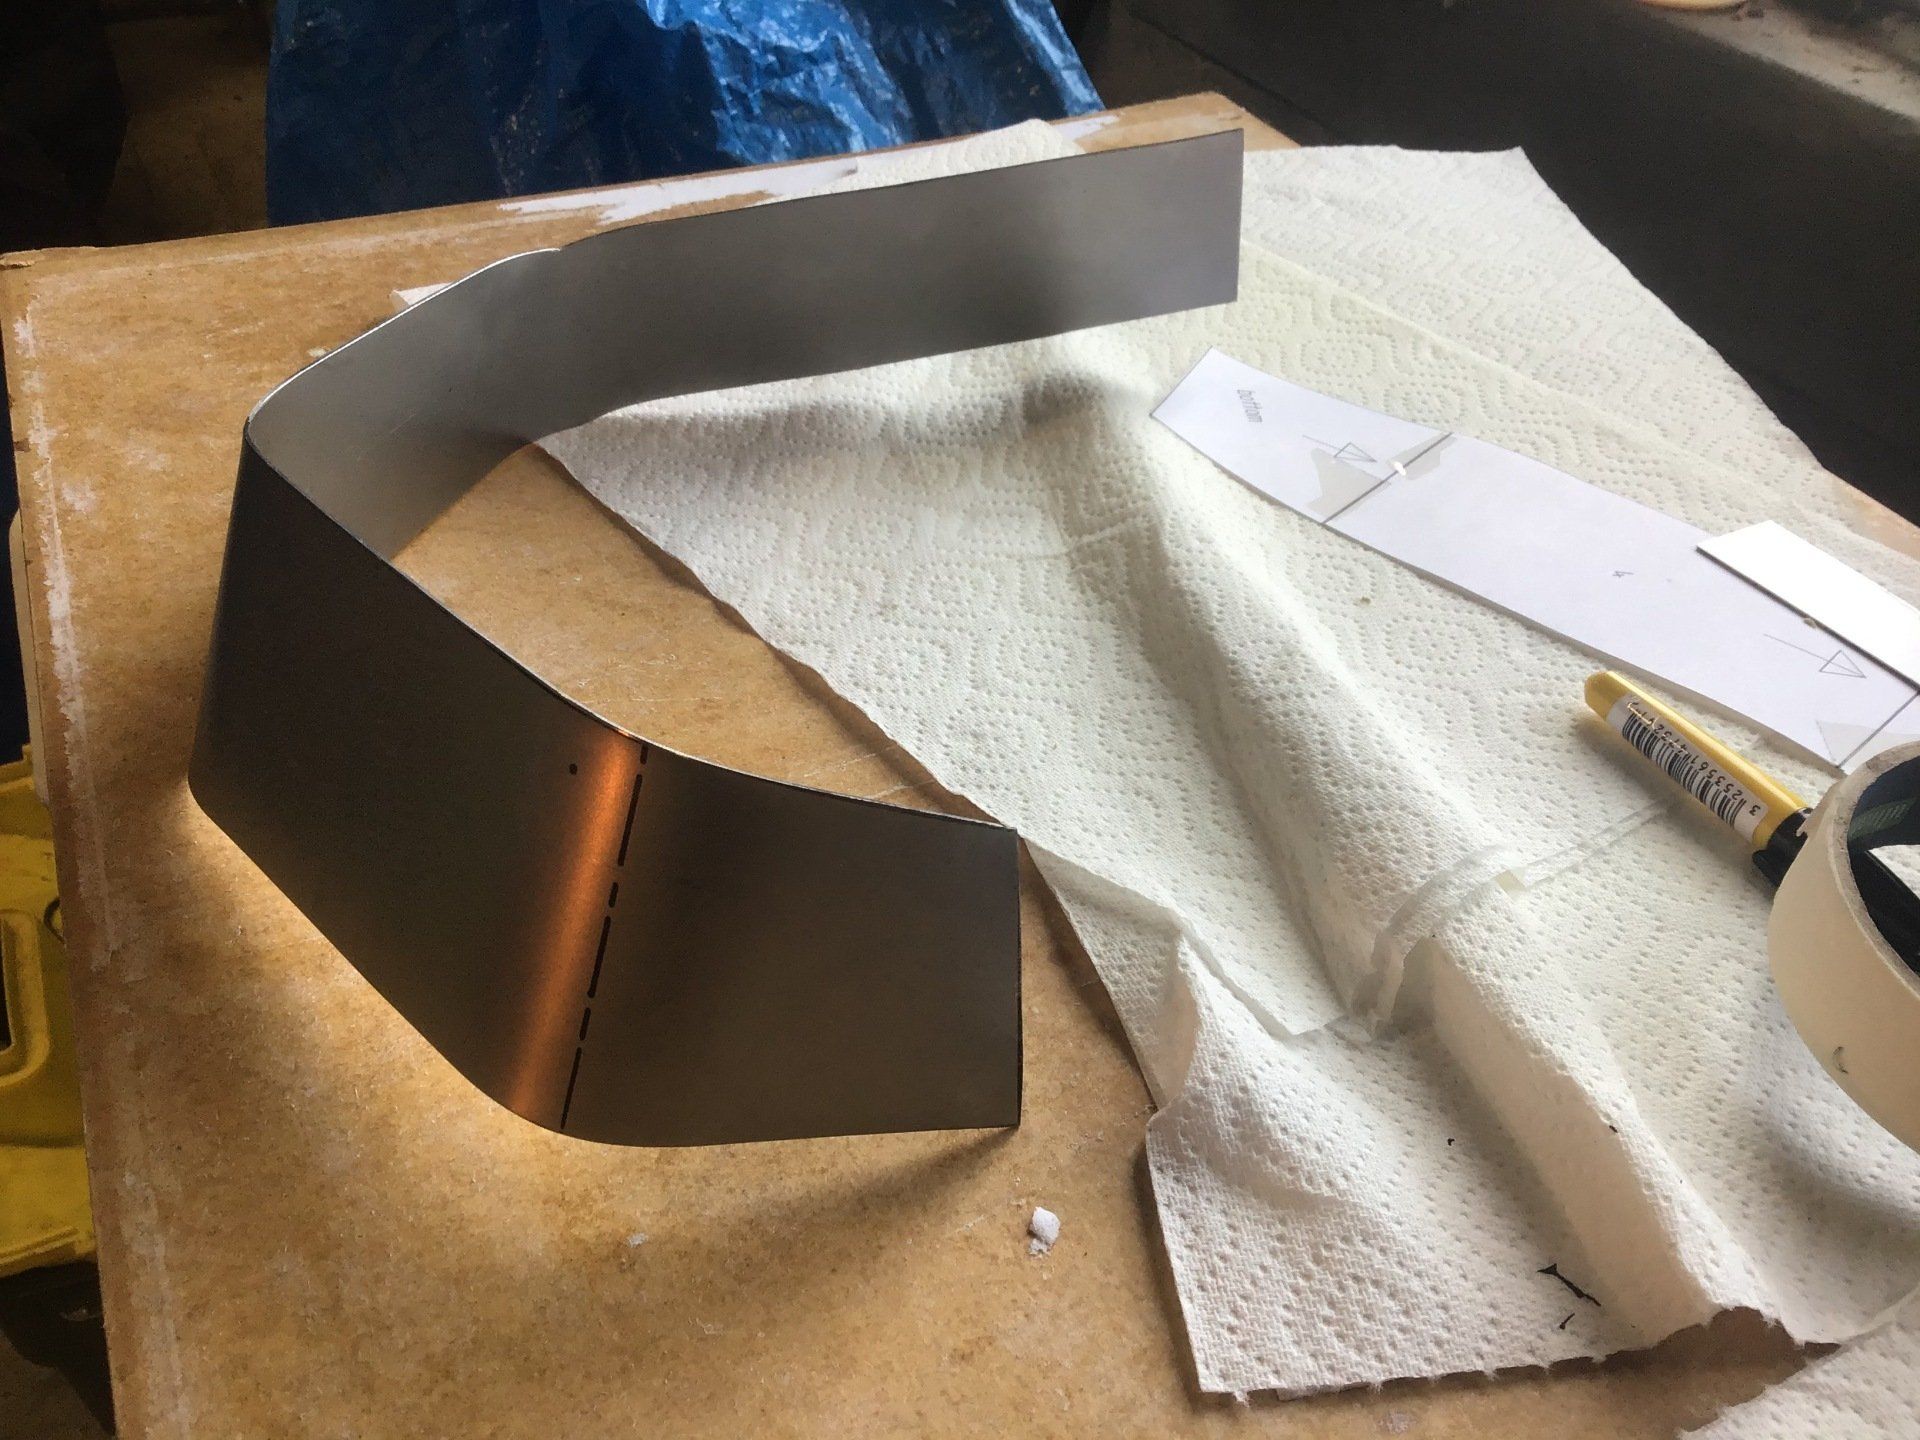
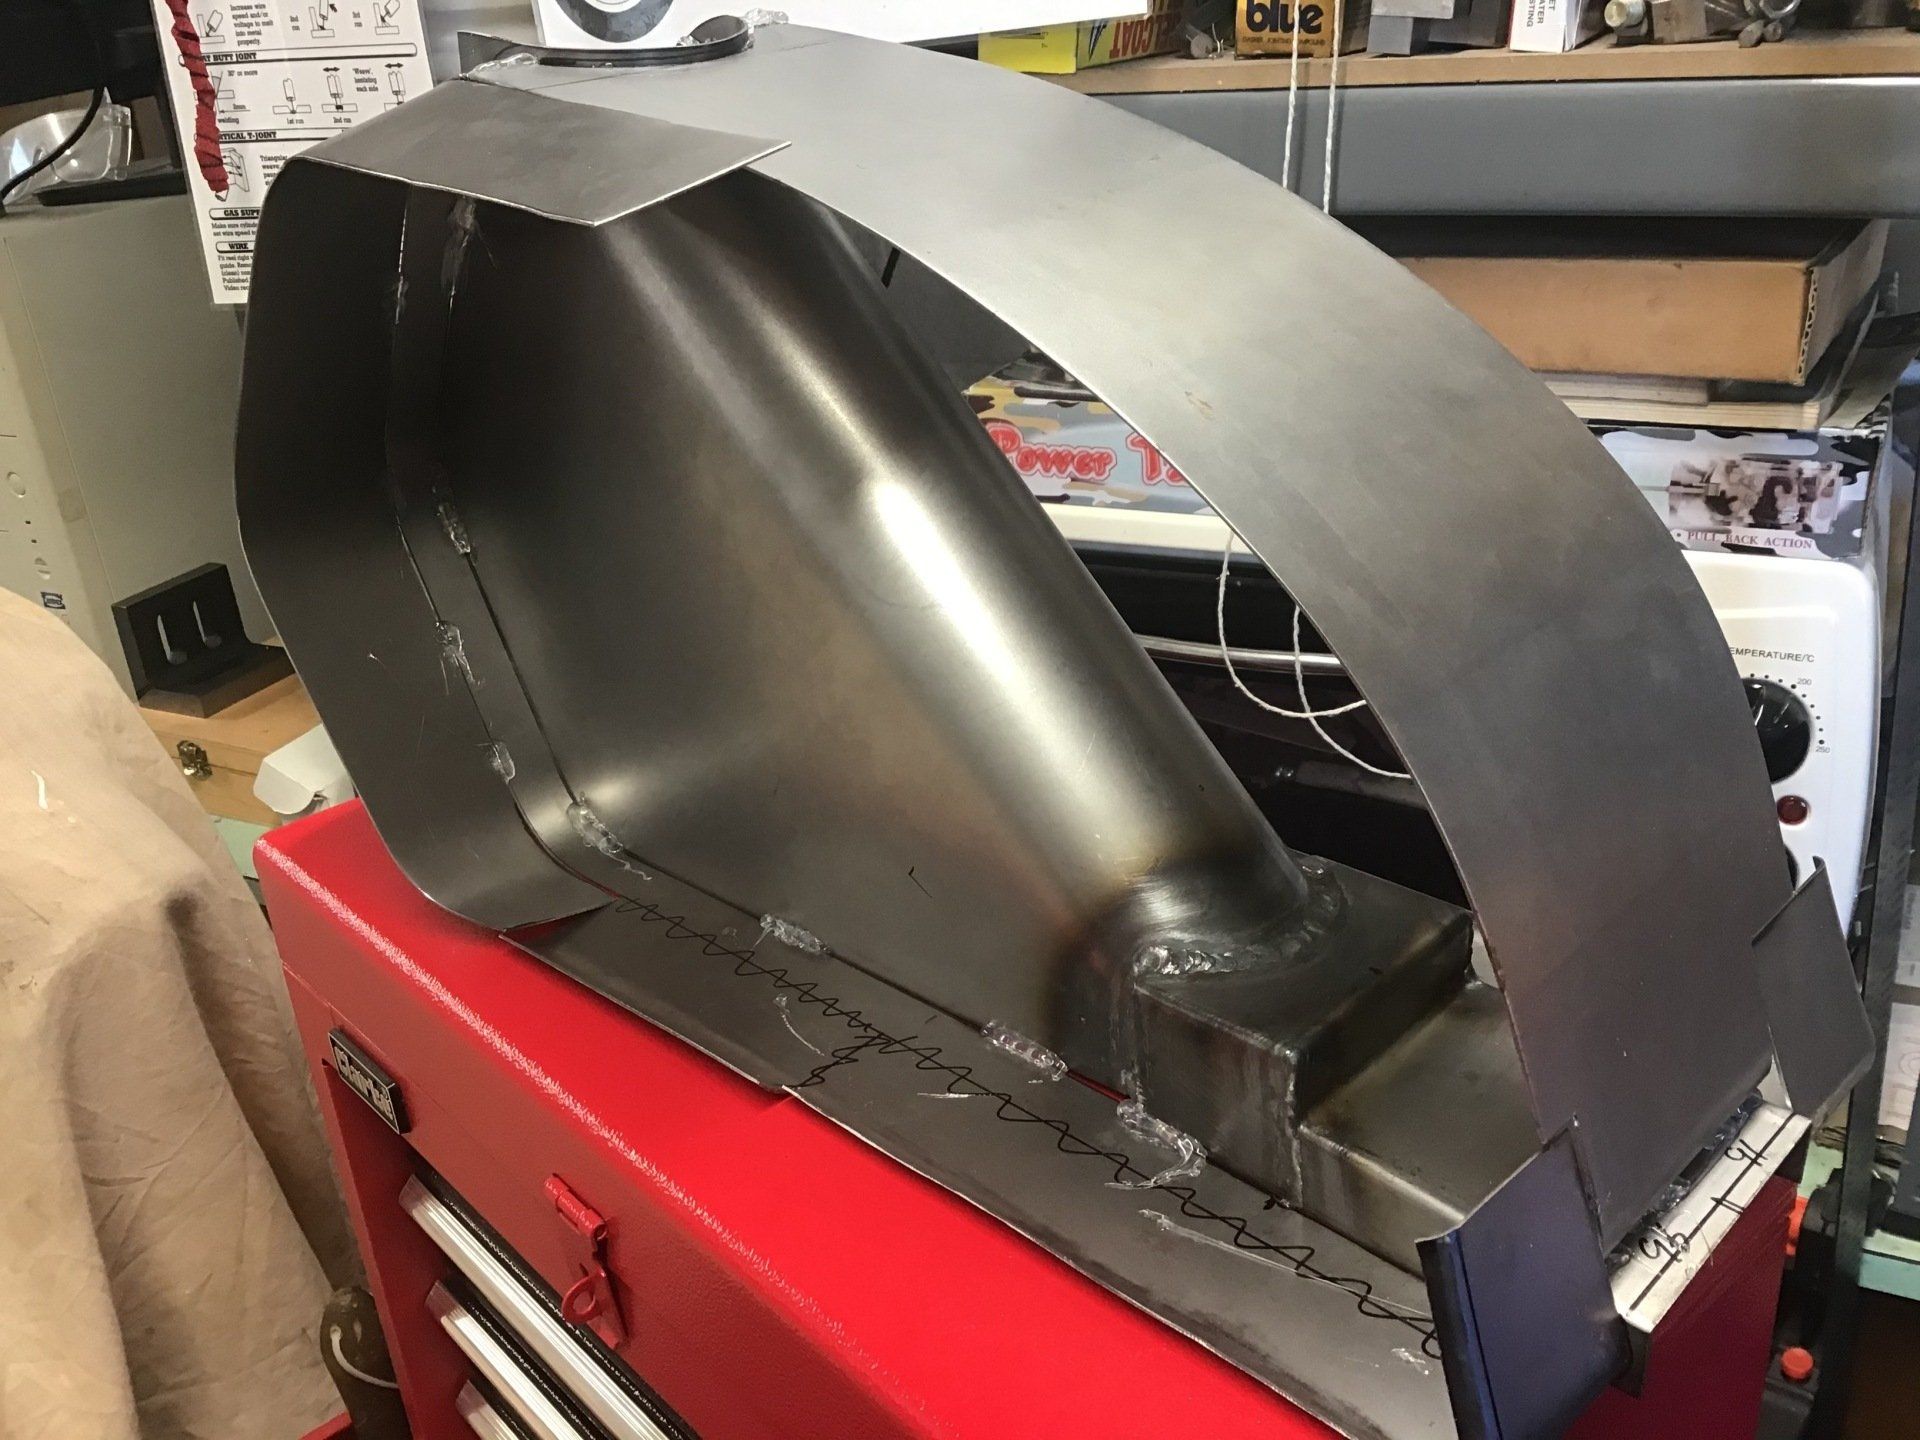
And here it is all bent to shape. But, more importantly, does it fit?
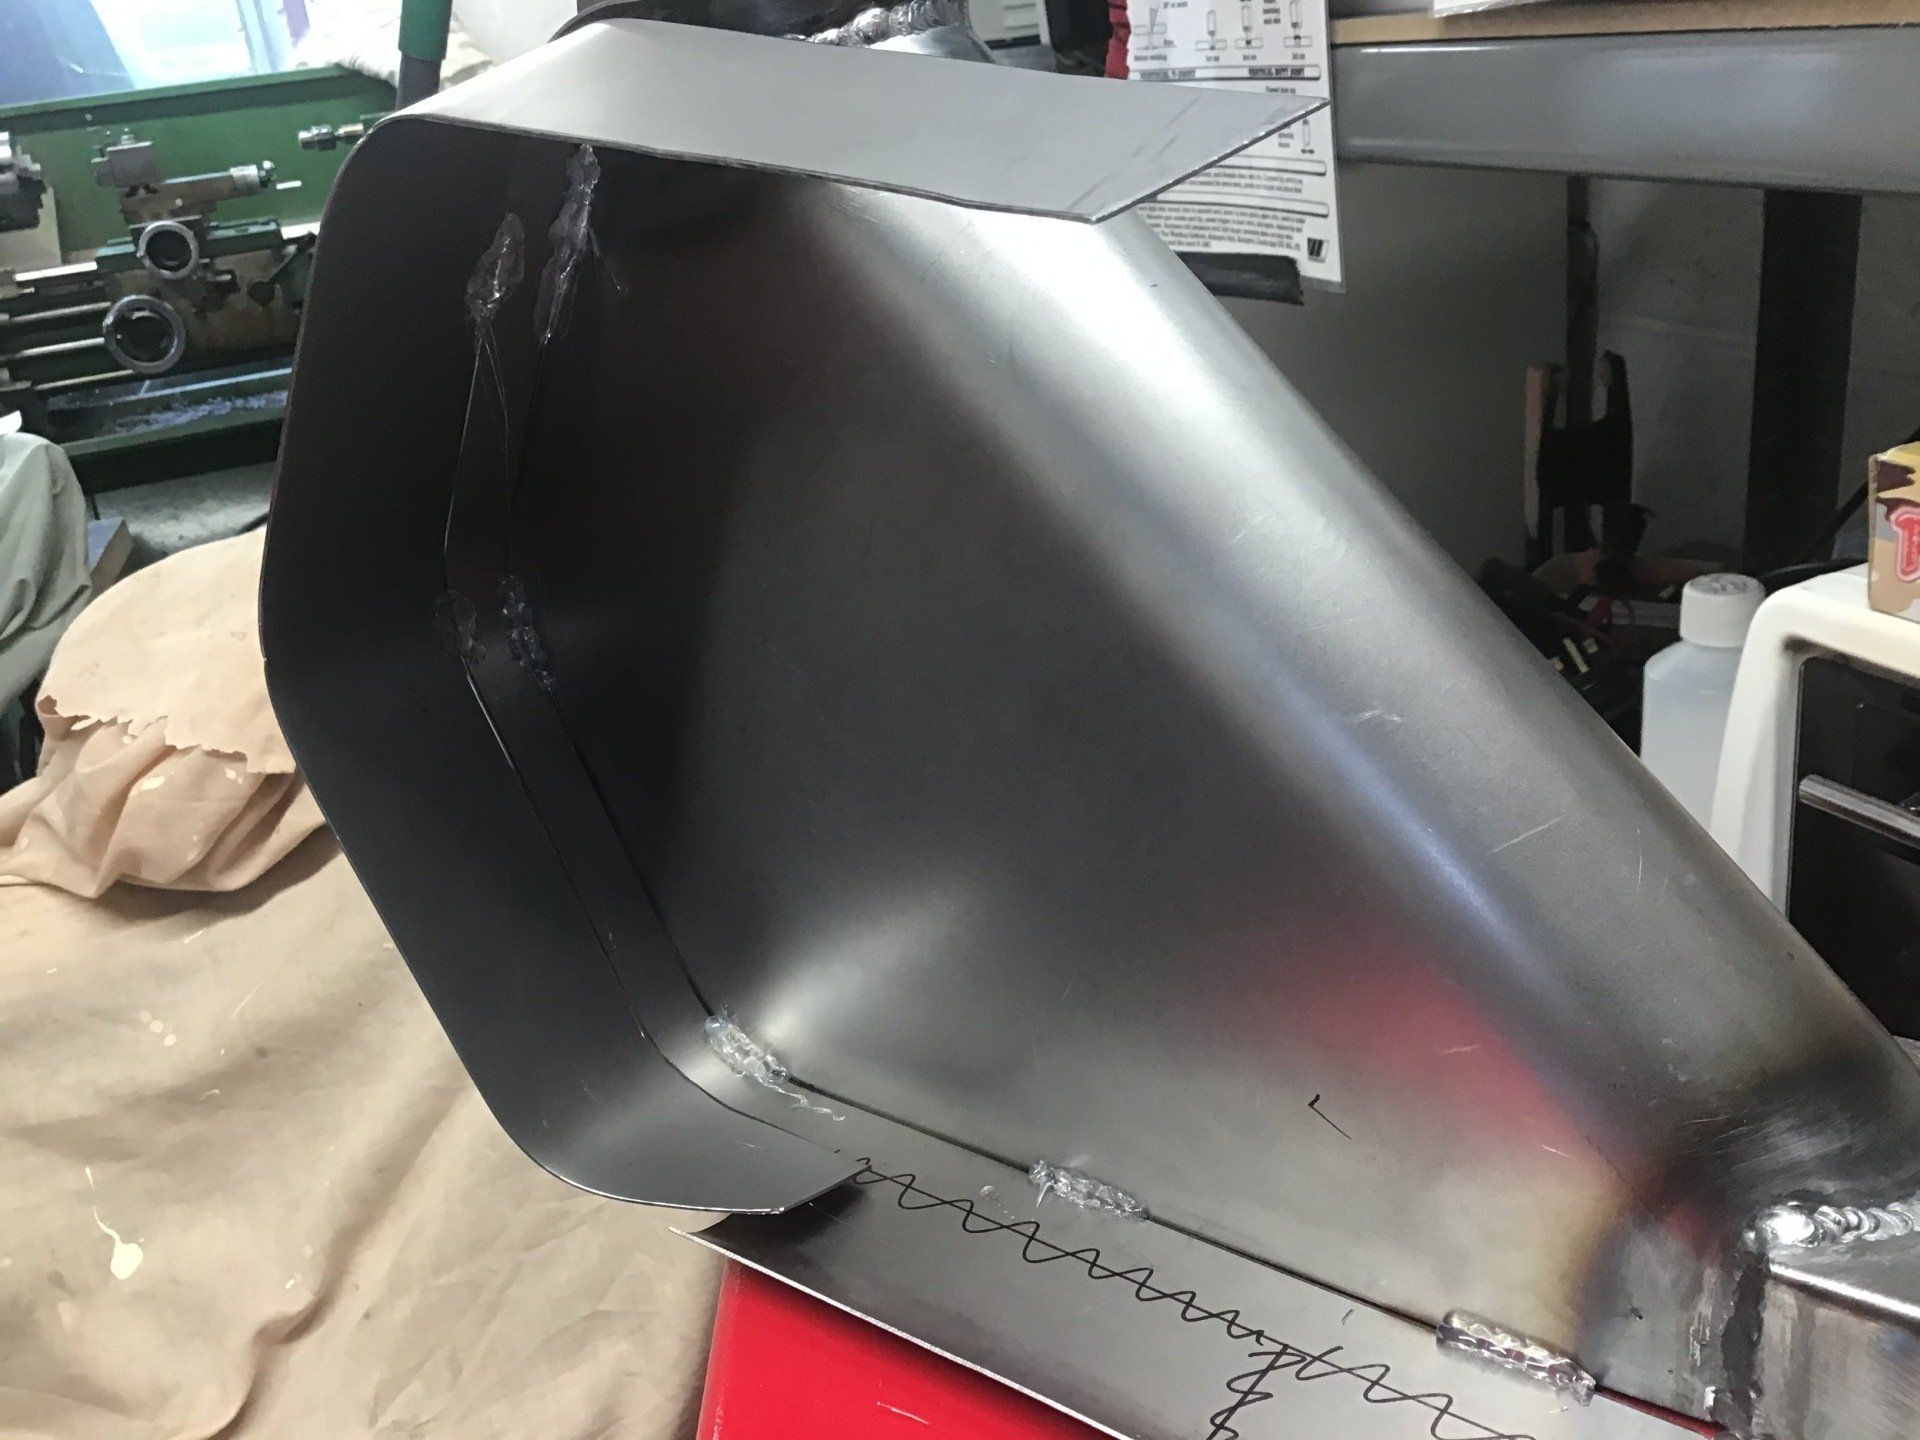
Well, at the front edges, not too bad…
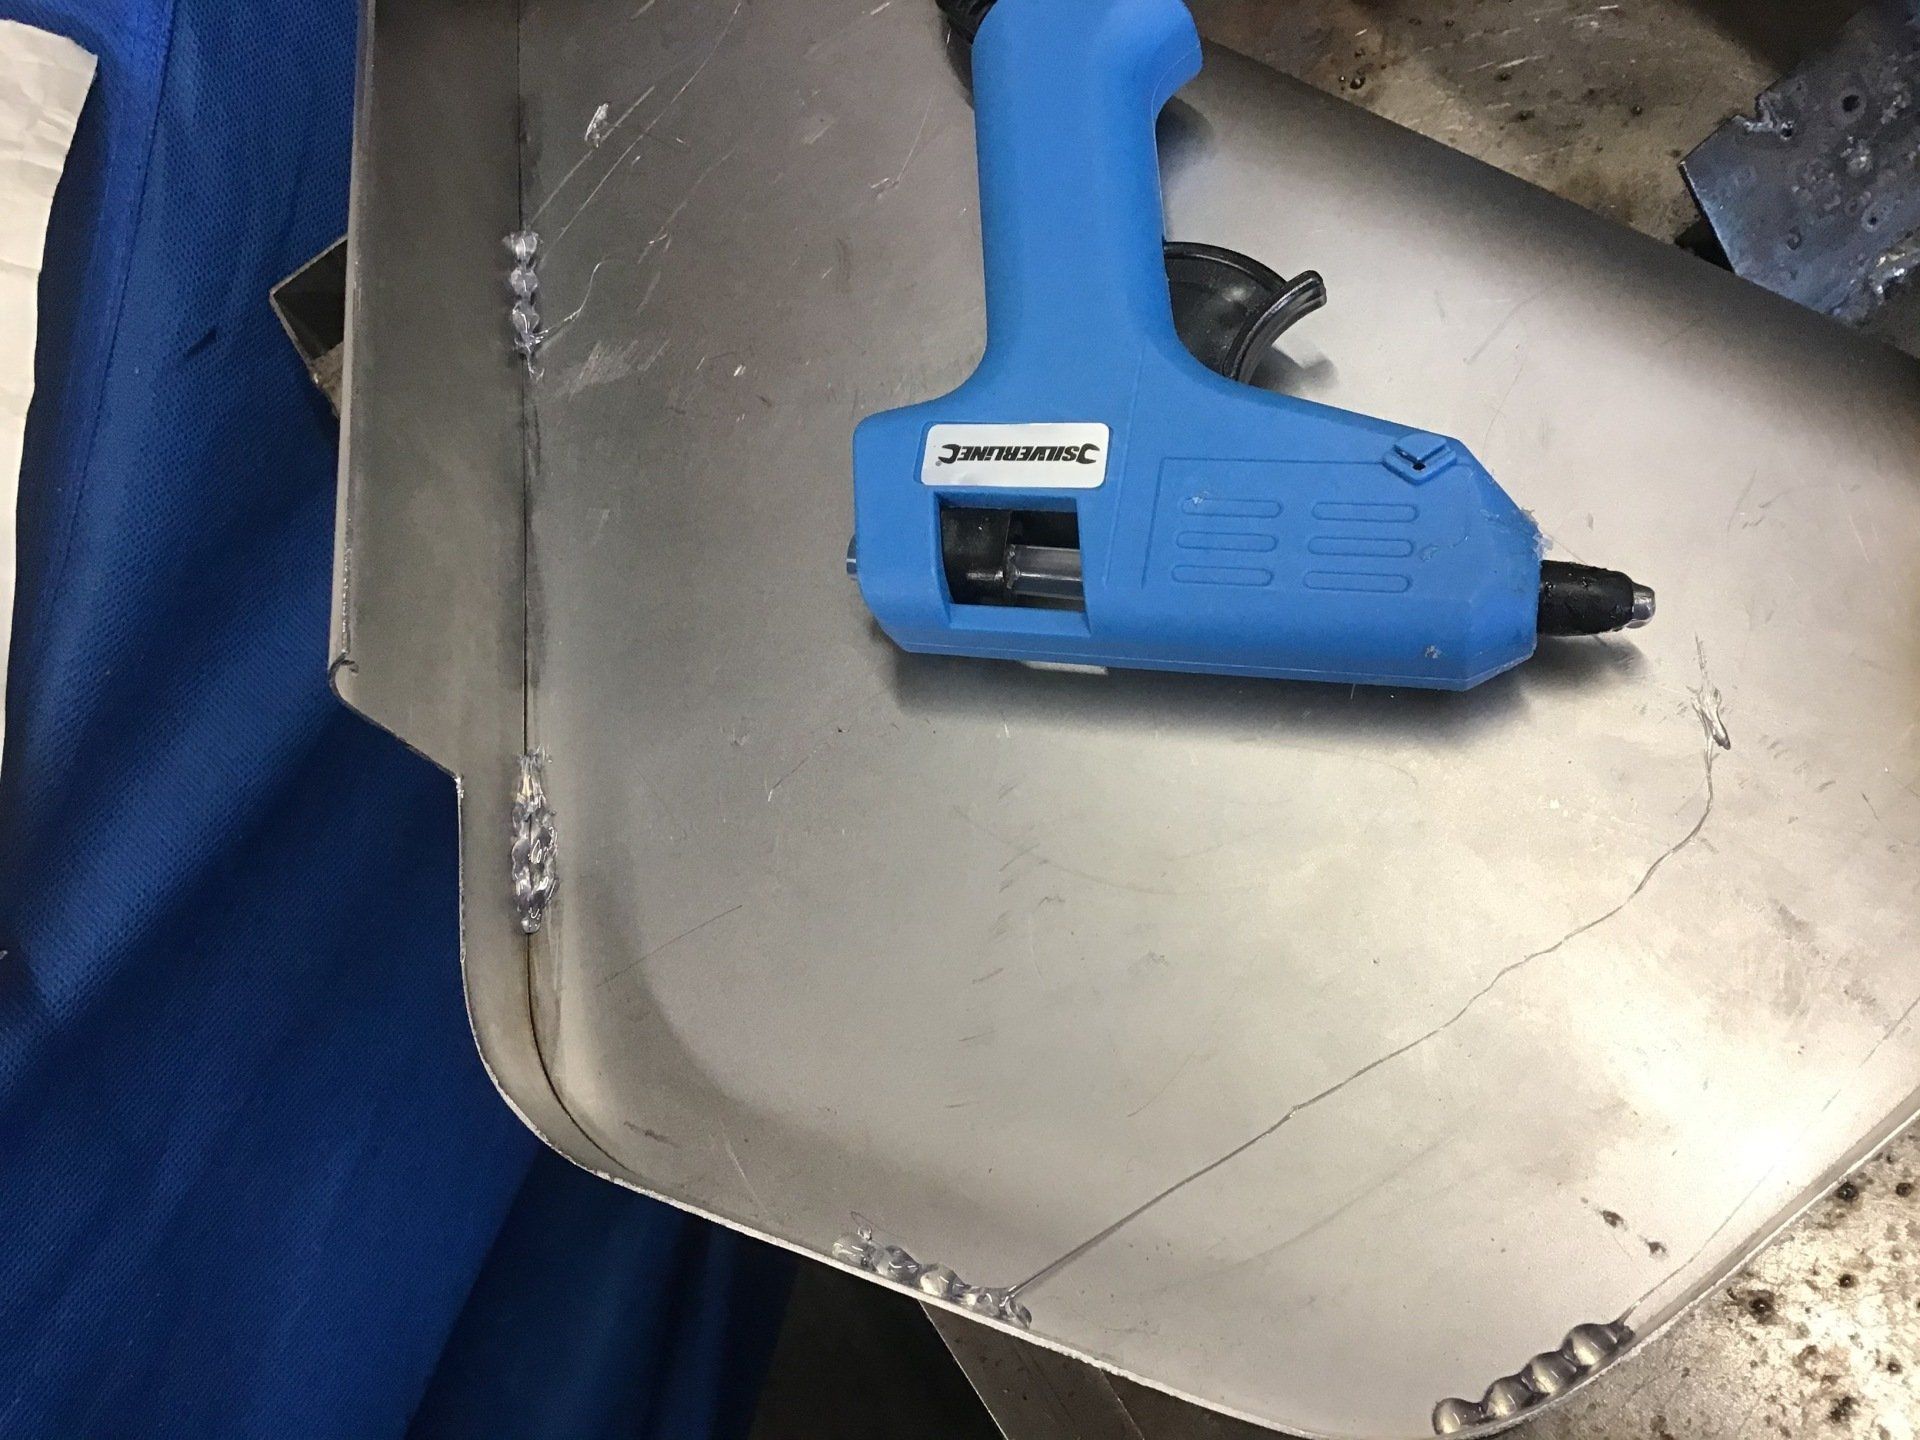
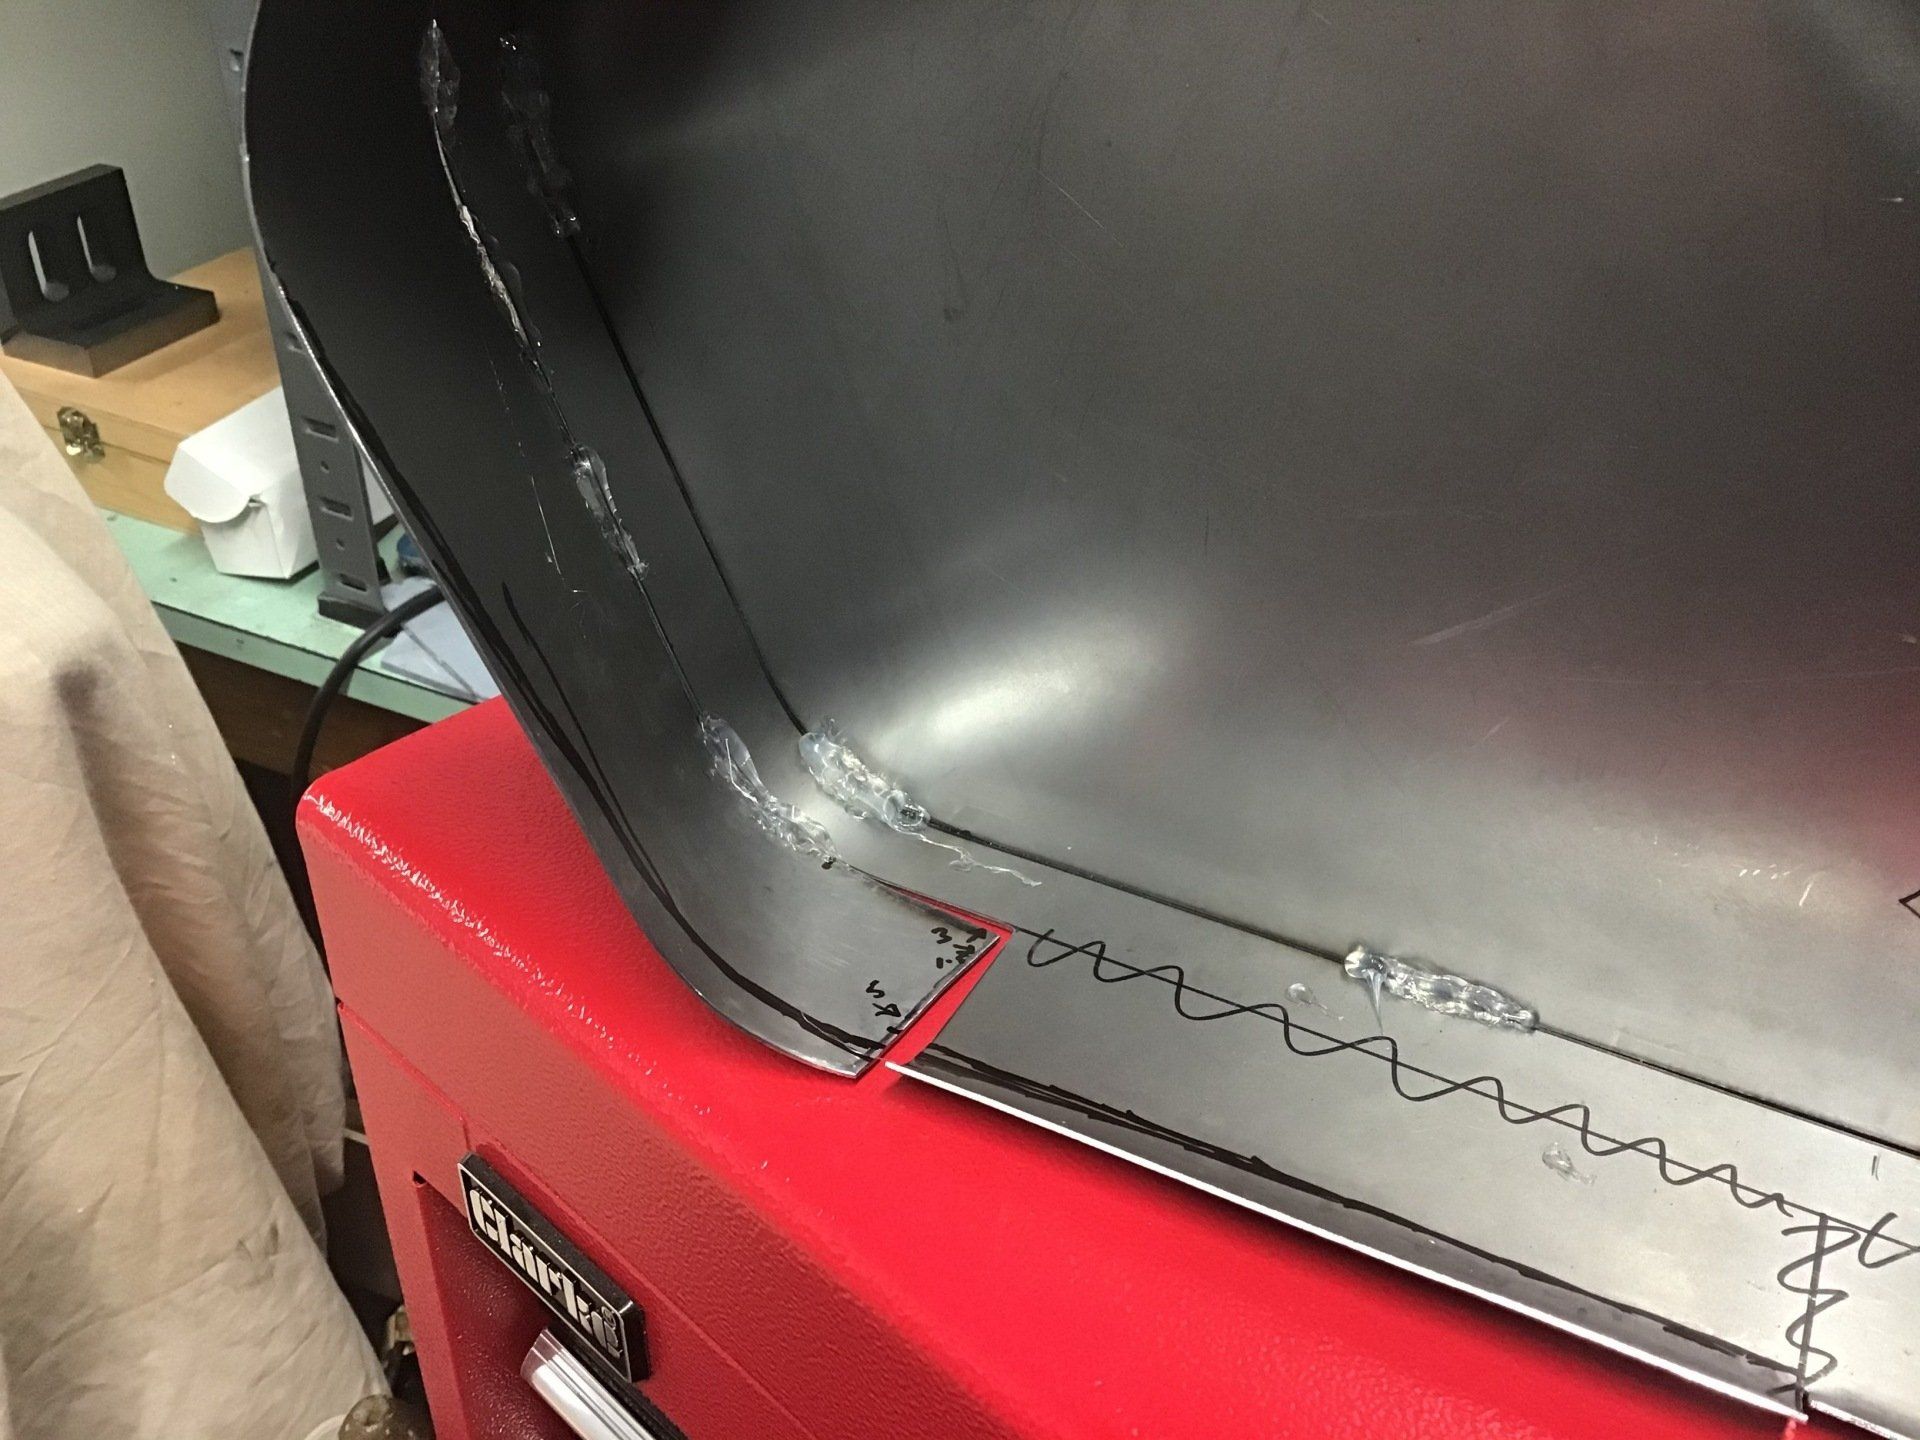
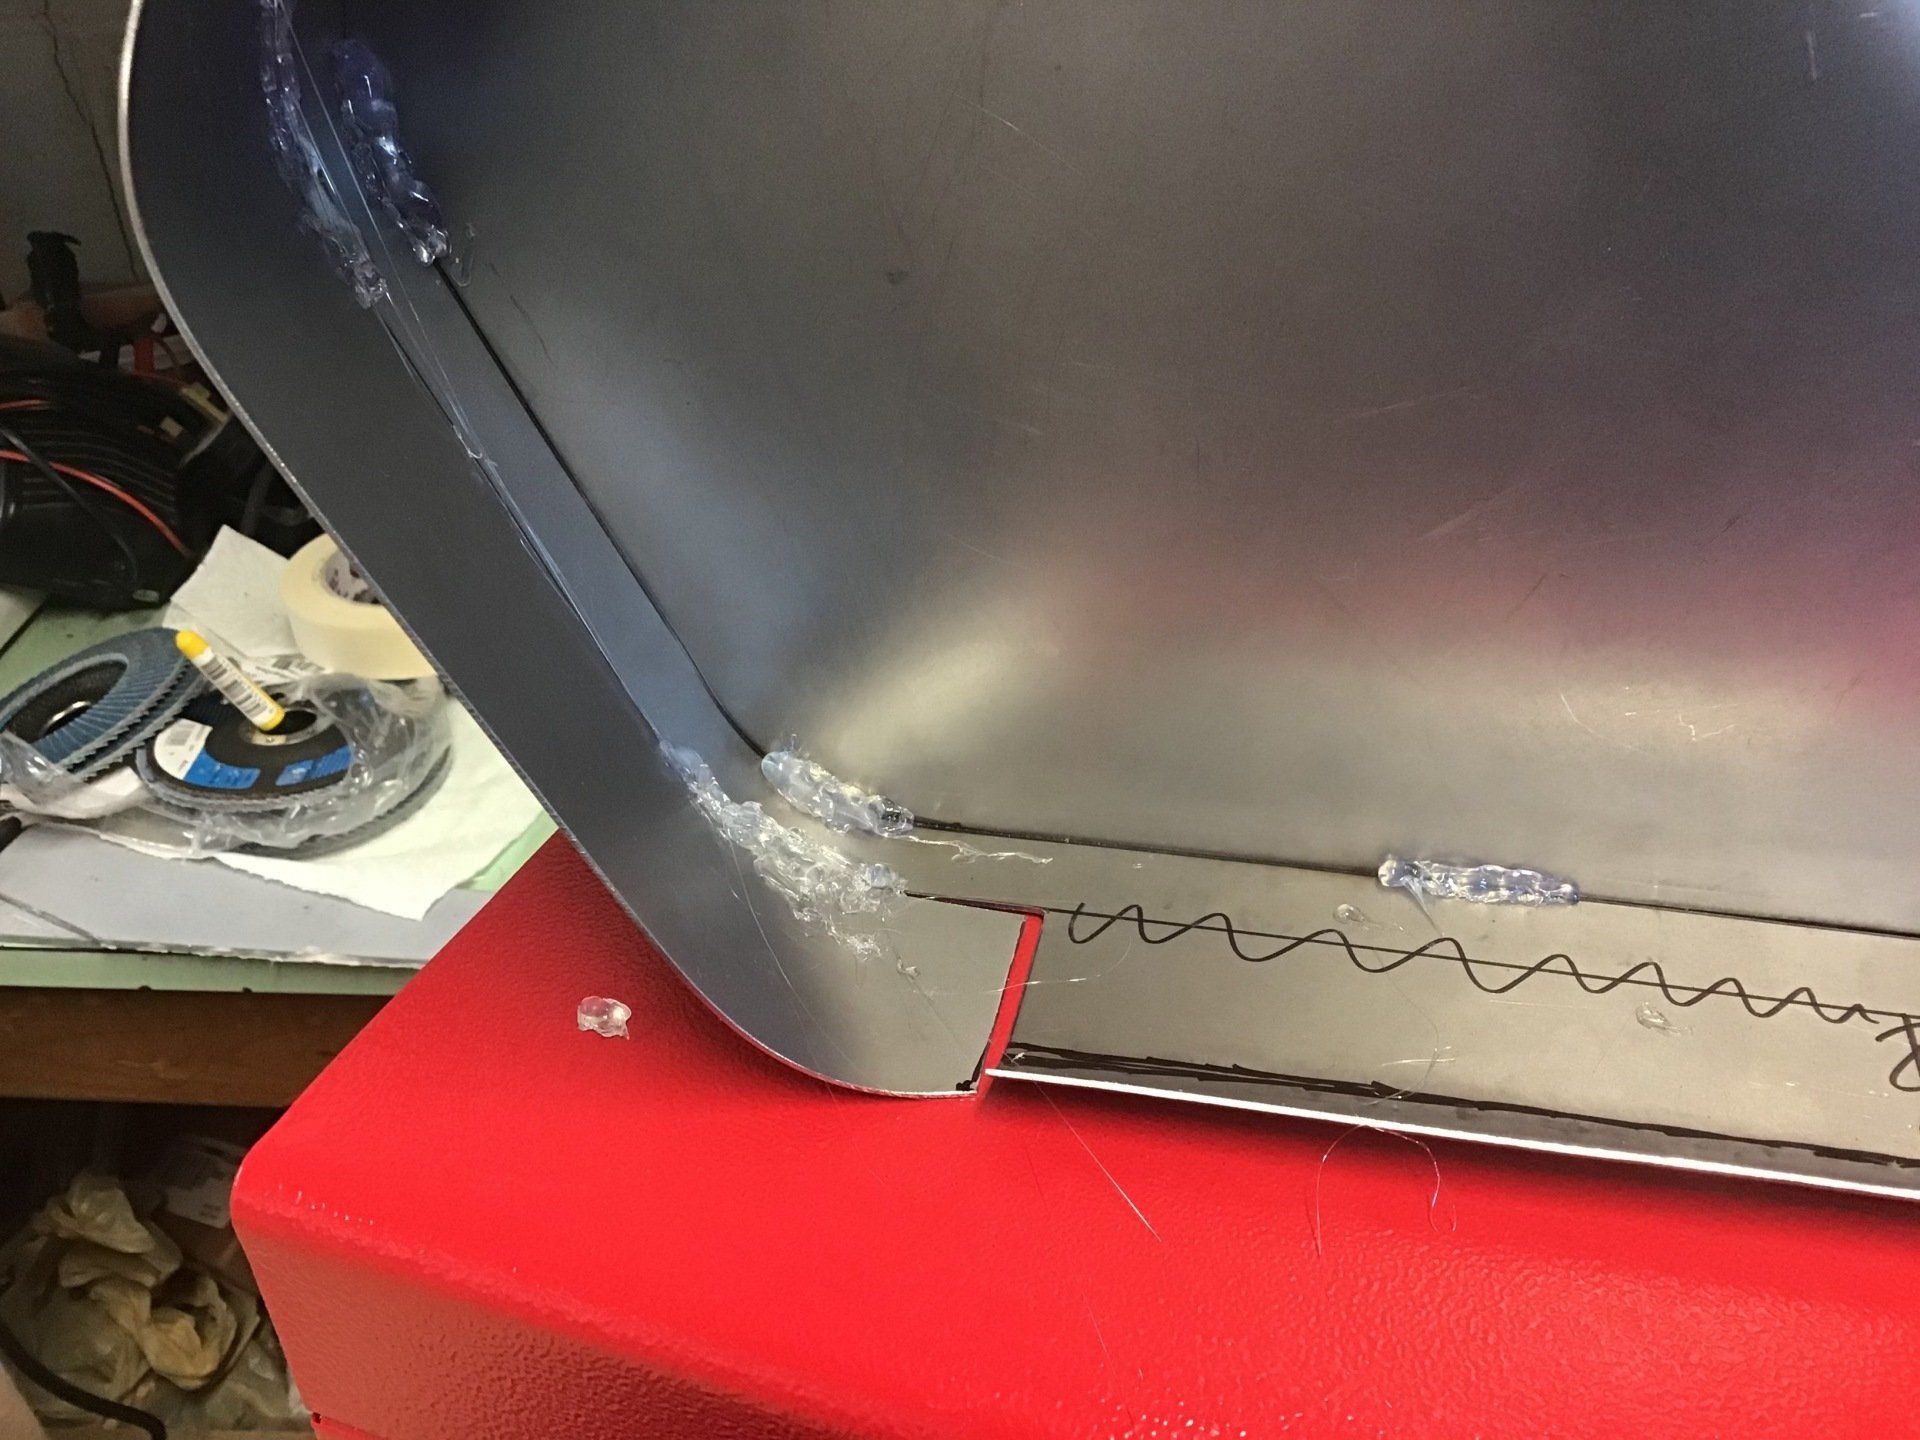
However, it doesn’t look quite as promising top and bottom! I can’t really tell how well the top edge fits until the top of the tank is fitted. I can say that the glue gun (although a little messy) does a good job at holding bits together so that I can see how they fit.
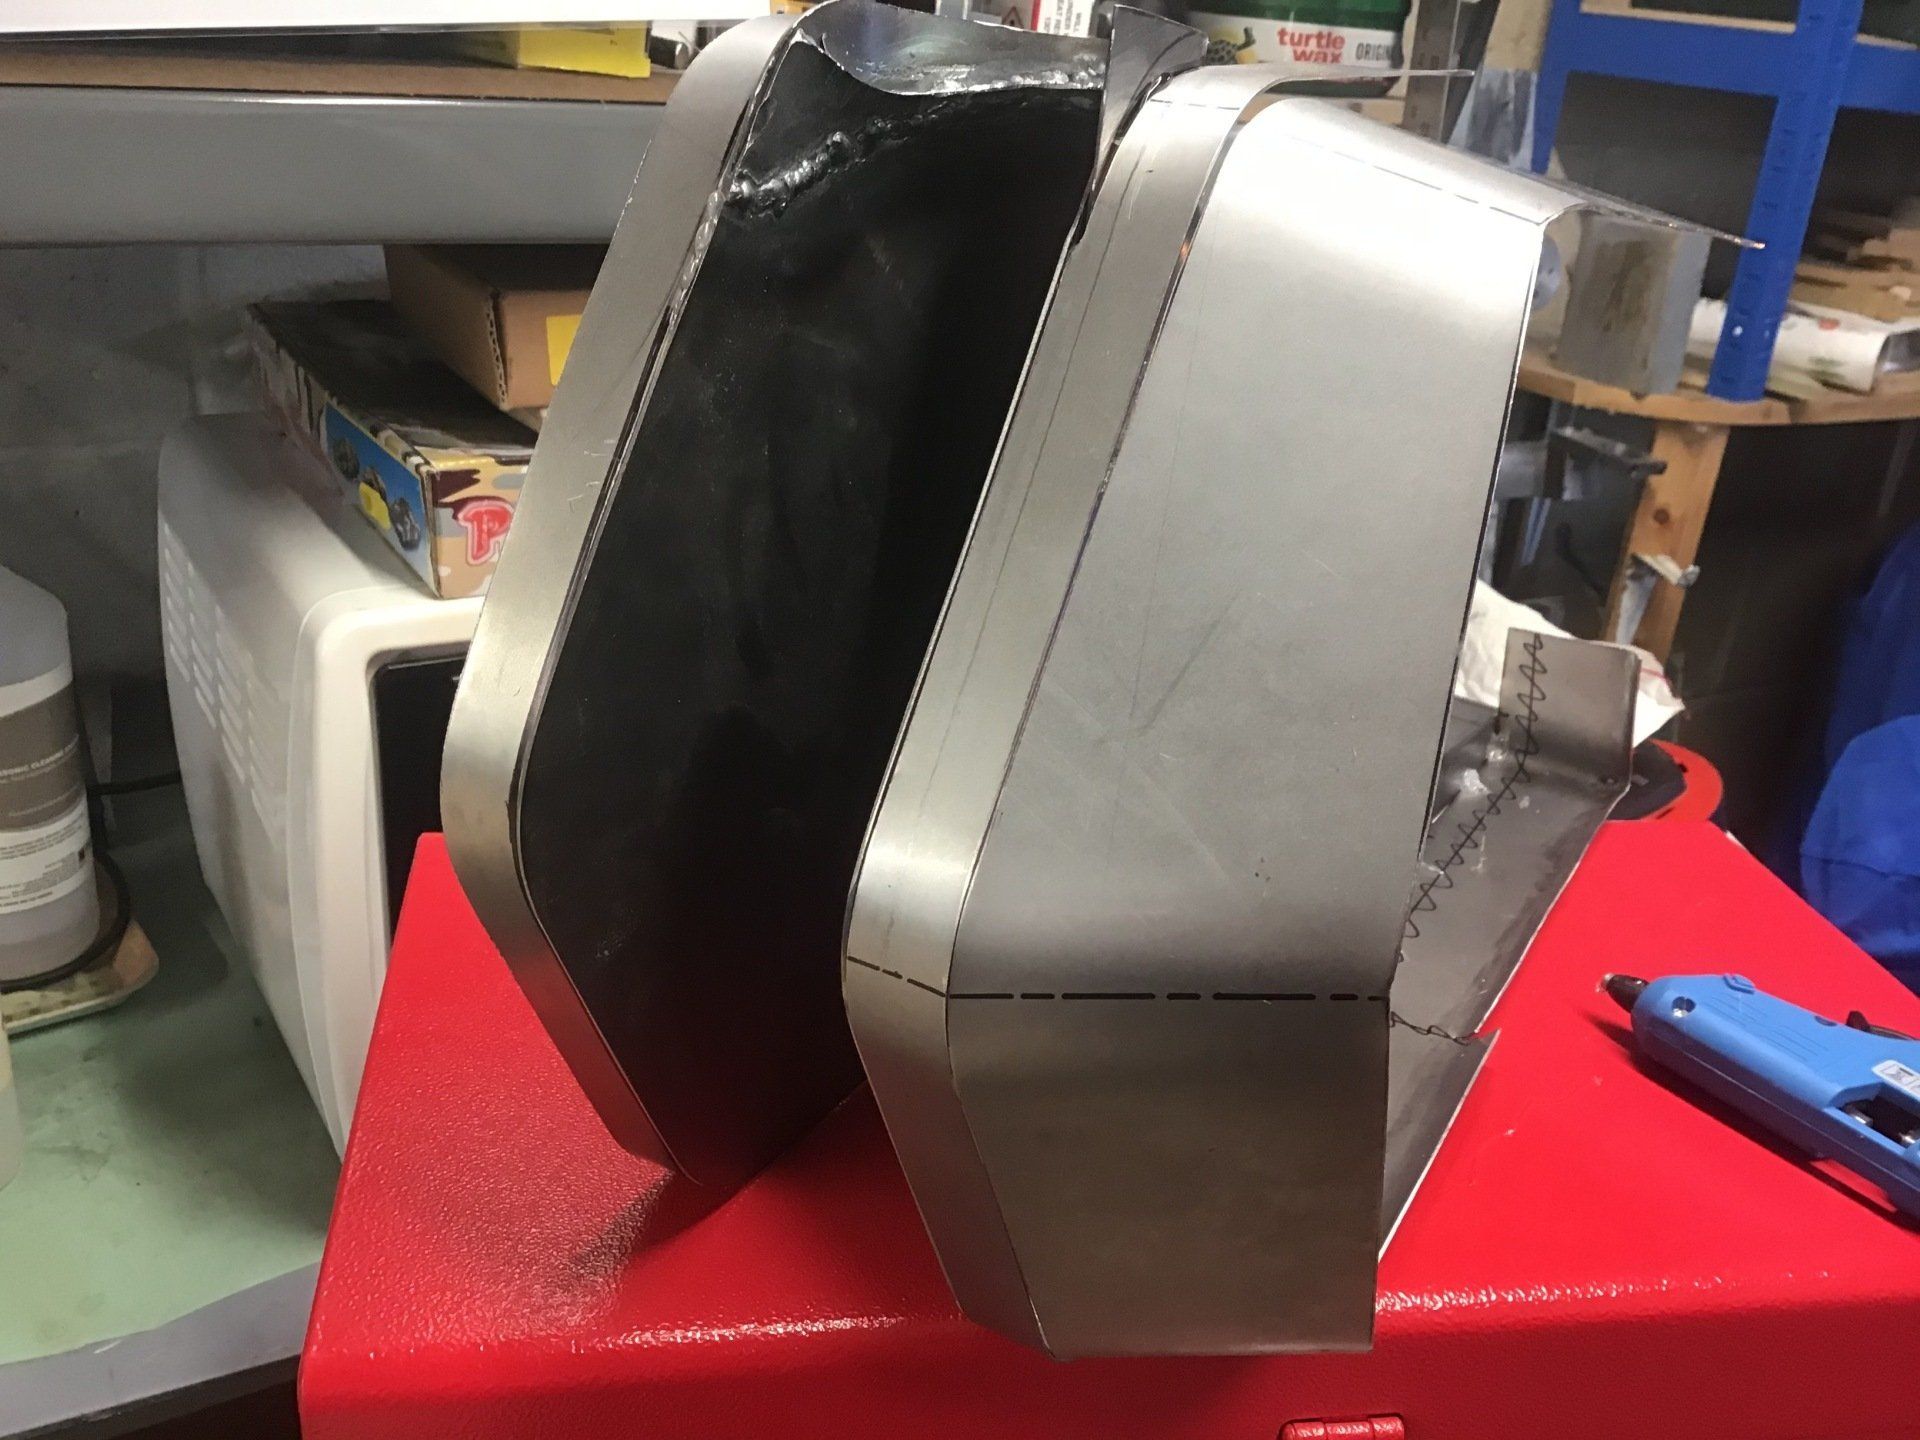
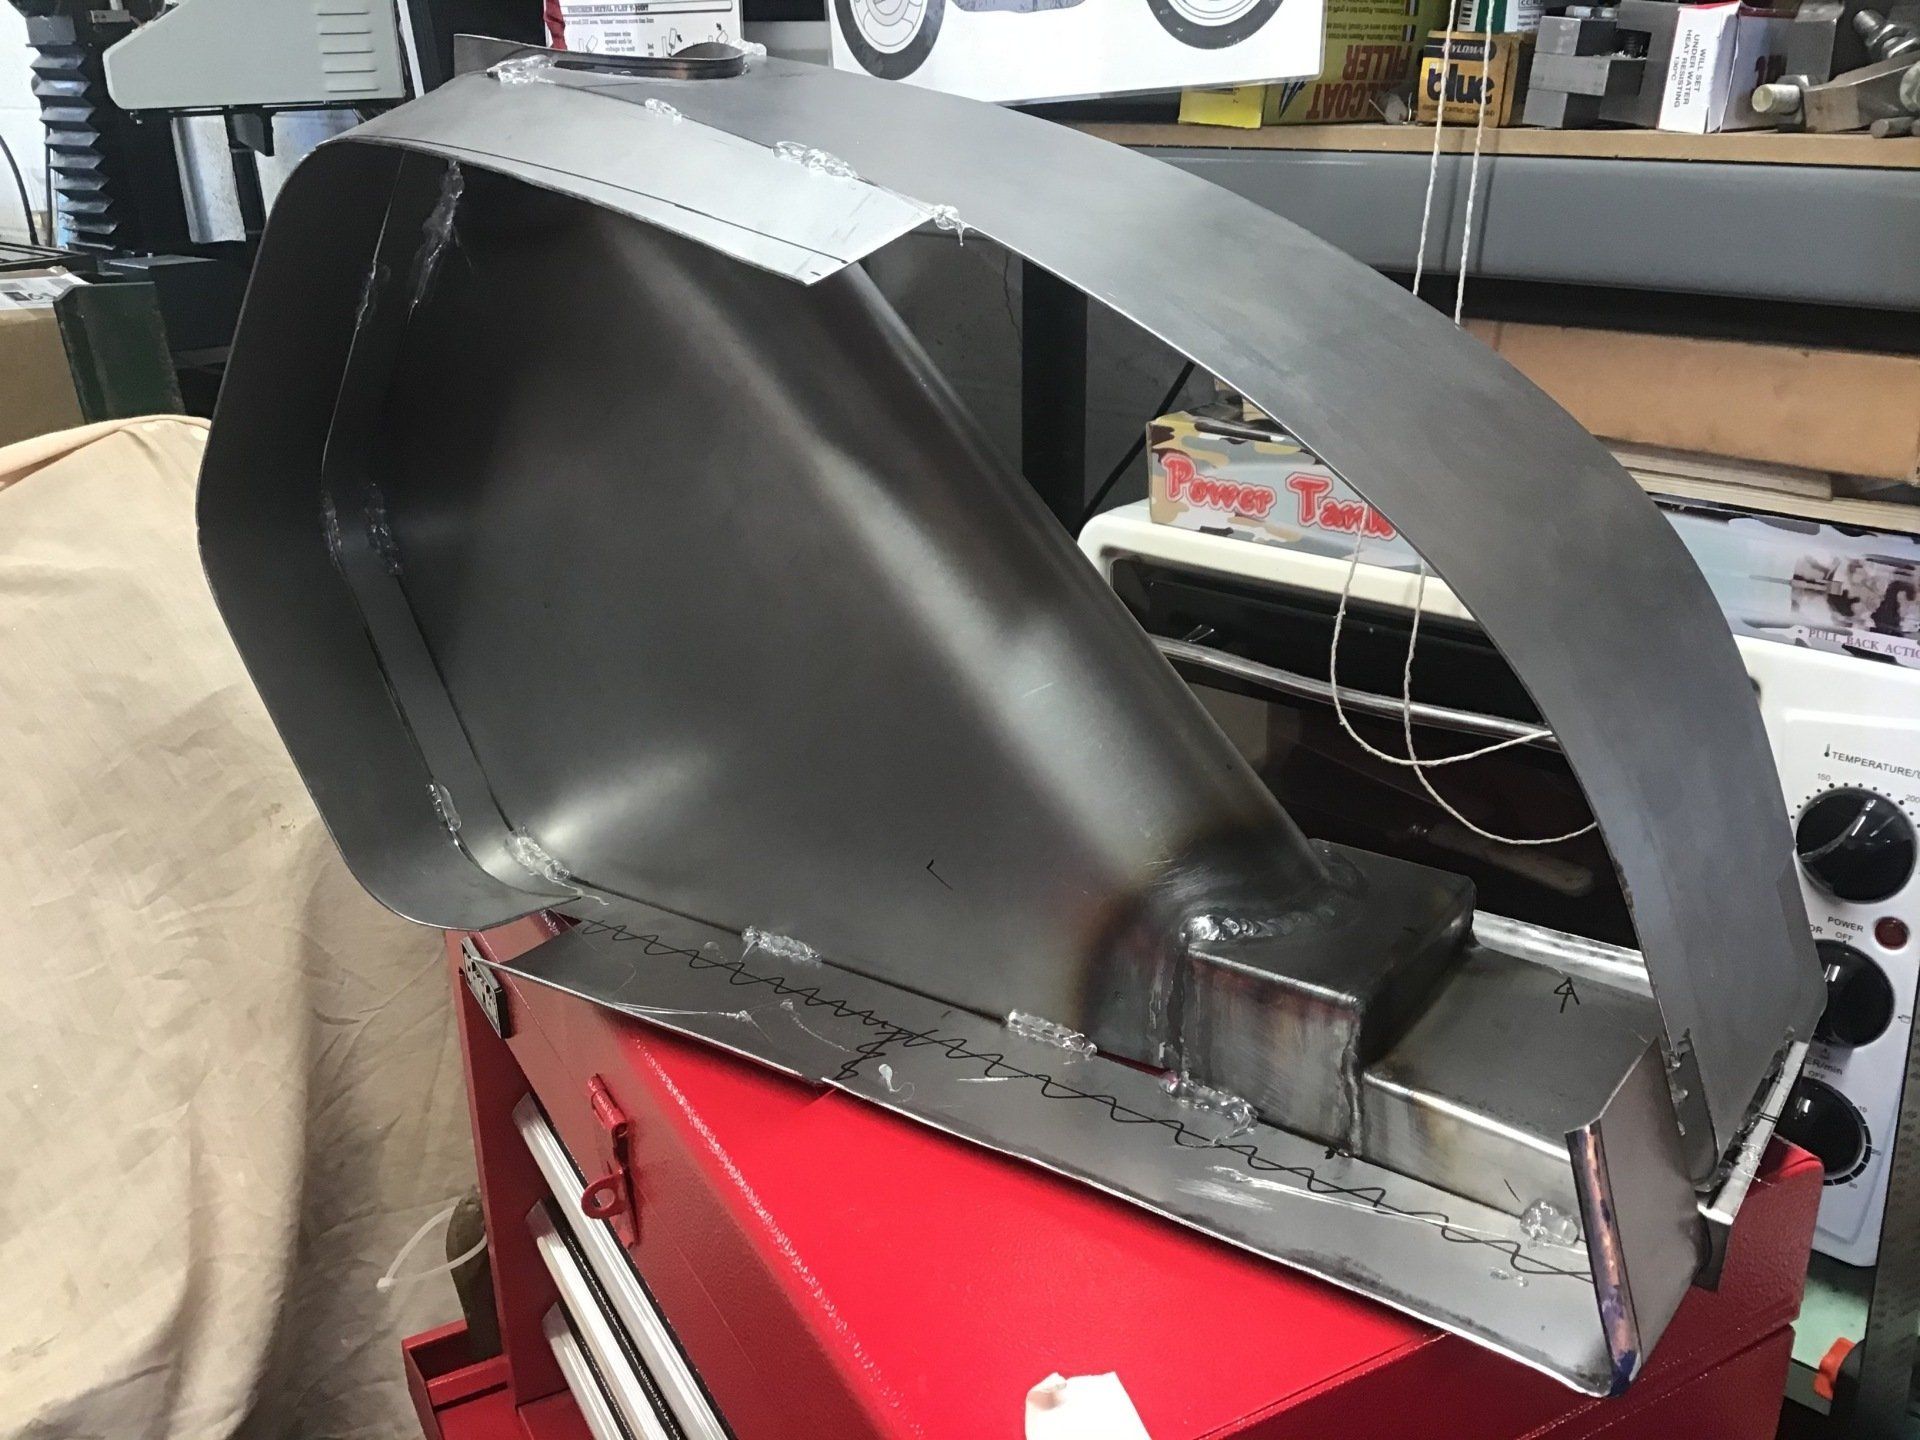
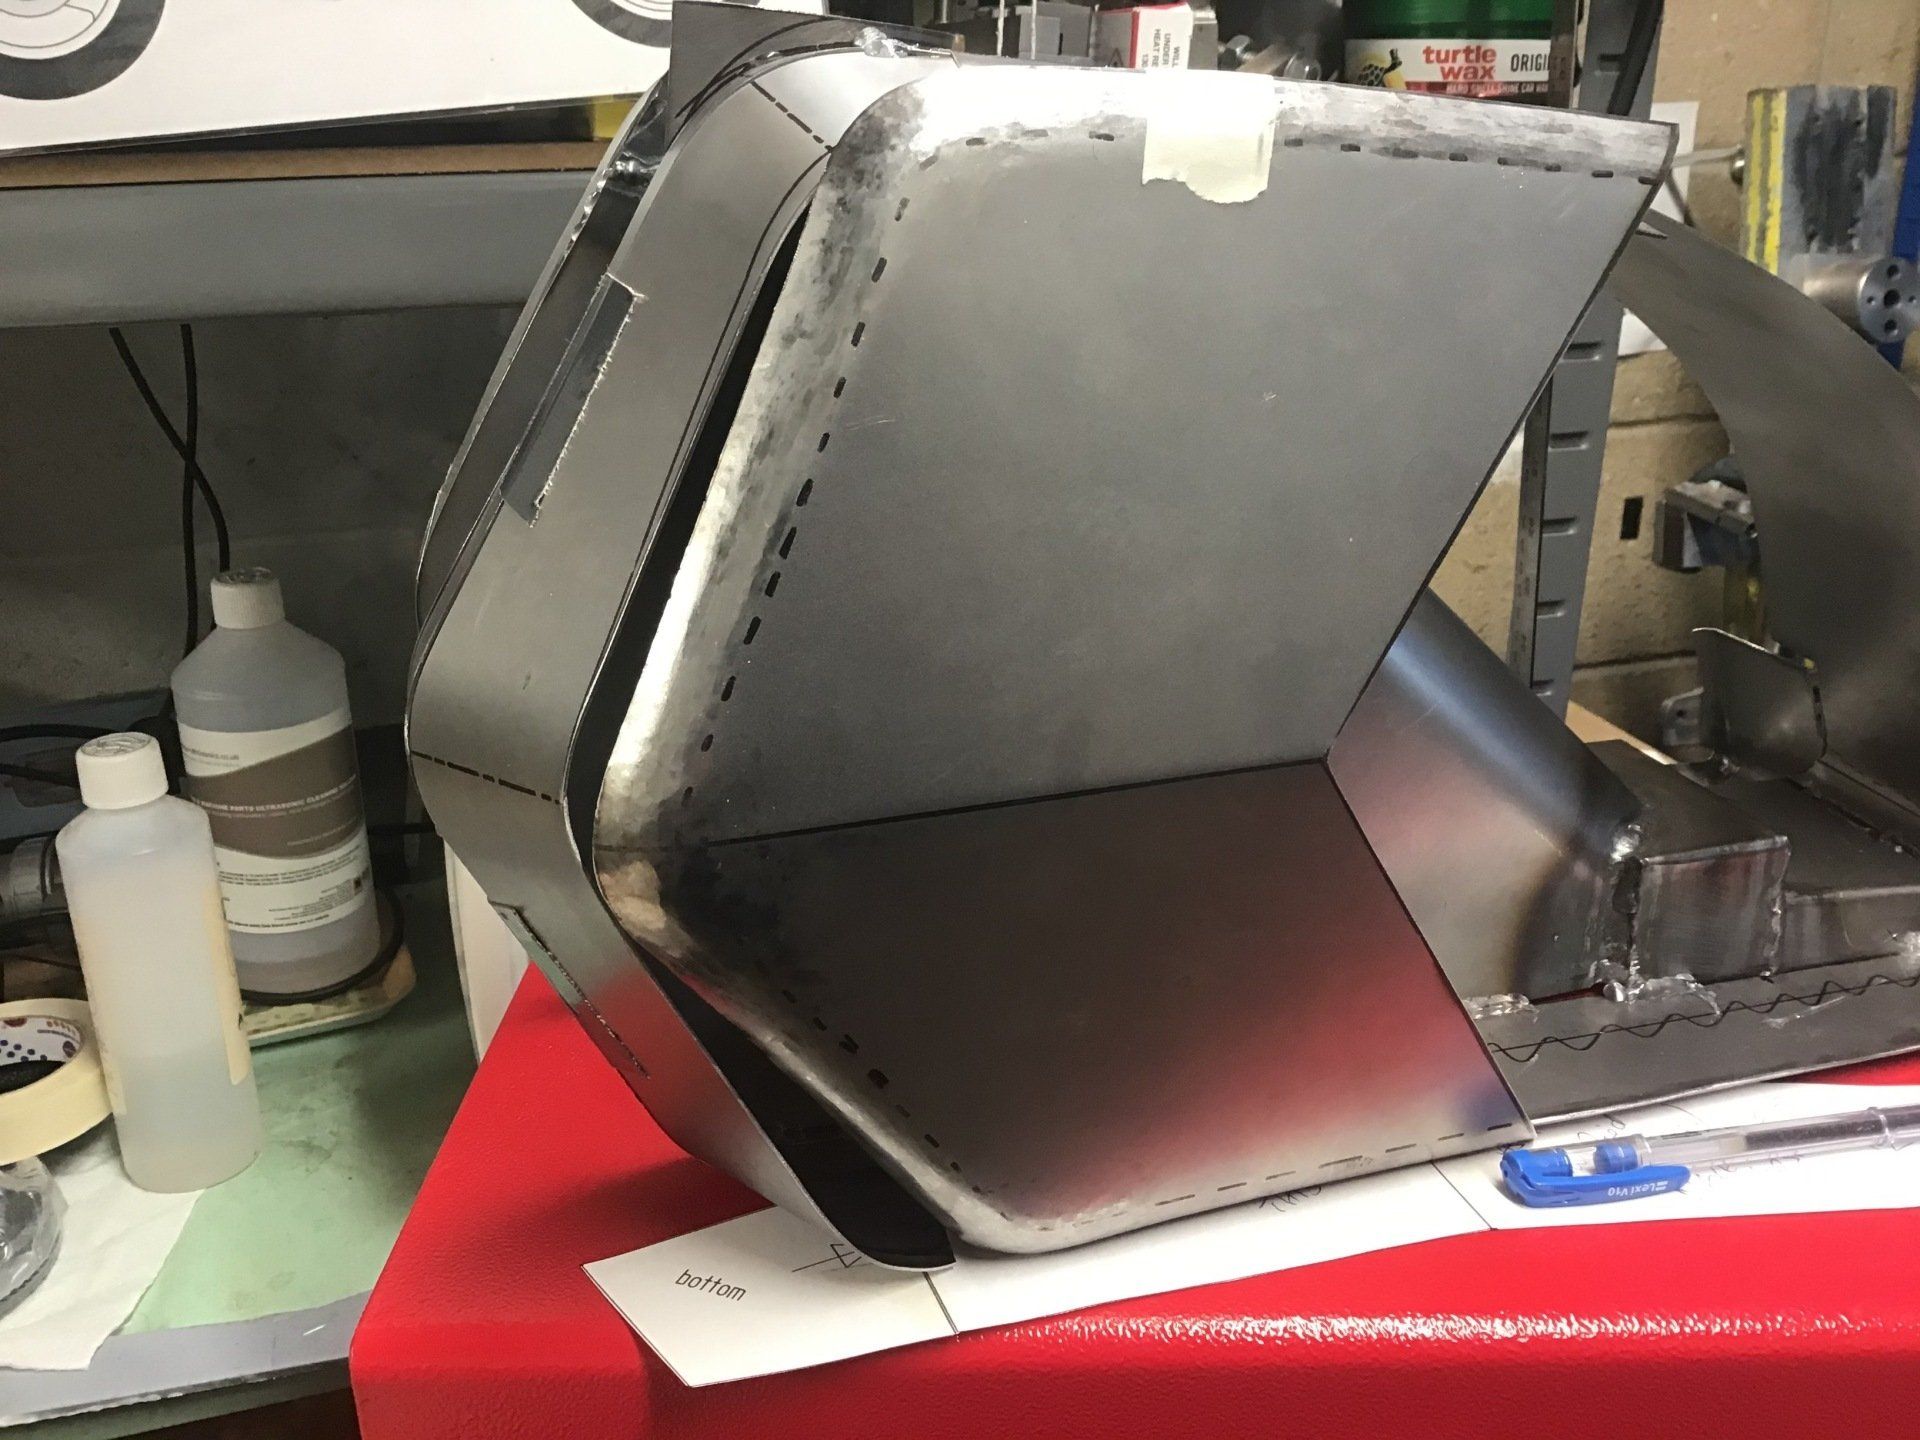
In short order, with the aid of the glue gun, the top of the tank is in place.
There’s this area at the back which will need attention, but that can wait until after I’ve sorted the sidey bits.
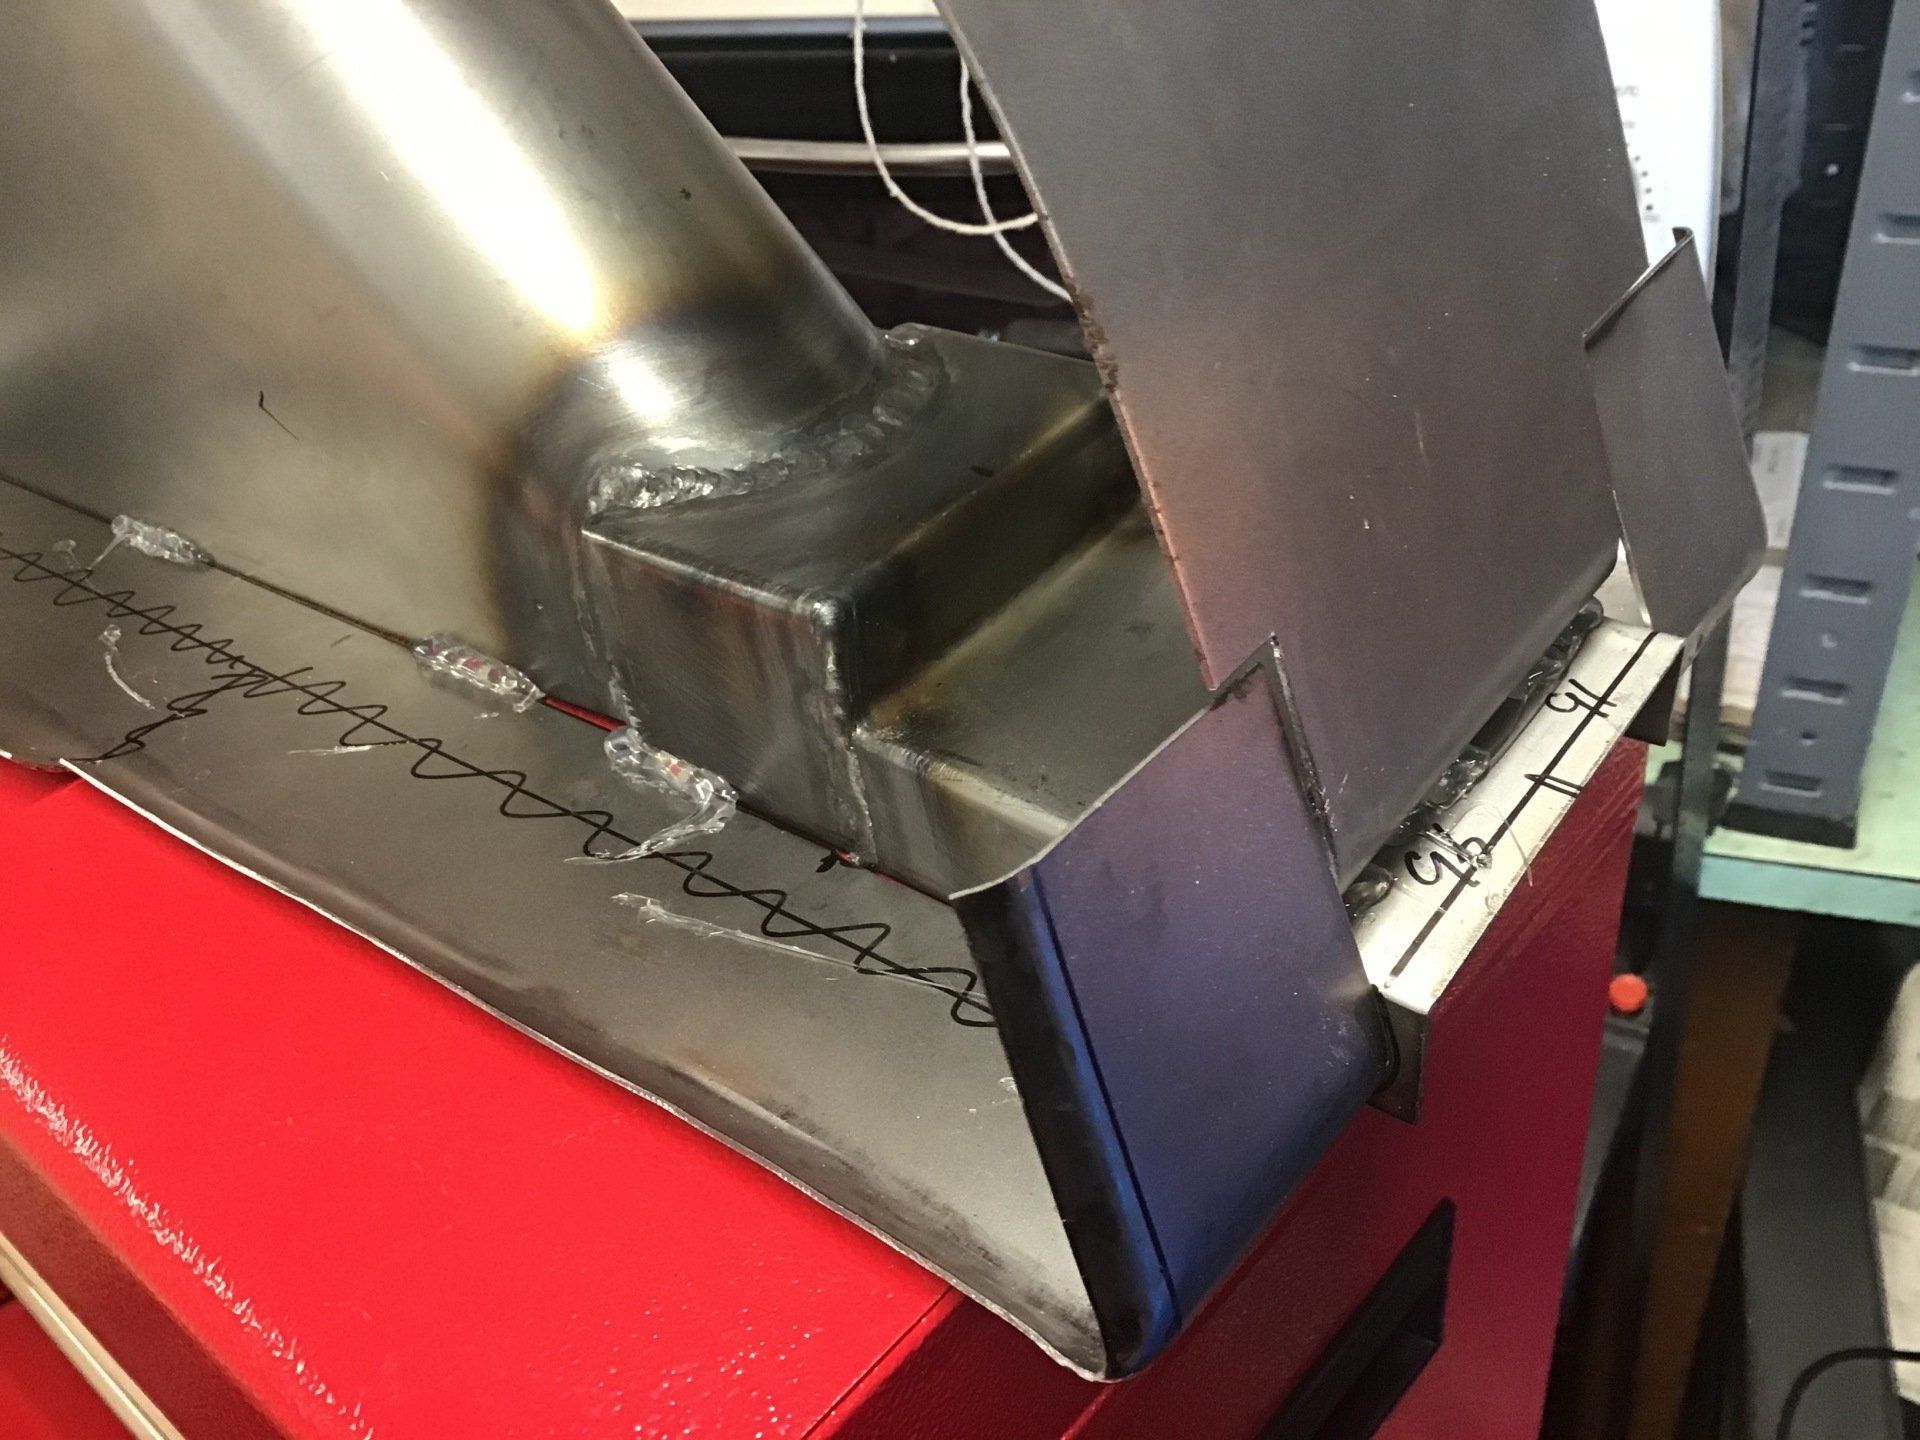
The bottom edge is a problem mainly because I’ve got the centre line of the bottom radius at the wrong angle.
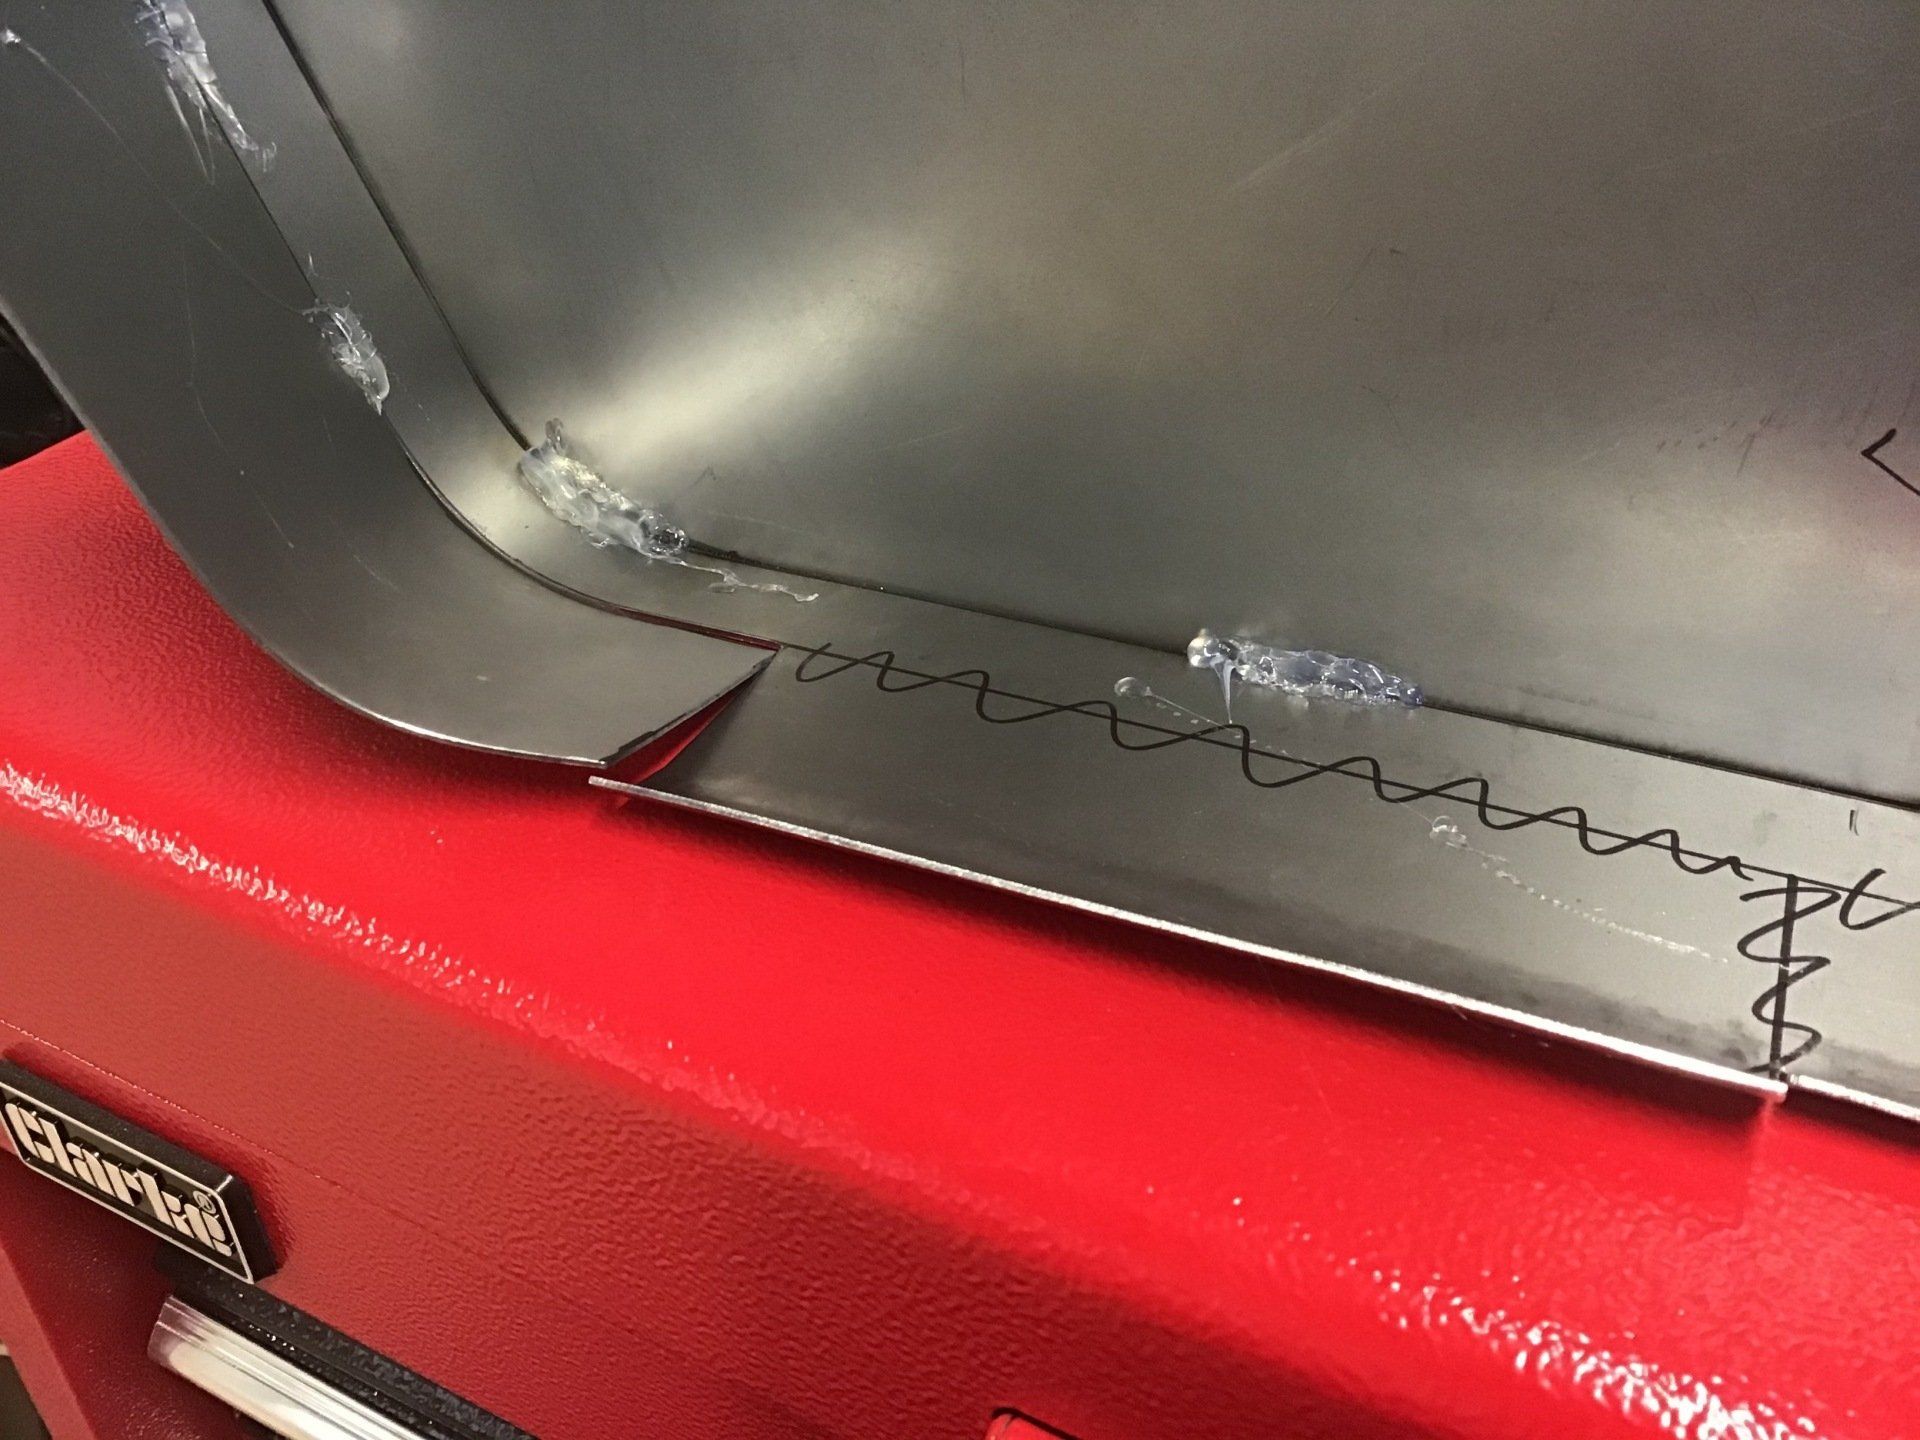
With a little manipulation, though, the top edge follows the tank curve OK.
I’ve changed the angle of the bottom radius so the bottom edge does now sit flat, but it’s too short.
The other problem is that the side I made last week doesn’t fit. Do I make a new side? Or a new inner edge? Both, actually. The current inner edge is too wide and would make the finished tank too wide, so that needs to be modified. Once that’s done, I’ll then attempt to make a new side to fit.
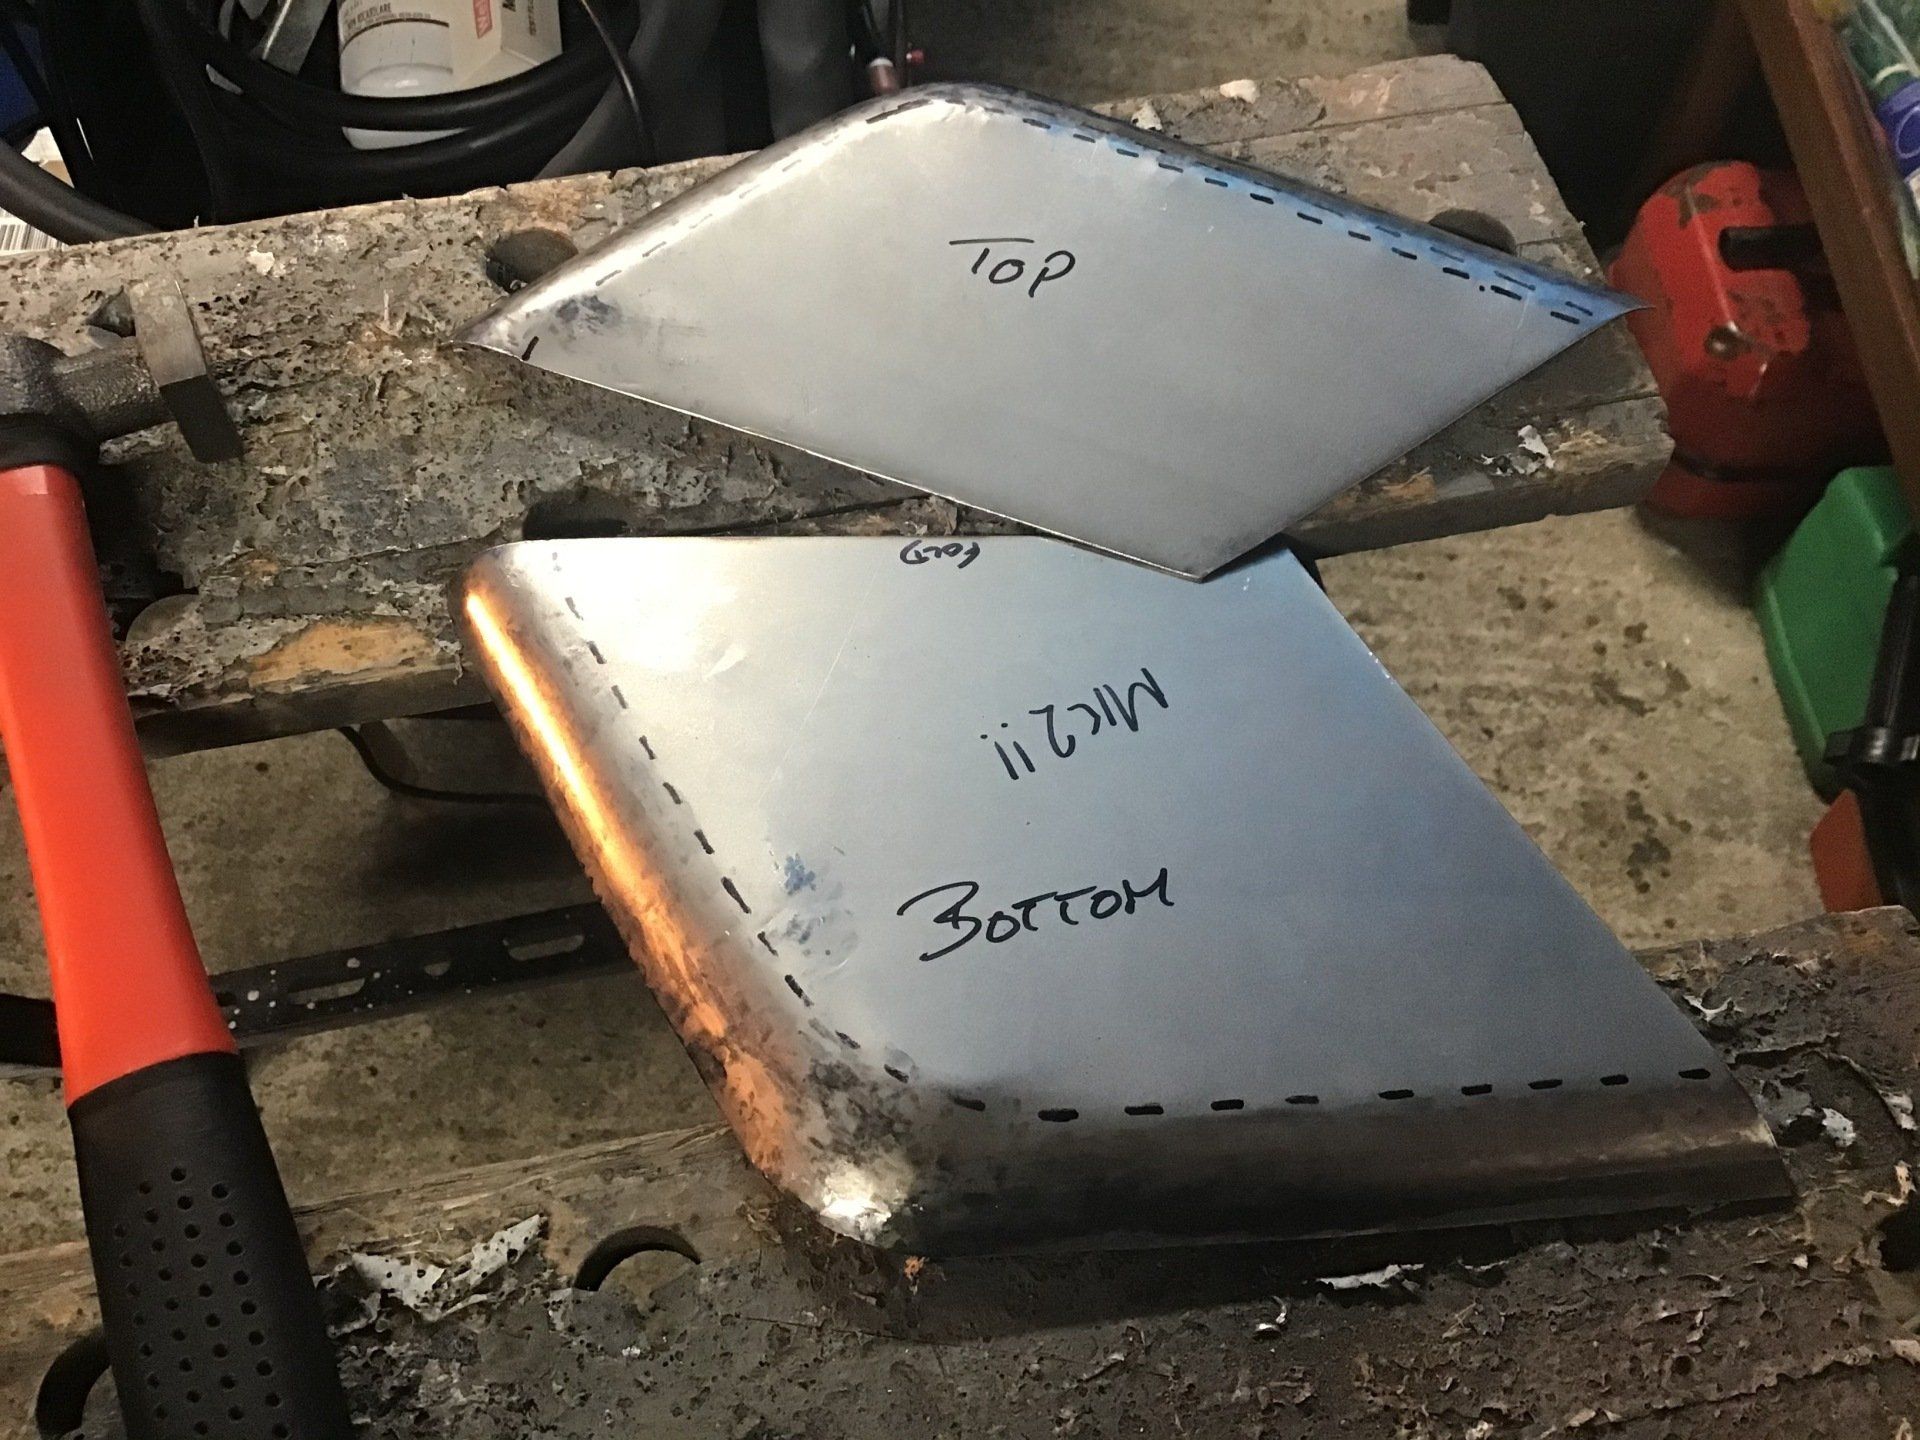
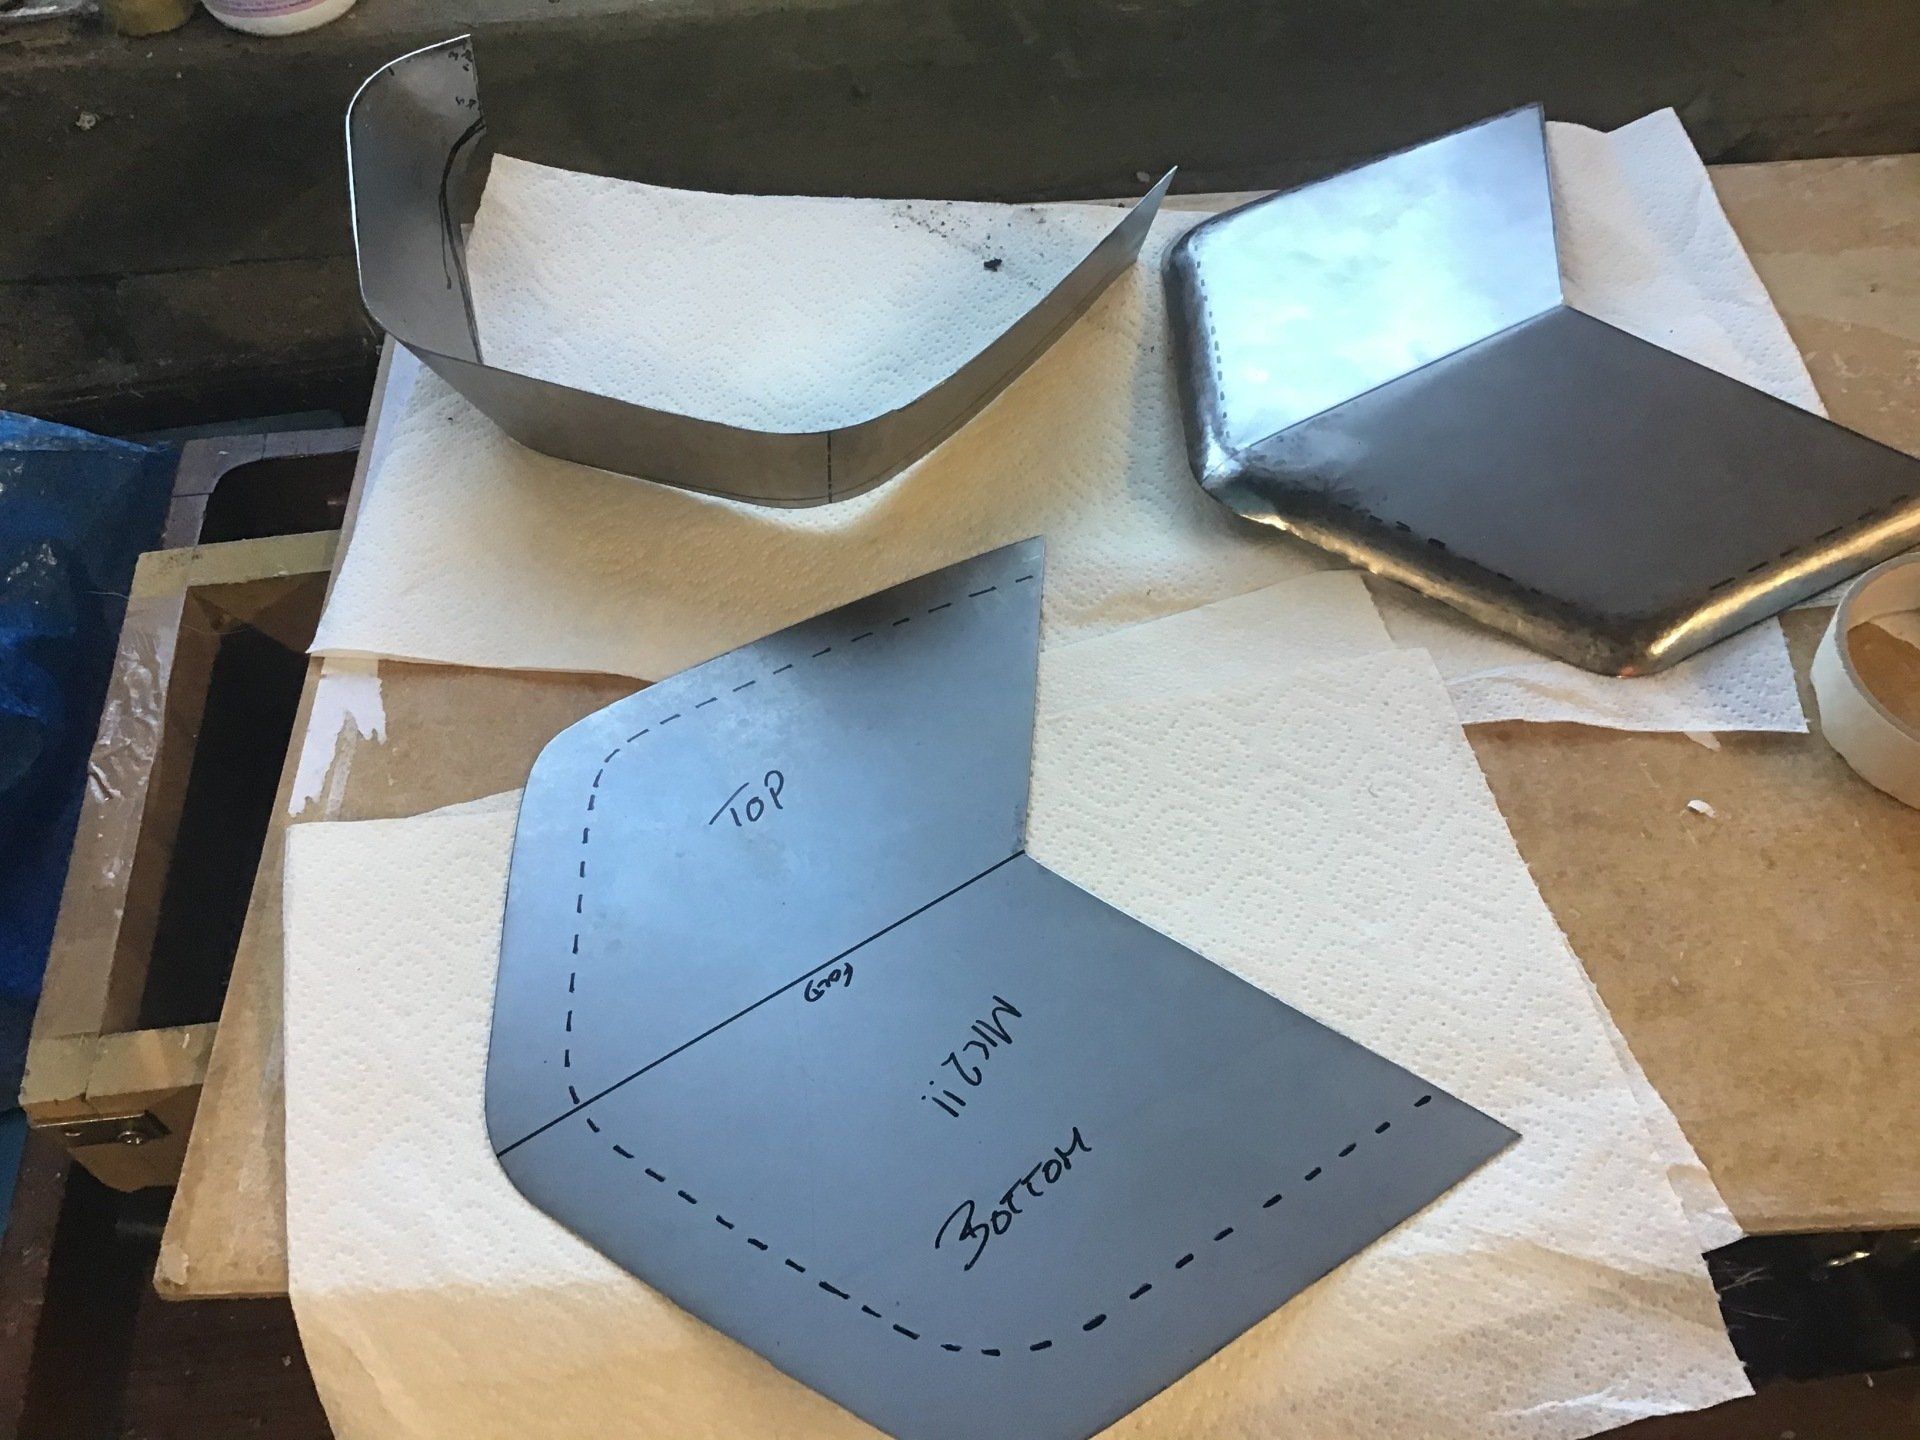
The start of the Mk2 version of the inner side.
This went fine - apart from the fact that I still made the bottom edge too short. B*llocks! Never mind, I’ll sort it out at a later date. I’m much more concerned about whether I can actually make a tank side to fit it.
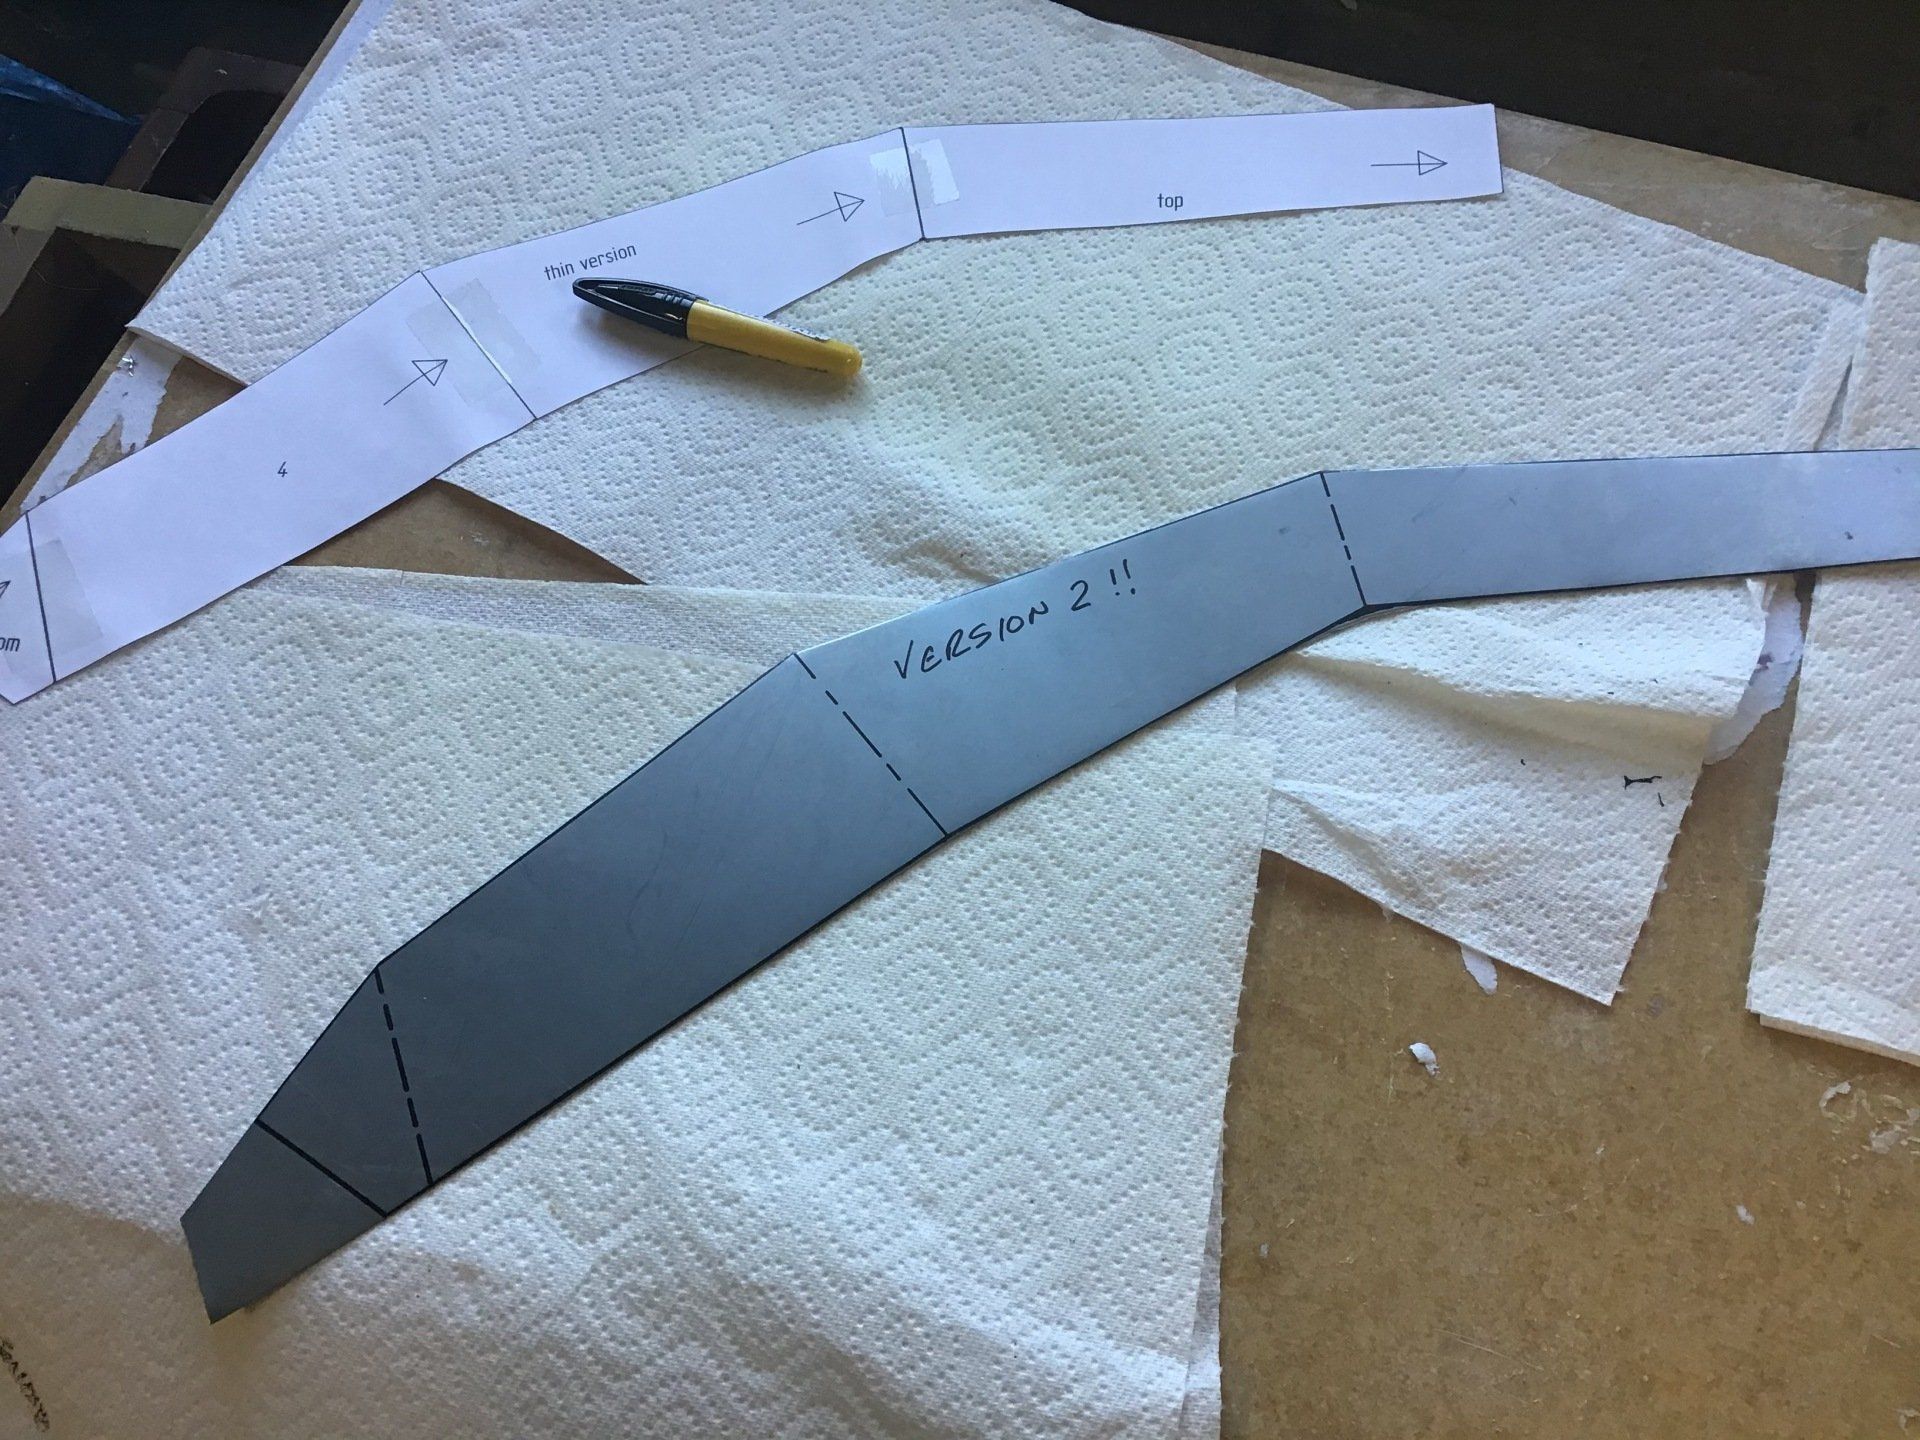
Rough paper template is transformed into…
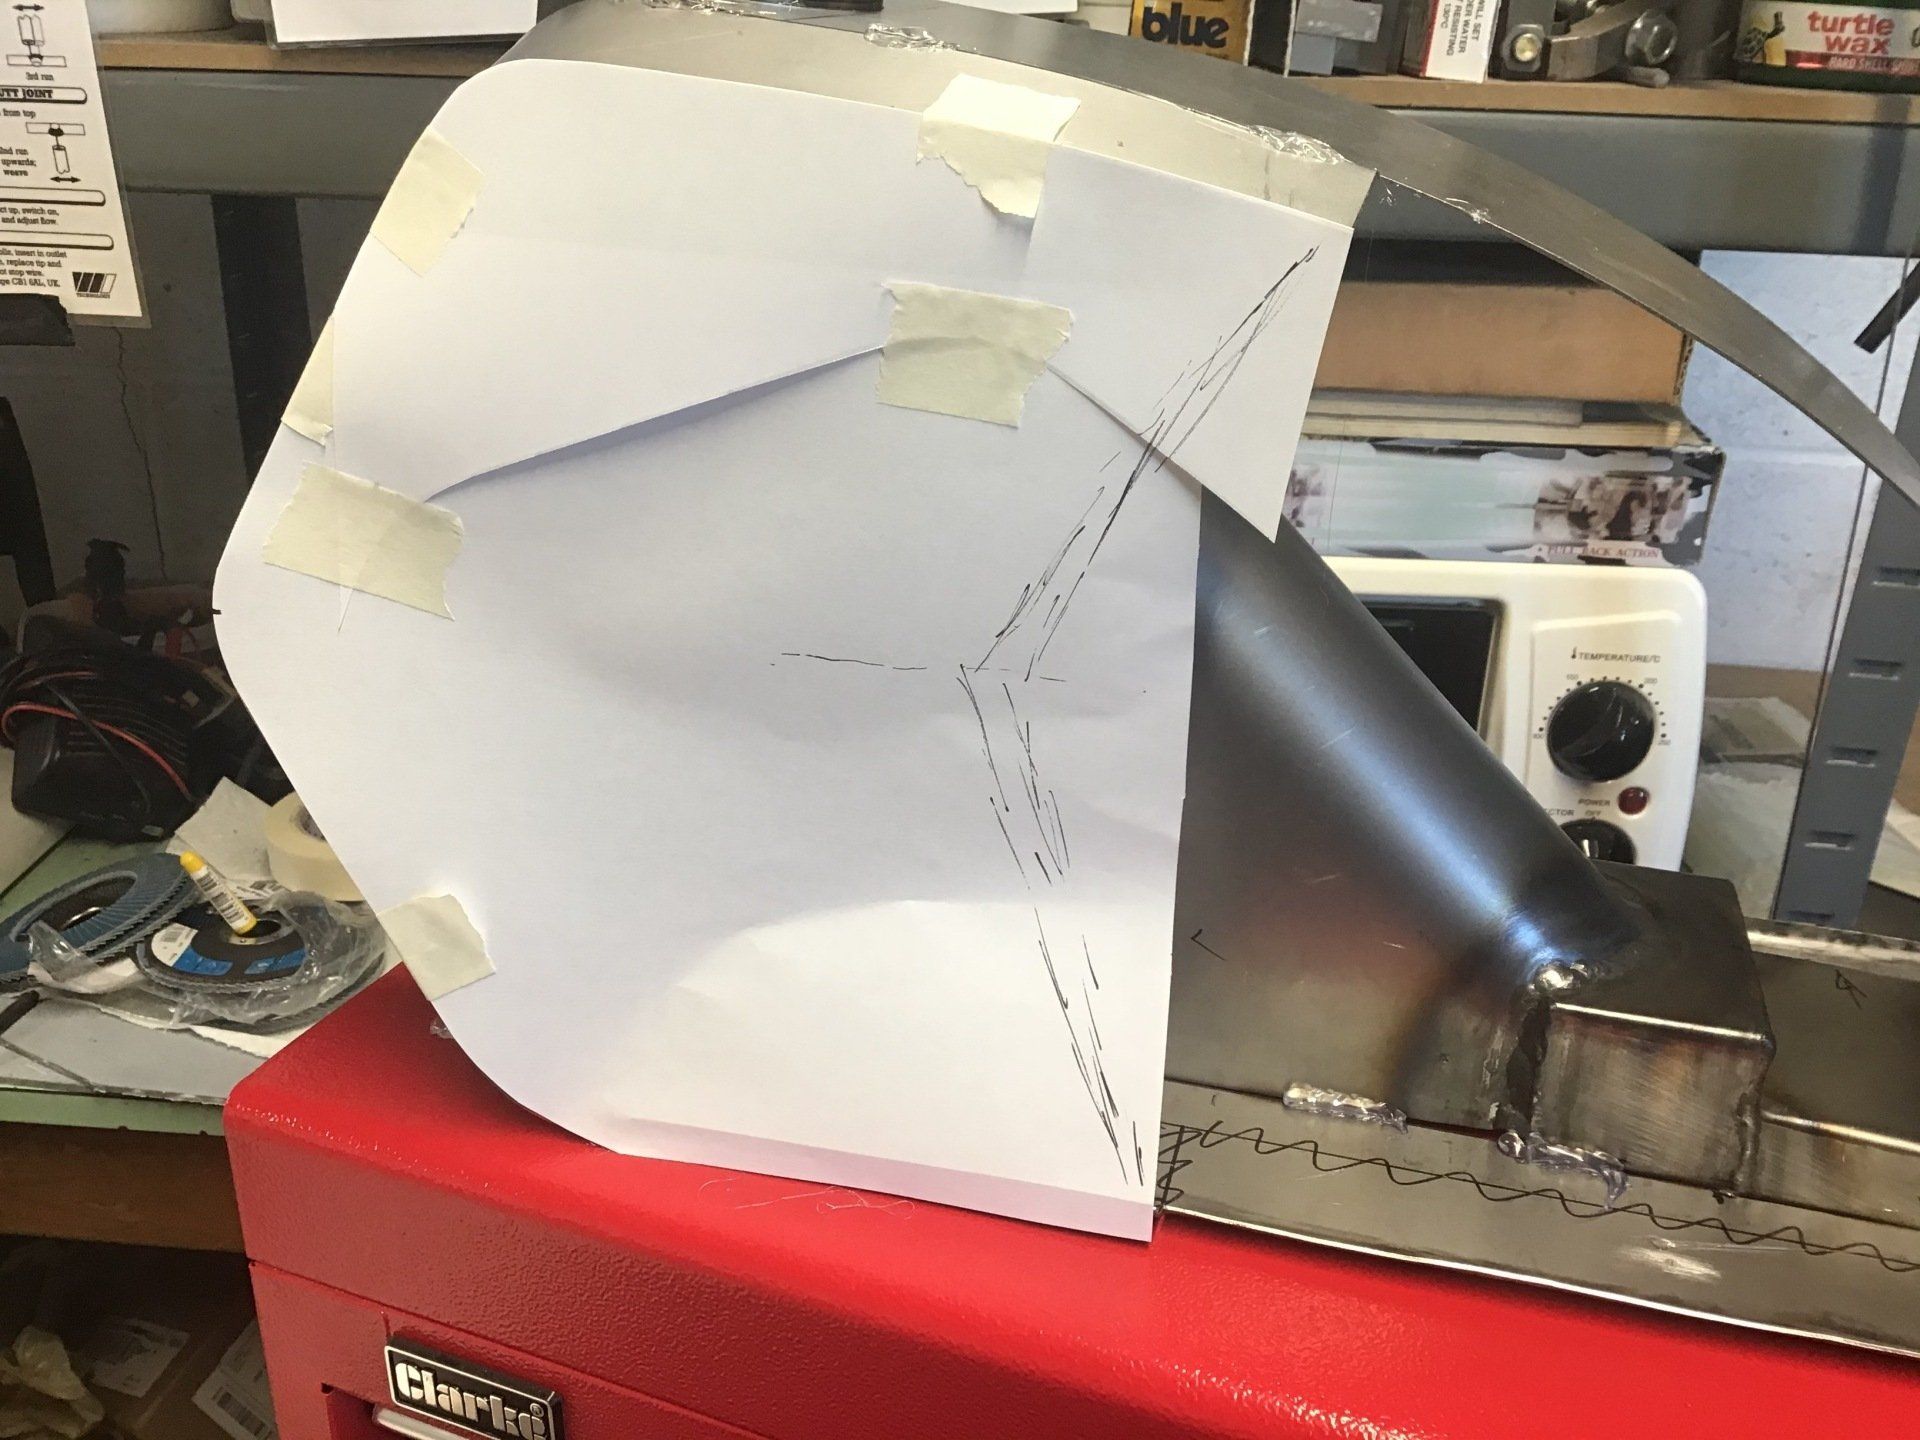
Shiny steel blank. Notice pile of scrap growing in the background! They’ll come in useful for welding practise.
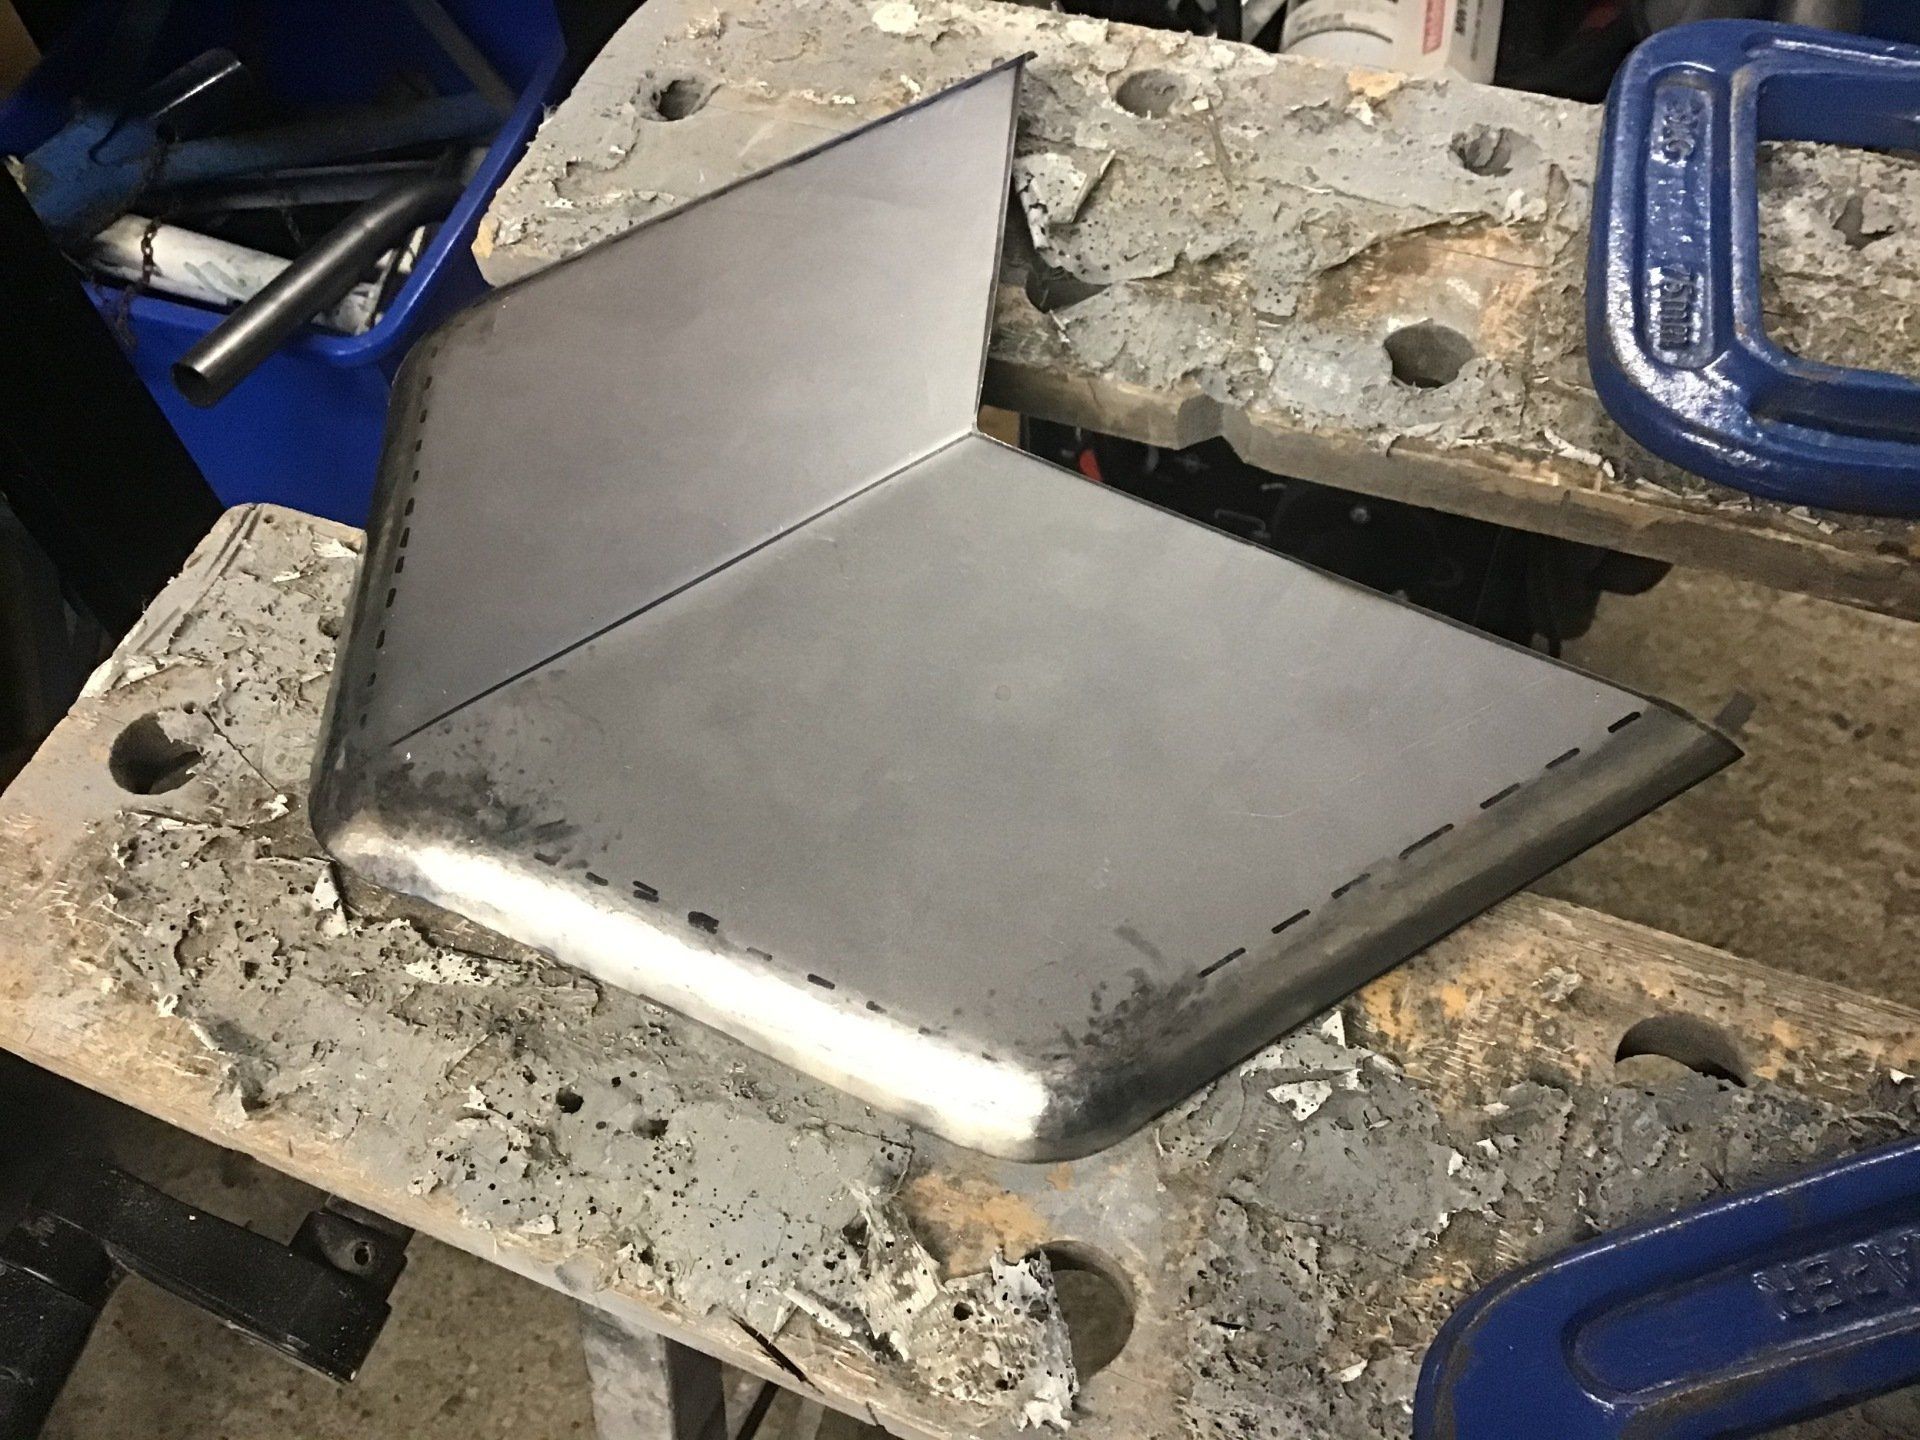
There it is, the Mk2 version. What I can tell you about this is that it still doesn’t bloody well fit!!!
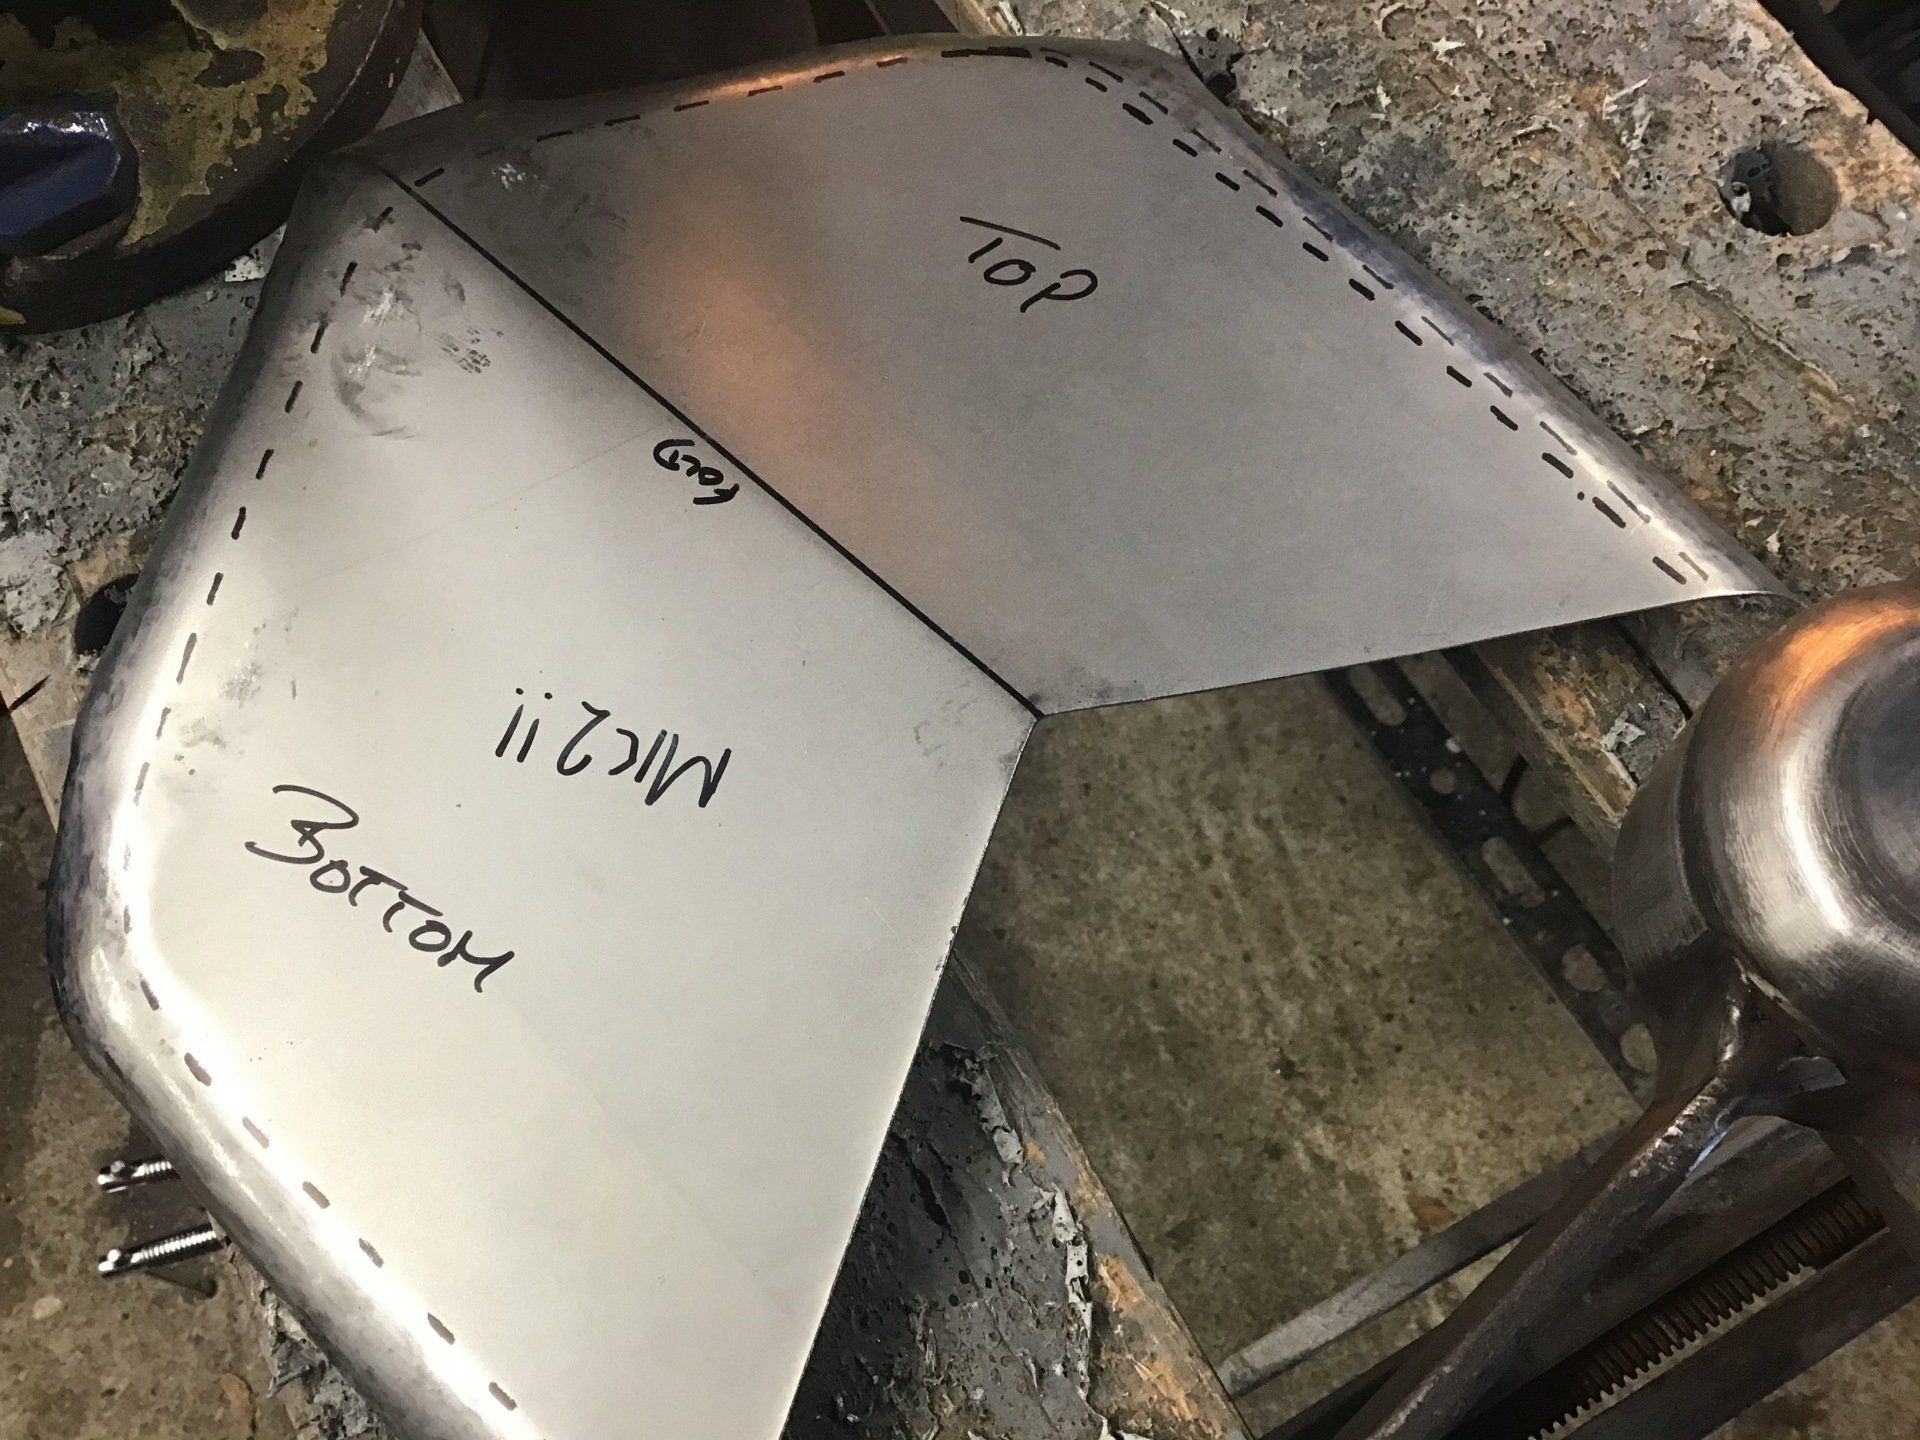
In a it of temper and frustration, I cut the thing in half. I’m hoping that will make my life easier. Time will tell…