
Monday Articles February 2020
After last week's 3D printed prototype air filter mount, this week is much lower tech - I've had to resort to cardboard and sticky tape. I'm starting on the air boot needed to join air filter / air box to carb. It's not a convenient straight line, so getting a handle on exactly what is required is a little difficult, particularly as my 3D visualisation skills are poor. Cardboard prototypes are a fairly quick way to start getting an idea of the size and shape of the bits required - although I had to eat a lot of rice snaps (Lidl's version of rice crispies) to get an empty box to use.

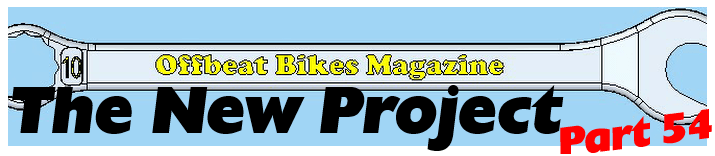
Here's the start, using a cardboard model to work out just how much space there is between air box and rear shock.
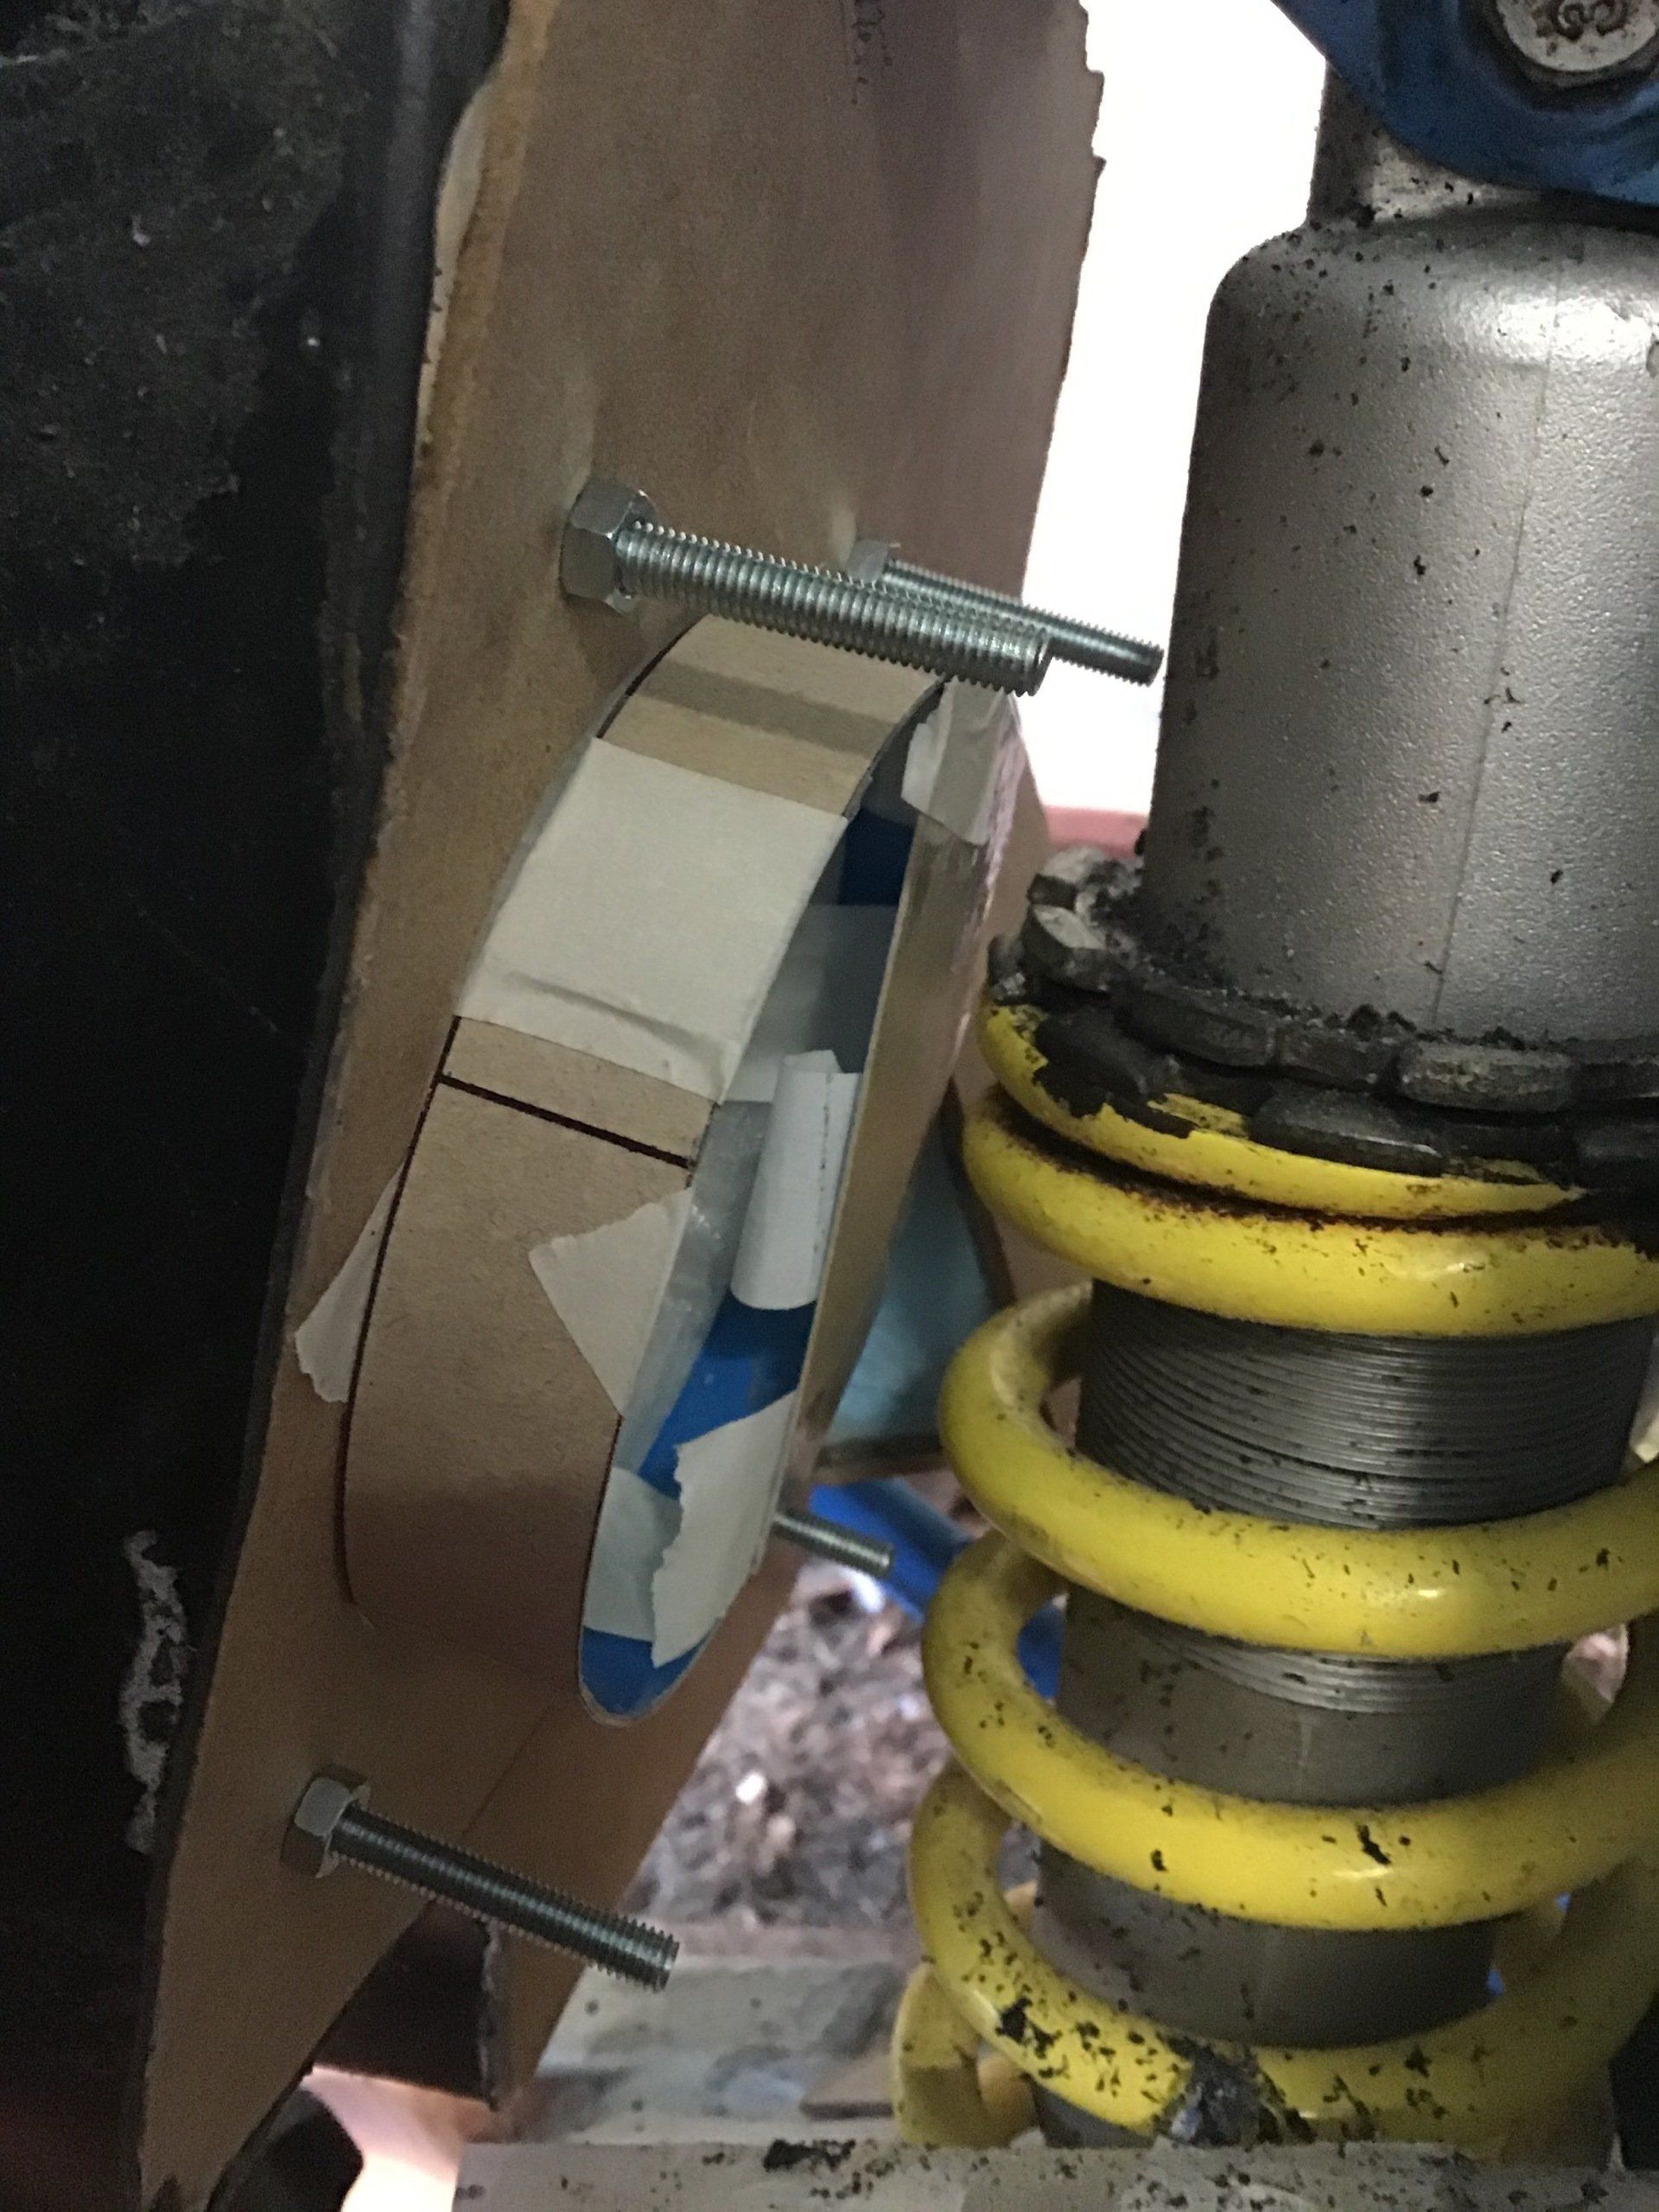
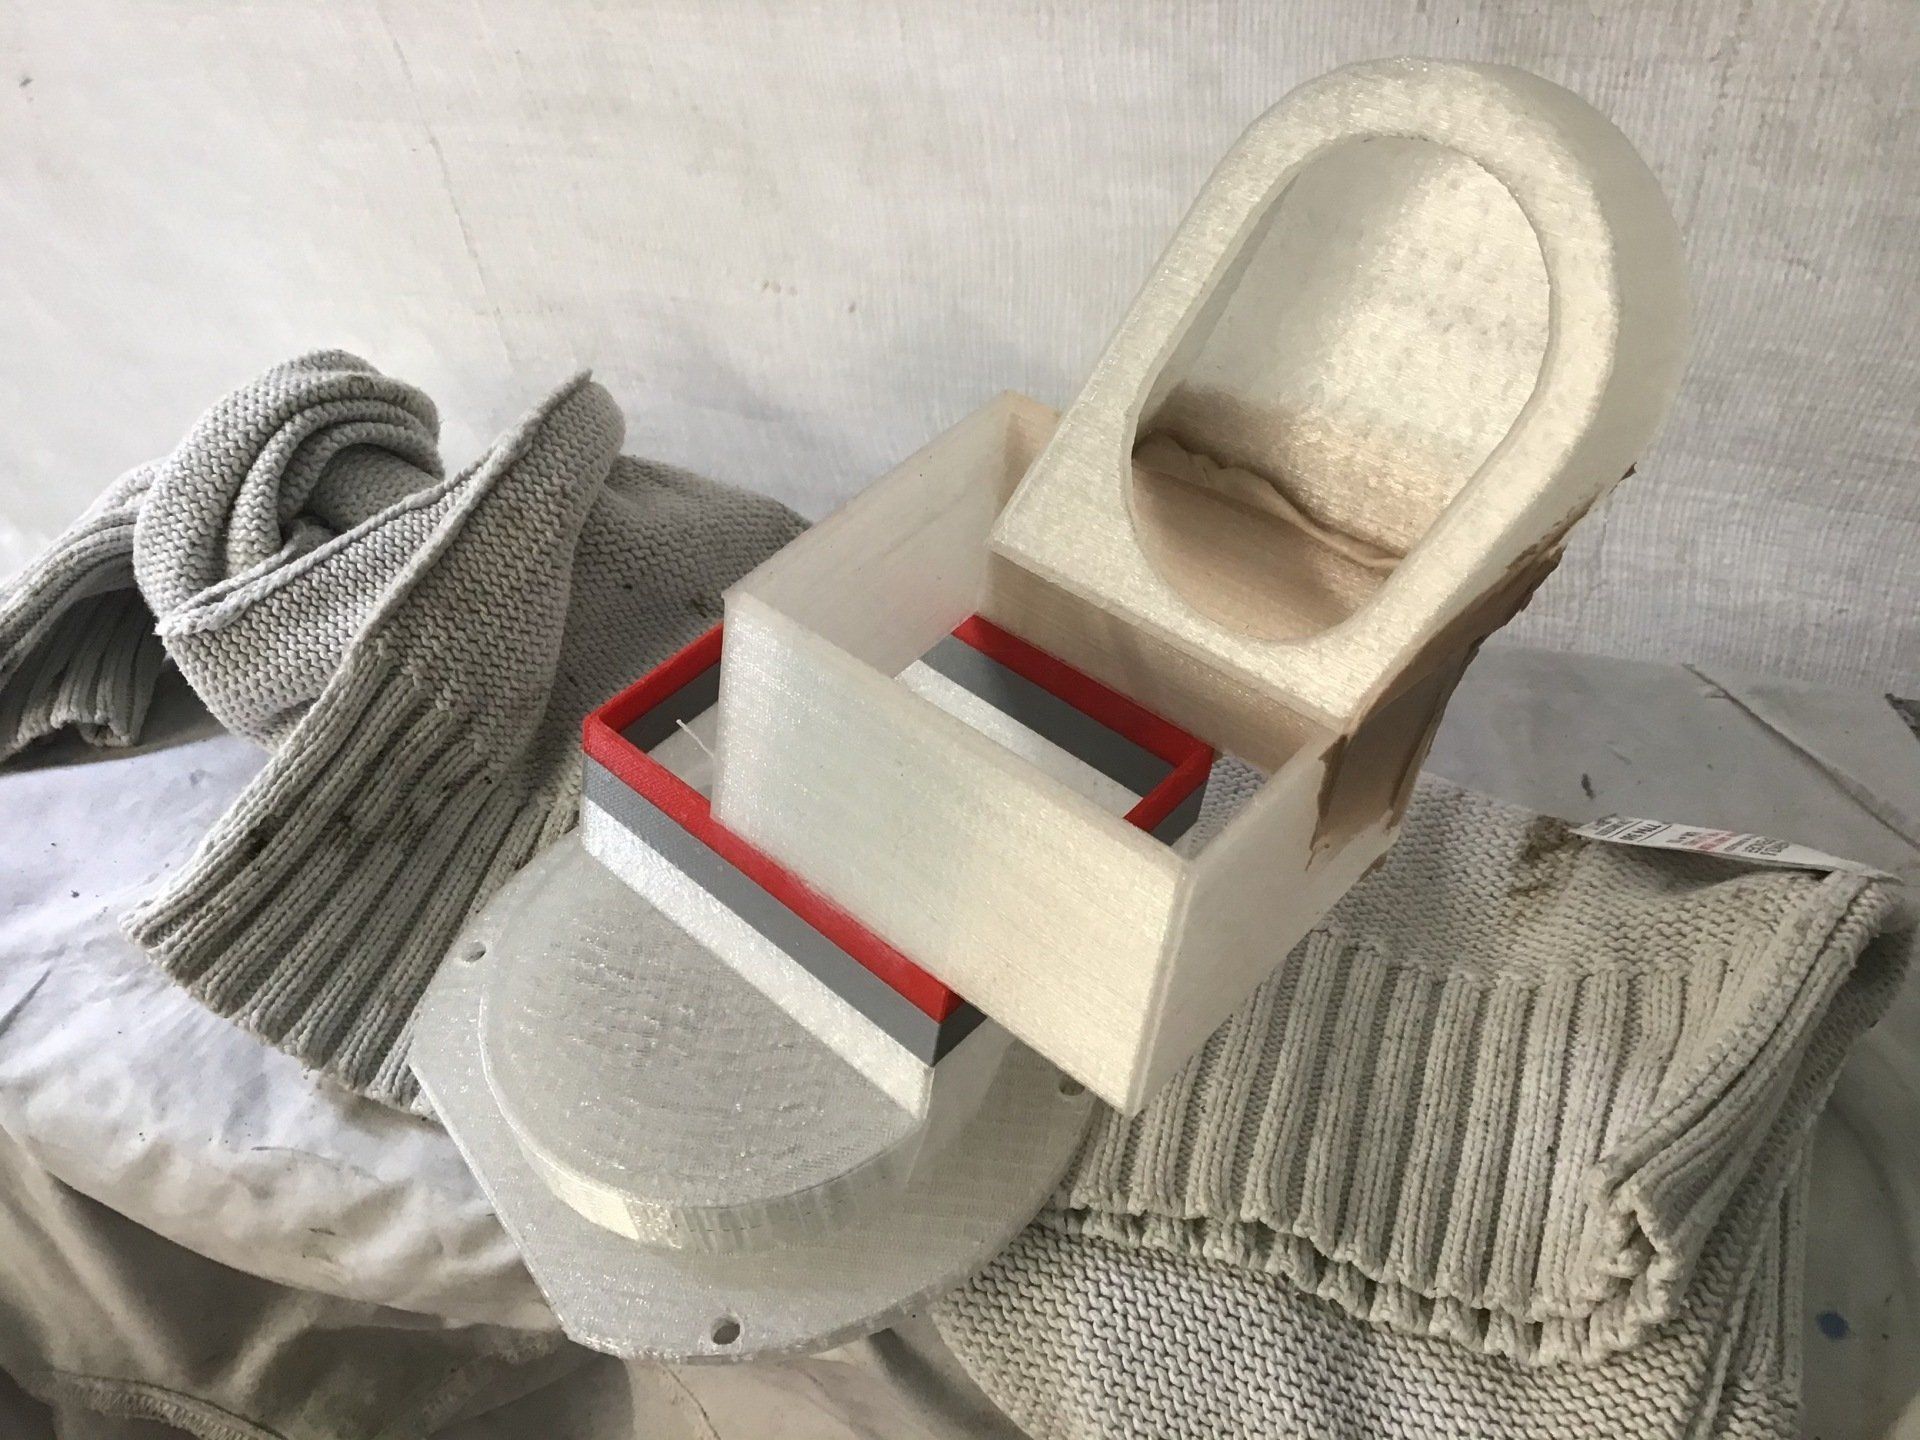
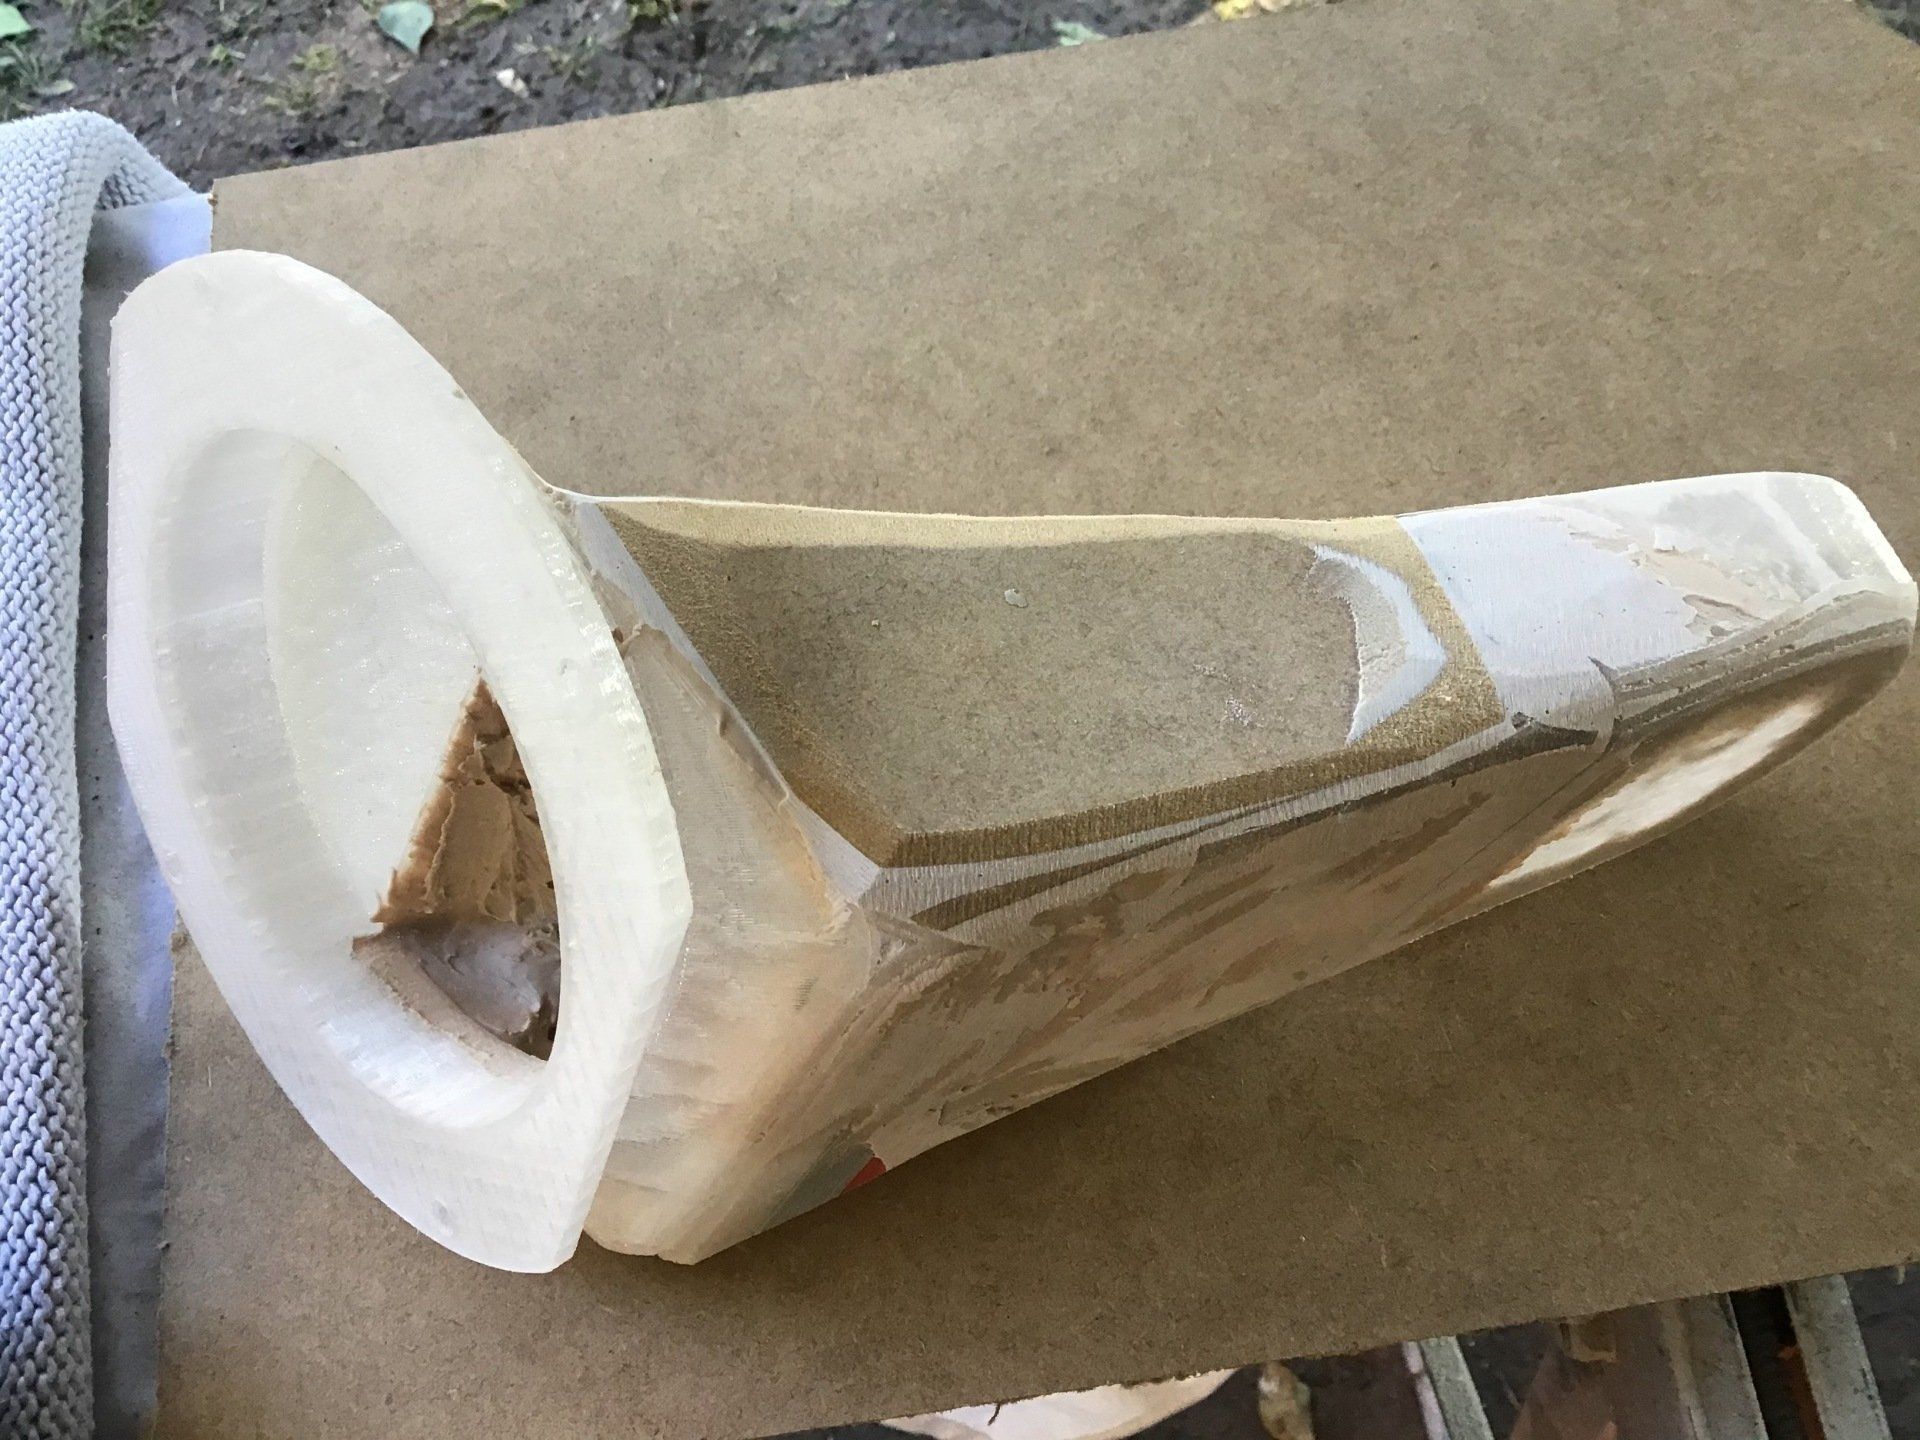
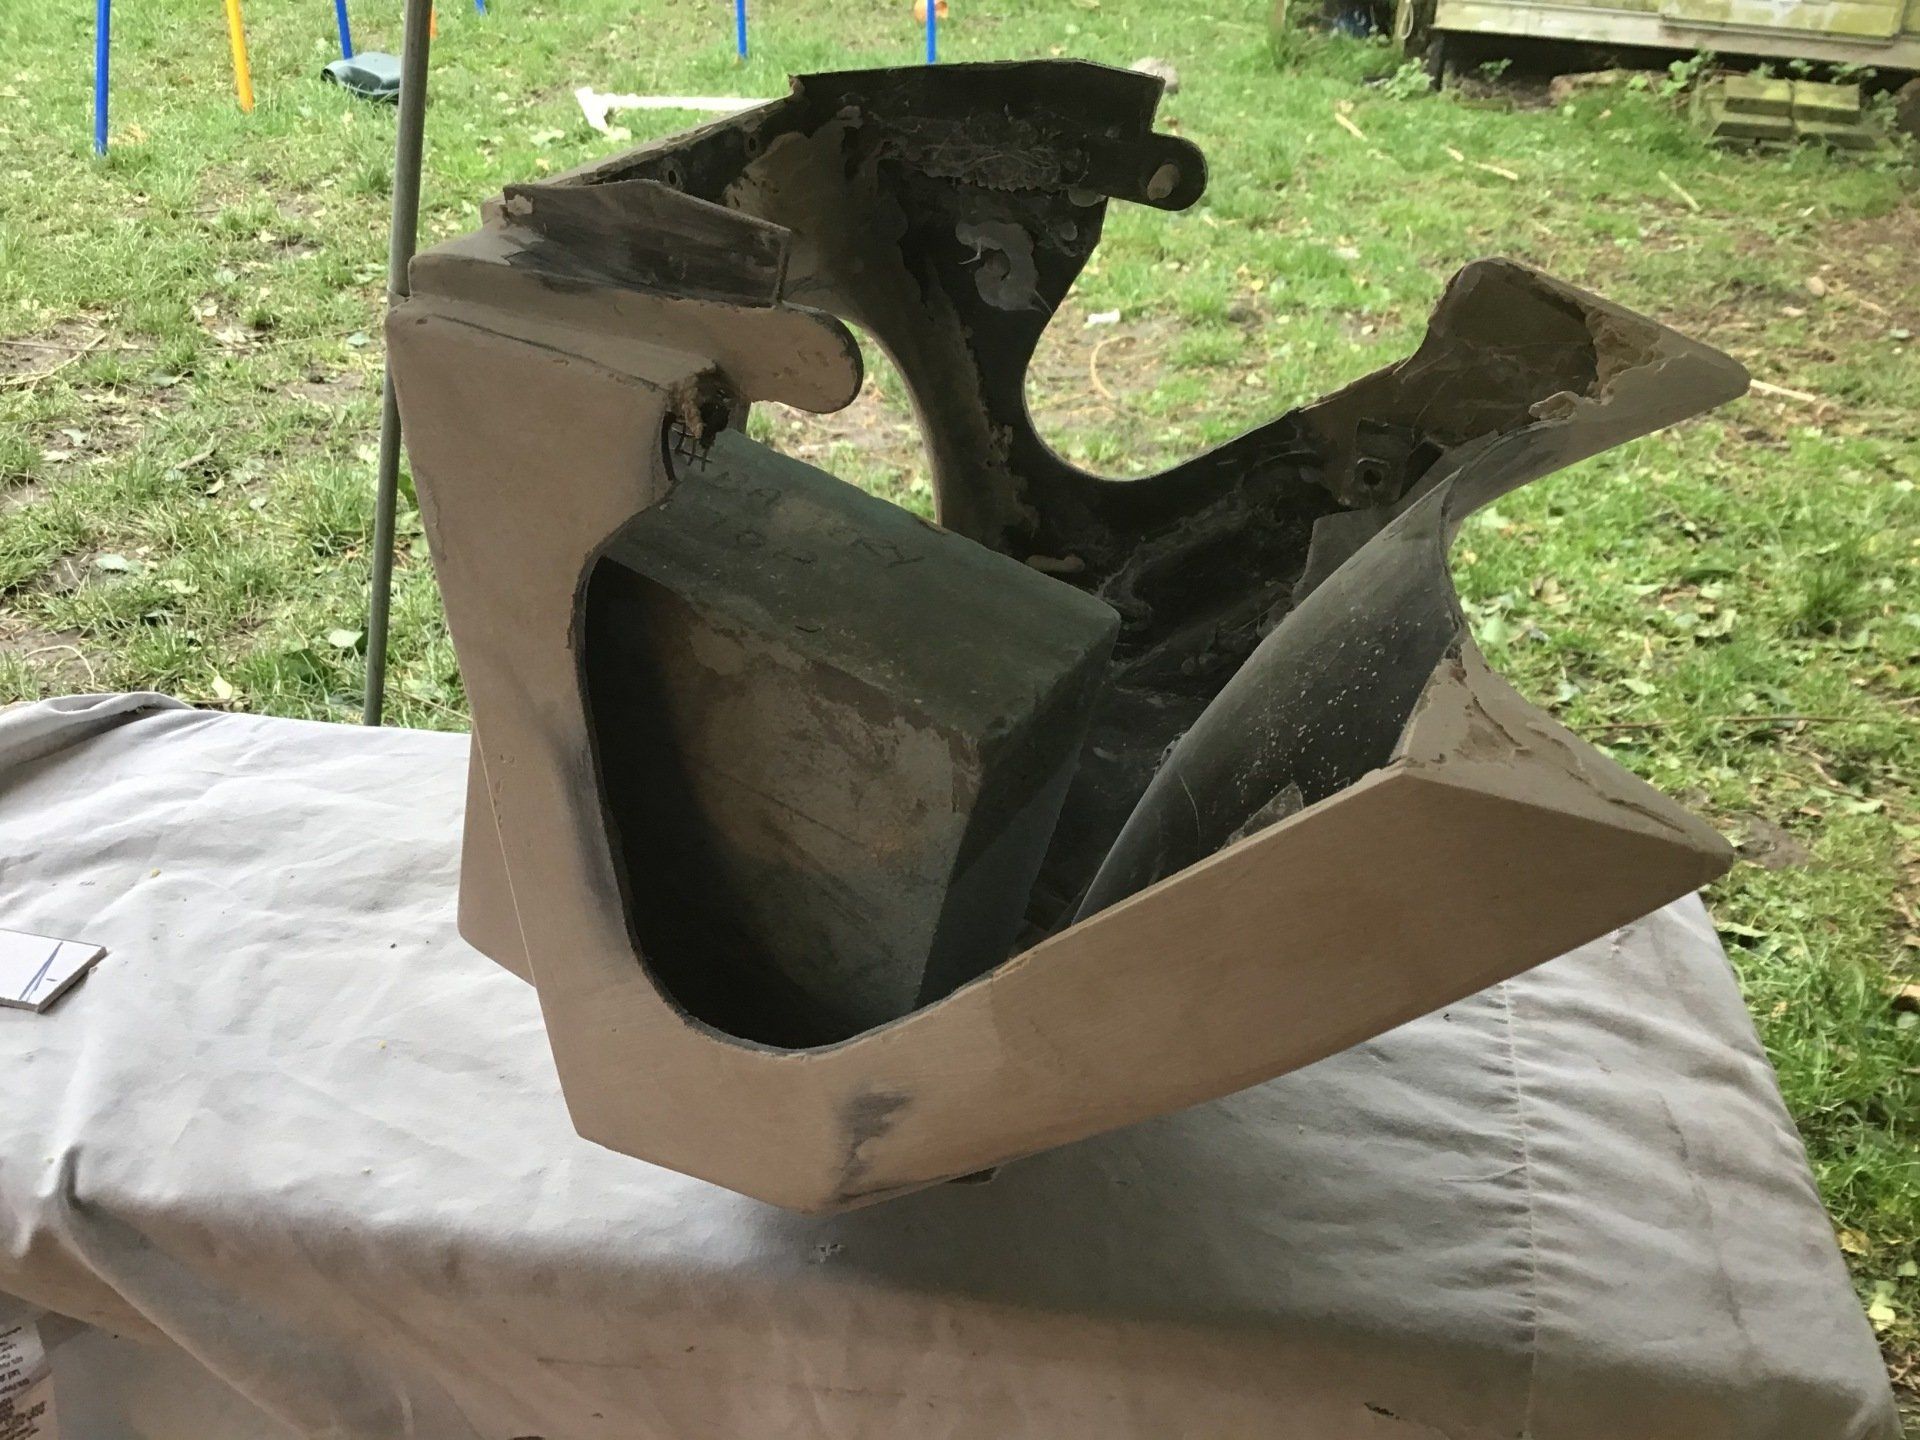
After some more cardboard modelling, and now with some idea of the dimensions required, the time came to make some more rigid prototypes on the 3D printer. Here I've ended up with several 3D printed bits taped together, some cardboard and some mdf, and I'm a little bit closer to bridging the gap.
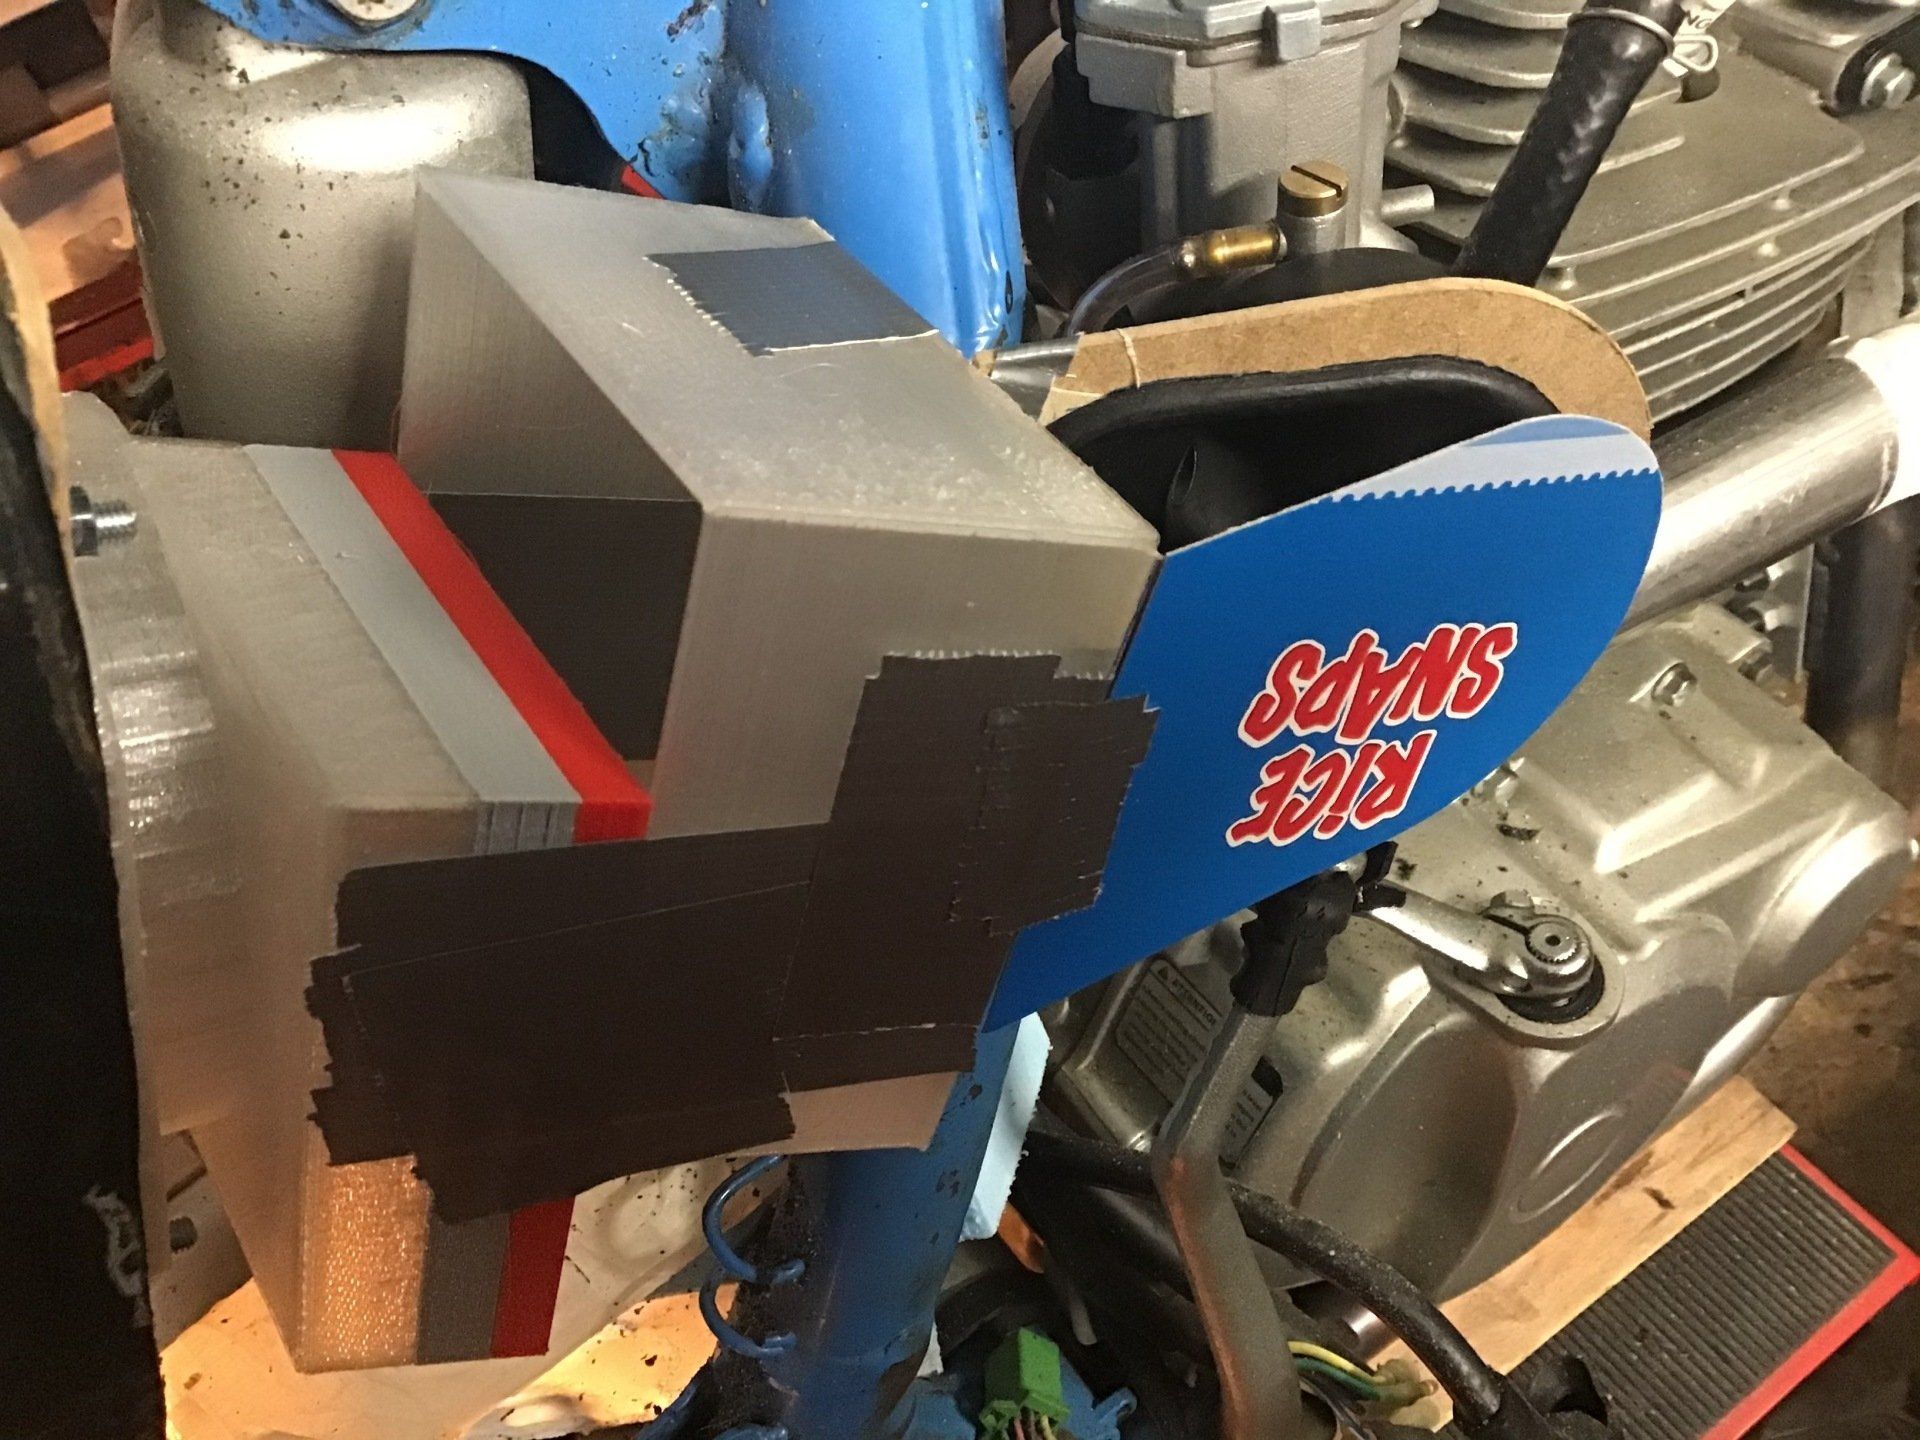
The cardboard and mdf dimensions were then used to make a 3D printed version. It doesn't always turn out right first time and operator error meant I spent 90 mins waiting for one to print that was actually the wrong size - on the right below. Thankfully, after another 90 mins, I managed to print one the correct size.
All of the bits added together, they still don't fit together well, but it's a start, and I now have some solid objects to take measurements from.

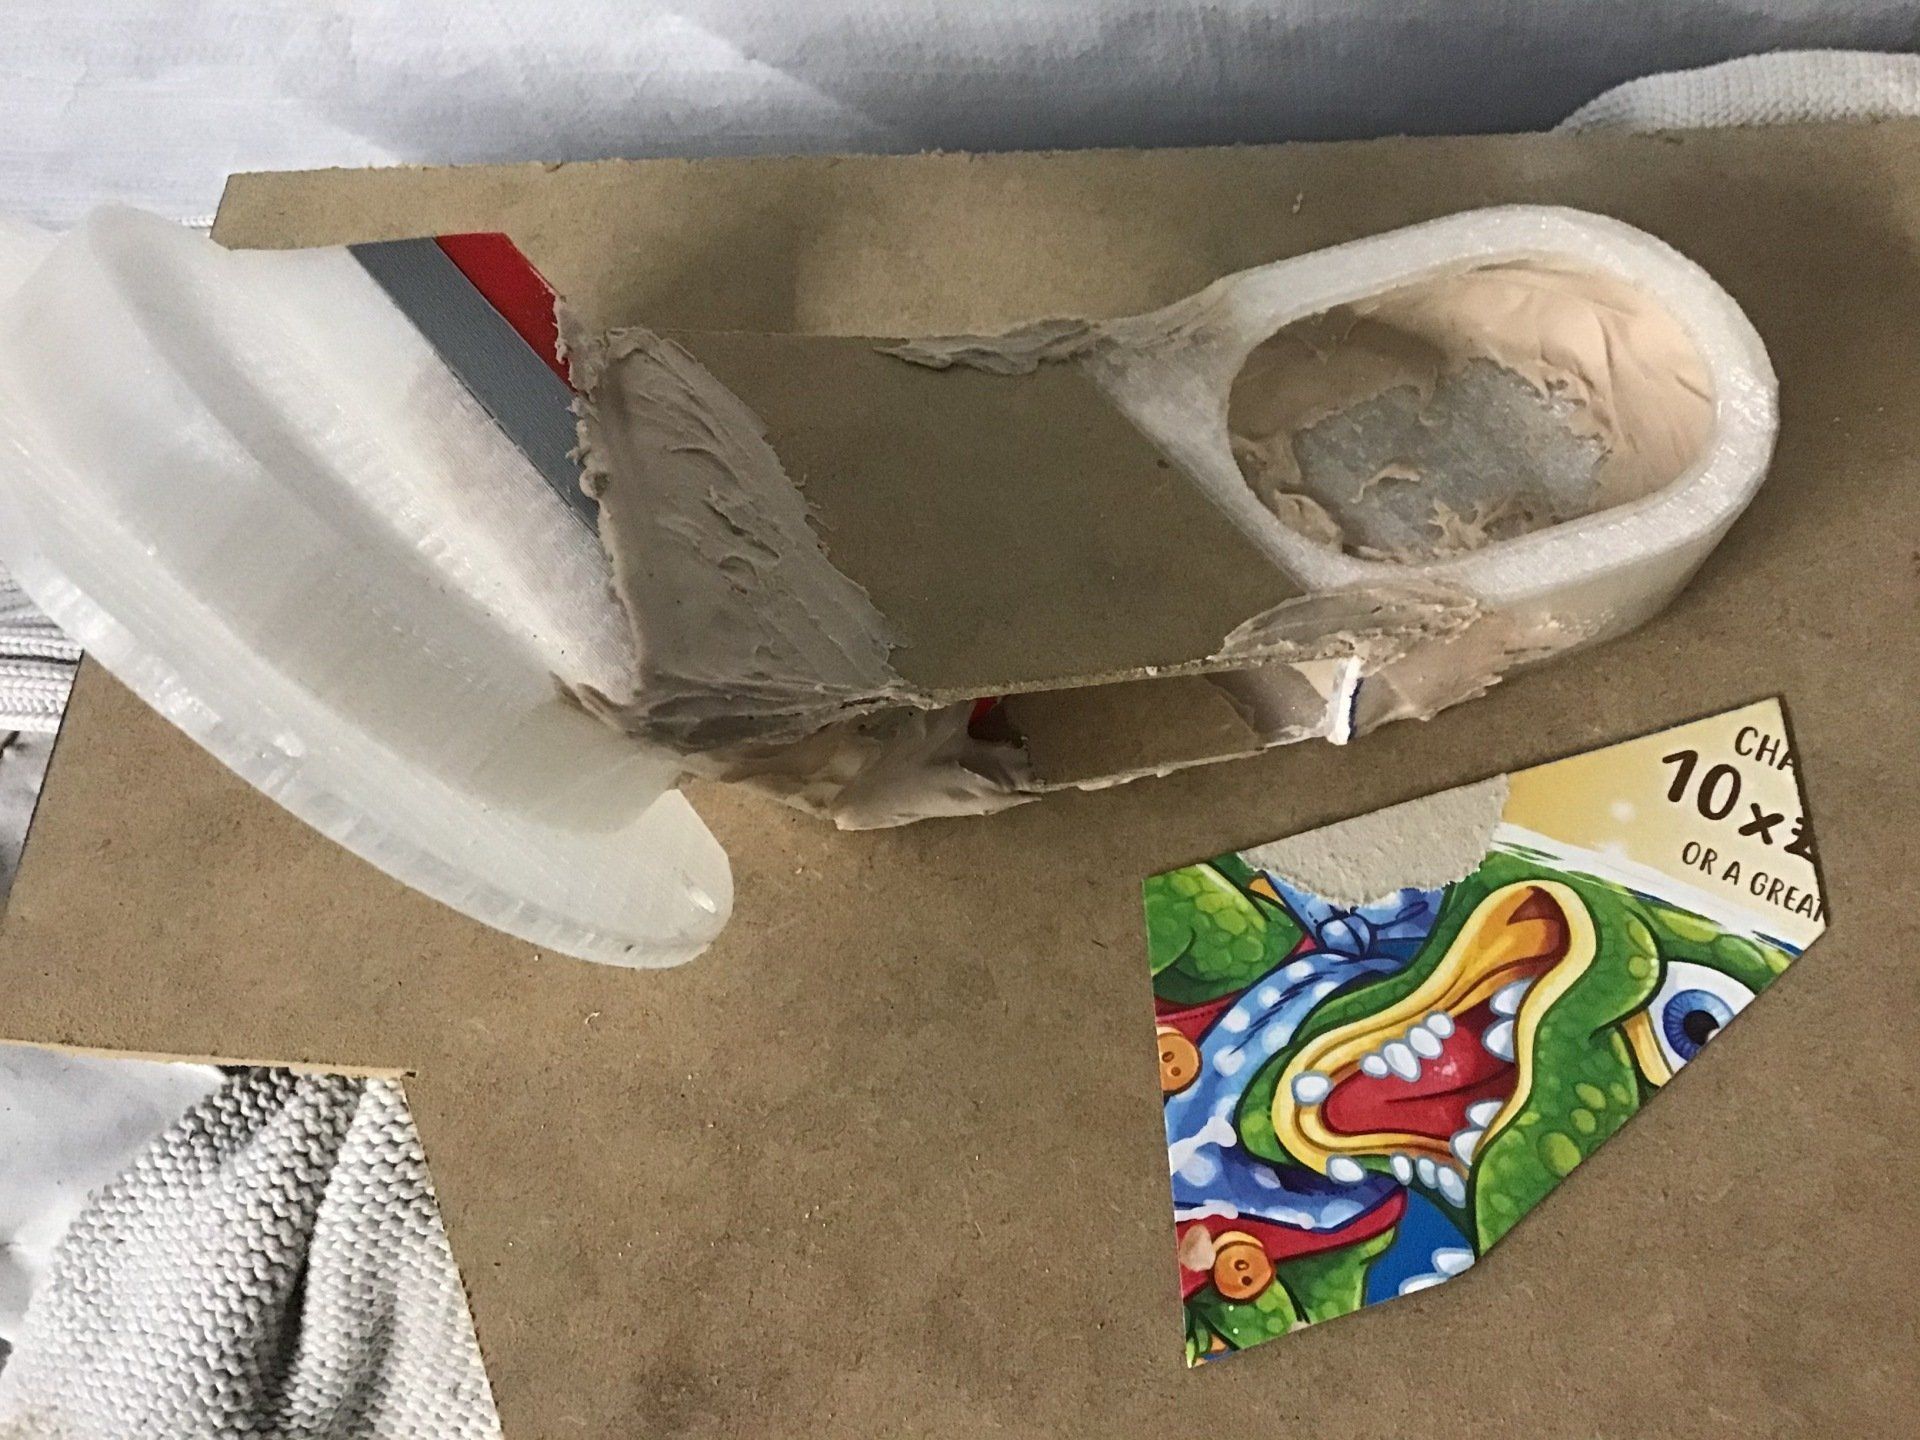
The view from the other side shows that there are still some fairly big gaps to account for...
As well as filling those gaps, the design will also be altered so that its outline is more like the red lines scribbled on the picture below. Once the final size and is shape sorted, the next problem is deciding how (and in what material) the real boot will be made...

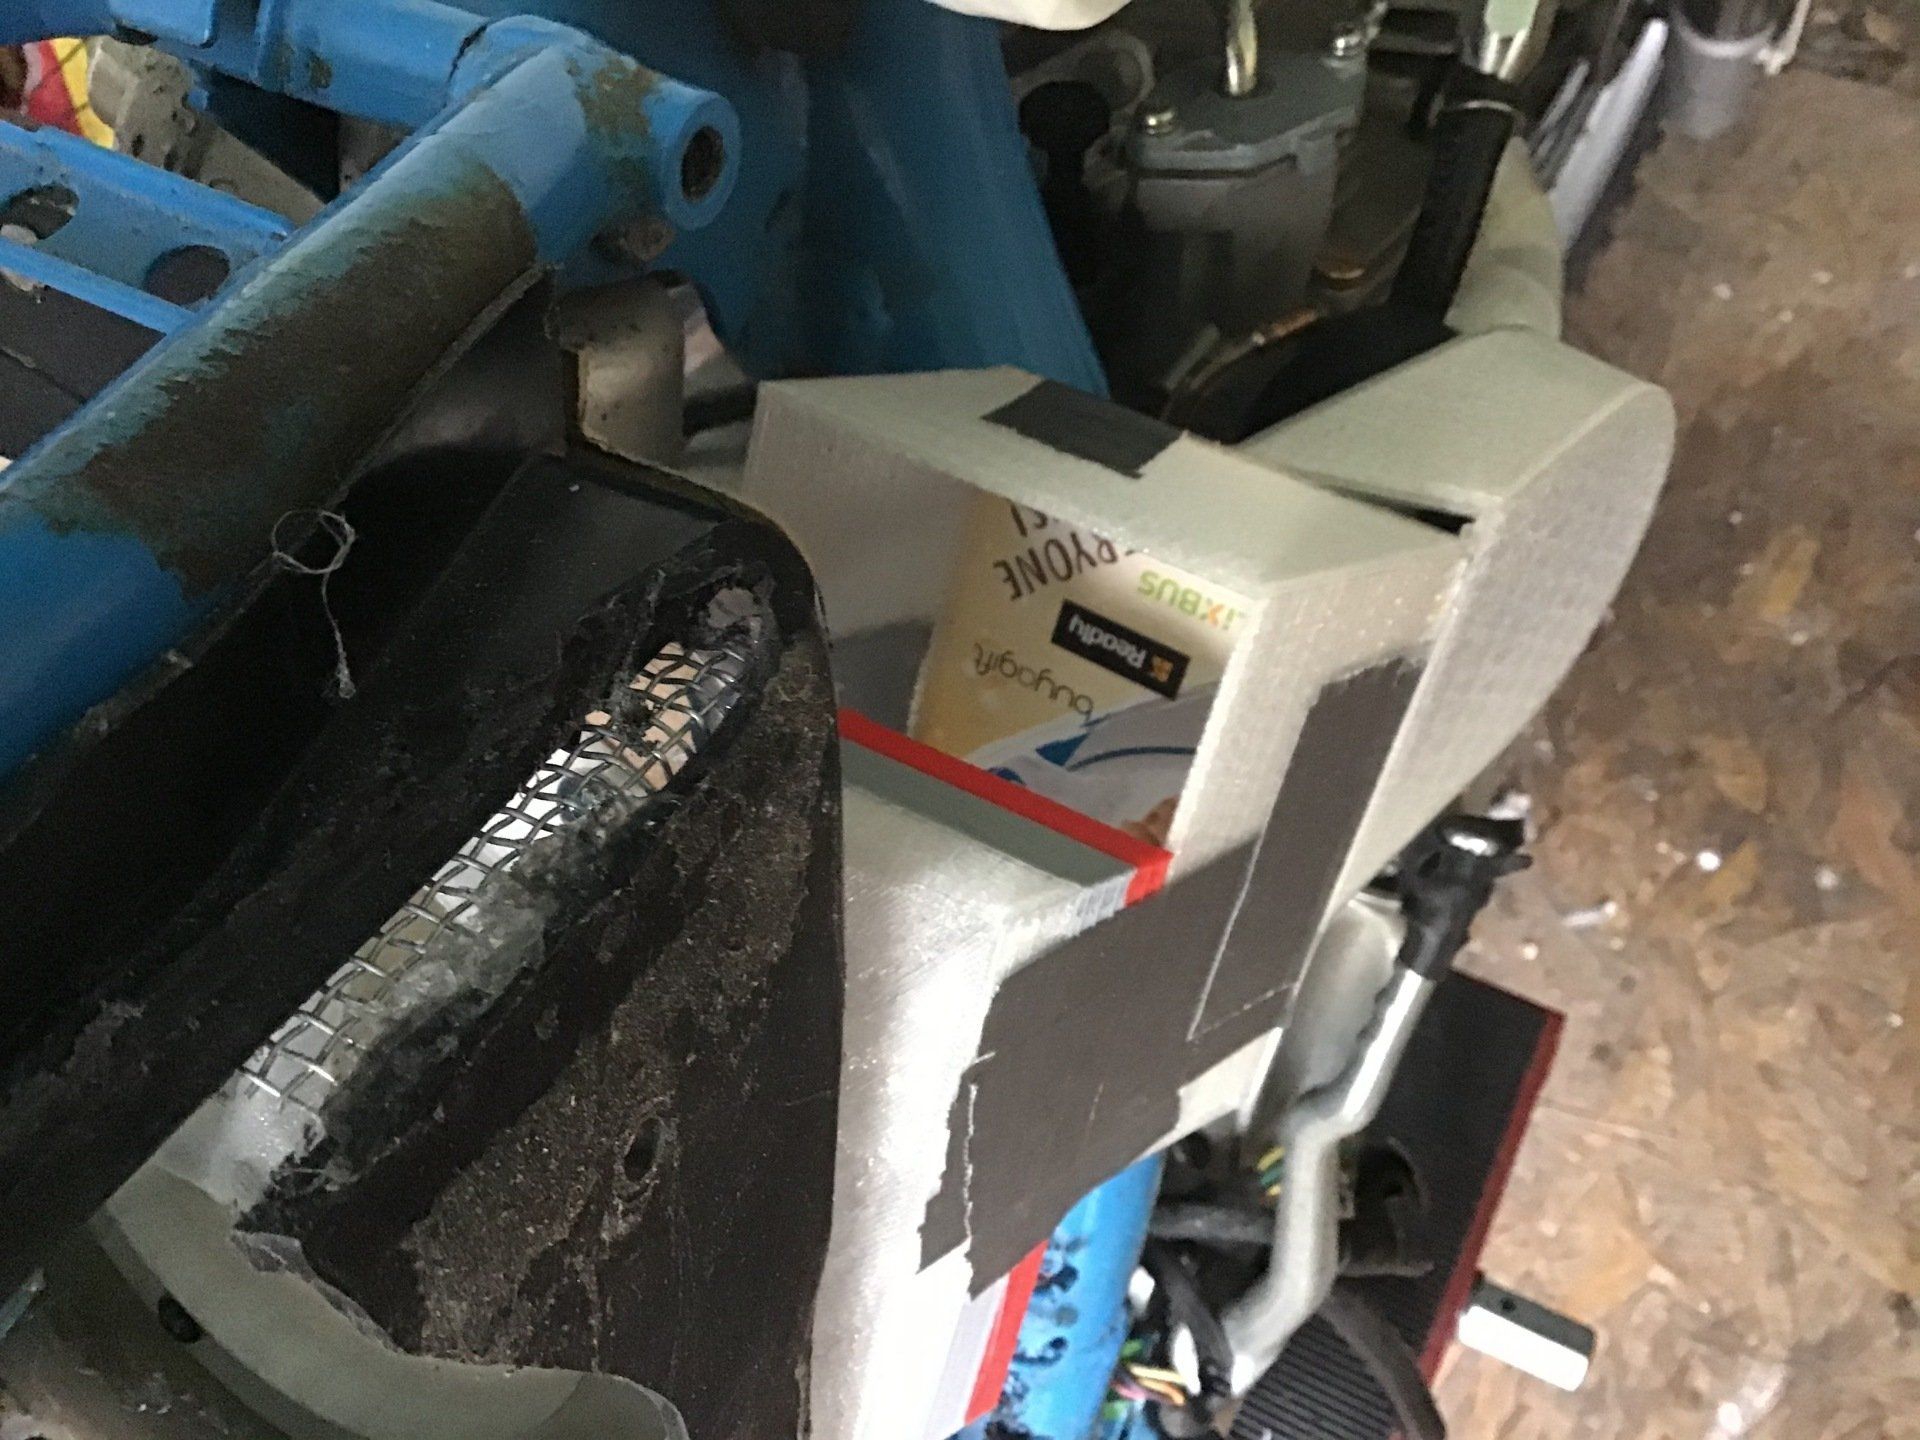
The plan was to take measurements from this collection of 3D printed bits and pieces, streamline the design and then 3D print the complete air boot.
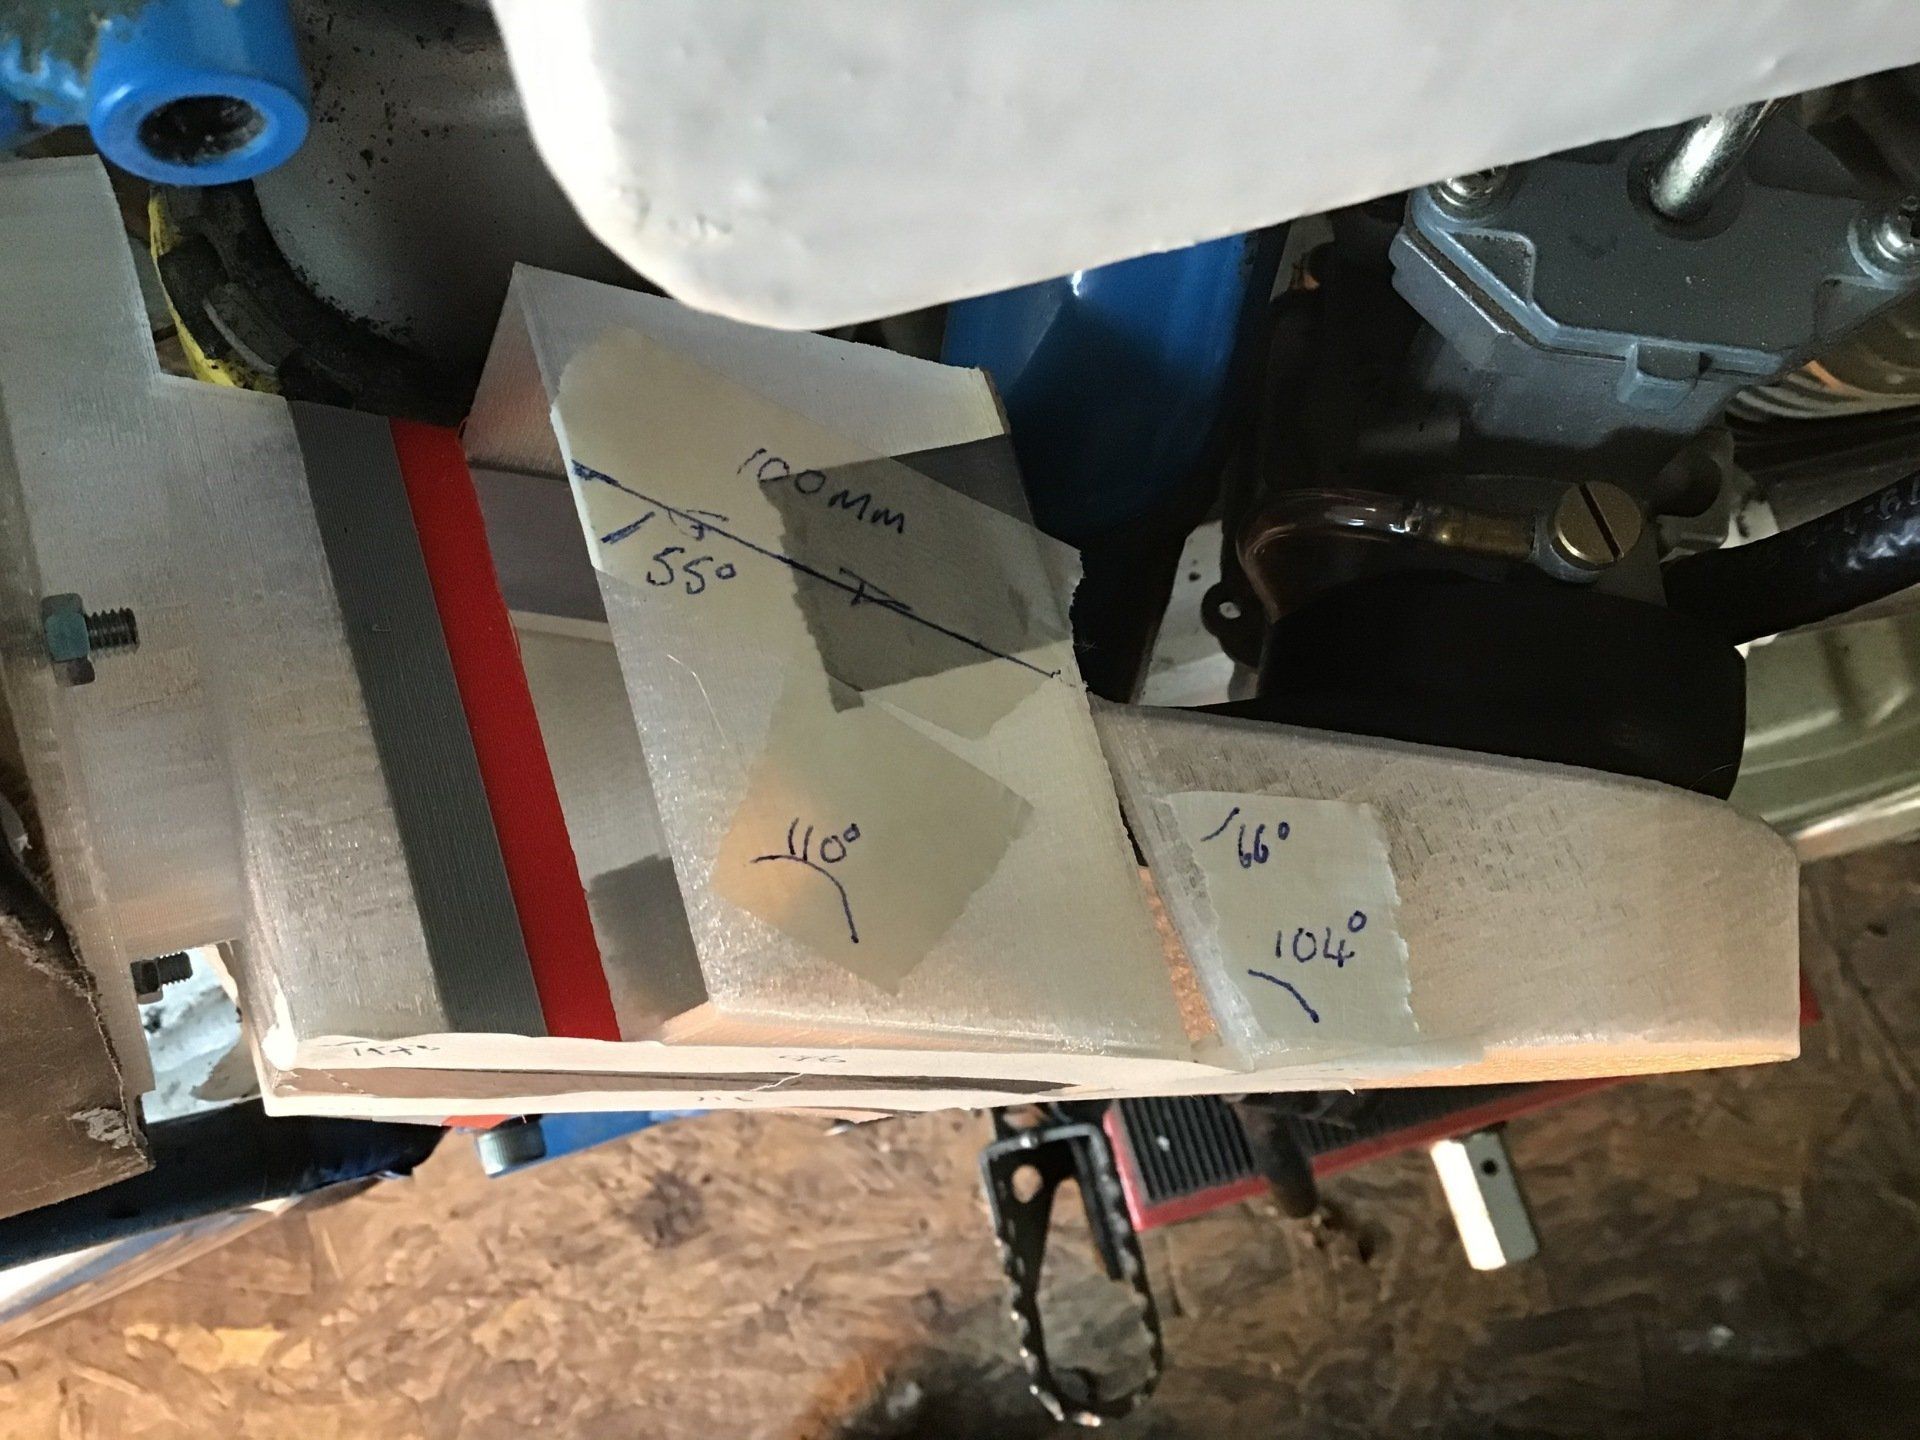
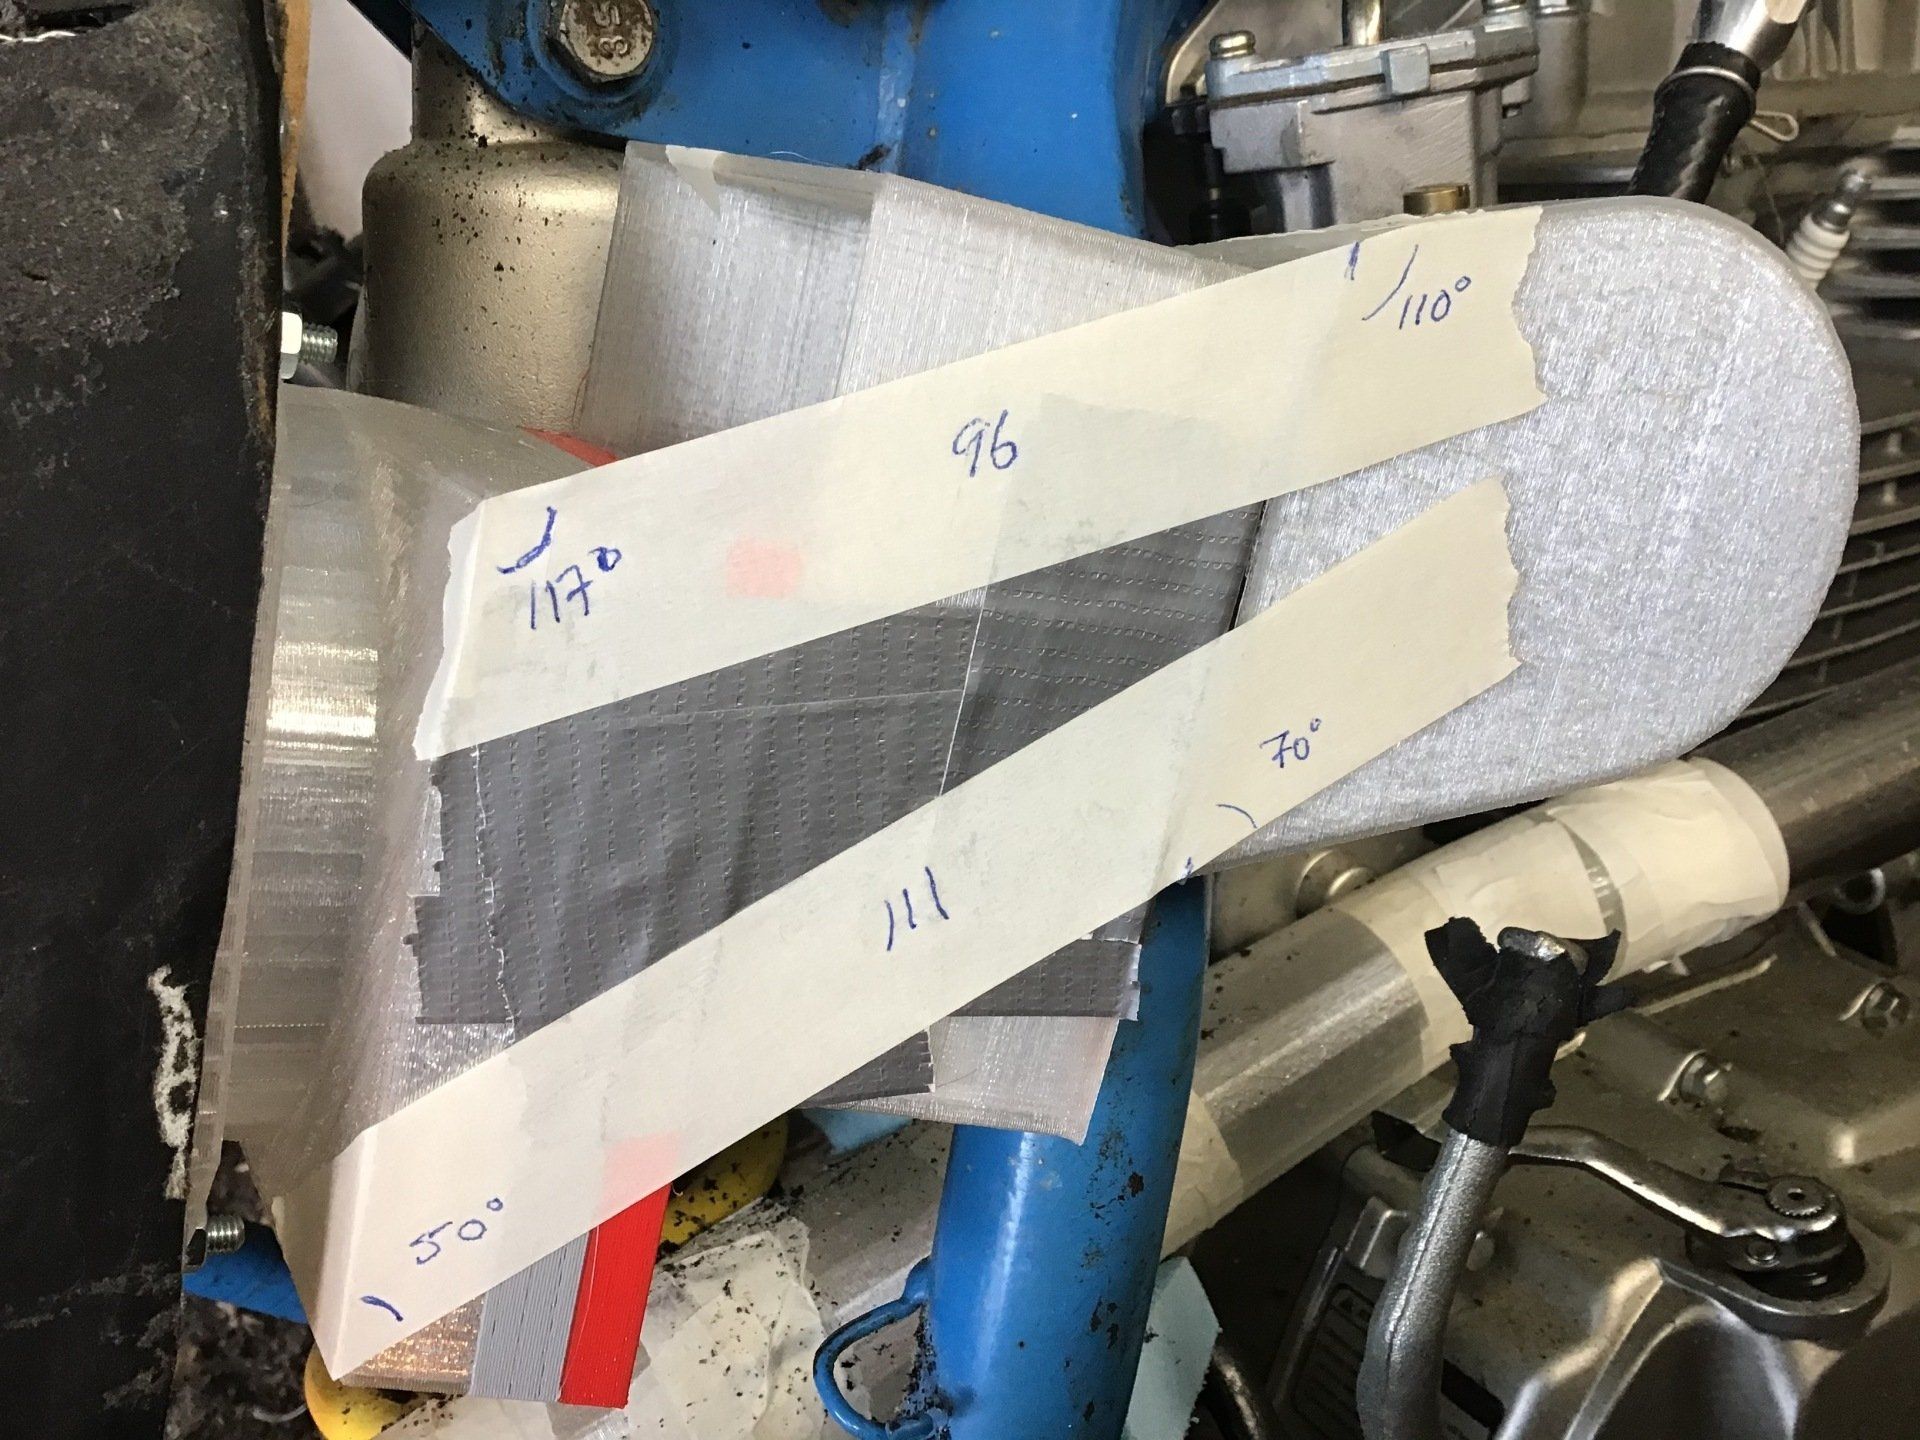
That plan was scuppered, when after several hours of trying, I had to finally concede that my 3D CAD skills weren’t good enough to actually draw the thing. Too many angles, it nearly fried my brain!
Enough with the 3D printing, then. Back to manual methods.
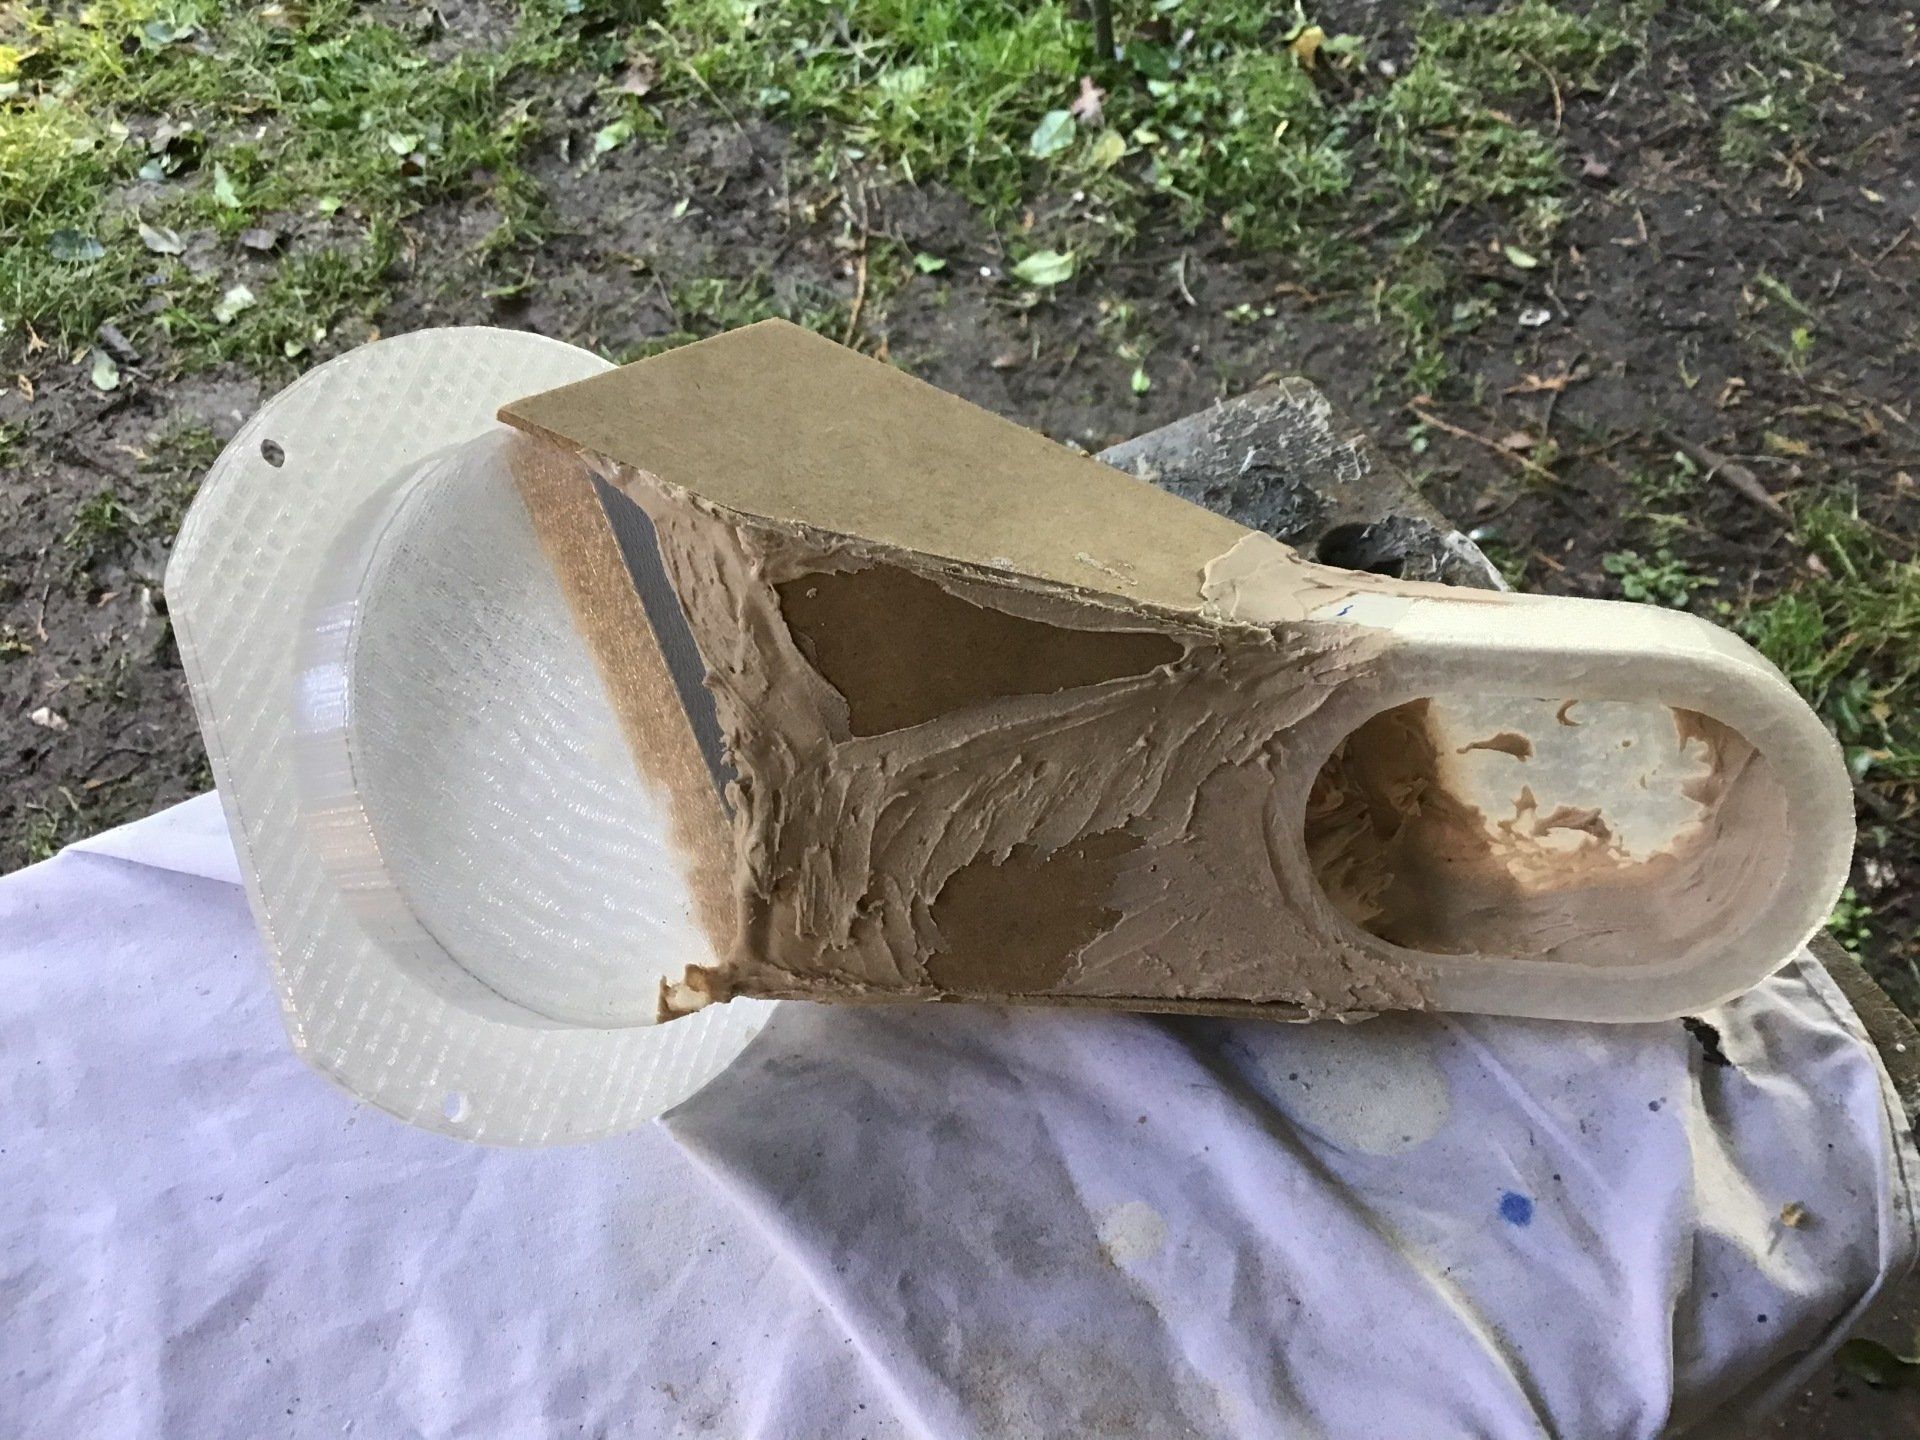
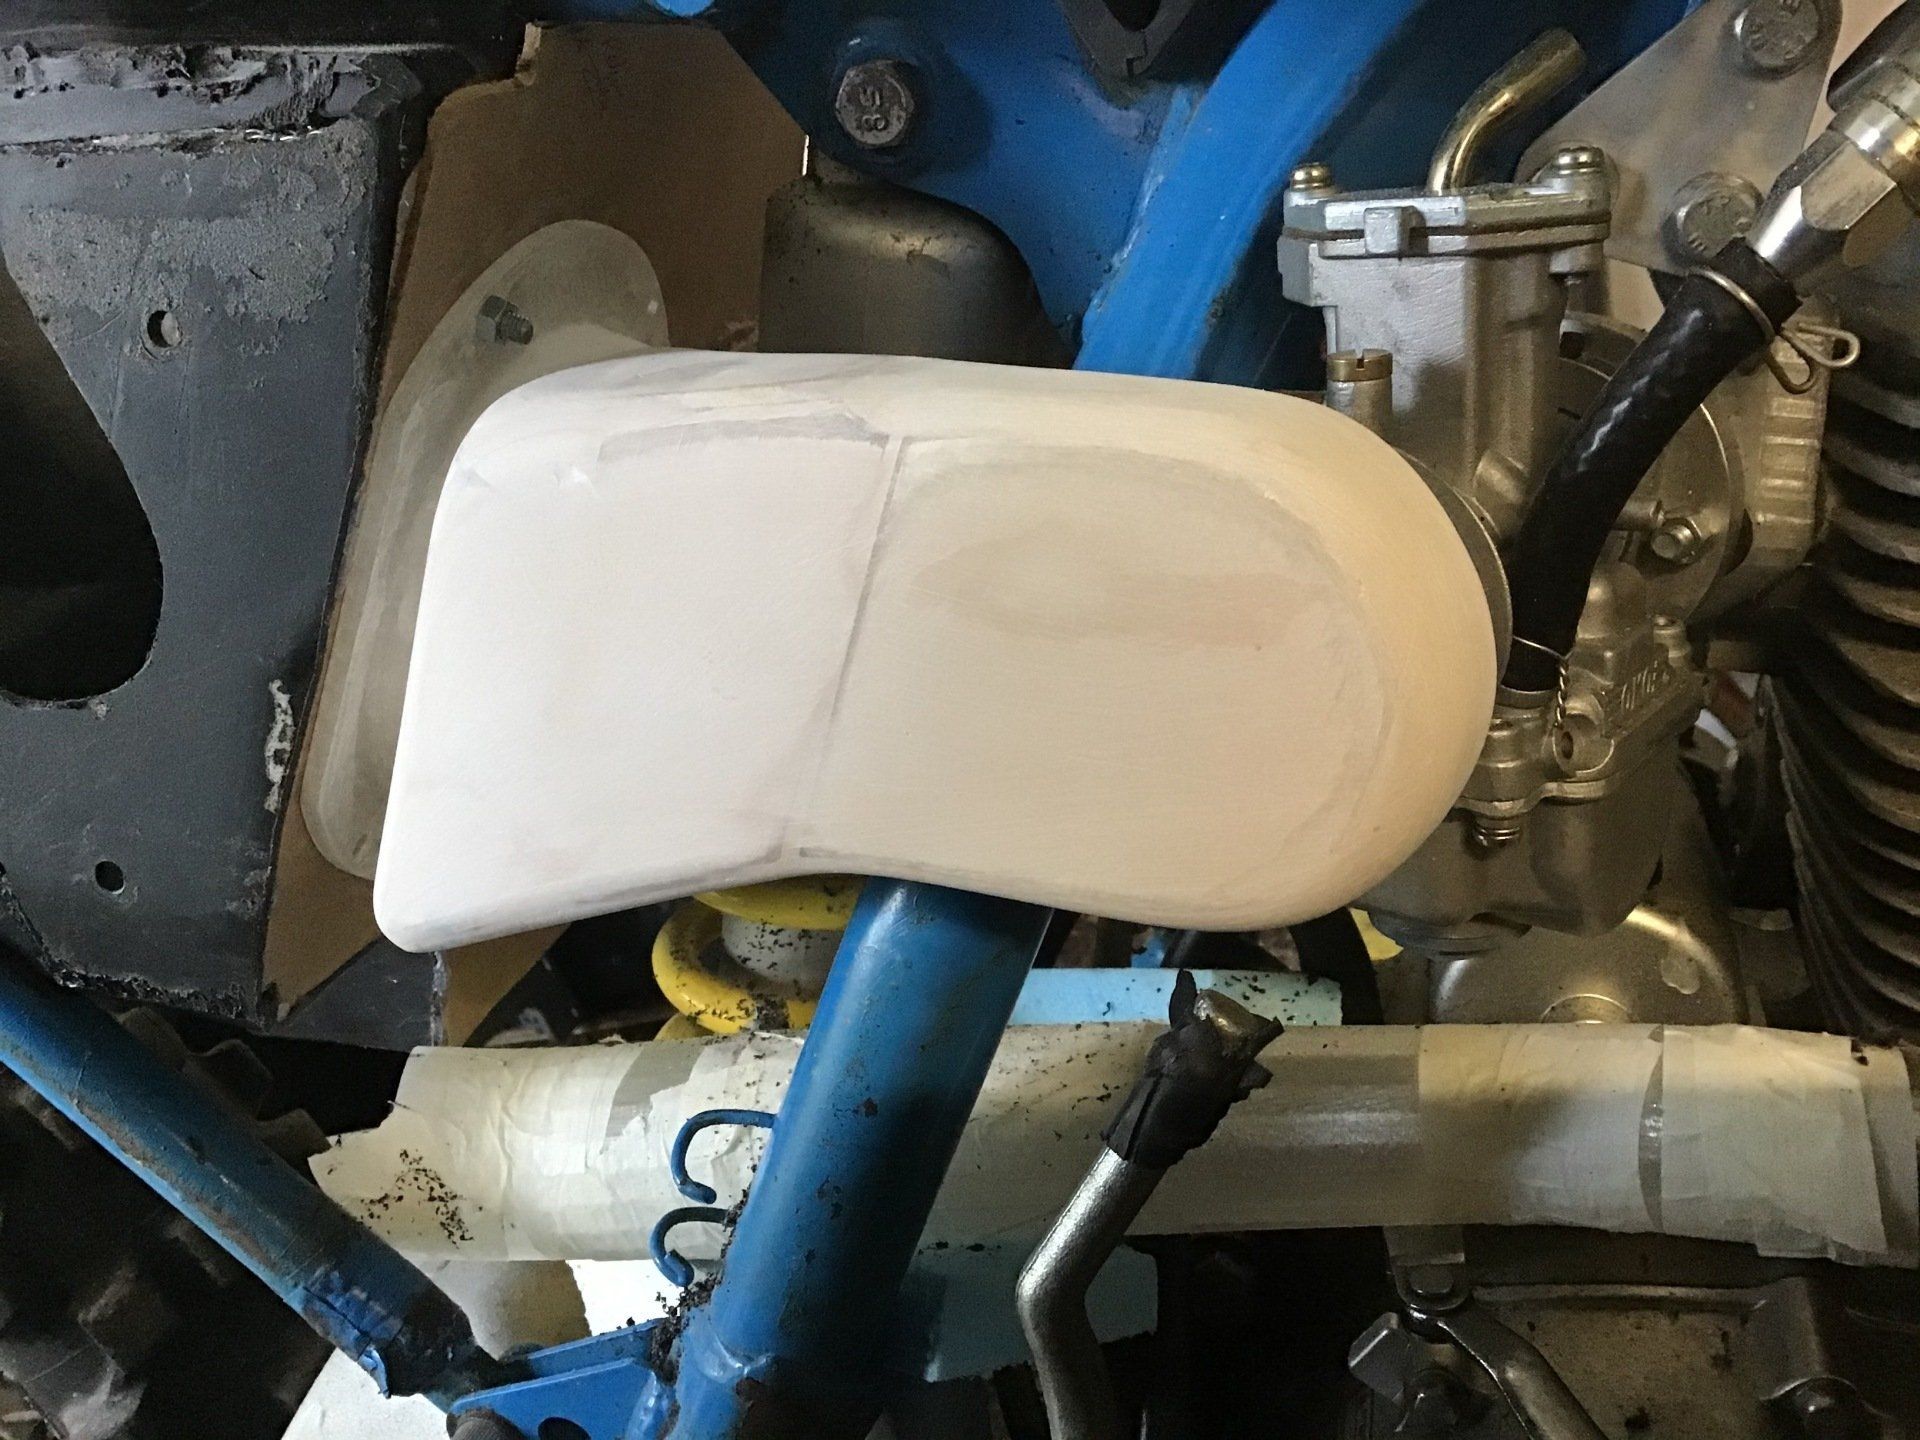
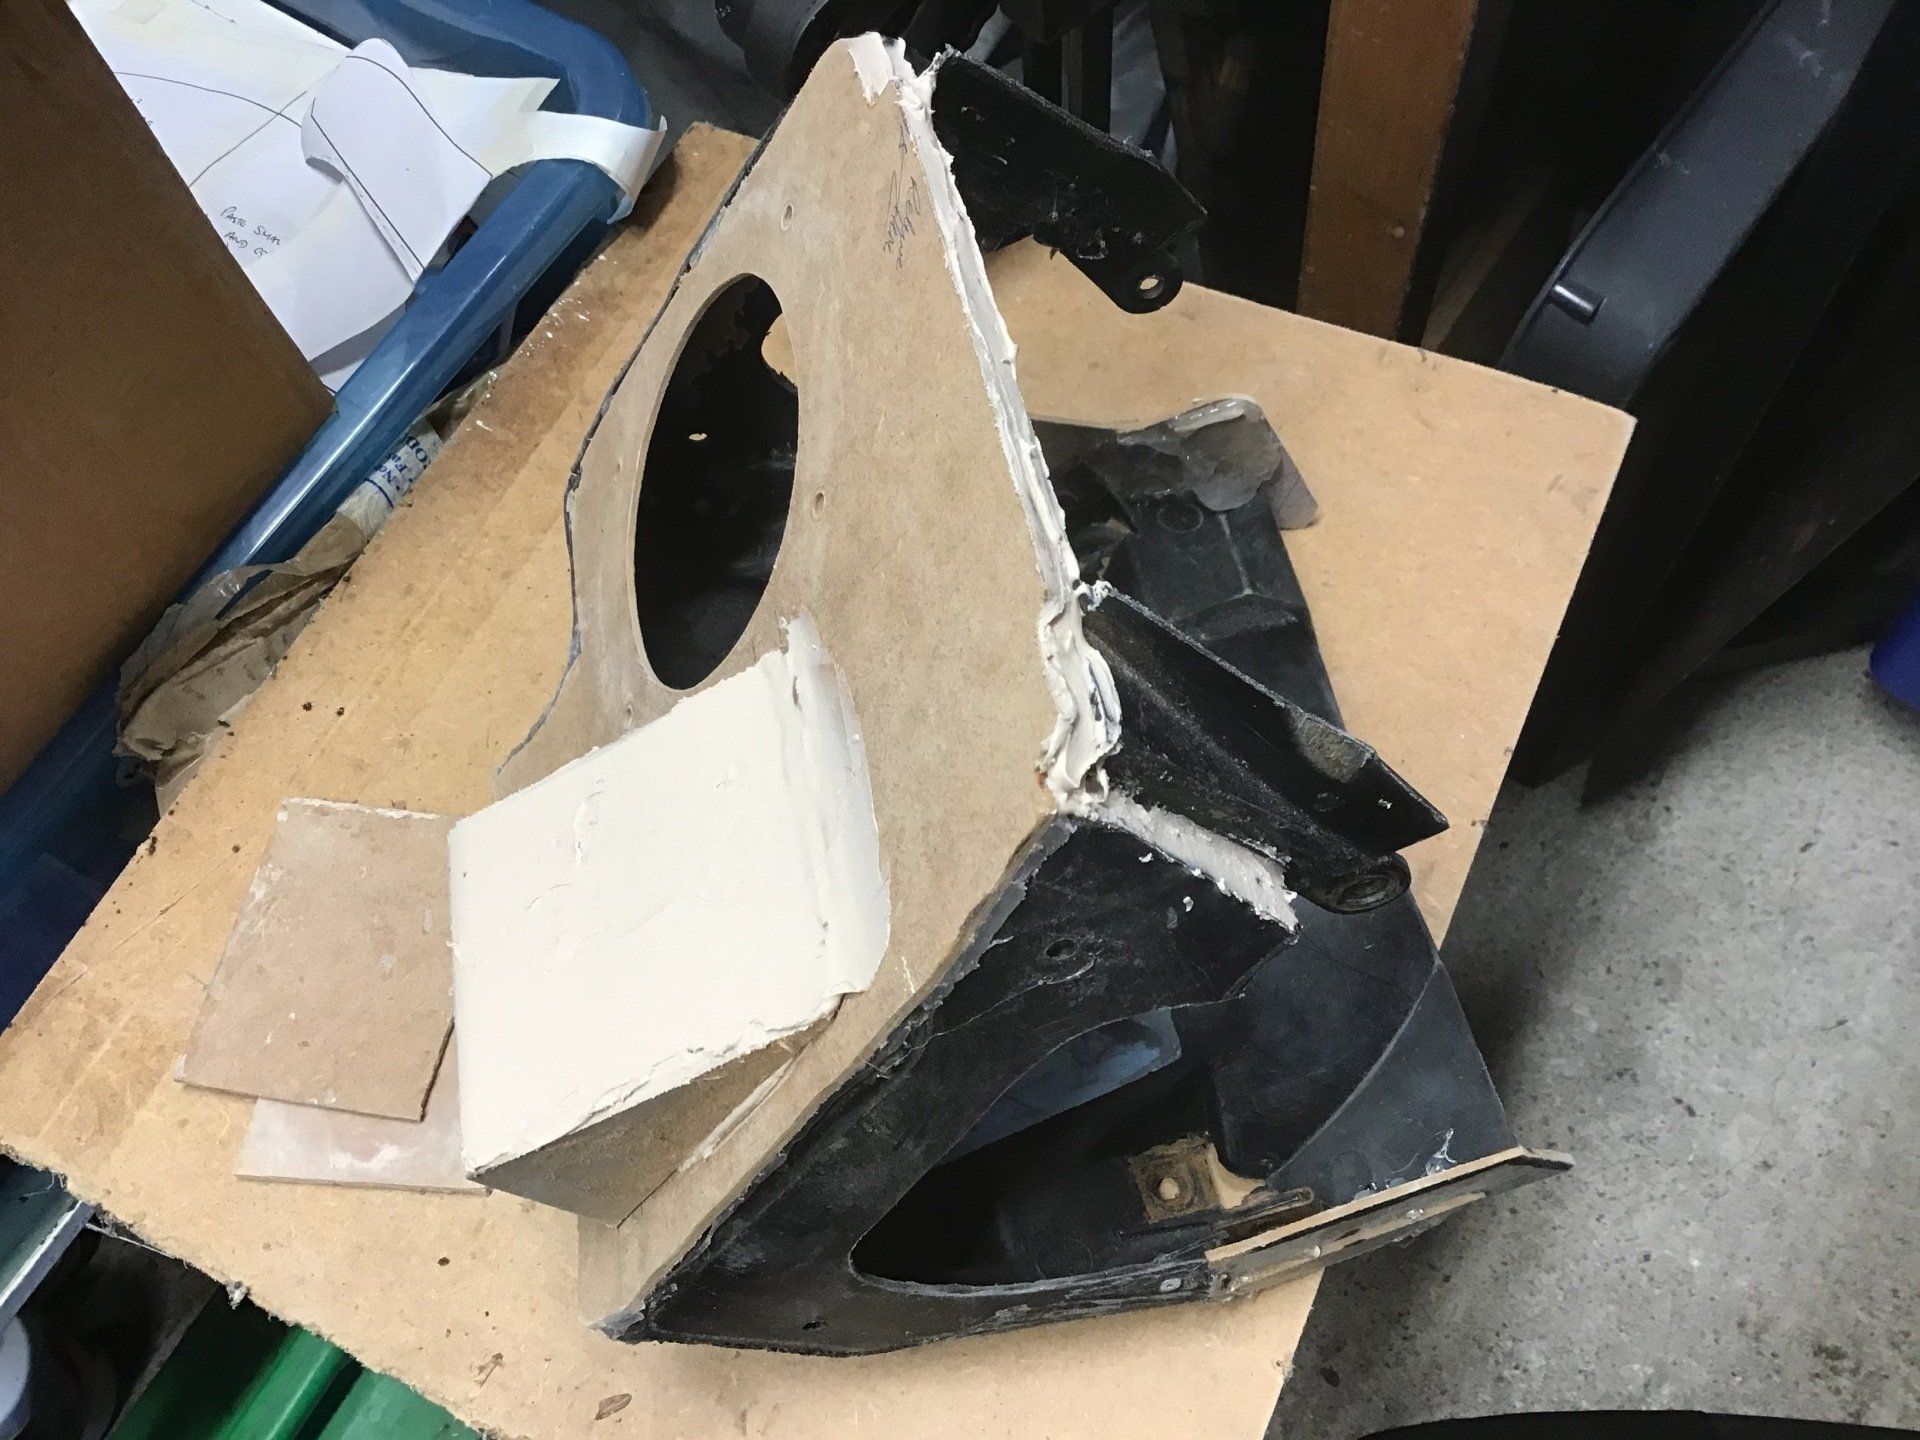
Cardboard templates, mdf and body filler...
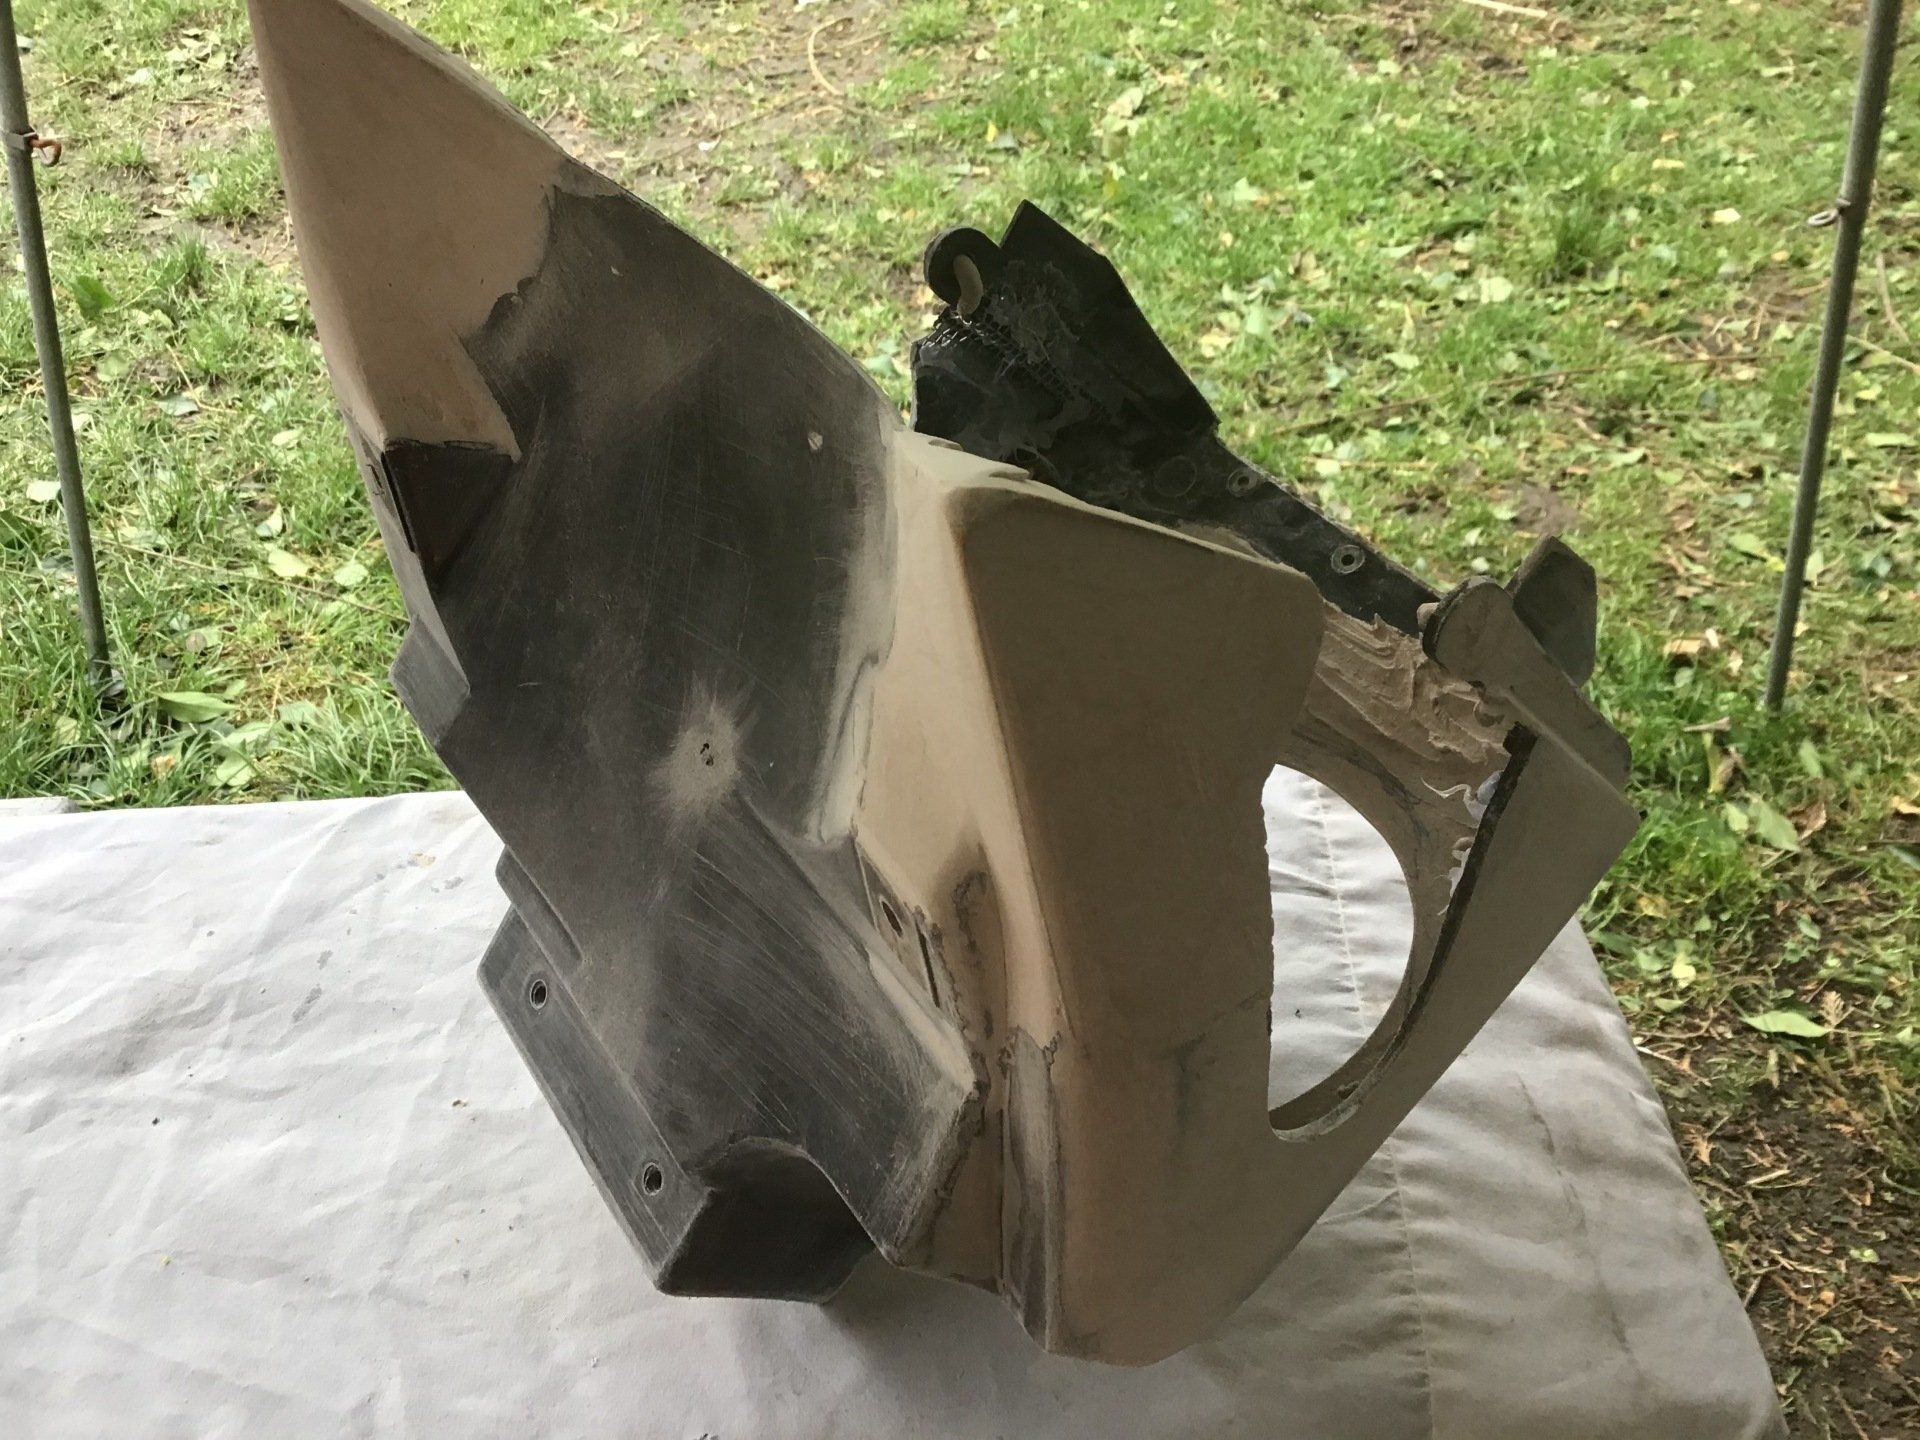
Here it is in all its glory!
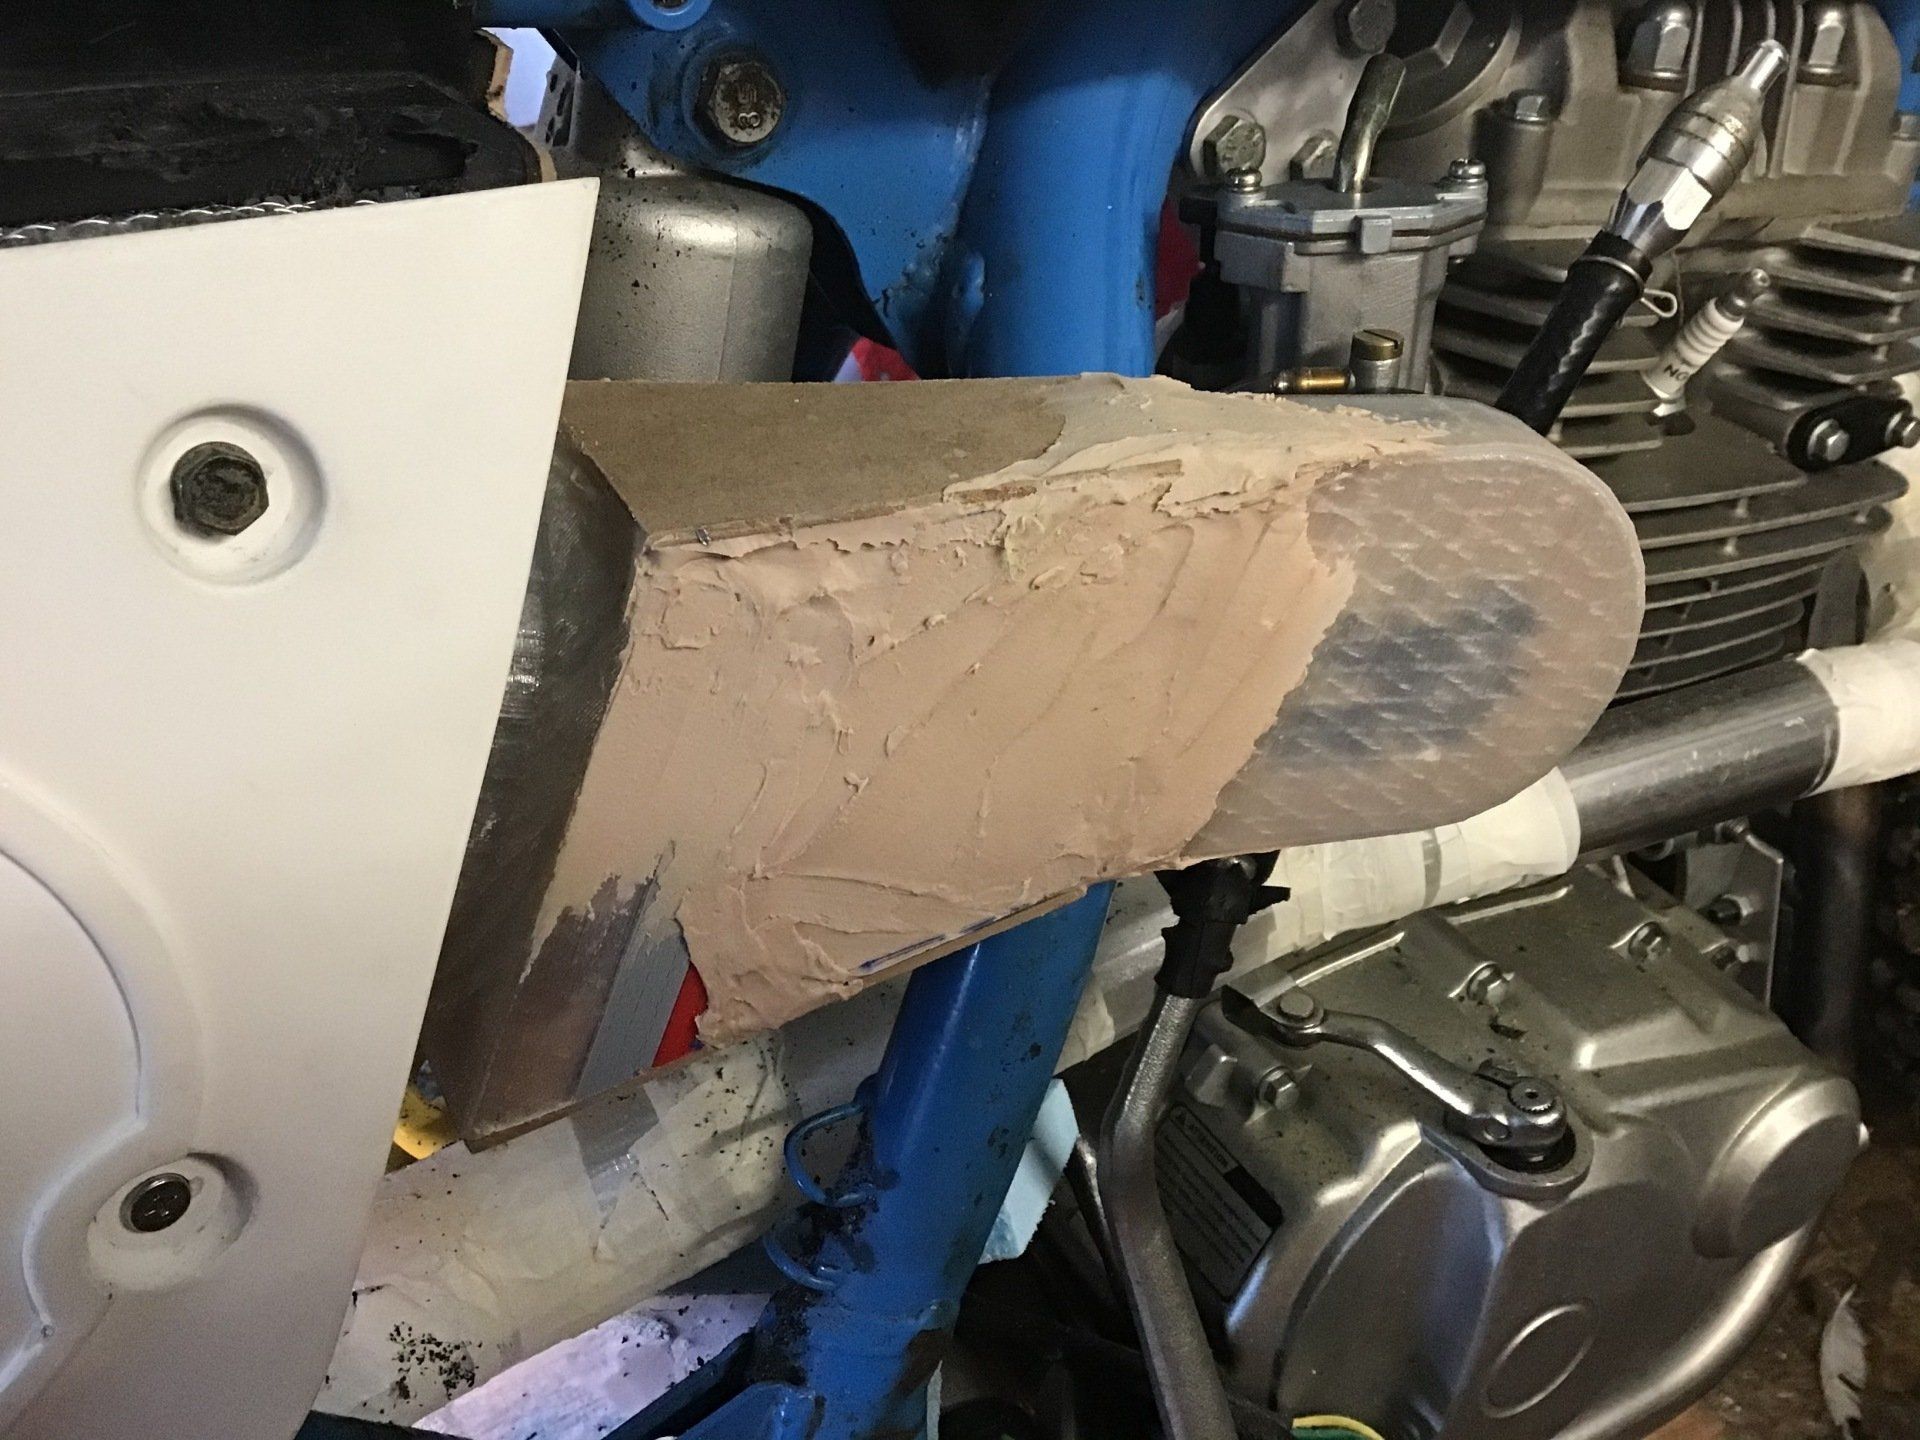
Thankfully, it still fits.

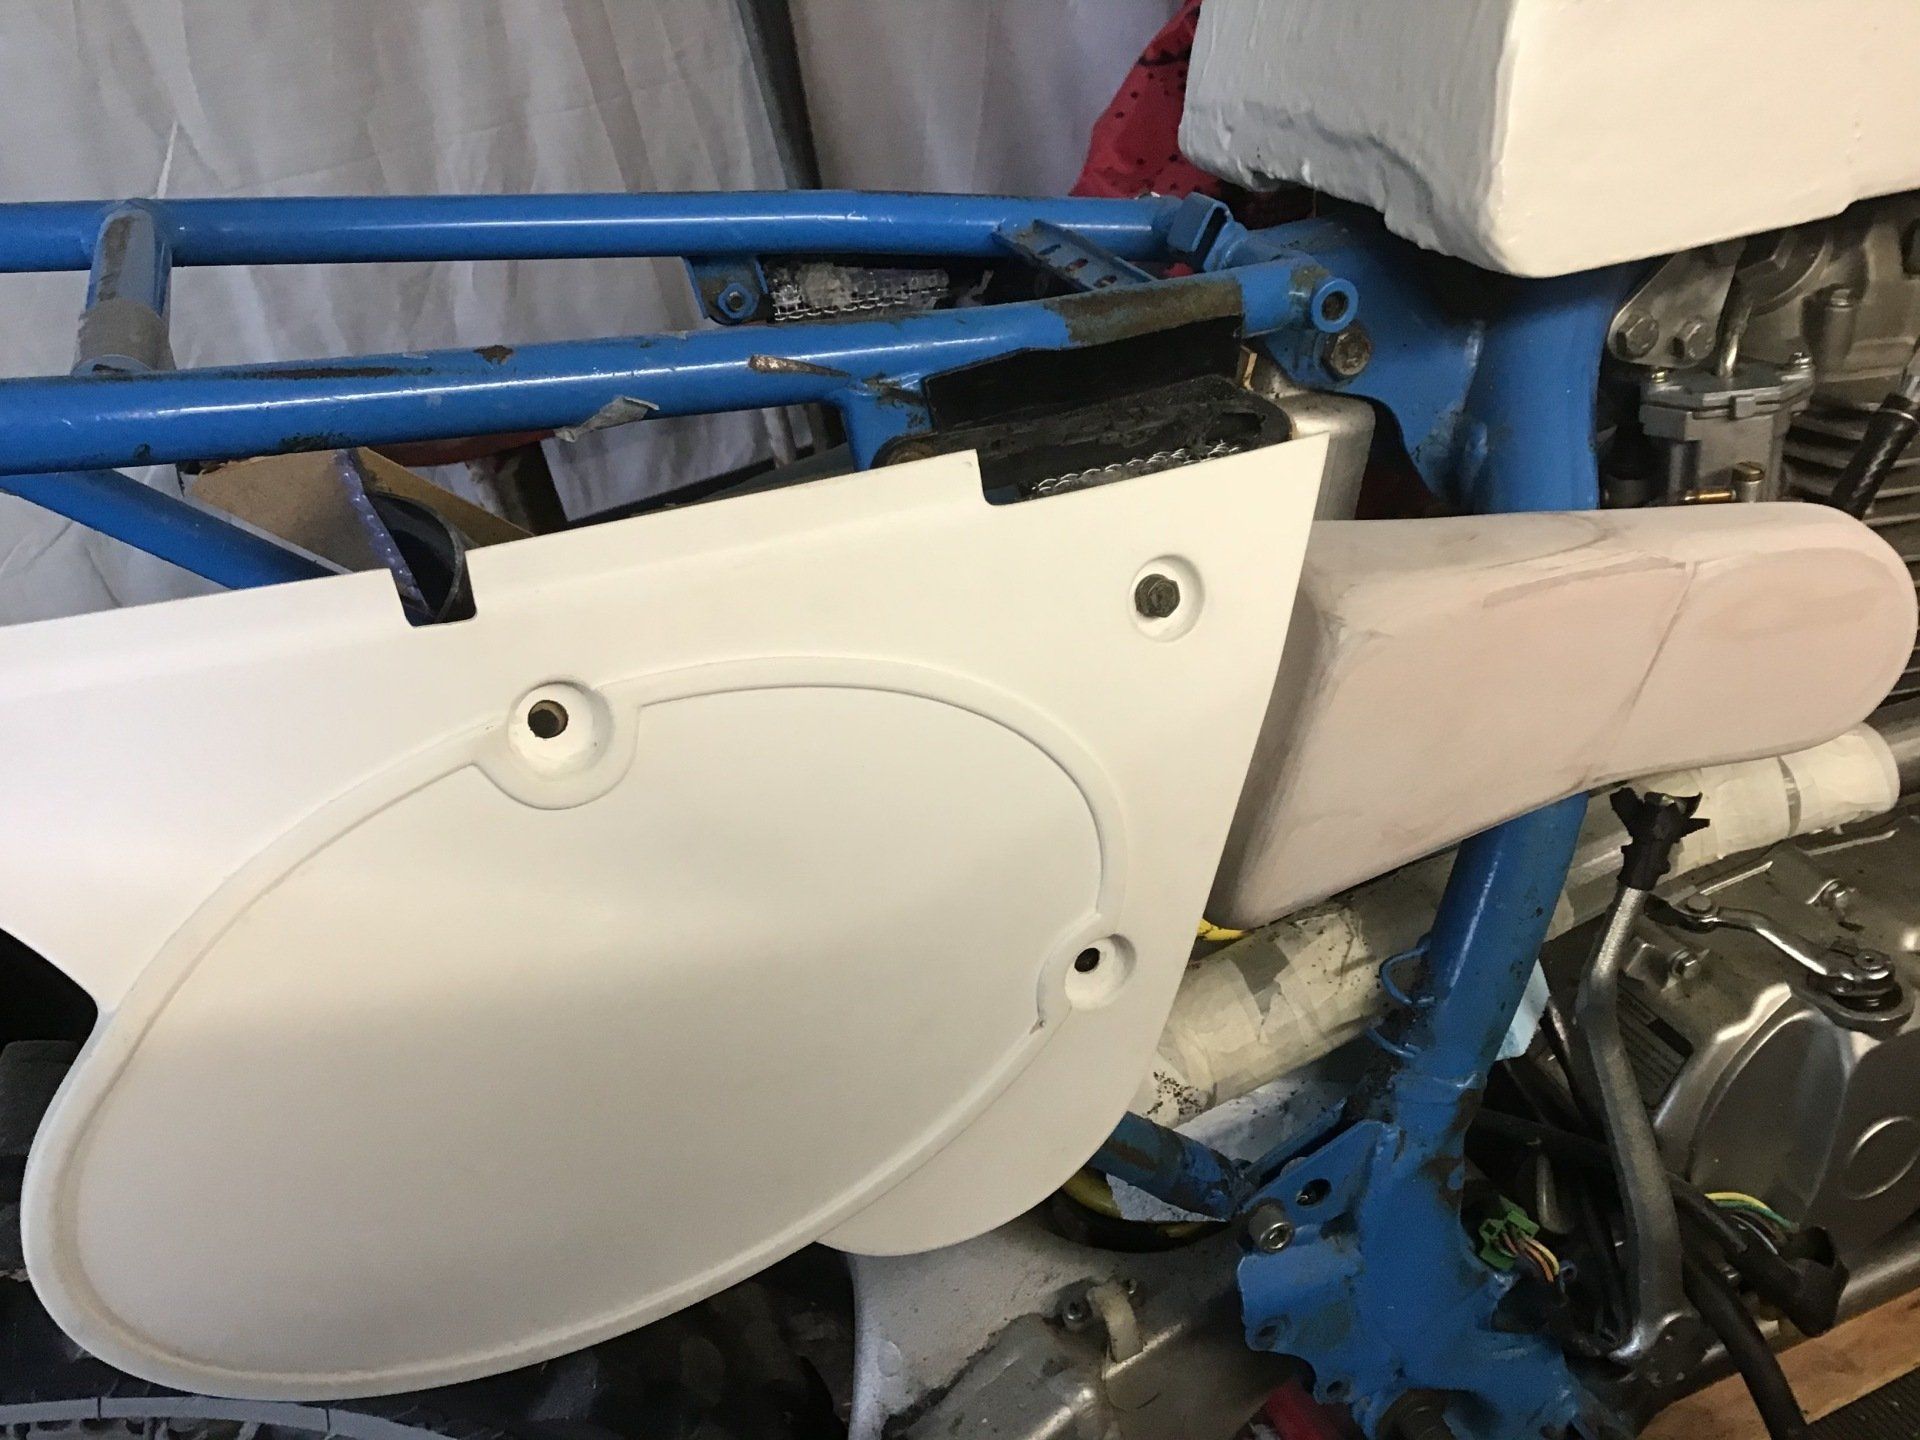
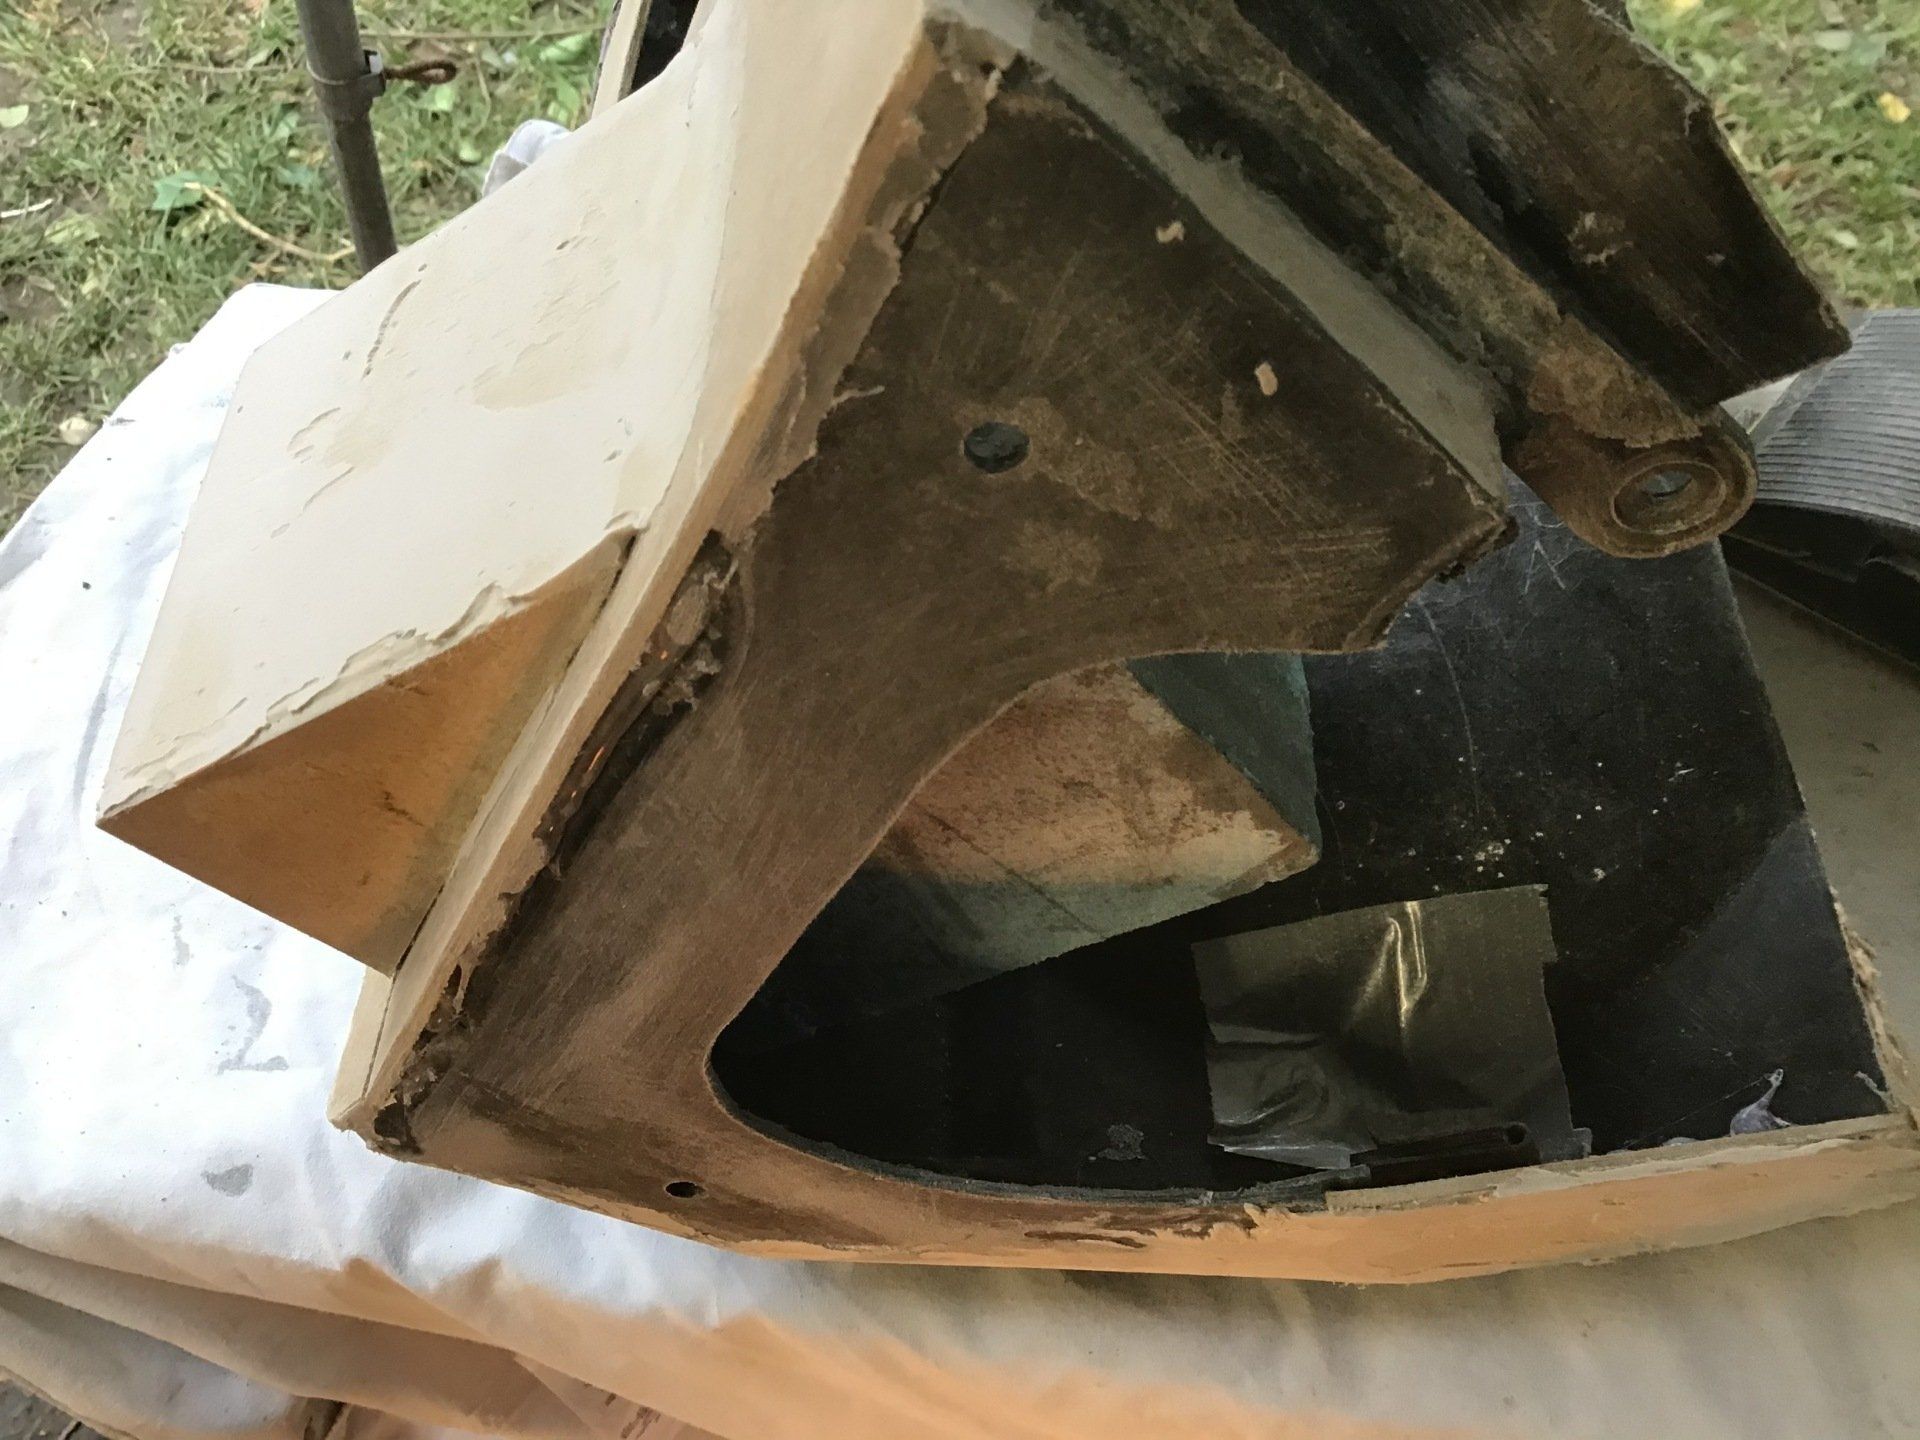
A quick check to see how it looks with the side panel.
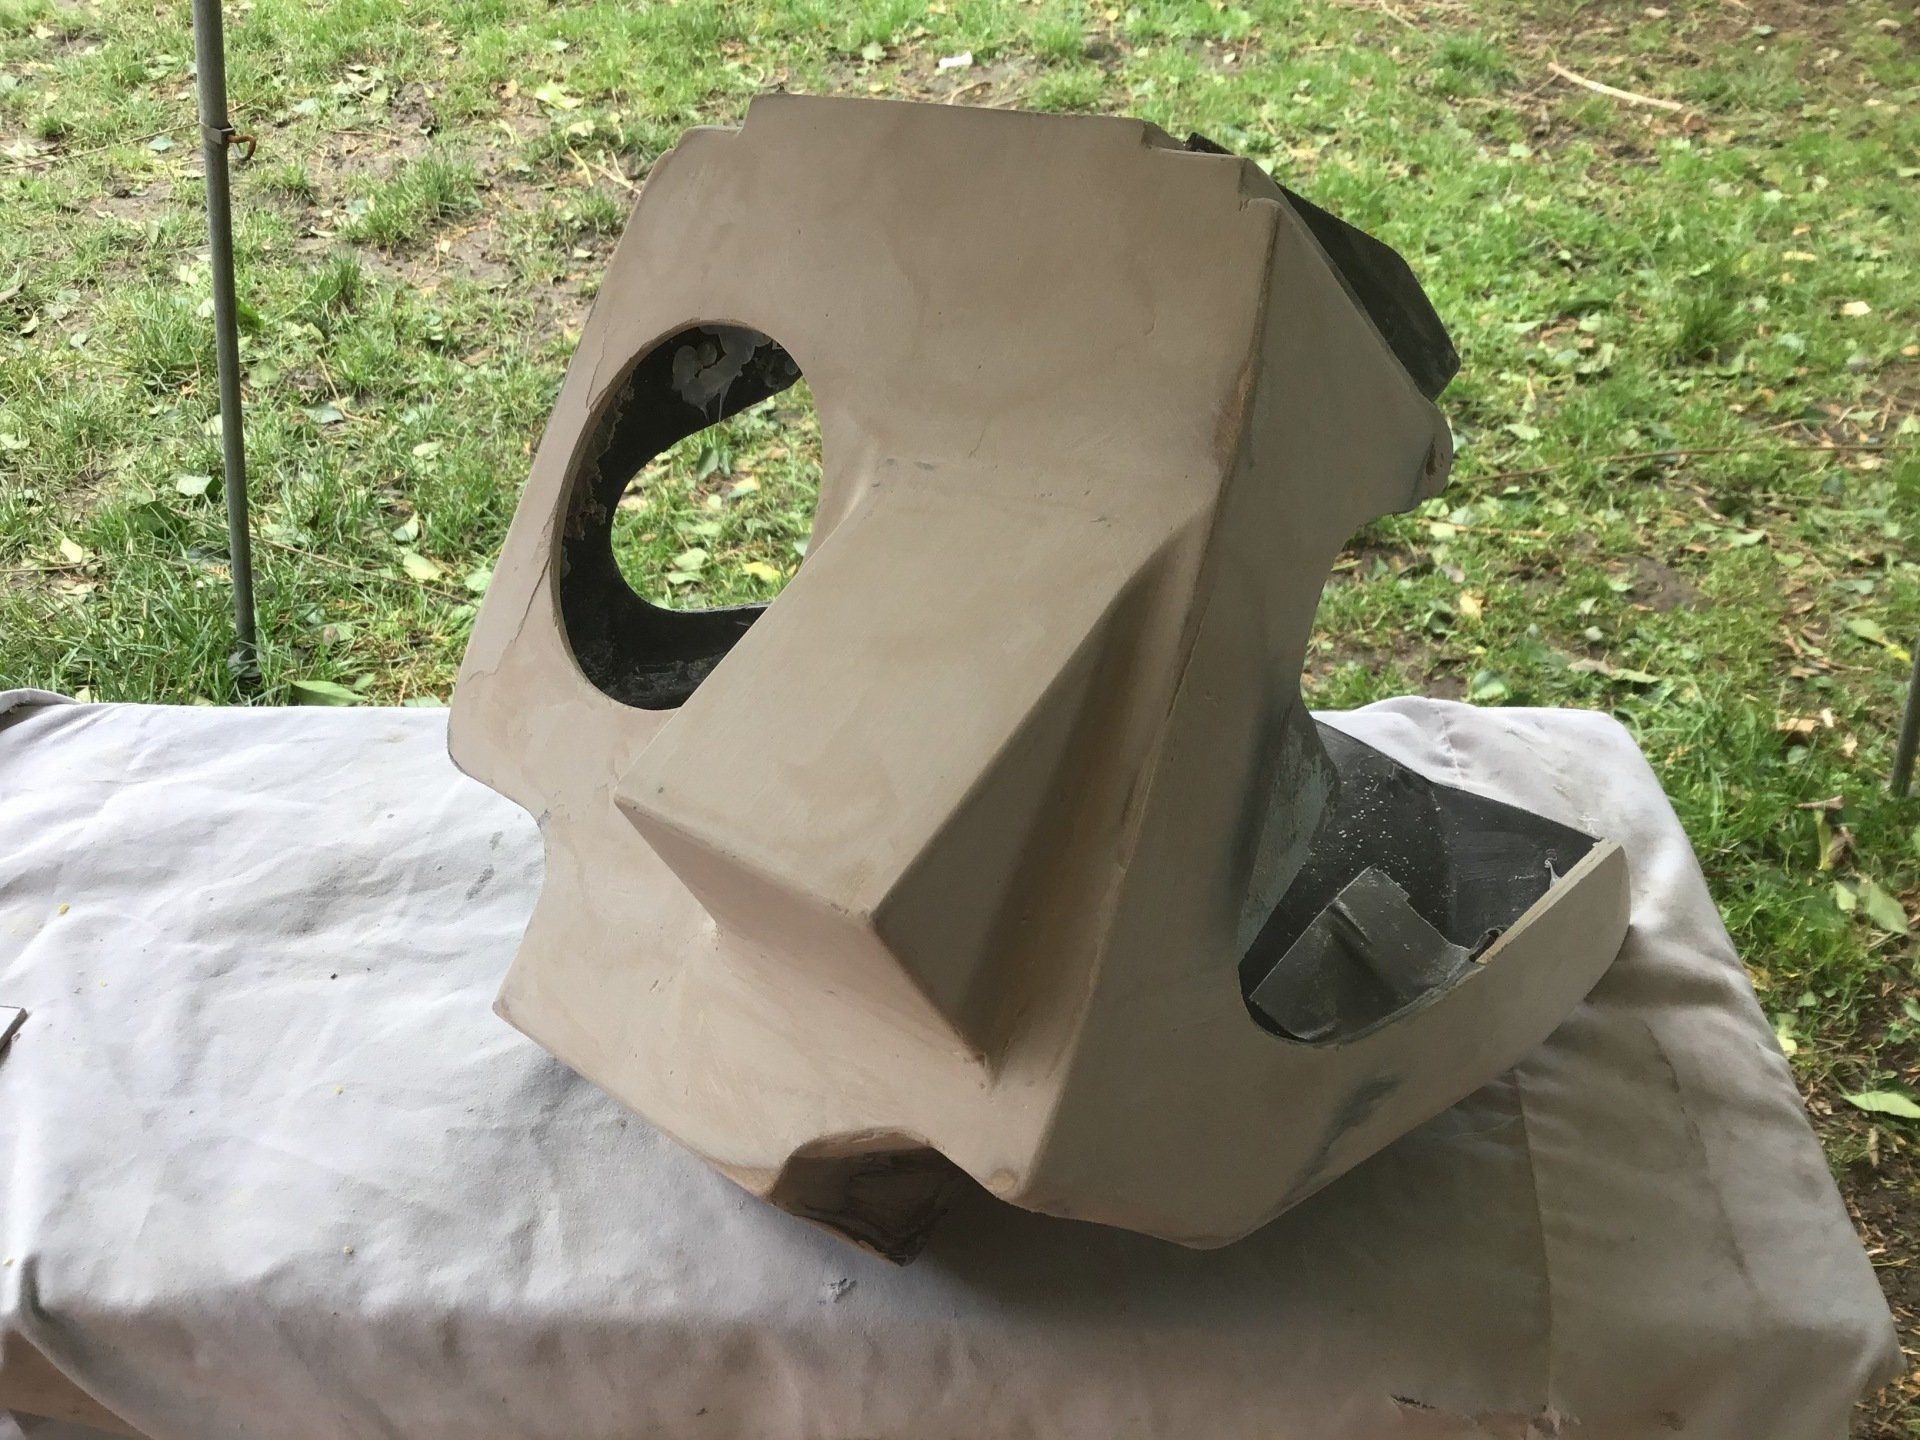
Now to make it look a little prettier.
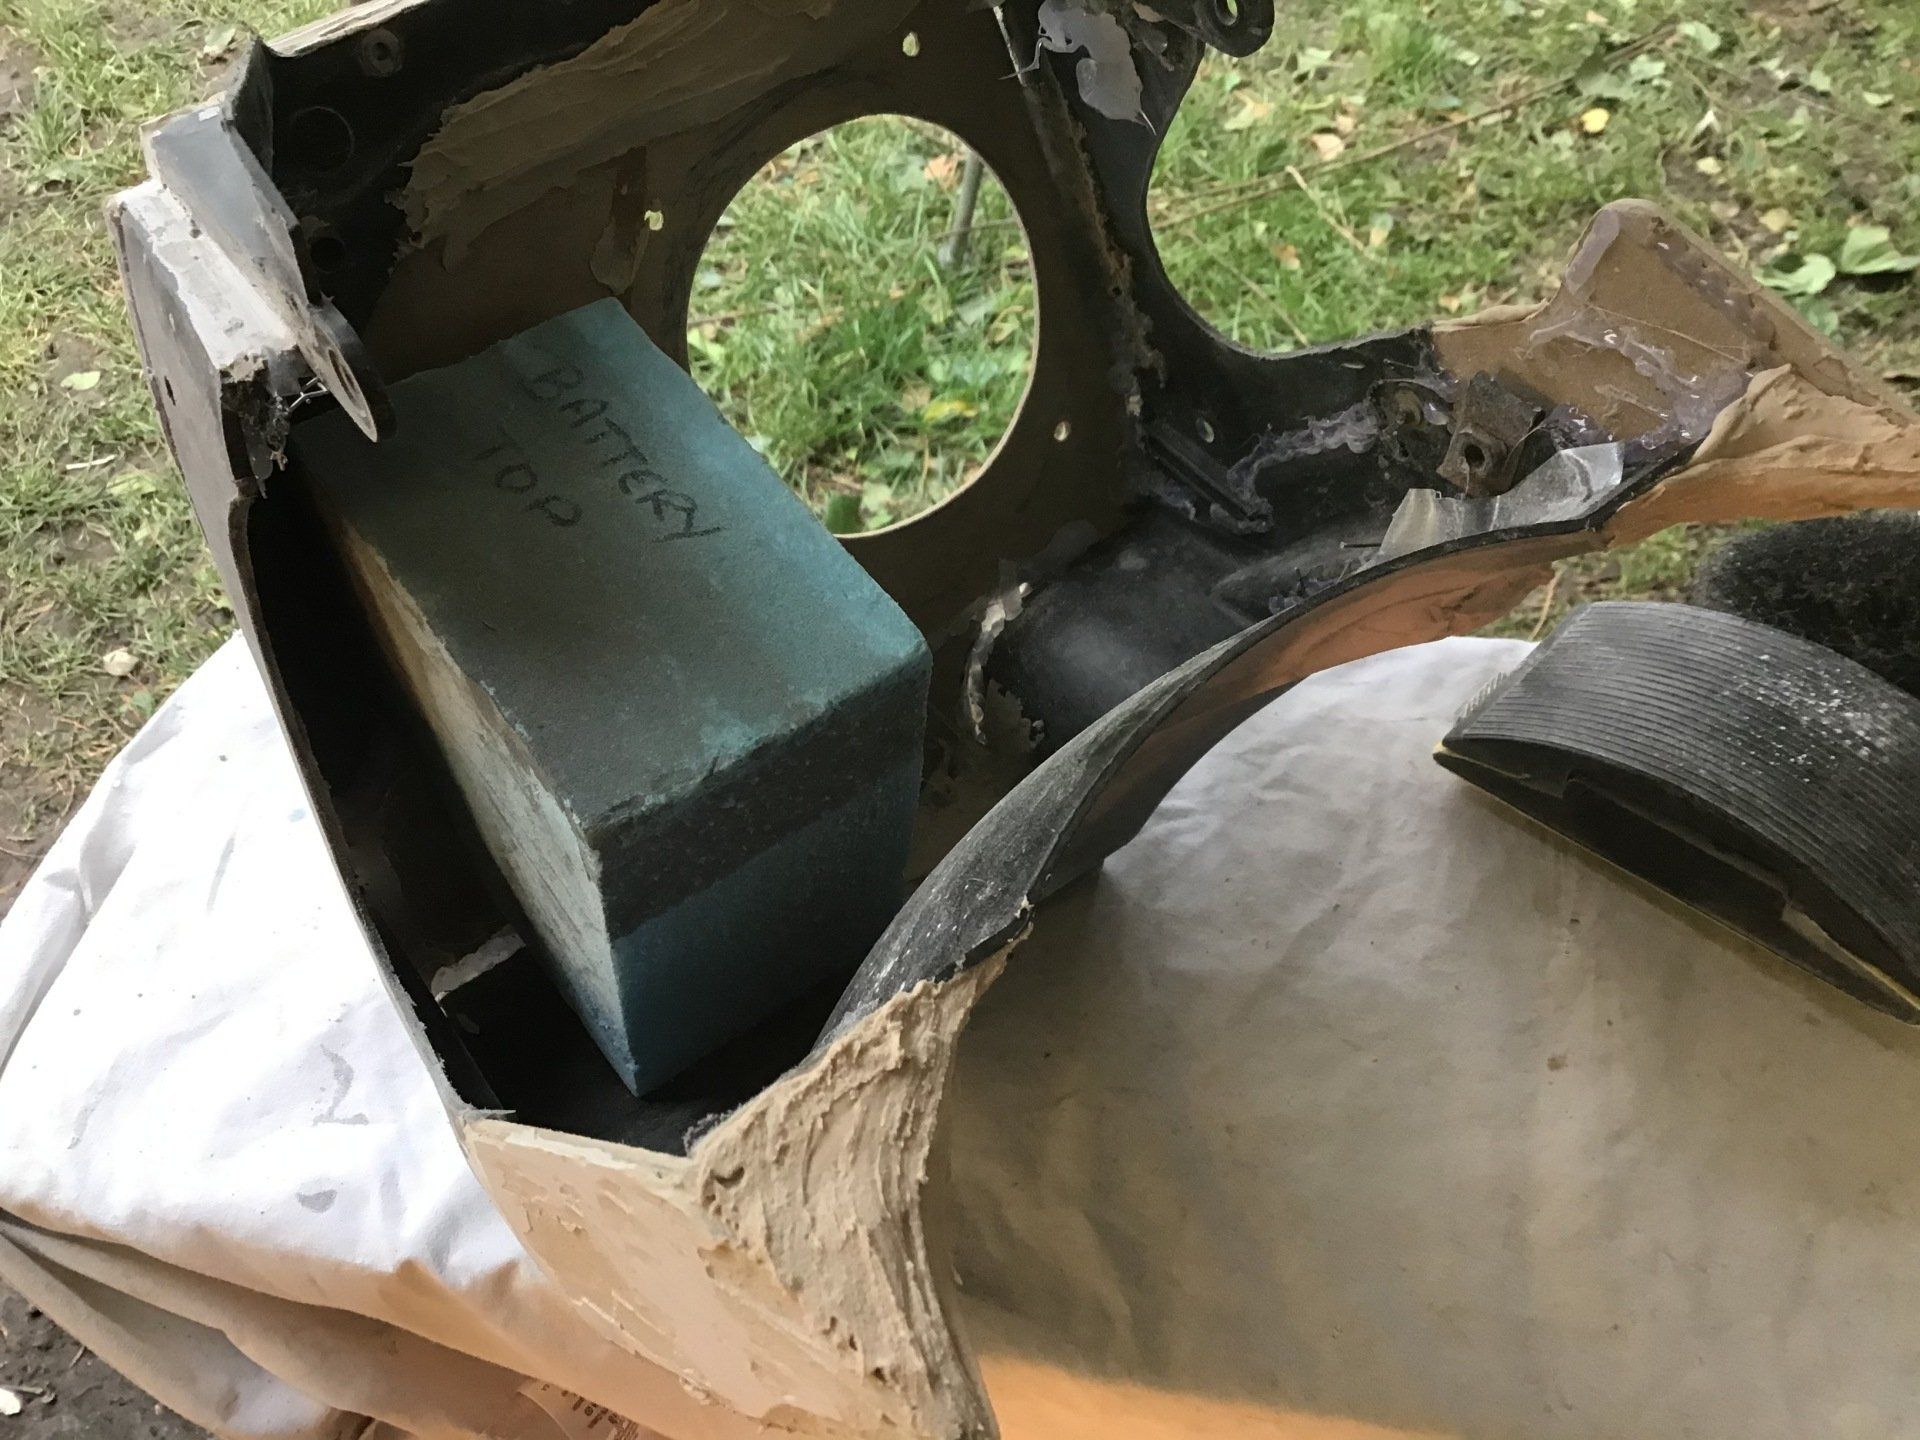
That looks a bit better.
It’s looking like this will then be used as a pattern to make a fibreglass version, but I need to have I think about that. Before that, though, I need to slap some filler on the air box itself…
Thanks to the combined efforts of storms Ciara and Dennis, there hasn’t been much progress this week.
My current work-shop for this project is a Clarke Instant Garage (basically, it’s a tent!) and it has spent much of the last week inflated by the wind and straining at its ground anchors like an odd shaped blimp. It’s not been somewhere that I’ve been keen to spend time, particularly as it’s pitched quite close to some tall, wobbly trees!
My current work-shop for this project is a Clarke Instant Garage (basically, it’s a tent!) and it has spent much of the last week inflated by the wind and straining at its ground anchors like an odd shaped blimp. It’s not been somewhere that I’ve been keen to spend time, particularly as it’s pitched quite close to some tall, wobbly trees!
Those are my excuses for the lack of progress on the project bike. However, the air box has gained some body filler.
This will all need to be sanded nice and smooth. Once finished, it will be time to get the fibreglass out again and make it for real.
Weather permitting, there will hopefully be more progress to report next week.
Weather permitting, there will hopefully be more progress to report next week.

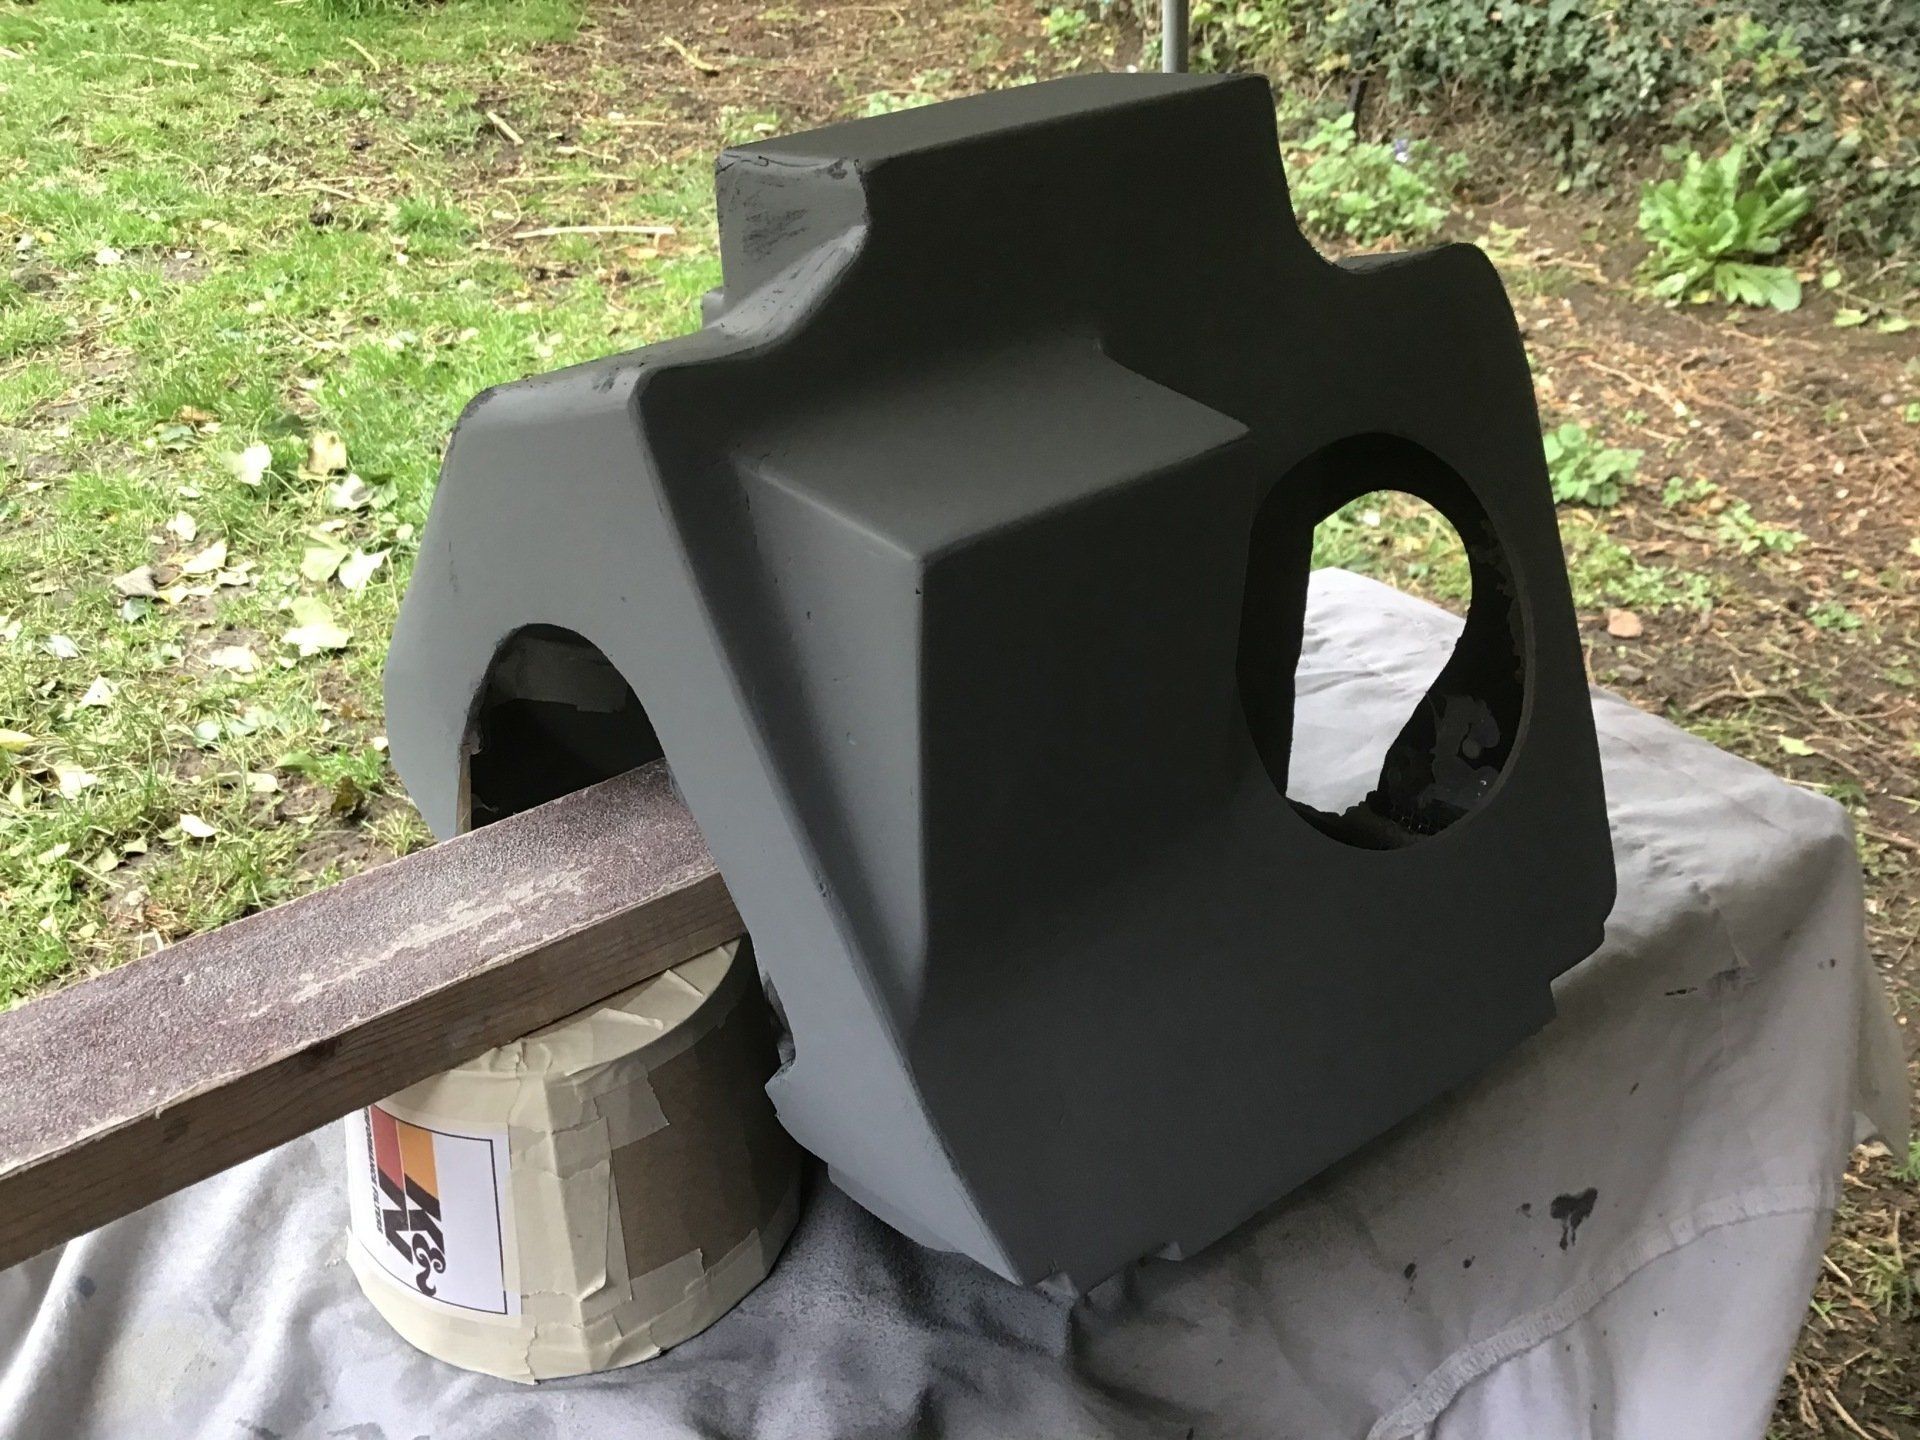
This week has mostly been about filling and sanding, but the effort has been worth it as the air box starts to take on its finished form.
It's the right size and shape now.
Eventually it's time to add a coat or two of high build primer, which really highlights all the blemishes that need addressing before it can be used as a pattern!
Once I finally get to finished pattern stage, I then need to carefully consider how I’m going to take a mould from it. As it’s a complicated shape, a one piece mould isn’t suitable - you’d never be able to get the moulding out - so it needs to be a split mould and that means I need to decide where the split lines should be…
No Monday article next week as the new issue of the magazine will be available online instead.