Monday Articles March 2020

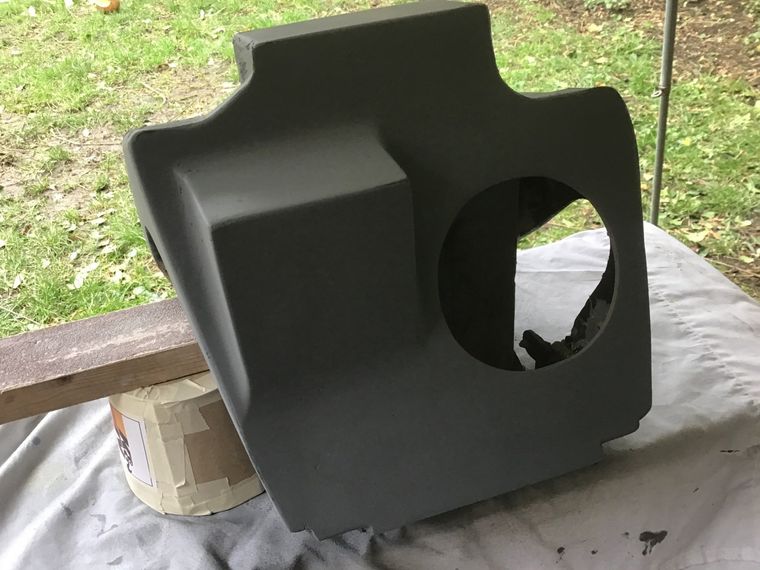
The last time you saw this air box it looked like the picture below, and to be honest, not much has changed. The intervening time has been spent filling in and sanding down all the blemishes that the primer coat highlighted.
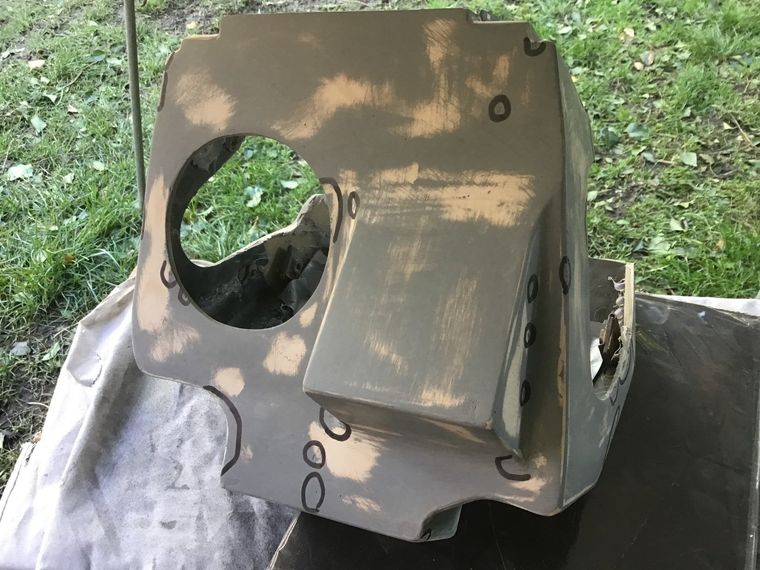
I circle all the areas that I want to deal with otherwise I end up missing some!
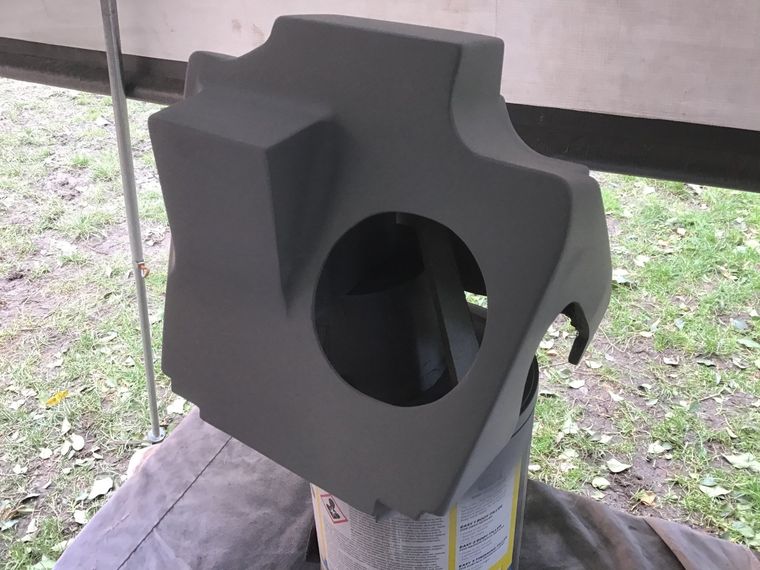
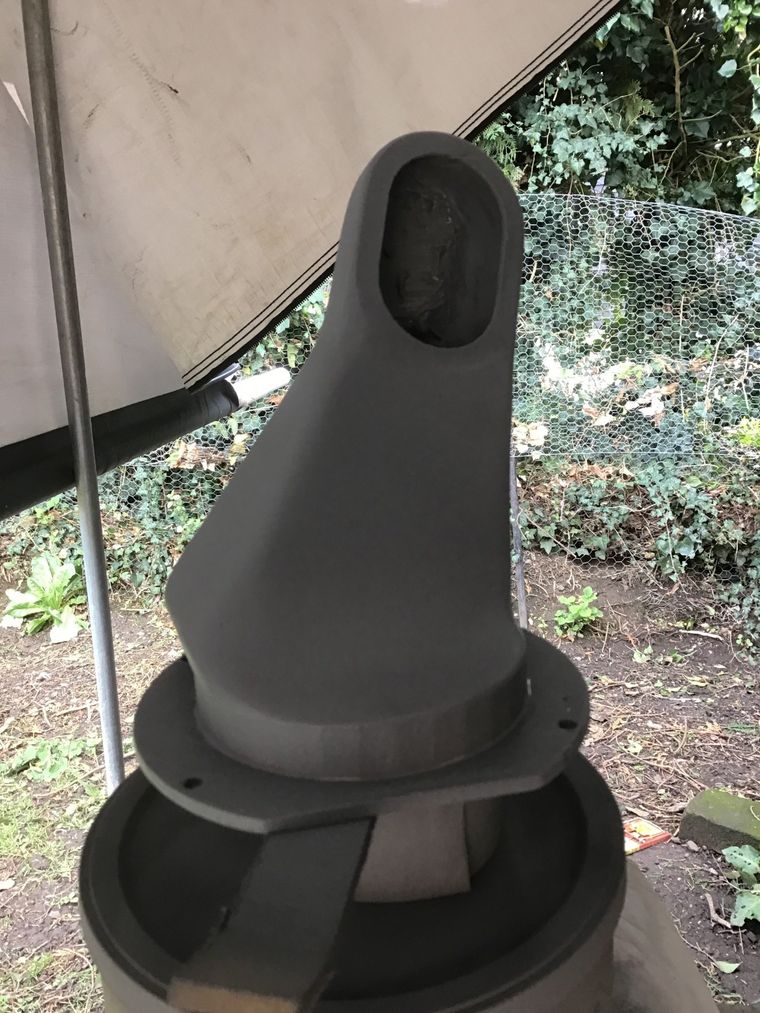
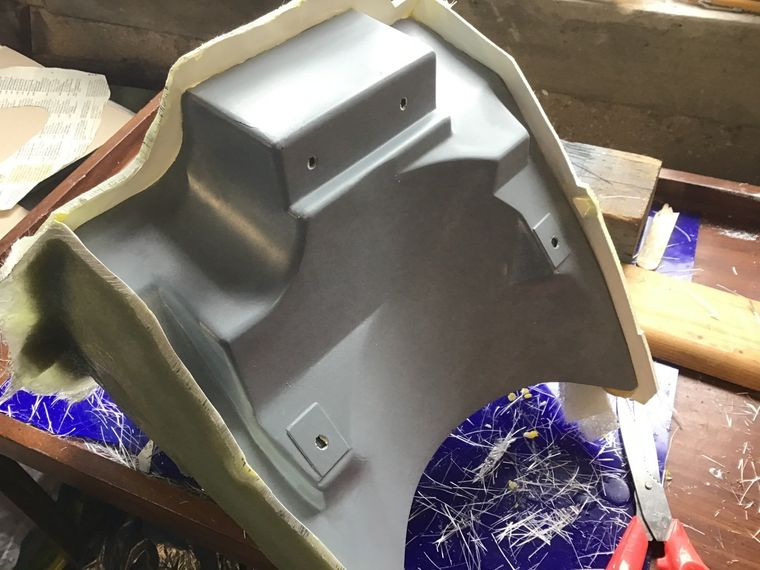
And now after much filling and sanding, it looks like this. It's still not perfect, but it's an air box and as most of it ends up hidden behind side panels, rear mudguard etc., it'll do.
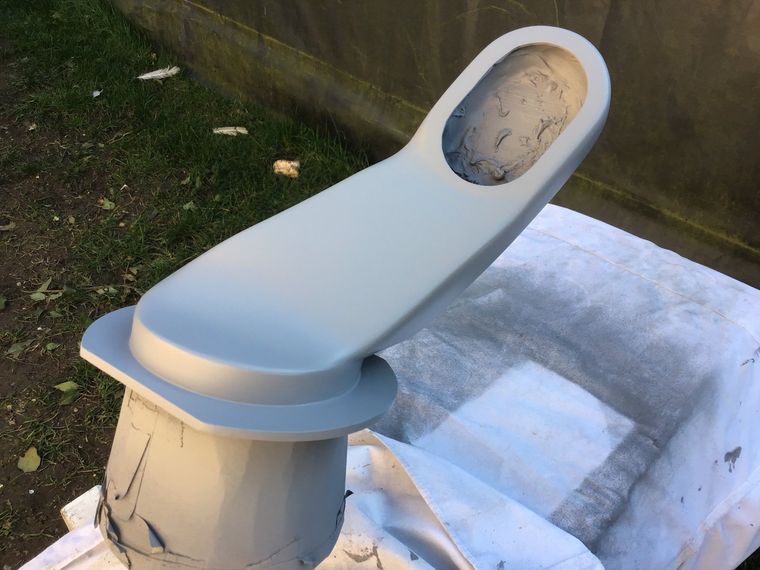
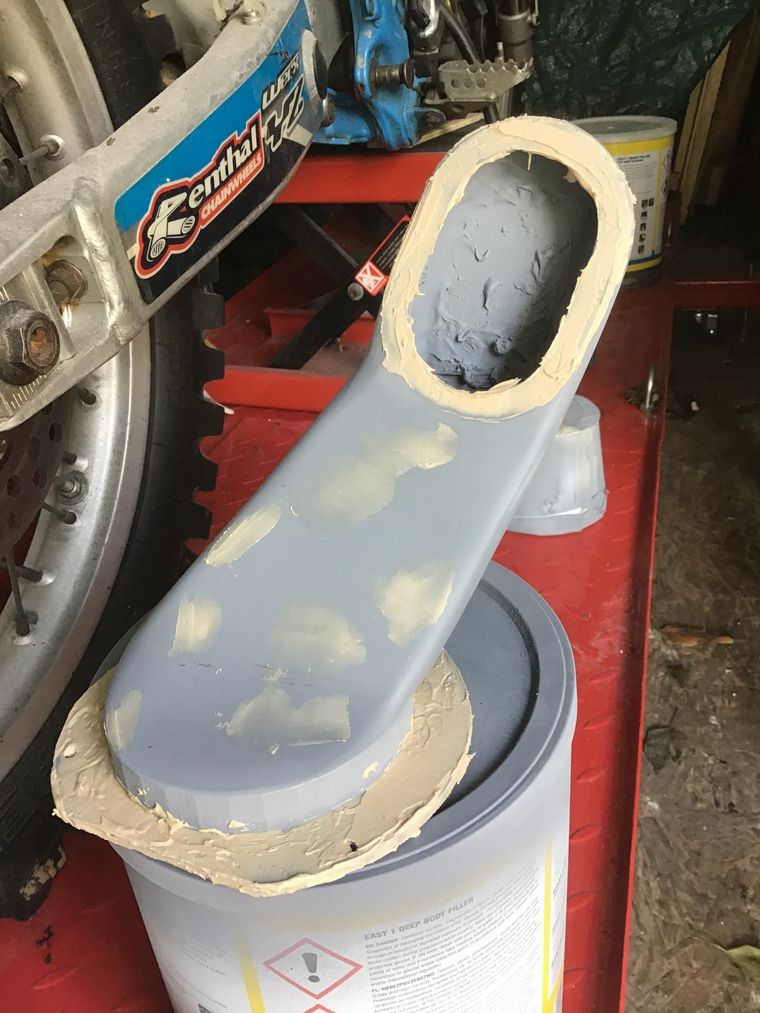
The air boot got its first coat of primer. It will also need to go through the time consuming filling / sanding regime, especially the 3D printed areas as they are a bit rough.
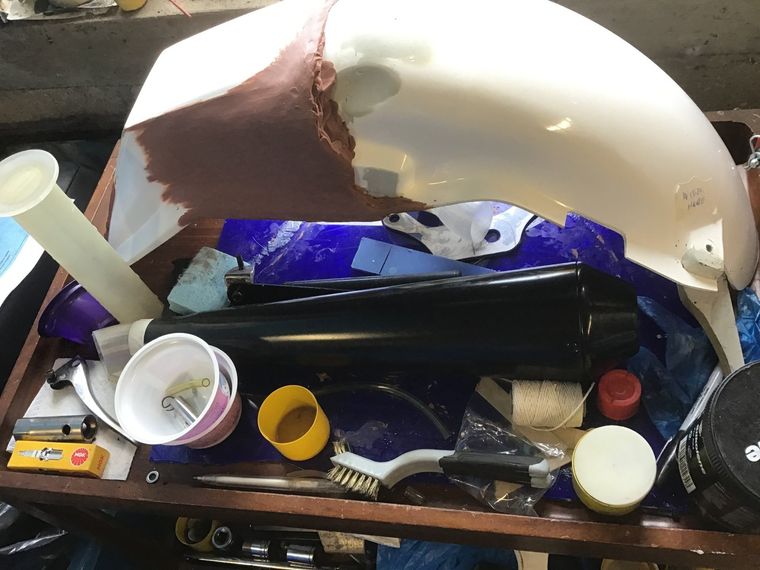
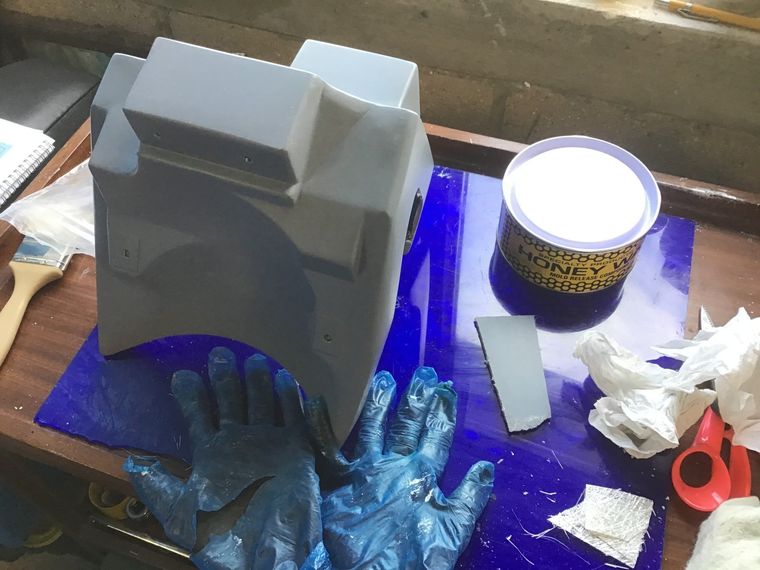
This is the table that I use for fibreglass work, so before I can start thinking about making moulds, I really need to find proper homes for this stuff!
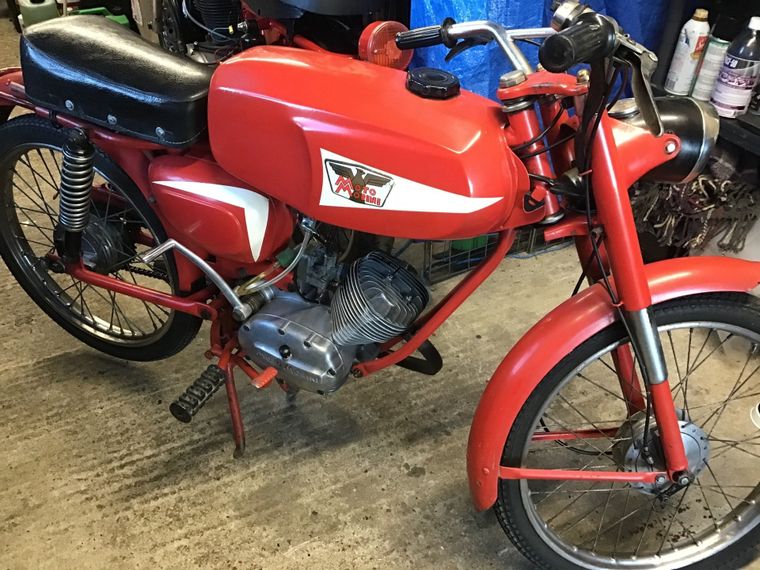
This is the other reason that project progress has slowed. Here is the latest addition to the family, a Moto Morini Corsarino. 50ccs of pure awesomeness! It needs a bit of work before it can safely hit the road. You can find more details about it in the Gallery section of the website.
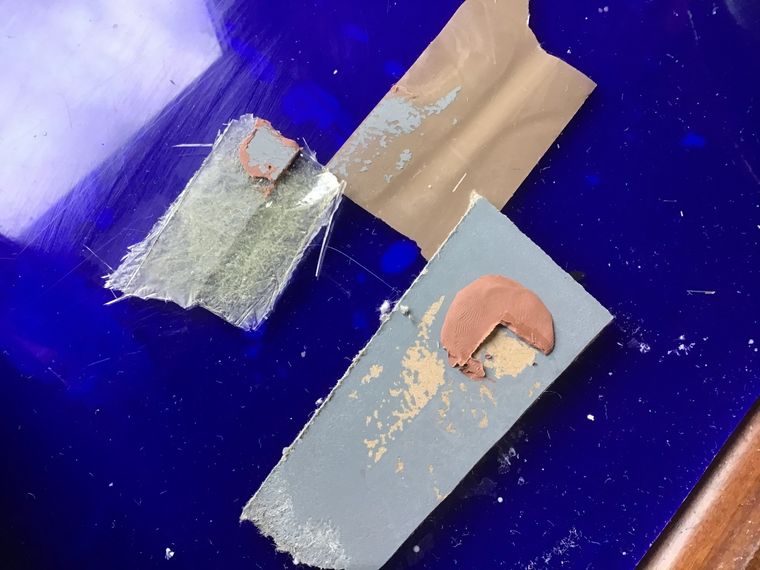
In an effort to make this GRP work run more smoothly than the previous effort (the side panels) I've remembered to do a test piece. Here I'm testing first that the resin doesn't react with the paint used, and also possible materials to use to make borders around the pattern. (It's shape means that in this case the mould needs to be made in sections.)

Here's the results after the resin has set. The resin has pulled some of the paint off, but that's ok, it's just because the paint hasn't adhered to the mdf well, it hasn't reacted with the resin. You can also see that the moulding clay has removed paint (worse than the resin did) and stuck to the resin. Again this isn't as issue, the clay hasn't reacted with the resin and can be cleaned off, but it's a pain to do for a large area. Resin doesn't stick to brown parcel tape, but the tape has pulled quite a lot of the paint off.
With the test concluded, it's on with polishing the mould, at least six coats to ensure that no areas are missed.
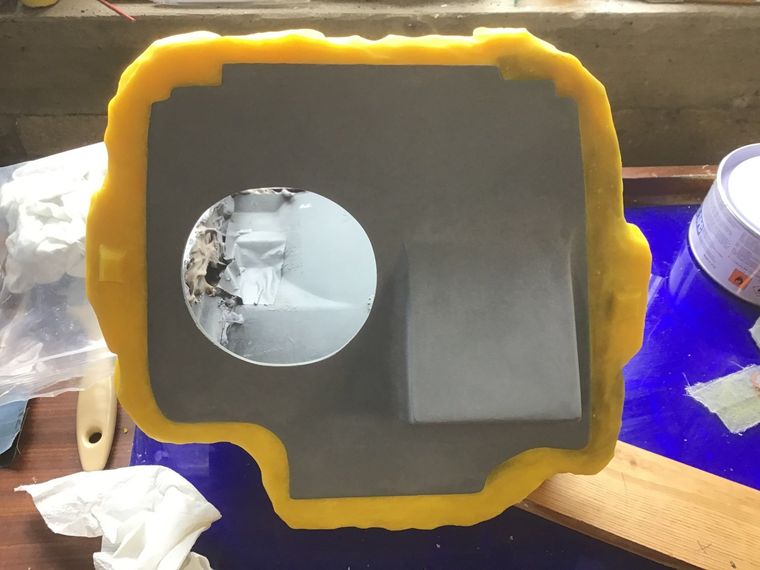
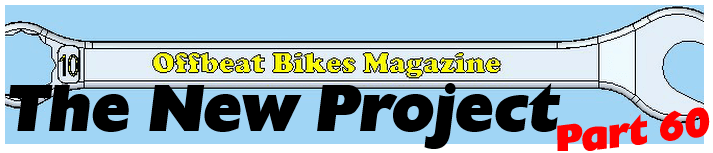
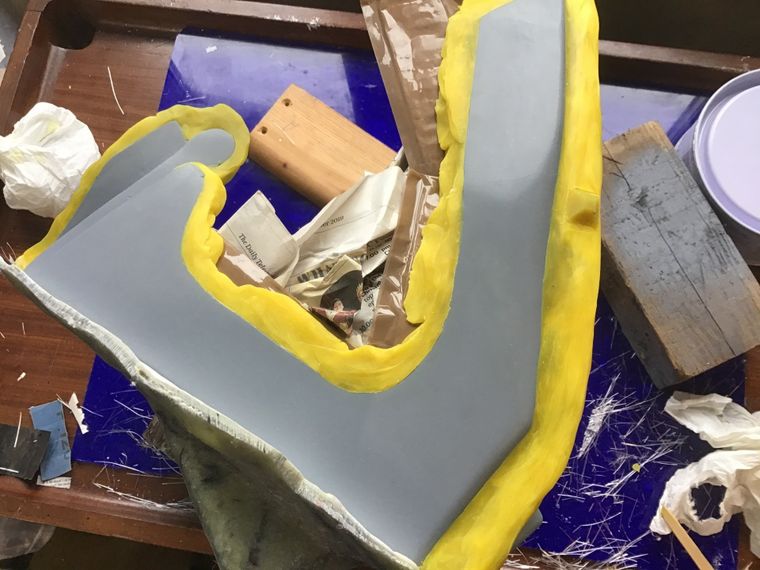
This is the first section that I intend to mould. Before, I've used cardboard covered in parcel tape to form the border, but this time I'm trying a moulding wax one. It's was time consuming to do, and it doesn't grip too hard - which makes it easy to remove after moulding, but it will also move if I'm too rough applying the fibreglass mat during the moulding process. It's still quicker than trying to cut cardboard to shape, cover it in tape and then find a suitable way to mount it on the pattern. Time will tell how well the wax works...
In between coats of polish, I've also started making the air boot pattern nice and smooth, ready for it to be used to make an even more complicated mould!
There's also been a little progress with the Moto Morini Corsarino, read about that HERE.
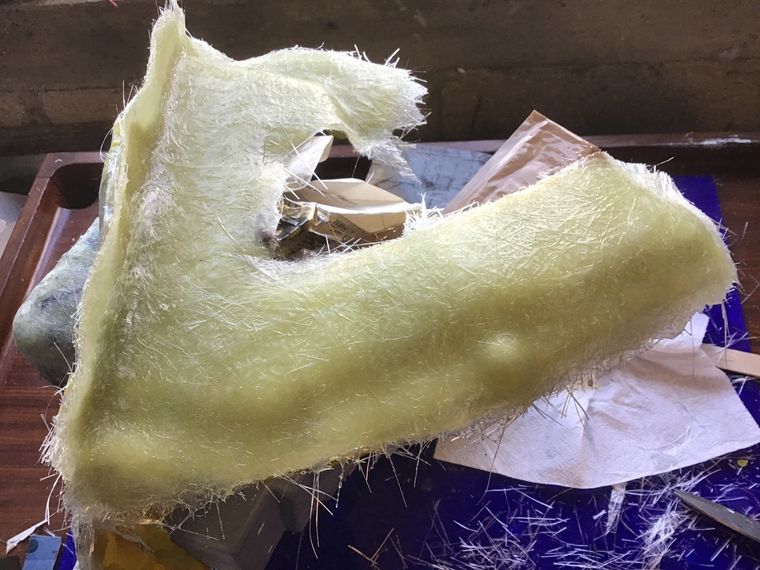
That's the front of the air box mould all laid up. It doesn't look pretty because I've used up lots of scraps of fibreglass mat to bulk it up. A rule of thumb is to make the wall thickness of a mould twice that of the component that it's going to make. The finished air box will have a 2-3mm wall thickness, so in this case I've gone for around 5mm.

Before I can lay up the next section of the mould, I need to remove the wax wall used around the front face.
After digging away with a wooden lollipop stick, eventually it's all gone.
The edges of the mould have also been trimmed to remove some of the excess fibreglass.
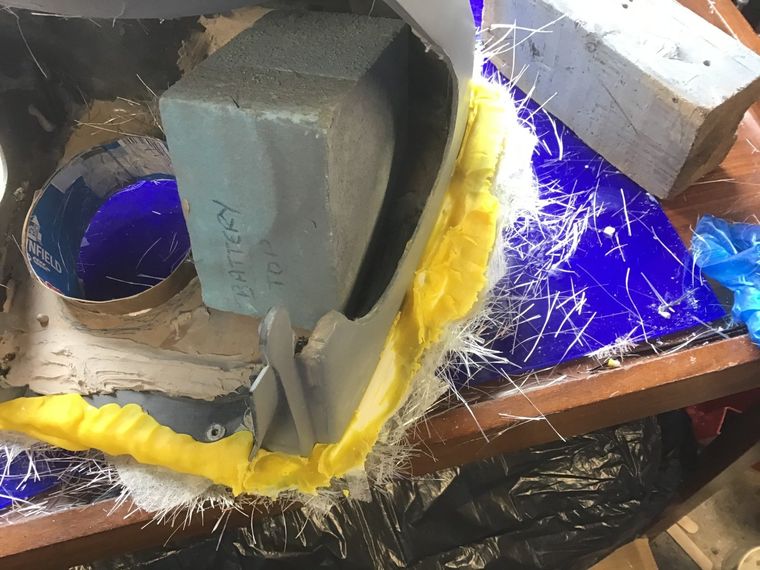
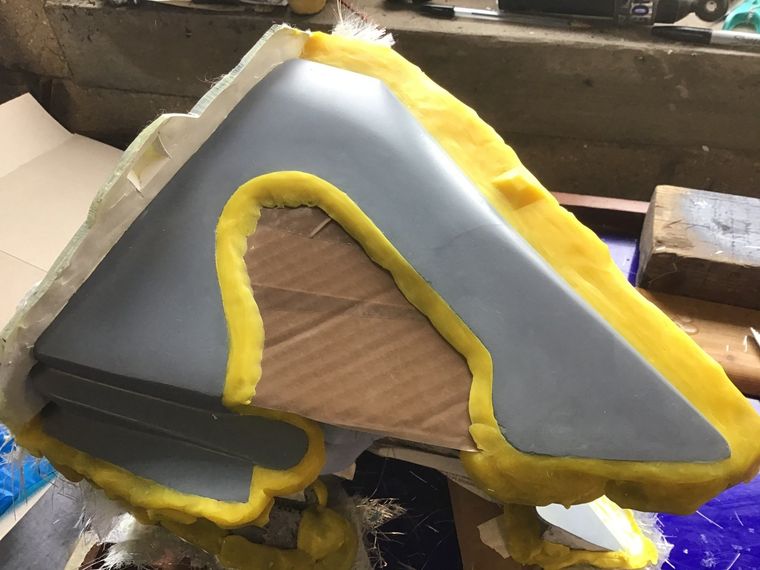
The yellow wax is now reused to section off the next side to be moulded.
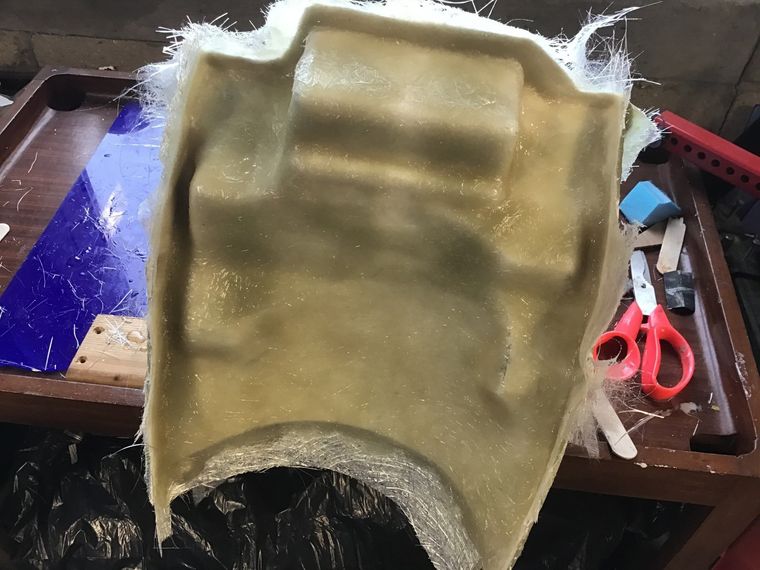
After making sure that the pattern and the newly laid fibreglass edges have received many coats of release wax, it's on to laying up the second side. Here it is after the gel-coat has been added.

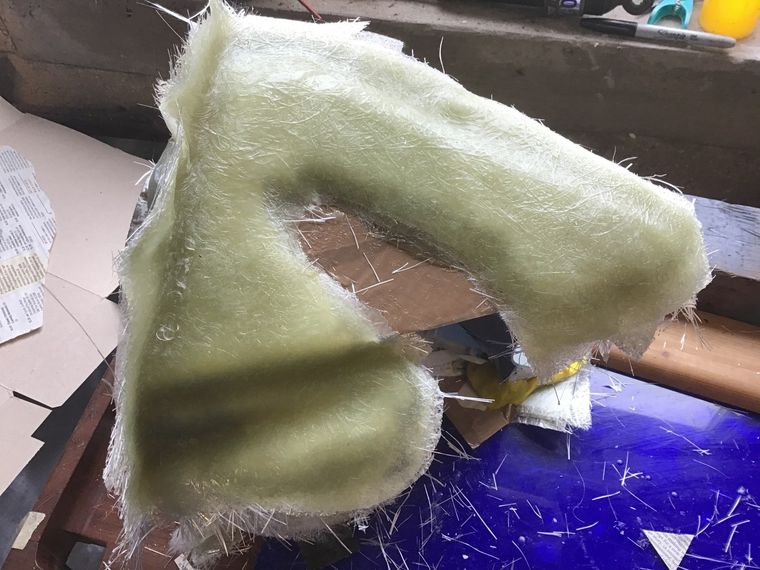
And here it is again after many layers of fibreglass chopped strand mat.
After letting the first side cure, the process is repeated for the other side.
And after 5 layers of fibreglass, here it is again.
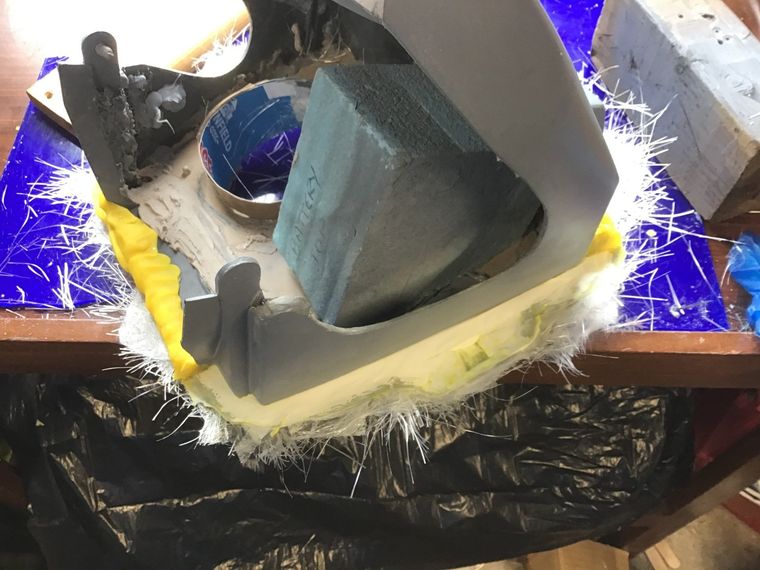
The pattern is now ready for the last side to be laid up. As you can see, all of the wax has been removed and the edges trimmed.
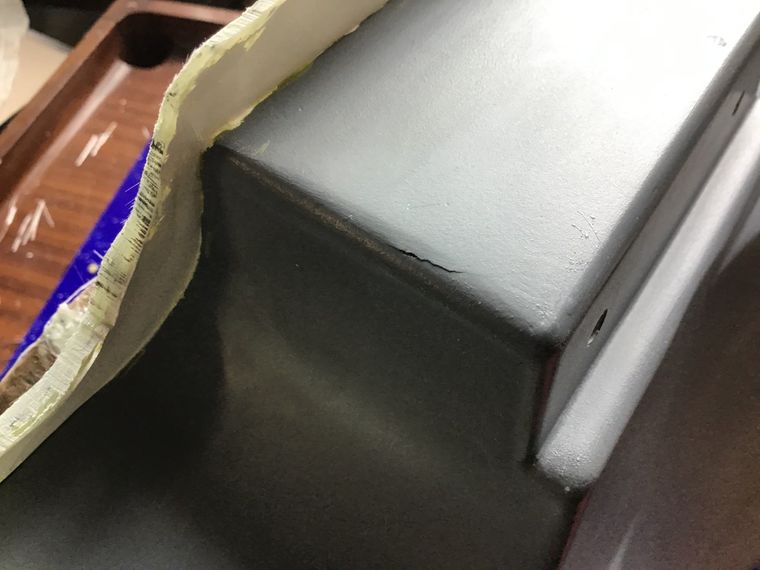
The pattern didn't escape damage during the moulding process. It is largely constructed of plastic and body filler, and in a couple of places, the plastic has flexed slightly as the fibreglass layers have been applied and the body filler has lost it's grip, causing some cracks. I'll leave these for now and address them later, either by repairing the mould or by some remedial work on the moulding itself (it's going to be painted, so a bit of sanding and filler isn't going to be noticed).
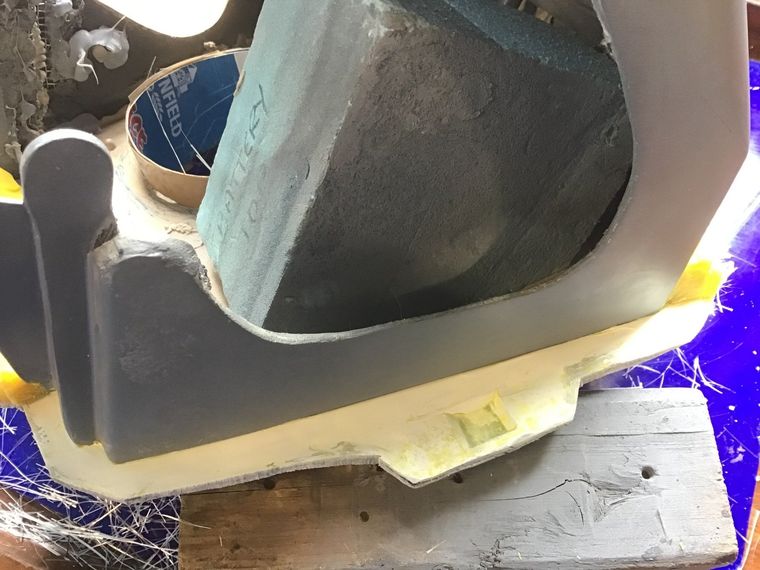
Finally, it's time to lay up the final side. Here it is after about two layers of fibreglass.
Finished mould. After sufficient curing, it'll be time to try and prise the sections off the pattern. I'll soon find out if I did a good enough job with the release wax...
Before the mould is separated from the pattern, some holes are drilled in the flanges around the edge. These will allow the mould to be bolted back together again, with all of the sections (hopefully) matching up.
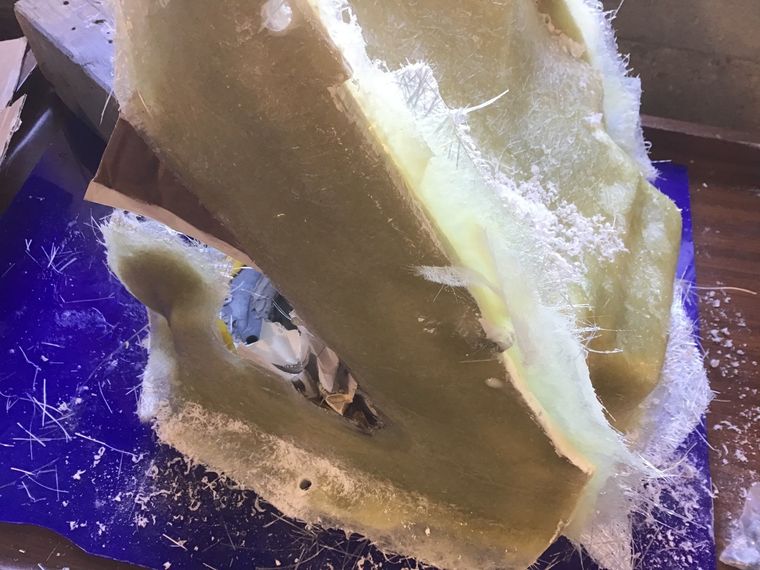
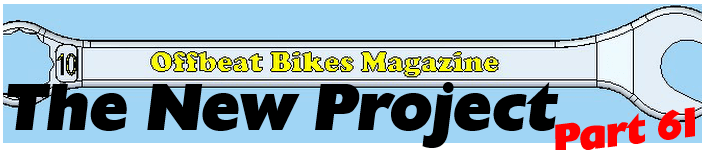
Time, then, to see if the mould sections will come apart, starting with the front. Various sticks and wedges can be used to separate mould from pattern, but wood or plastic are the best choice as they are less likely to damage the fibreglass. Despite sliding the wooden sticks around and releasing the mould in most areas, it was stuck on the battery housing.
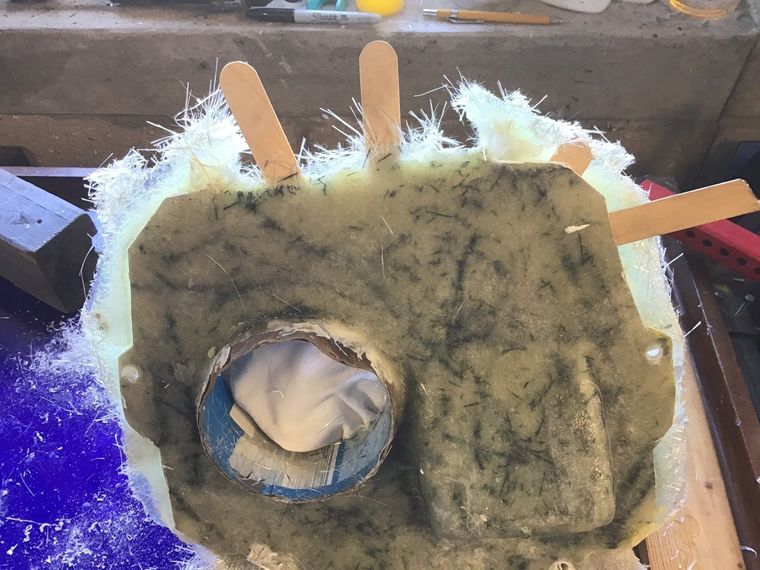
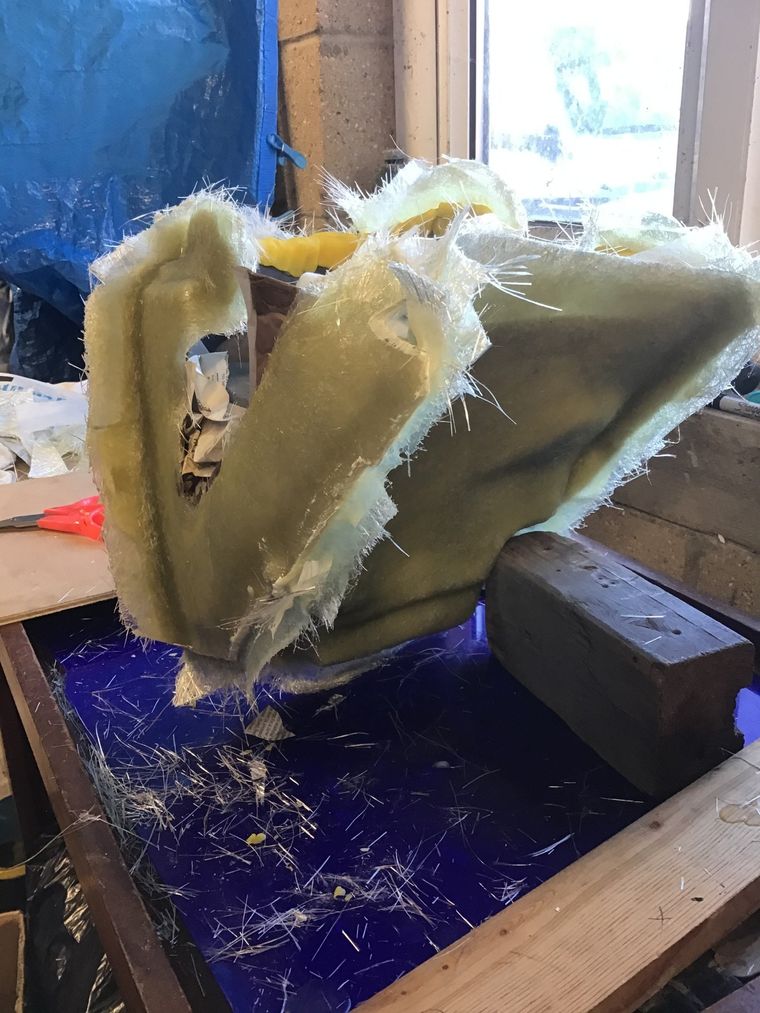
So stuck, that eventually this happened. I hope the mould turns out to be usable because the pattern no longer is!
Thankfully, the rest of the sections were much easier to remove. Here they all are, freshly released from the pattern.
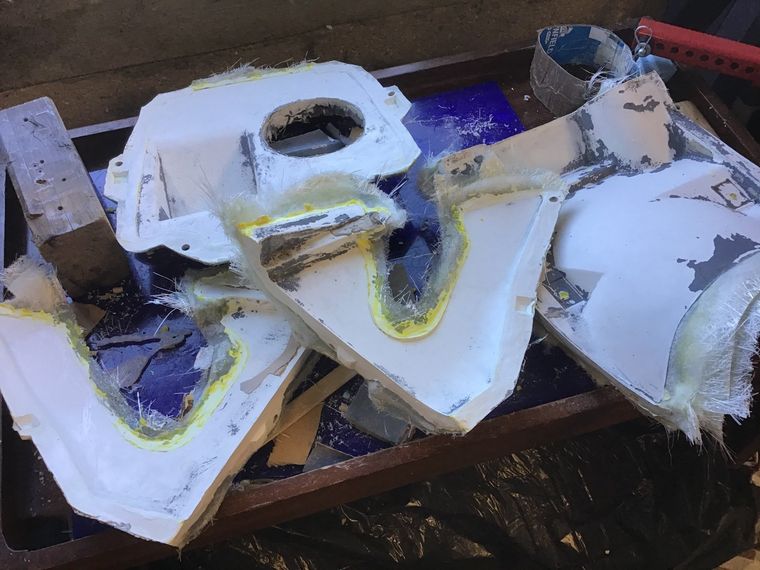
Here they are again, part way through the cleaning and tidying phase. The edges have been trimmed using the angle grinder and flap disc. This is a very quick and effective way of trimming fibreglass, but it's very easy to accidentally take more off than you should - then you have to get the filler out. While you're filling the defects that you accidentally created with the angle grinder, there are also likely to be a few more places on the mould which may also need a bit of filler.
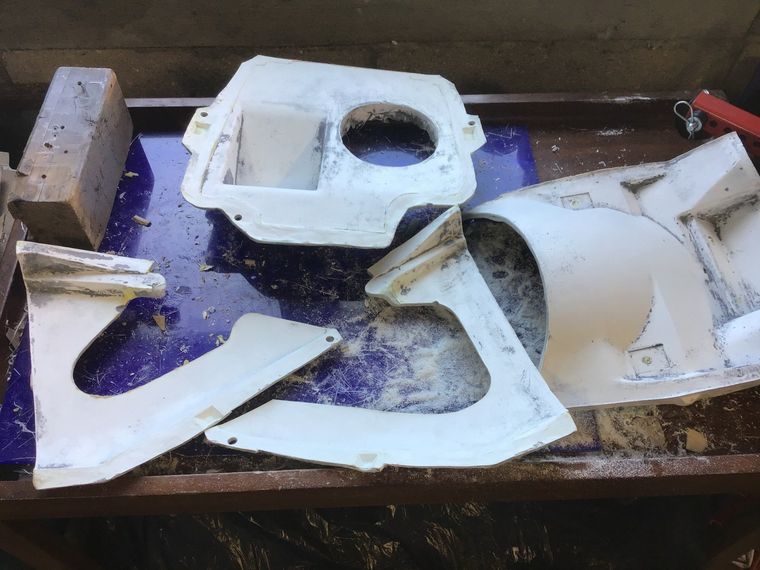
There it is, the finished mould. Defects filled, paint residue from the pattern removed, edges fully trimmed and ready for use.
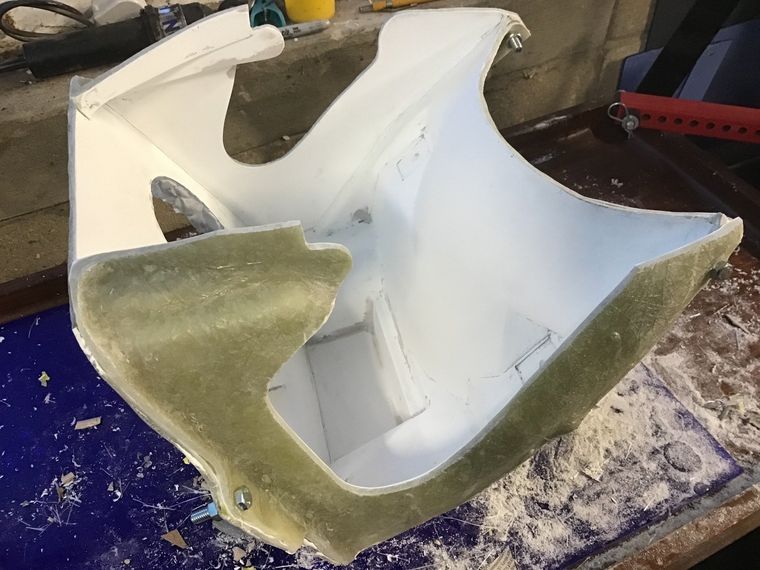
Before I lay up the new air box, however, I want to try and work out how I'm going to make the air boot. The pattern is finished and ready to go, but it's a complex shape - I need to give this some careful consideration.