Monday Articles - June 2021
Scroll down for latest instalment
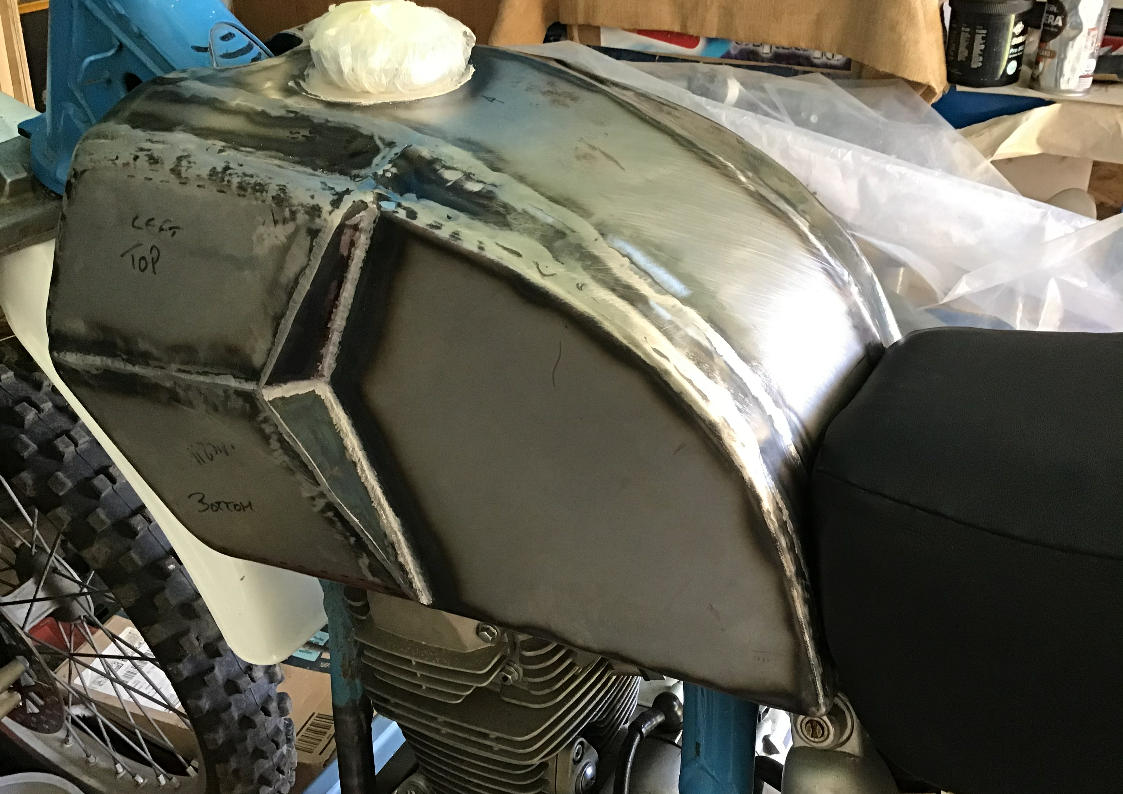
Time for a short progress update, the tank is now fully welded and with the help of a bicycle pump and some leak detecting spray (usually used for checking for gas leaks from welding setups) all the pin holes have been chased down and welded up.
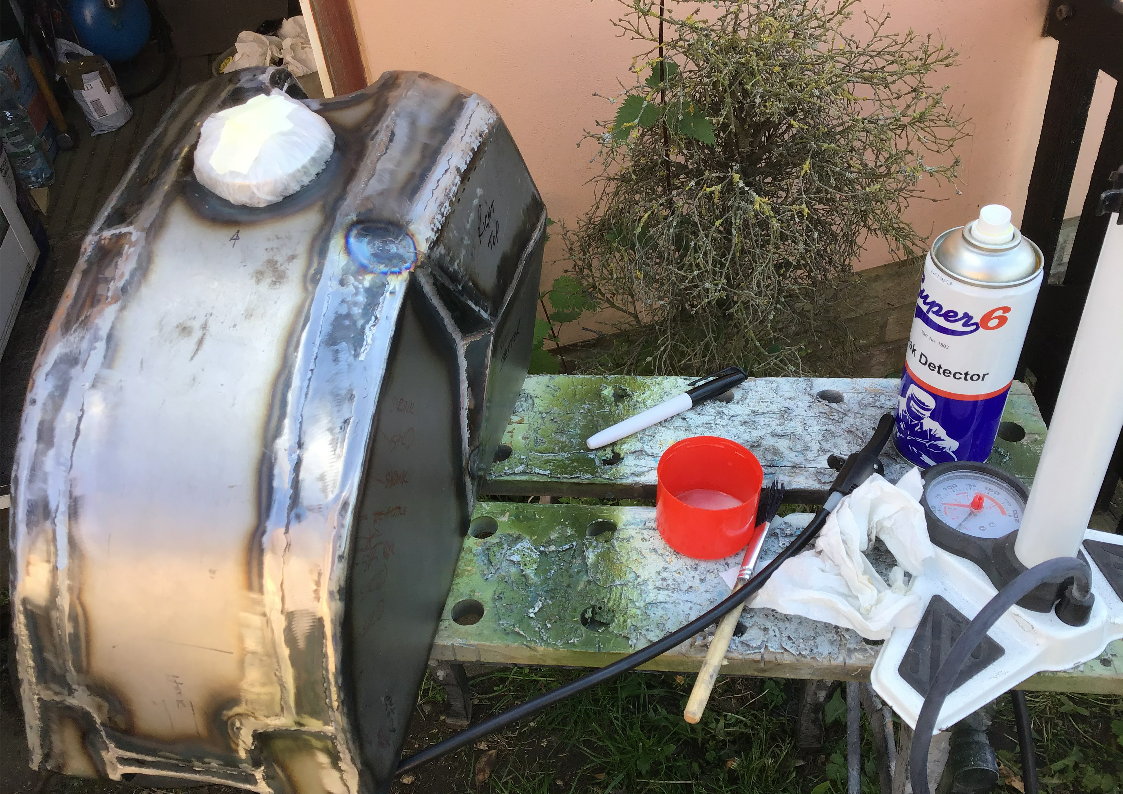
And a hook has been welded to the back of the tank to fix it in place, temporarily at the moment with a cable tie until I find something better.
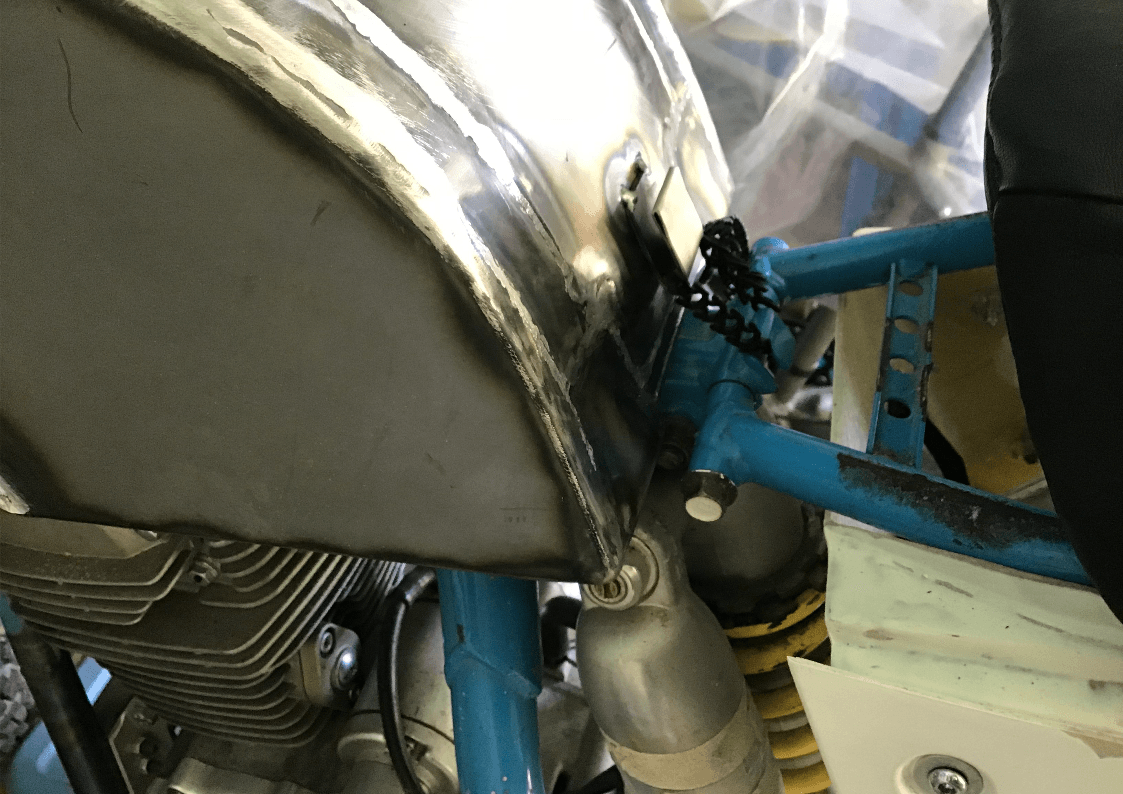
With the seat on the hook and cable tie are hidden from view.
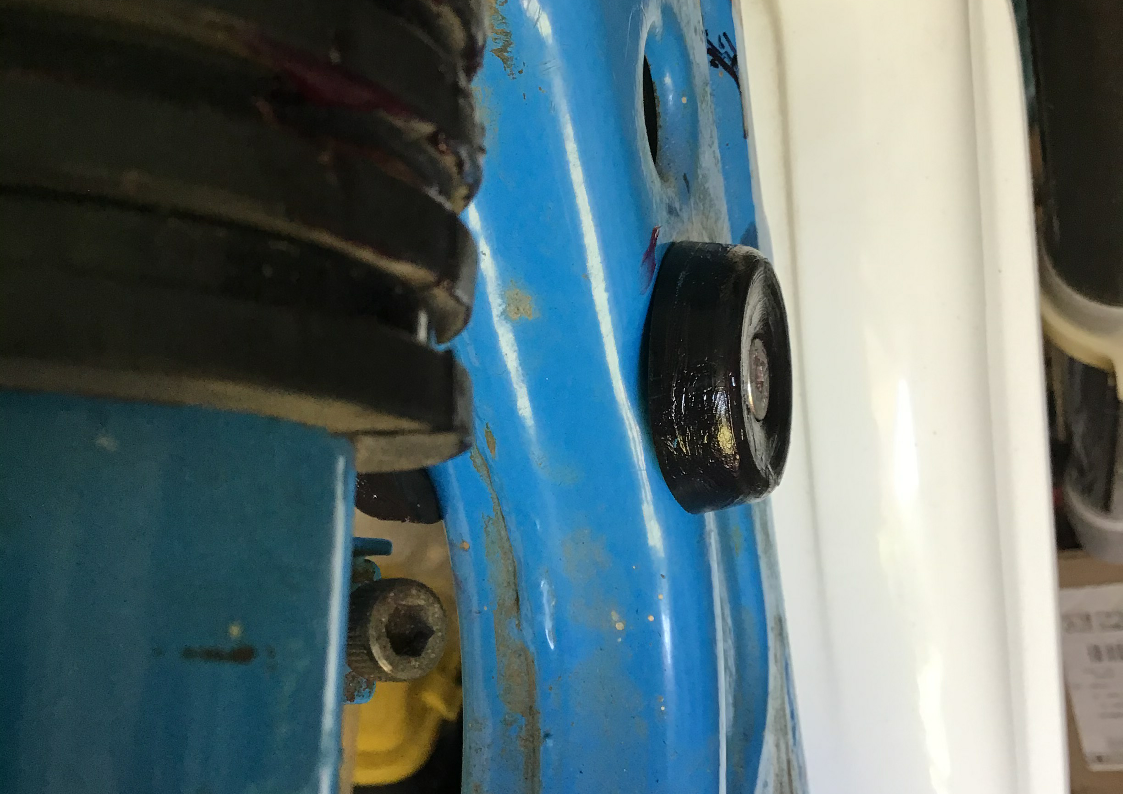
More minor modifications to the front rubber mounts, which are now fixed in place with some countersunk set screws - there’s only so many times that I can tolerate the mounts falling off while I’m trying to fit the tank, especially since they then like to hide themselves in an inaccessible corner. So, now they’re fixed in place.

I was worried that this would then mean metal to metal contact between screw head and inside of petrol tank, but when screwed tight, the rubber edge of the bung protrudes enough to stop this happening (hopefully!). I’m also going to line this tank with POR15 or similar right from the start, which will deal with any small pinholes that I’ve missed and will also stop the inside of the tank from rusting. I can’t decide if I’m going to do that before or after I’ve attacked the tank with body filler in an attempt to make it look prettier, or whether I’m going to leave the tank as it is for now and have a go at the exhaust system…
Spent some time researching the various available tank sealing kits and came to the conclusion that I’d use the Por 15 one again. It’s not the cheapest kit, but I’ve used it before and its been ok, so I’ve decided to stick with it. At around £55 for the complete kit, I’m not going to be shelling out my money until I’m sure that the outside of the tank can be made to look presentable i.e. cover up my appalling metalwork skills.
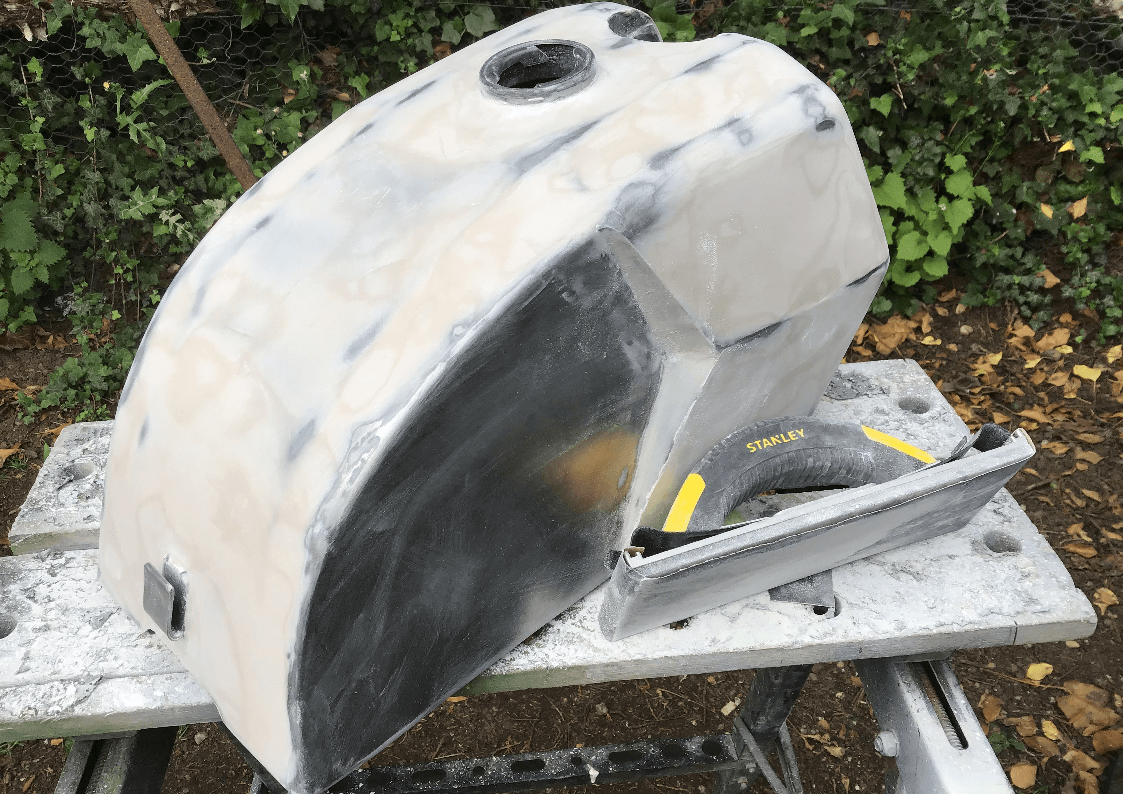
So, first of all I cleaned up the tank to give the copious amounts of body filler that will be required something nice to stick to.
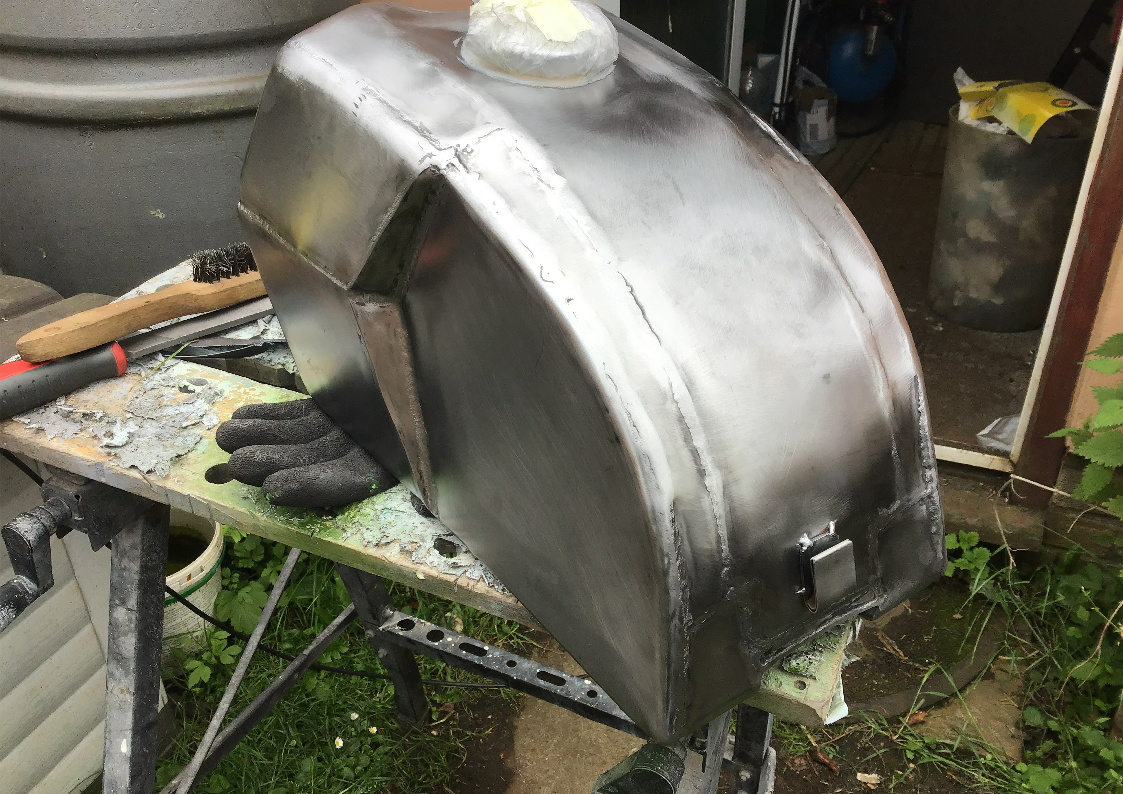
And then, let the filling and sanding commence…
Dog’s already bored of watching me do this and is trying to entice me to kick that football instead.
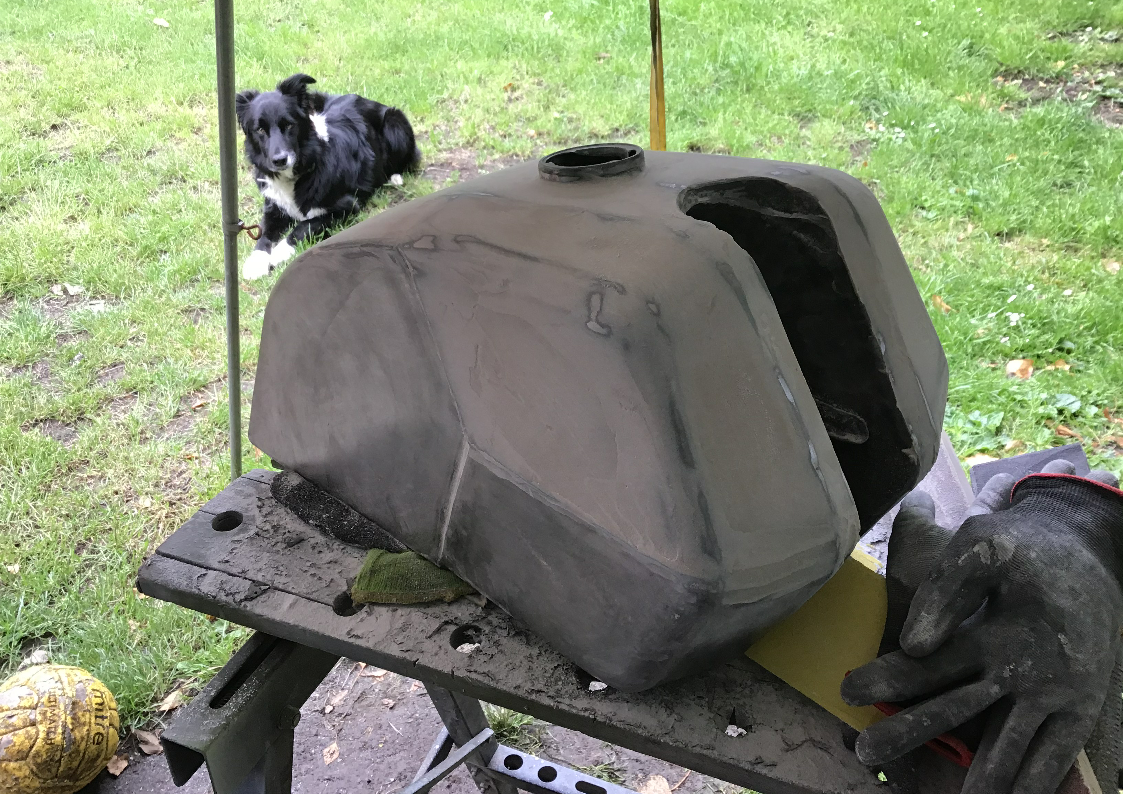
The process has speeded up somewhat by the arrival of my new best friend, Stanley. Stanley’s meant to sand down walls, but armed with some wet and dry paper, he’s making a valiant attempt at sanding a petrol tank. Frankly though, I’m now as bored as the dog and there’s still a lot of areas that need addressing with the filler. Watch out for next week’s equally exciting instalment of sanding the fuel tank…
If you want a Stanley in your life, you can find him
HERE.