Offbeat Bikes Magazine
Monday Articles - July 2020
Offbeat Bike Magazine - Monday Articles  - July 2020
 I wanted the fasteners for side panels etc. to be captive in the air box (so that you don't need to take the seat off every time a side panel needs to come off). You can buy proper fasteners to 'glass' onto/into grp. These have big heads to make it easy to fix them in place (and go by the brand name 'Bighead Fasteners'!). They're good, but quite expensive and ever one to keep cost down, I scoured the internet for a cheaper option. I ended up with the pronged T nuts. They're supposed to be used in softer materials (wood, plastic etc.) the other way around - the prongs draw down into the material when they're initially tightened, fixing the nut in place. I decided to try using them in a slightly different way...
Mounting Side Panels To Air Box
 My plan was to embed the prongy bits in some chopped strand mat, like this, below, in the hope that this would be strong enough to hold fastener in place whilst the bolt is tightened.
Mounting Fasteners To Fibreglass
 And here they all are, fixed in place. They've only hand one layer of mat, but that seems to be sufficient to hold them in place. I was slightly concerned that I'd get resin on the fixing bolts and find that I couldn't undo them once everything had cured, but luckily they do all come undone.
Fasteners Fixed To Fibreglass Air Box
 Next job was to get air filter mount, hole in air box and carb boot all lined up. I'd already added a couple of layers of fibreglass to the flange of the carb boot, to close up the gap identified in the last installment. Now I decided that the air filter mount should extend further through the air box (and the foam gaskets that will be used) into the carb boot, thus providing positive location between air filter mount and carb boot, rather than just relying on the mounting screws to keep everything in place. This meant 3D printing a new filter mount.
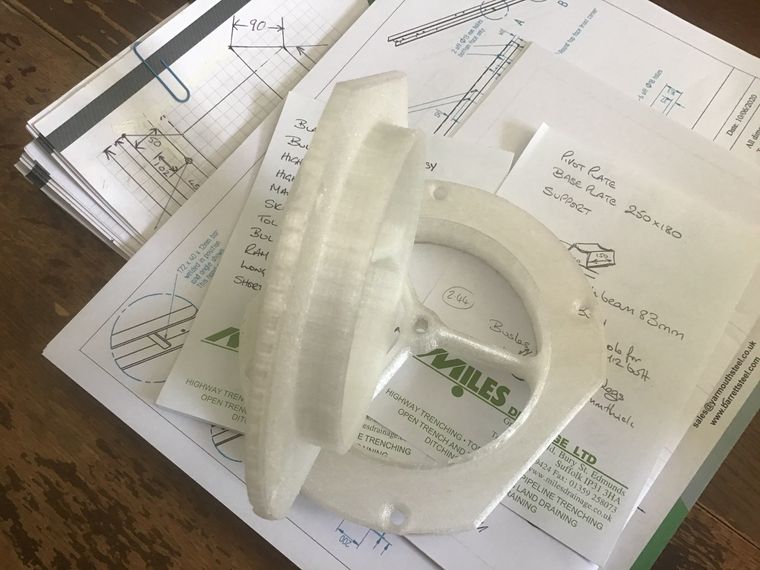
 3D printers are great bits of kit, but they can also be incredibly frustrating, today was to be one of those days. I wanted to try some new material that I'd purchased, but after 3 hours, I still hadn't found satisfactory print settings and I could feel my patience starting to slip. So, before I smashed the printer into a thousand little pieces, I gave up with the new material and used the old stuff instead - I still had to wait the best part of 8 hours for it to print...
3D Printed Air Filter Mount
 With the print finally done, it's time to see if it actually fits. Luckily it does and by next week it should be fixed in place. Then, I think I'll move on to finishing the rear mudguard. It's either that or the exhaust system, but I think I might find the exhaust system 'challenging', so we'll leave that for a bit...
Mounting Air Filter, Air Box and Carb Boot
Offbeat Bikes Magazine - The New Project - Part 70
 I needed to drill four holes through the airbox to match the four in the air filter mount and carb boot. Shouldn't be too difficult a job, but obviously I was not on top form as you can see by my numerous attempts to decide where the holes should go!
Marking hole positions on motorcycle airbox
 Still didn't get them in the right place though. Well the bottom left one is OK, but all the rest have been 'slotted' so that the holes of all three parts line up (filter mount, air box and carb boot) and the bolts can be inserted.
Drilling holes in motorcycle air box in the wrong place!
 Next problem was that I couldn't fit the correct clip to connect rubber boot to carb. It should have been somewhere near the bike, but I couldn't see it. Ended up using this oversize hose clip.
Couldn't find the correct hose clip
 Steps back to admire handiwork, notices correct clip hung neatly on the kickstart!!!!!!
There's the hose clip!
 Now on to the rear mudguard. I did some work on this and the tail light last year - part 31 onwards. Once again drilling holes defeats me - I manage to drill the mounting holes for the tail light (in the right place!) but completely forget about drilling one for the cables until I've put the drill away.
Still having  trouble drilling holes...
 The only problem now is that I'm not sure that I like it. It looks too droopy. I think when I did the work on this previously, the bike was jacked up high on the stand, rather than sitting with weight on it's wheels, and being a dirt bike, there's an appreciable amount of unladen sag. I need it to look right when it's parked up. 
Here's one I made earlier - but I don't like it!
 In this pic, I've removed some of the Chavant clay from the bottom edge, so that it follows the line of the side panel. I think this looks better, but doesn't address the droopy top.
Modifying rear motorcycle mudguard
 I've moulded another short section of mudguard, which after a bit of trimming, can be temporarily mounted on top of the existing mudguard. 
Motorcycle rear mudguard mould
 I can vary the angle of this until I come up with something that I like the look of better. I really need to get the bike out of the tent, make sure that it is sitting at the right height on the stand, and then stand back so that I can get a better idea of how everything looks.
Adjustable rear motorcycle mudguard
Offbeat Bikes Magazine - Monday Article - The New Project  - Part 71
 Trimmed up the extra bit of rear mudguard...
Fibreglass rear motorcycle mudguard
 Tried it in various different positions and angles...
Prototype rear motorcycle mudguard
 Finally decided that the original one looked fine!
Old School Dirt Bike
 Even the bantam (bottom right of picture) says that it looks OK.
Dirt bike project
Did do a little bit of adjustment to the Chavant clay additions at the sides, to hide the frame rails and blend in with the side panels. Doing one side is fine. Trying to do the other side so that it matches is trickier.
Styling rear motorcycle mudguard
 Mudguard is now ready for me to make a fibreglass mould. It'll need to be a two part mould to accommodate the twiddly bits that go around the side panel.
Motorcycle mudguard ready to mould
Getting a bit ahead of myself now, but I have also been experimenting with with tank badges...
Motorcycle decals
Offbeat Bikes Magazine - The New Project - Part 72

 Not the most interesting week, this week, but the job needs doing...

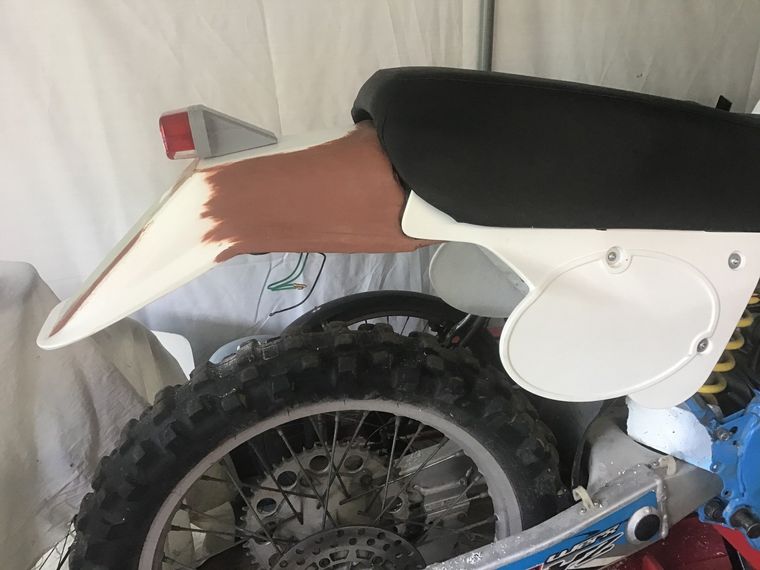
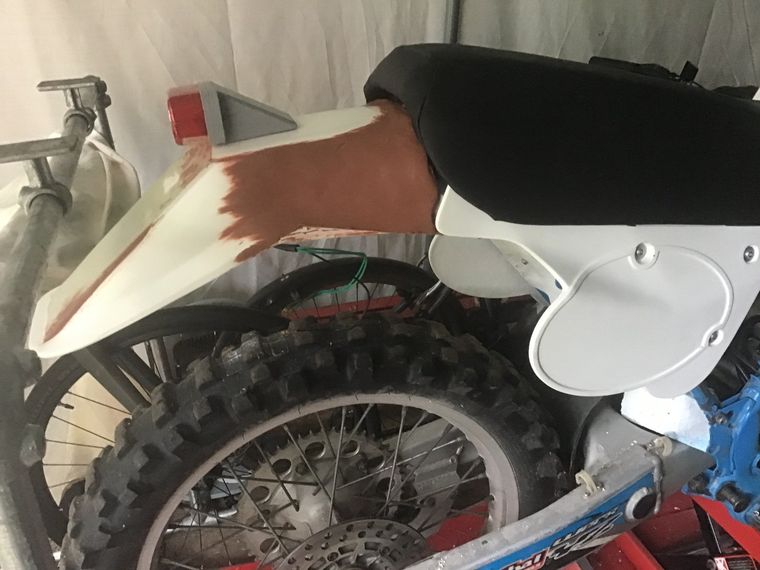
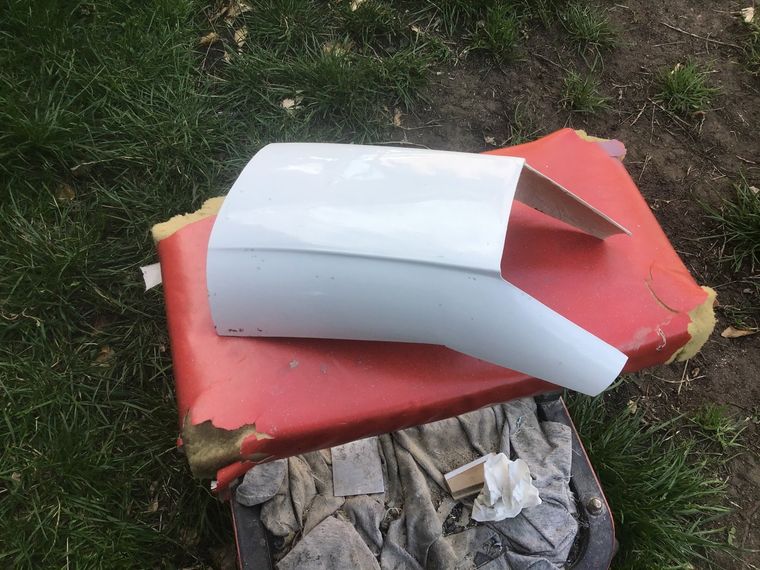
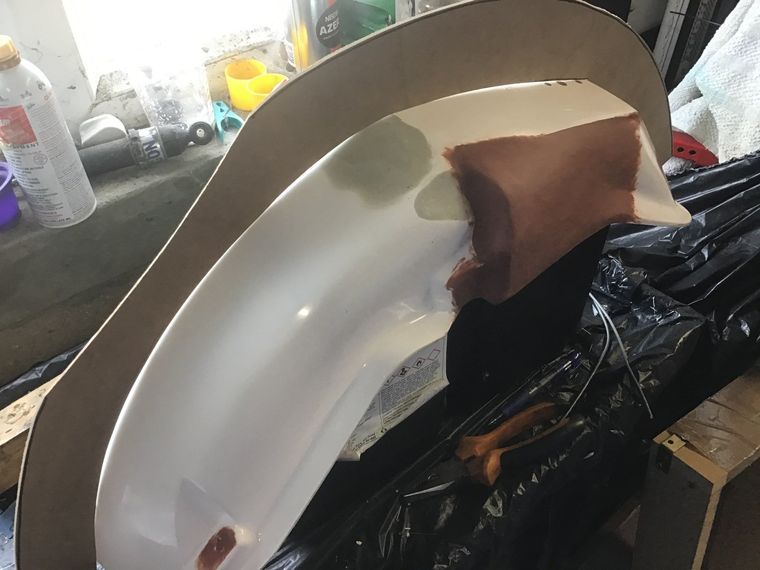
 The design of the mudguard means that the mould has to be split (otherwise I'd never get it out!). If I'd thought about it a bit more at the design stage, I'd probably have modified it so that this wasn't necessary, but it's too late now...
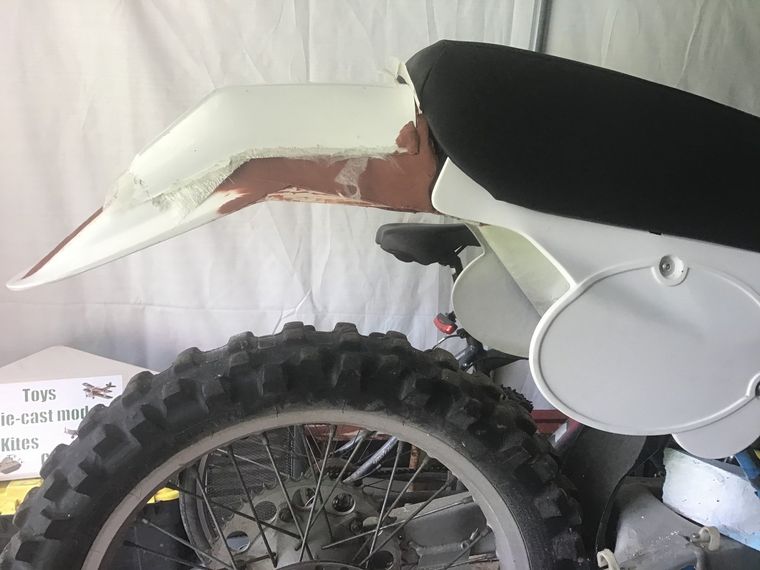
The pattern needs to have a split line running the entire length of the mudguard, and so I need to build a fence, ideally using whatever junk I can find laying around. Pressed into service is a length of galvanized wire, bent to the outline of the mudguard and a mouldy bit of 2mm MDF.

Making a border for a grp mould

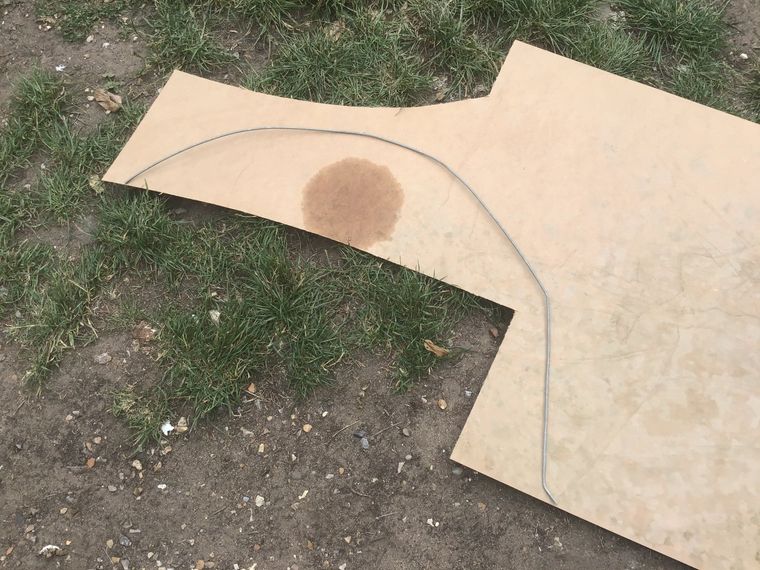
After attacking the mdf with saws, flap discs and sandpaper, I manage to make something that almost fits. The (clearly visible) gaps can be filled with moulding wax.
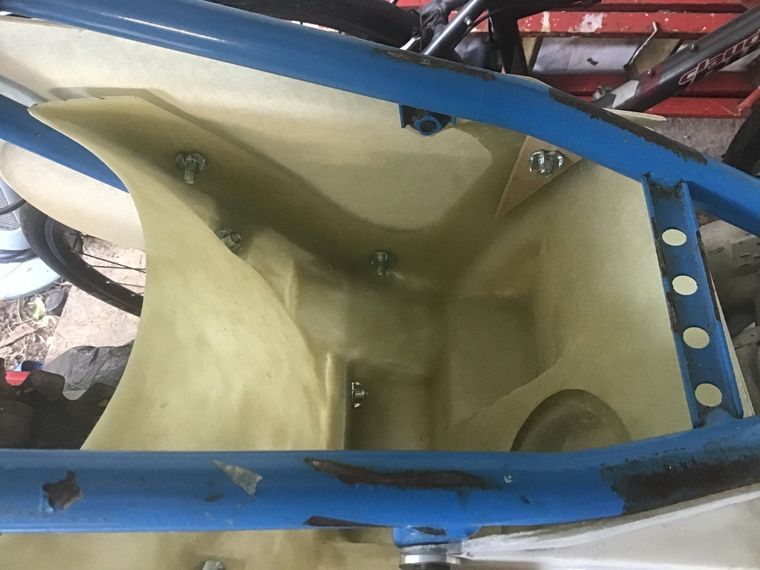
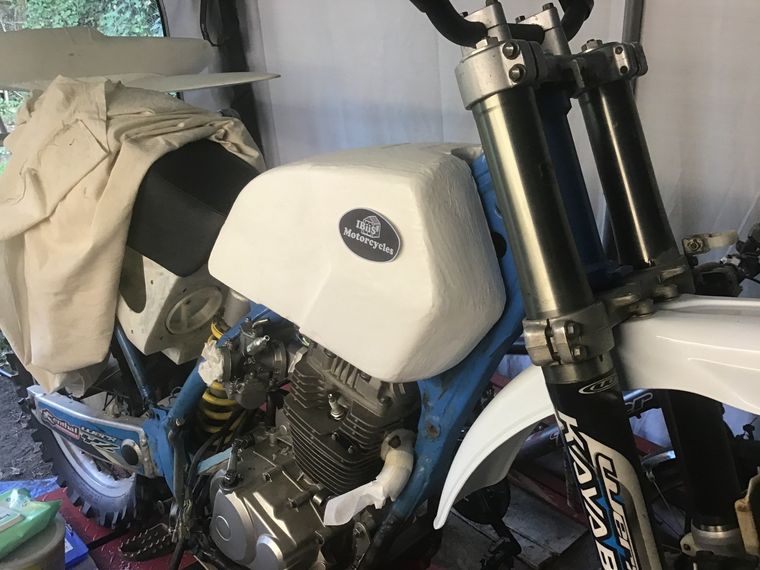
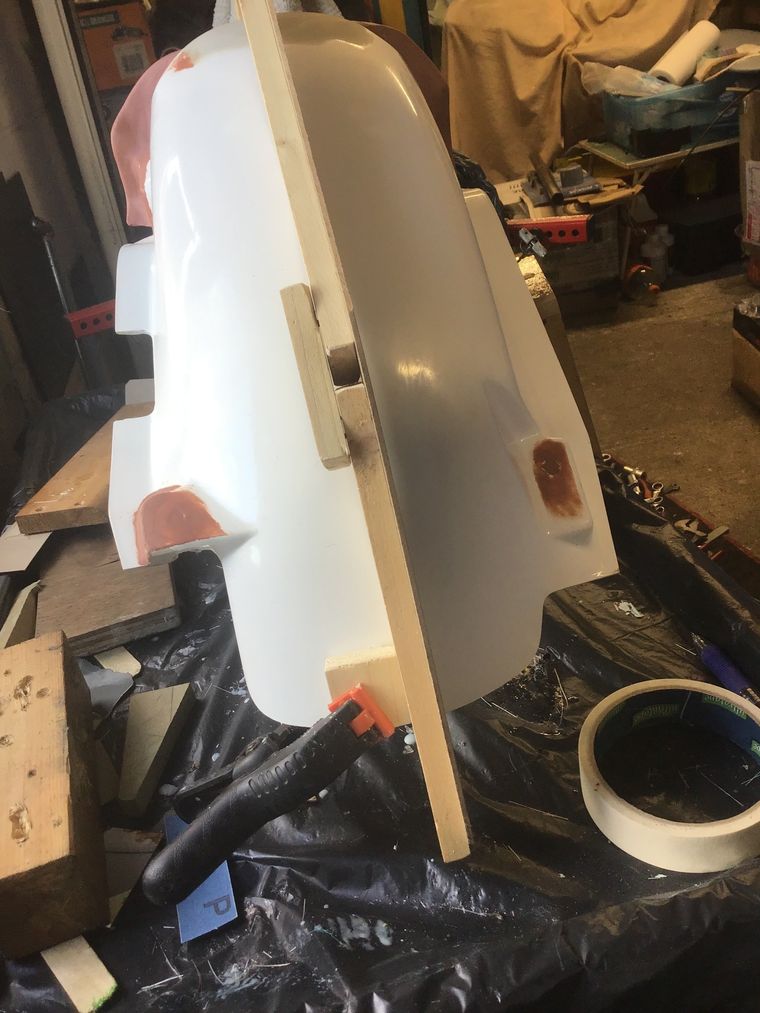
I also needed something to securely support the mudguard for moulding. Two empty moulding resin containers do the job admirably. I knew there was a reason why I hadn't thrown them out.

Moulding motorcycle mudguard

Being a bit floppy, the 2mm MDF needs reinforcing with some thicker bits of wood. Spring clamps at either end are sufficient to hold everything in place.

Splitting mudguard ready for moulding

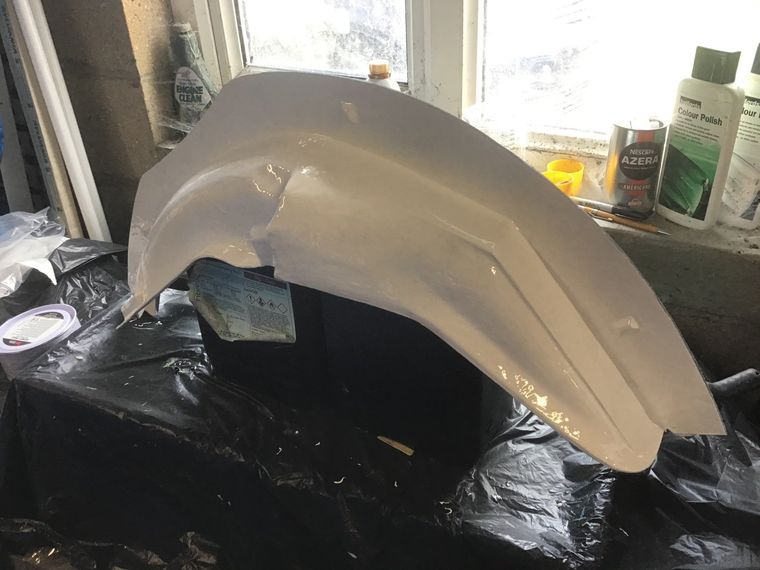
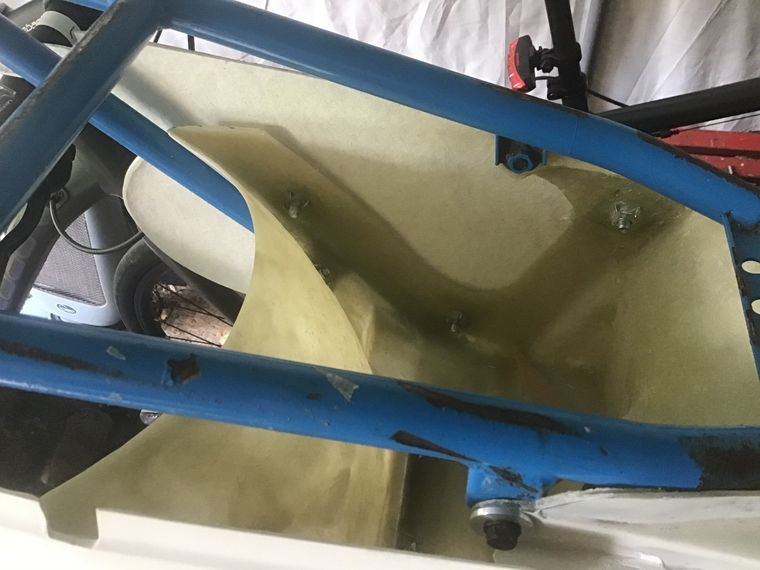
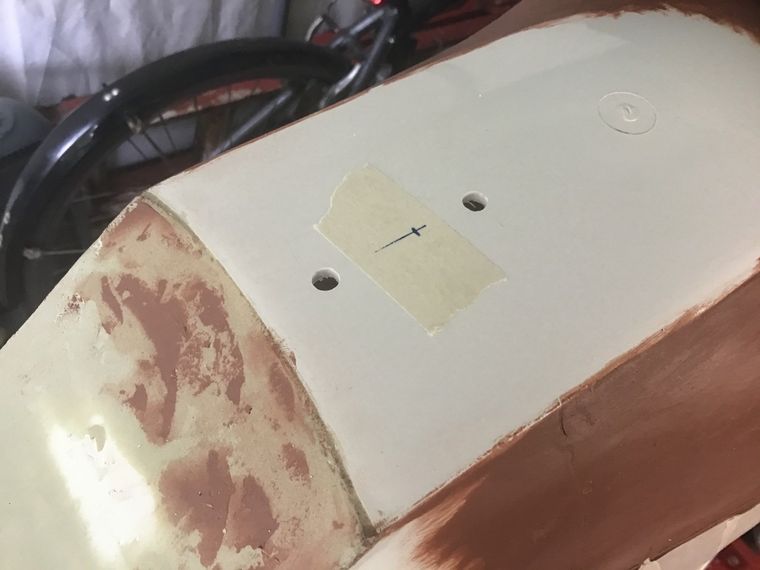
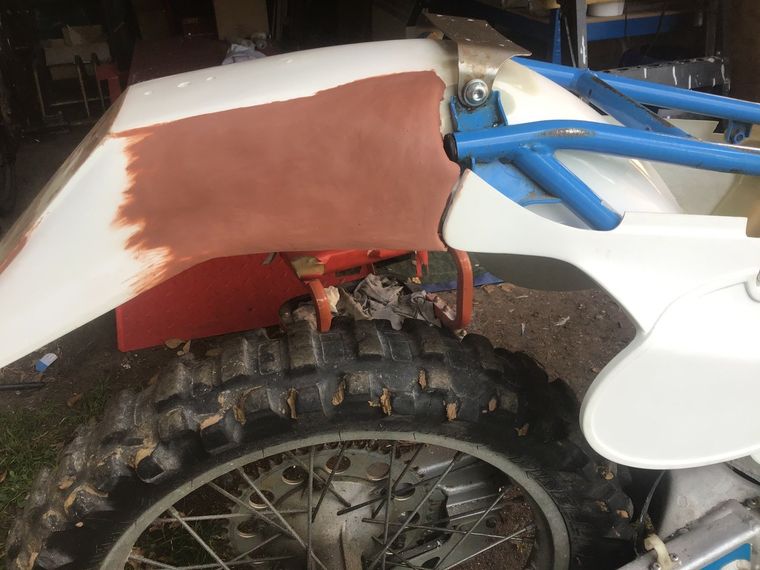
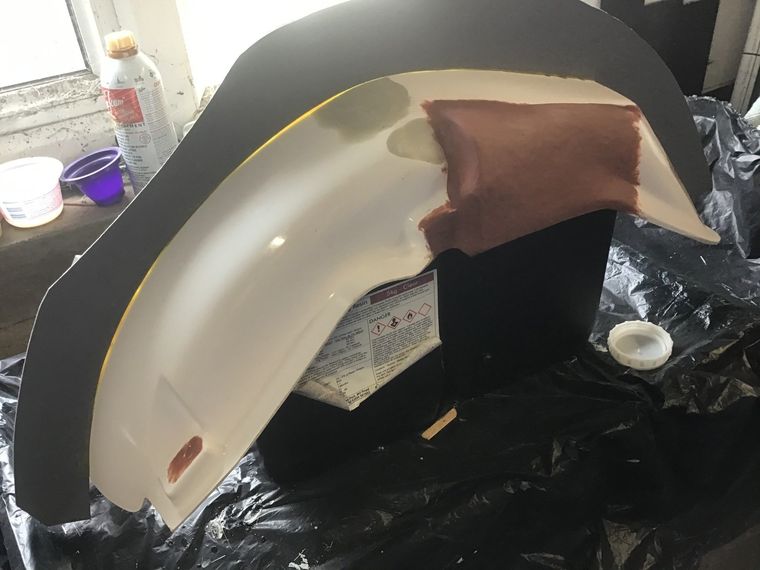
 Border has been given a couple of coats of paint and the whole thing has had several layers of mould release polish. You can also see the yellow mould wax that has been used to seal the gaps between border and mudguard.

Gaps sealed with moulding wax

 For extra insurance, it's also had a coat of blue PVA mould release.

Mudguard mould coated with PVA mould release

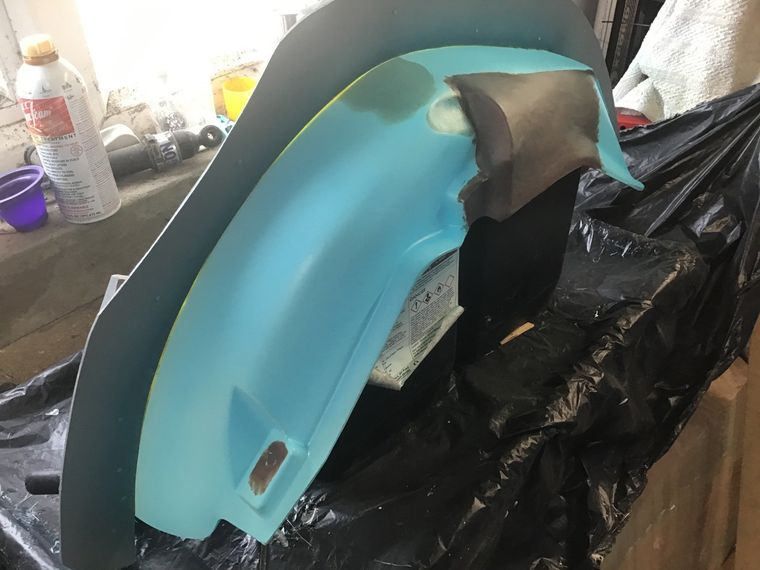
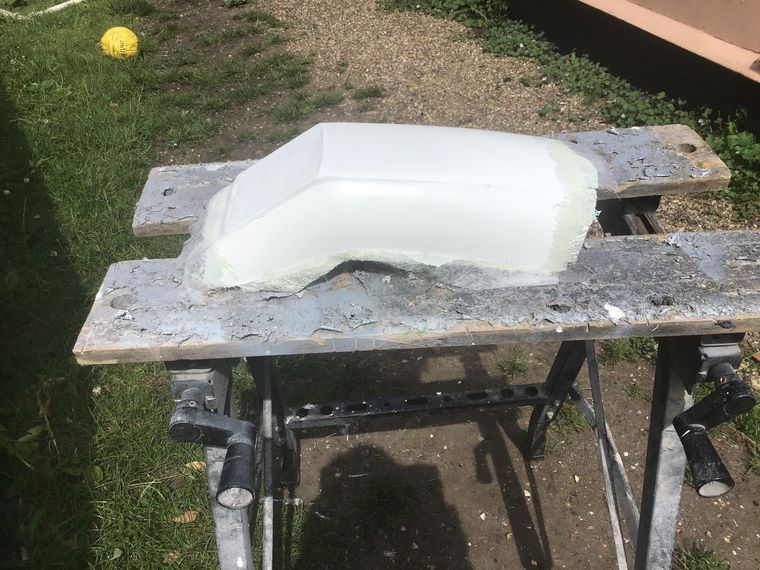
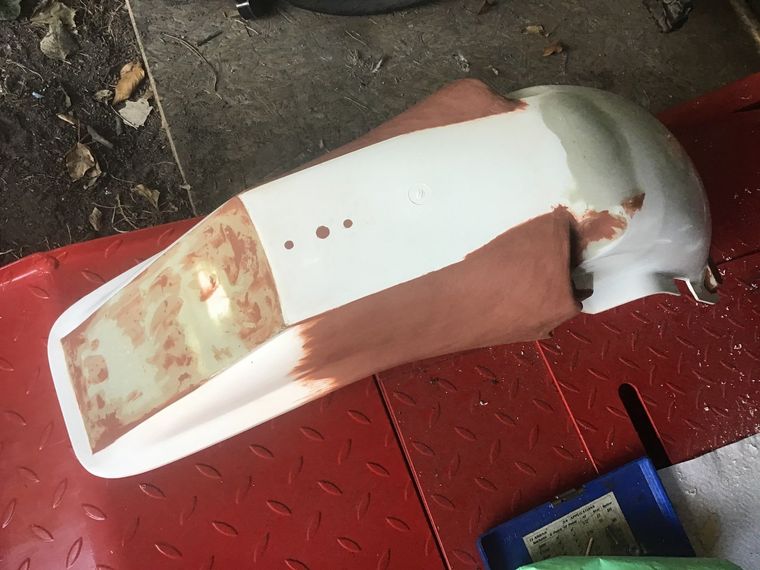
 Gel coat is on the first side. By next week's installment, I hope to have the mould finished.

Gel coat added to mudguard pattern

Share by: