
Monday Articles - August 2020
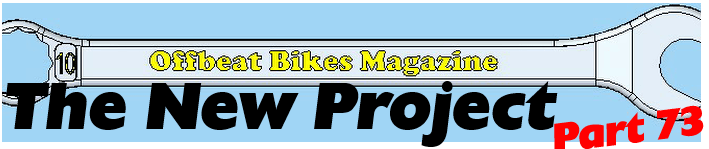
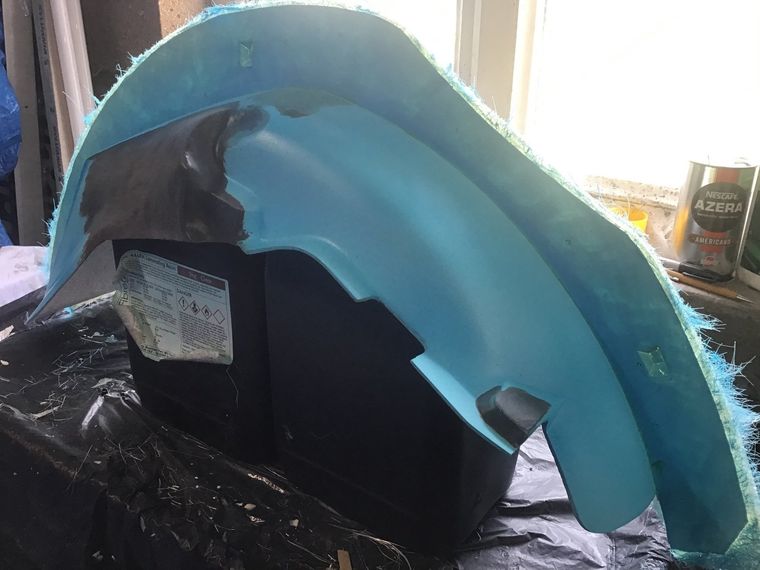
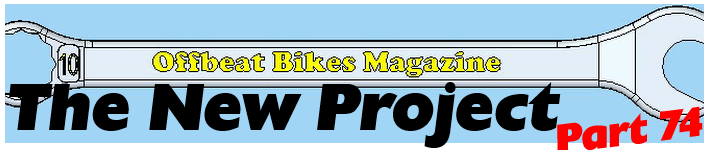
At the end of last month, the mudguard mould looked something like this, with the gel-coat applied to the first side.
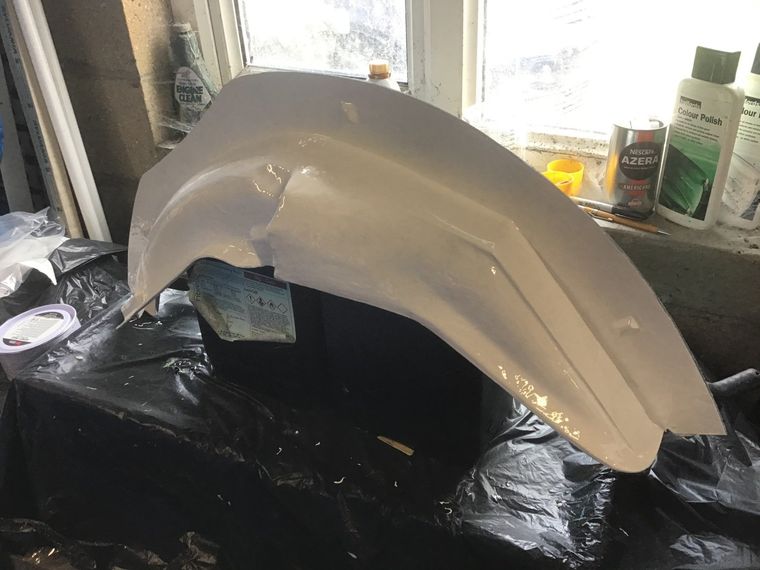
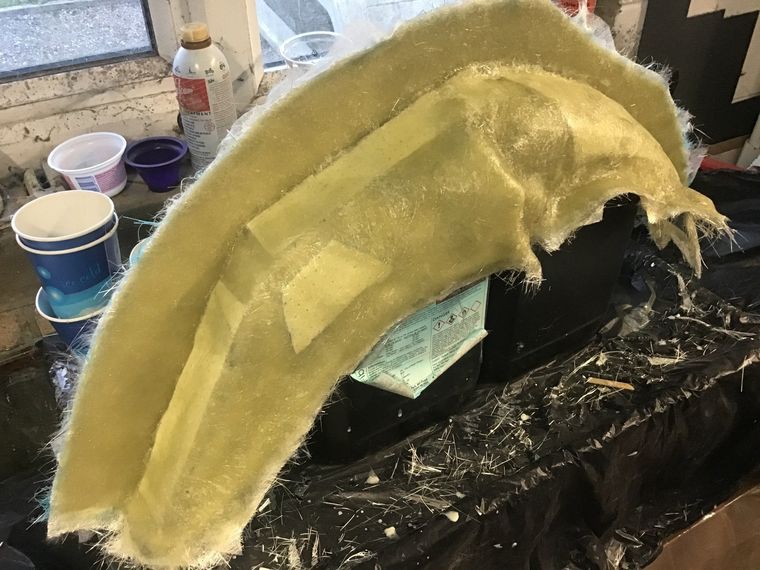
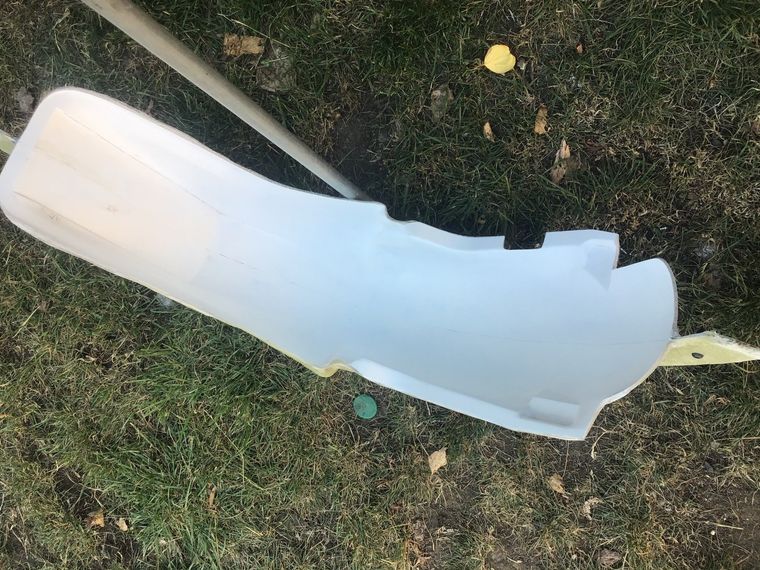
And here it is again! This time with several layers of chopped strand fibreglass mat applied. I find making moulds like this a good way of using up left over fibreglass mat. The first layer or two are critical to make sure that the pattern is reproduced nicely. After that it is mostly just a case of adding bulk, to the make the mould nice and rigid, so the scraps can be used for this.
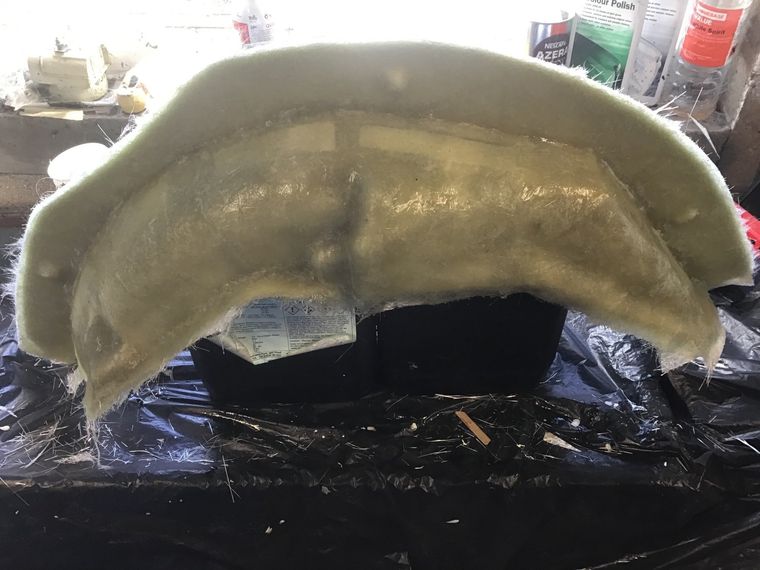
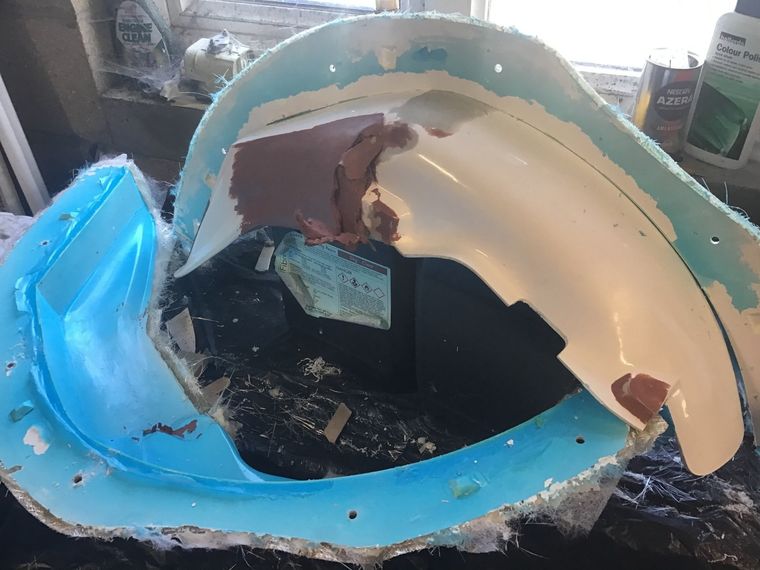
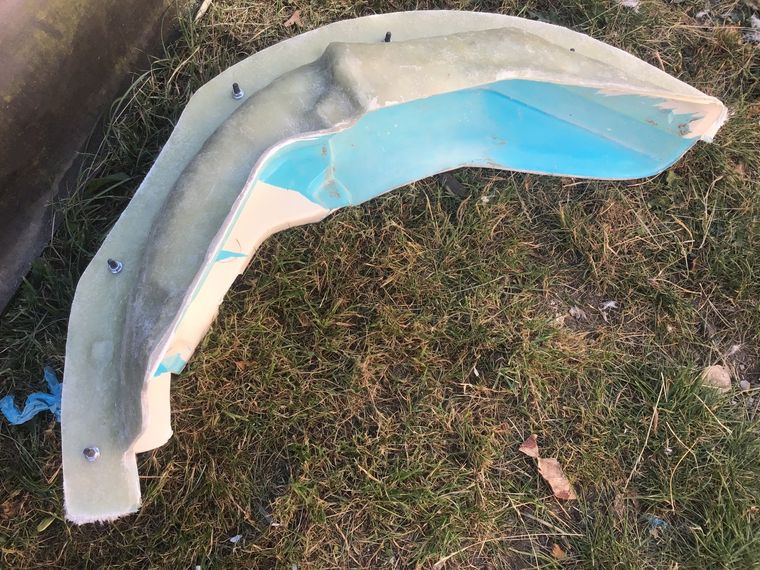
With one side laid up, it's a case of waiting for it to fully cure before removing the border between the two halves (and any moulding wax that's been used) adding more mould release as required, and then repeating the process for the other side. Here it is after the border has been removed.
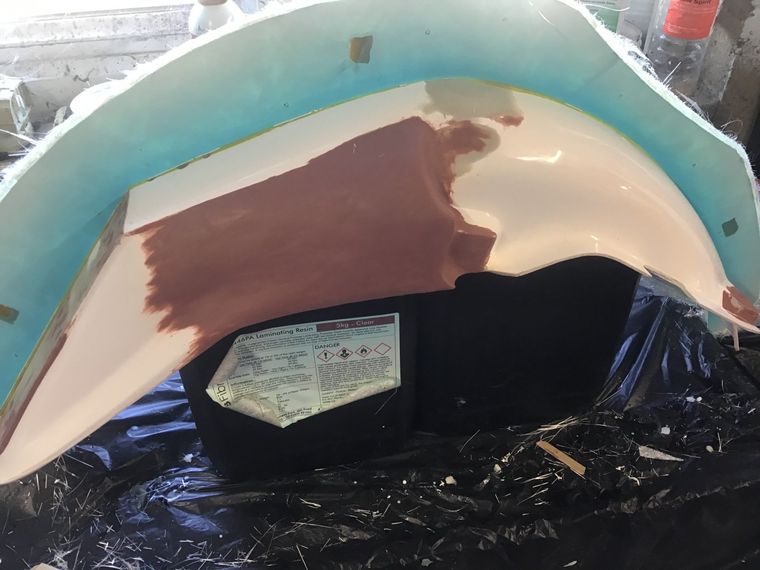
Here it is again, with a layer of PVA added...
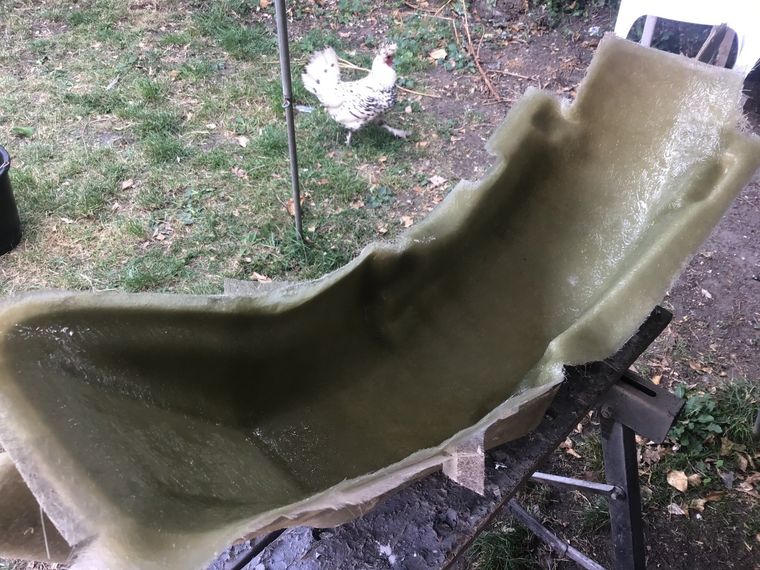
... and again, after it's received several layers of fibreglass.
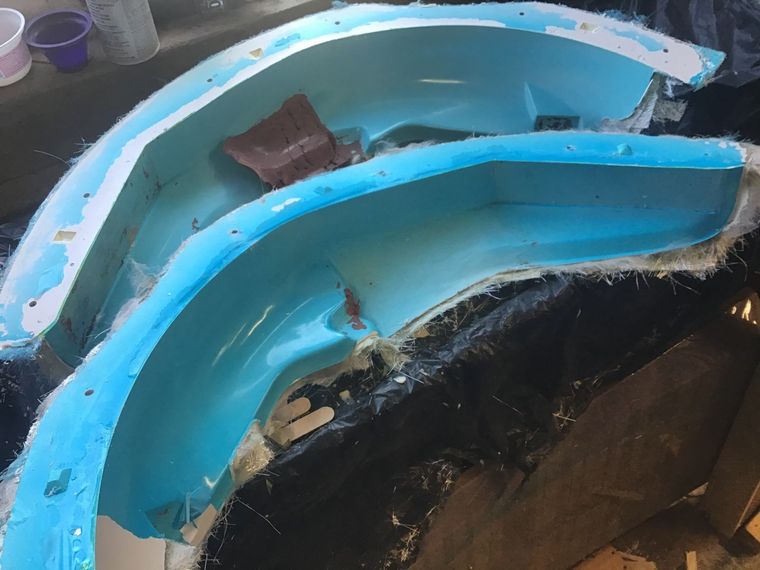
Now, the moment of truth. After giving the GRP sufficient time to cure, it's time to try and prise the mould off the pattern. It's always a little fraught, as initially it needs a bit of brute force to get things moving. But eventually (usually with a large cracking noise!) the first half is off, and at first glance everything looks OK.
The second half soon follows. There's some tidying up and trimming to do, but otherwise, it's all good.
I'd like to say that by next week I'll have the mudguard itself made, but I think that may be too optimistic. We'll see how it goes...
I surprised myself this week. Not only is the mudguard made, it's already on the bike!
Here's the mould after an initial trim...
... and after cleaning off the pva and adding a bit of filler where required, it's now ready for polishing.
Moulding starts, this is after surface tissue and one layer of 450gsm chopped strand mat has been laid down. We've also been photo-bombed by the dog.
Moulding completed. In total, it's had three layers of 450gsm chopped strand mat. This time the bantam is determined to get into the photo.
Fully cured, it's ready to come out of the mould and it's all good. There's going to be some sanding and filling required around those areas of the pattern that were made of Chavant clay - I'm not very good (yet) at getting the clay really smooth.
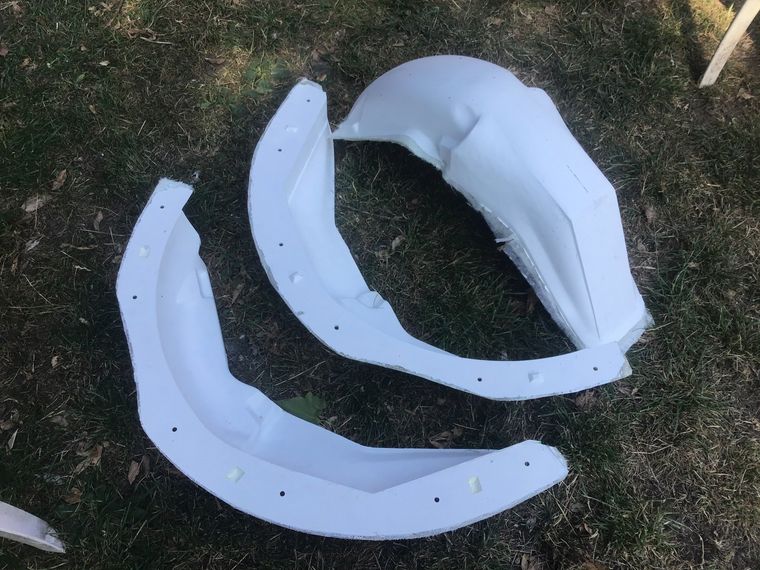
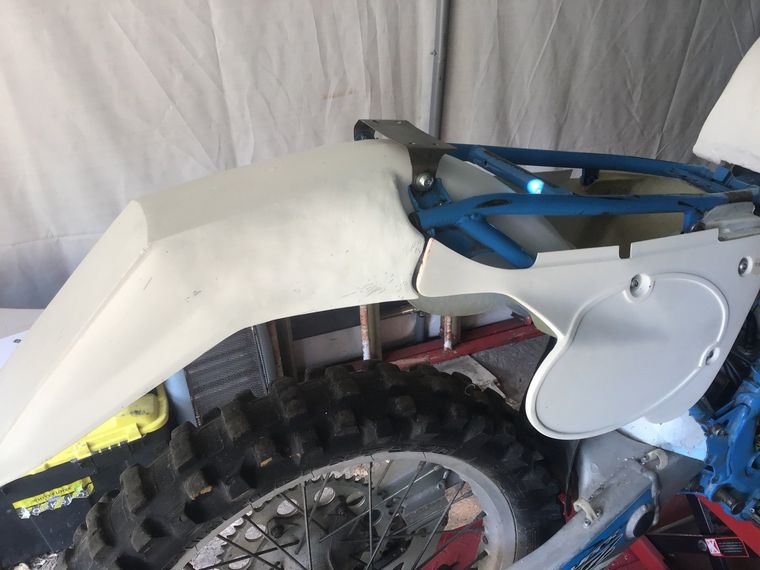
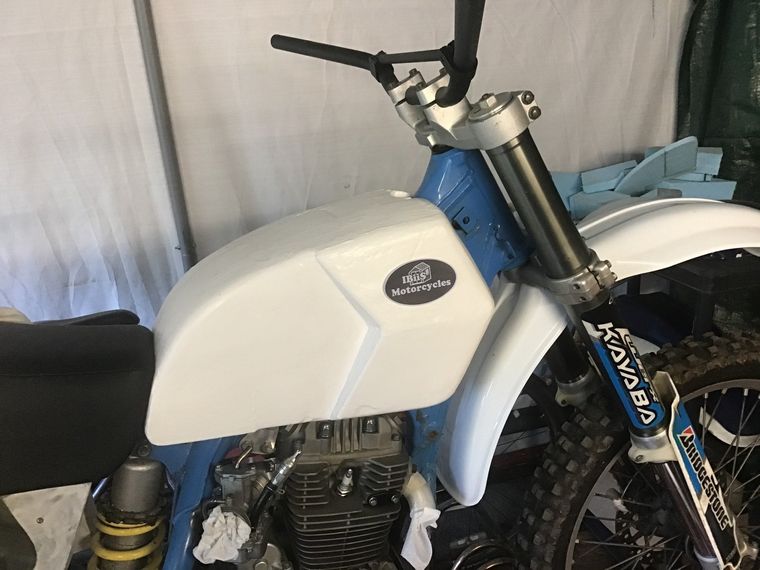
All trimmed up and mounted on the bike. I'm really pleased with the progress this week.
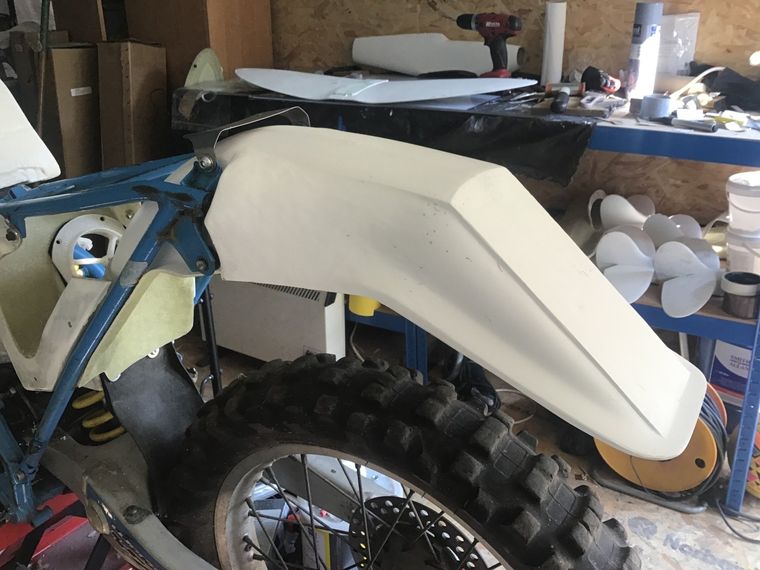
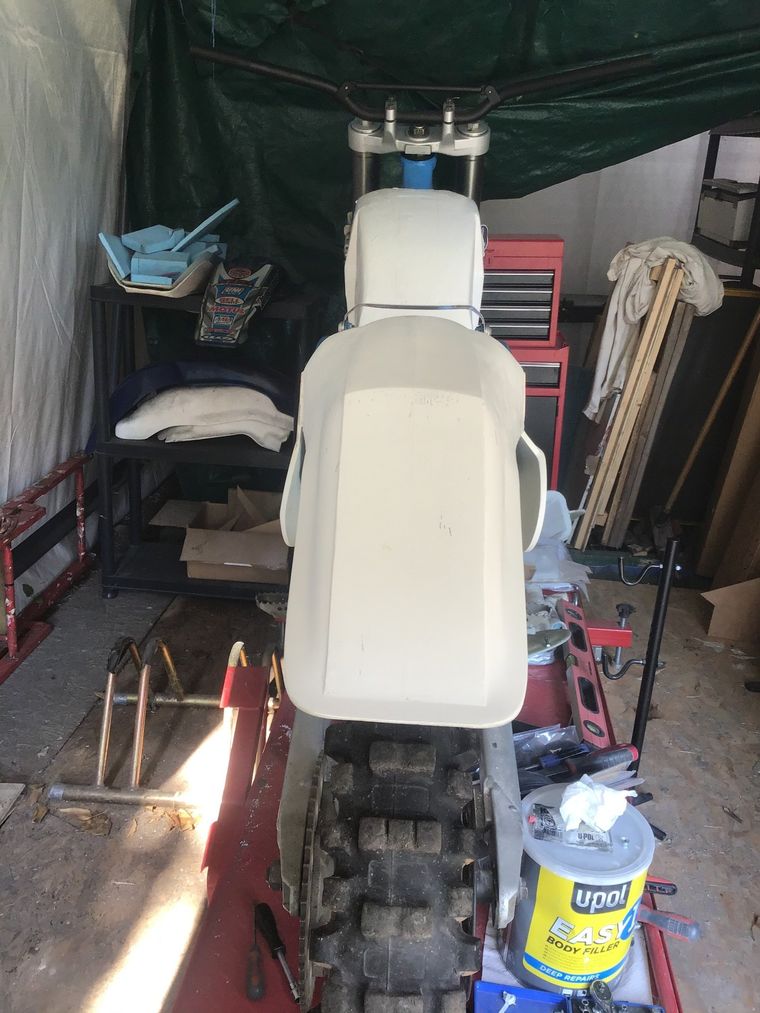
A view from the back. Left side panel doesn't sit quite so nicely as the right hand one, but it's not bad.
A close up view of the join between right side panel and rear mudguard
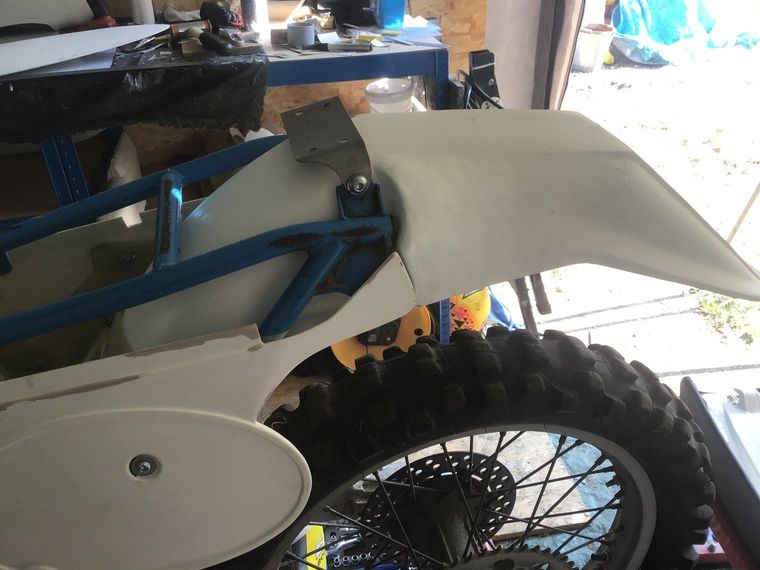
This is the left side. Compare this with the right hand side pictured above. It doesn't sit quite so nicely. I may have to make some adjustment. It's something to think about...
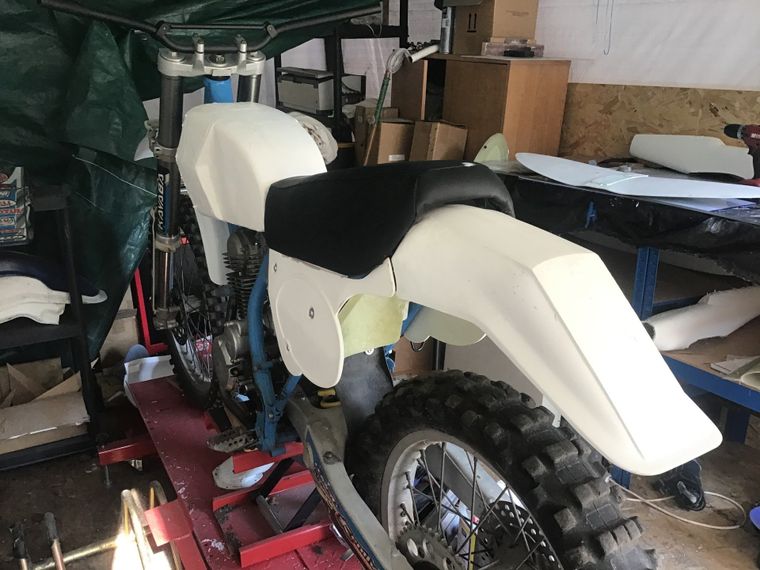
And finally, a picture with the seat on. From this angle, the gap on the left looks OK, so maybe I will leave it. There's also a bit of a gap between mudguard and seat. I think this will either be filled with an insert of neoprene foam, or it'll be covered by a mudguard mounted tool bag.
Jobs for next week? I'm not sure. Shall I start looking at the tank or the exhaust?
Last week I said that I needed to make a start on the petrol tank...
... or the exhaust pipe.
Sadly, though, neither of those jobs have been started -
Last week's productivity has now been offset by a complete lack of progress this week, mostly due to the soaring temperatures. I'm English and I'm old. I've lived through too many English summers, usually consisting of the odd day of sunshine interspersed with showers, to be able to adjust to consecutive days with temperatures over 30 degrees Celcius. It's even hotter in the temporary garage (tent!) where the project bike is and so I decided to stay indoors (only marginally cooler) and do some thinking.
As mentioned last week, the next bits that need doing are the exhaust and the petrol tank.
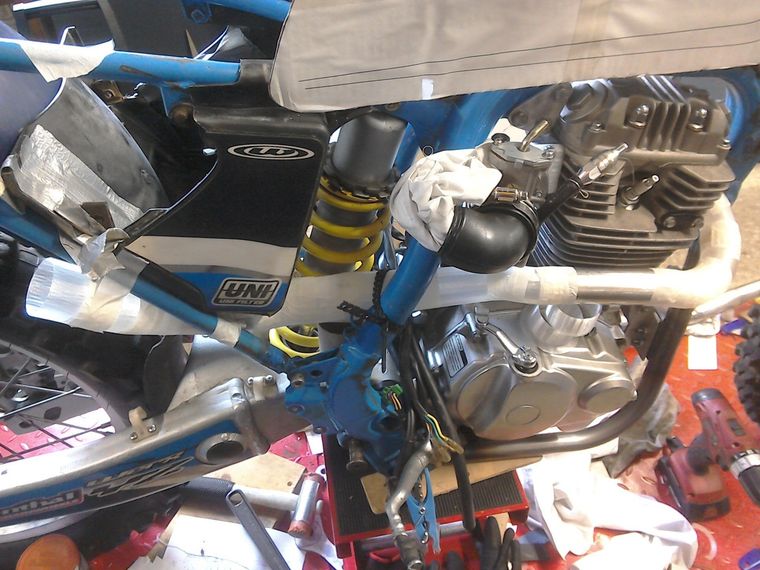
The exhaust material is a straight choice between mild or stainless steel, it'll be mild because that's easier for me to weld with my current equipment. Construction wise, since I don't have a suitable mechanical bender, or the skill to fill the pipe with dry sand and bend it to shape using a gas torch and a good eye, will either require bought bends or pie-cuts. It might be a bit of both. I already have some idea of how the exhaust system will look as I made a prototype using 3D printed bends (see parts 20 and 21 of this project). Somewhere I've also written down the combination of bends and lengths needed - I just need to remember where that somewhere is! But also I need to be able to cut the pipe accurately to the required angles. In some areas, there isn't a lot of room to play with, being a degree or two out could cause major problems. I need a cunning plan. How can I cut the pipe squarely and accurately so that it all fits together nicely? I'm still pondering...
I have a rough pattern for the petrol tank, it's made from foam covered in a (lumpy) layer of resin. This has already featured in parts
23 and
36 if you want to go back and have a read. Given that I've spent quite a lot of time recently working with fibreglass, I could go down that route - although I've never made a complete GRP petrol tank. If I do that, it's a case of finishing the pattern to a good standard, taking moulds, working out how to successfully join all of the pieces together, how to mount both fuel tap and filler and how the tank is actually going to fit on the bike - so a lot more thinking still to do.
There's also the problem of material choice. I use polyester resin and chopped strand mat - it's the cheap and cheerful end of the composite material spectrum. Unfortunately polyester resins and ethanol don't get on. The easiest solution to this is to just use BP Ultimate petrol which is currently still ethanol free in this region (although for how much longer is unknown). An alternative is to use Aspen fuel, it's expensive, but as the bike is unlikely to do too many miles, it is an option. There are also resins which can cope with the ethanol which could be used either in the construction of the tank, or as a liner to a finished polyester tank. It's really a case of measuring up the cost of the options.
The other method would be to fabricate the tank from sheet metal. The choices here being either aluminium or steel. Actually, for me, there's only one choice, I don't have the equipment to weld aluminium, so it would have to be steel. Unfortunately, my sheet metal skills have to date only consisted of making brackets or frame gussets, nothing near the complexity of a petrol tank. Could I manage to bash some steel into shape? I do have a nice sheet of steel that arrived free of charge. It was delivered in error after the seller stuck the wrong address label to it. Neither courier or seller have been bothered to repossess it and so it is now safely stored away. Maybe it's a sign that I should have a go at fabricating a steel tank.
So, after all that, have I decided which bit I'm going to do next? Well, it'll probably be the tank, in steel, but don't hold me to that. By next week I could have changed my mind entirely...
You may be wondering where this week’s instalment of the project is, but it turns out that it is entirely possible to make even less progress on it than I did in the previous week…
This week I have been mostly laying on the sofa, feeling sorry for myself, and watching day time TV. Although watching daytime TV is in itself enough to make you feel less than joyful, I have also been a little bit unwell. In fact the packet of chocolate biscuits that was placed beside me remained untouched for two whole days, which means I was fairly high up on my own personal scale of 'unwellness'. Thankfully, I feel better now, as the empty biscuit packet can testify, but I haven’t yet ventured back out to the garage.
I’d like to say that normal service will resume next week, but it won’t because I have to go away for a few days. On the bight side though, I am only going to Lincolnshire, so at least I shouldn’t need to quarantine when I get back!