Monday Articles - June 2020
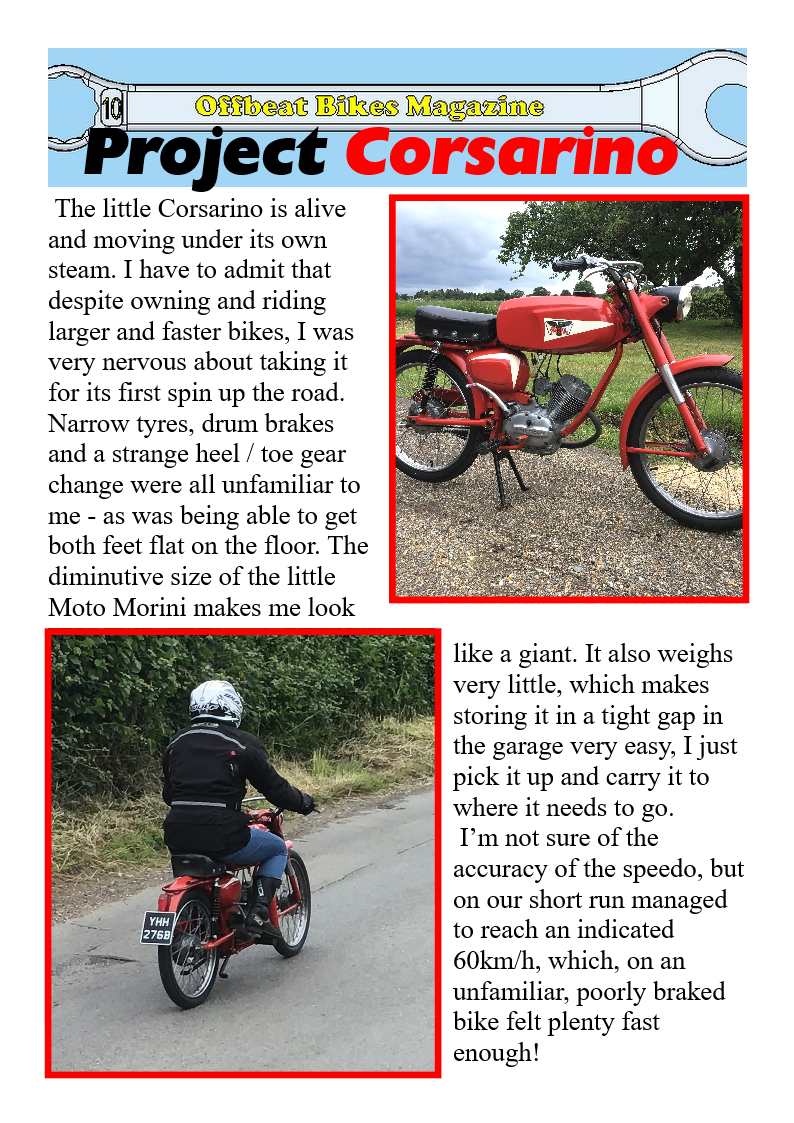
Finally, the Corsarino is back together and has had its first road test. More details can be found on its own page HERE.

With the work on the Corsarino largely completed, it's time to get back to work on the project bike - the one that I should have been working one...
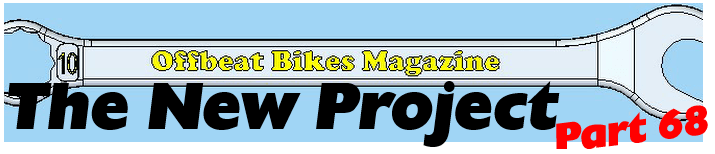
Next job on this bike is to make a permanent carb manifold to replace the 3D printed version that I'd been using. My original plan was to research aluminium casting and have a go at casting one, using the 3D printed version as a pattern. Time, and the costs involved sourcing the required equipment, has put the brakes on this plan (although it is something I would like to try in the future) and so plan B has been put into operation. As I have access to a milling machine, I'm going to try machining it from solid. This does unfortunately mean that for ease of machining, all those nice curves will have to disappear. It's not going to look pretty, but hopefully it'll do the job. I'll take function over form.
Next job on this bike is to make a permanent carb manifold to replace the 3D printed version that I'd been using. My original plan was to research aluminium casting and have a go at casting one, using the 3D printed version as a pattern. Time, and the costs involved sourcing the required equipment, has put the brakes on this plan (although it is something I would like to try in the future) and so plan B has been put into operation. As I have access to a milling machine, I'm going to try machining it from solid. This does unfortunately mean that for ease of machining, all those nice curves will have to disappear. It's not going to look pretty, but hopefully it'll do the job. I'll take function over form.
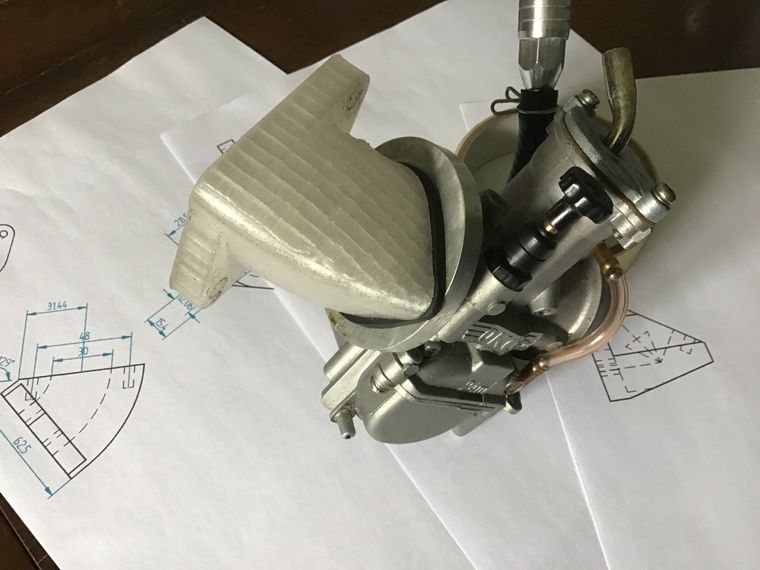
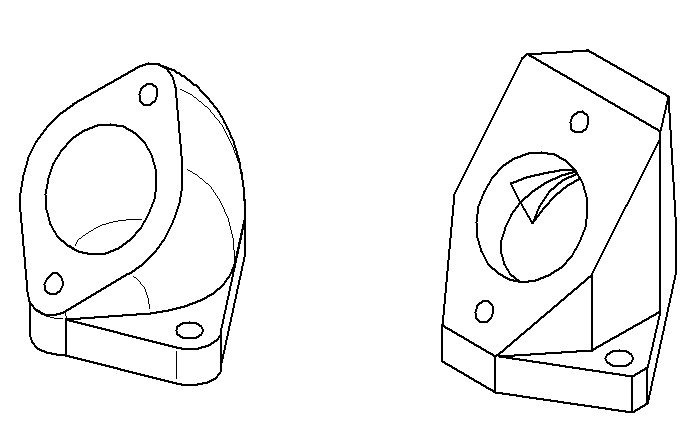
Curvy manifold design (below left) has had to make way for the easier to machine design on the right.
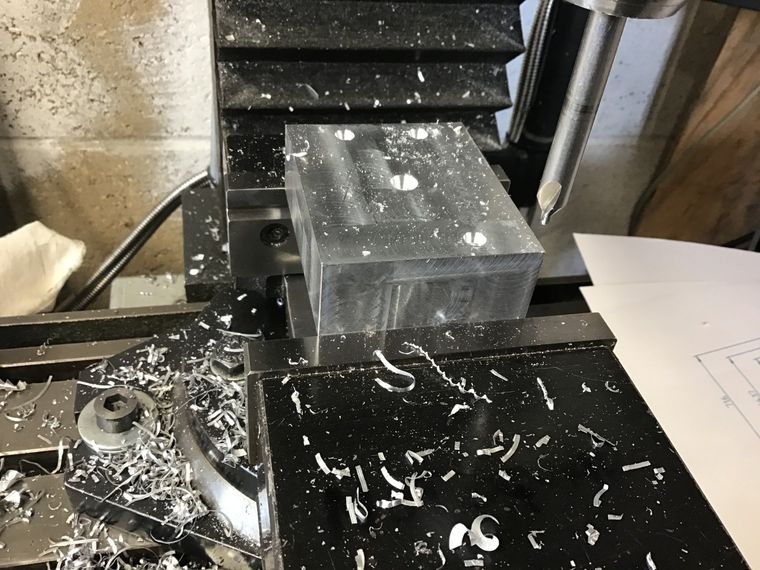
This week saw the start of machining the inlet manifold. It was not without problems - all entirely of my own making!
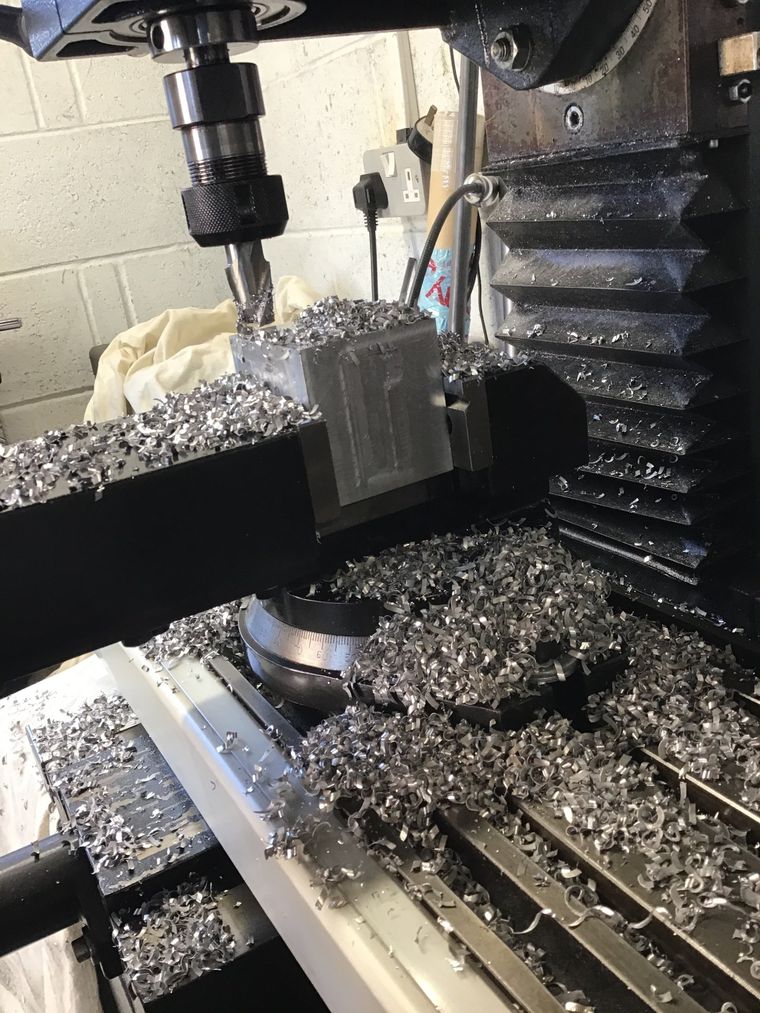
The angle is the most critical bit in order for carb and manifold to fit in the available gap, so that was done first. Once this was machined to height, the carb mounting holes were drilled and the bore machined as required on this face.
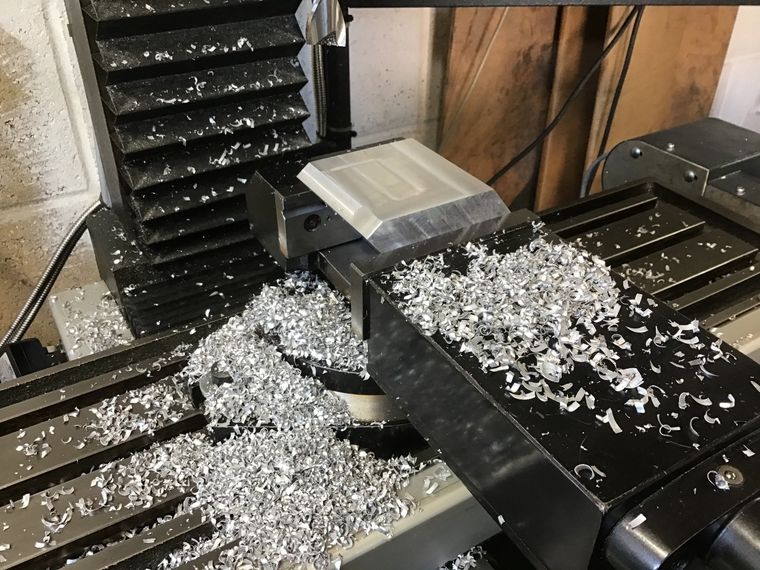
Next the block was turned, the mounting holes to bolt manifold to head were drilled and the bore machined to meet up with that of the angled face. In this picture, the hole positions have been centre drilled. There are four positions marked because I put one in the wrong place. Turns out, this was the least of my worries as I'm machining the wrong face entirely, these holes should be on the face 90 degrees to the right of this one!!!!
After realising my mistake, I then spent some (considerable!) time redesigning the manifold to accommodate the error, before continuing with the machining.
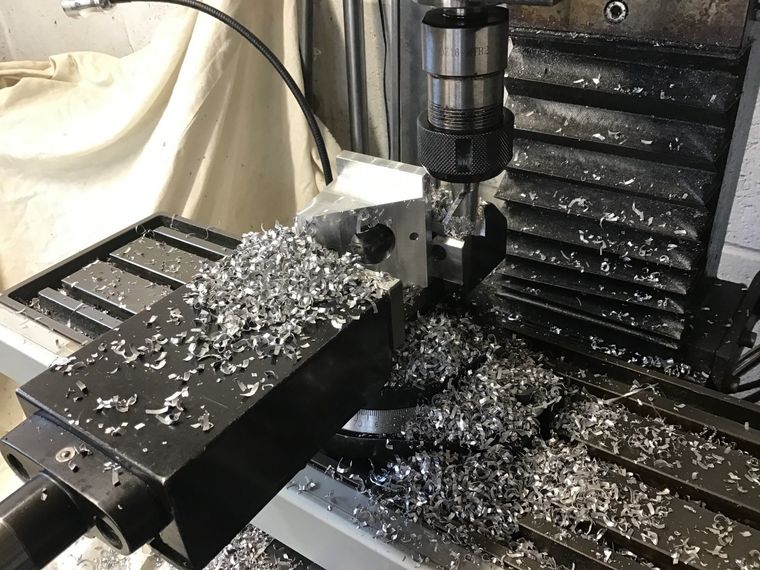
That's the basic shape of the manifold, the rest of the machining work needed is mostly just to remove excess material.
A quick check to make sure it fits - and it all looks OK.
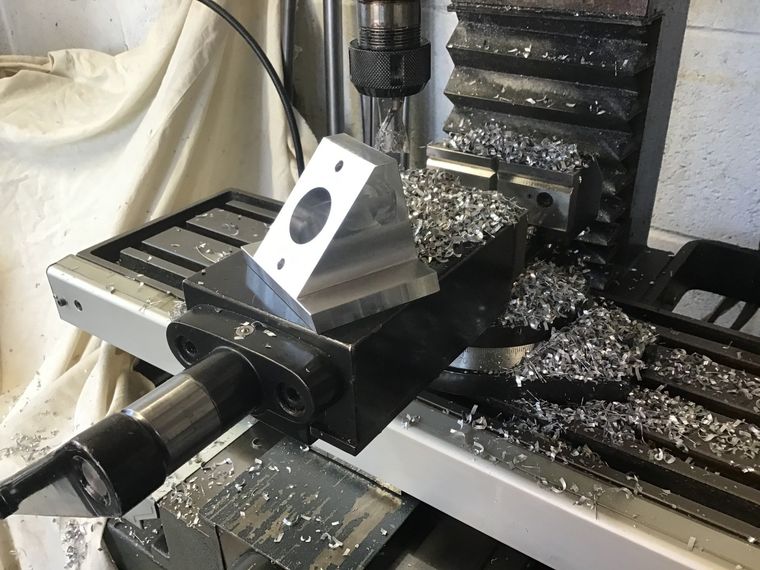
There's still some machining to do to remove more of the excess material. The edges may eventually get rounded with the aid of angle grinder and file. The internal bore will also need a little work with a die grinder and some epoxy to make it flow a little better. But, before too much time is spent on making it look pretty, I need to check that manifold, carb, airbox etc. all fit together. That's this week's job.

Most machining of the carb manifold is done. There's some finishing work still to do, but that can wait for now.
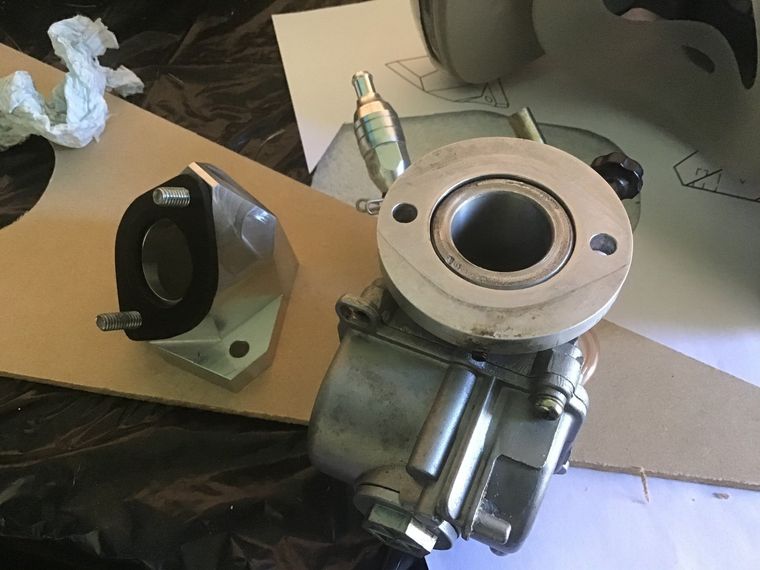
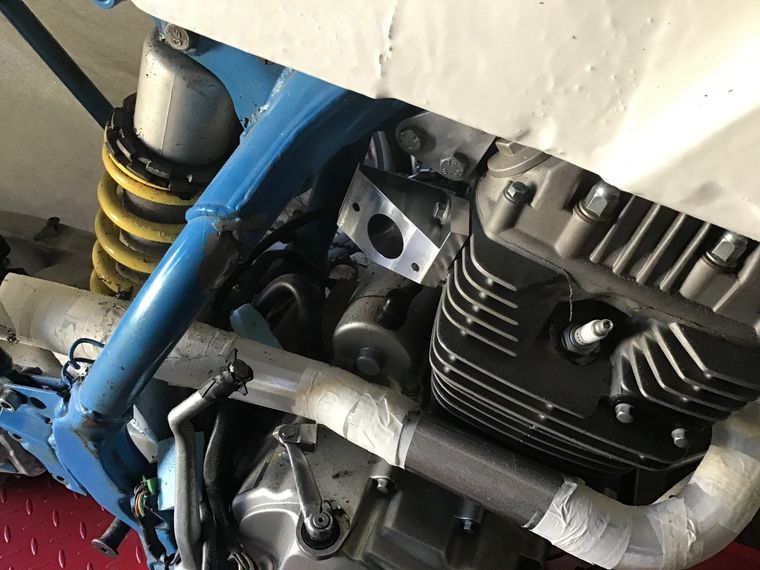
Manifold fits cylinder head, carb fits manifold - all good so far!
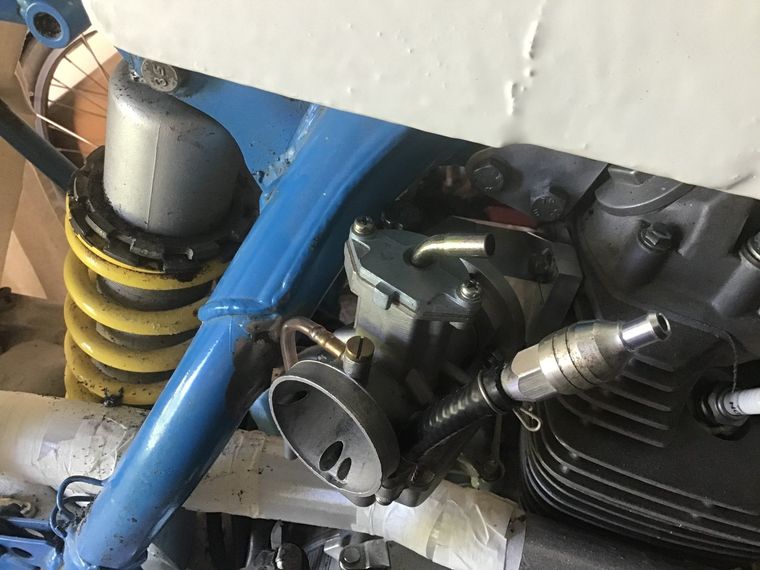
Badly moulded carb boot also fits. Time to get the air box in place.
And there it is. After a little more trimming and drilling the mounting holes, the air box is in place.
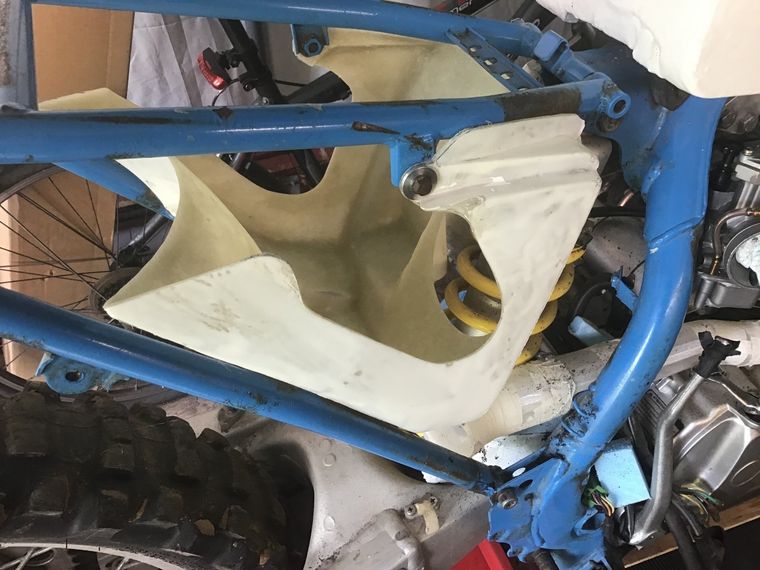
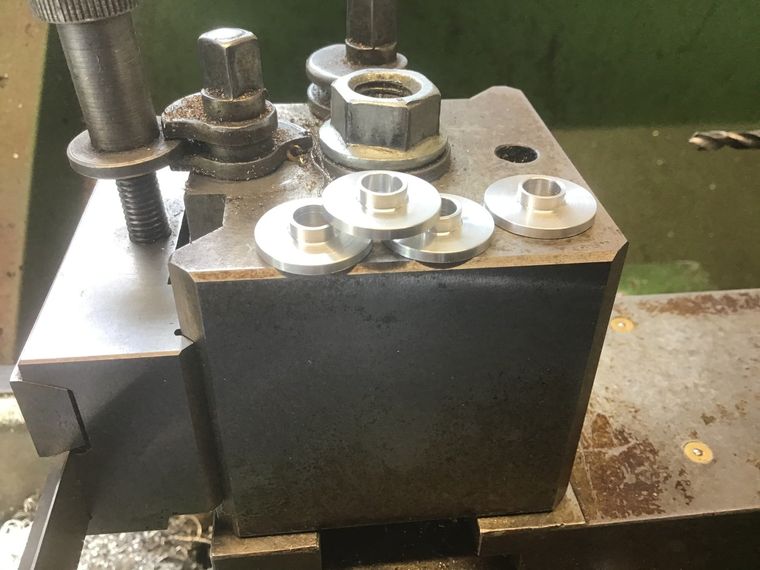
A batch of 'top hat' washer where made up to avoid local crushing of the fibreglass when everything's bolted up.
There's a small gap between air box and air boot to sort out. I expected this as the air boot flange thickness was deliberately left thin, it being much easier to add fibreglass layers as required to fill the gap, rather than to have to grind it away.
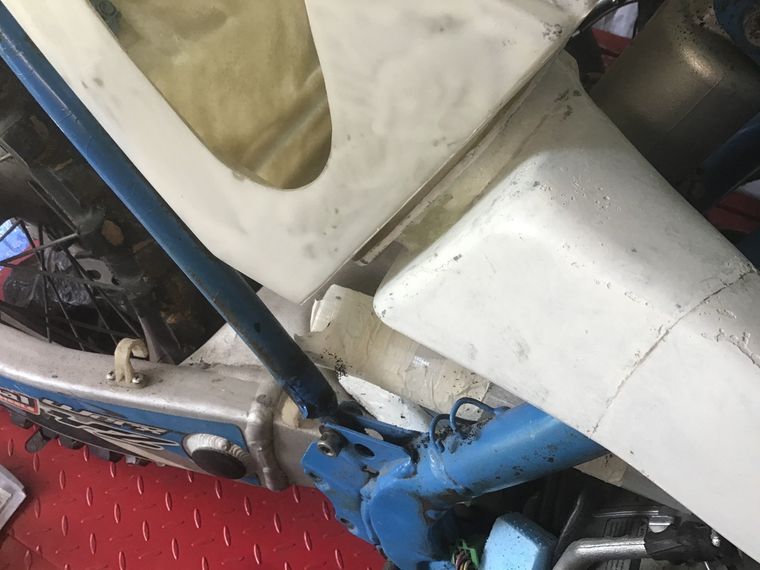
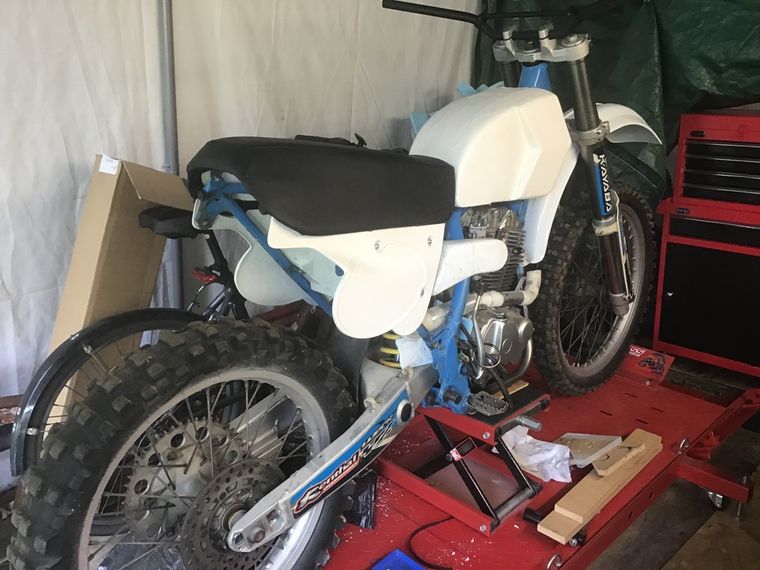
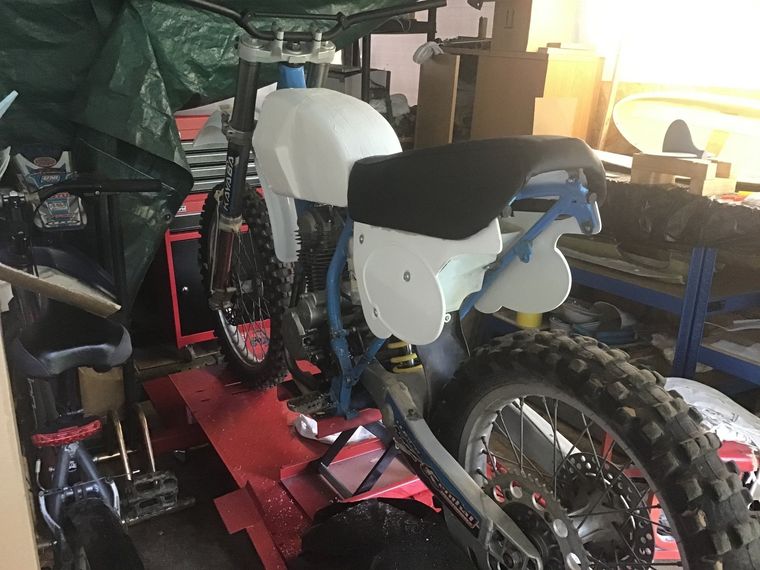
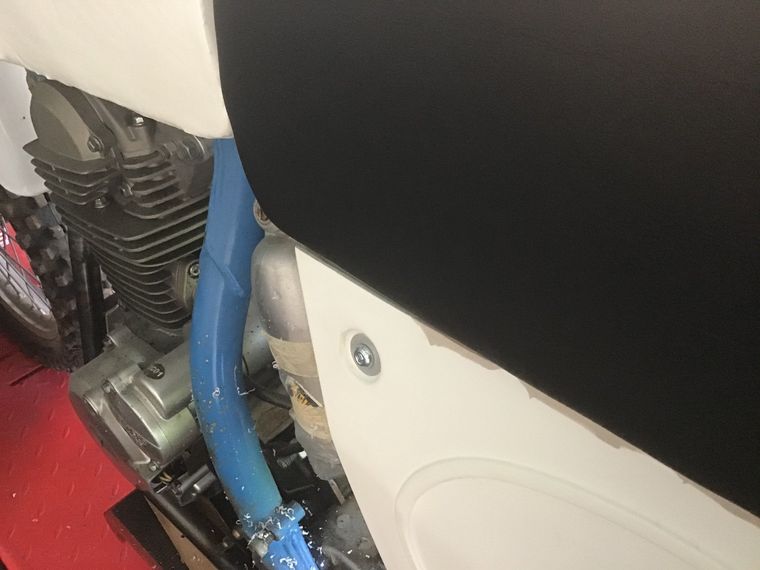
With the air box in place, the side panel mounting holes can be drilled and the side panels (temporarily) fixed in place.

Right side panel fitted nicely, but the left one stuck out a little at the front. I thought I could live with it...
...but I couldn't! The air box has been modified to tuck the front edge in.
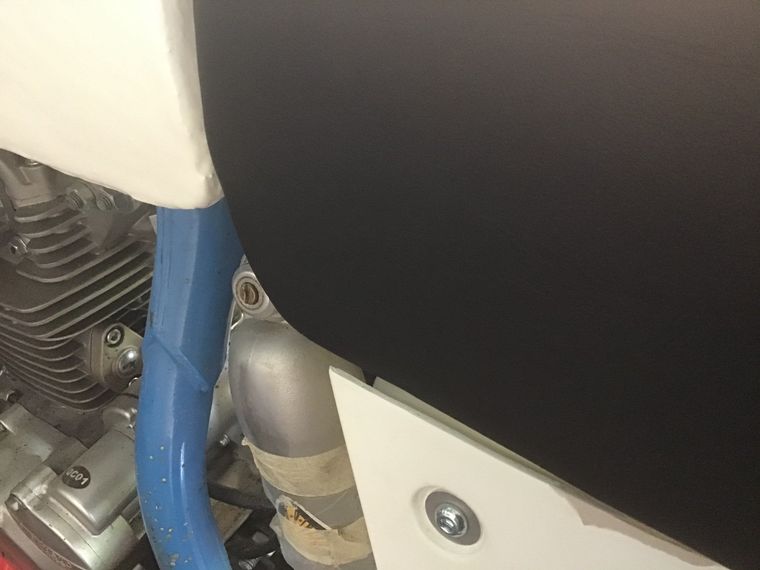
While the side panels and seat were in place, I did take the opportunity to sit on the bike and dream about perhaps, one day, actually getting to ride it...