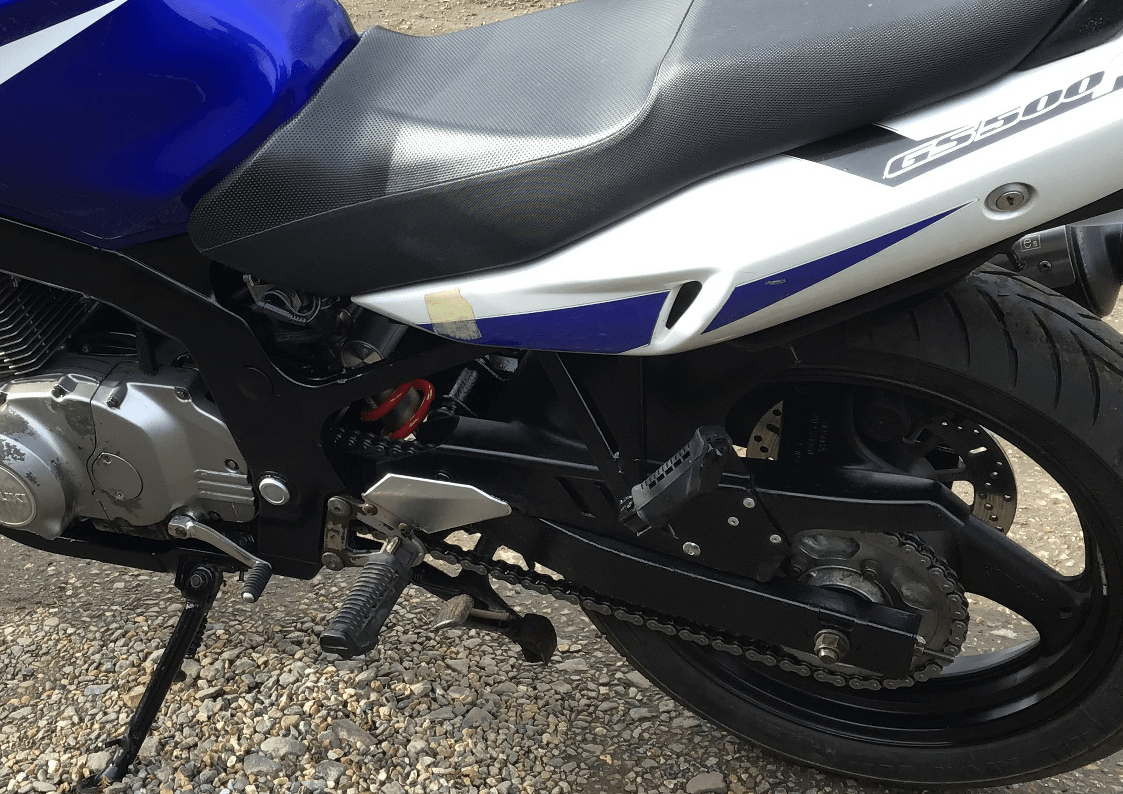
Monday Articles - March 2021
Scroll down for latest installments
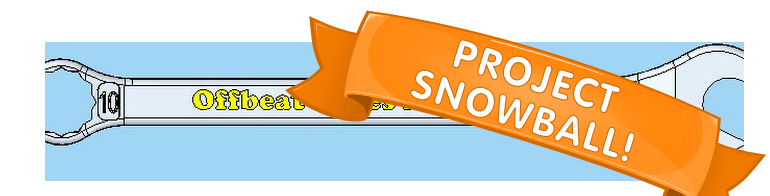
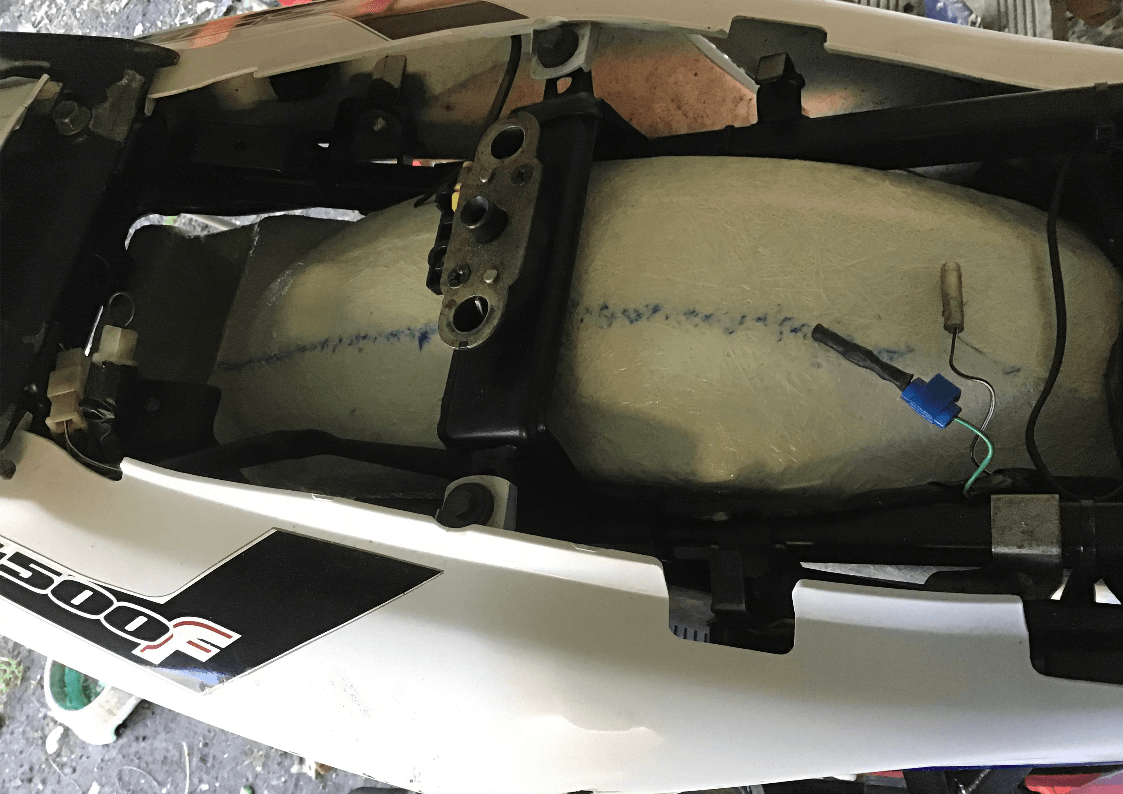
With the 3D printer playing up, instead of working on the front cowl / flyscreen, attention has turned to the rear end of the bike.
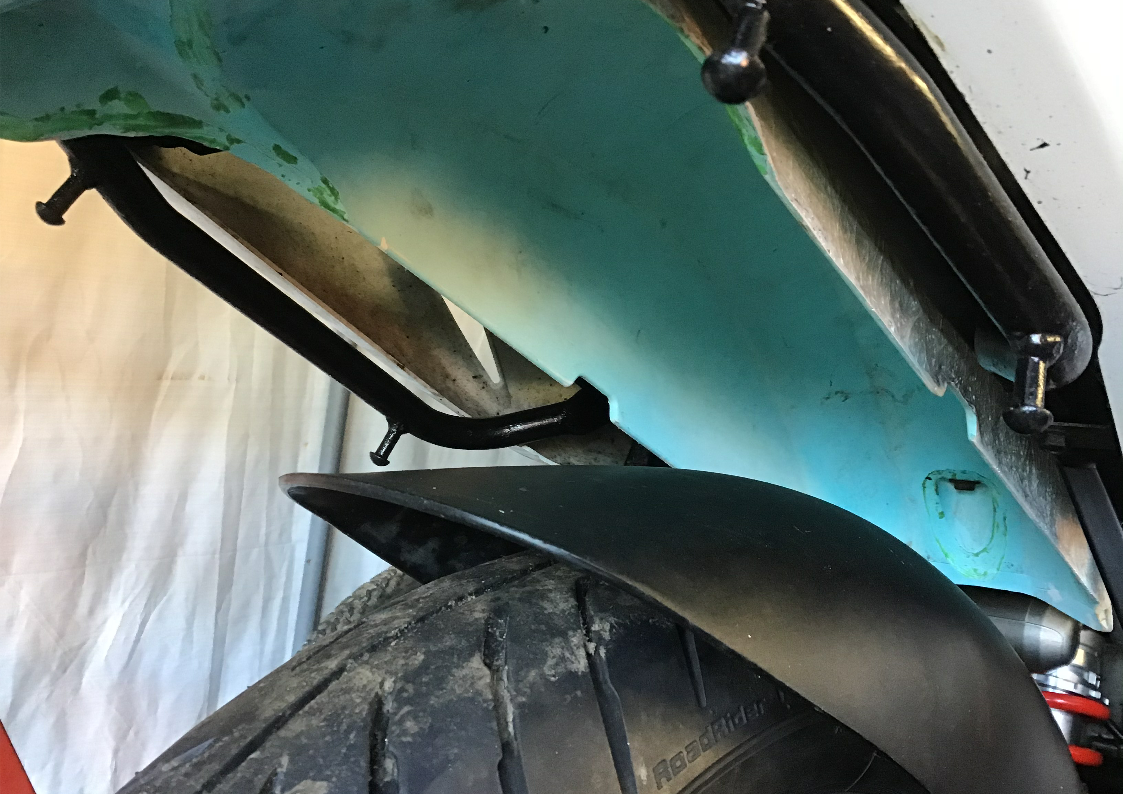
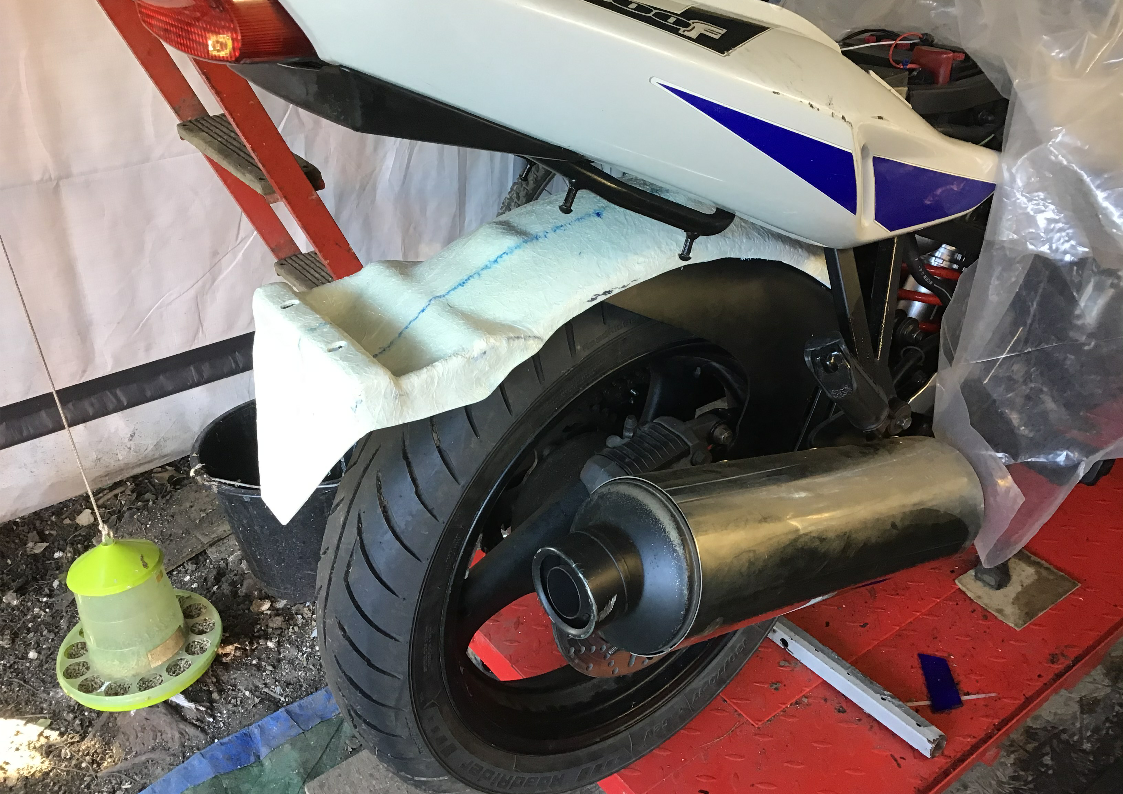
The new hugger is wider than the standard undertray and so if the suspension were ever fully compressed, there’d be a nasty collision between the two. This pic (with the undertray removed) shows where the rear hugger would end up. The undertray is largely redundant once the hugger is fitted, but I do need somewhere to hang the number plate and indicators and I’d also like to protect the wiring etc. that’s under the seat. What I really needed was a wider version of the standard undertray. And with that thought in my head, I struck upon a possible solution - if I use the standard one as a pattern, I could lay-up a fibreglass one, which would by default end up wider than standard.
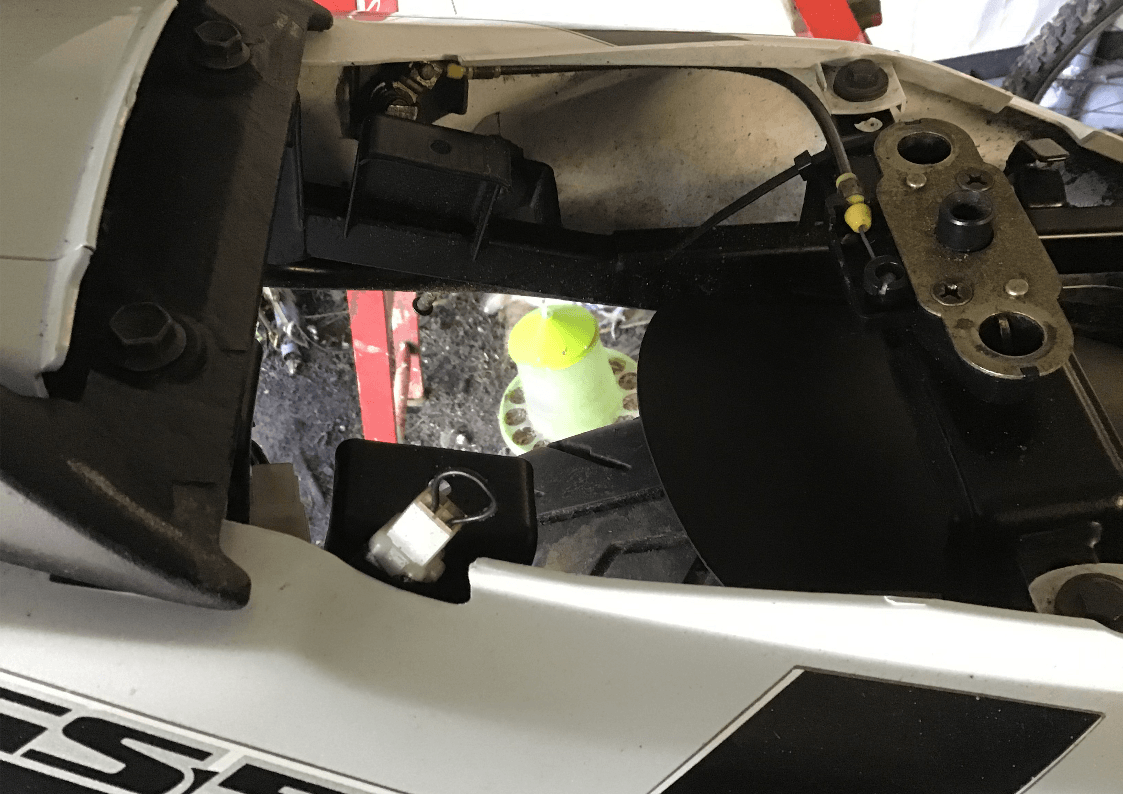
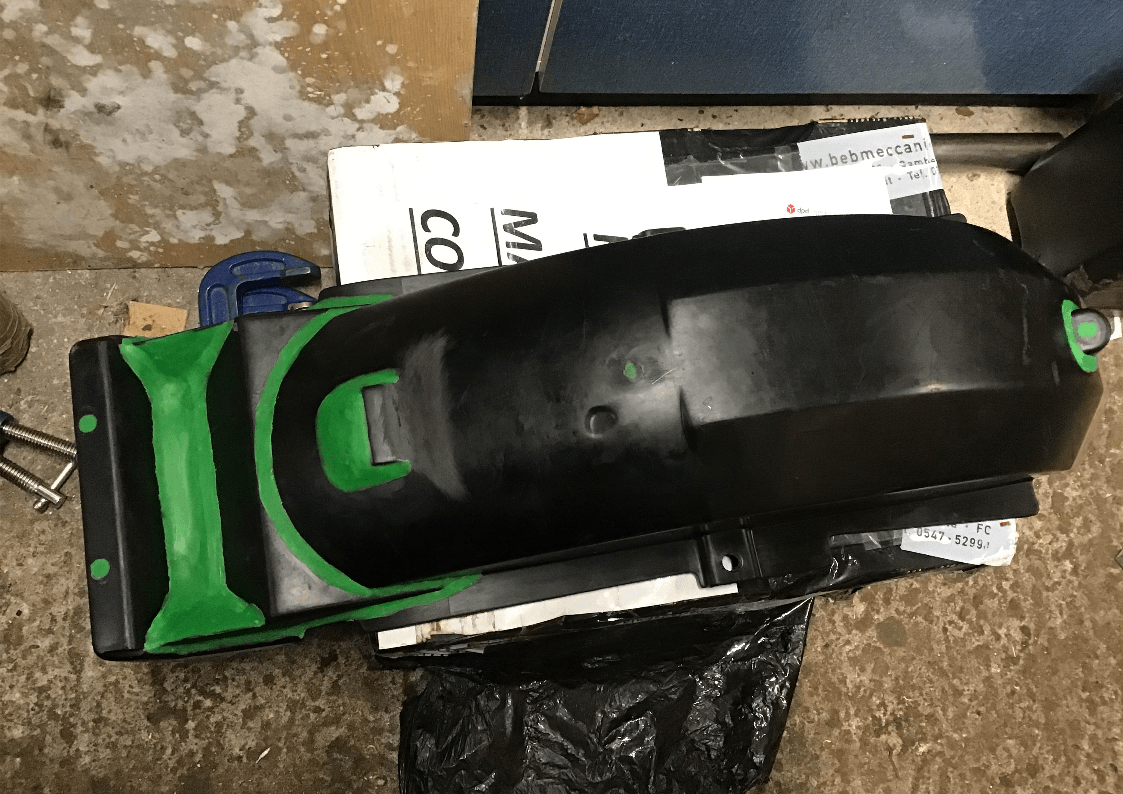
First job was to strip off the indicators, number plate mount etc. from the standard version. This proved difficult, with one of the indicators refusing to leave and subsequently getting destroyed in the process. It was eventually removed using a combination of hacksaw and angle grinder.

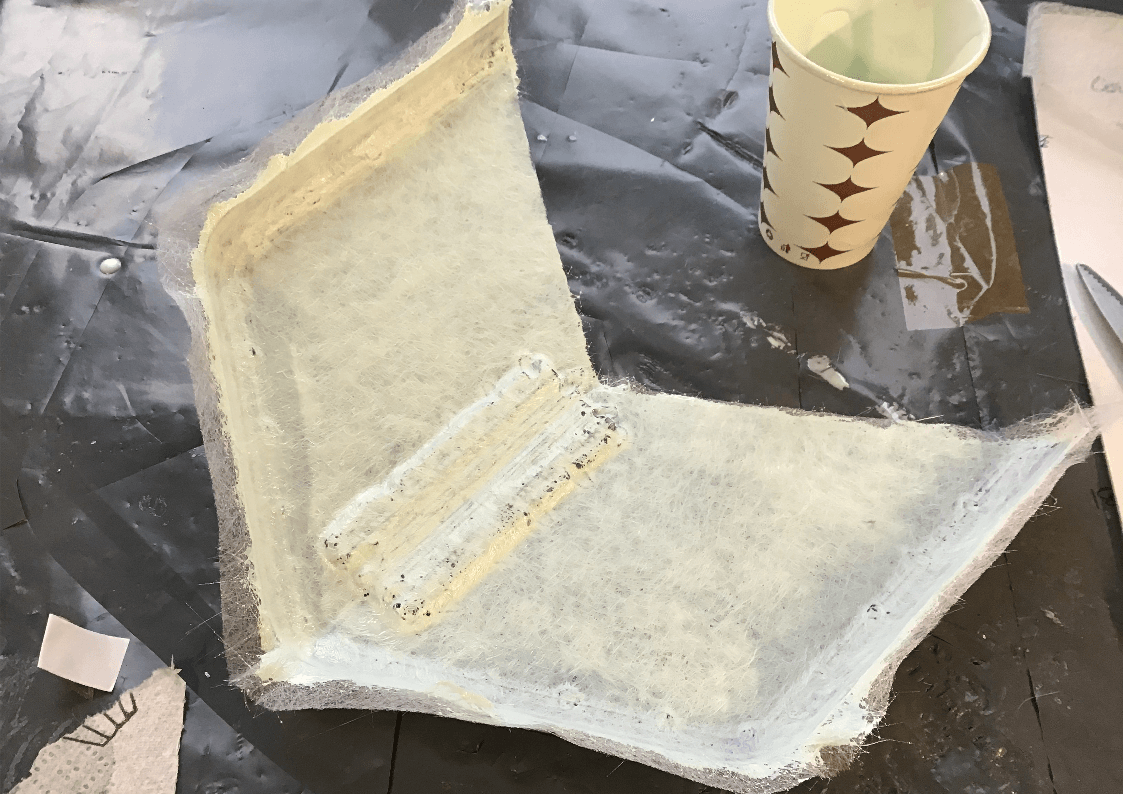
To make it easier to mould, and easier to remove from the pattern, some areas were recontoured using some moulding wax (the green stuff in the picture). The brown parcel tape was used to indicate areas that I don’t want to reproduce and then the whole thing then received several coats of PVA mould release.
Here it is part way through lay-up. Eventually, there’ll be three layers of chopped strand mat, plus some extra strips along the top side as reinforcement. (I anticipate cutting most of the sides out, so a bit of extra thickness over the top should compensate for some of the lost rigidity.)
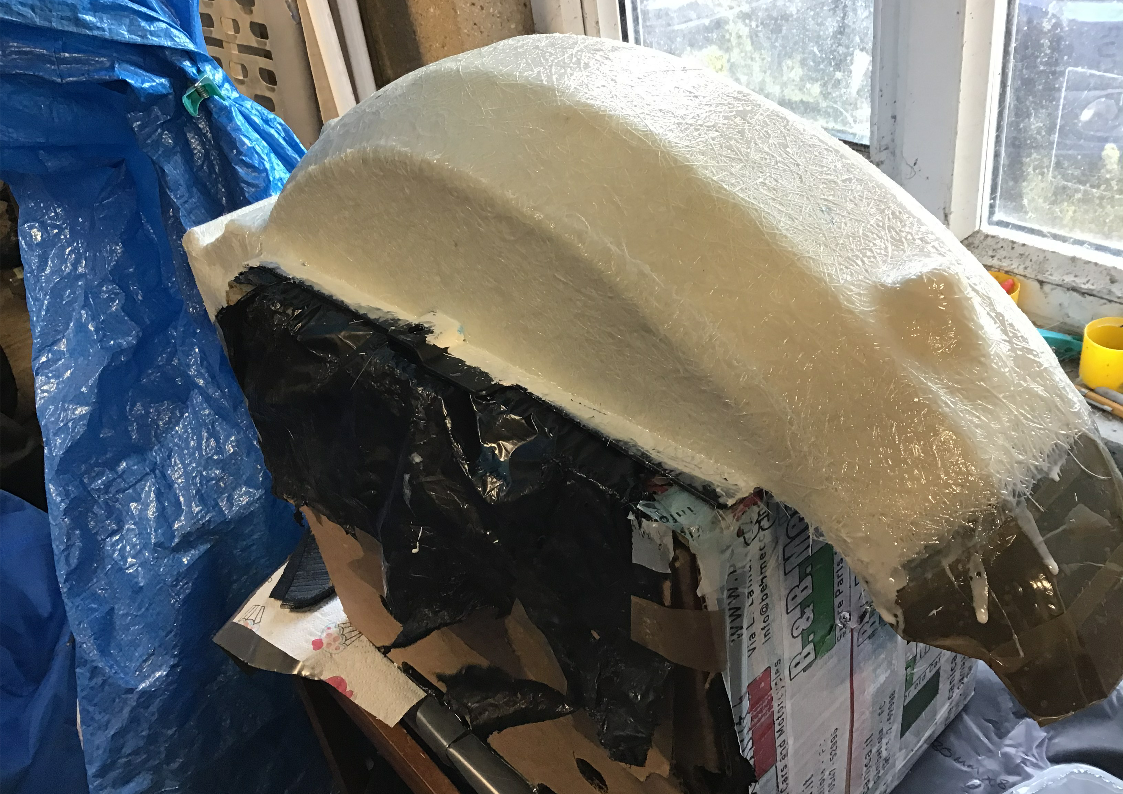
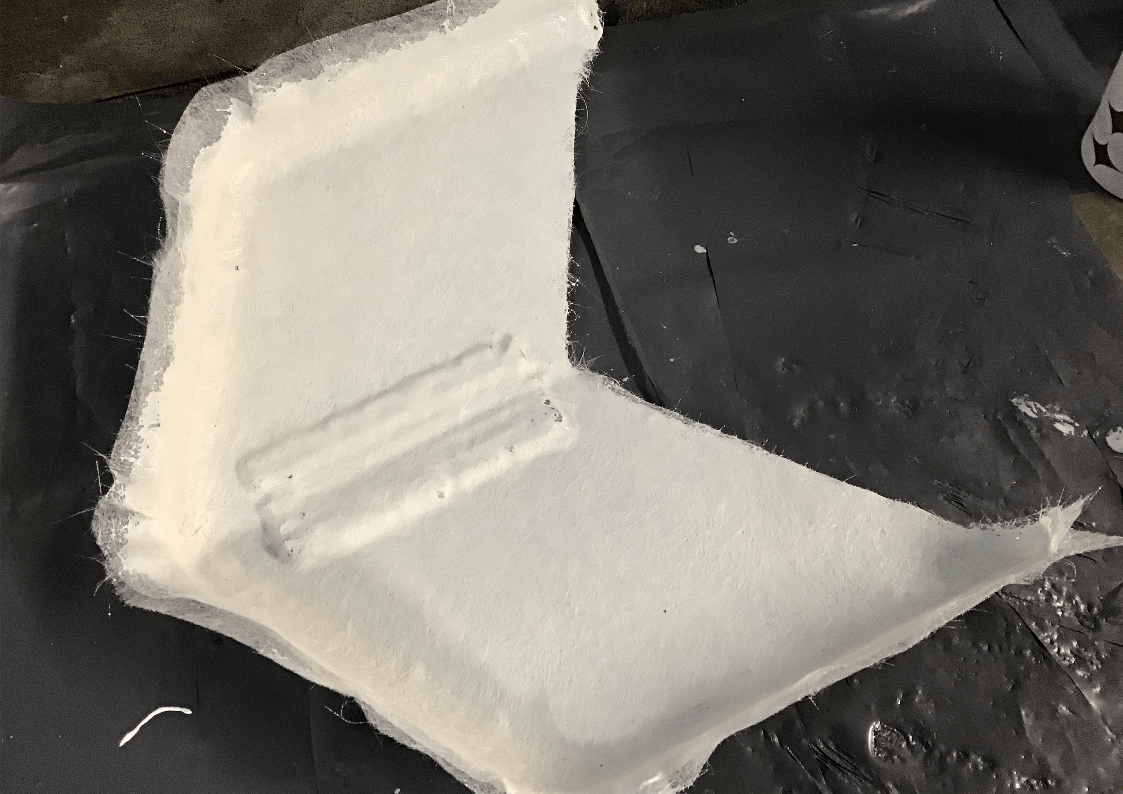
And, after waiting for it to cure, the mould and pattern are successfully prised apart.
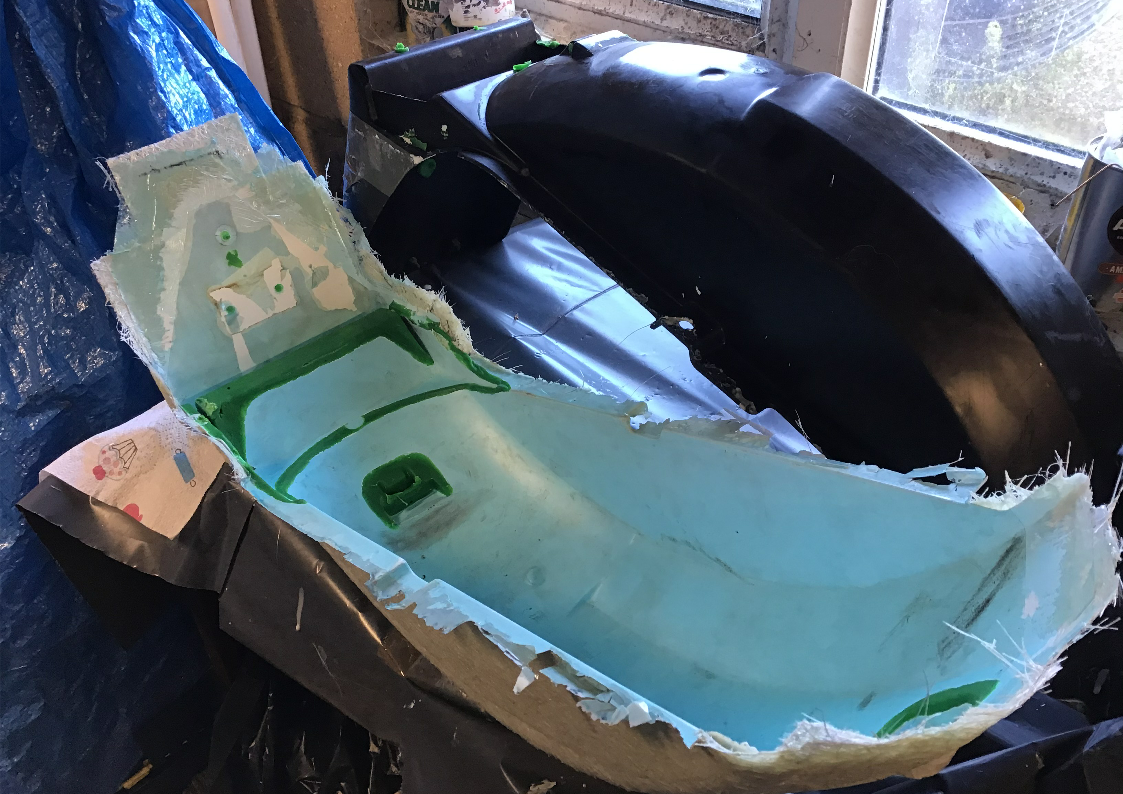
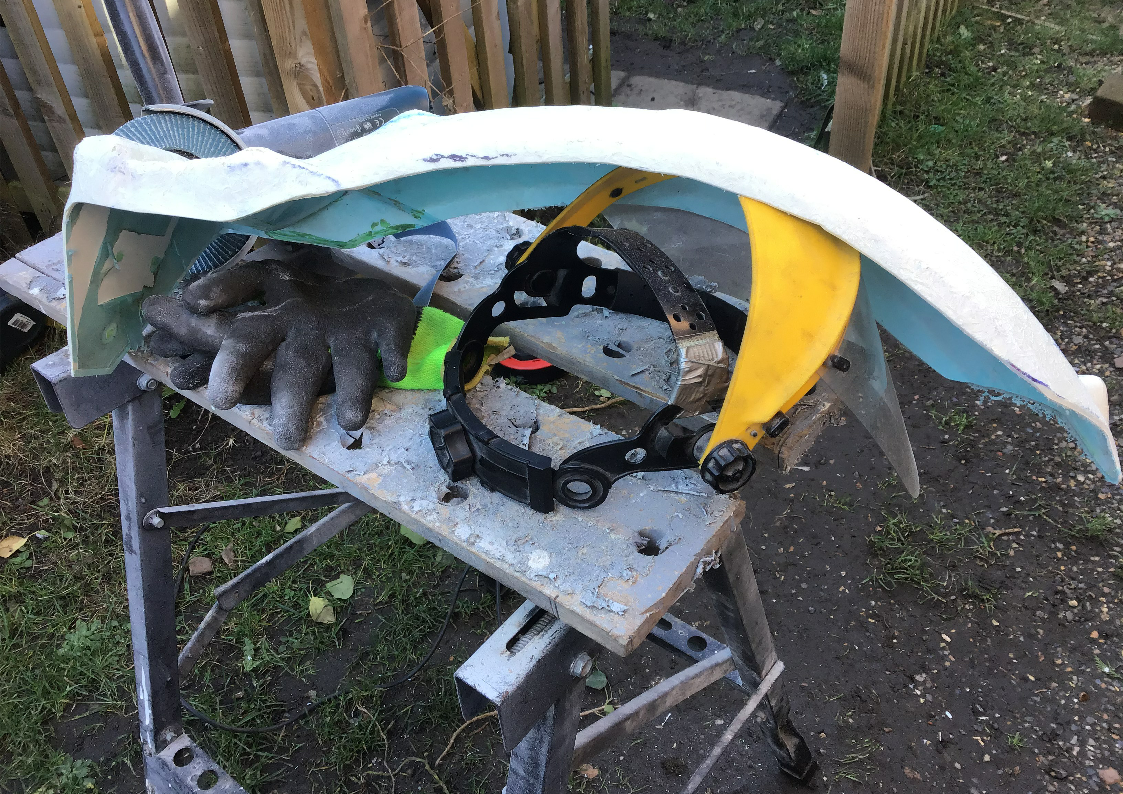
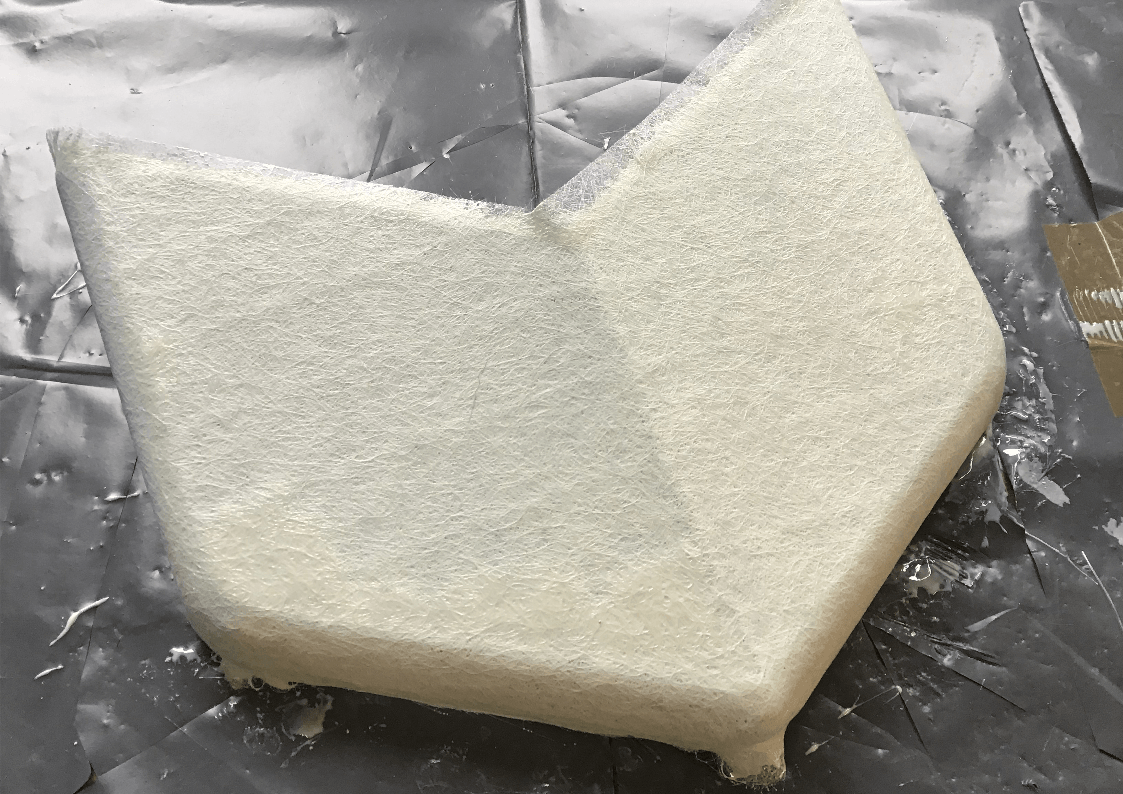
And here they are again, after some cleaning and trimming. The light blue colour on the moulding is PVA mould release that hasn’t yet been cleaned off.
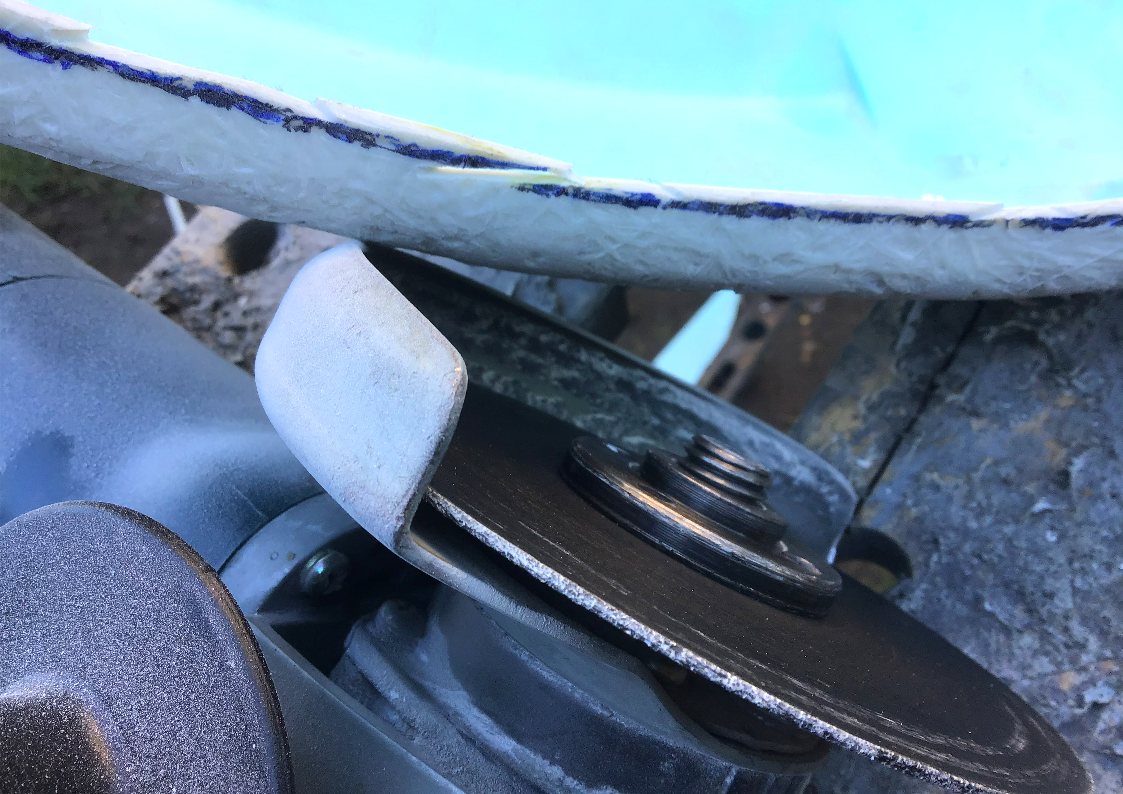
After drilling the mounting holes, it’s test fit time and luckily it does fit!
I’m still not sure at this point that the new undertray is wide enough to stop any potential clash with the hugger, but there’s also a lot of excess undertray that could be removed, so that’s going to be trimmed off first.
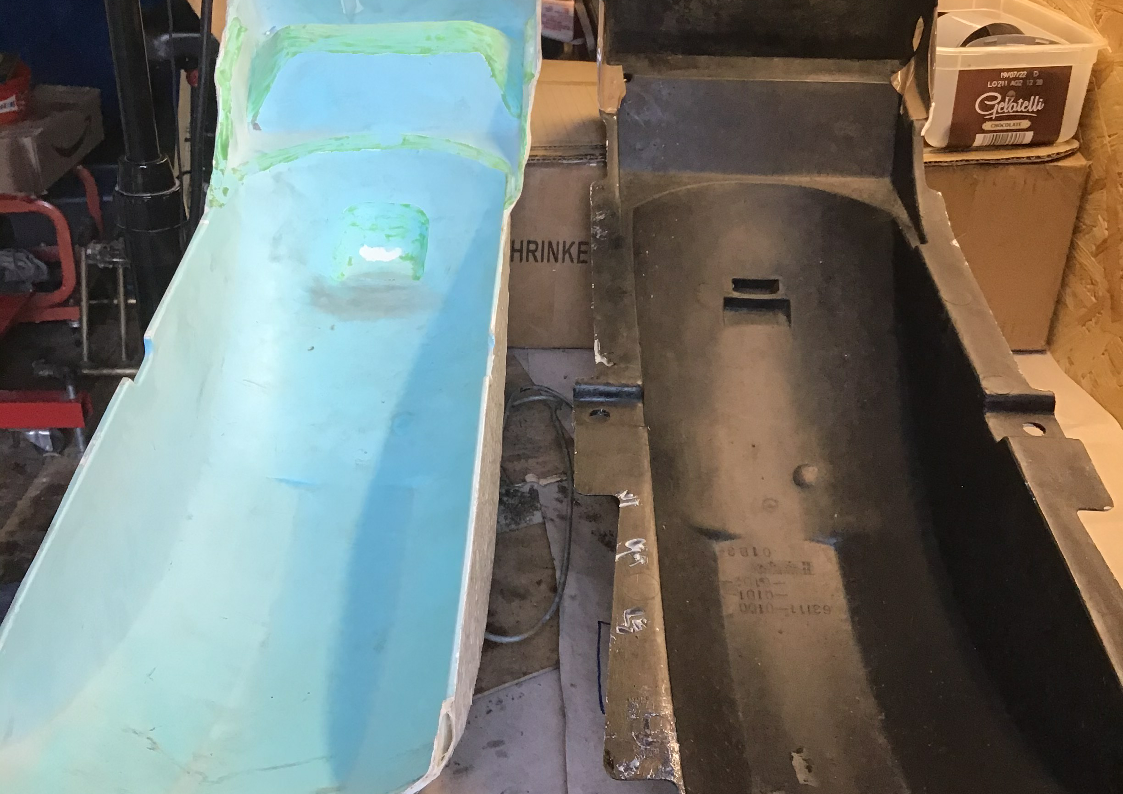
So here it is again, after a good trim.
A cutting disc makes short work of trimming duties, but it’s really easy to accidentally overshoot the marked cut line!
Trimmed tray before fitting.
After fitting in place, most of it disappears from view. There’s just enough left for mounting the indicators and the standard number plate bracket can also be reused.
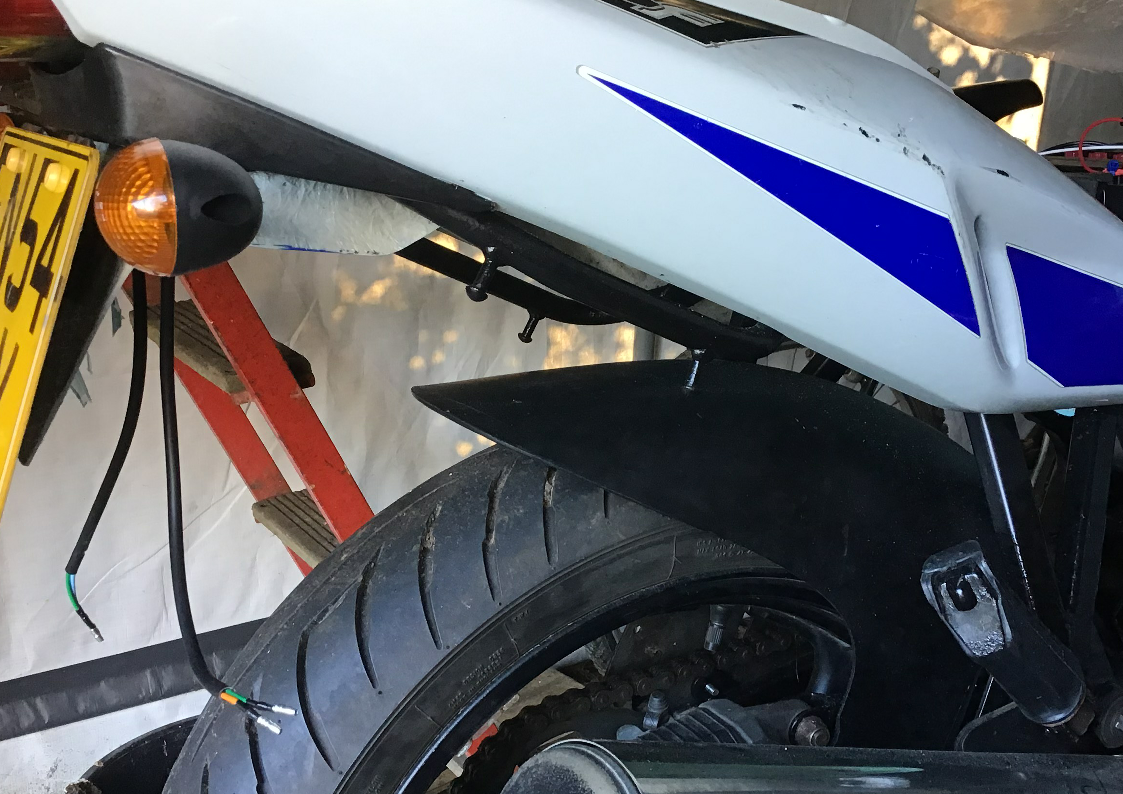
With everything bolted in place, it was time to test for clearance. Removing the bottom suspension linkage bolt allows the wheel / swingarm to be lifted up to full compression height - and we have clearance. That’s one more bit of the project (almost) sorted.
A change to this week’s Monday article as both the 3D printer and the angle grinder are now sulking. So, while I spend a little time repairing these, here instead is a book review that was destined to be included in the next issue of the magazine. I spent my hard earned cash on a copy of this book, but should you?
The book in question is
'How To Build A Motorcycle' by Gary Inman and you can find the review
HERE
Talking of the magazine, technically it should be online by the end of March, but I’ll warn you now, I am running behind schedule…
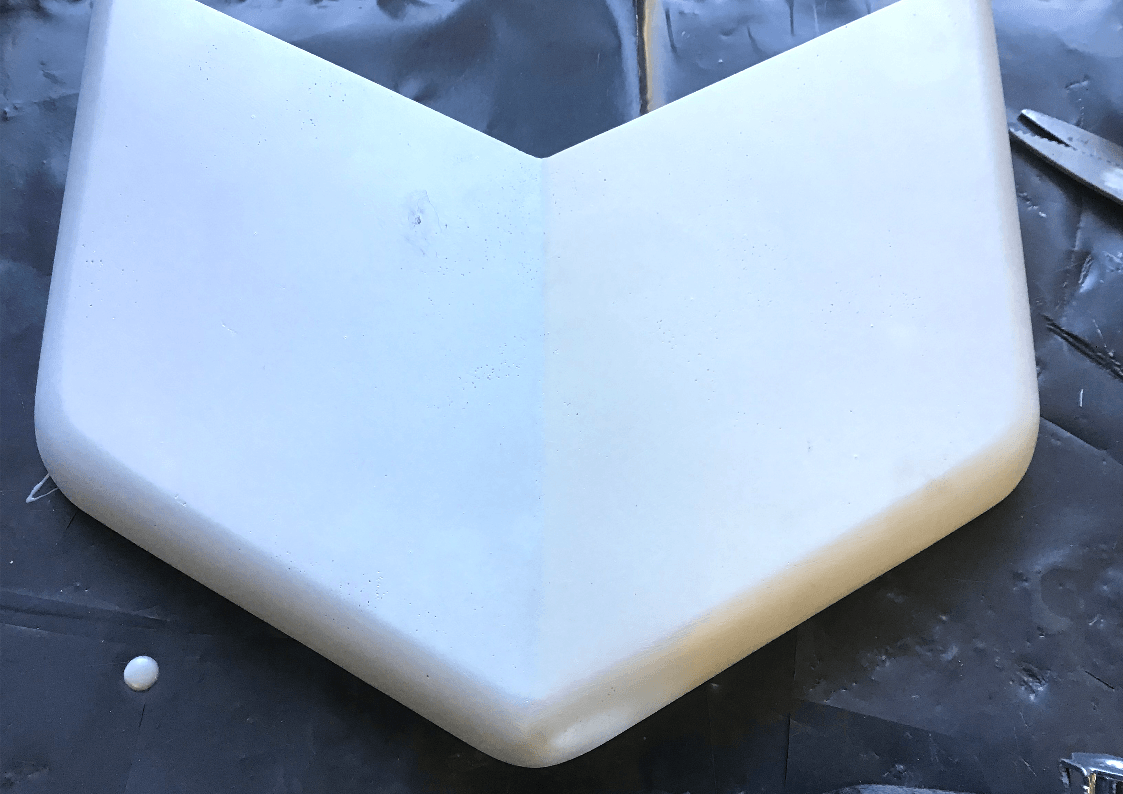
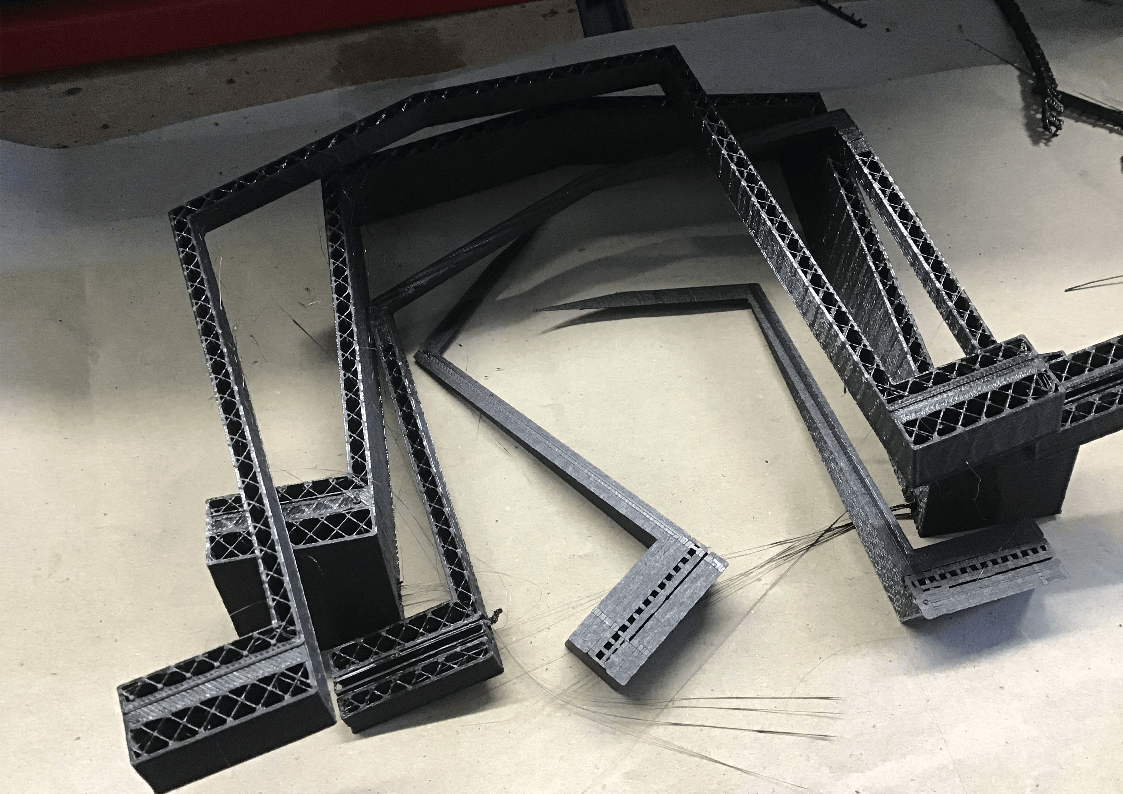
The 3D printer is still not playing properly, but it has managed to produce the front cowl in kit form! The bits were tacked together using the flat tip included with my plastic stapler kit. Here are the bits…
First bits tacked in place - this is the underneath.
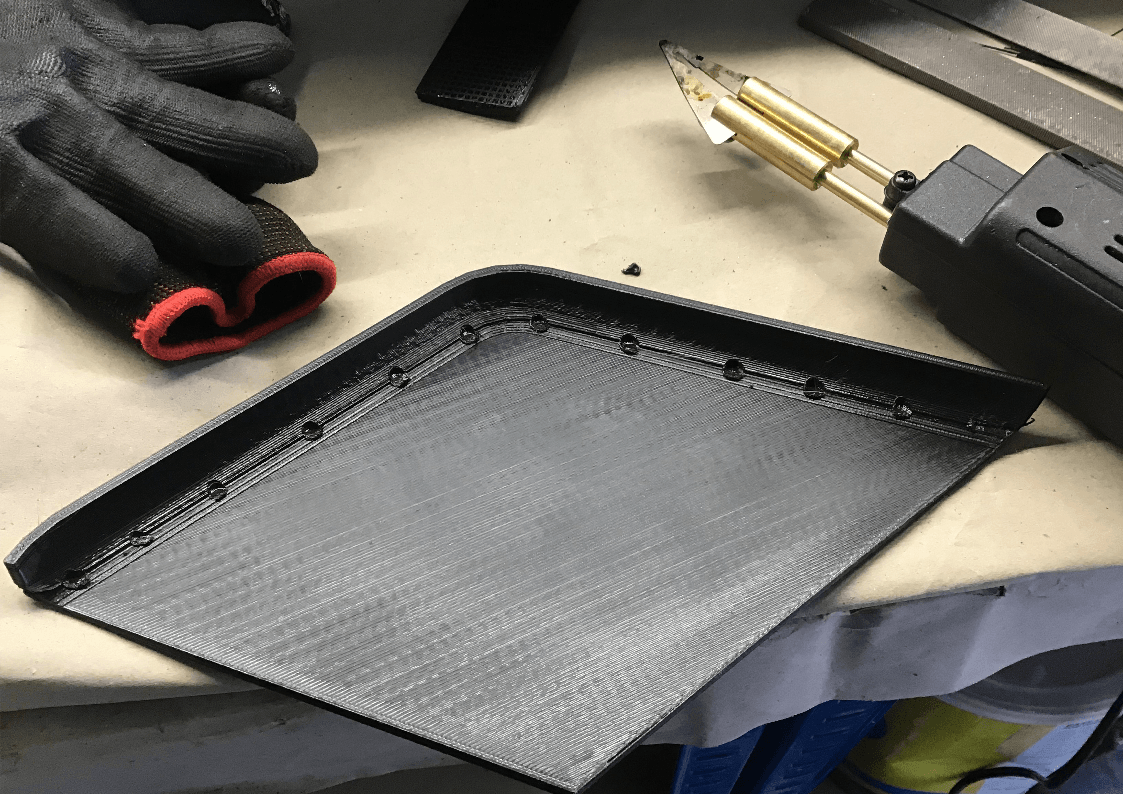
And this is the top. The join line at the front has been smoothed a little using the flat tip. This is a fairly rough print (0.3mm layers) the print lines could be smoothed quite a lot using the hot tip (if you have the patience).
Completed cowl, all tacked together.
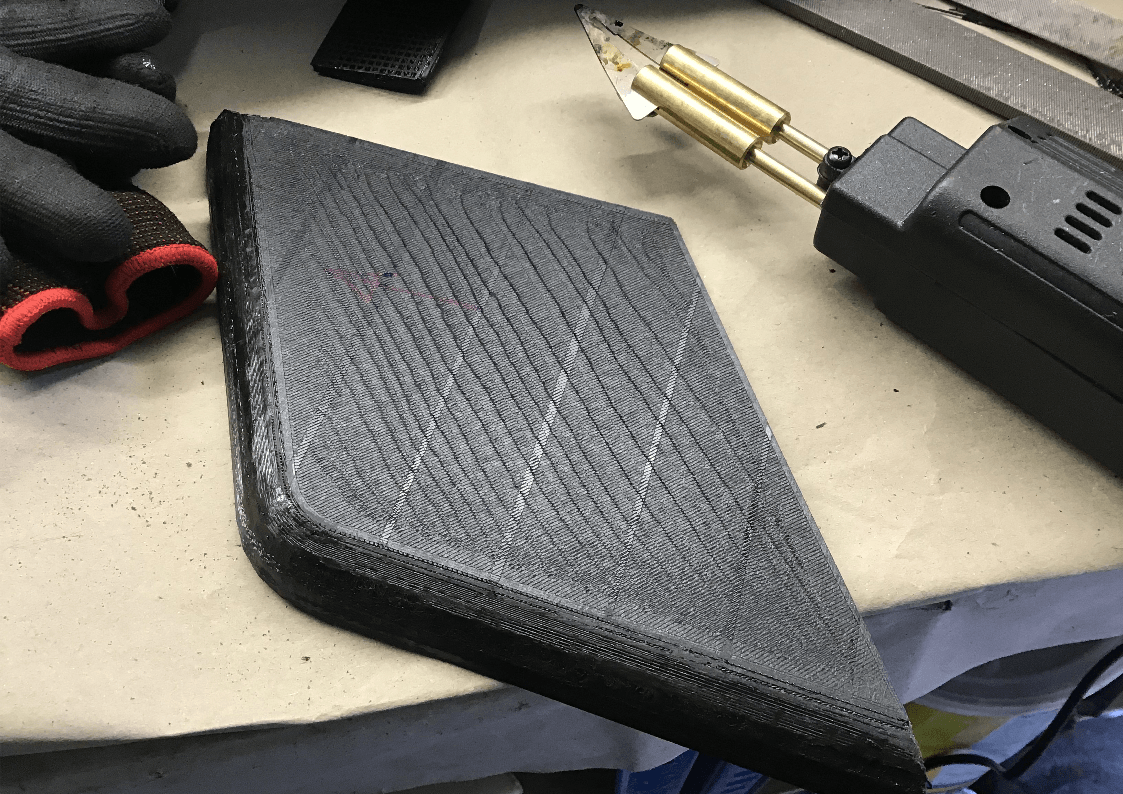
Offered up to the bike, I’m happy with the size and shape.
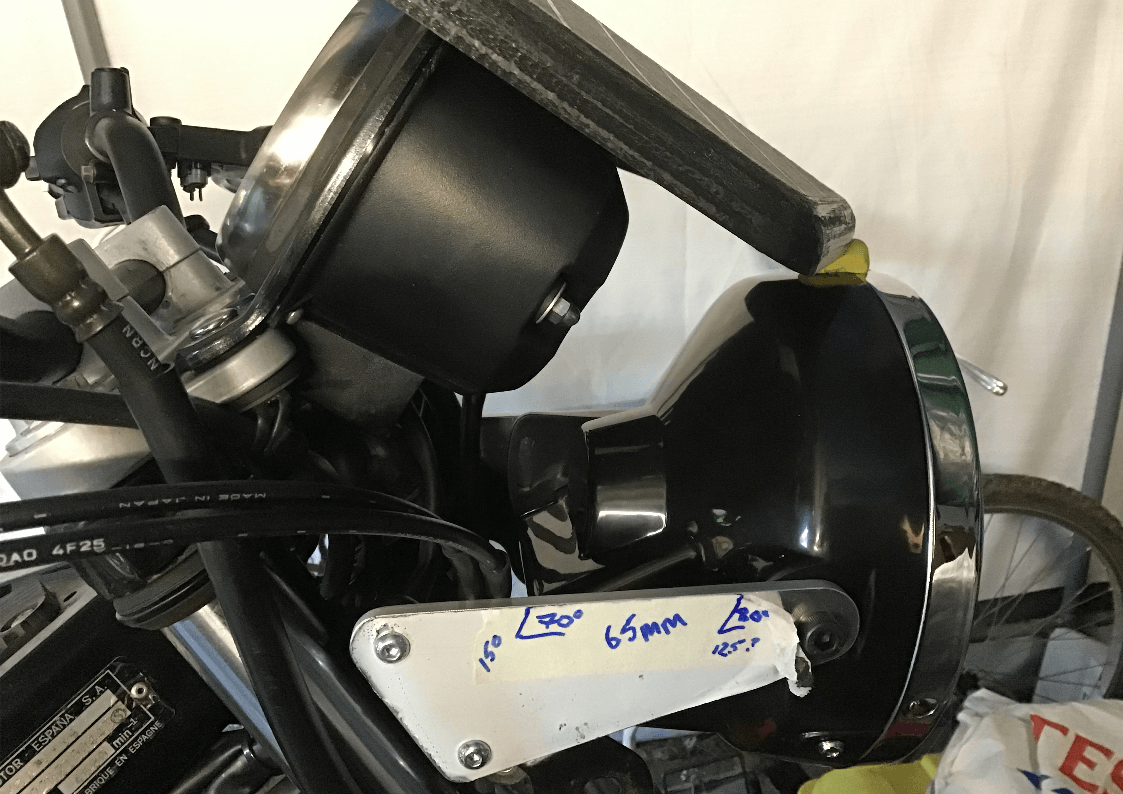
Side view shows the big gap between headlight, clocks, cowl and headlight mounts. This area needs to be filled with a mounting bracket for the cowl and front indicators. That’s the next problem to solve!
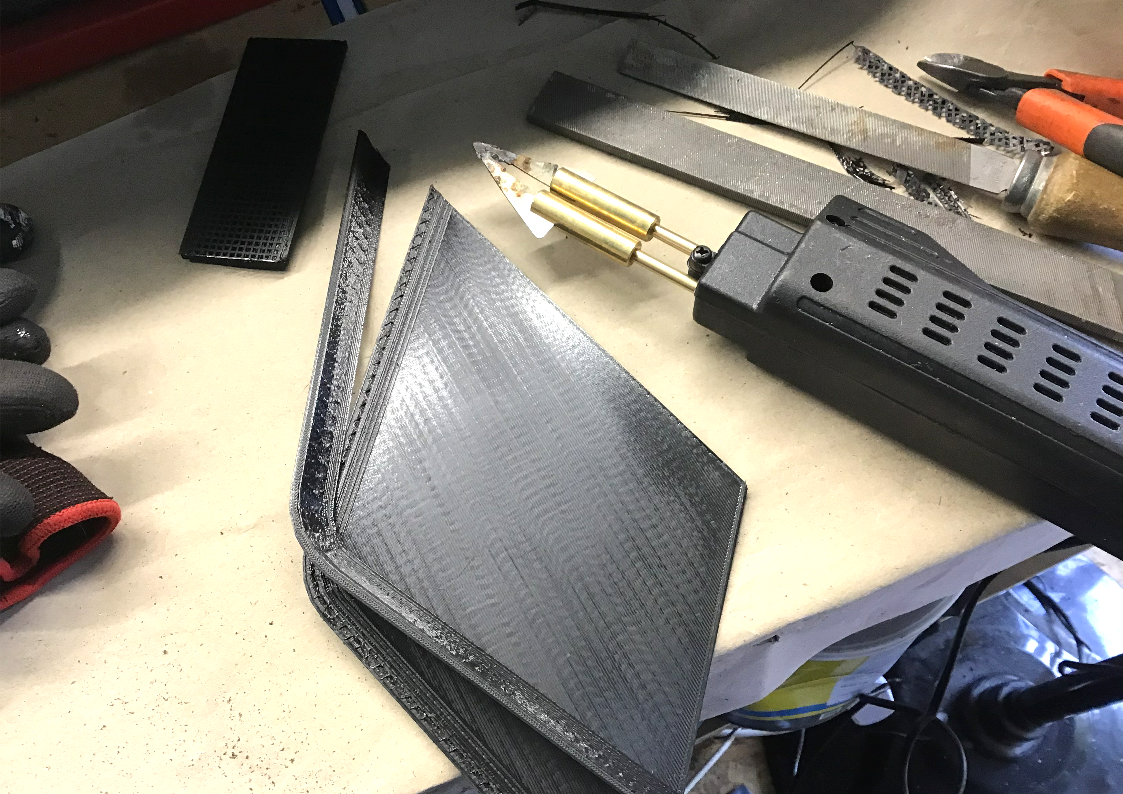
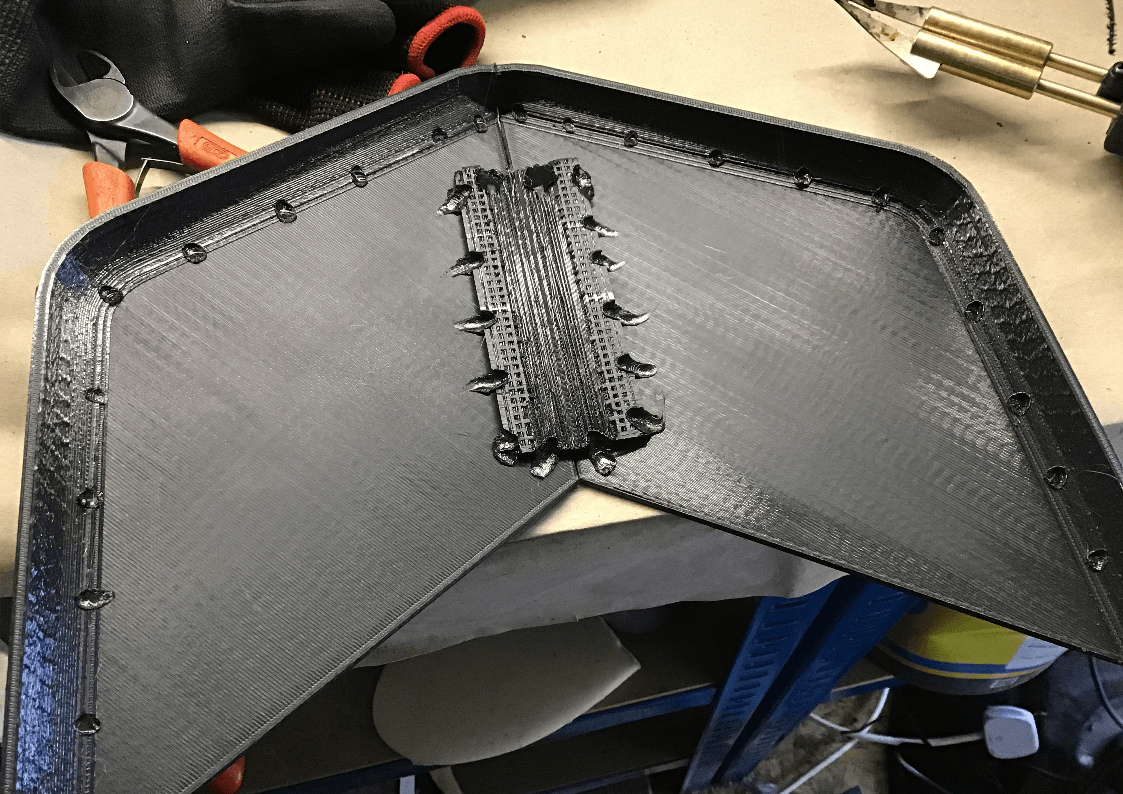
The original plan was to use this 3D printed version as a pattern and then produce a mould to make fibreglass versions. To make a nice job, the 3D print needs to be either sanded, or filled and sanded, nice and smooth. However, plastic, particularly this PLA, doesn’t sand well. Also, in my experience, normal car body filler doesn’t stick that well to it. (Well it’s OK if it’s a thick layer, but a very fine skim seems to flake off easily.) So, as the 3D printer had made me several scrap pieces to play with, I tried coating one with the polyester resin that I use for fibreglass work. Surprisingly, it didn’t attack the PLA and stuck fairly well, so I bit the bullet and laid up a layer of surface tissue on the inside of the cowl. Here it is after one layer.
That went well, so I added a second.
And then did the same for the top.
Car body filler does stick well to the fibreglass, so after an initial skim and sand, it’s starting to look good. The plan has changed now. With the added layers of surface tissue providing both protection and extra rigidity to the PLA cowl, I’m actually going to use it one the bike rather than spend time making a fibreglass mould etc.
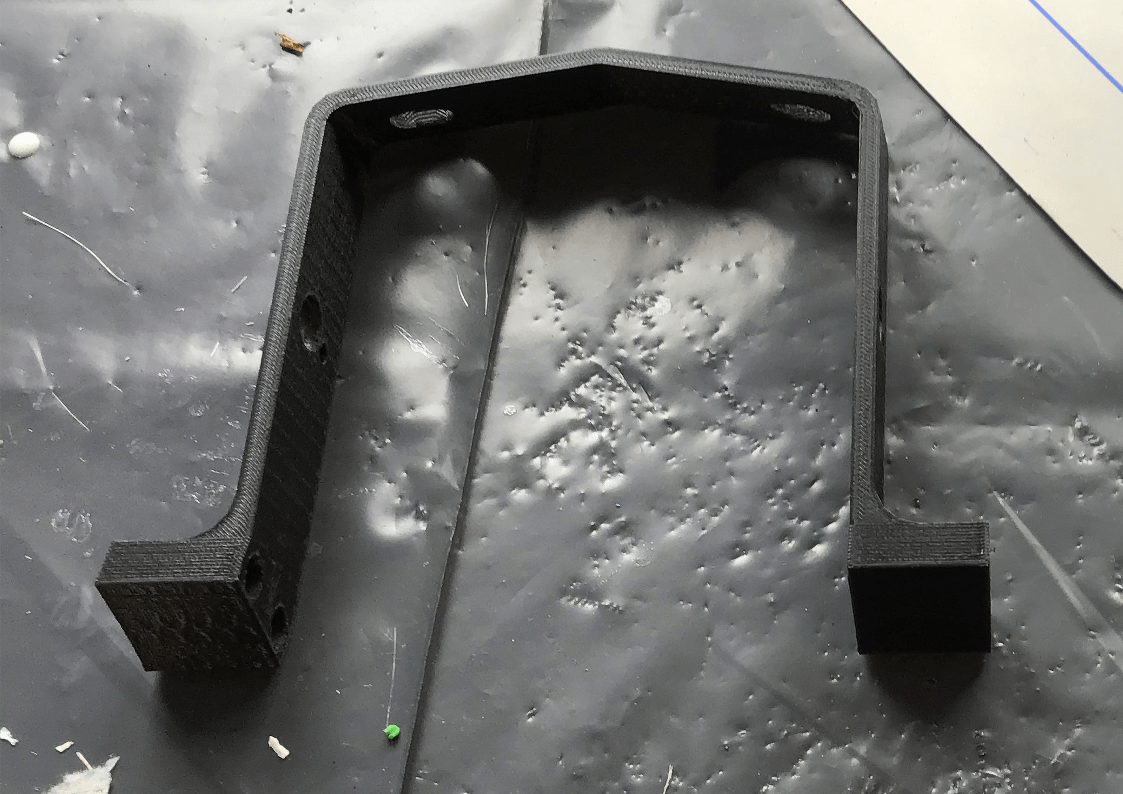
Despite the 3D printer preferring to print pieces of front cowl mount rather than the whole thing…
… it did eventually print something that I could use. Sadly what it printed was too wide and too short. That was nothing to do with the printer, that was my error with the measurements!
But with the aid of the glue gun, some packing pieces and a little Plasticine, it was pressed into service and some new measurements taken.
Which meant that the Mk2 version was a much better fit.
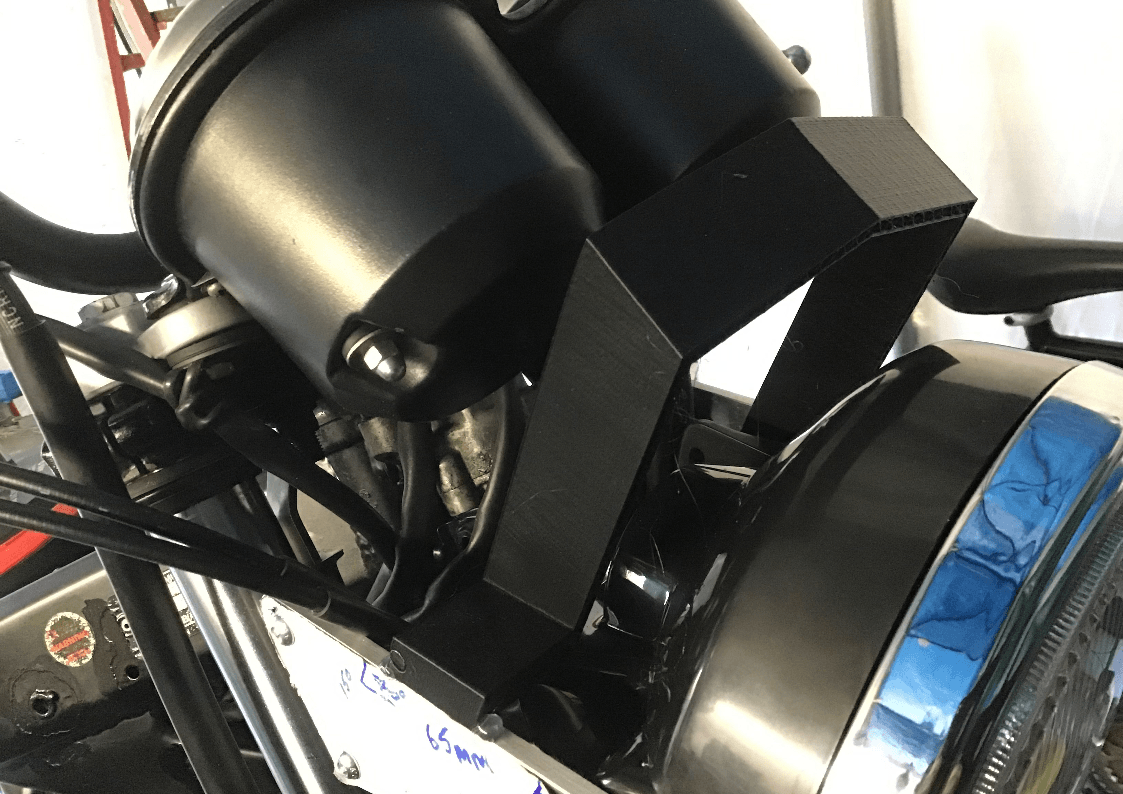
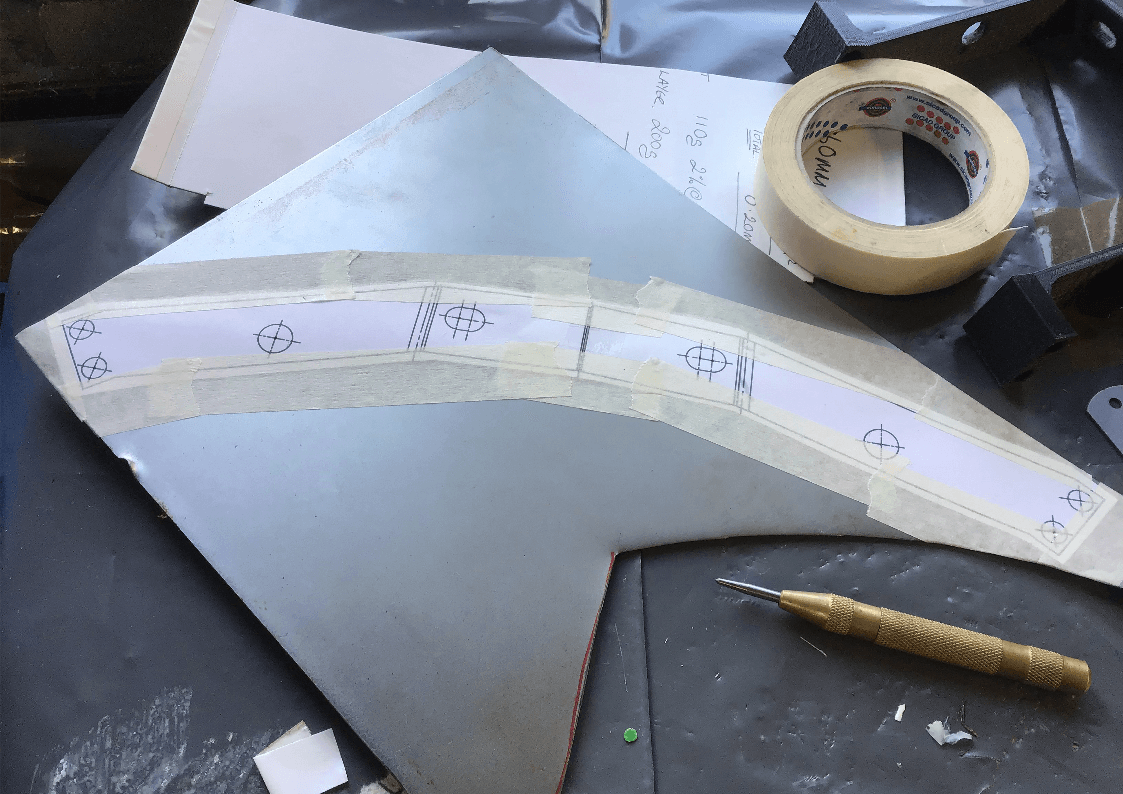
Not convinced that a 3D print on its own would be strong enough, a steel reinforcing structure was fabricated. After a lot of clicking and bashing on the computer, I managed to get the CAD package to print out a template for the sheet steel structure required - although I’m not sure if I can remember what I did to get it to work! But here it is taped in place.
And here’s the folded structure.
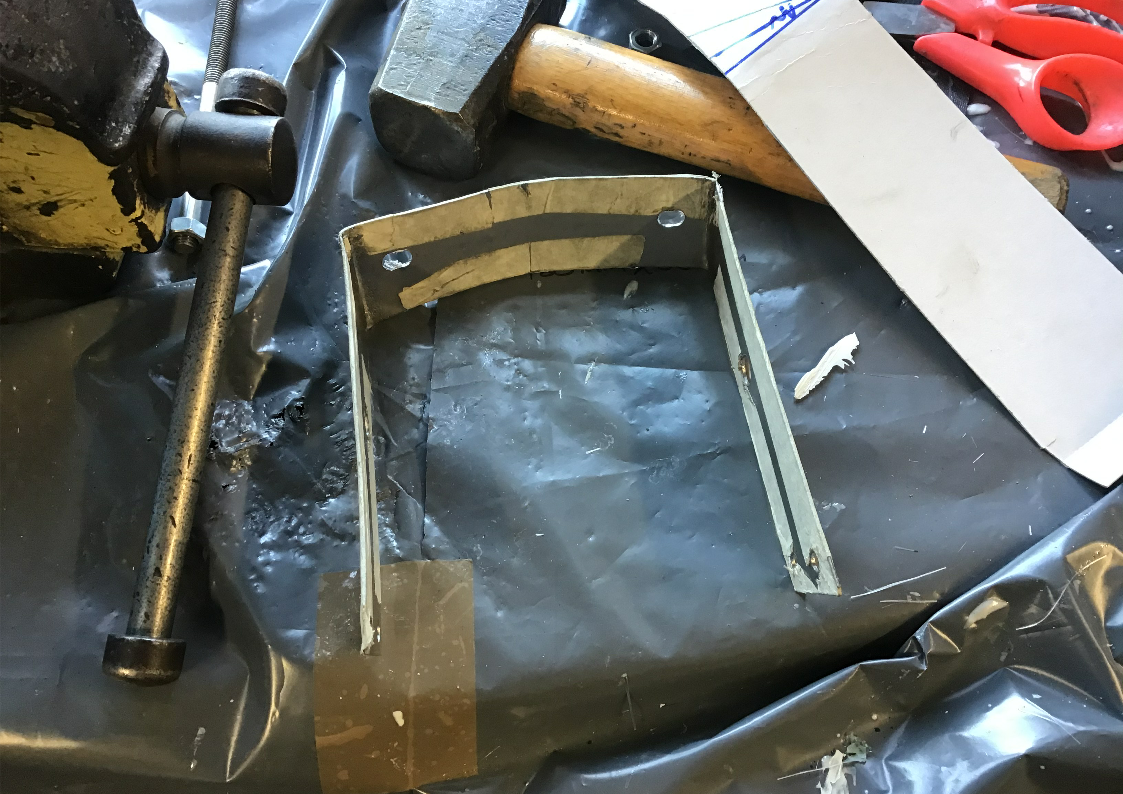
Which after a few minor ‘technical’ adjustments was persuaded to fit.
Not content with that, I also decided to add a cross brace.
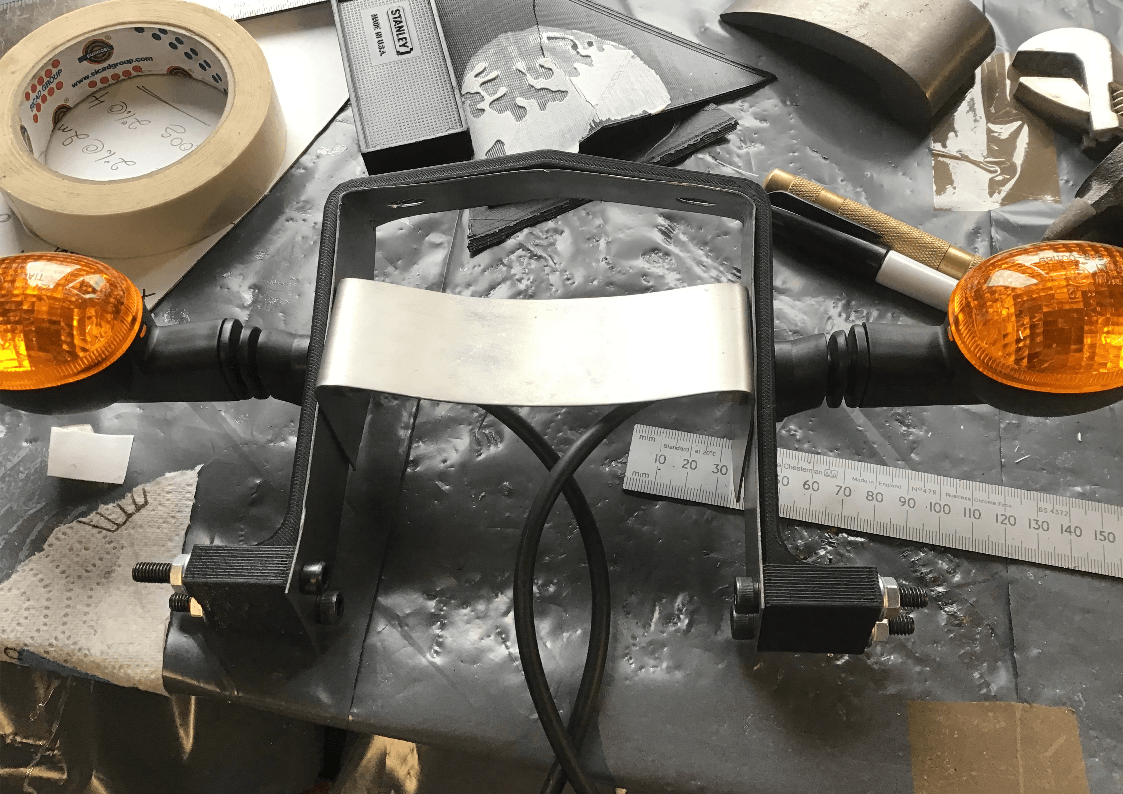
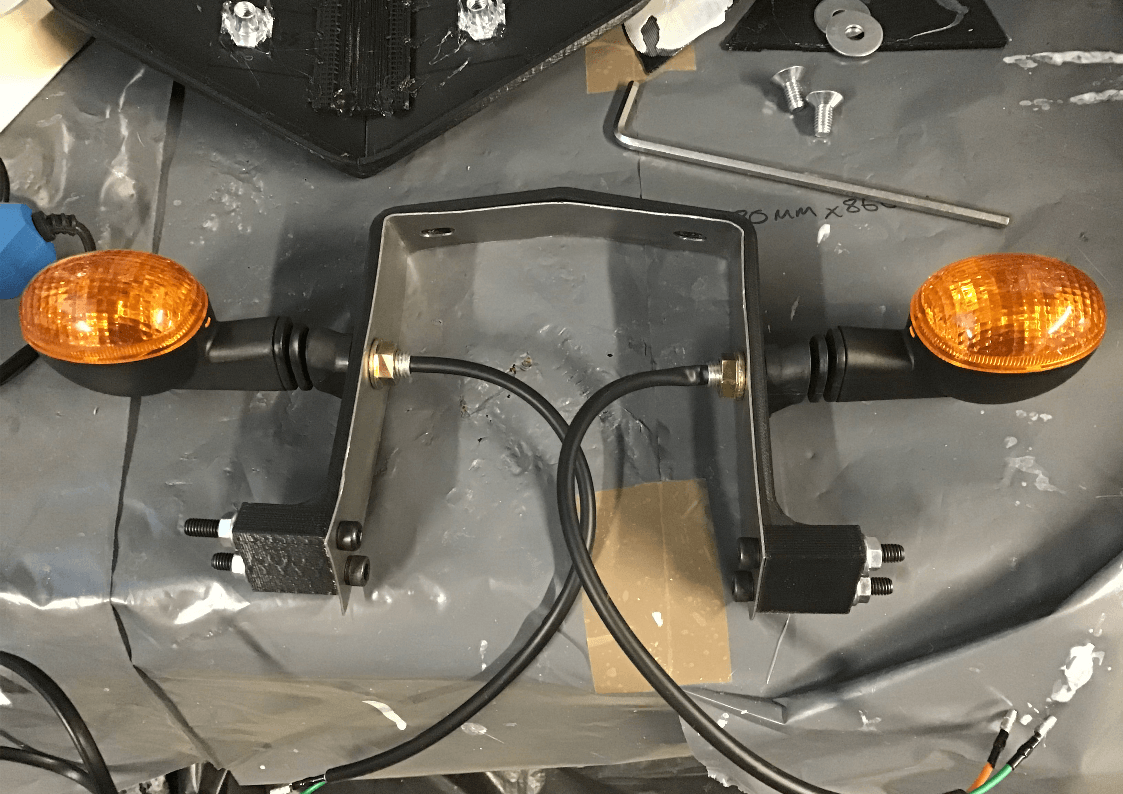
After a bit of tidying up, it started to look almost presentable.
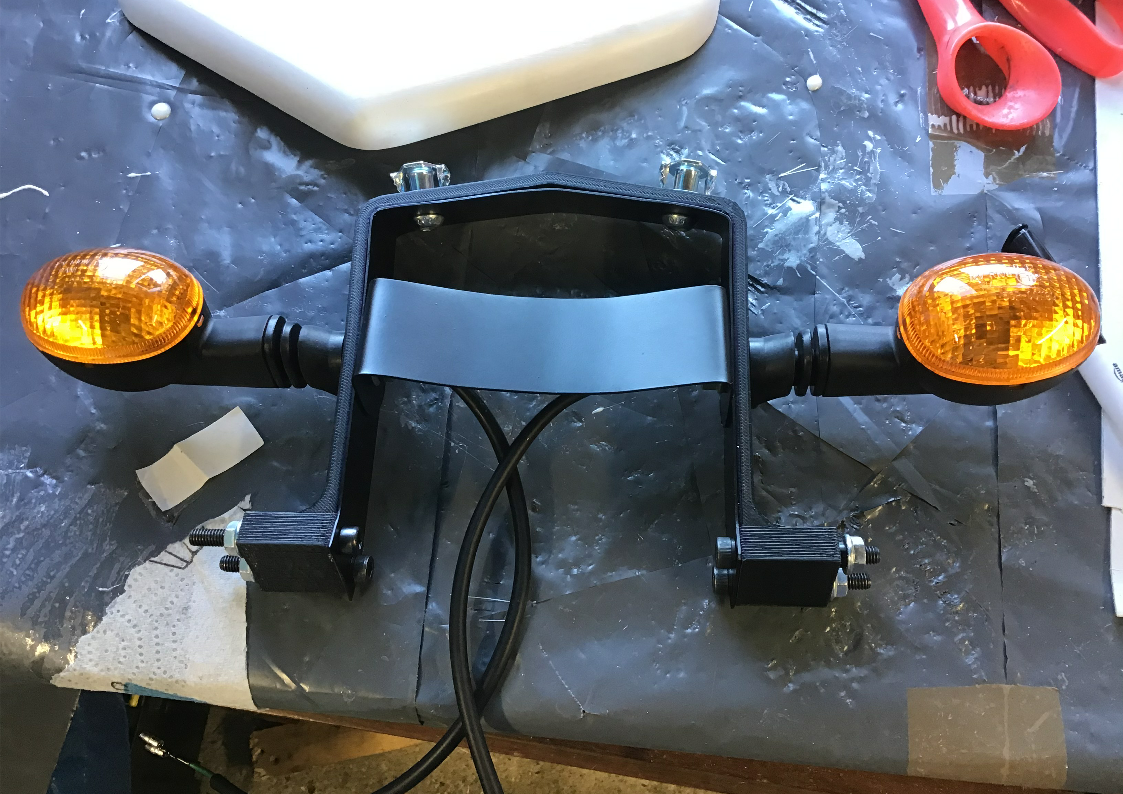
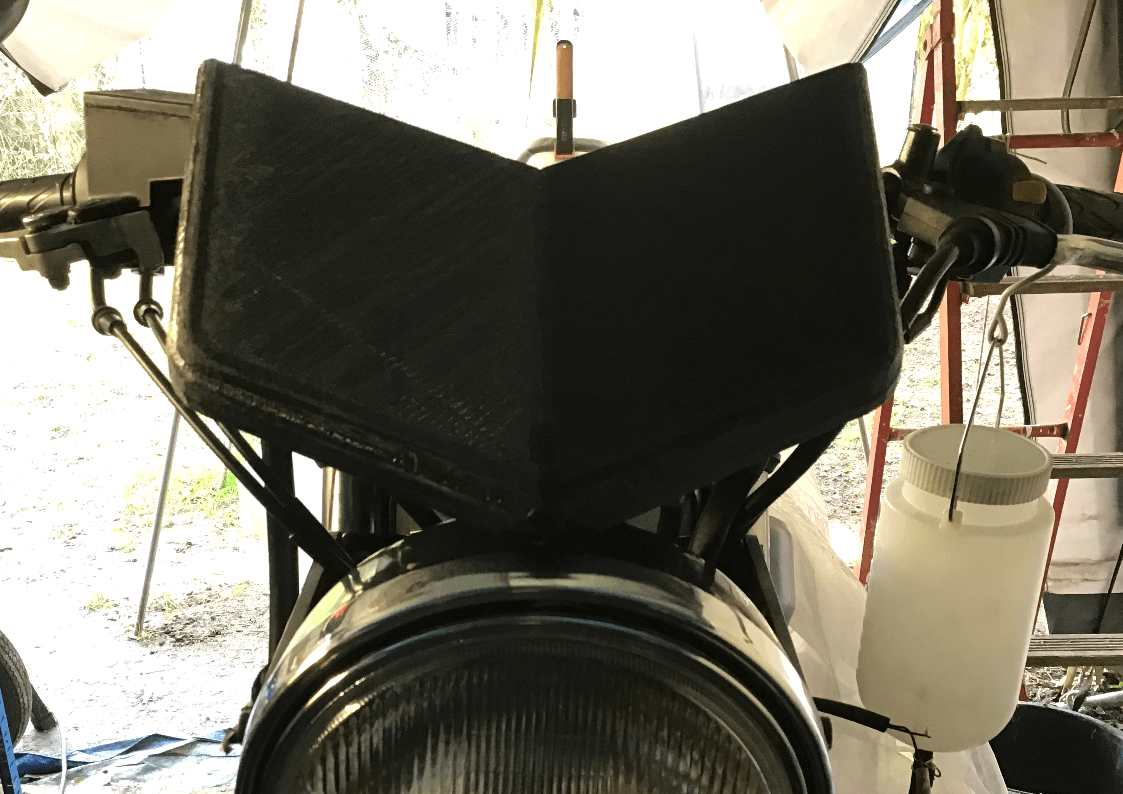
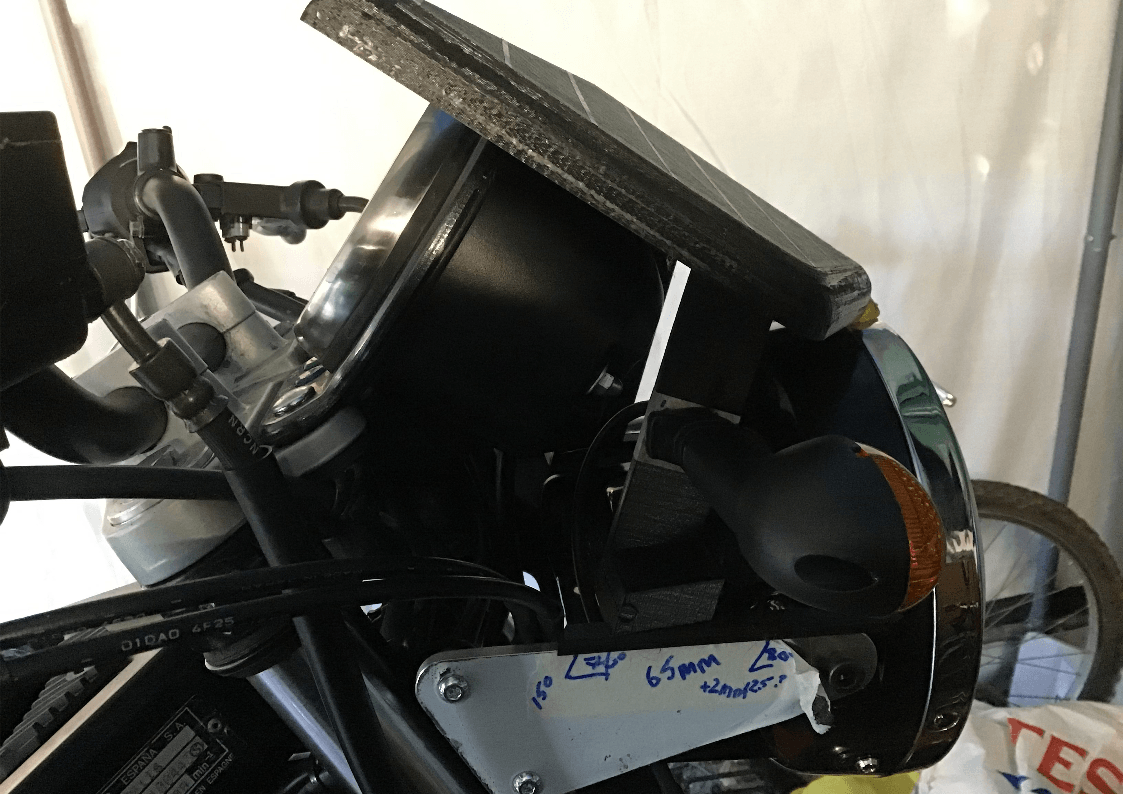
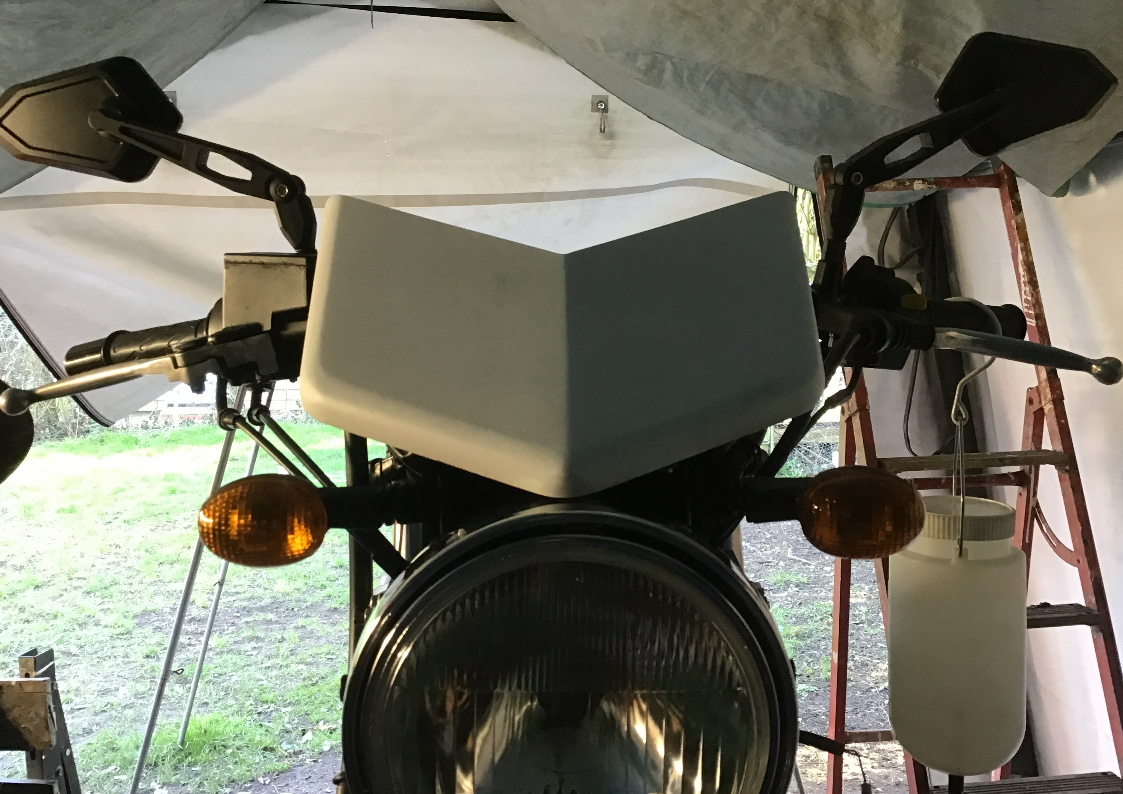
Trial fitment on the bike, with cowl fitted as well and I’m happy with how it looks. I’m also happy with my new, funky mirrors.
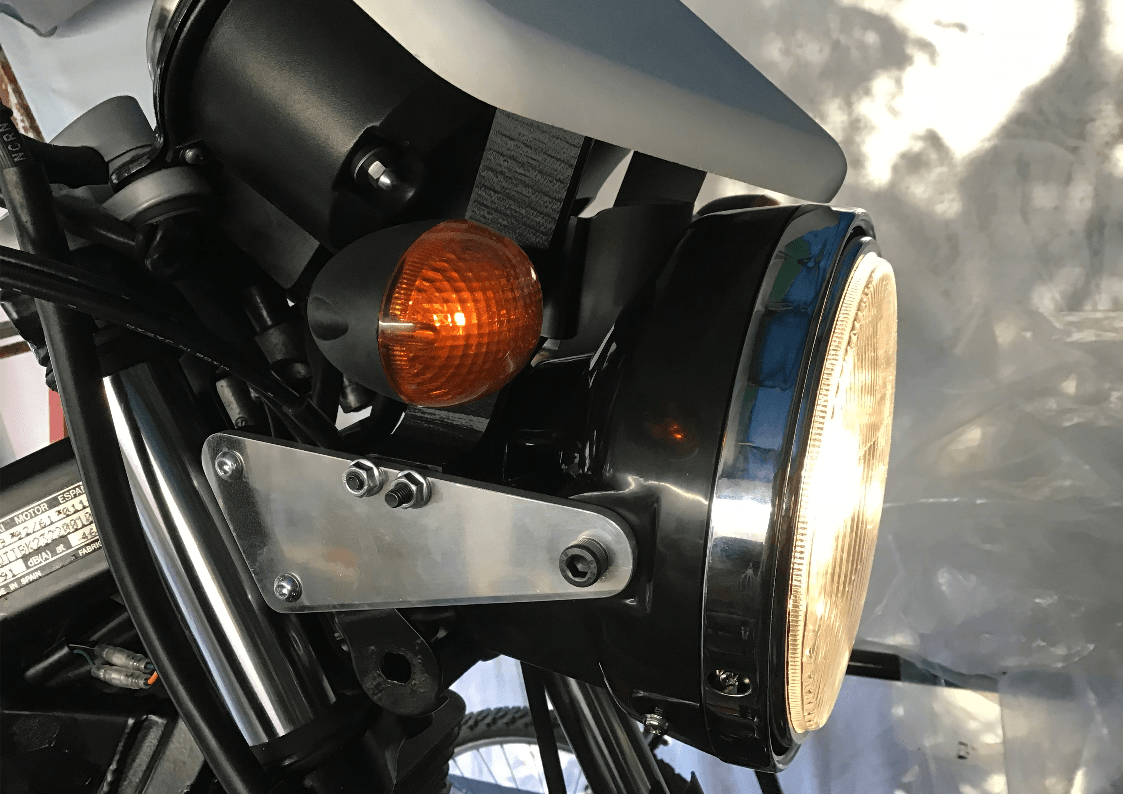
All wired up. We have lights and indicators. Need to source some prettier fasteners and I also wish that I’d cut off the original (and now redundant) indicator mounts. Too late now, though. They’ll have to stay, for the moment.
Getting close to the finish now. Next job is aligning the rear chain guard with the rear sprocket.
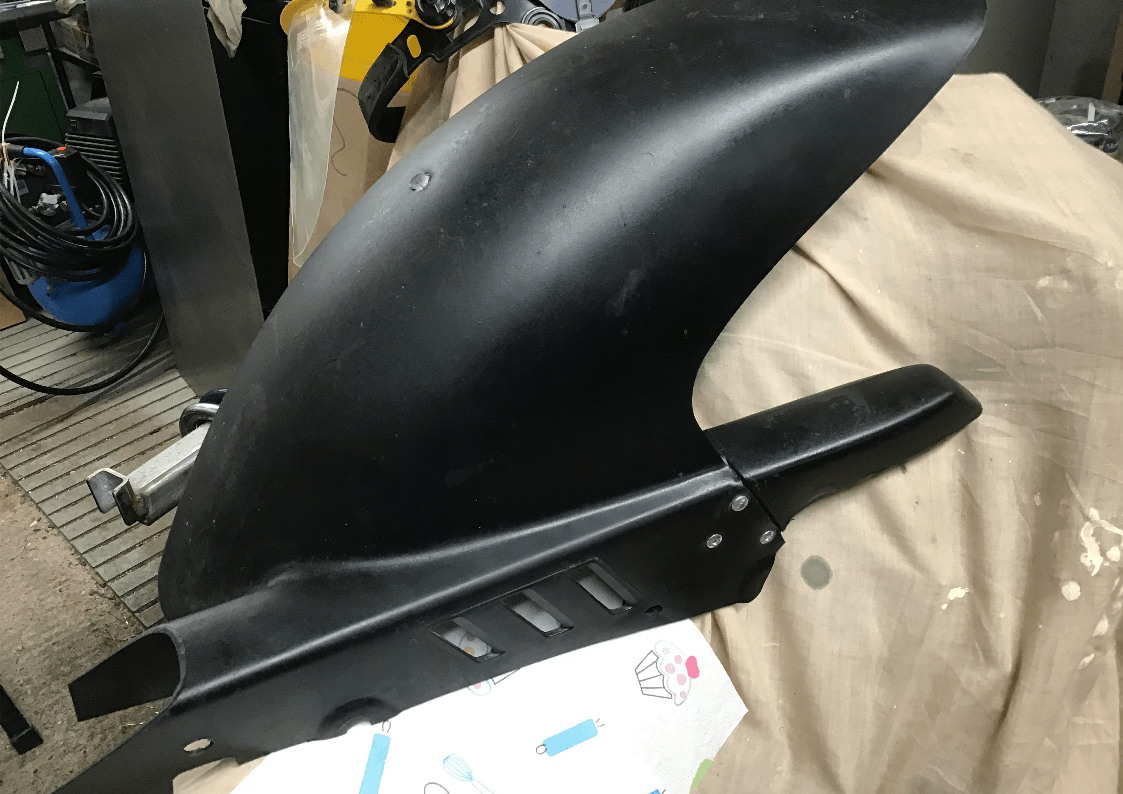
Annoyingly, the rear chain guard fixed to the hugger isn’t inline with the chain and sprockets and it’s something that will constantly irritate me if it doesn’t get sorted.
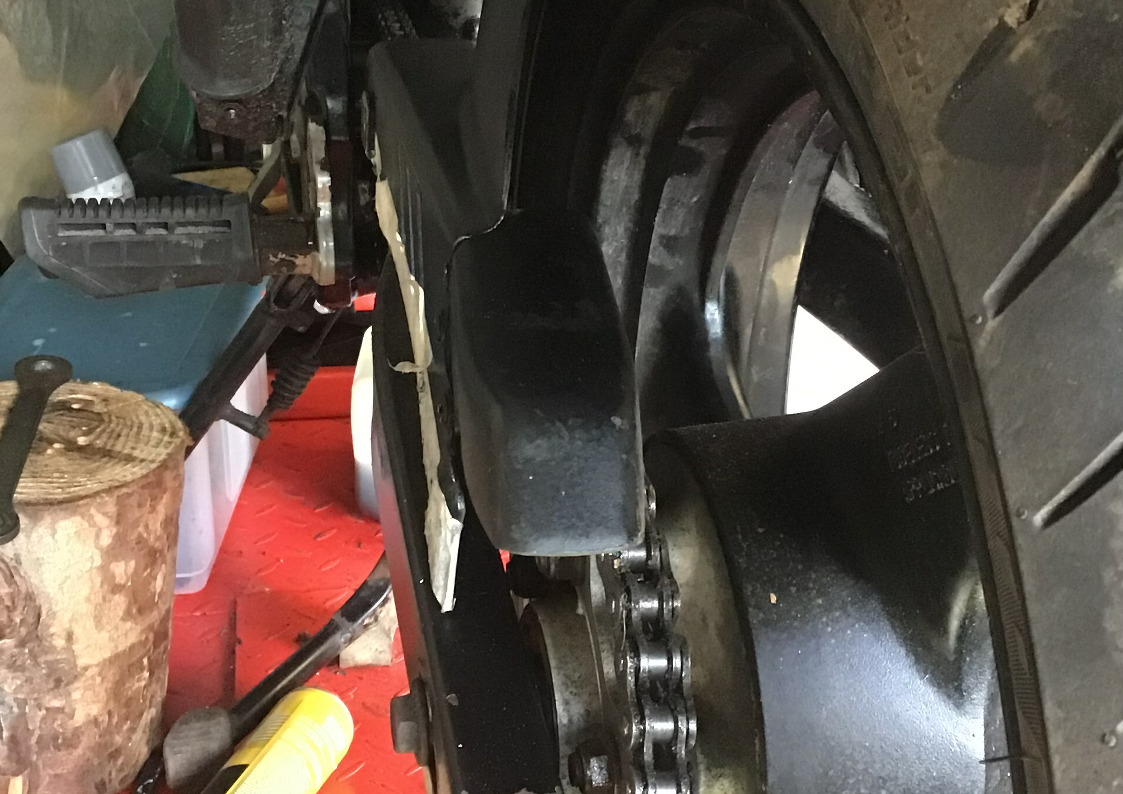
The chain guard bit is riveted to the back of the hugger and so can easily be removed by drilling out the rivets. It already has a steel support, but as this is only riveted to the plastic of the hugger, the direction it ends up pointing is down to the hugger and over the years the plastic has warped throwing everything out of line.
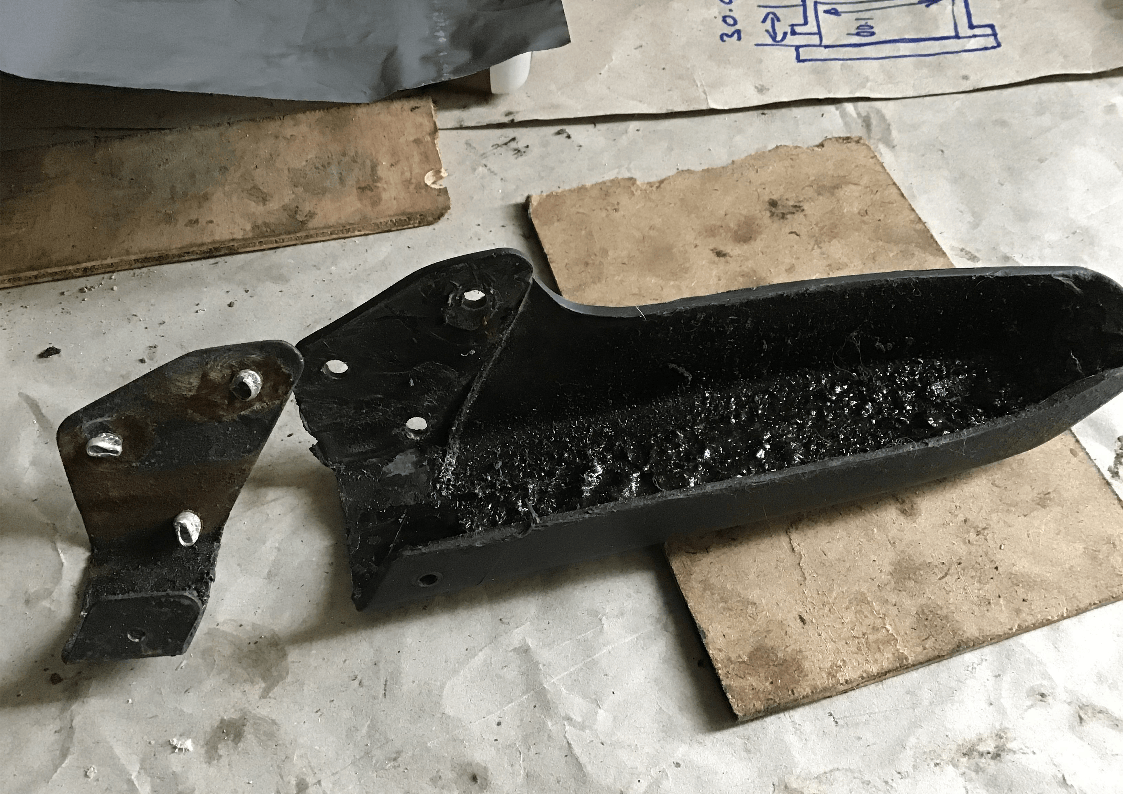
A possible solution was a steel plate between the hugger’s rear mounting point and the mounting points for the chain guard. So after making a cardboard template, a suitable piece of steel was fashioned into shape.
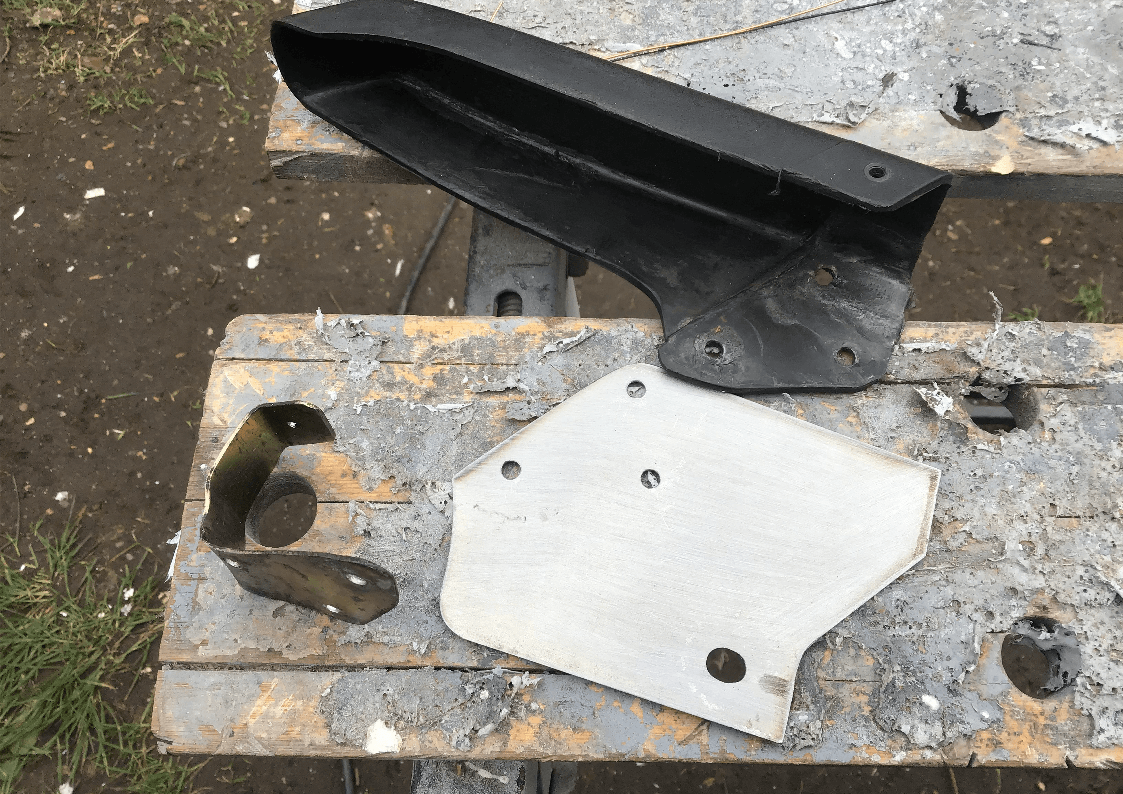
With these all temporarily bolted together, it’s possible to tweak the guard into alignment.

New steel plate and original support get a coat of paint, before being riveted back in place.
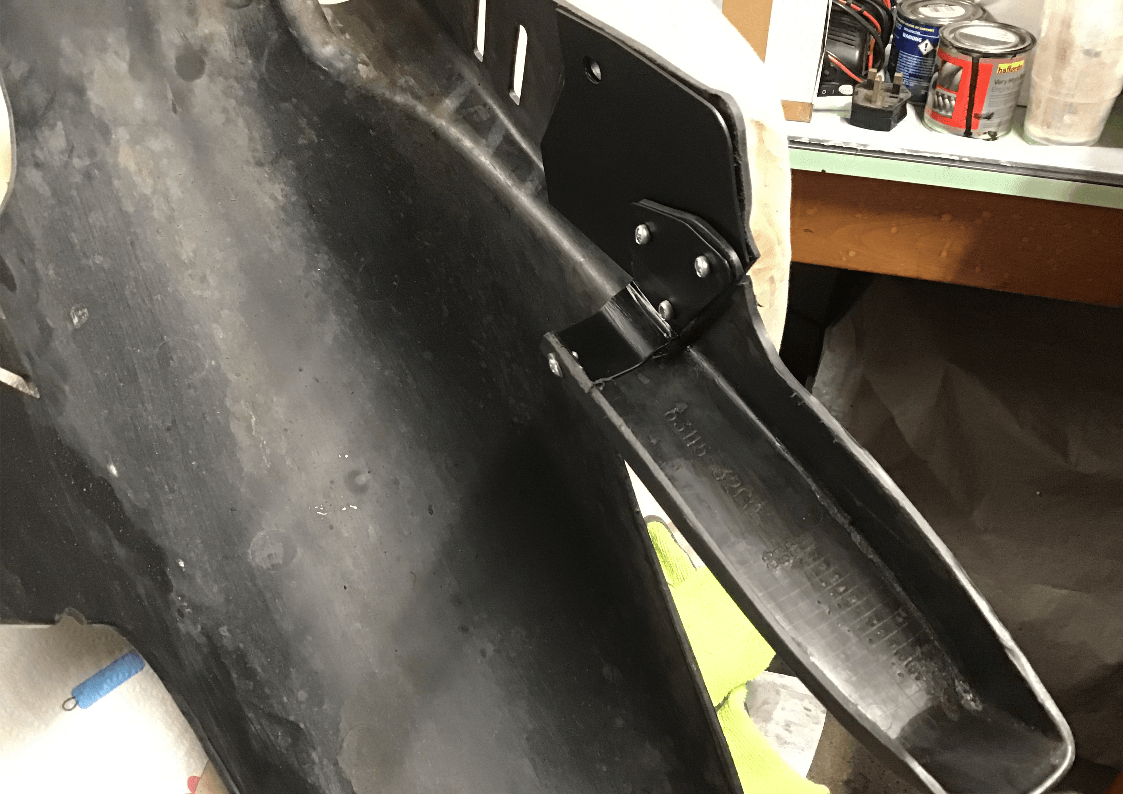
Looks OK on the bike as well. They say photos never lie, but this one makes my bike look quite pretty. In reality, she’s a scabby old girl, with the copious rust on the frame covered up with a slap of badly applied Smoothrite. She’s best viewed from a distance!
The list of things that remain to be done before this bike makeover can be classed as finished is thankfully getting shorter. Sadly, I dropped the bike removing it from the workbench, which made the list a little longer again. Luckily, the general scabbyness of the bike worked in my favour, the new scars just blend in with the old ones...