
Monday Articles - April 2021
Scroll down for latest installment
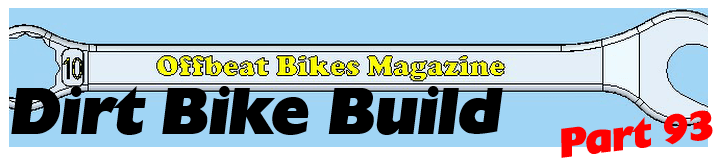
Back, at last, to the petrol tank. When you last saw it, it looked like this…
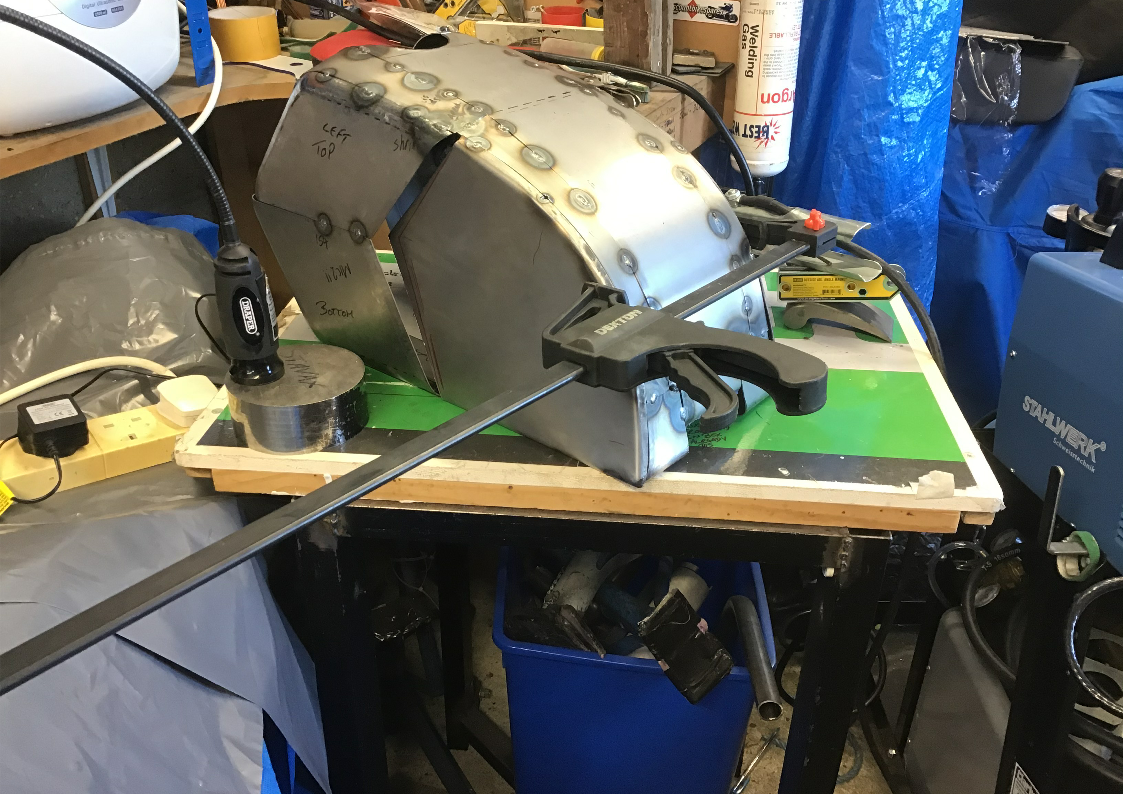
I’ve made a start tacking all the pieces of the top of the tank together. Tank top and tunnel will remain separate until the top is fully welded. This will allow me to get to the inside of the tank with hammer or dolly should a little bit of reshaping be necessary.
I experimented with using the hot melt glue to hold pieces in place while welding, just to see. It didn’t really work (as you might have expected) because the heat from welding melted it, even if it was quite a way away from the welding area. From the glue gun, the holding power of this glue on sheet metal is quite weak. What I can tell you is that it sticks really well after being reheated by the tig welder! In fact it then makes it a right git to remove.
Some more bits added. I had difficulty getting the curved back edges to fit snugly…
…but then I remembered that I had these big clamps. They did the job nicely.
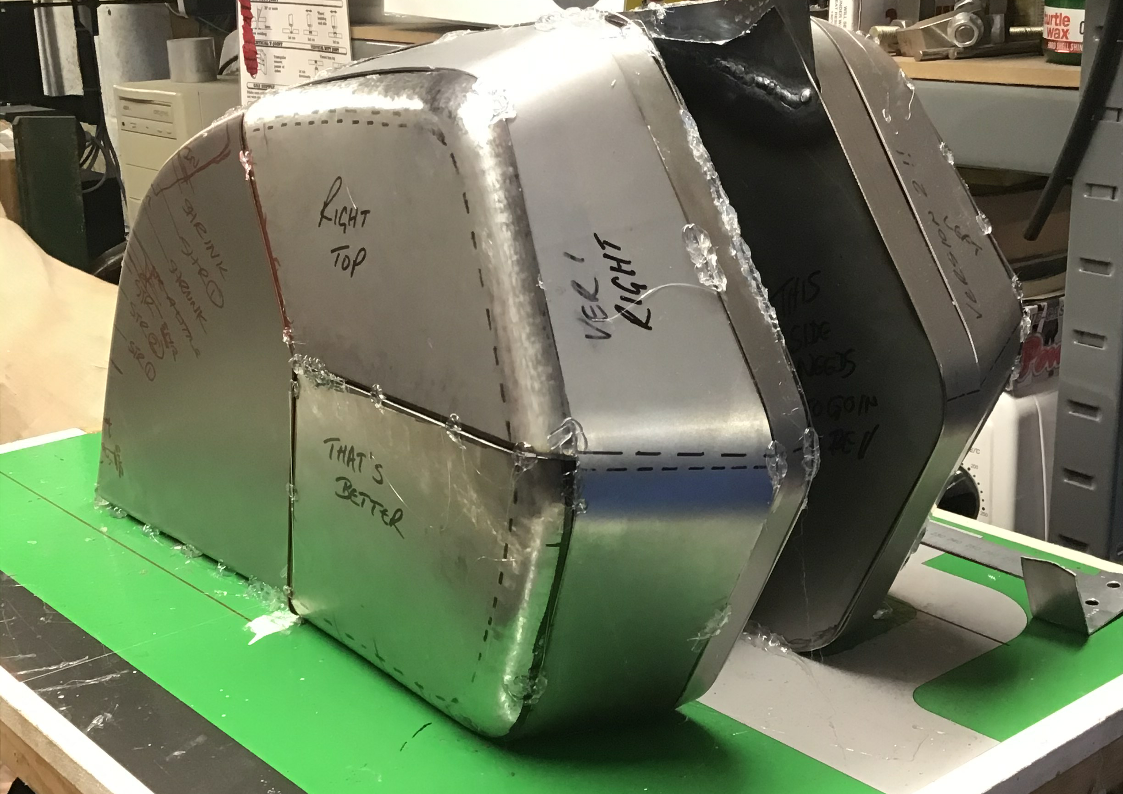
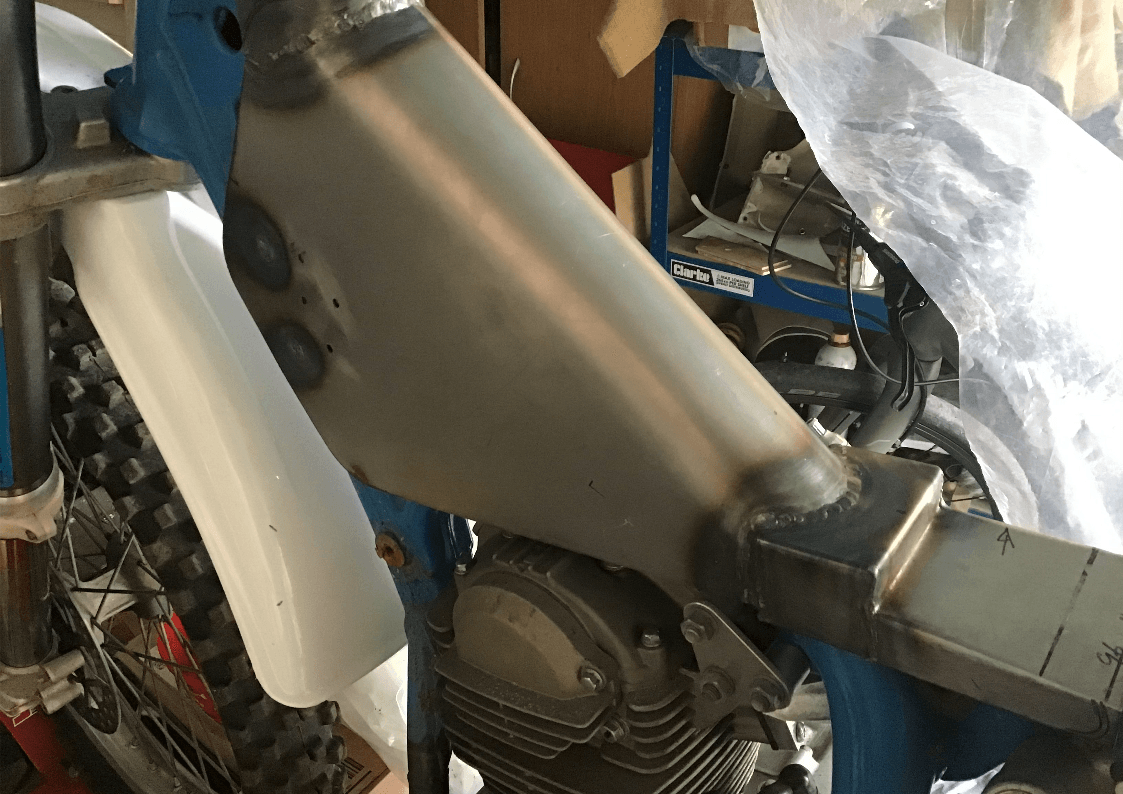
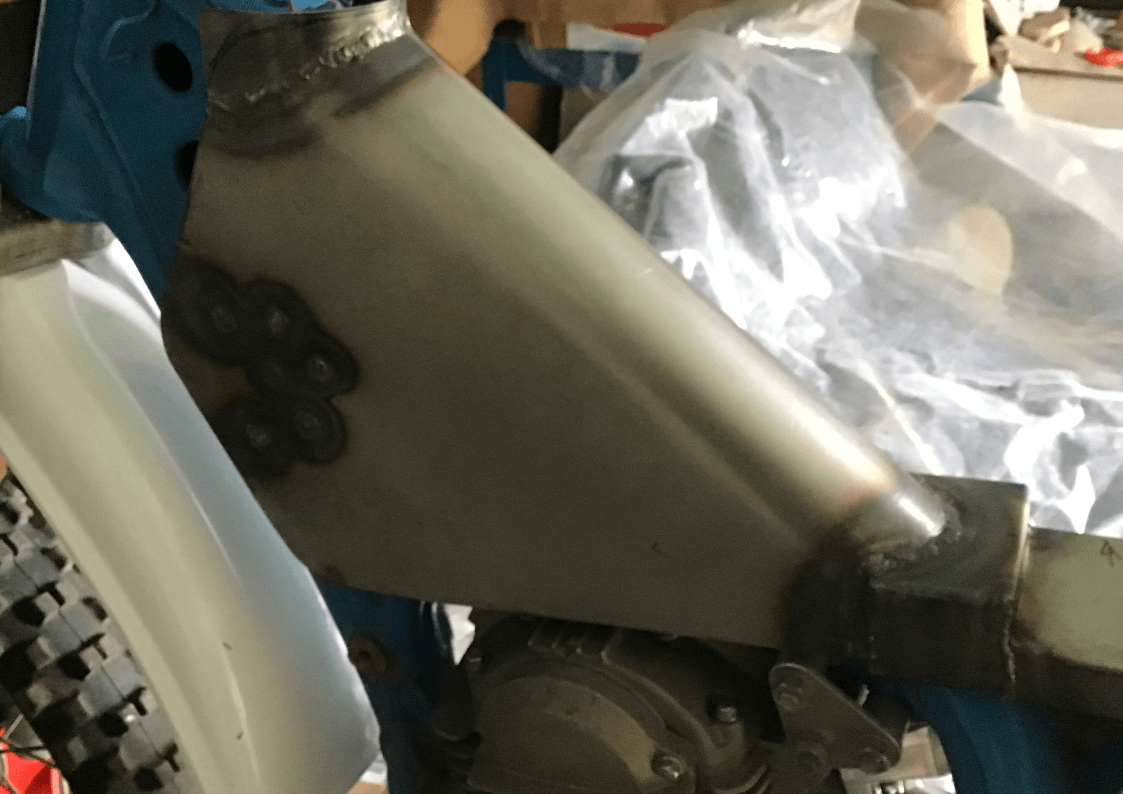
With most of the main bits tacked in place, it’s possible to see how it looks on the bike.
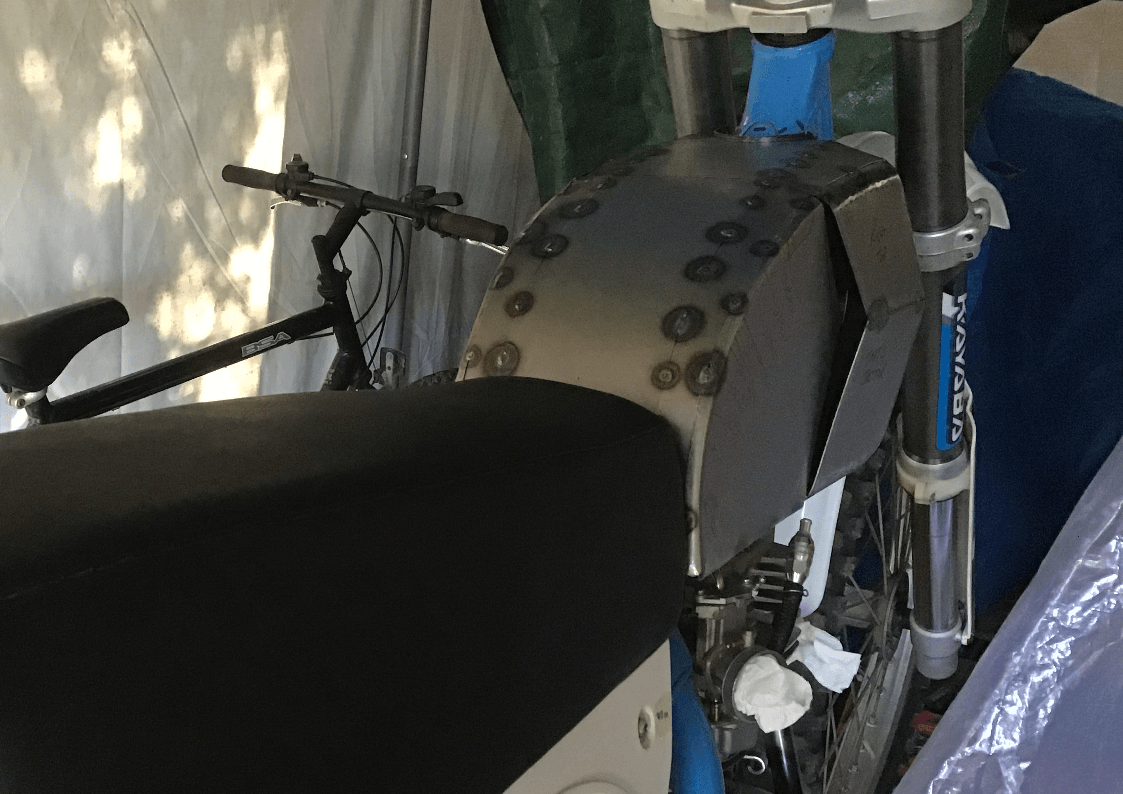
And to decide where the fuel cap is going. I’m worried that I won’t get it exactly central and that would bug me. I’m toying with the idea of deliberately mounting it off centre, by a big enough amount for it to be obvious that it was never meant to be central.
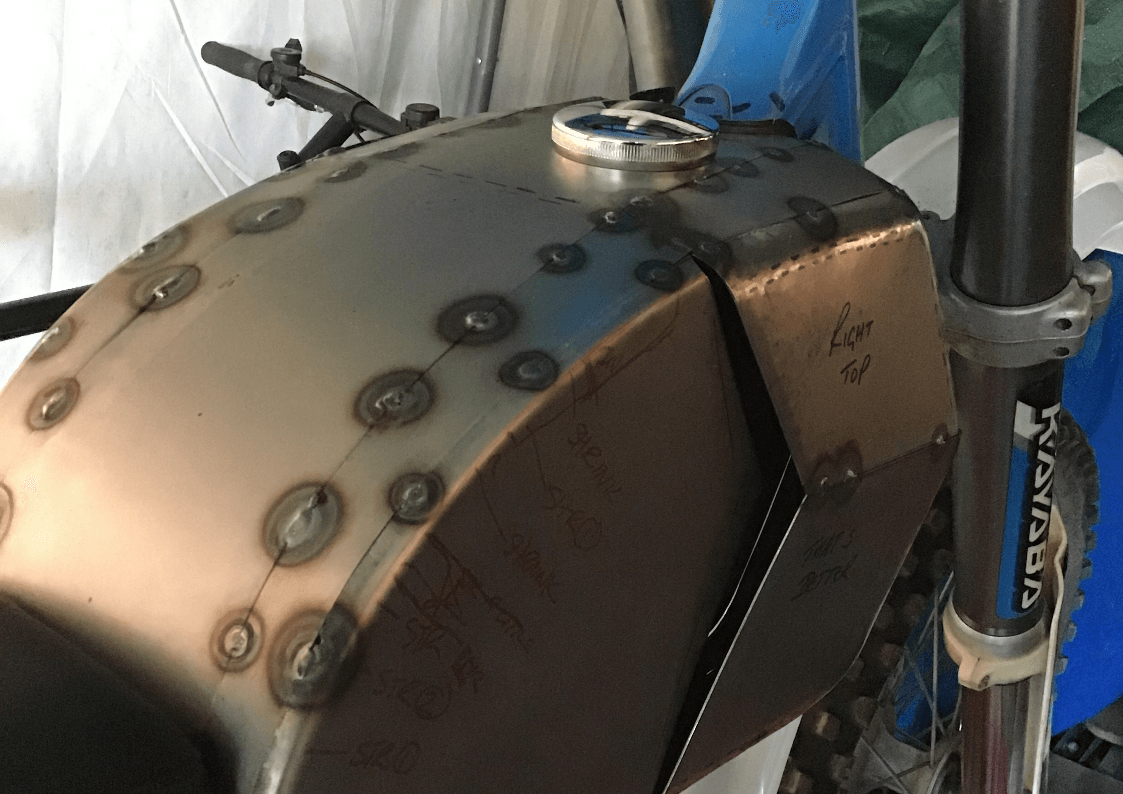
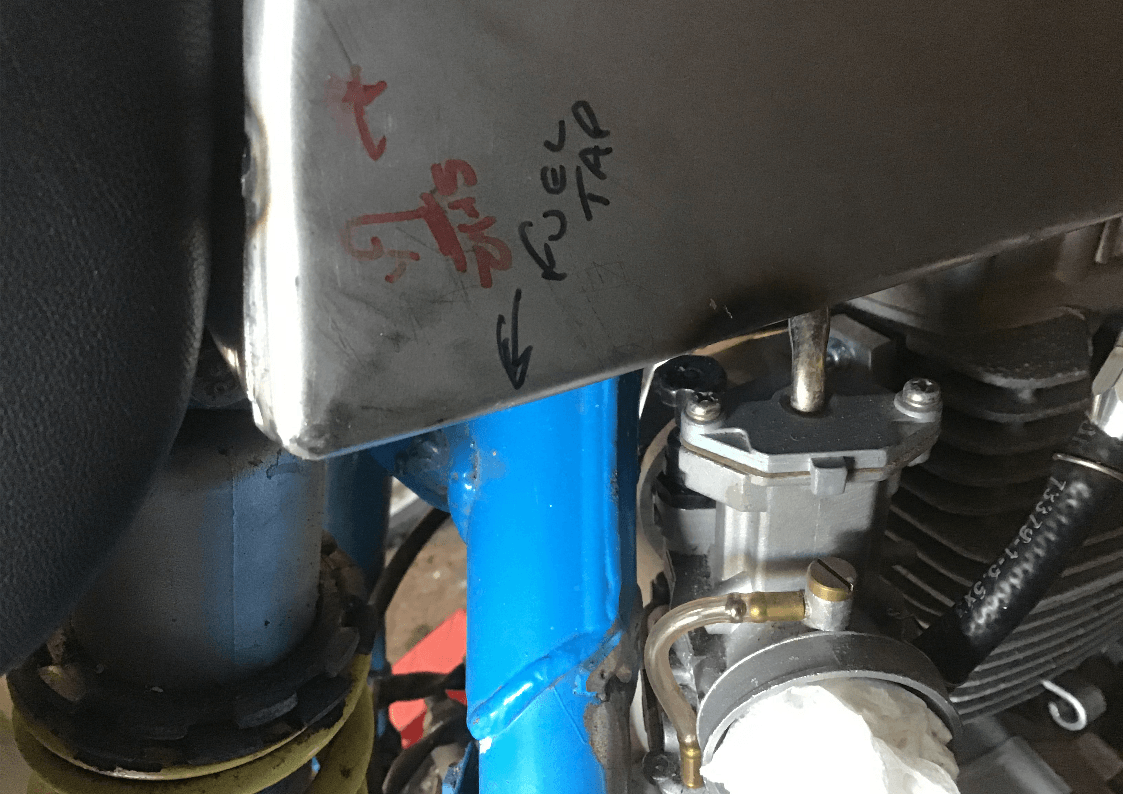
Also worked out where the fuel tap boss needs to be welded.By next week I might have both fuel filler and tap in place.
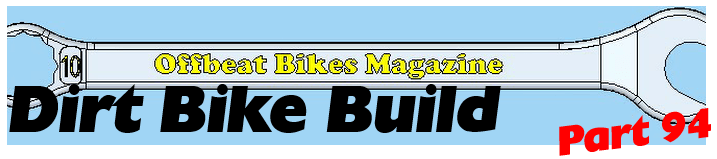
Mounting the tank is another problem that needed solving. The front is having C shaped cups that locate over rubber bungs on the frame, but how could I ensure they were in the right place, and how could I weld them on the inside of the tunnel with its limited access.
After trying to take measurements of where the bungs needed to be, I decided that the only way to properly check was to drill a hole where I thought the centre of the mount needed to be and then I could visually check that it was actually lined up with the centre of the bung. Thankfully, it seems I did get my measurements correct.
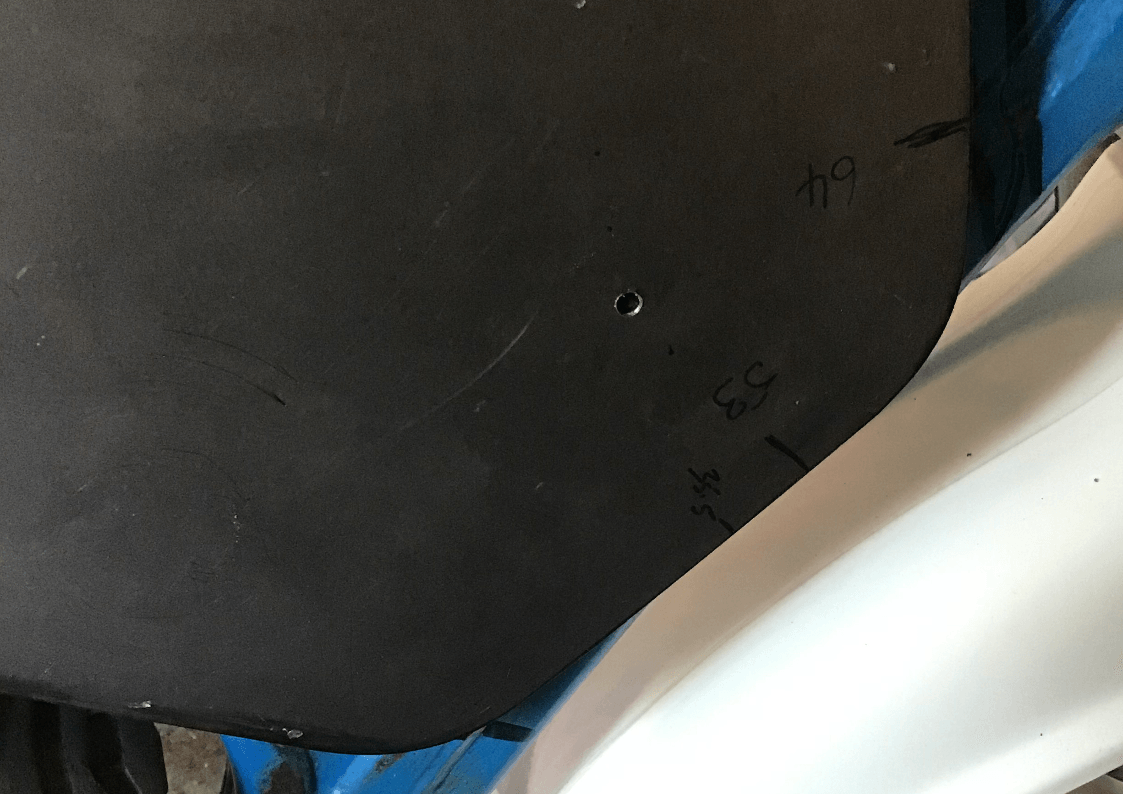
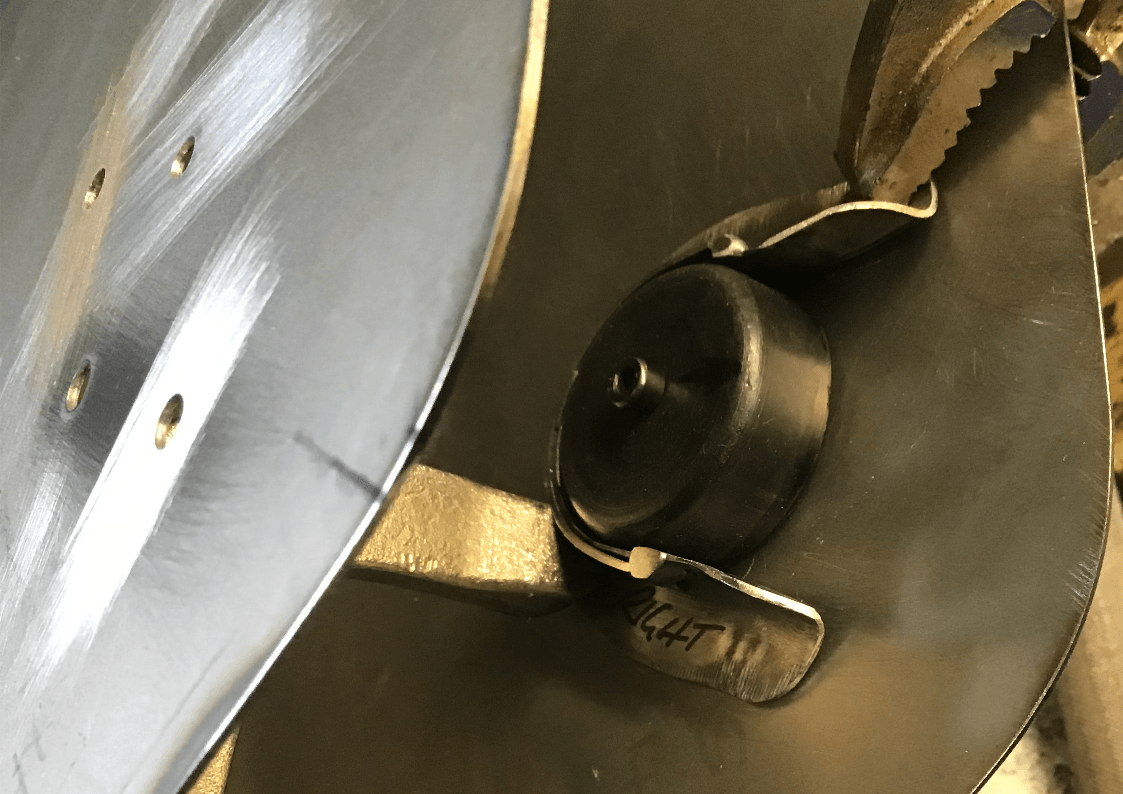
These are the cups pictured alongside one of the rubber bungs. The cups were hammer-formed to shape and then tweaked with the shrinker / stretcher to get the best fit.
This is the bung positioned on the outside of the tunnel, with the cups located around the bung, I drew around the outline of the cups. The intention was then to drill some holes, reposition the cups to the inside of the tunnel and then plug weld cups to tunnel through the holes.
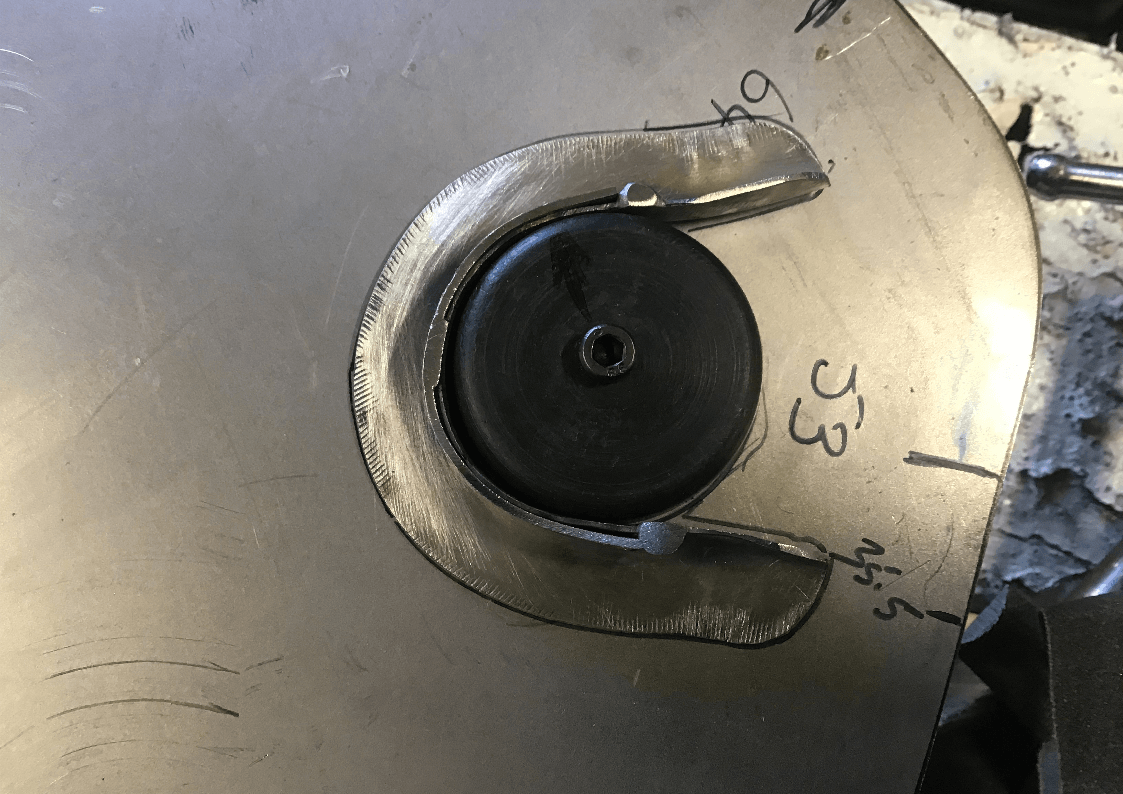
This is the first cup clamped in place ready for welding. Always remember to remove the rubber bung before welding, they don’t like the heat!
View from the other side.
With a couple of the welds in place, it’s time to check the fit.
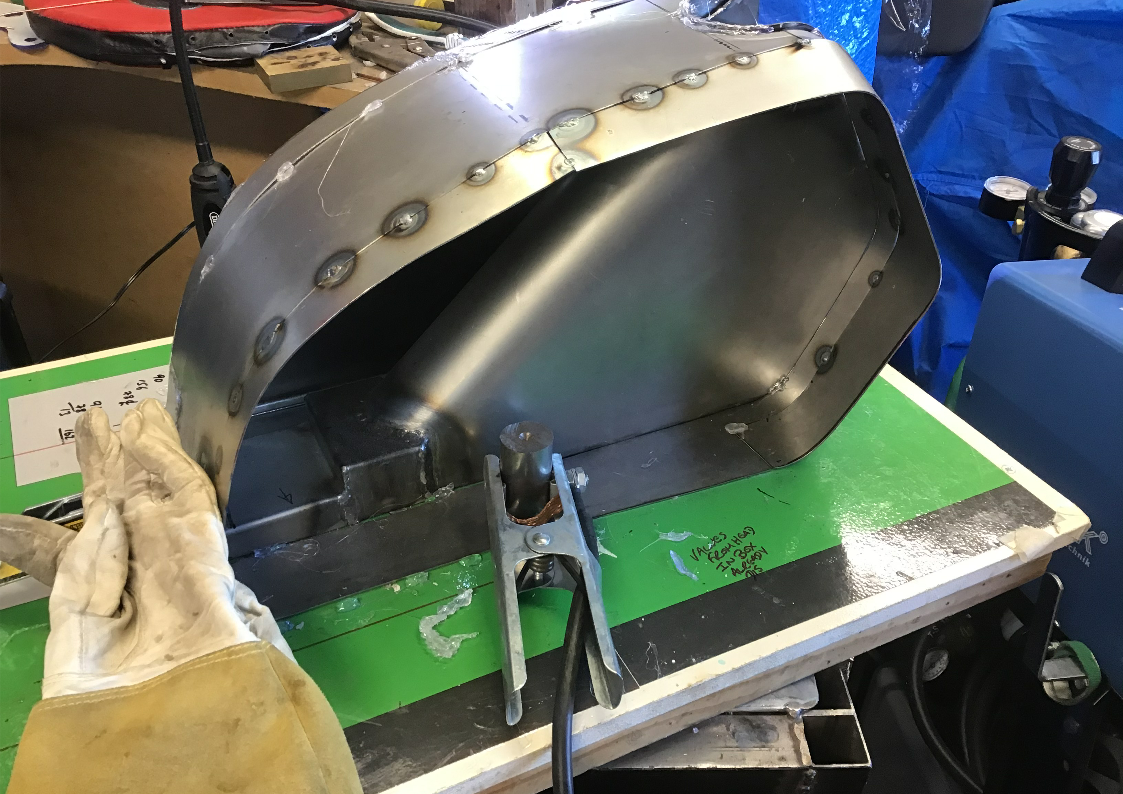
Now time for the first (of probably many) welding errors. I introduced too much heat finishing the welds and ended up with some horrendous distortion. This required some fairly brutal hammer work to sort out. The end result is not pretty, but I think it’ll be OK. At least most of this will be hidden when the tank is finished and installed.
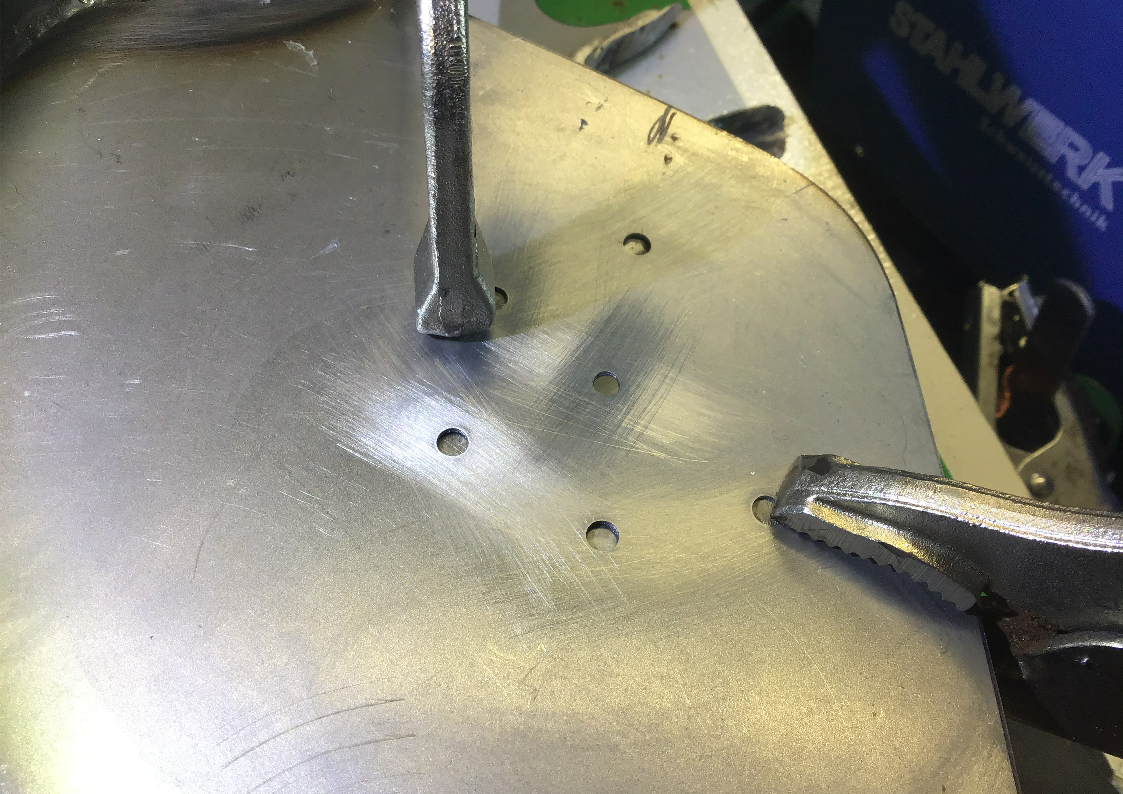
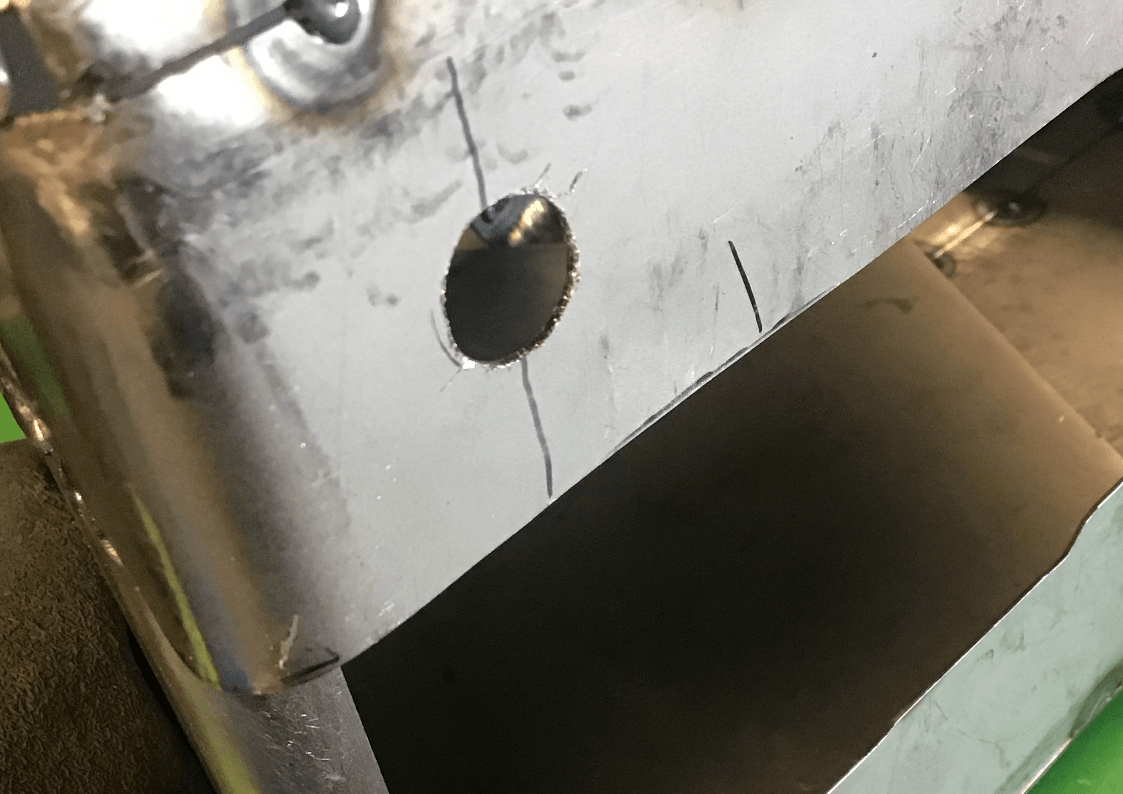
I decided to give welding a rest for a bit and cut the holes for filler and fuel tap. I had a hole cutter of about the right diameter. It’s a horrible cheap thing, but I thought I’d give it a go.
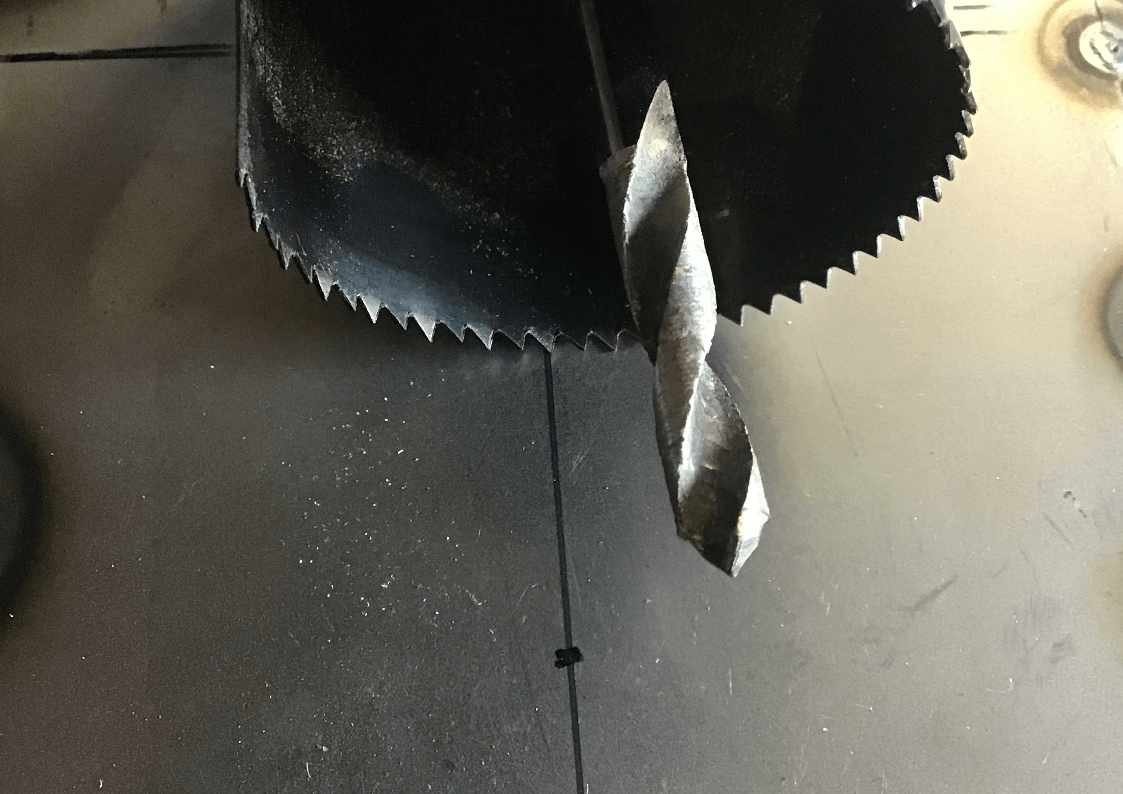
After watching that skate around the surface for a bit, I decided that the hole saw was a bad idea.
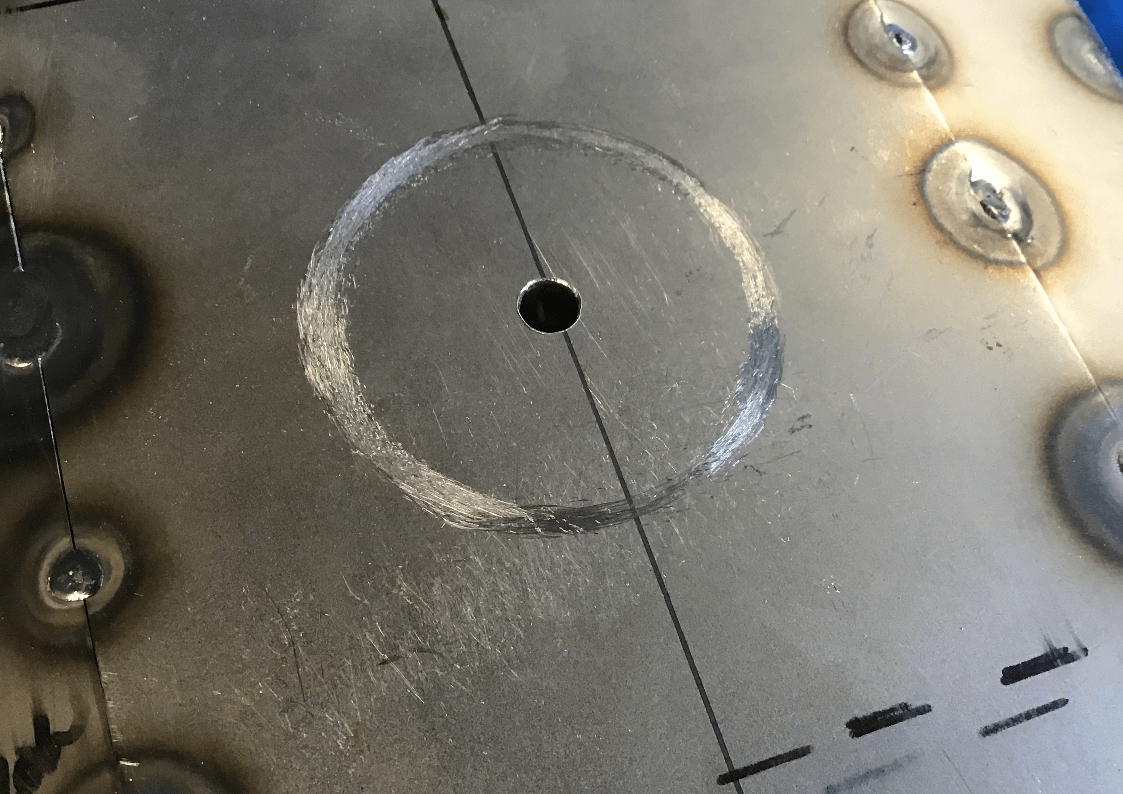
Instead I chain drilled holes and used a junior hacksaw blade to join the dots. Centre drill first.

Followed by holes big enough for the junior hacksaw blade to fit through.
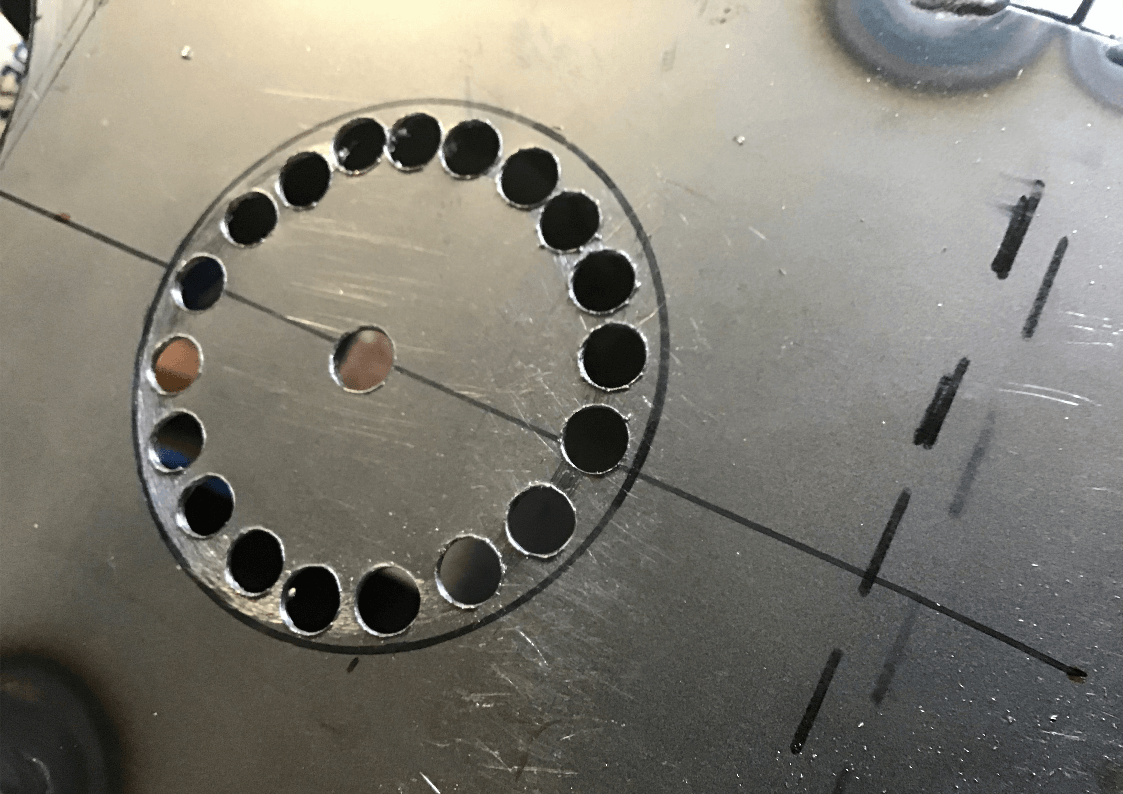
After several frustrating minutes with the wibbly junior hacksaw blade, eventually the middle is cut out.
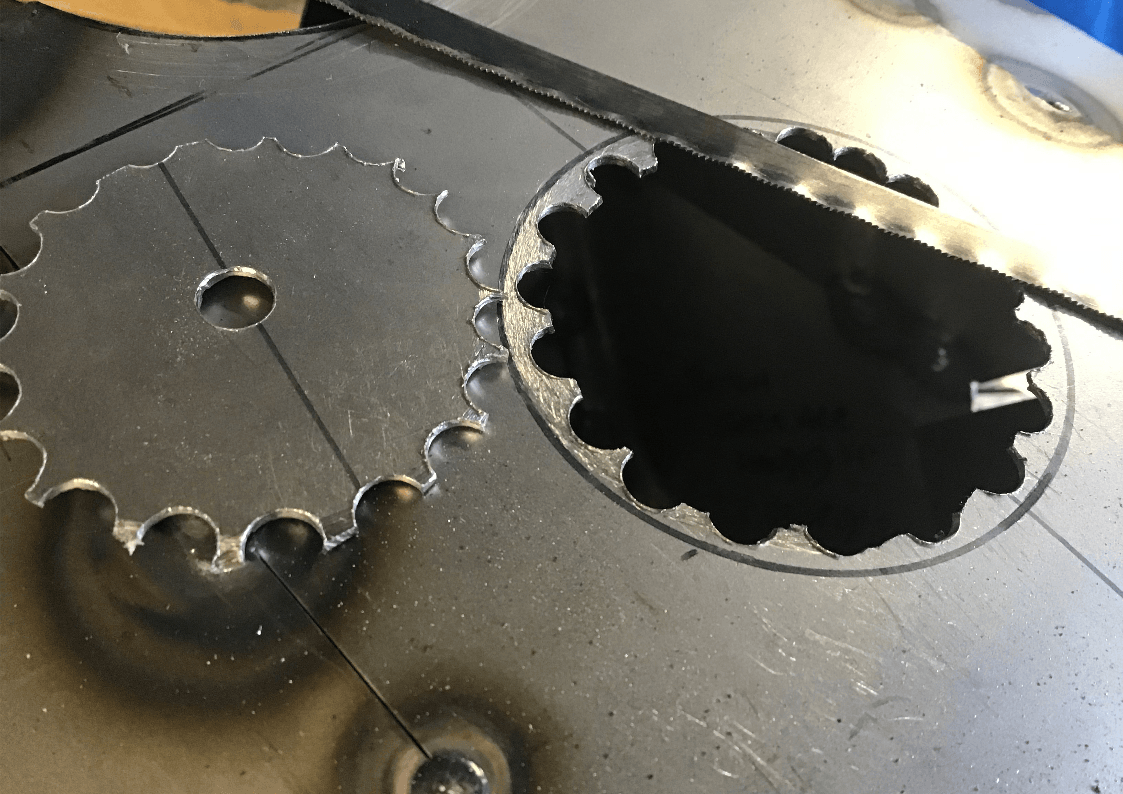
Carbide burr in rotary tool soon had the hole looking both round and the correct diameter.
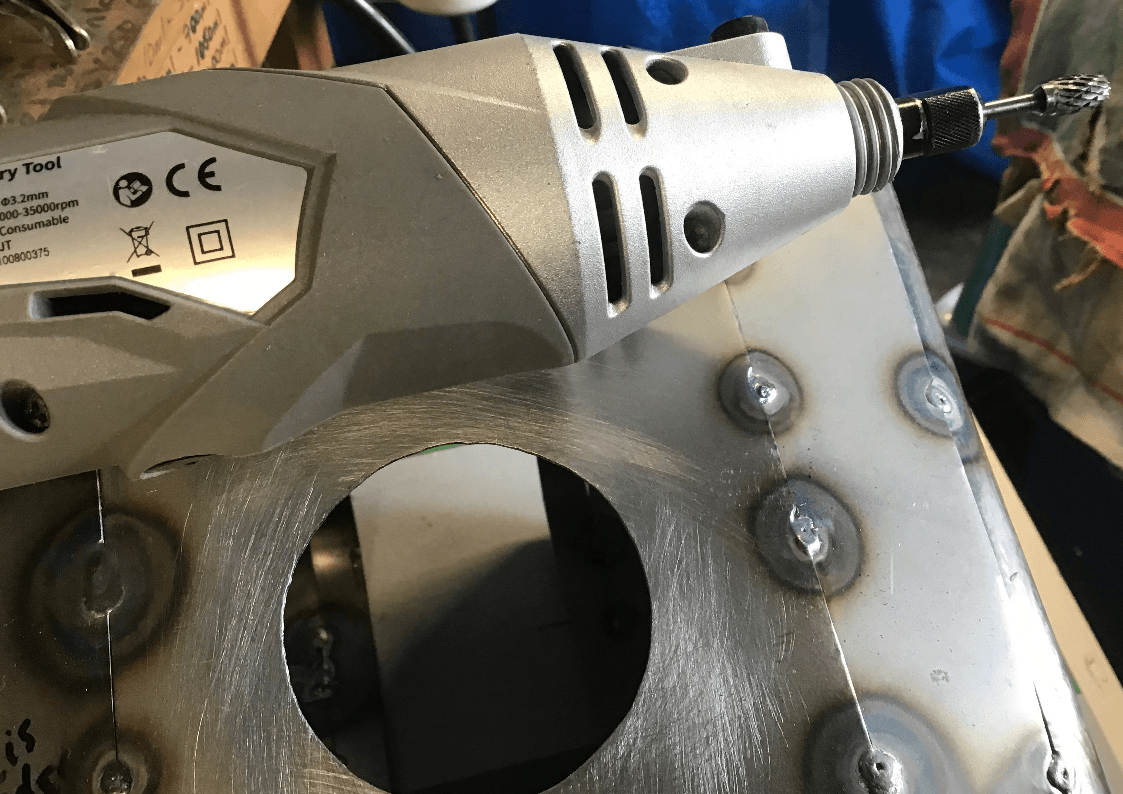
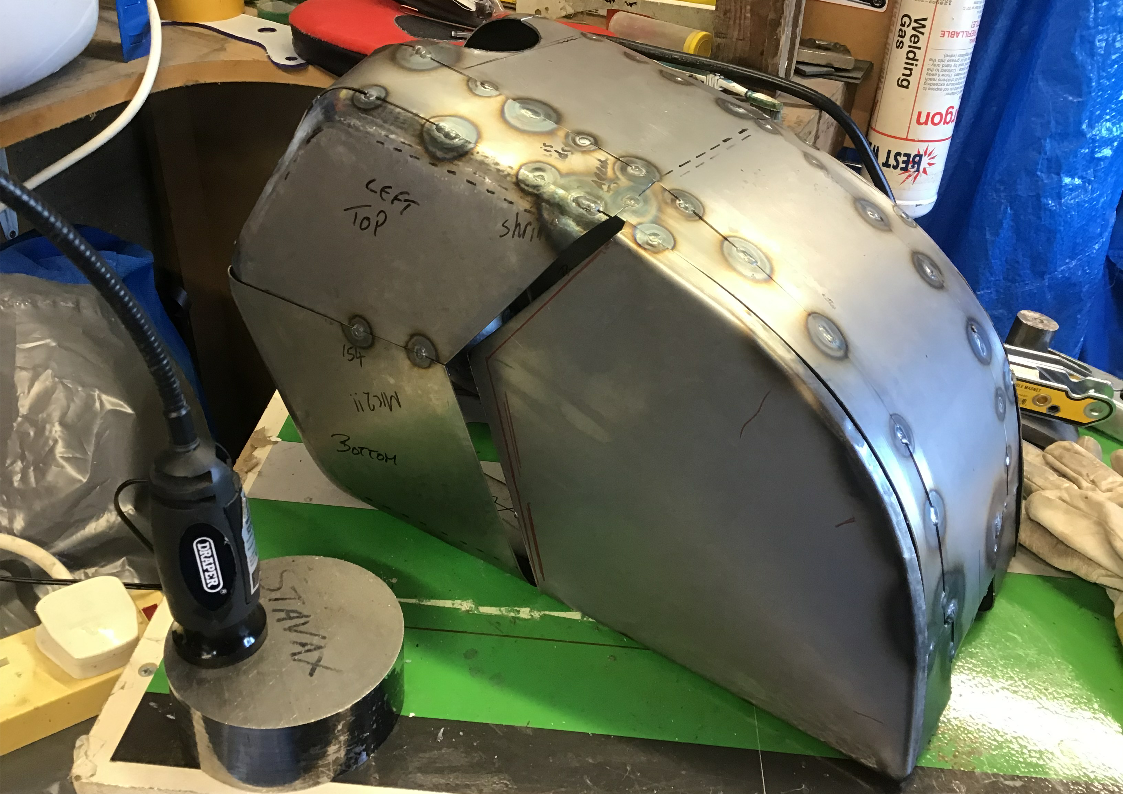
Added the hole for the fuel tap as well.With the required holes added, I now need to have another go at welding. Perhaps a little more practise first, though…
No welding this week, I’ve run out of gas. While I awaited delivery of a replacement cylinder, I turned my thoughts to what tools I ought to carry when undertaking longer journeys on the bike. Here’s what I picked. What do you take?