OCTOBER 2019
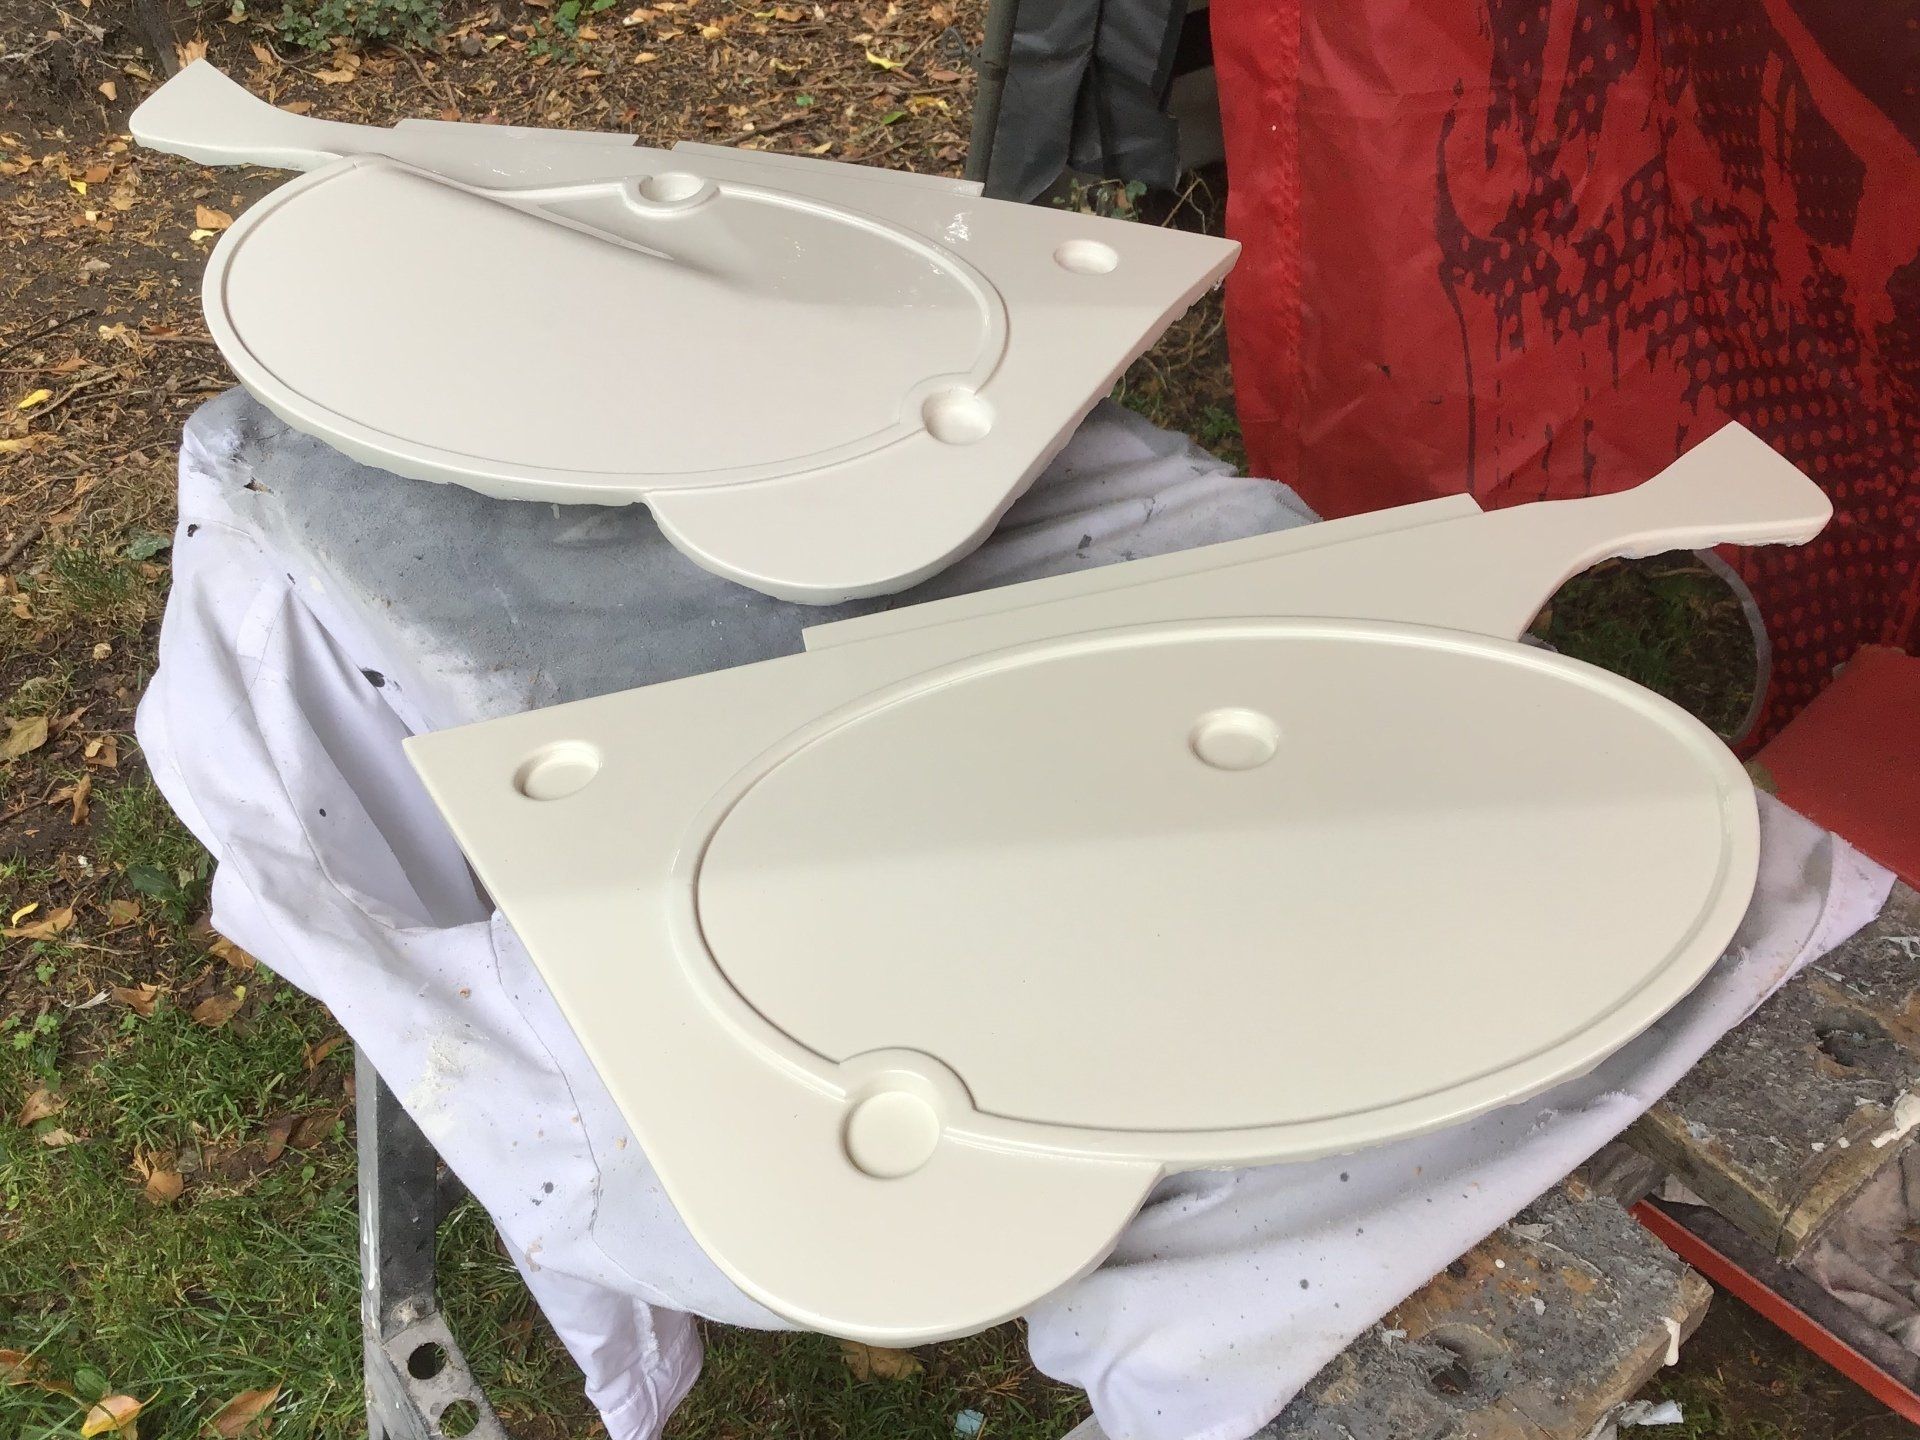
At last, the two side panel patterns are finished. I'm going to leave these for a while before making the moulds from them. One, because I want to let the paint fully harden, and two, because I just like looking at them. They've turned out far better than I expected and I suspect that they may sustain a little damage during the mould making process, so I'm going to enjoy just looking at them for a while longer.
Now it's time to work on the seat. This really is a case of try it and see what happens. My previous foray into making a seat was nothing more than a small seat pad - this one is a much bigger project!
The start point is adding fixings to the seat base, by fibreglassing some nuts in place and cutting the fixing bolts to size.
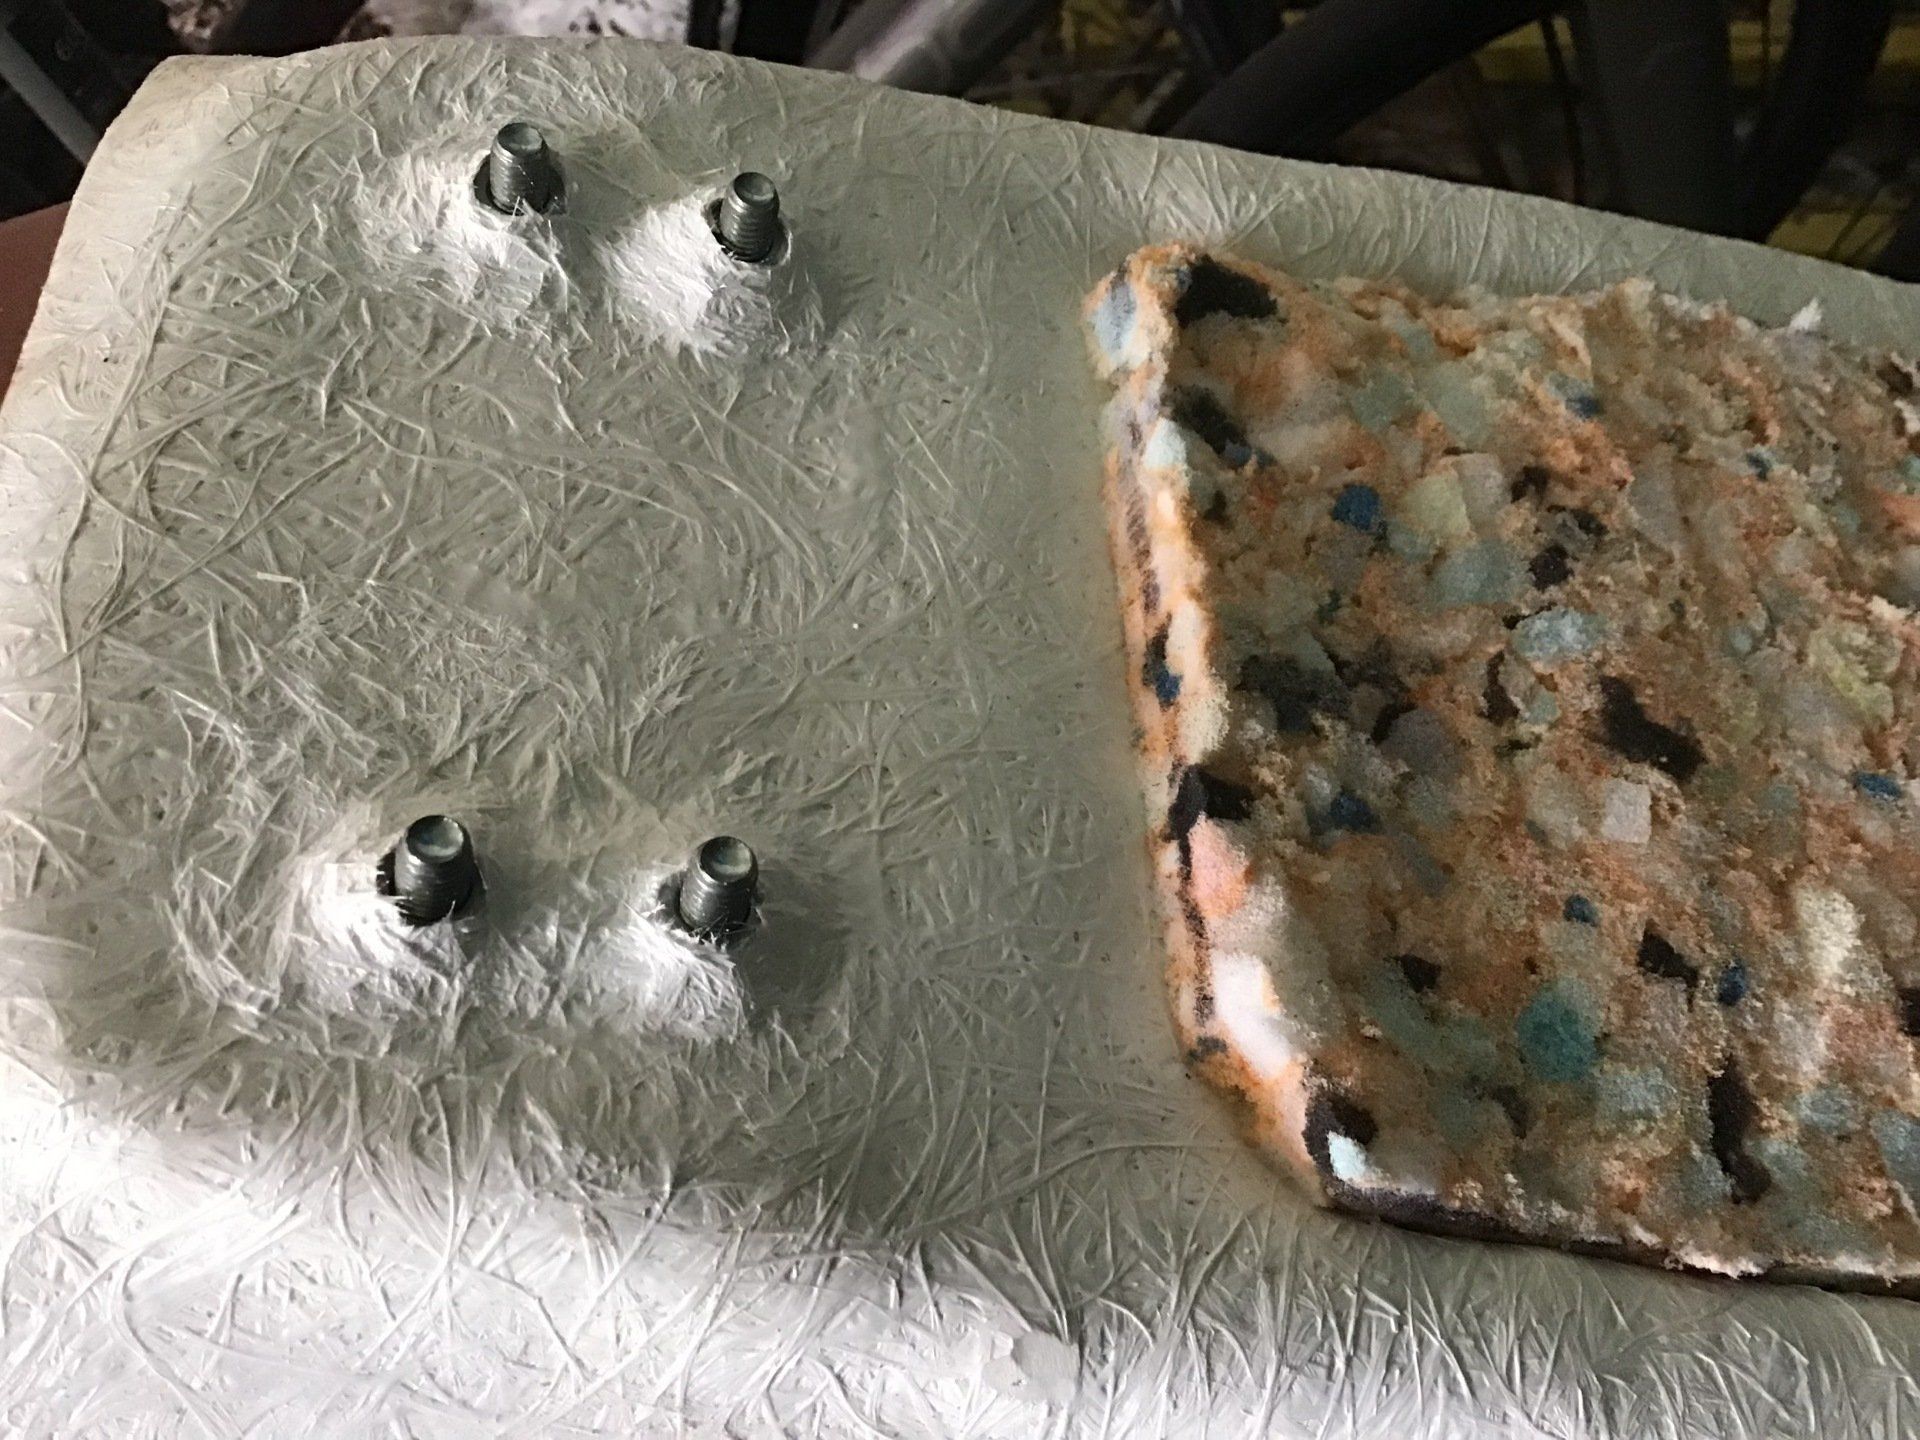
For the foam, I started by cutting some small pieces to fill in the recesses in the seat base, before adding three layers of 1 inch thick foam. I chose layers rather than using a 3 inch block because I thought it would be easier to cut to shape, but I'm not sure that it was. The best tool available in my toolbox for cutting this stuff turned out to be a hacksaw, and when it came to final shaping, an angle grinder fitted with a standard grinding disc did the job, but it was very messy. (A flap disc on an angle grinder, usually my favourite tool, didn't work here, it tended to grab and rip the foam.)
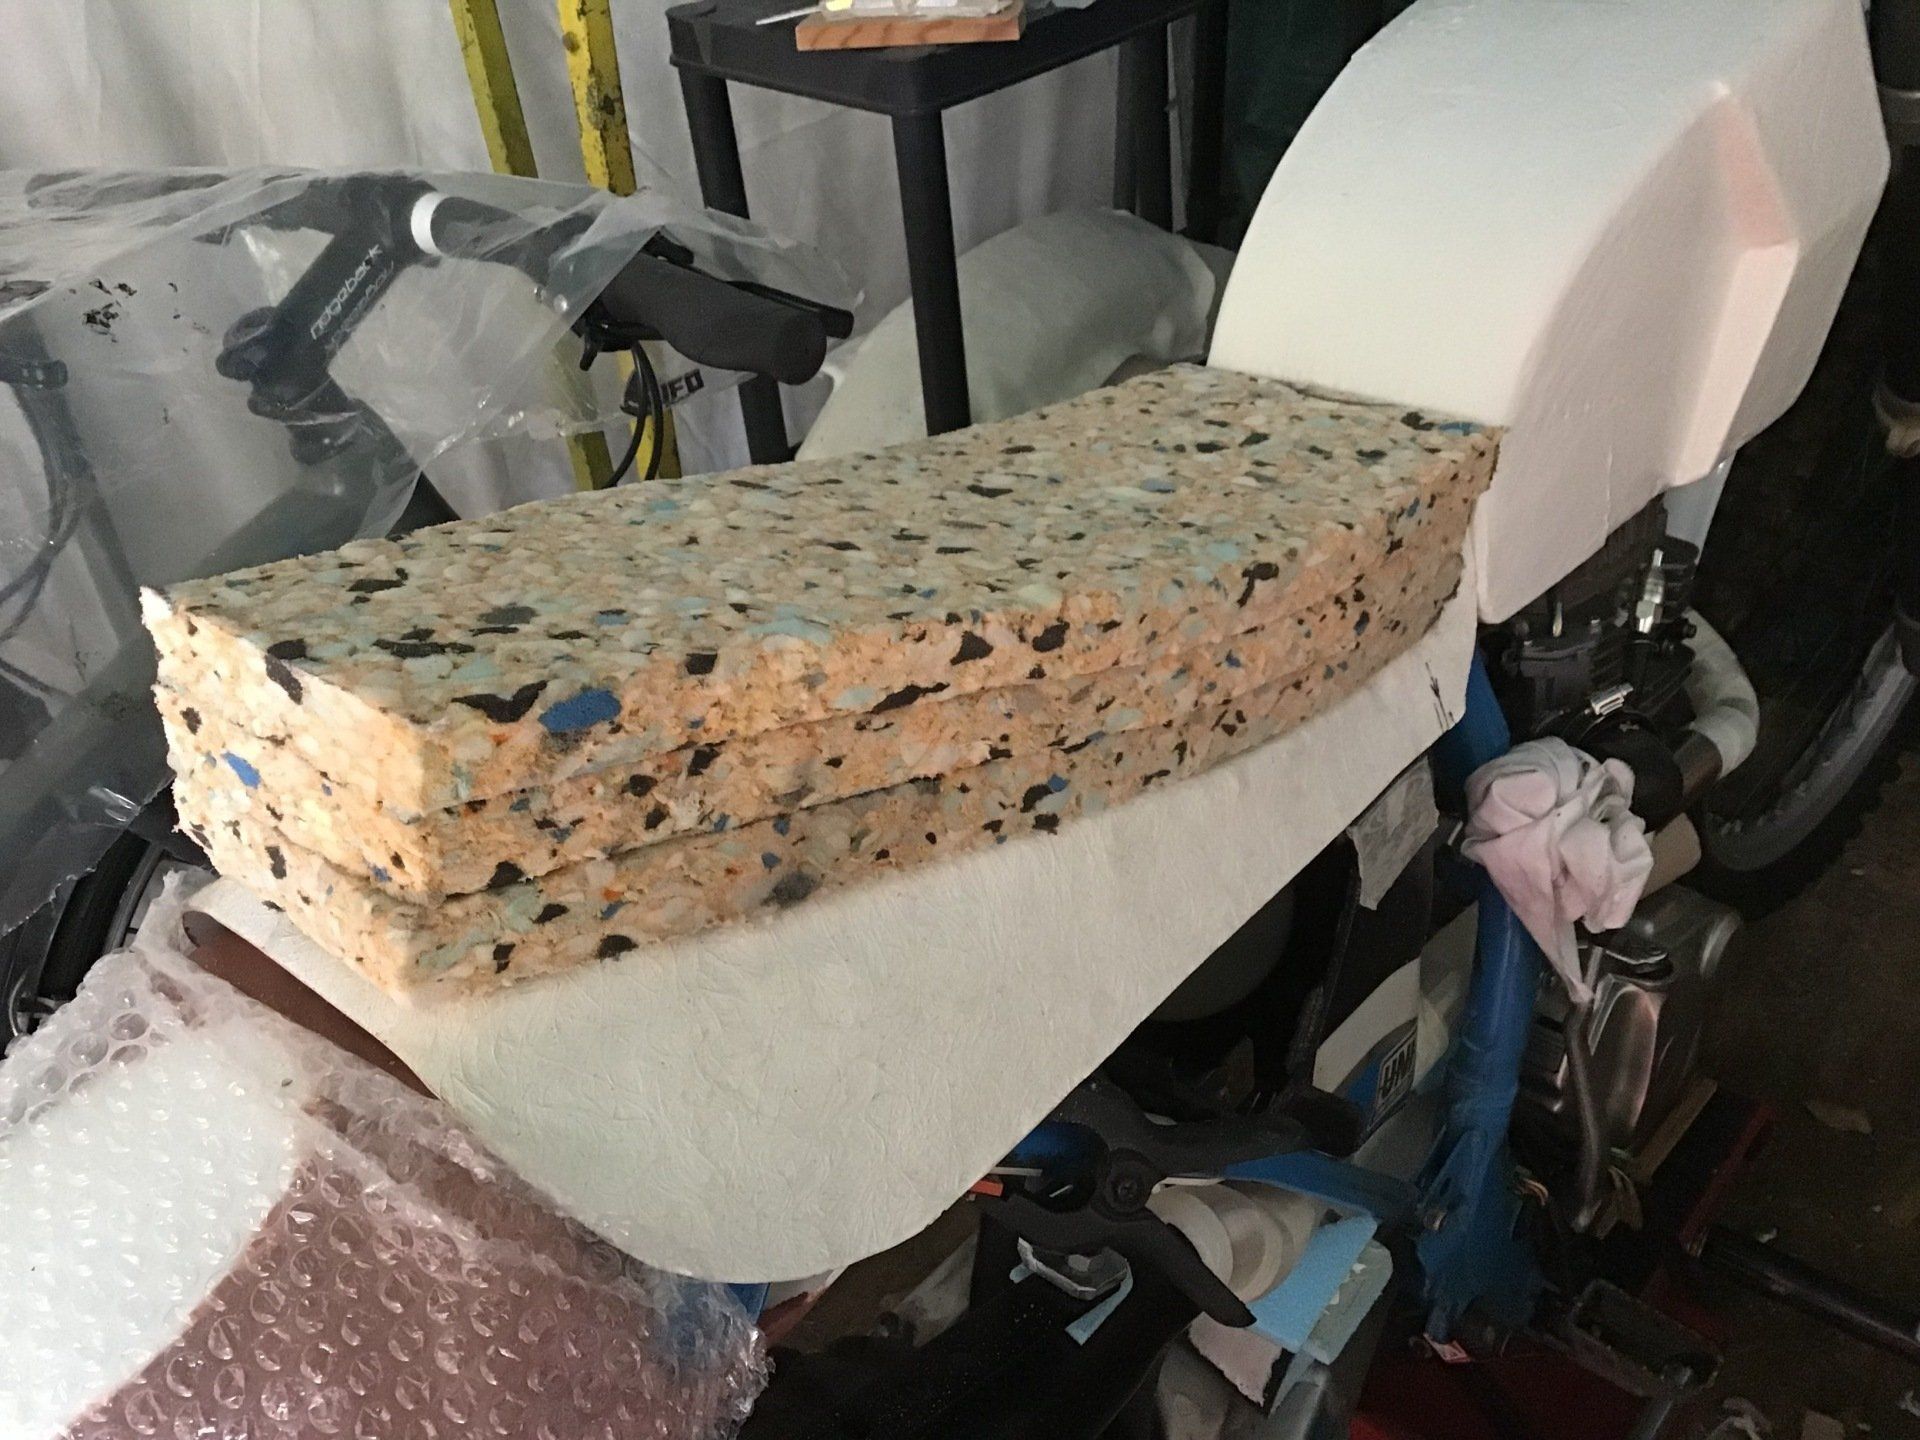
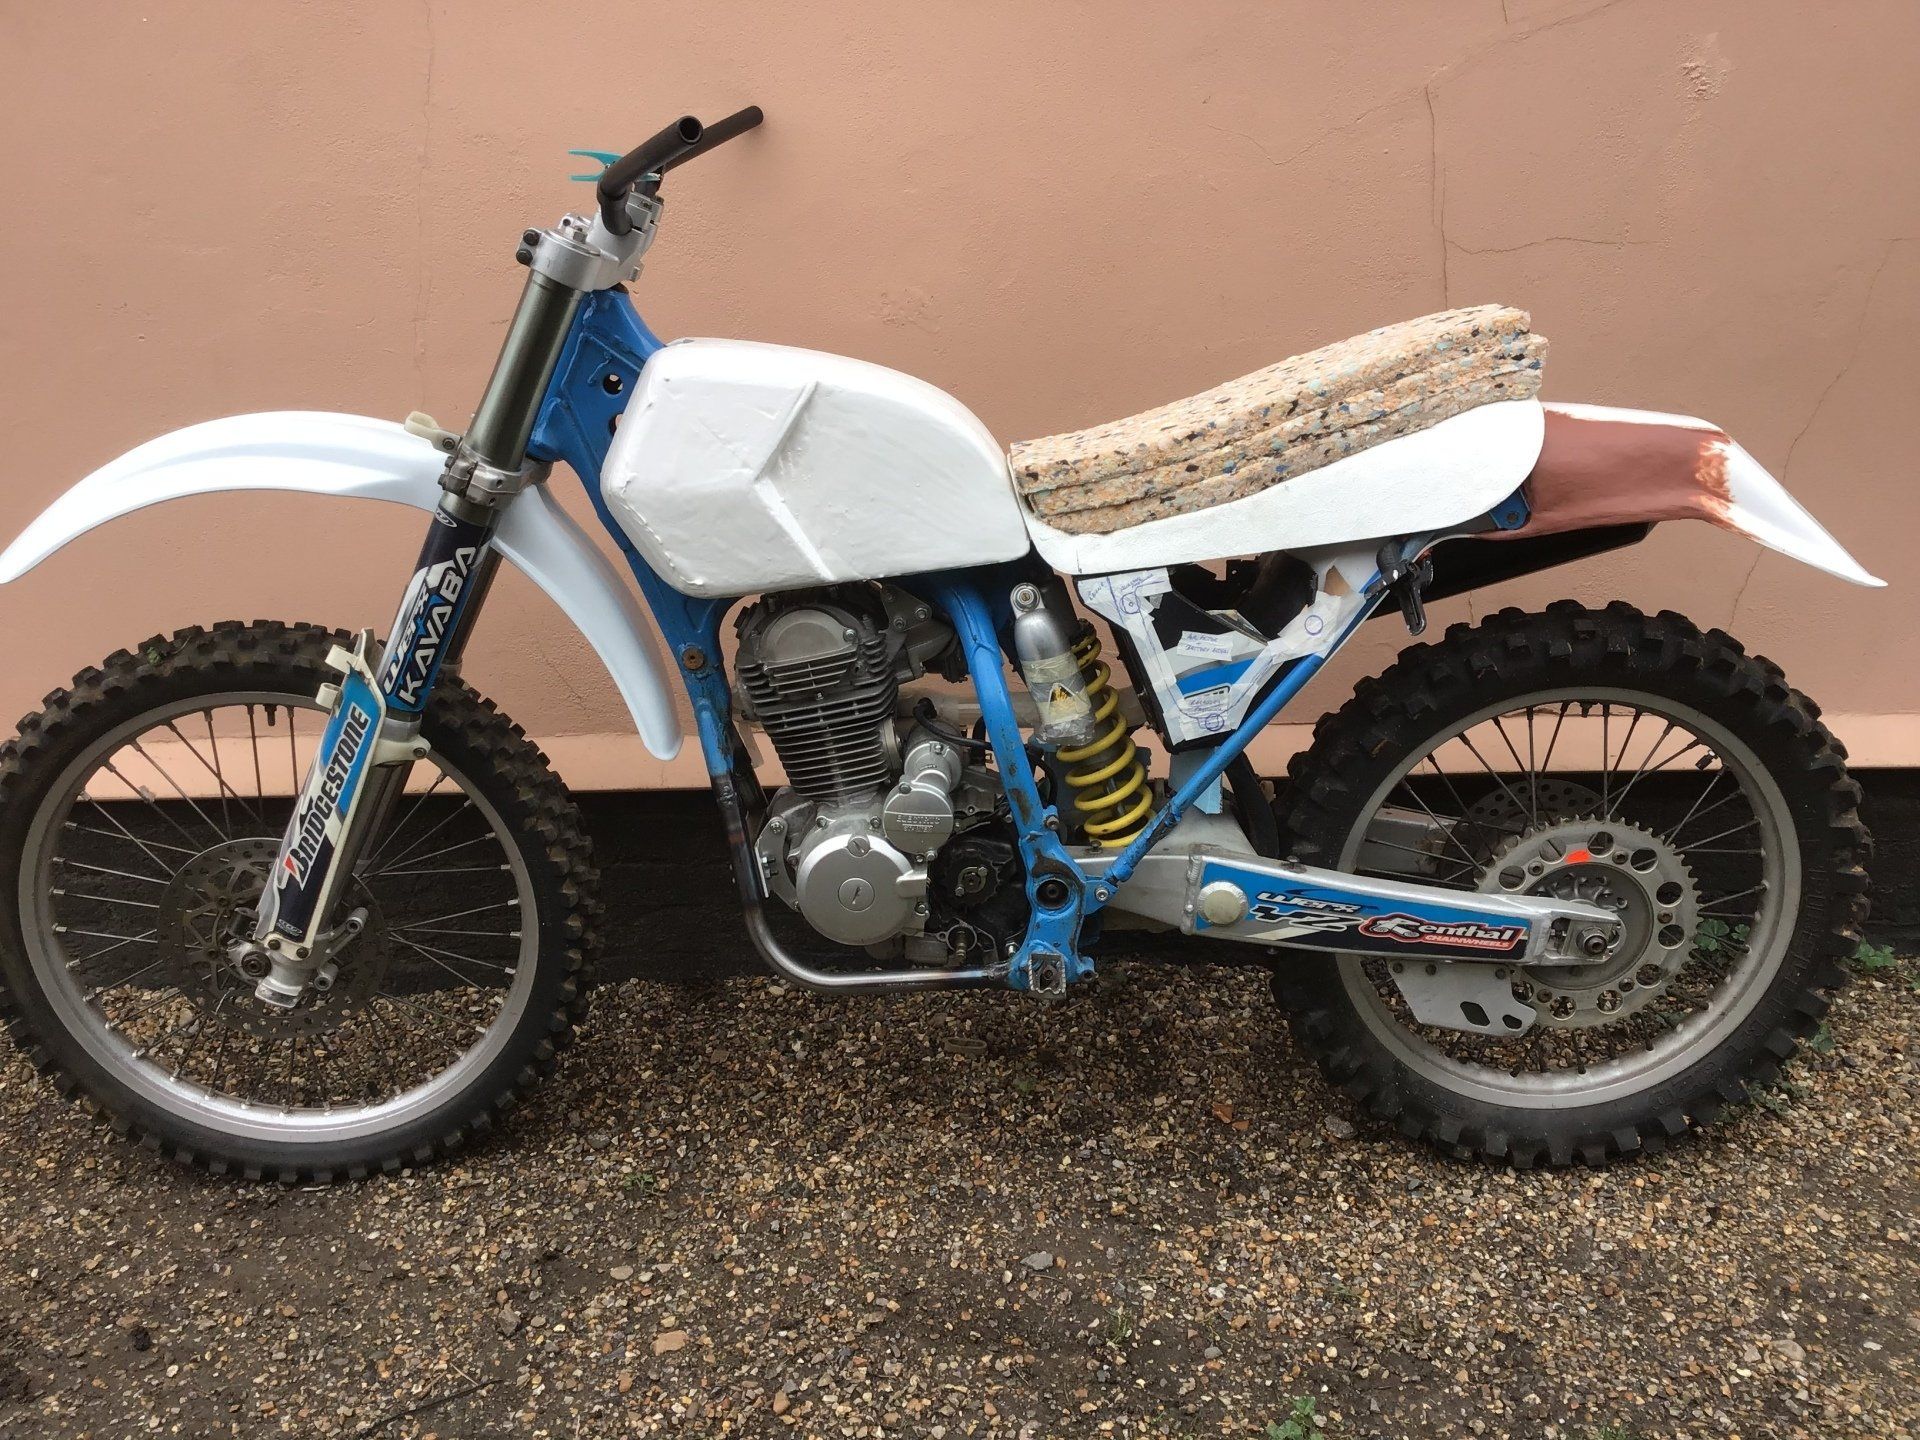
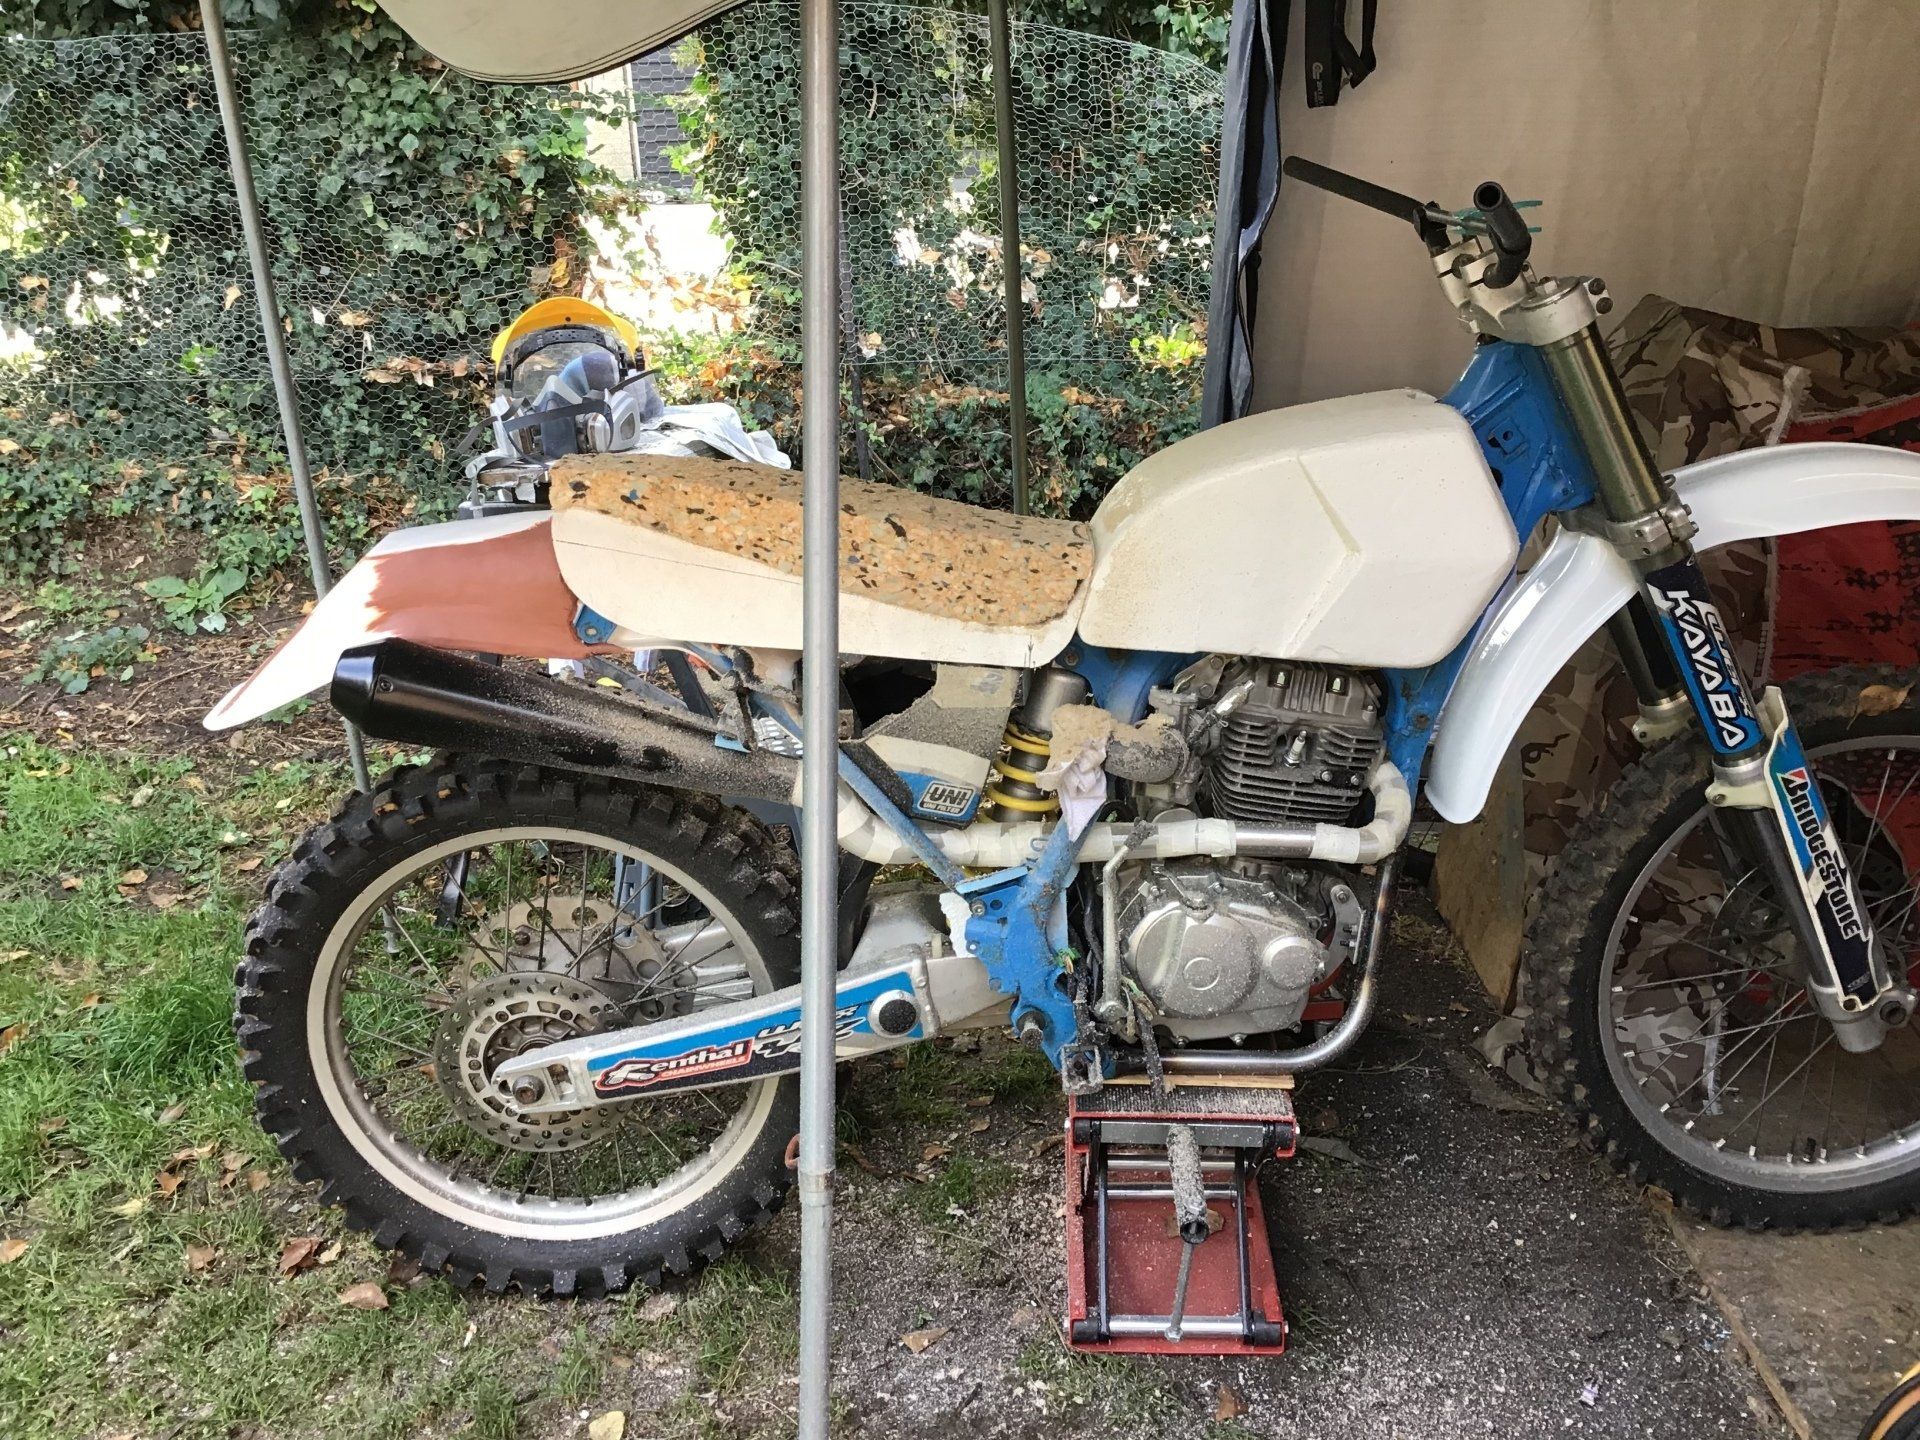
And here it is, the side view of the ugly bike with an ugly seat. Time to stick the foam on a try shaping it.
First layer stuck in place. I used Heavy Duty Spray Glue from eFoam. It sticks very well, but it grabs quick so make sure it's positioned correctly - you only get one chance...
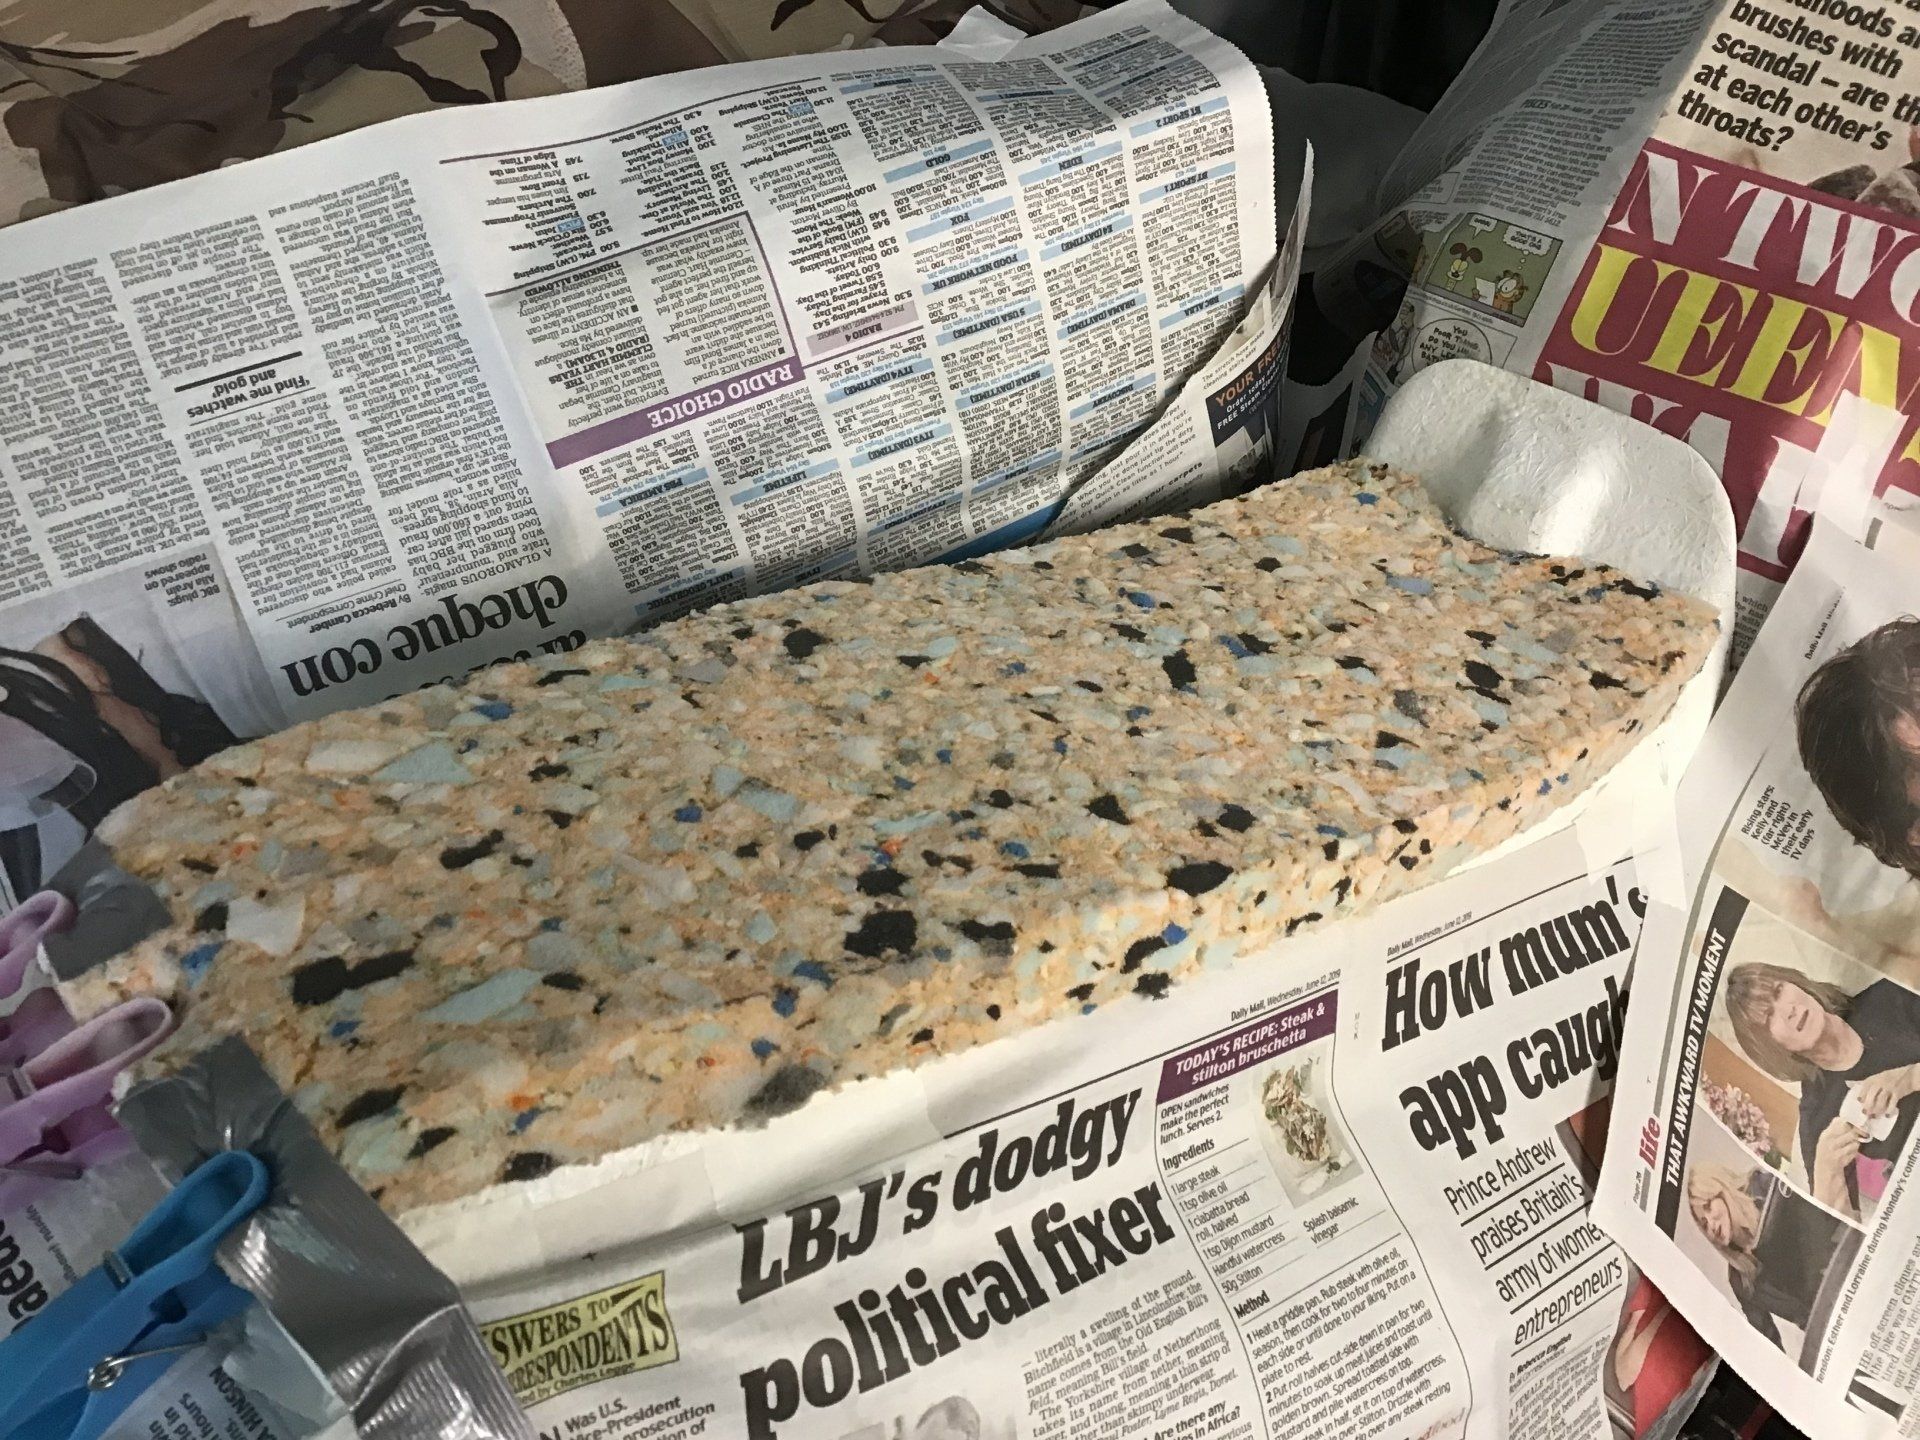
All layers are now stuck in place and have undergone some basic shaping using a hacksaw blade...
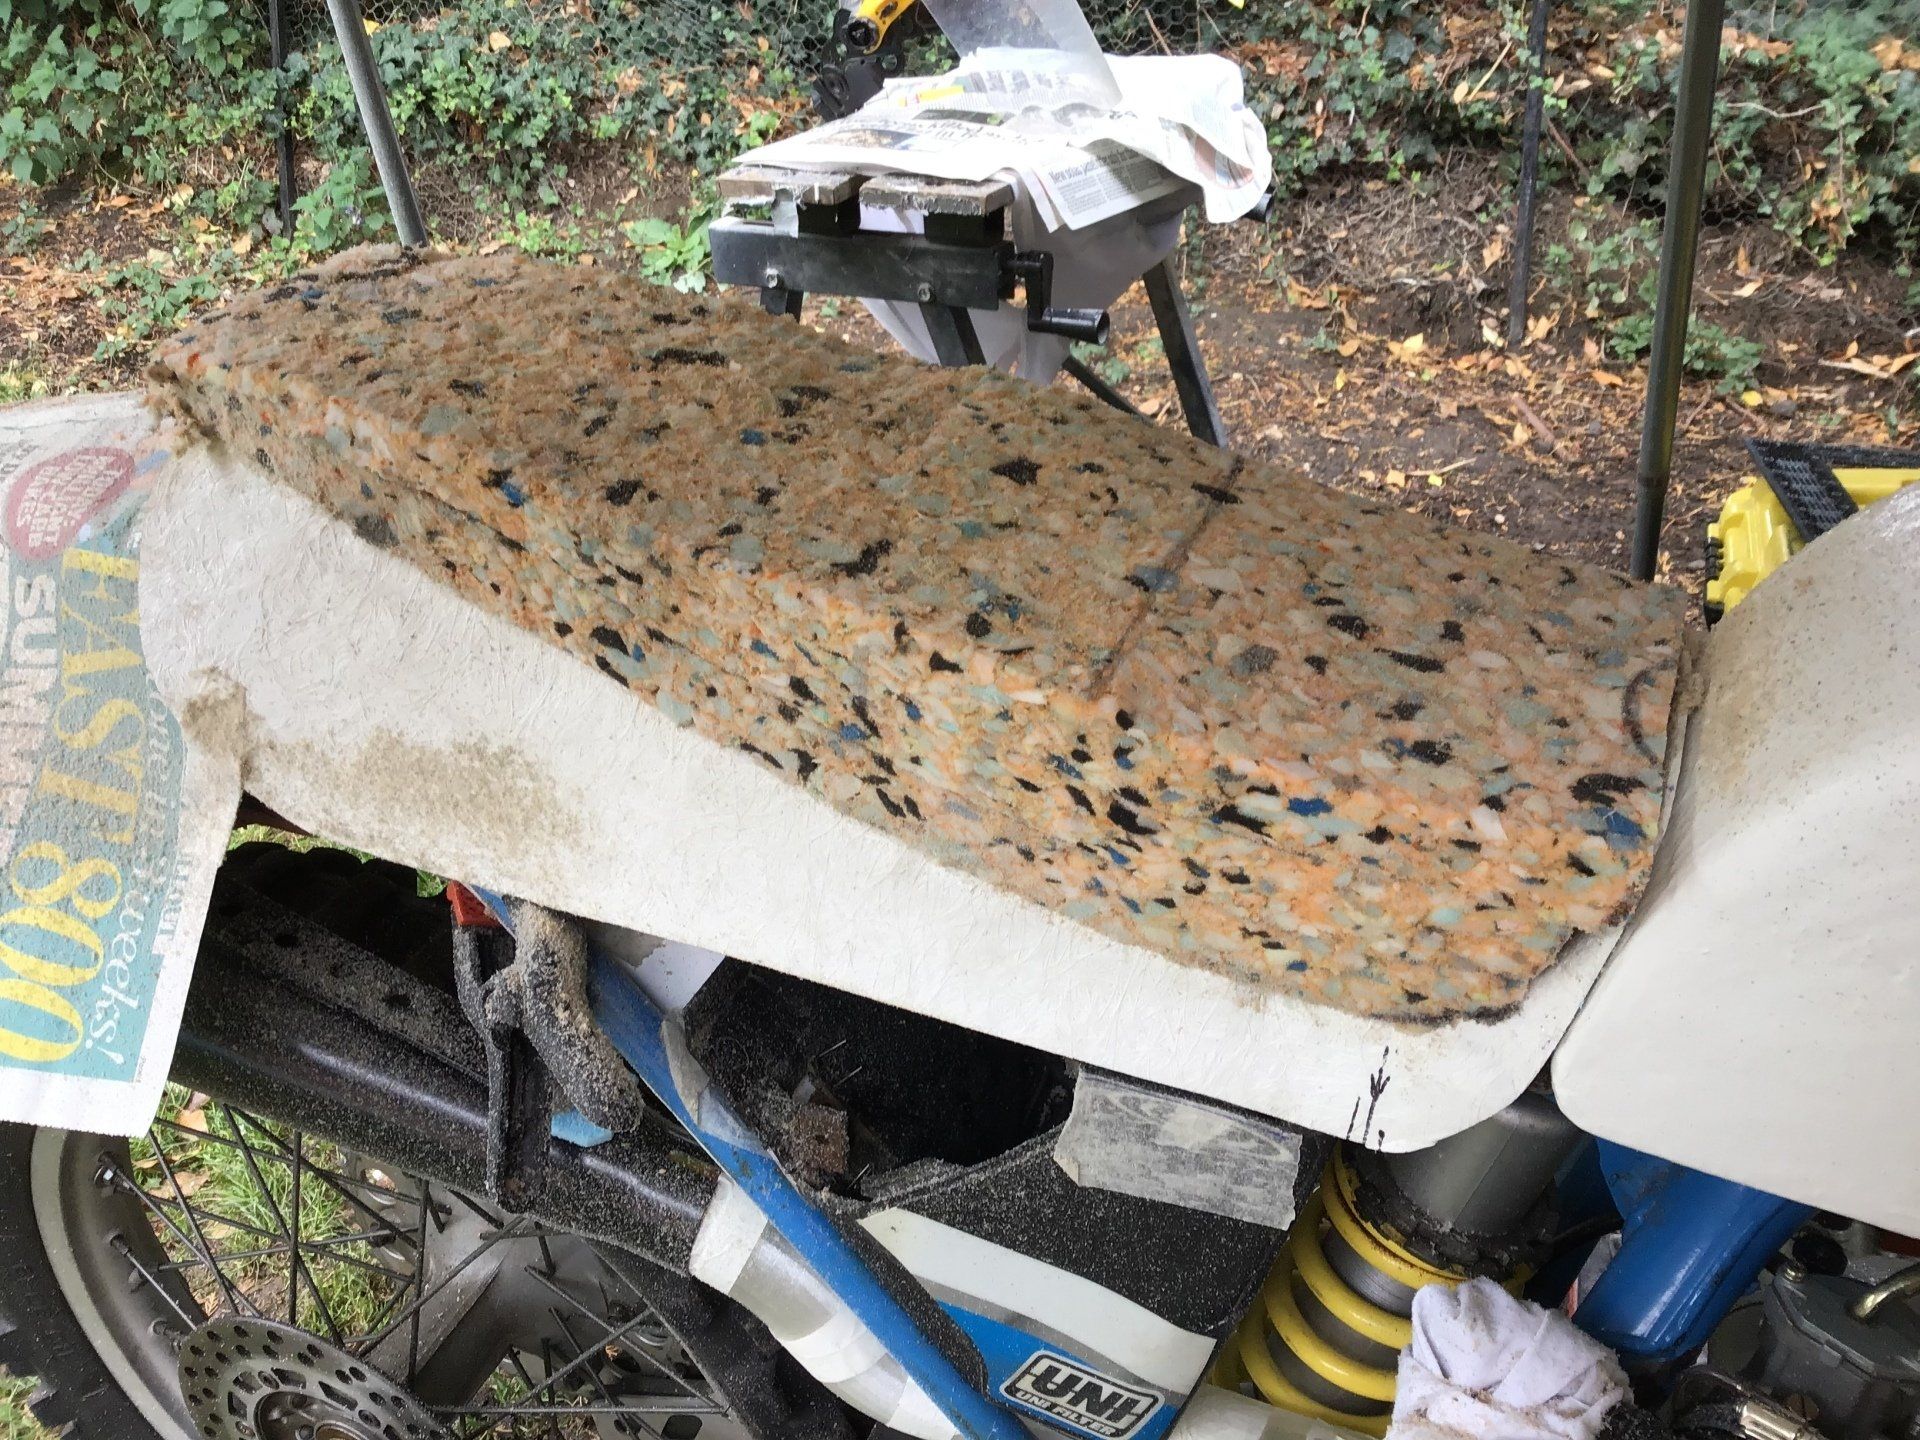
And a side view after some smoothing of the profile using the angle grinder.
The next stage will be to add a layer of thin foam over the top to smooth everything out a bit - another job for the spray glue.
If I get the top foam layer successfully in place, the next task is making a seat cover. Should be interesting, sewing is not one of my best skills...
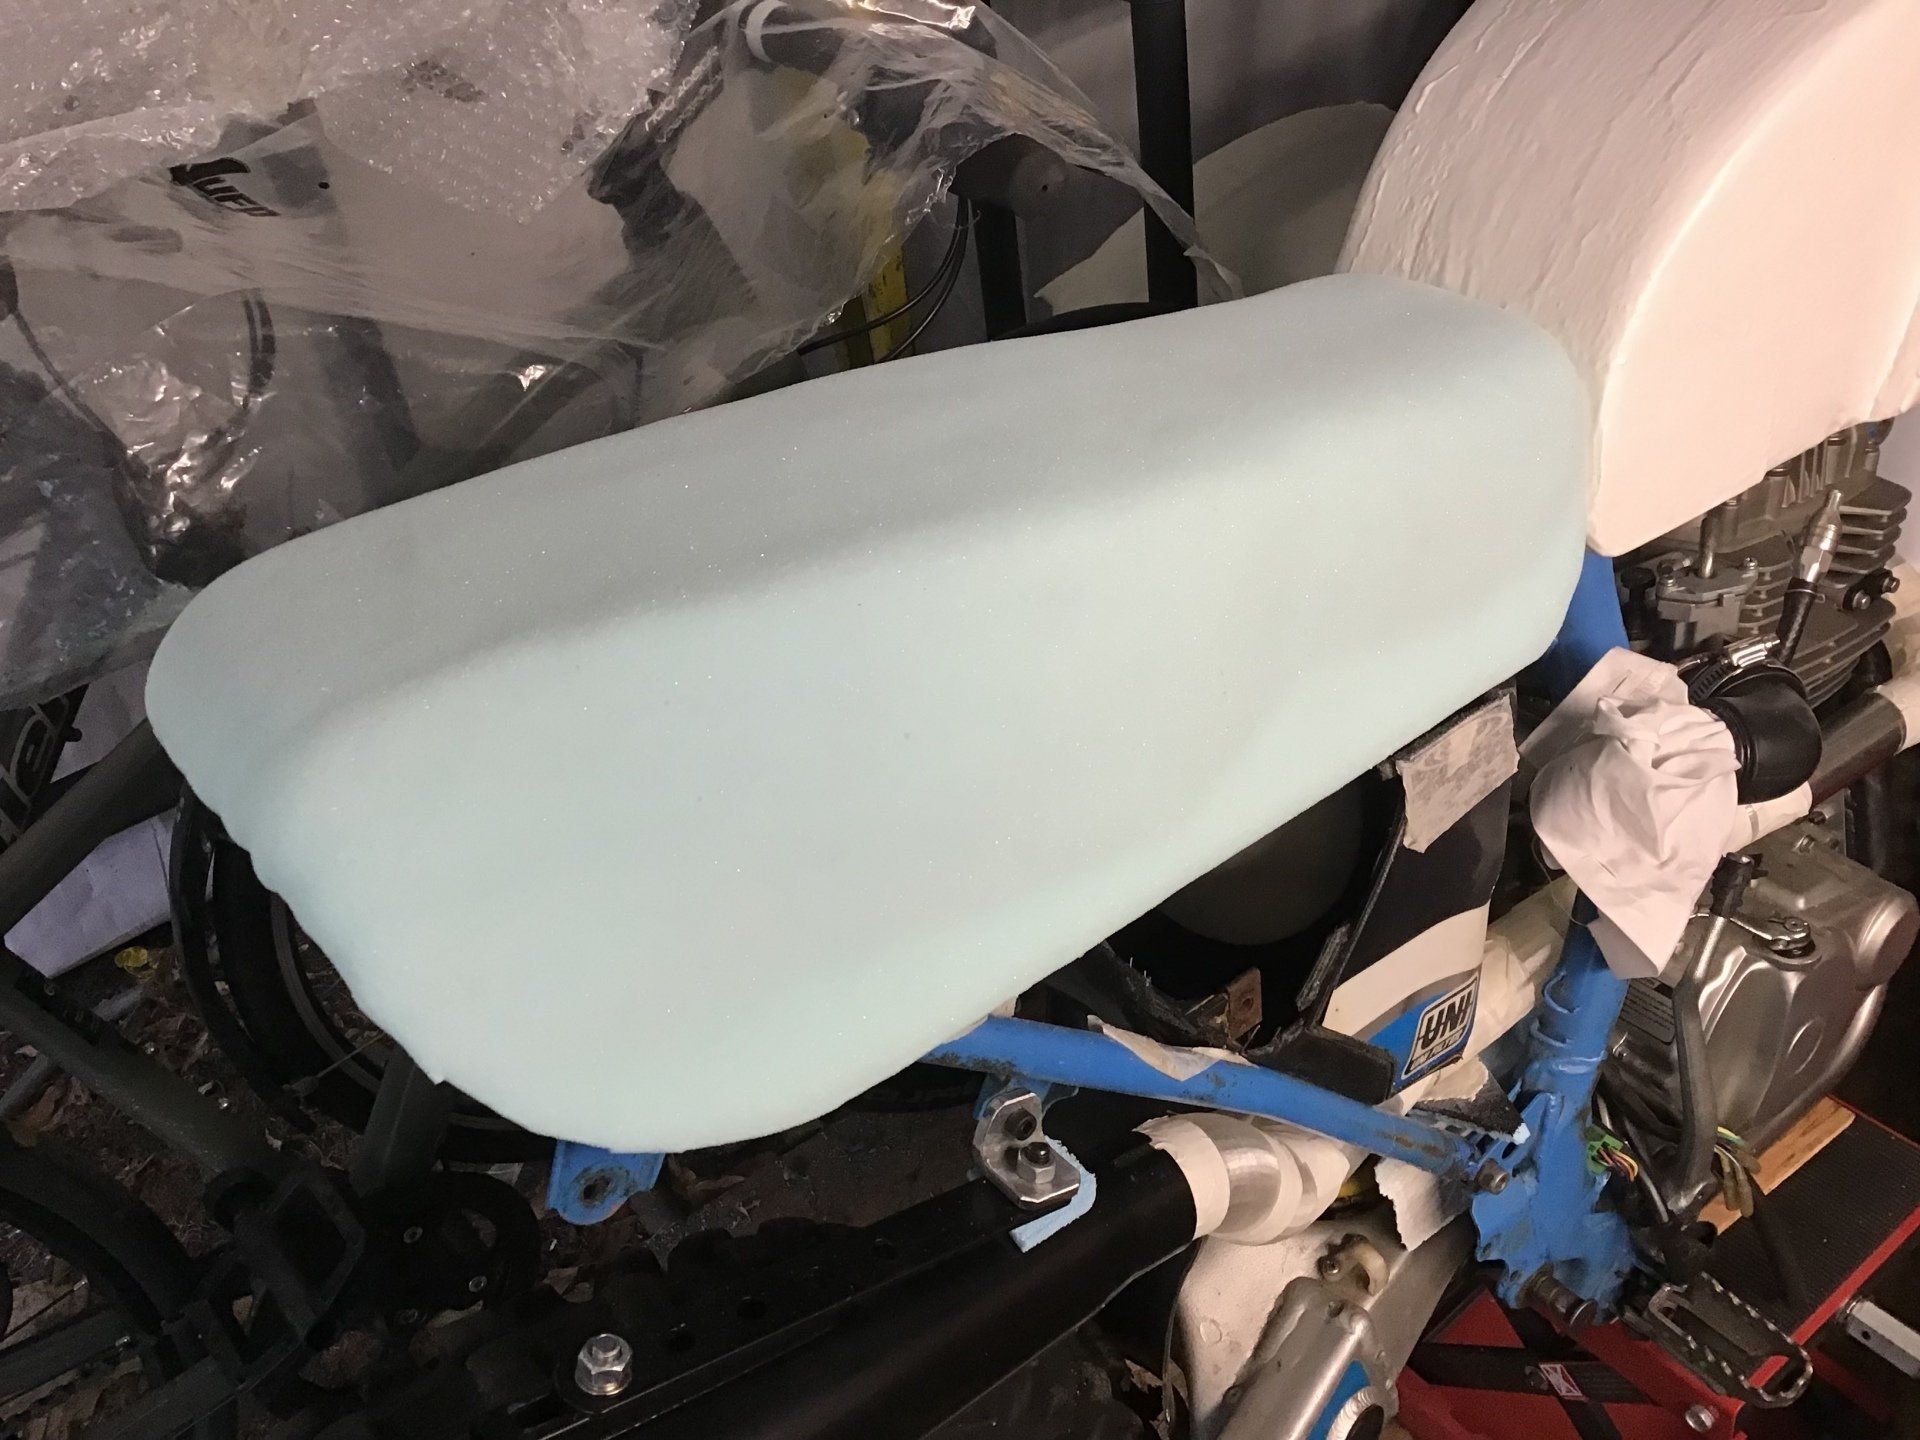
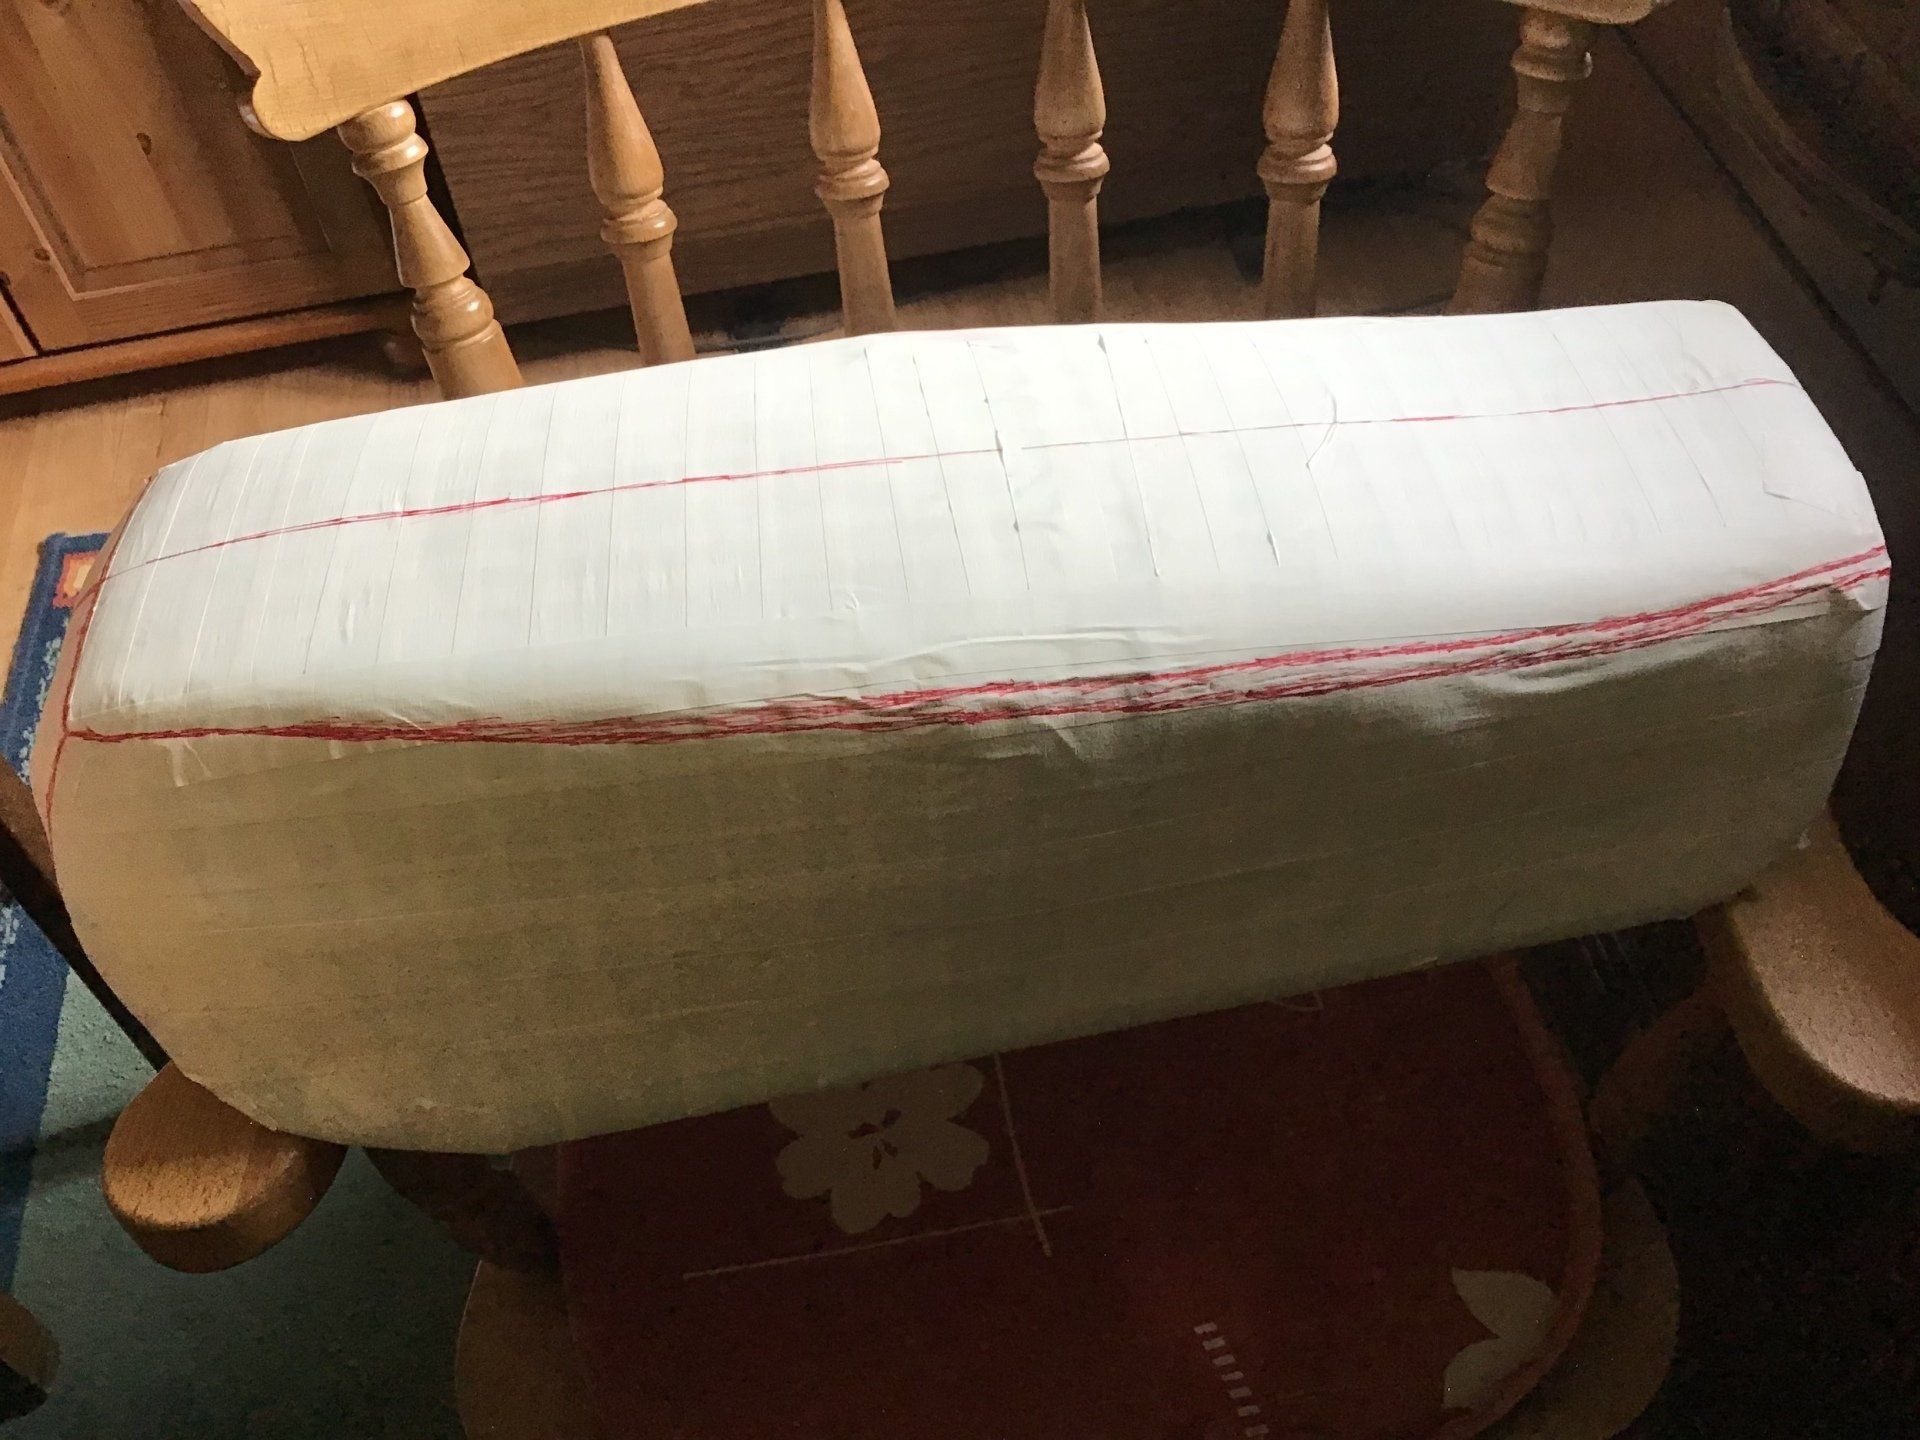
Top layer of foam glued in place using spray adhesive. It went on much easier than I expected.
Next step was to cover the foam in masking tape and mark where the seams of the cover will be. As you can see I had a couple of goes at getting them in the right place.
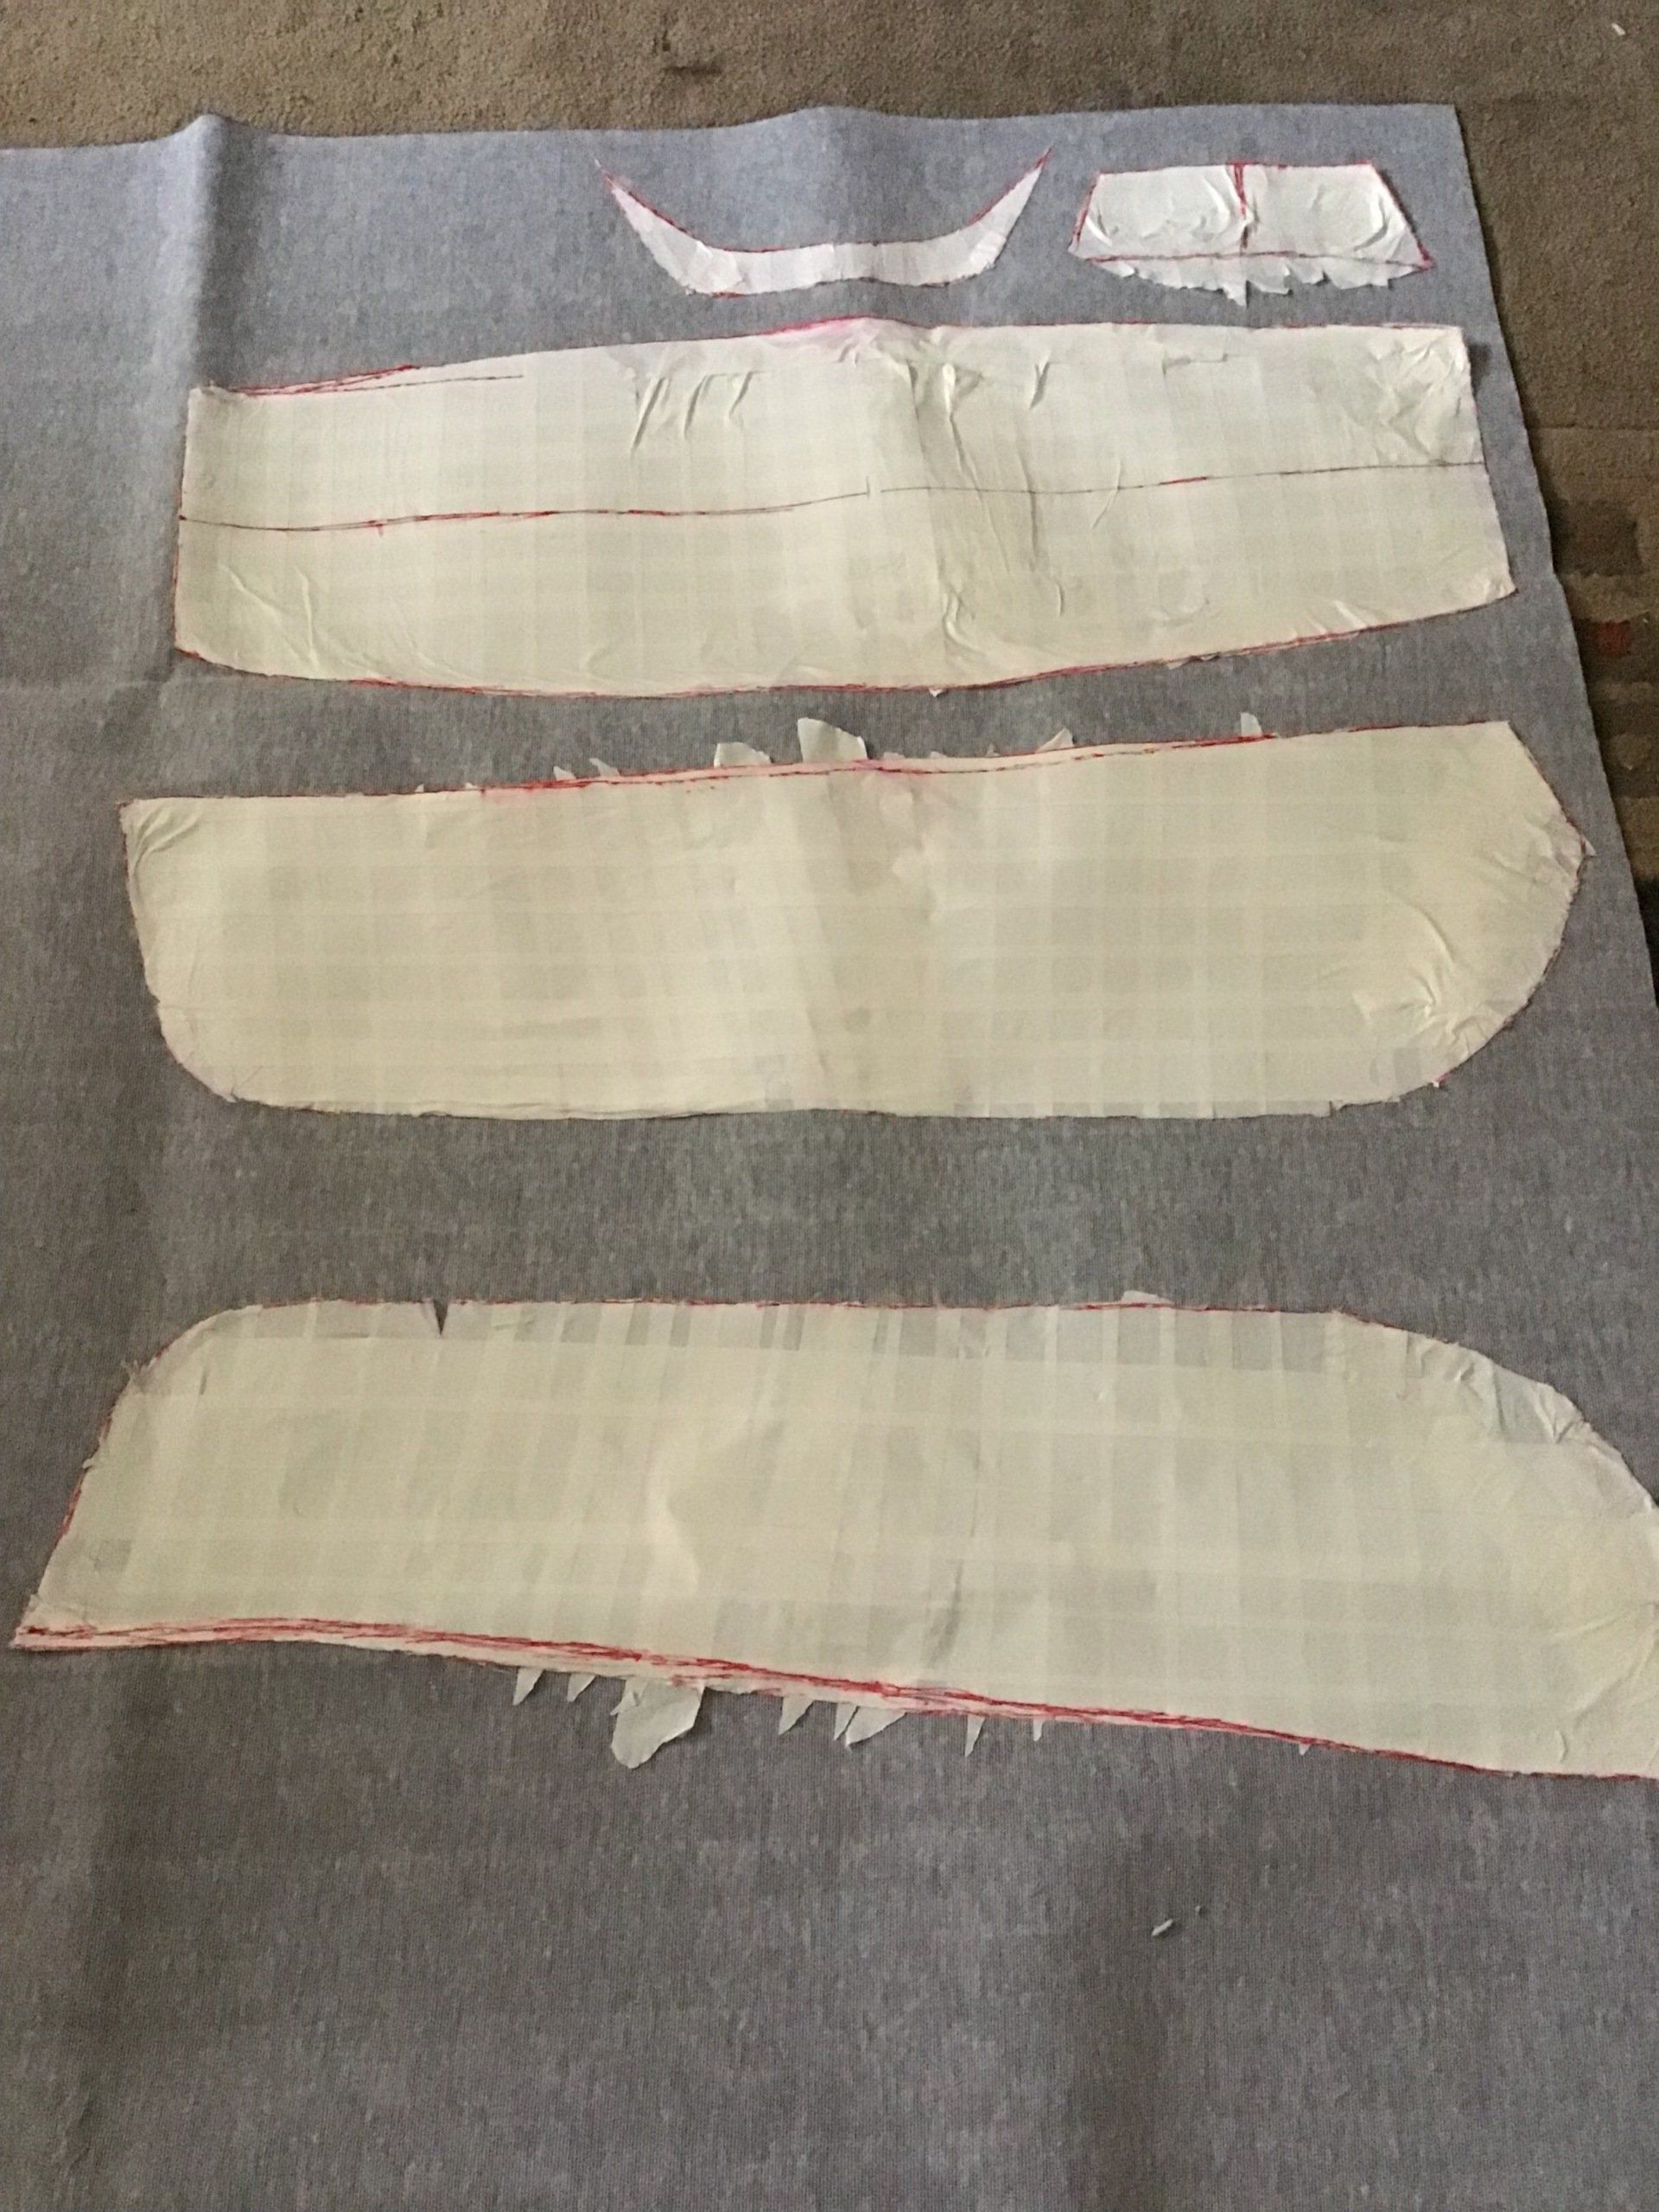
Templates are made from the masking tape by carefully cutting along the lines. These can then be stuck on the cover material and drawn around.
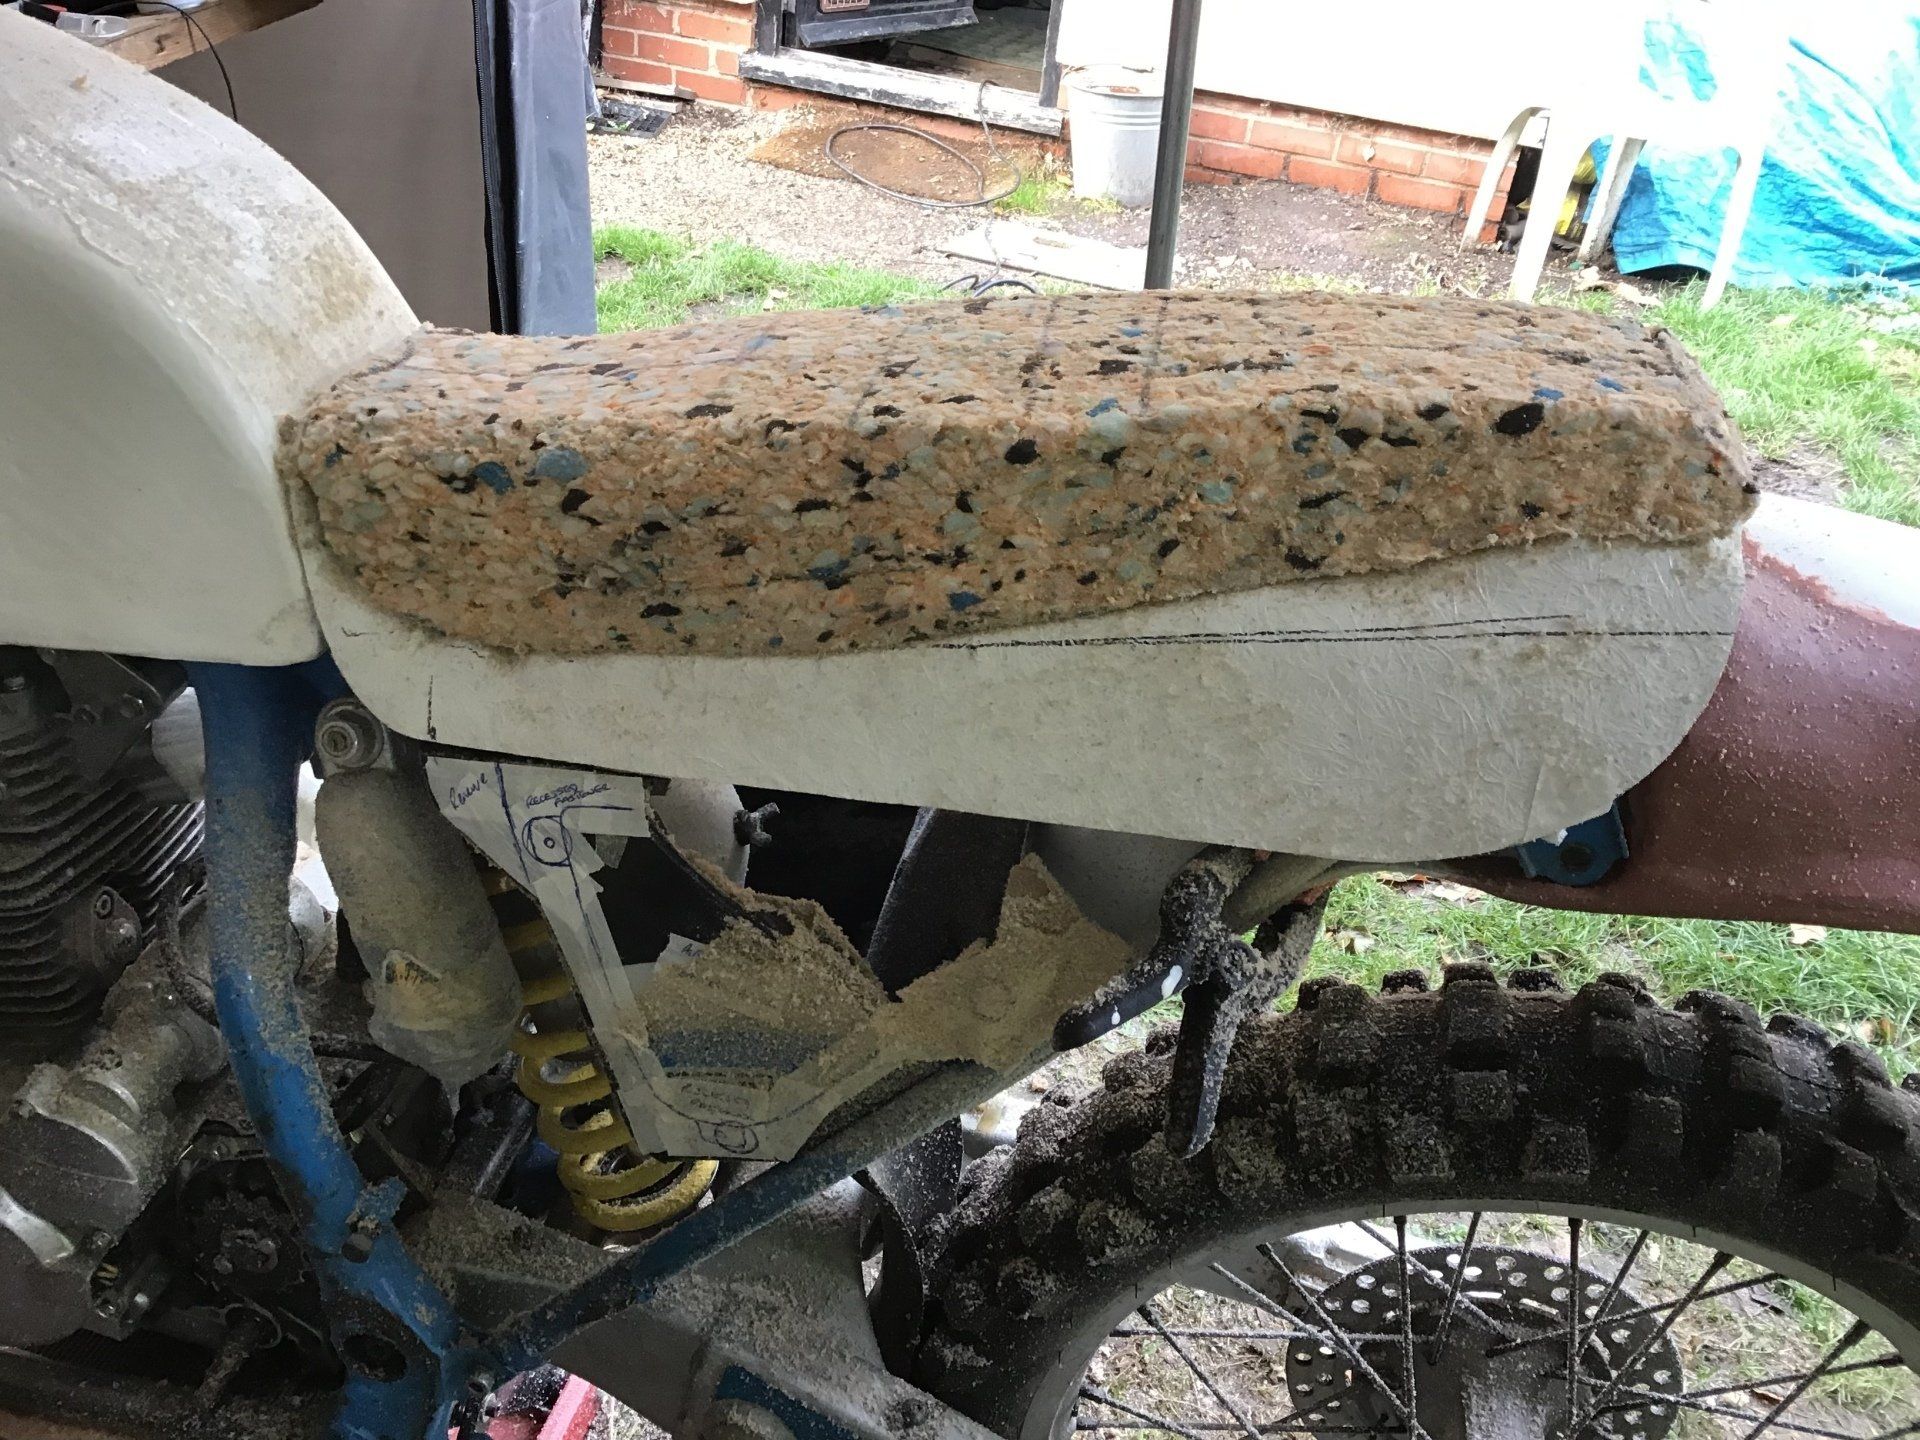
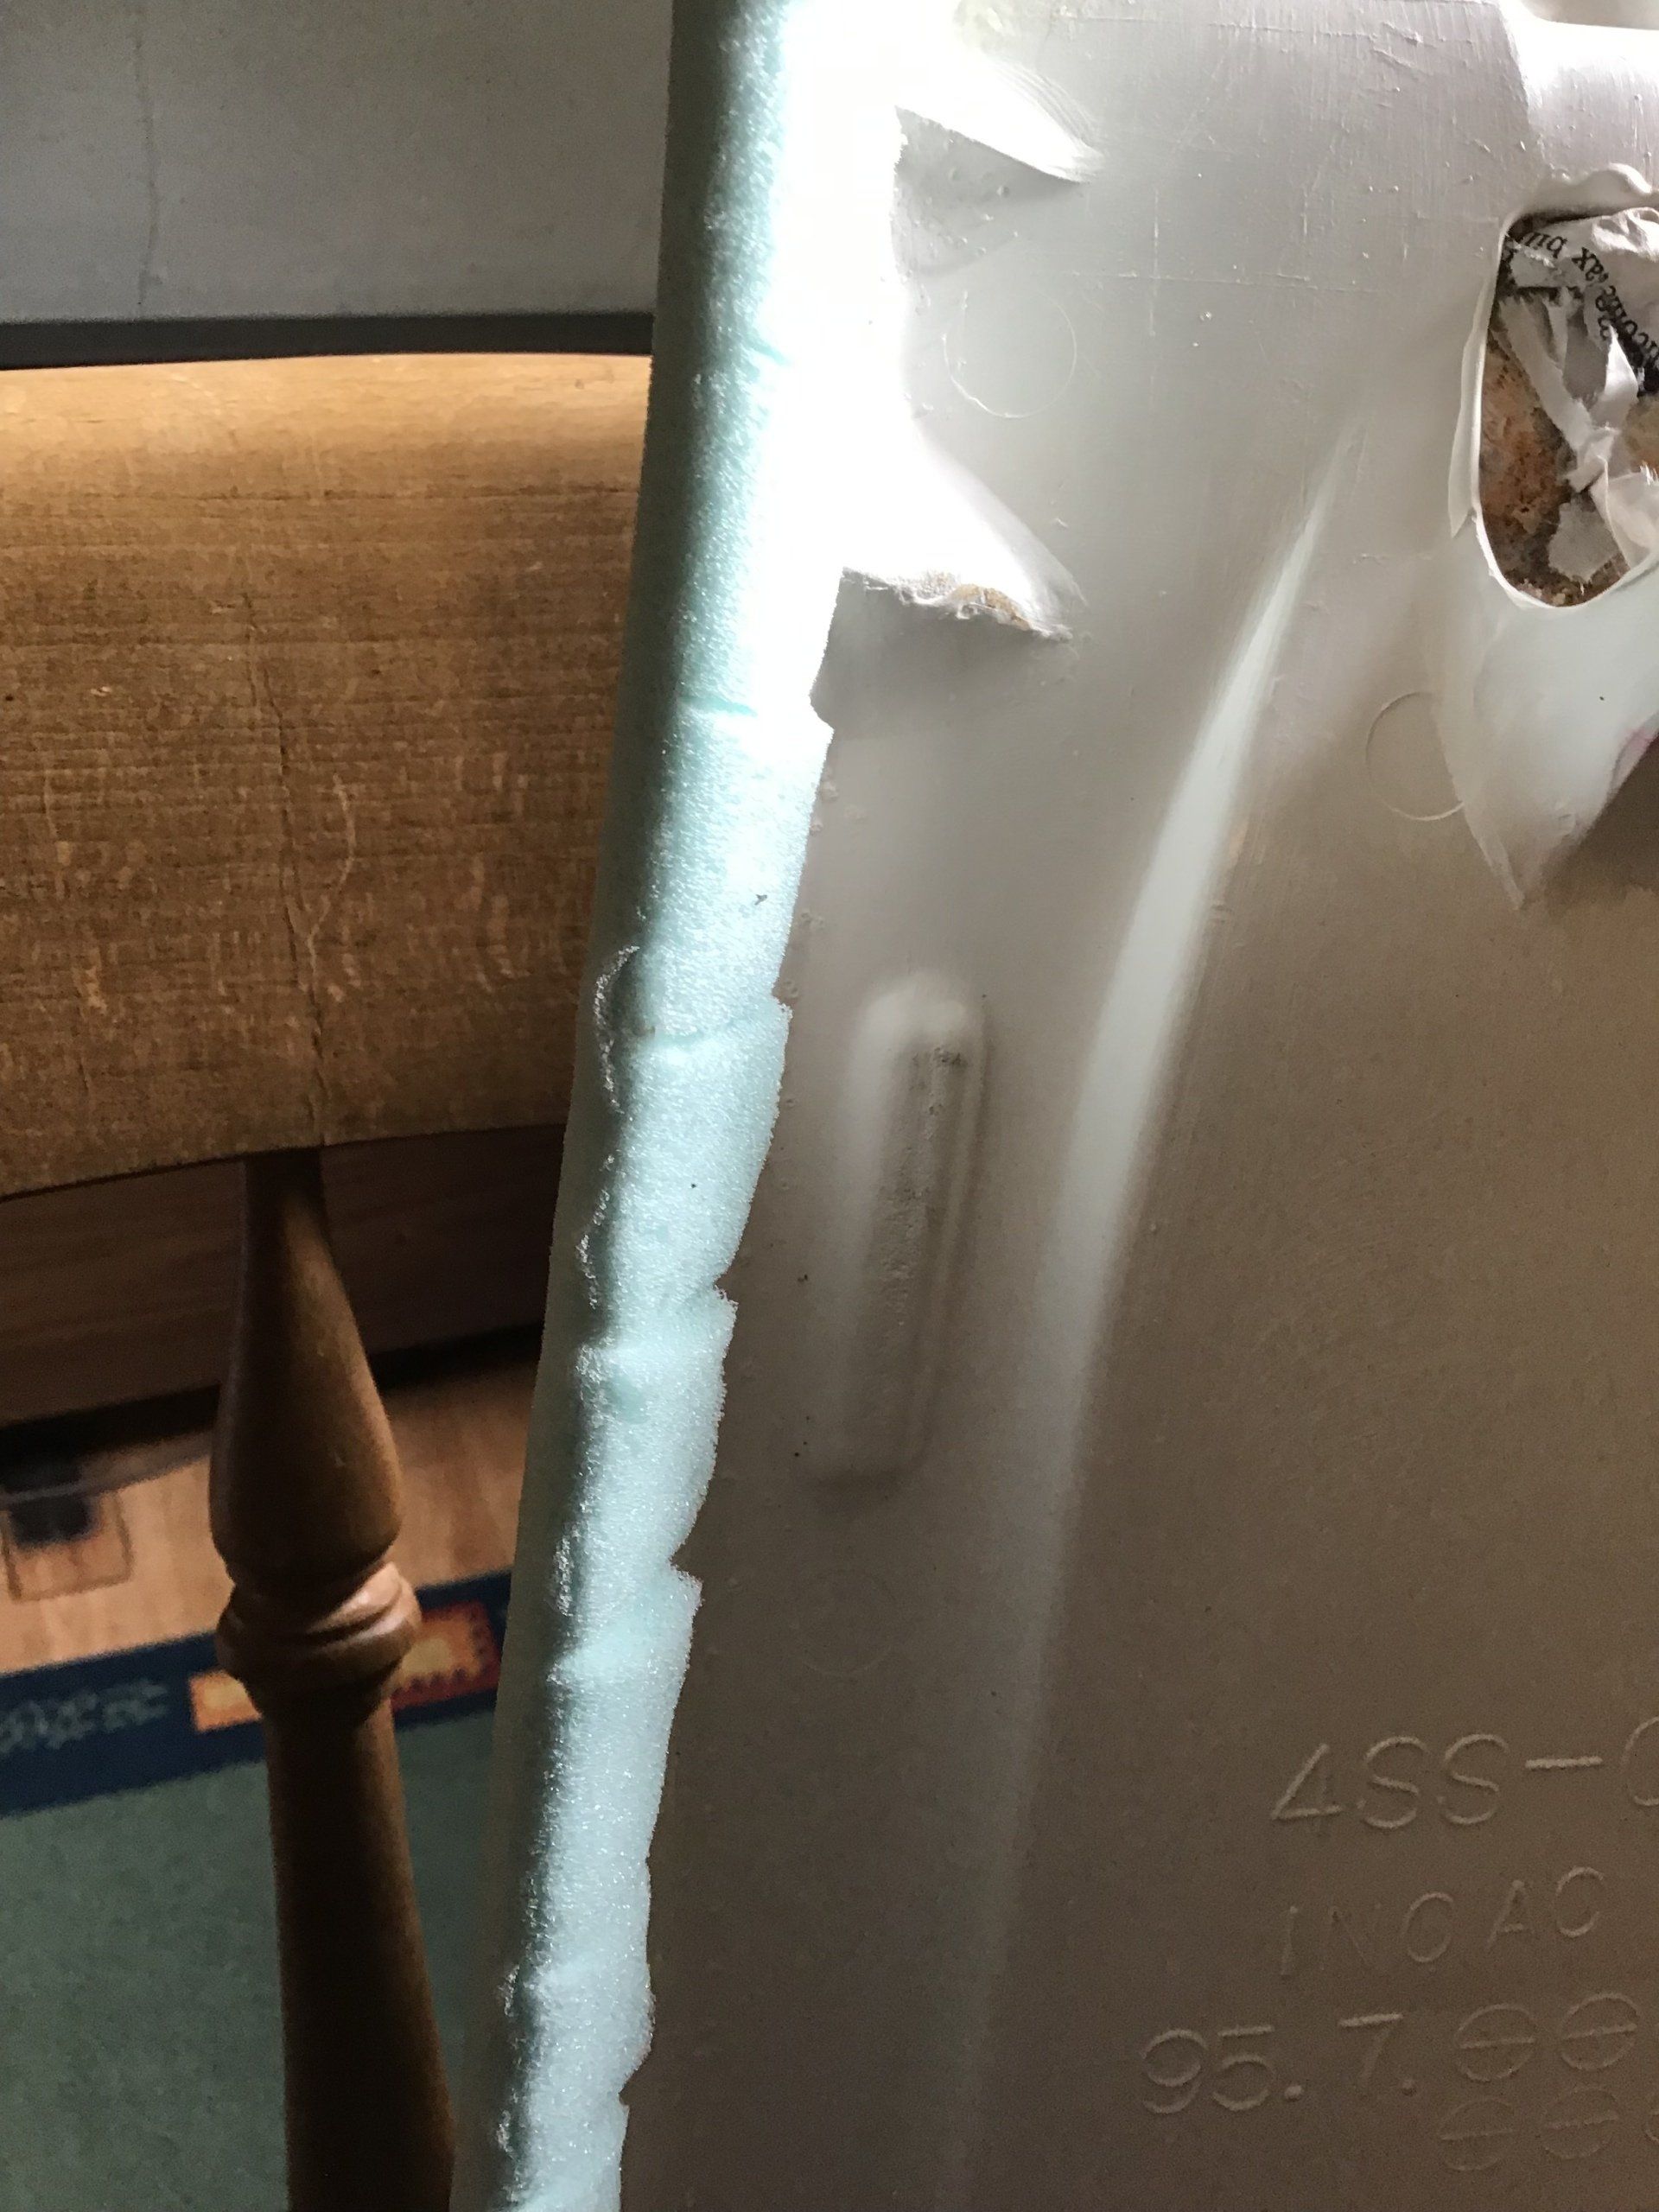
Using this method of pattern making does mean that you are likely to damage the foam underneath the tape not matter how careful you are, as can be seen in the picture below. I haven't yet come up with a plan that would avoid this.
Seat cover pieces all cut. A little extra needs to be added around the pattern to allow for the seam. (And a lot extra where the bottom edge of the cover folds over the seat base. I didn't leave enough in some areas, as you will see later.)
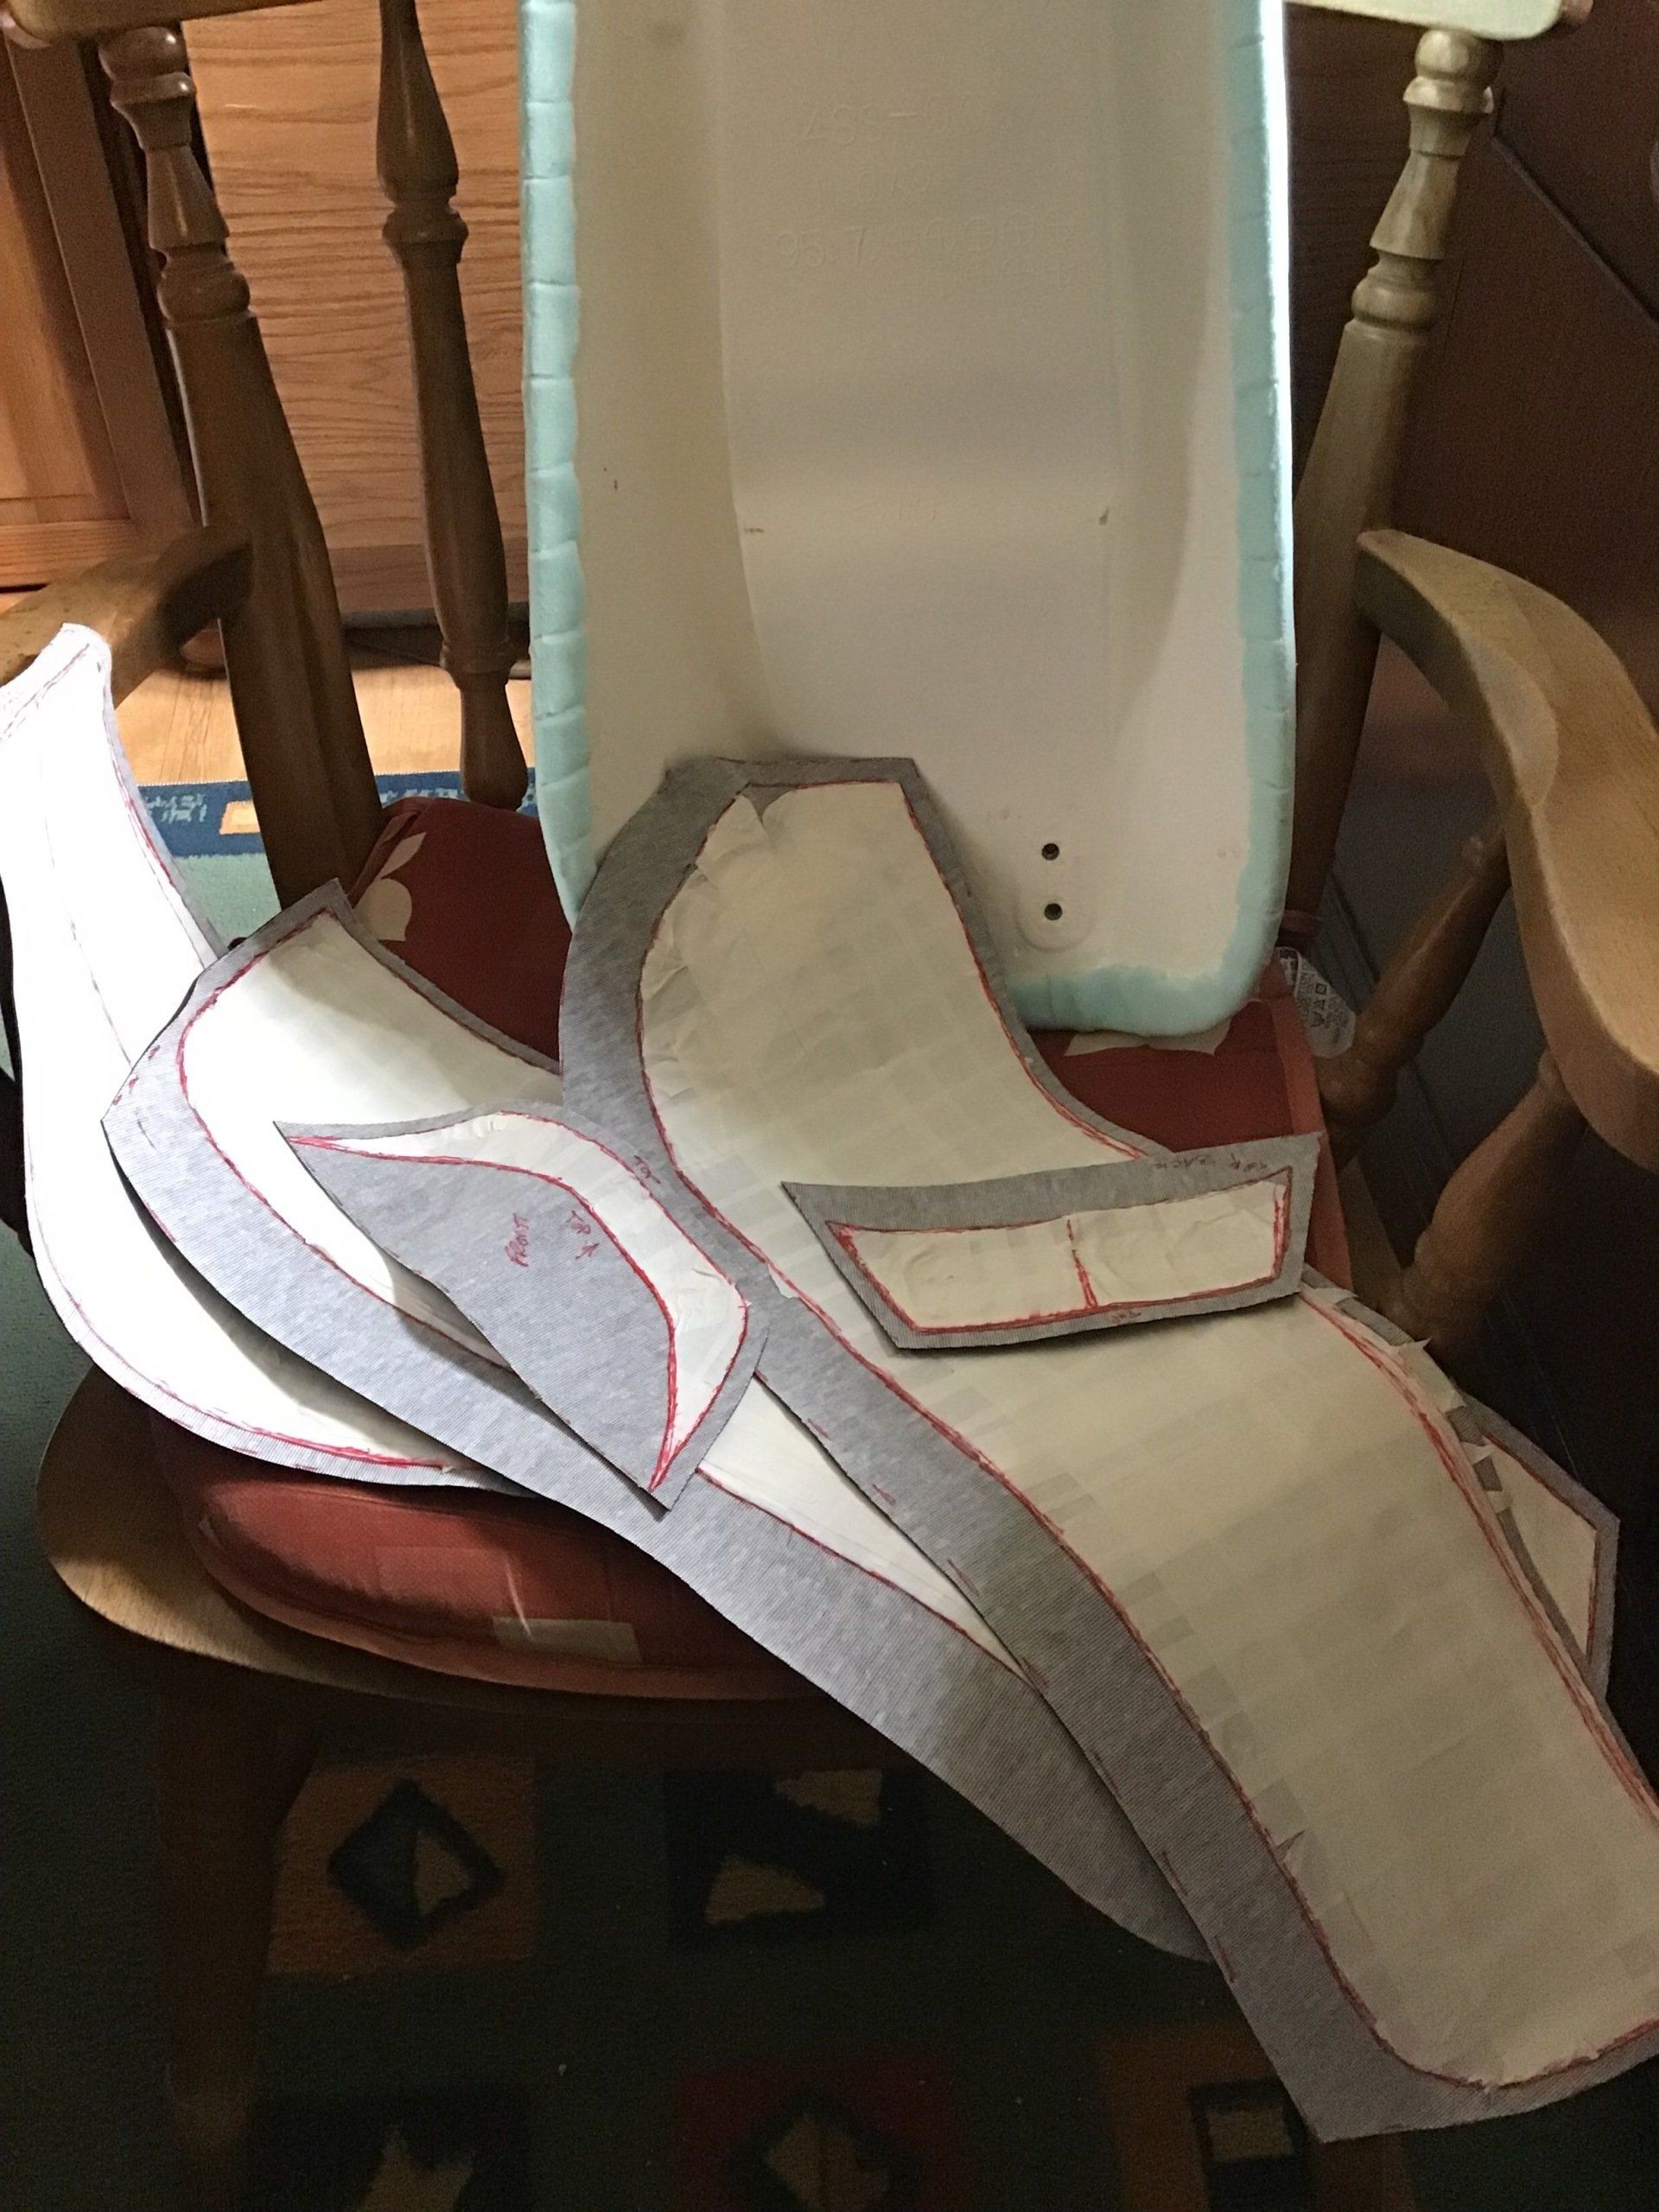
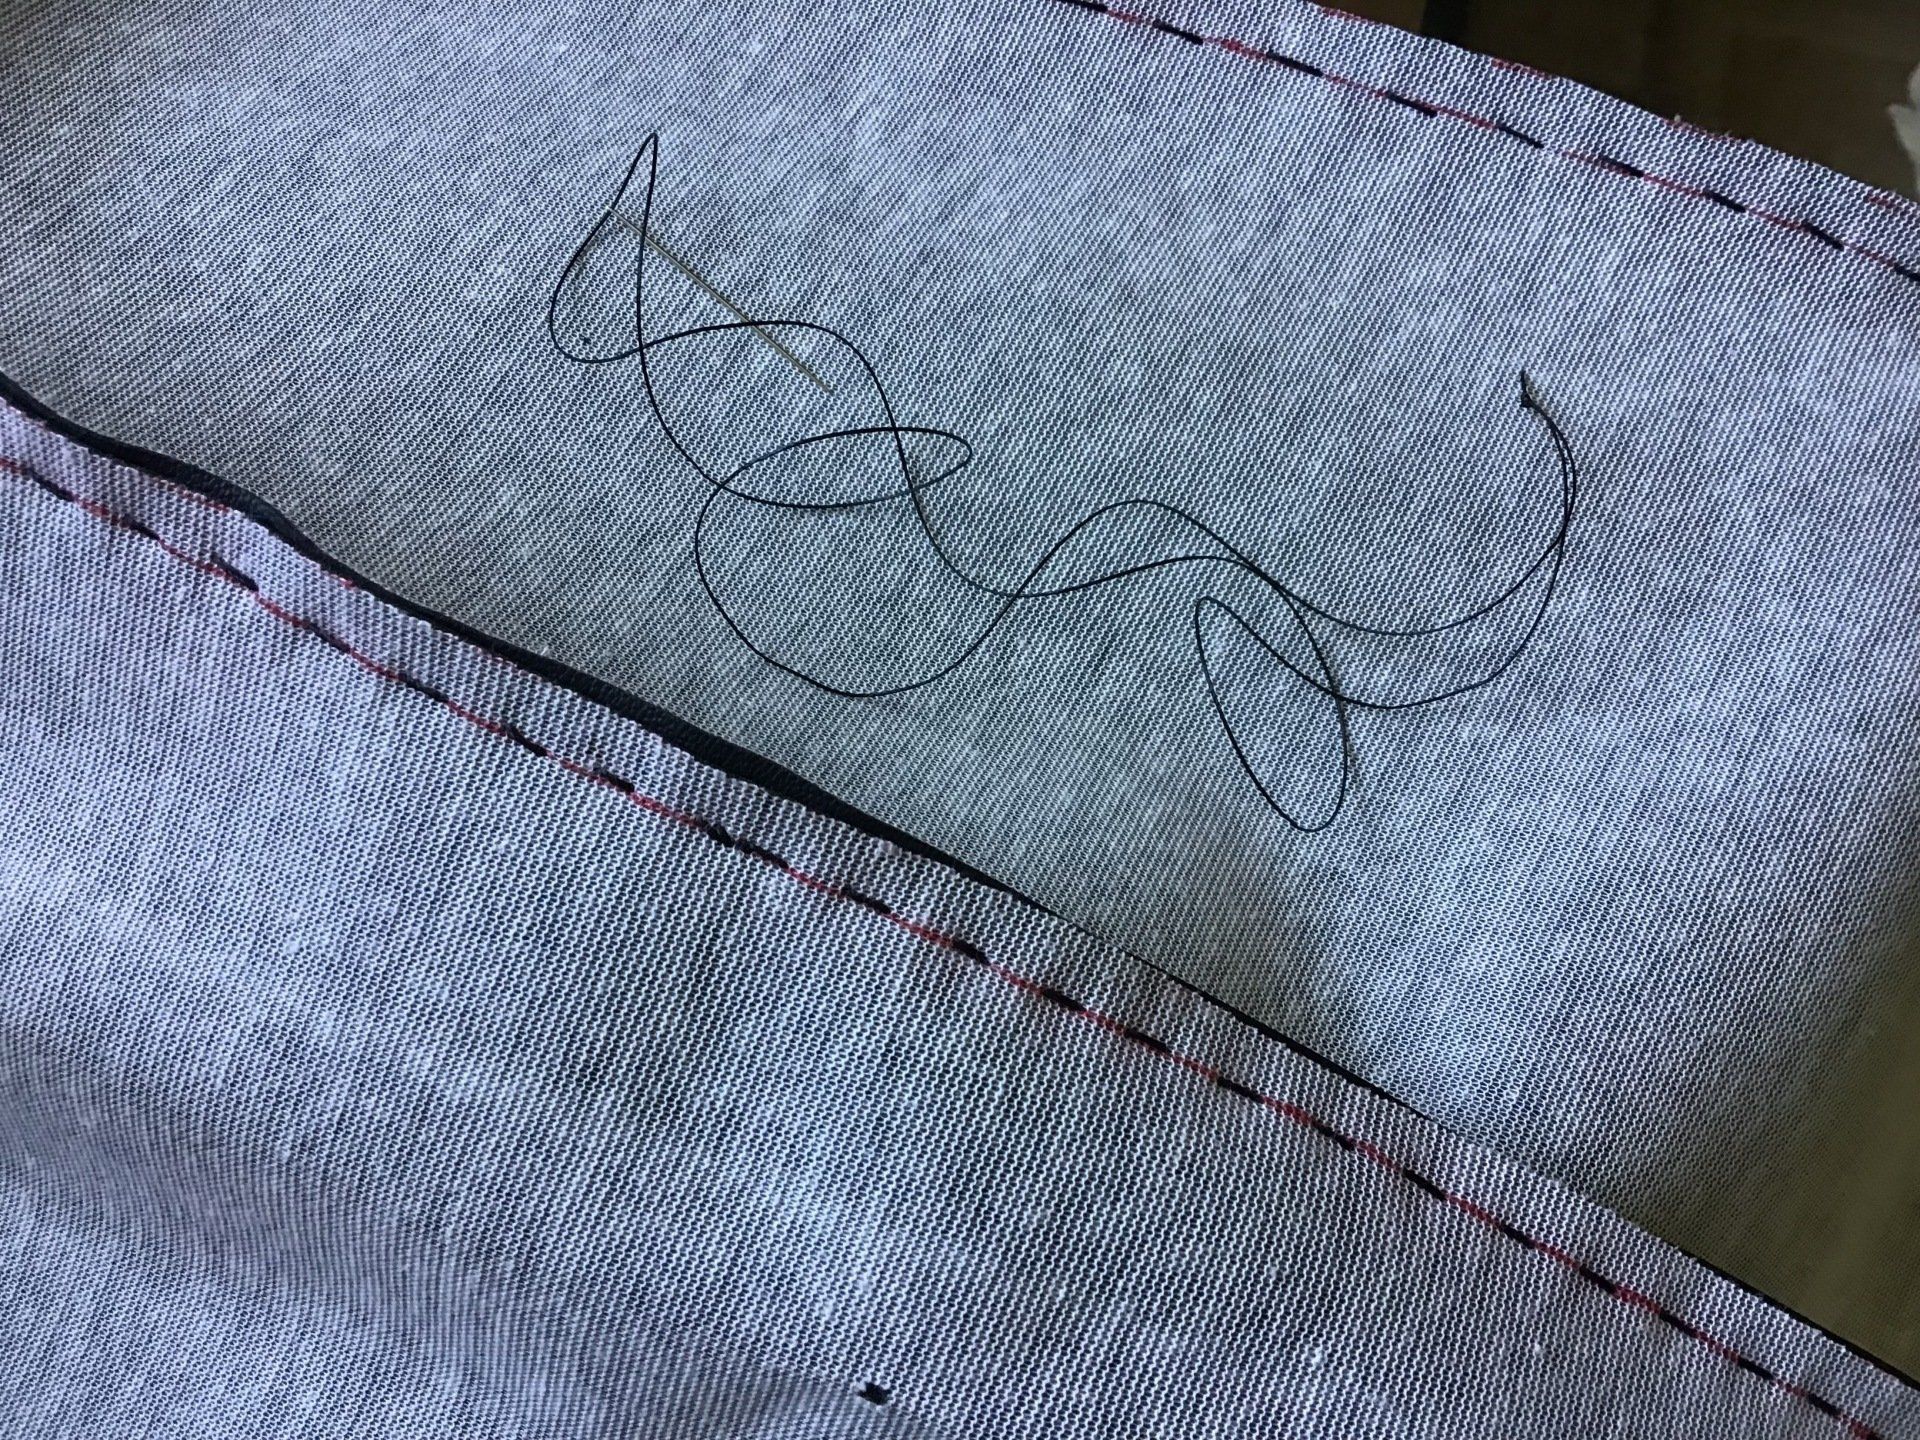
Sewing the cover together. My sewing kit is basic, so it's all hand sewn using needle and thread. Initially I tacked it all together with large stitches, just to check that it was going to fit before I spent a long time sewing it neatly, or as neatly as I can manage.
You can just see at the front (under the green peg) where I didn't leave enough spare material to wrap round the seat base, so I've had to sew an extra bit in. I also sewed a few tucks in to make the cover fit better around the curves (between the blue and green pegs).

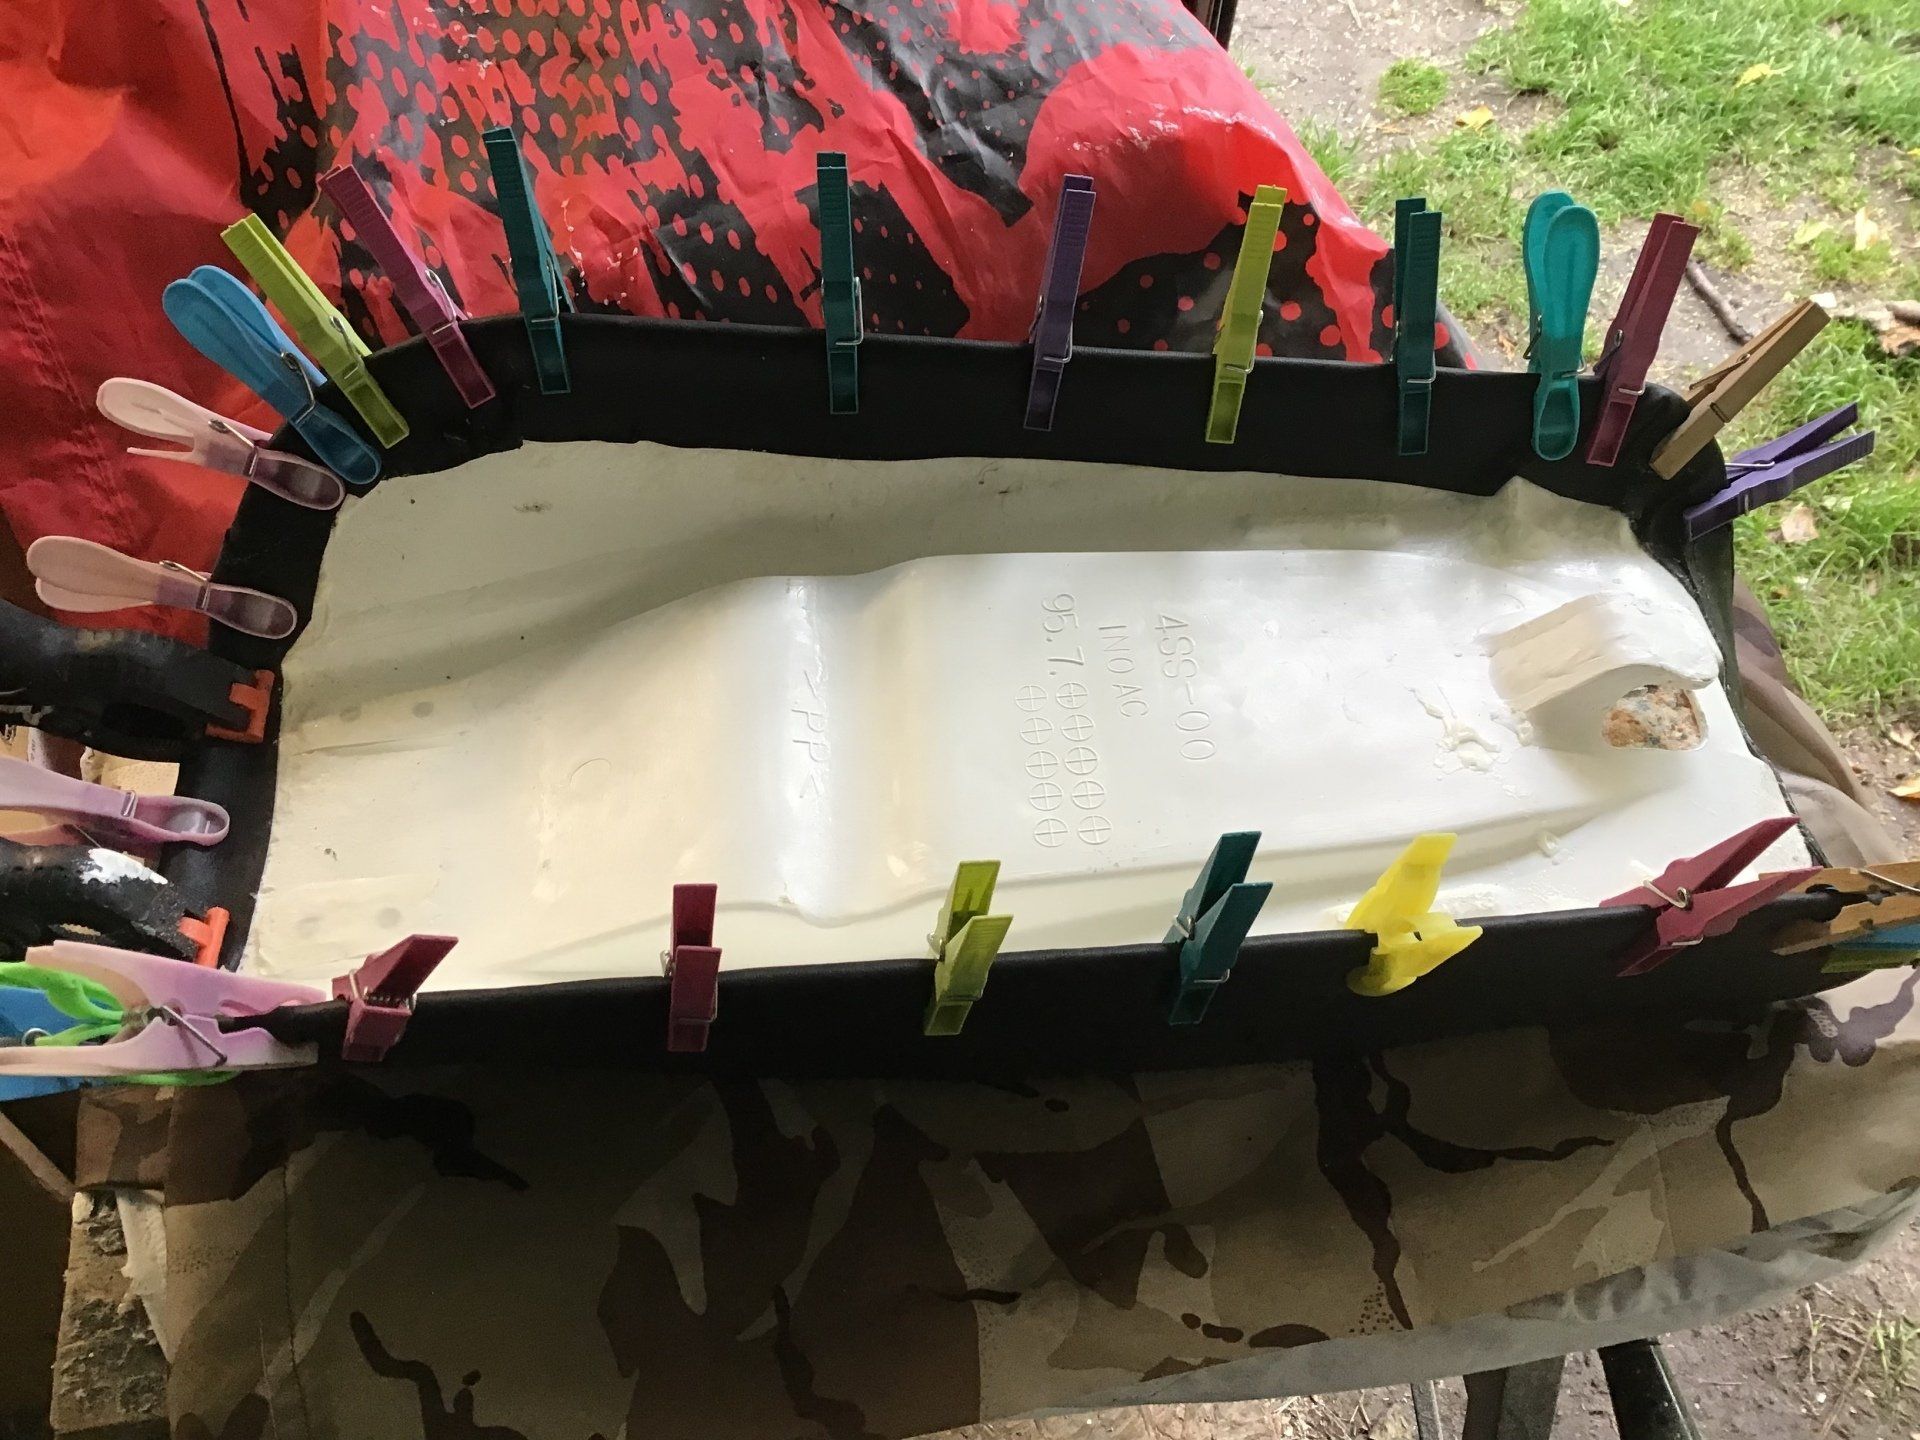
And finally sticking the cover in place. The spray adhesive didn't grab as firmly this time as I would have liked. I was hoping to stick one side firmly and then stretch the cover tight and stick the other side. It didn't really work that way, the glue grabbed, but still allowed the vinyl to slide over the fibreglass base, so I had to resort to clothes pegs to keep the cover where I wanted it and I could have done with much stronger pegs. More of those larger black spring clamps, shown on the left of the picture would have come in really useful.
Now to wait whilst the glue sets firmly, then I can offer the seat up to the bike. I hope it looks Ok...
There are numerous youtube videos on seat making, I've picked a couple that I found useful. You can find them in the RESOURCES section.
There are numerous youtube videos on seat making, I've picked a couple that I found useful. You can find them in the RESOURCES section.
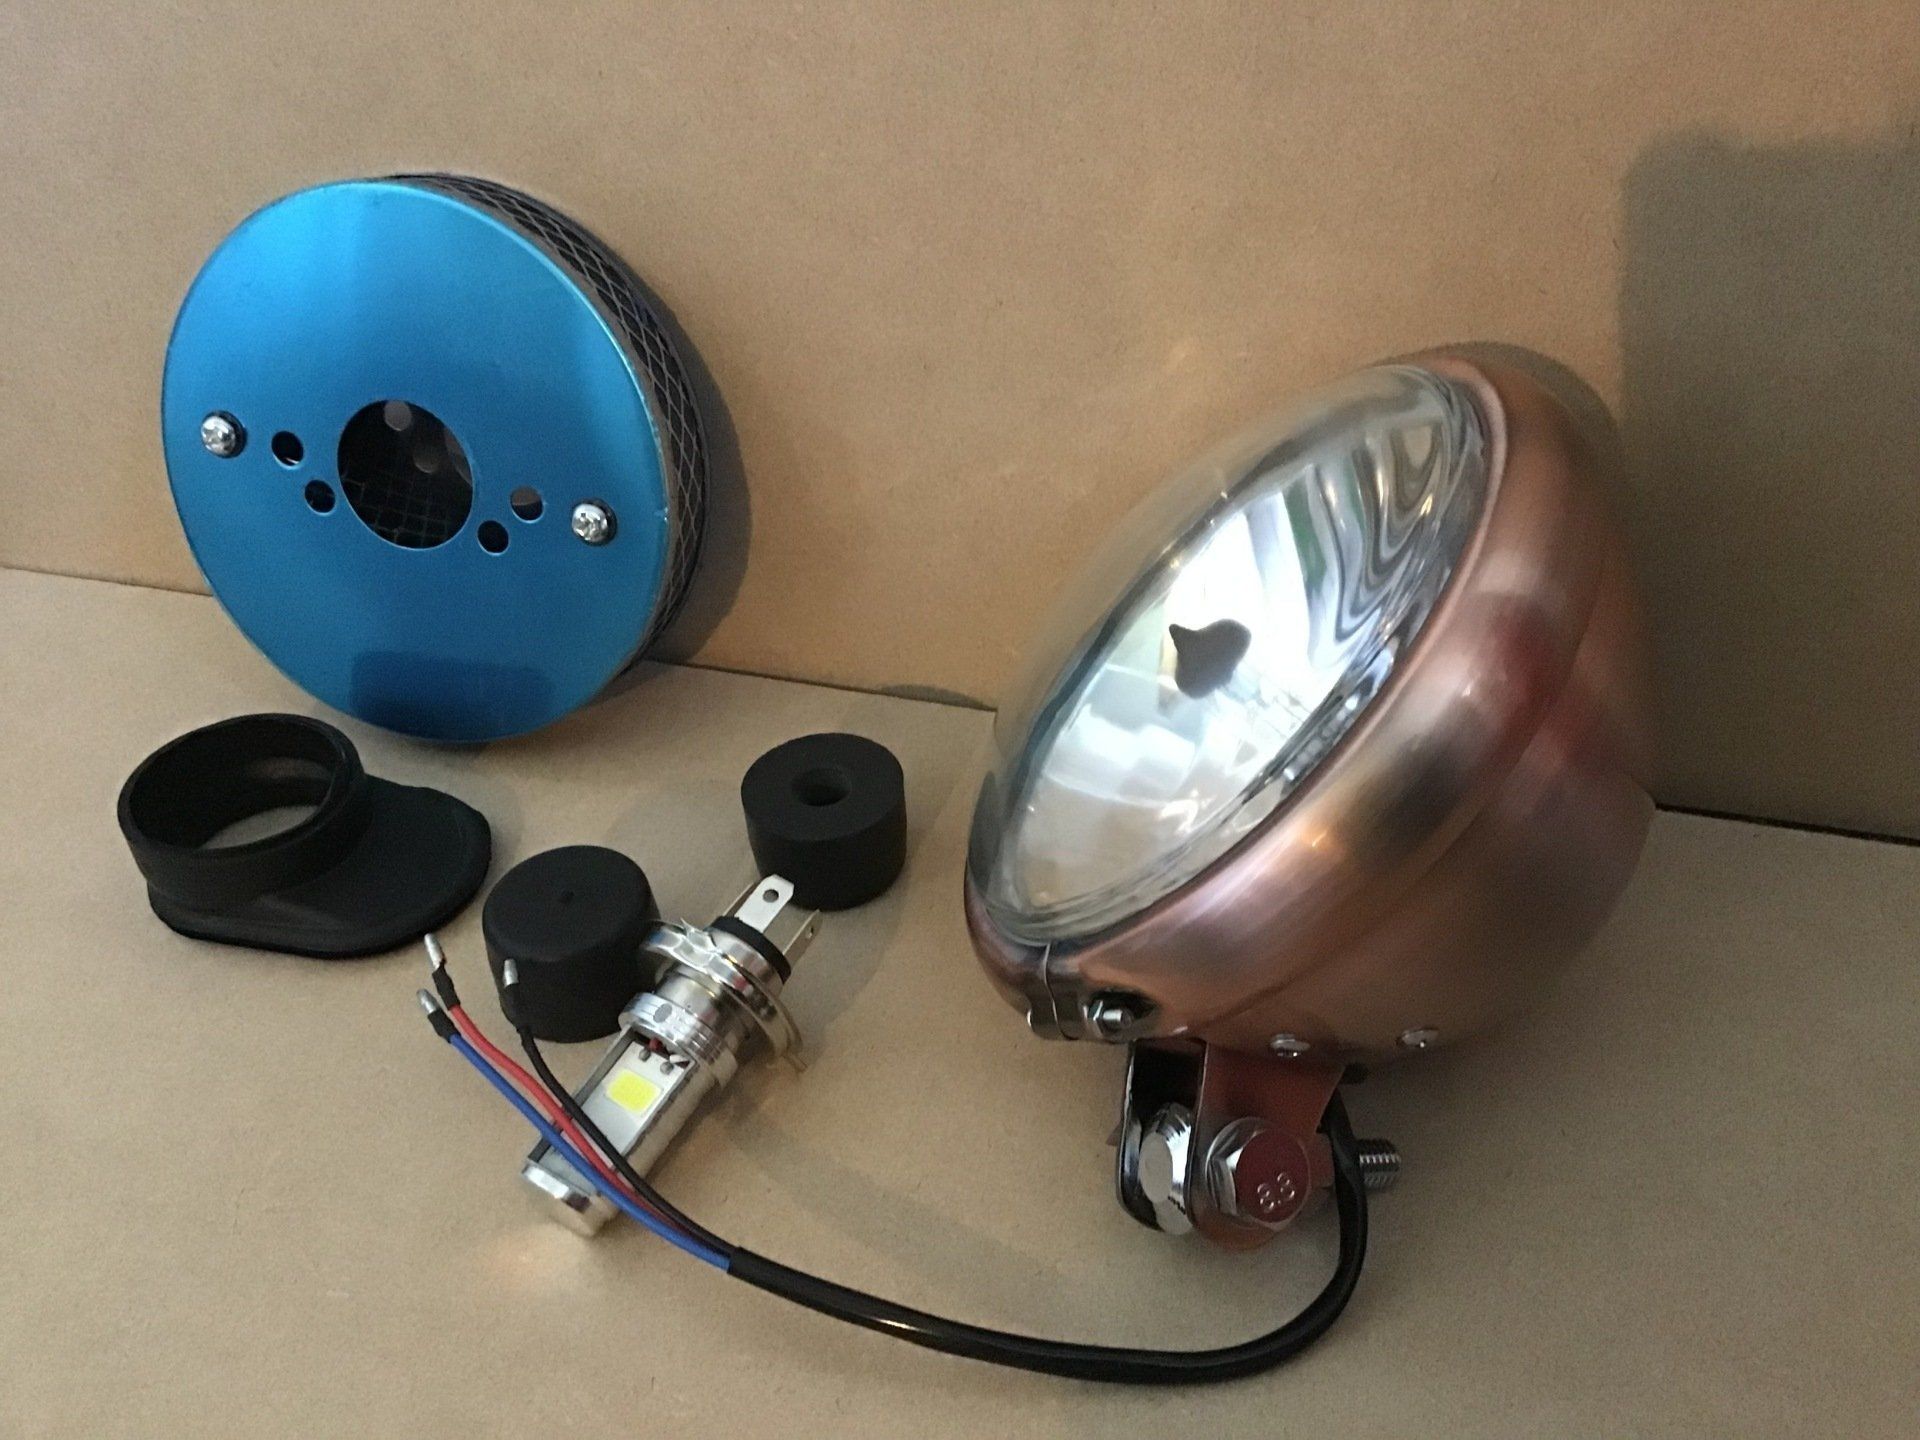
Who doesn't enjoy a little spending spree, especially if it's shiny bits for your bike. Hopefully some of these will solve the 'seeing where you're going in the dark' problem. Others will help with the 'mounting the petrol tank' problem and finally there are a couple of bits that might help with the next bit that I'm working on - the 'locating the air filter' problem.
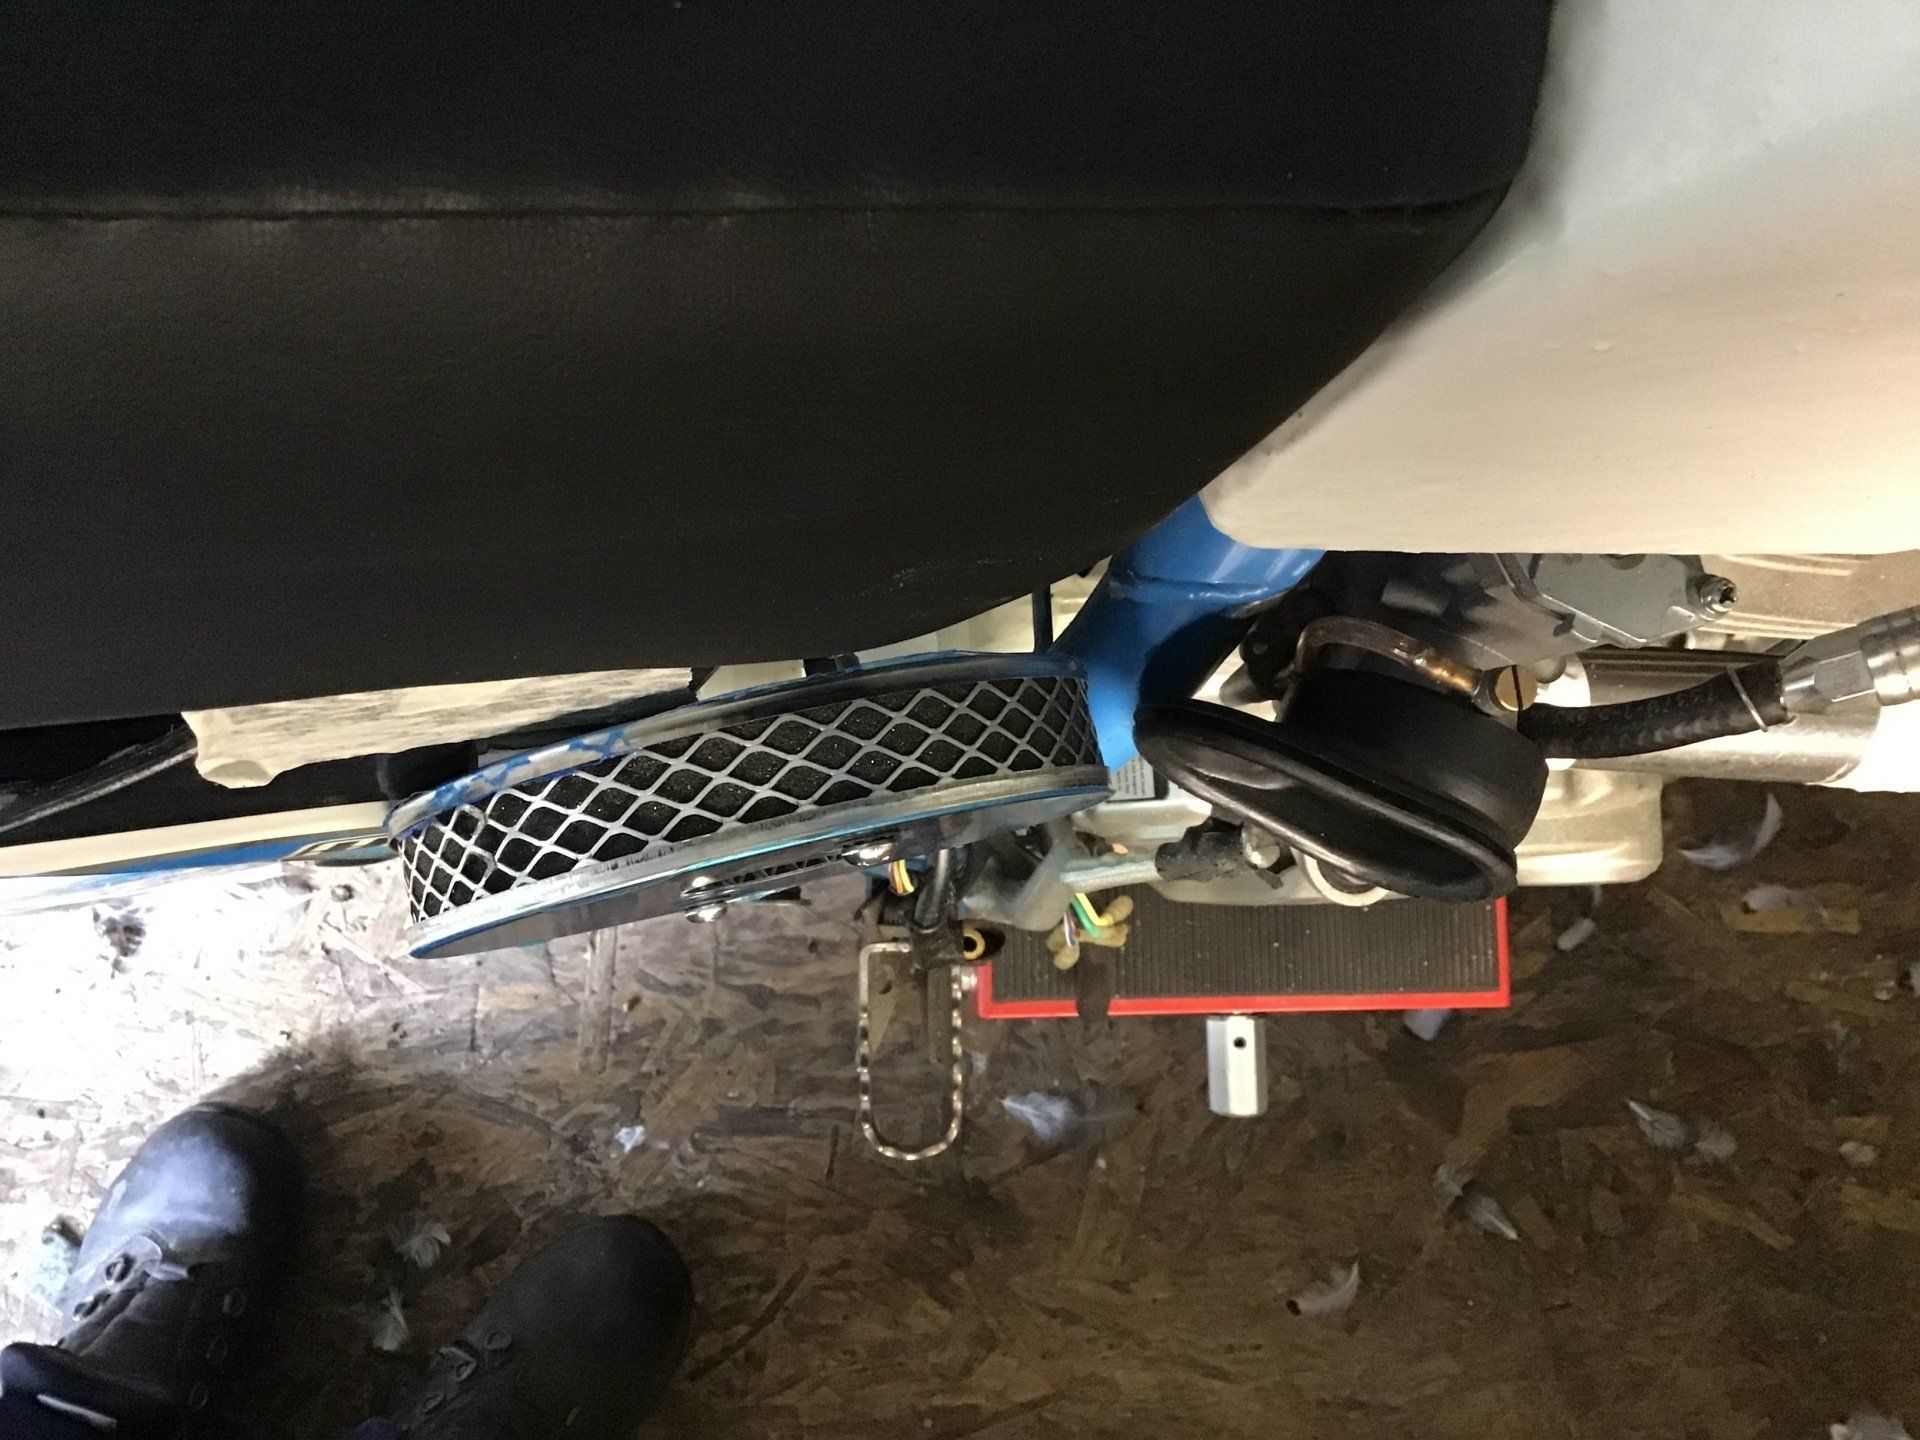
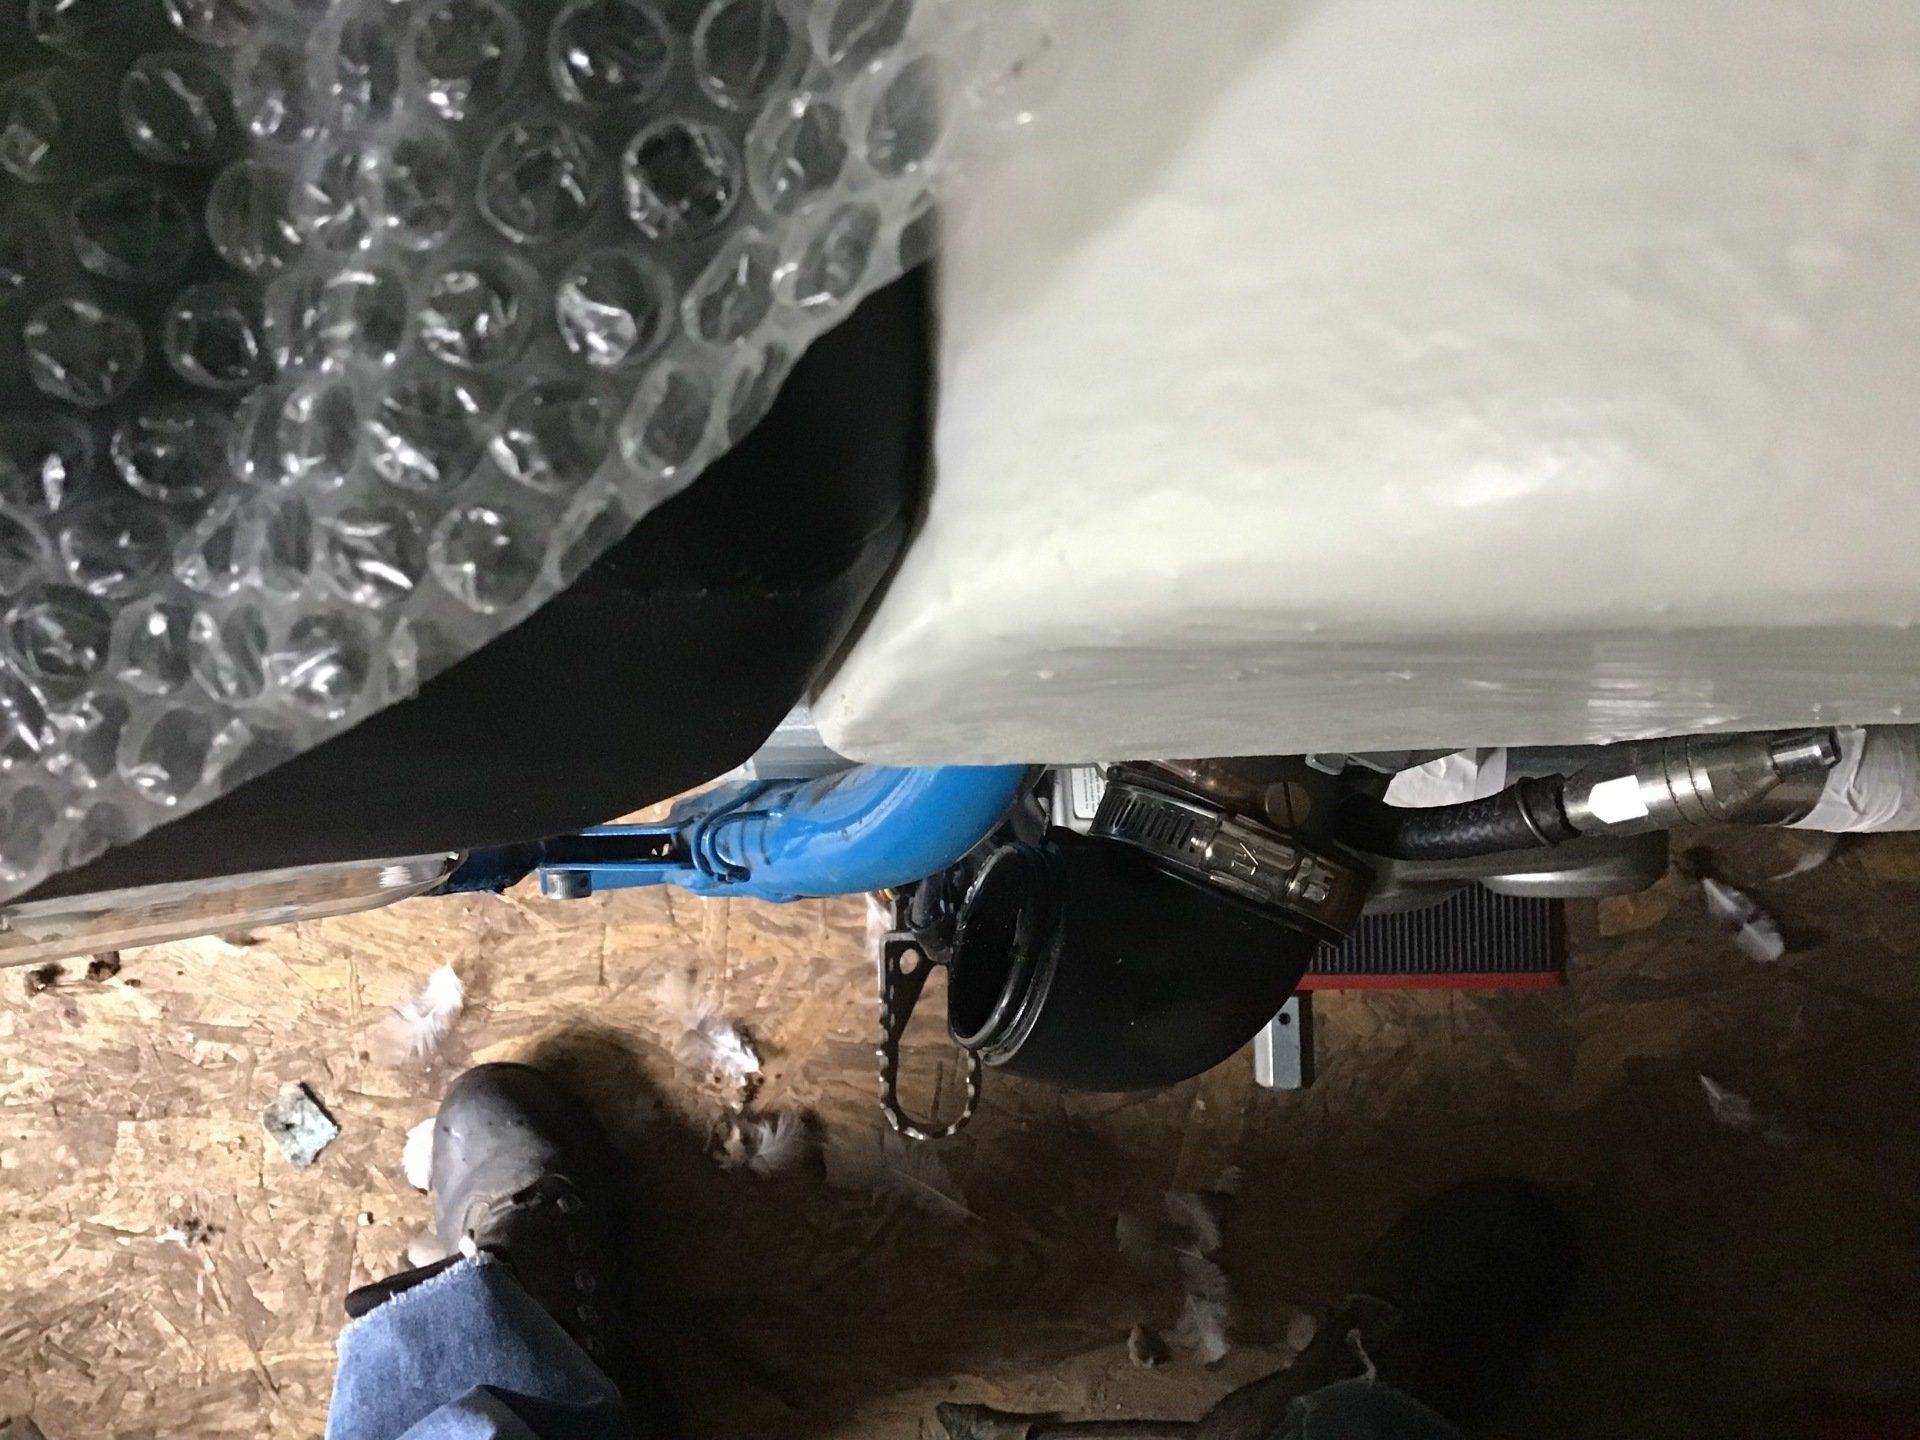
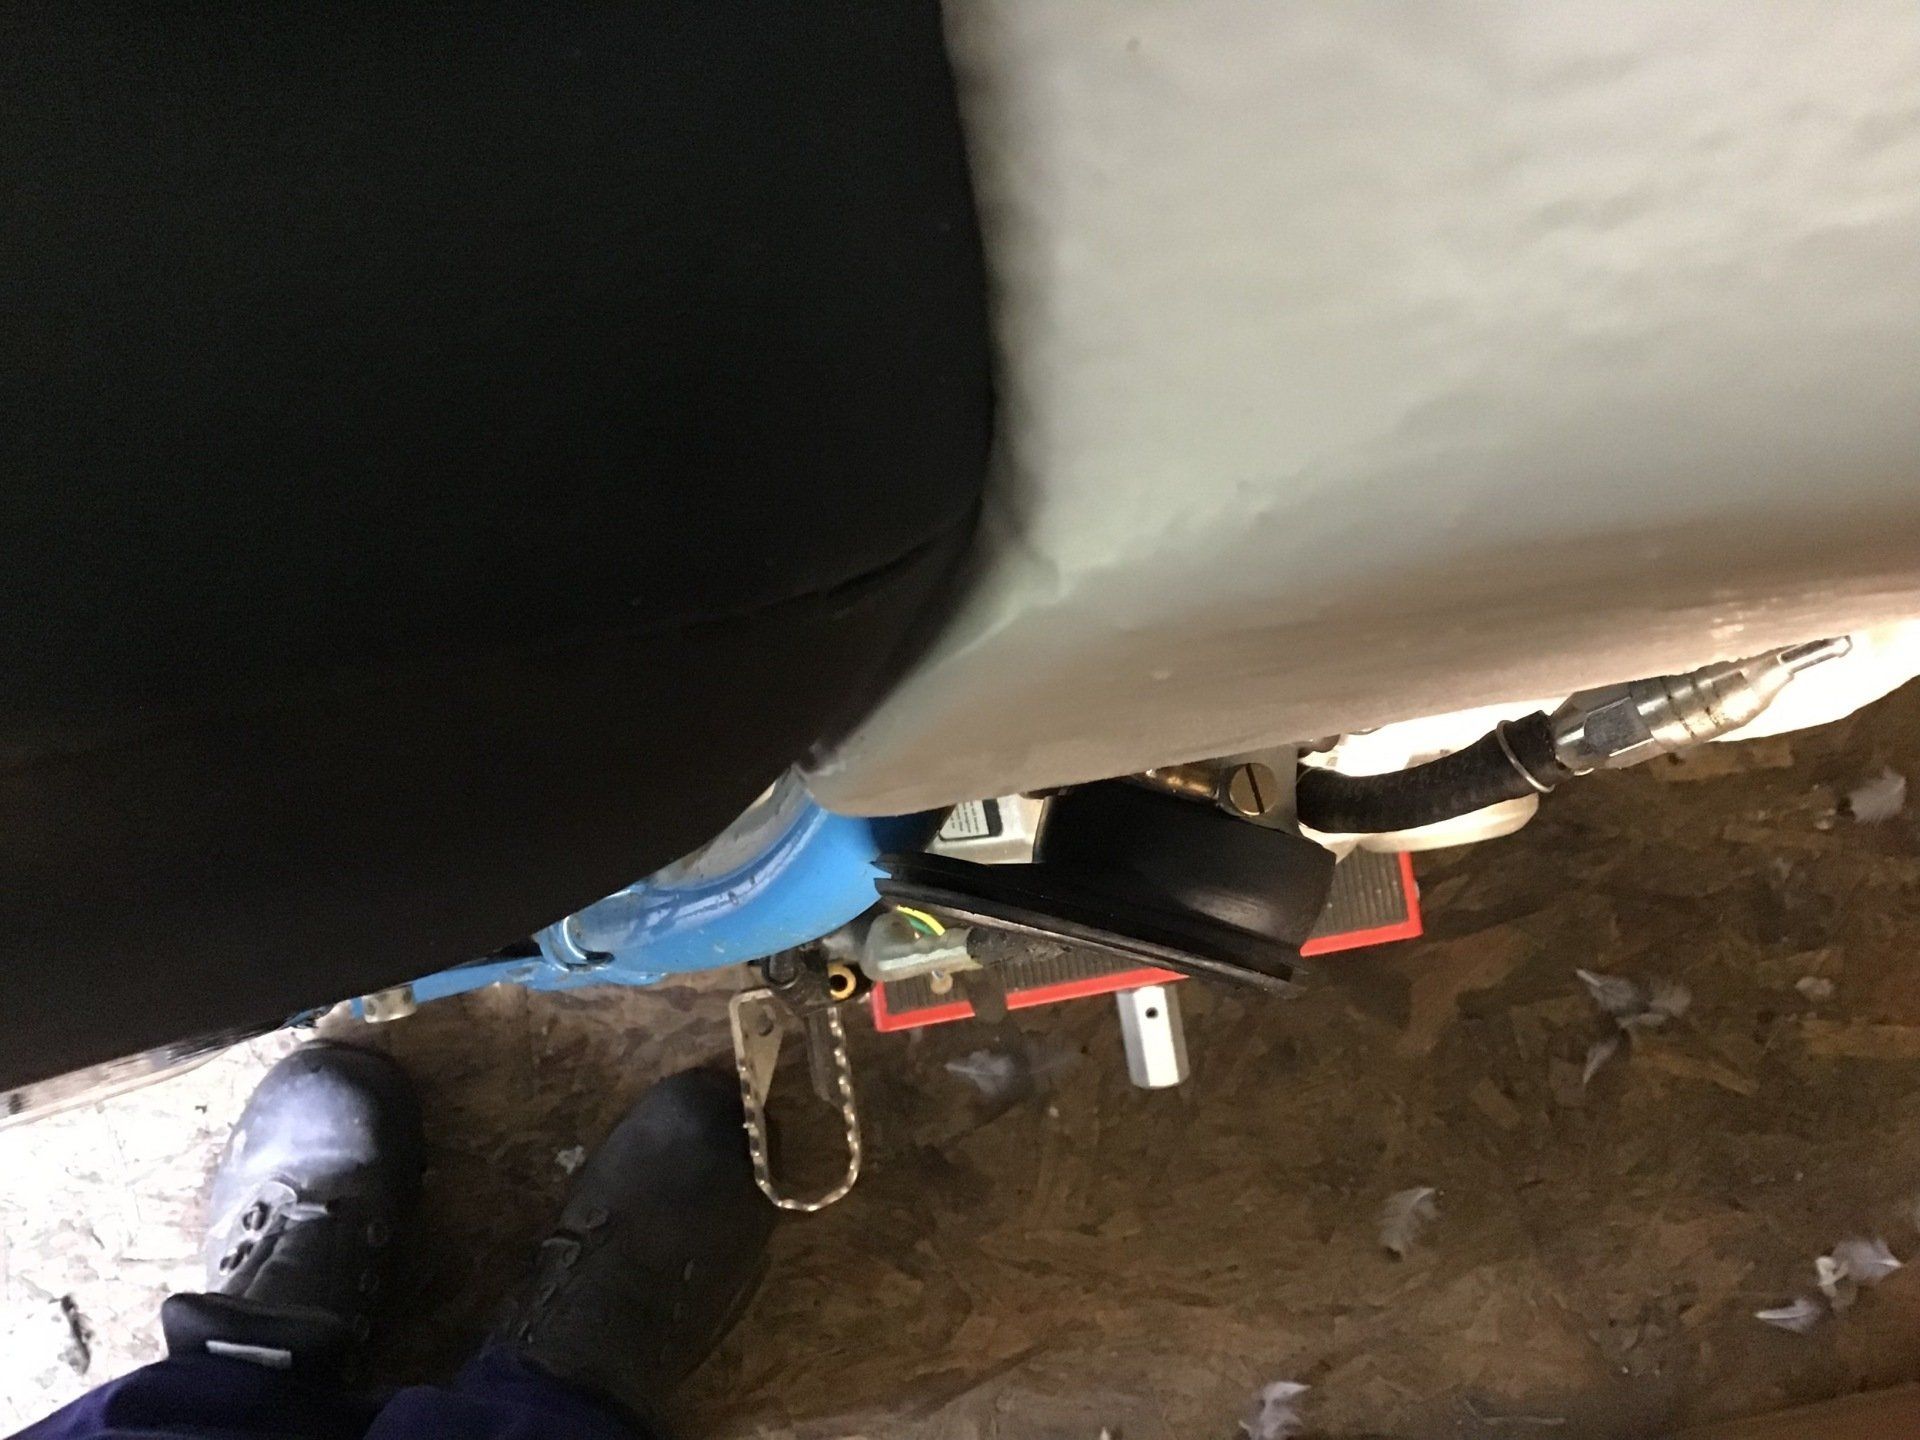
Here's the problem, the carb exits out of the side of the frame (there's no space for it to go anywhere else) and I need to add an air filter without it interfering too much with where the rider's leg is going to be, particularly as on a dirt bike you need to be able to move around on the bike. I've found a couple of potential air boot rubbers that may help solve the problem, this 90 degree version (below) and one originally intended for a BSA A65T (below, below!)
I think this is the one that I'm going to use, paired with a pancake air filter mounted something like this.
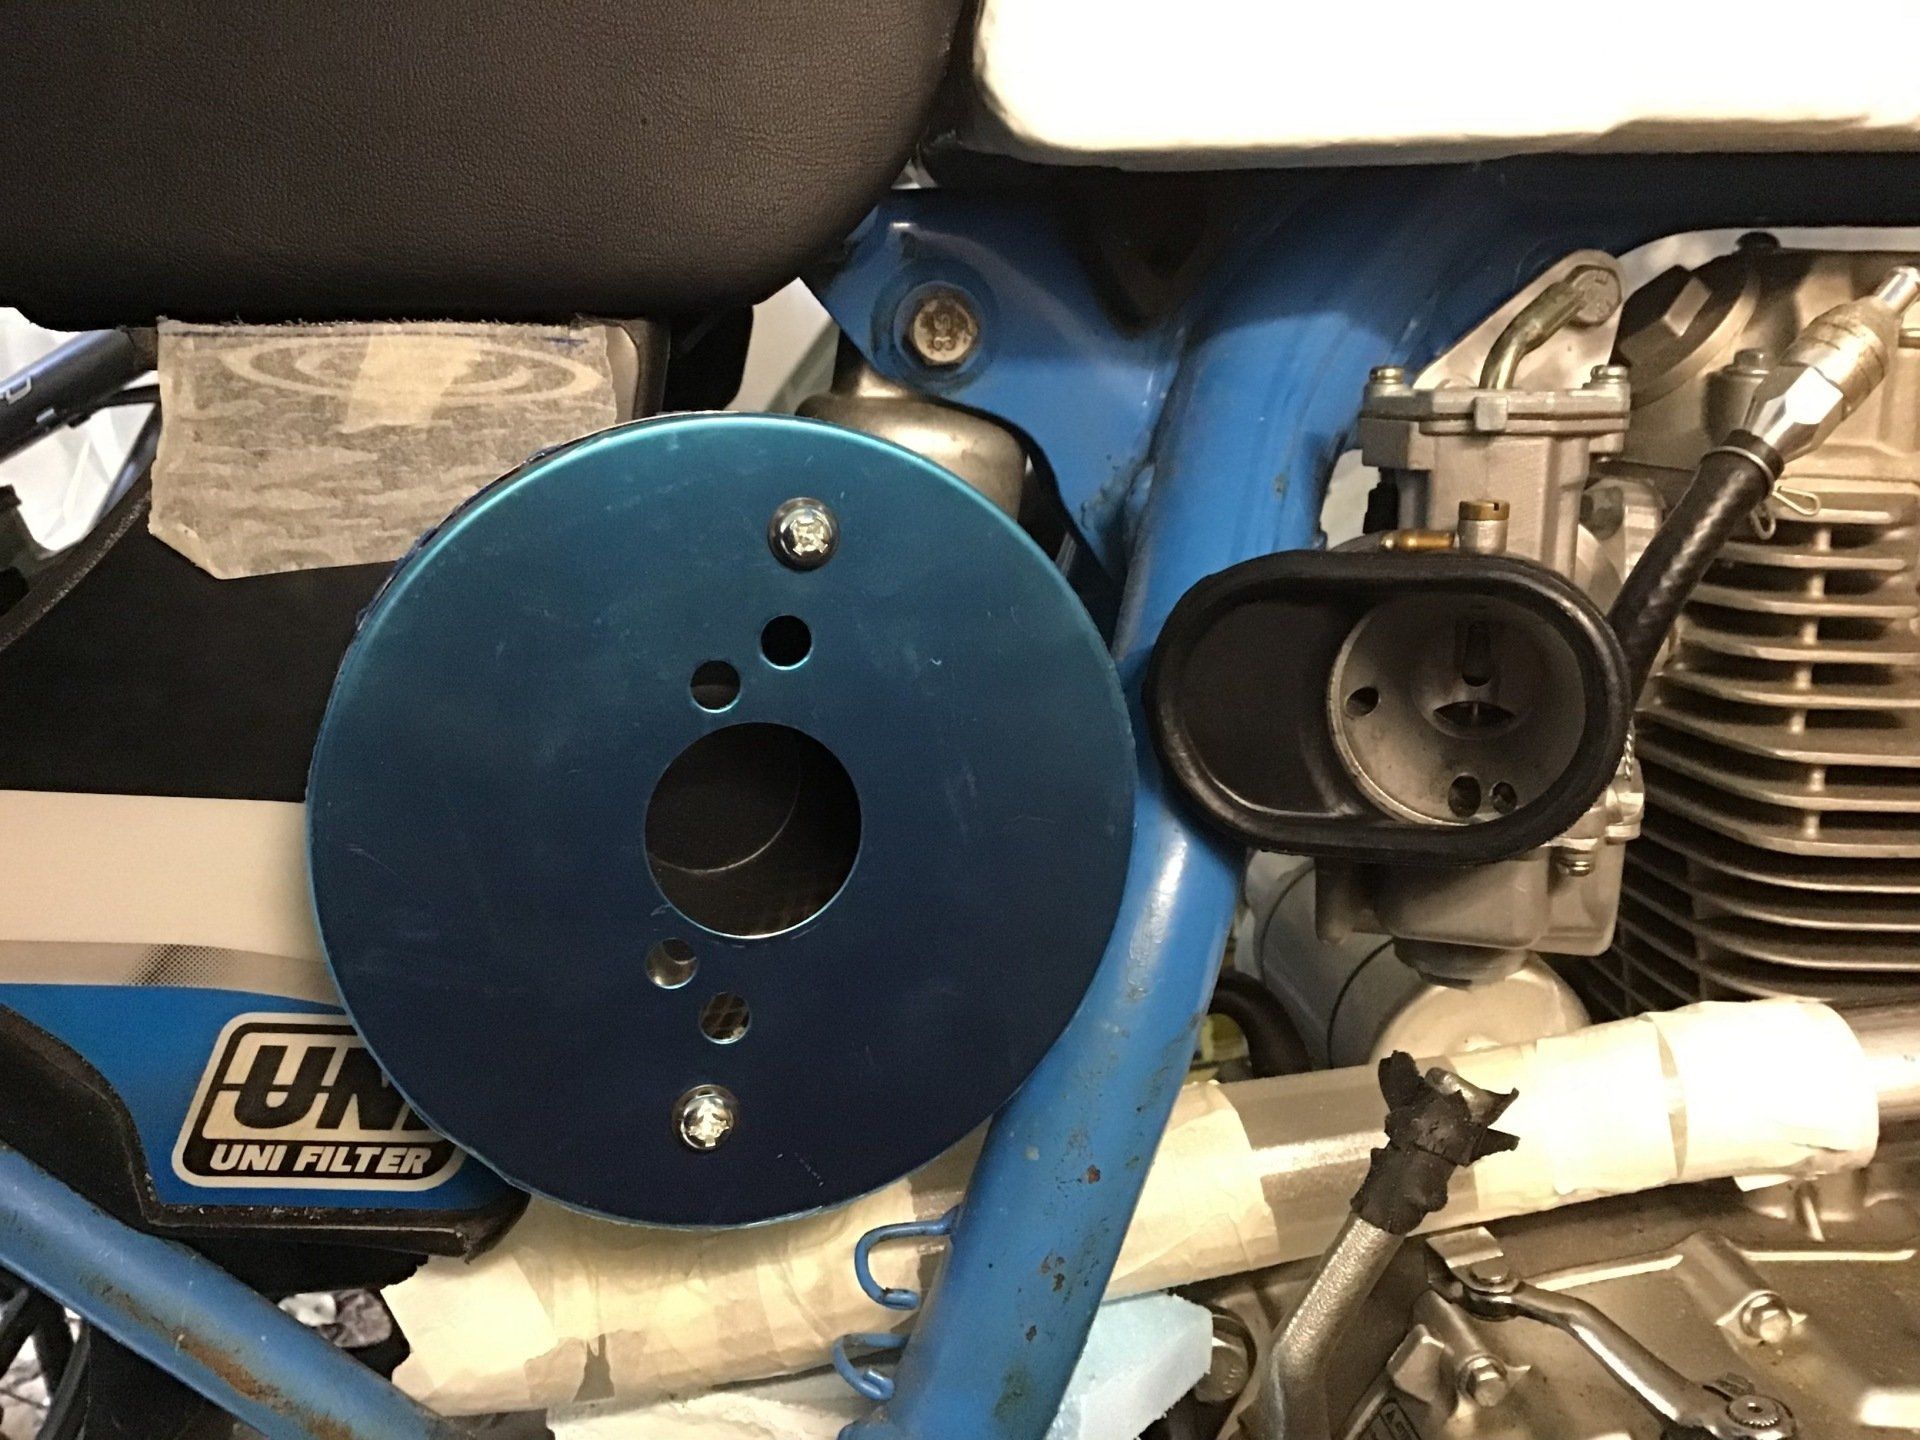
Here's the top view, the filter will be moved back under the seat, and then all I need to do is design something that connects the two bits together...