Monday Articles - November 2021
Scroll down for latest instalment
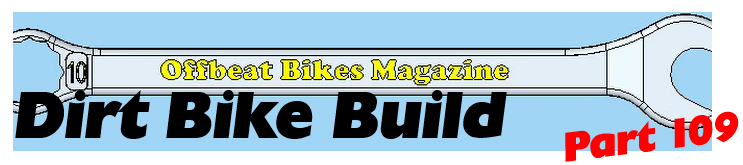
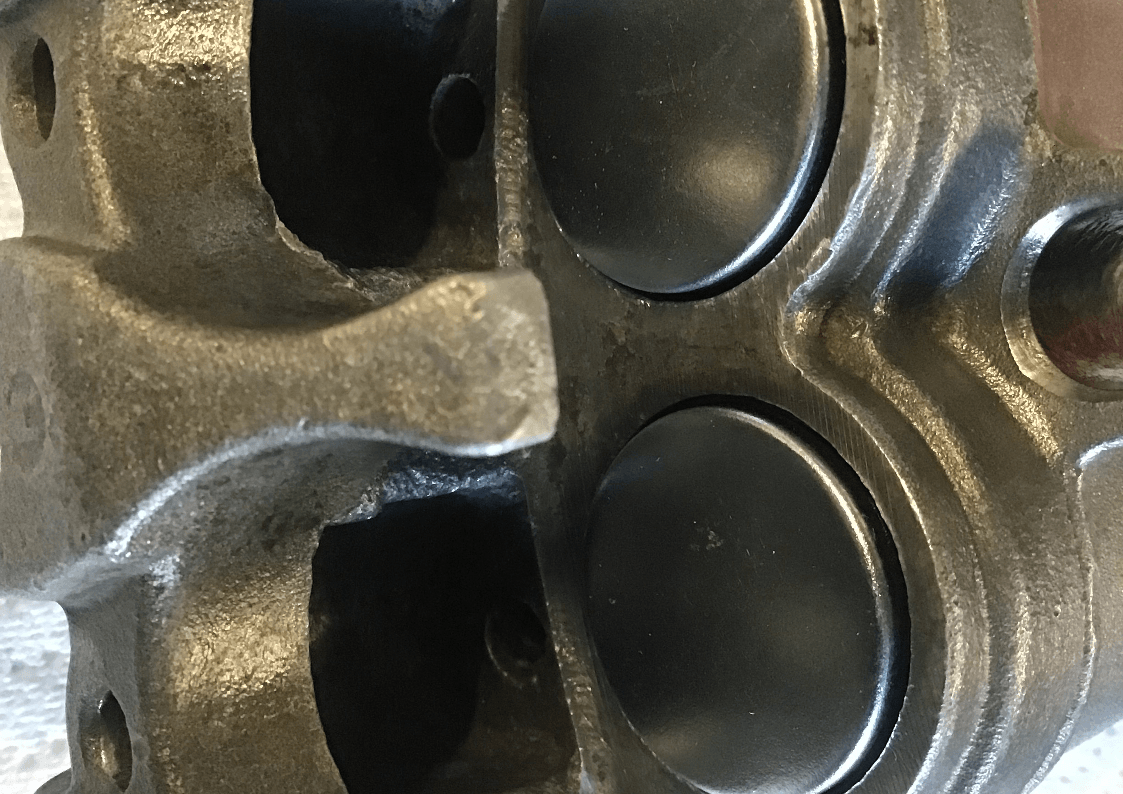
After many hours of cleaning, the caliper is now ready for new seals and pistons.
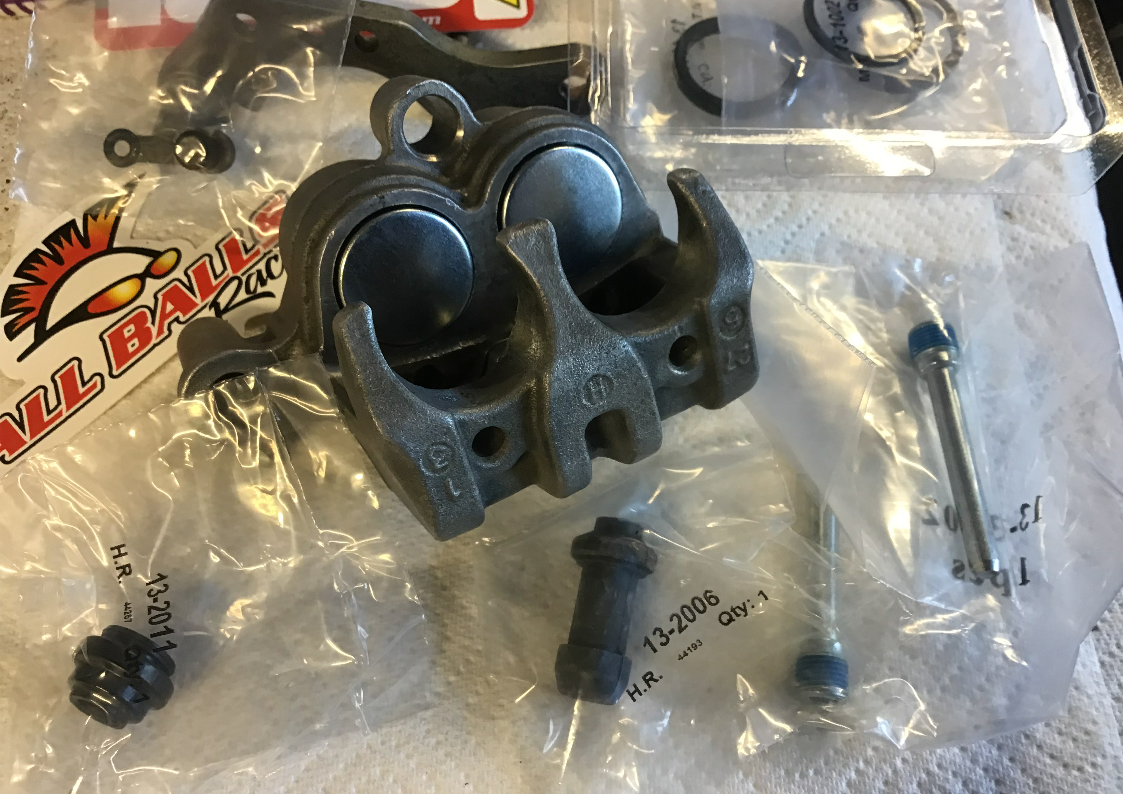
Unlike most seals, brake caliper ones are fairly easy to seat in their respective grooves.
Then the new pistons can be gently pushed in, using brake fluid as a lubricant.
An All Balls kit provided the remaining rubber sleeves that needed replacement and some new pad retaining pins.
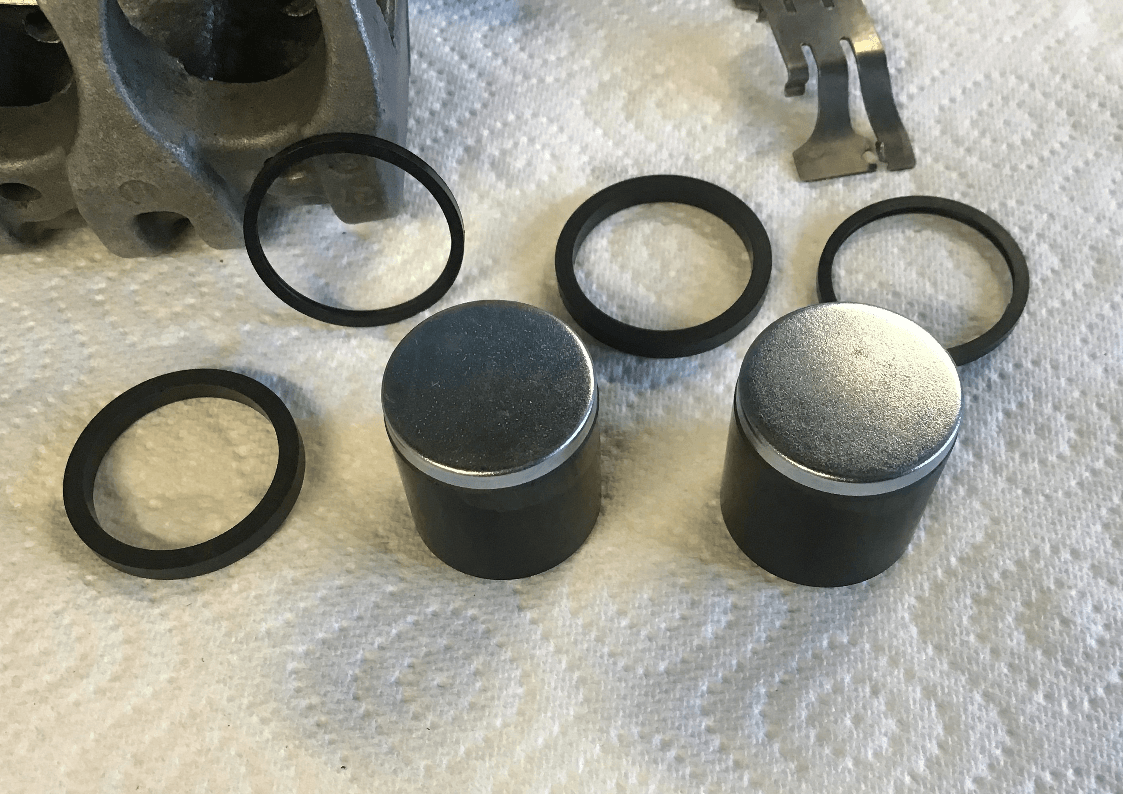
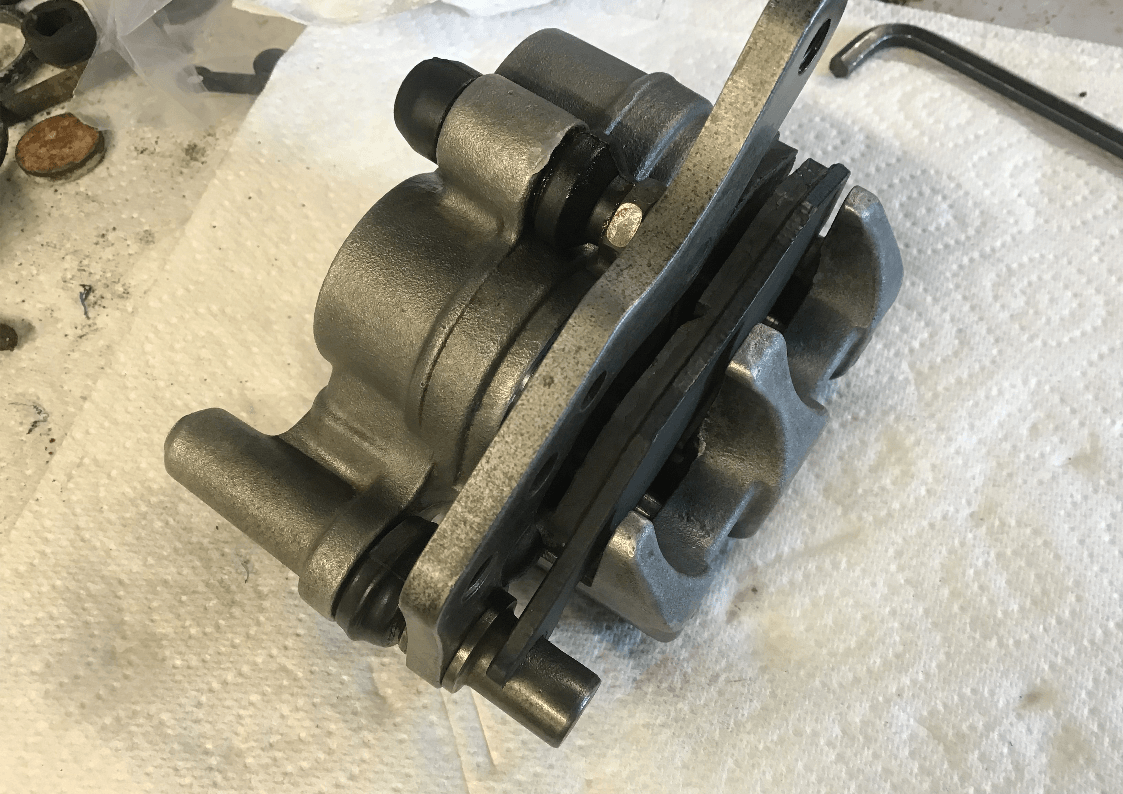
The rubbery bits put up a bit of a fight, but we got there in the end. The bracket then went back on, followed by pads and pins, and voila, caliper is ready to go again.
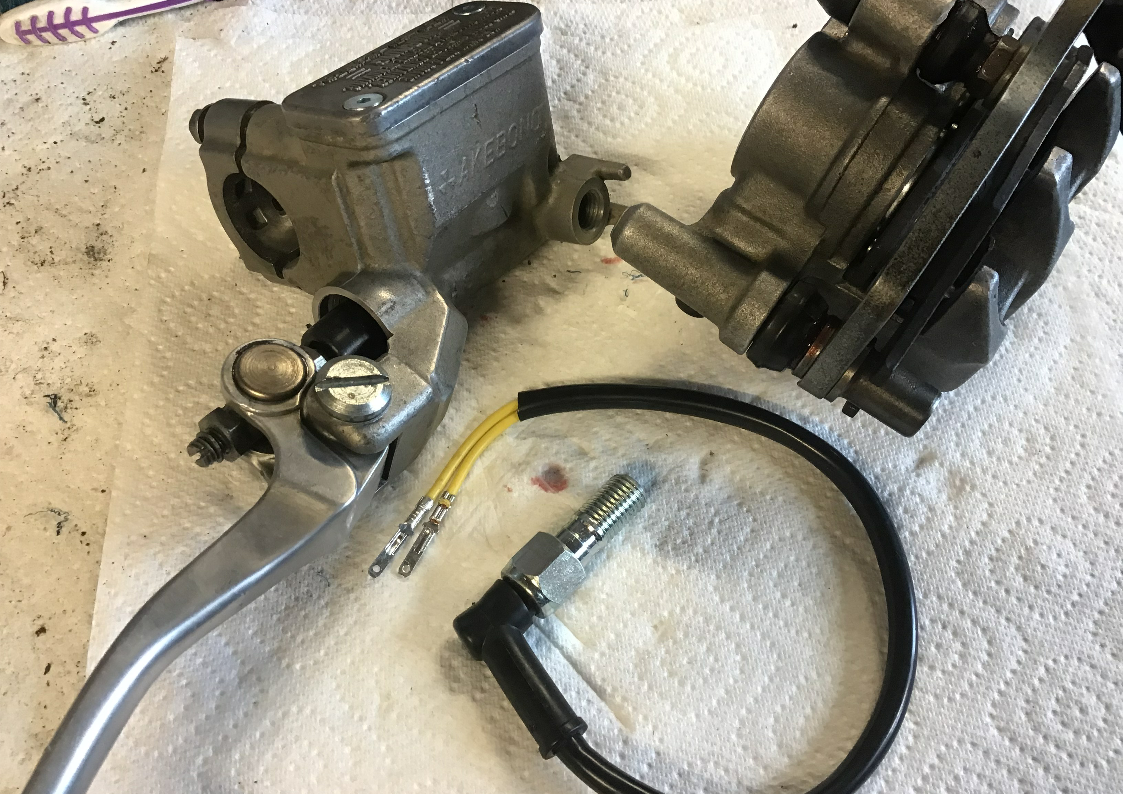
Master cylinder has had a good clean. Seals in this looked okay, so they haven’t been changed, yet… For road use, brake light switches are needed. As the YZ had no previous provision for these, I’m going to try these integrated banjo bolt switchy things.
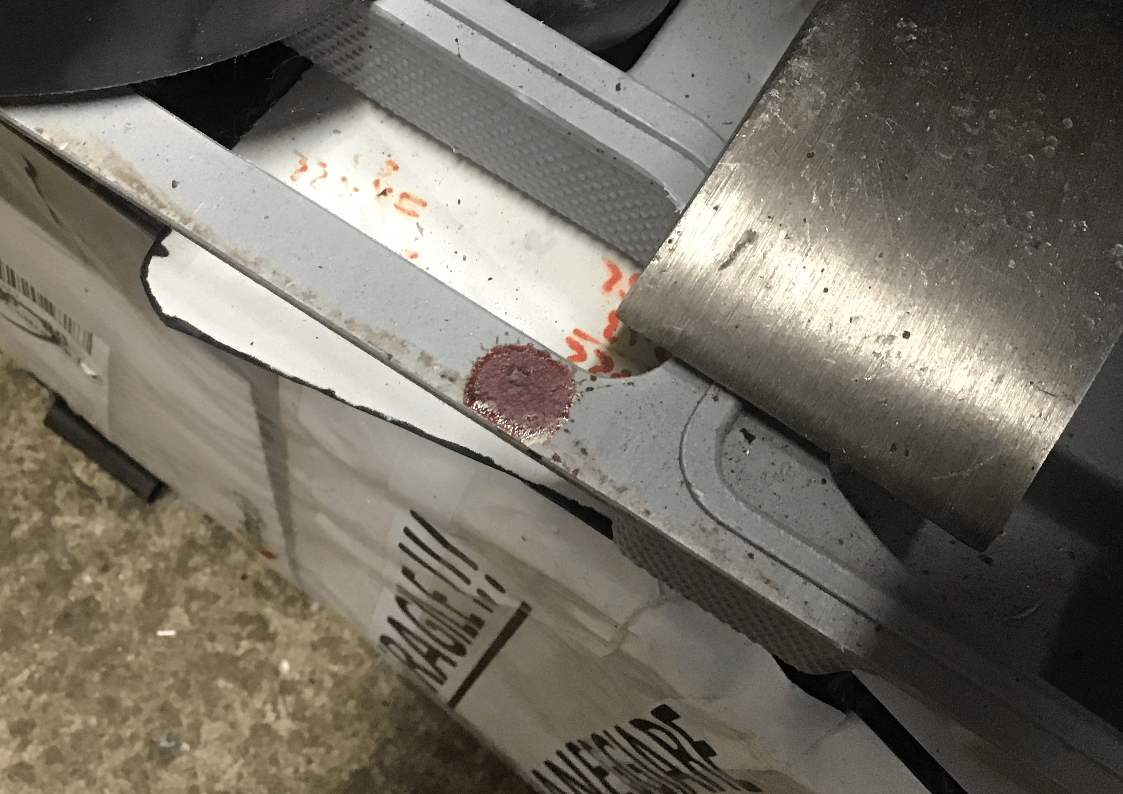
All that remains is to connect them back to the brake hose. The YZ hose may now be too long as the suspension has been lowered, but I’ll try it first just to see. The YZ hose is a braided one, with a thick plastic protective sheath over the top. The sheath looks a bit tired, so I decided to remove it by carefully scoring part way through and then splitting it apart using a pointy screw driver. This worked well until the screwdriver slipped and ended up embedded in my finger. Usually cuts inflicted in the garage are cured by wrapping them in paper towel secured in place by masking tape. This one was beyond that, requiring a bit more in the way of first aid. It seems that I spread the claret quite liberally around the garage, I still keep finding splashes that I missed!