Monday Articles - October 2021
Scroll down for latest instalment

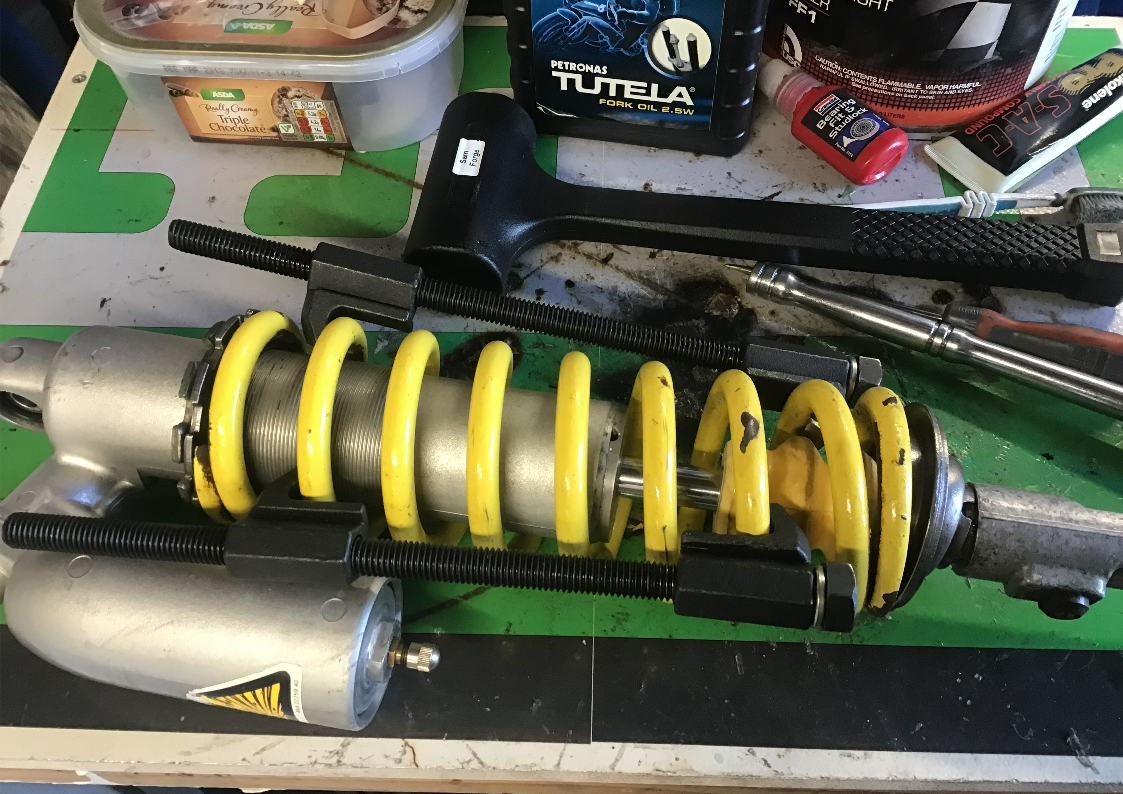
With the tank lined, the wiring (partially) sorted and the engine actually running, I’m very keen to get it to a stage where I can take it for a little spin in the garden. To do that, I need to sort the suspension. If you’ve not read from the start of the project, you may not realise that I’m not blessed with long legs, and so the suspension has been lowered (front and rear) by 75mm. This has been achieved by adding spacers to the damper rods. As I wasn’t sure that I’d got the spacer lengths right, the suspension was temporarily built back up without any oil. That temporarily stretched to years, but now, finally, I’m going to add the oil. I find working on suspension very messy and a little stressful, so I didn’t stop to take too many photos, but here goes…
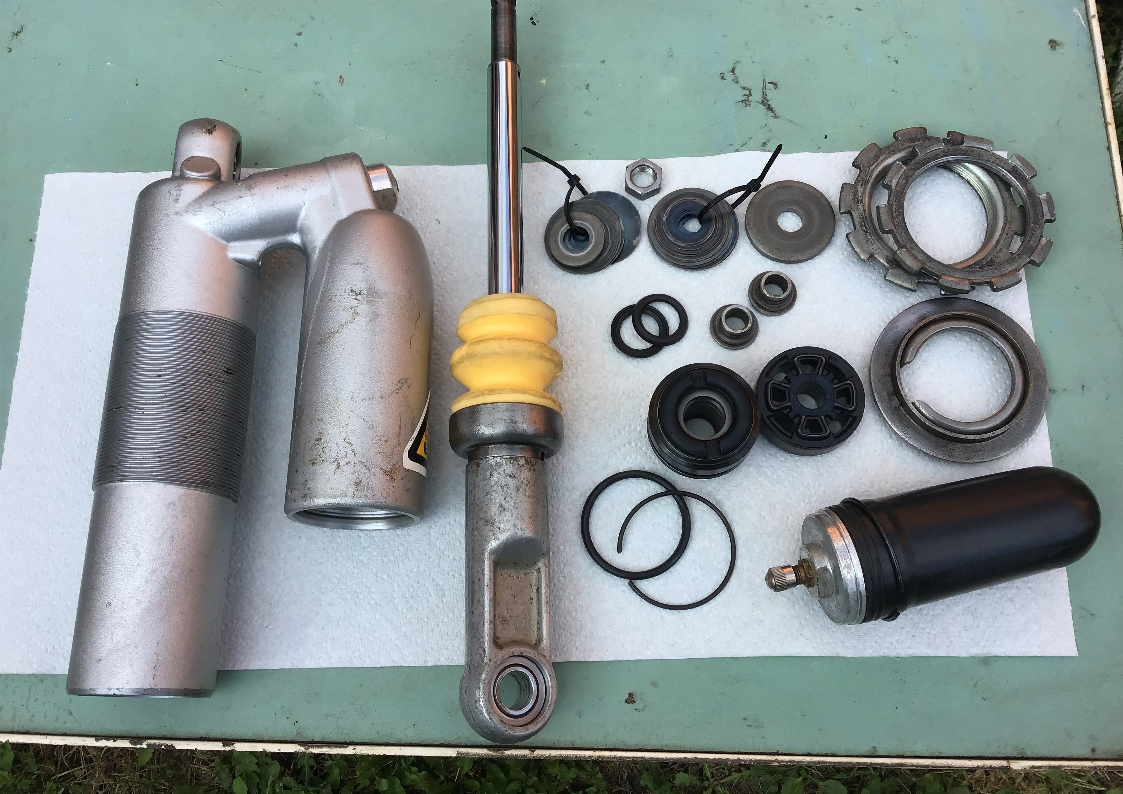
First off, here is the shock all dismantled (apart from the lowering spacer which I forgot to add to the picture). There are some really useful videos on the Racetech Suspension Youtube channel. Paul Thede, the boss of Racespec, has also written a very good suspension book if you prefer words to video. You can also find quite a lot of information from Racetech’s website. Those resources will hopefully make up for the lack of detailed description that you’re going to get here!
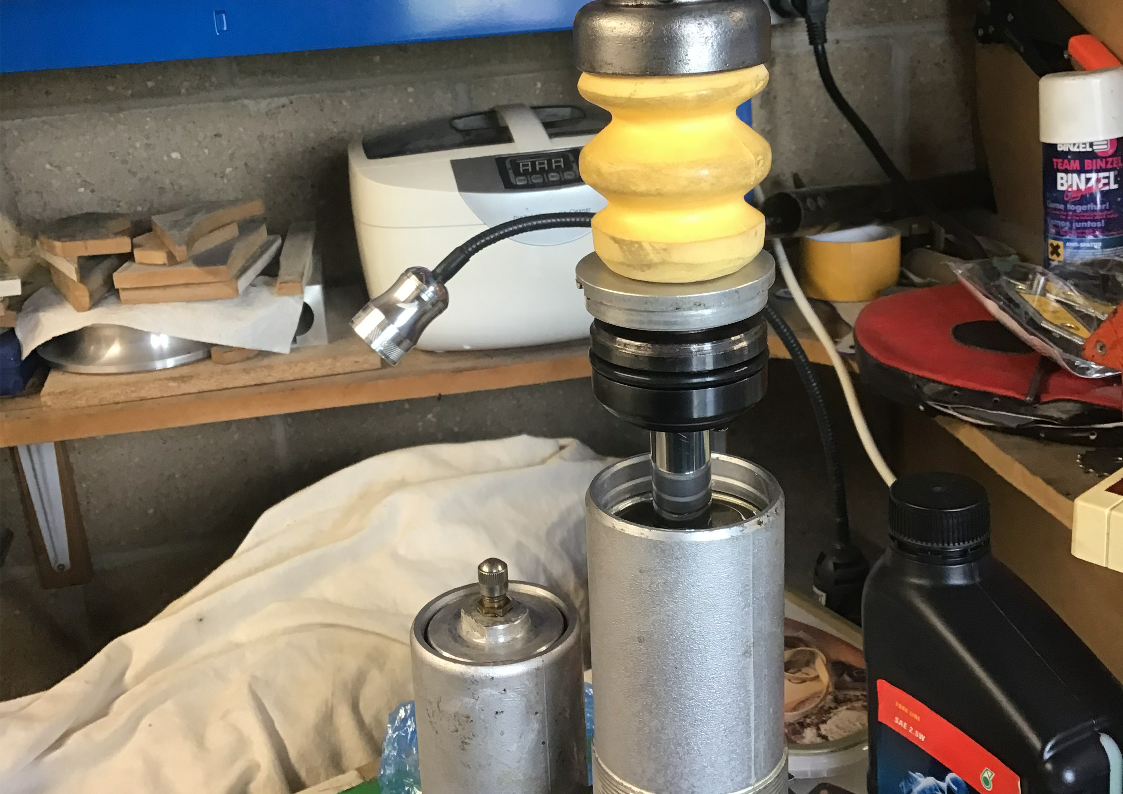
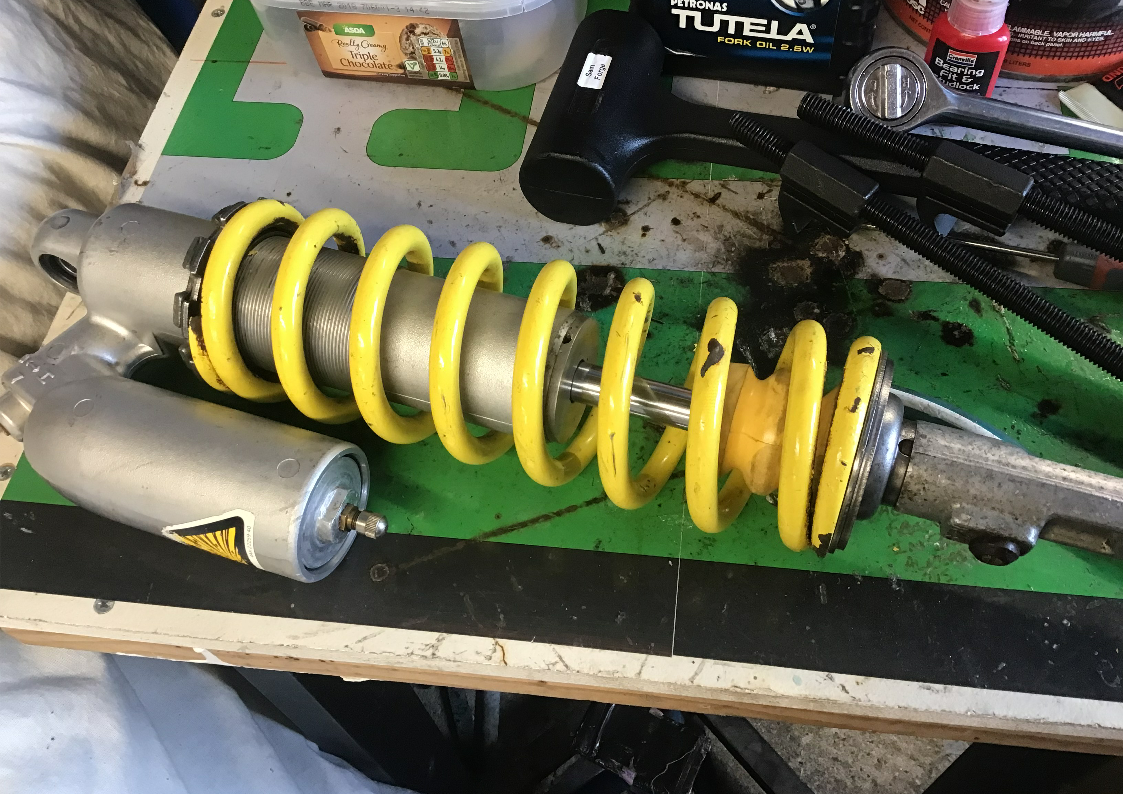
And after a fair bit of work (of which I neglected to take pictures) here we are adding the oil and bleeding the shock.
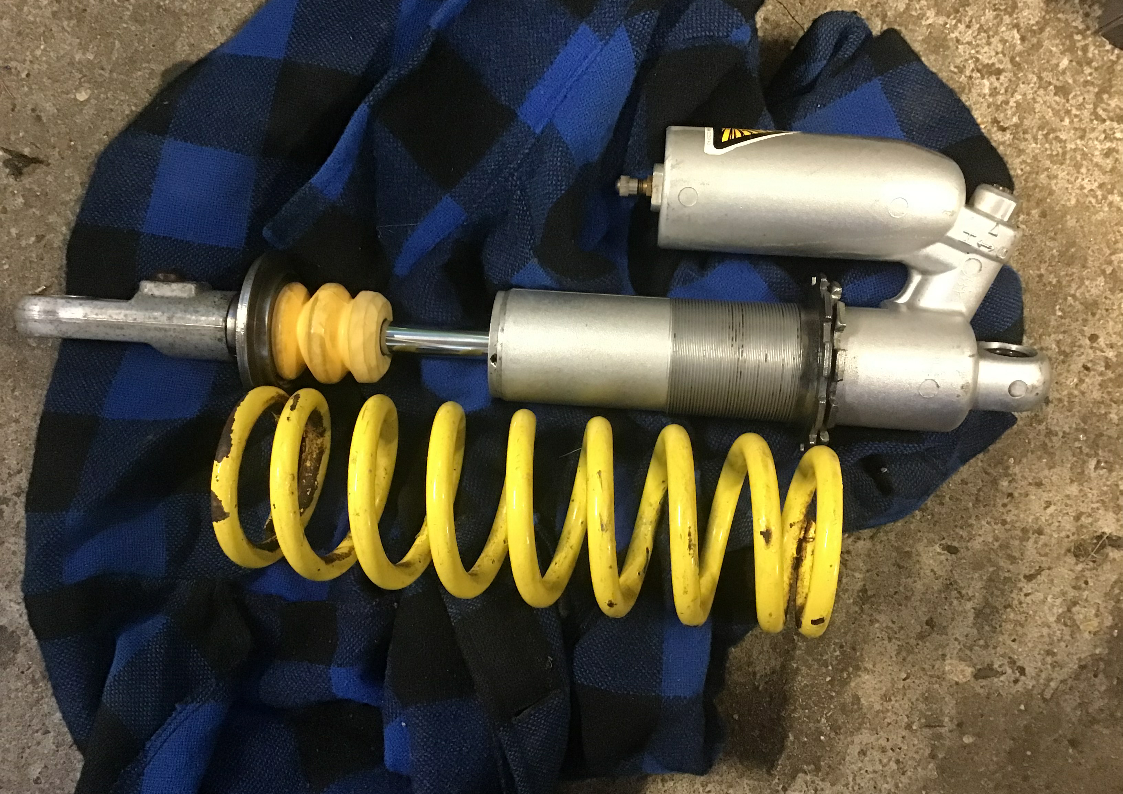
And it’s all back together - apart from the spring. At the moment the bladder is filled (courtesy of a bicycle shock pump) with air. Eventually, it’ll get the specified nitrogen. But for the moment, air will do. Because the shock has been shortened, the spring no longer fits between the spring seats even with the pre-load adjusters wound all the way out. This could be rectified with a new spring, or by a little shortening of the old spring. Shortening the old spring will also alter the spring rate (it’ll make it stiffer). As yet, I don’t really know what spring rate I’ll want, so to start with I’m going to put the old spring back on using spring compressors to temporarily squeeze it short enough to fit.
Here are the spring compressors doing their job. I bought the cheapest I could find around £12. The hook ends were a little long and required shortening to stop them hitting the shock body - hacksaw and angle grinder soon sorted that.
It’s done and ready to re-fit, which means that I now need to do the front and once again, I didn’t take many pics…
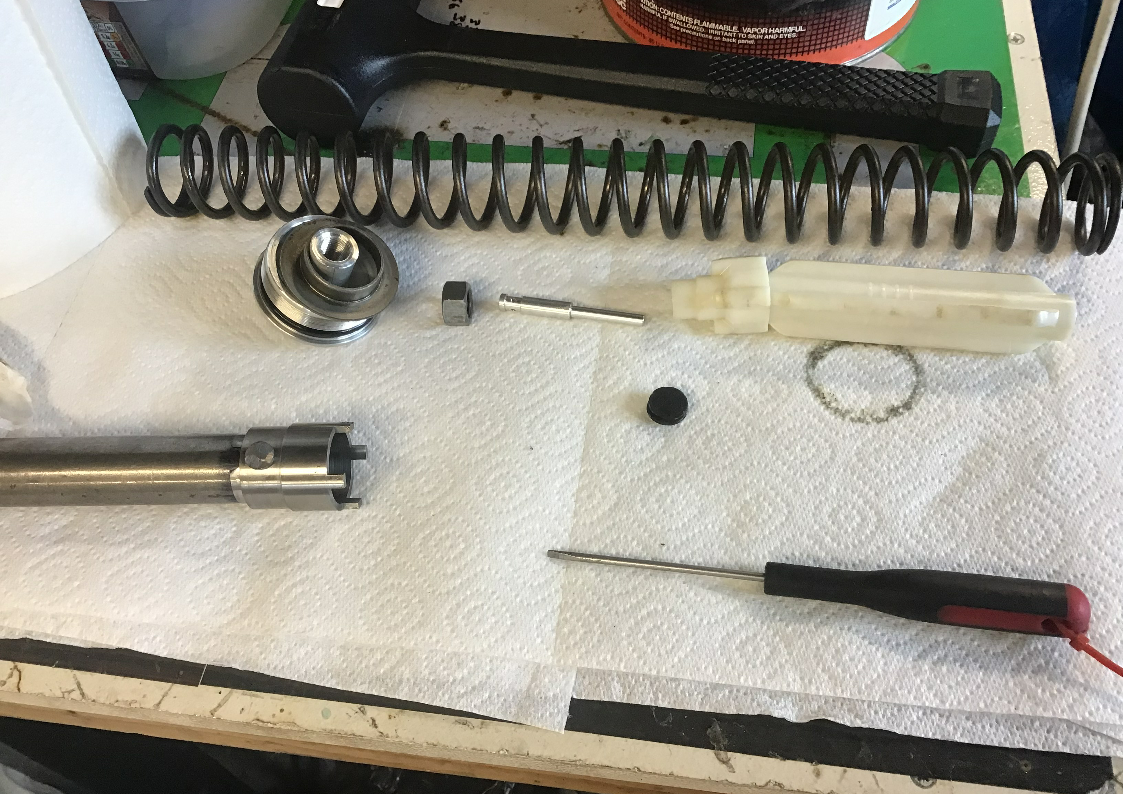
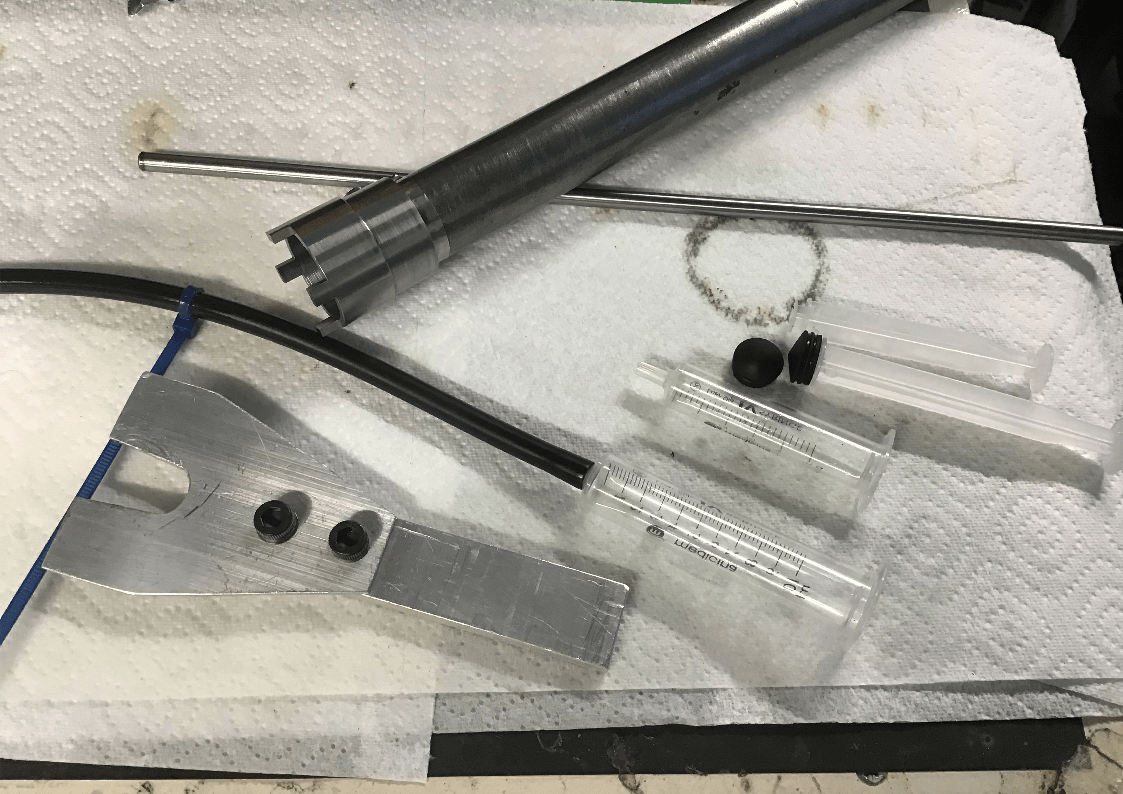
First job is to take out the spring, spring guides etc. as the oil level in the forks is measured with these removed. Because I couldn’t remember if I’d correctly tightened the base valve, I also needed to find the damper rod holder that I’d fabricated many years ago - it’s basically a tube with 4 prongs on the end. With the aid of that, the base valve was correctly torqued and it’s time to add the oil.
As usual, I managed to spill it!
Alongside the damper rod holder, there are a few other simple tools that help get the forks back together. That crude V shaped chap holds the damper rod, and stops it disappearing back down through the spring when you’re trying to put the fork cap back on. The syringes are very useful when it comes to setting the oil level in the fork.
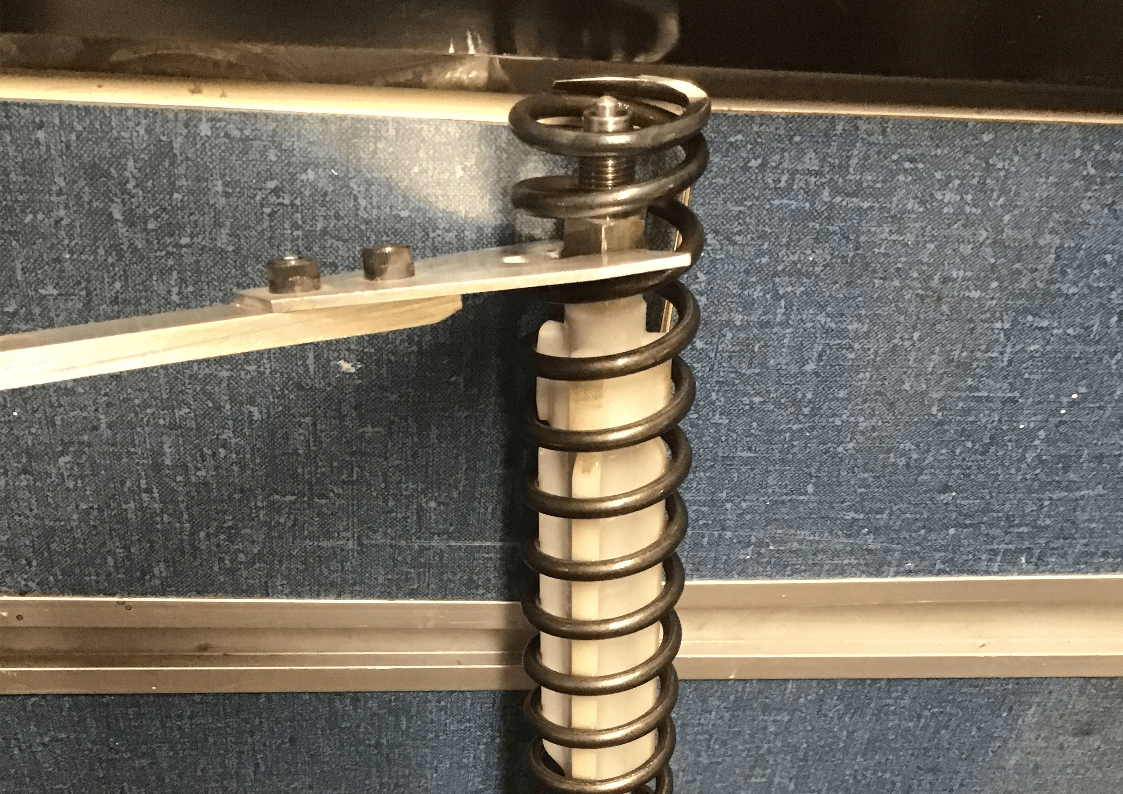
Here’s that V shaped tool in action. I slip it under the top nut and then turn the spring like a gigantic screw to lift the damper rod up high enough for the spring seat and fork top to go back on. Once again, as the suspension travel has been shortened, the springs are too long. In this case I’ve already shortened them a little (and consequently made them stiffer) because otherwise there was no way that I was ever going to be able to compress the springs enough to allow me to get the fork cap back on.
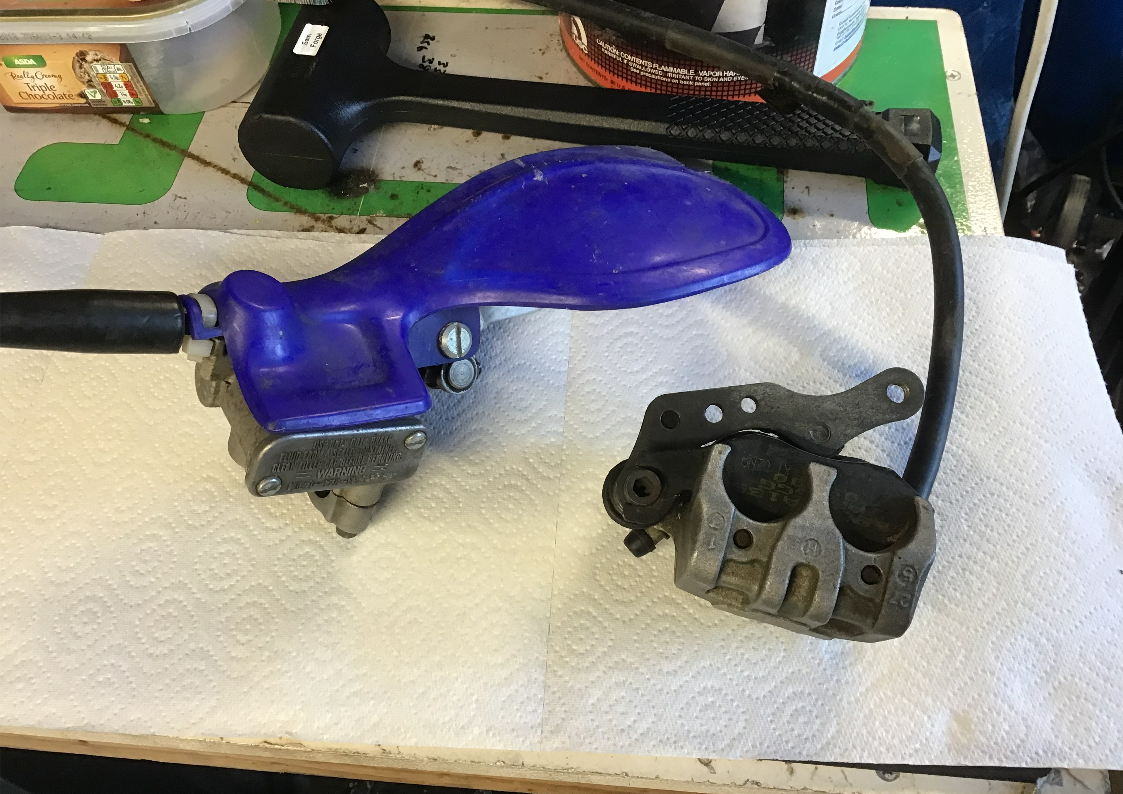
Once the fork caps were back on, the adjusters were set to standard position and the suspension refitted to the bike. I need to get an assistant and a tape measure to measure the suspension sag and alter the pre-load as required. I’m not too fussed about setting up the suspension yet. I just want to take it for a little ride, but before I do that, I’d also like to fit the brakes so that I can stop as well as go. That’s the next item on the agenda and I already know that the pistons are seized in the caliper...
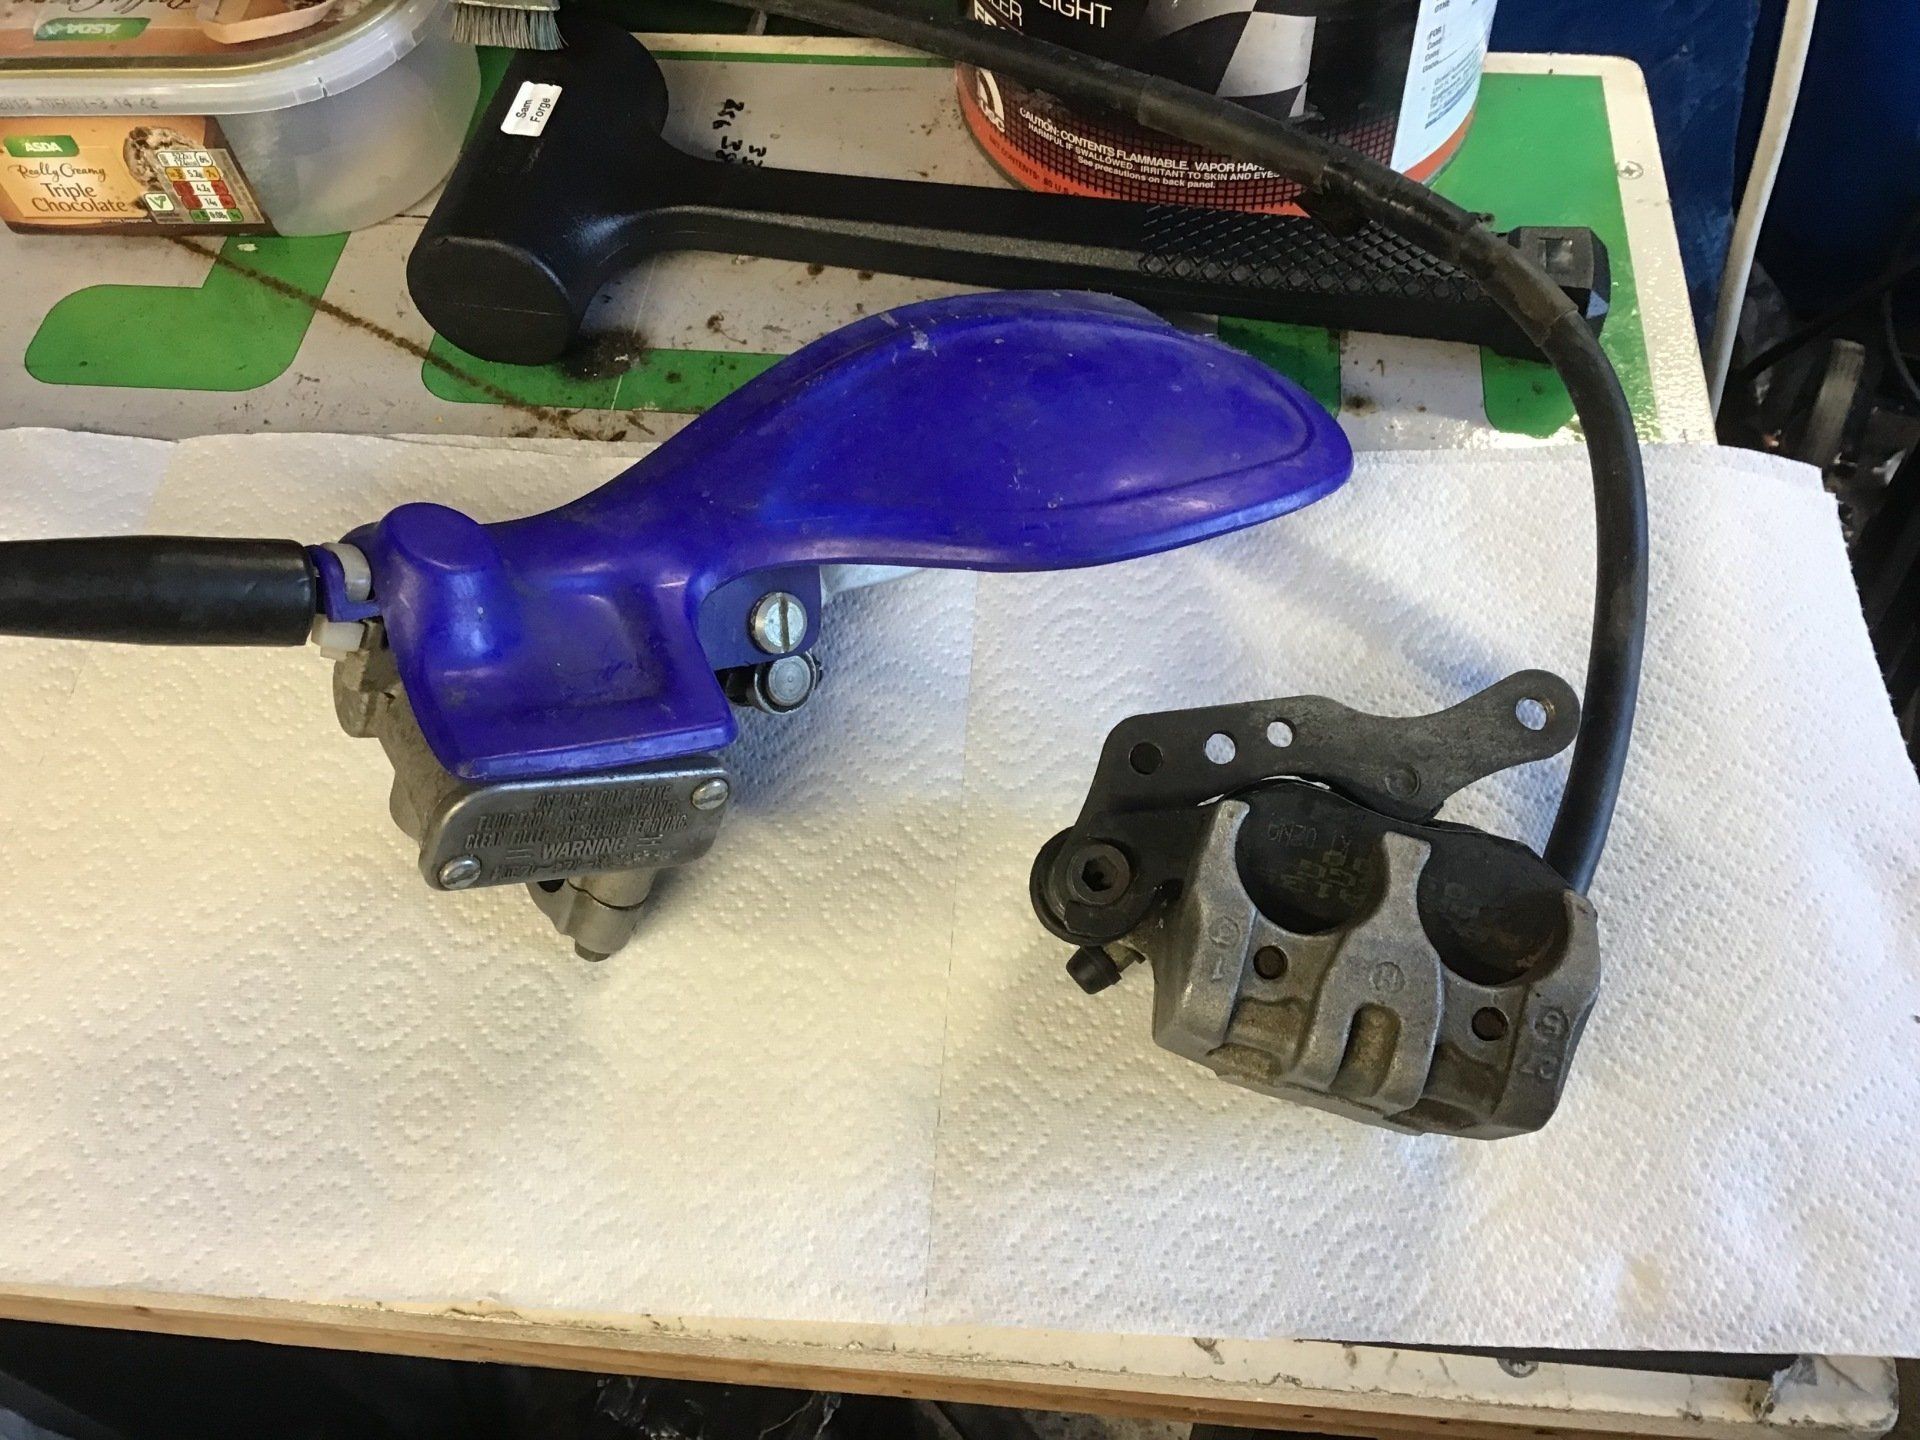
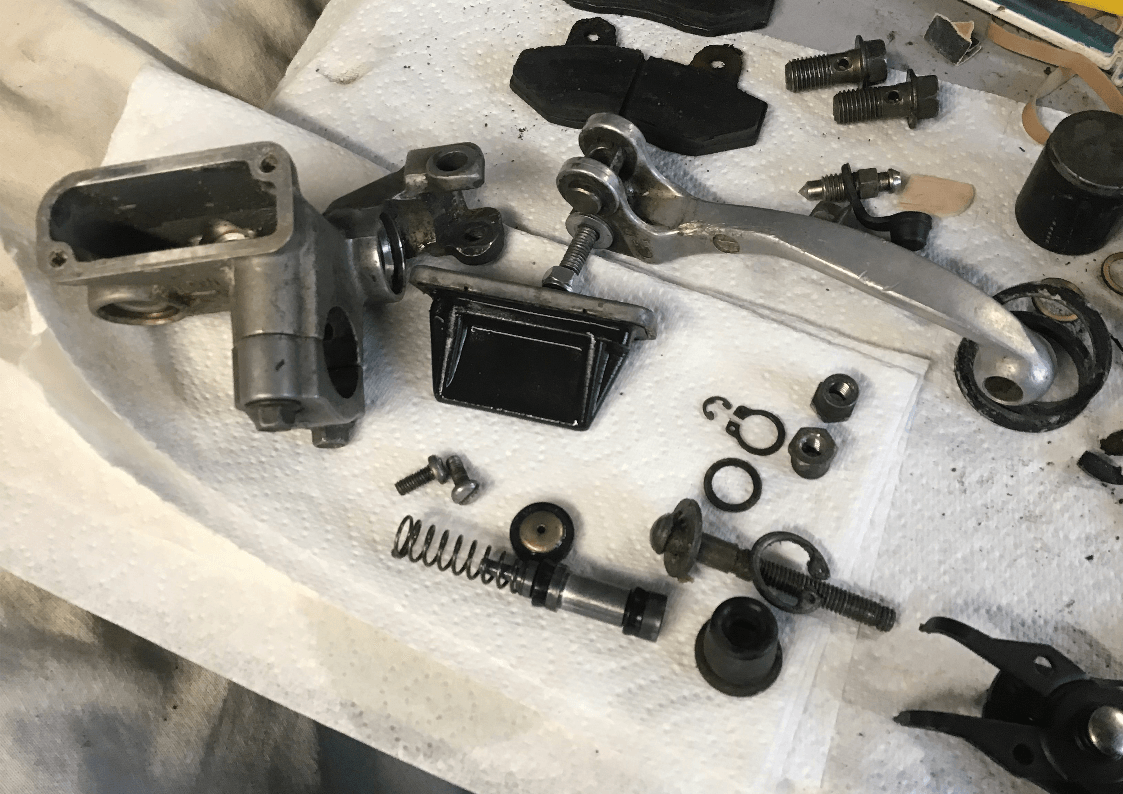
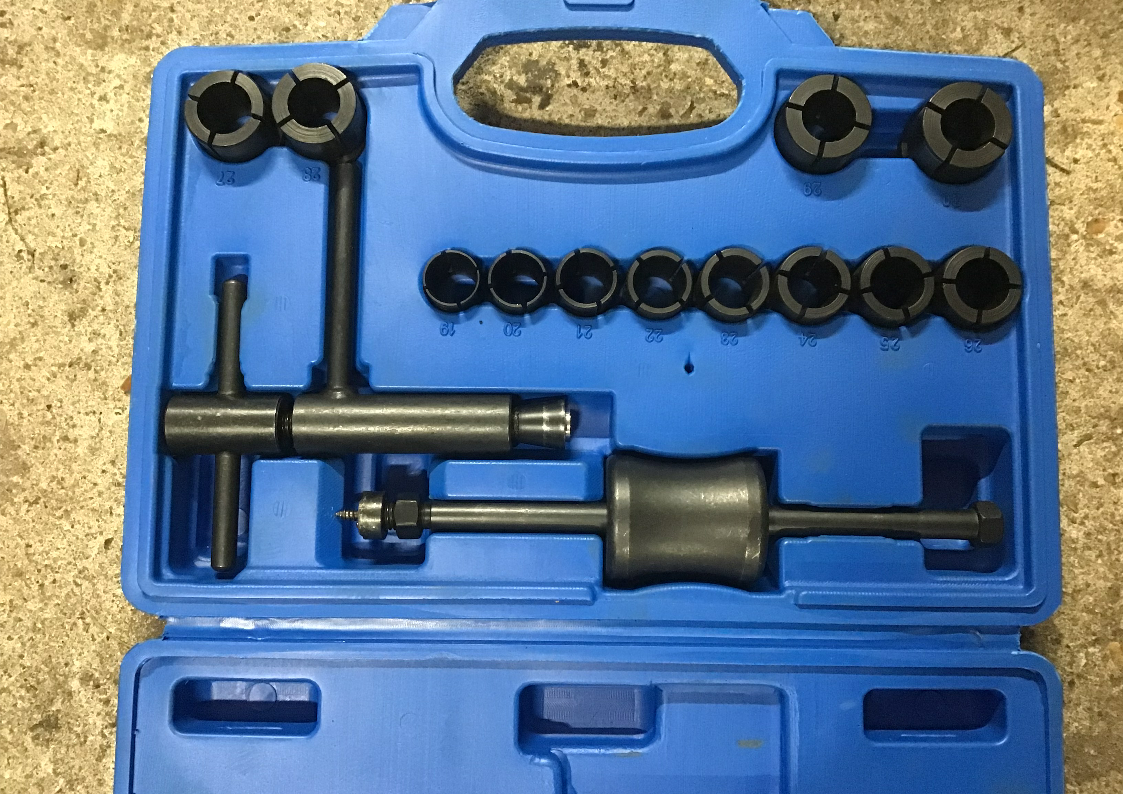
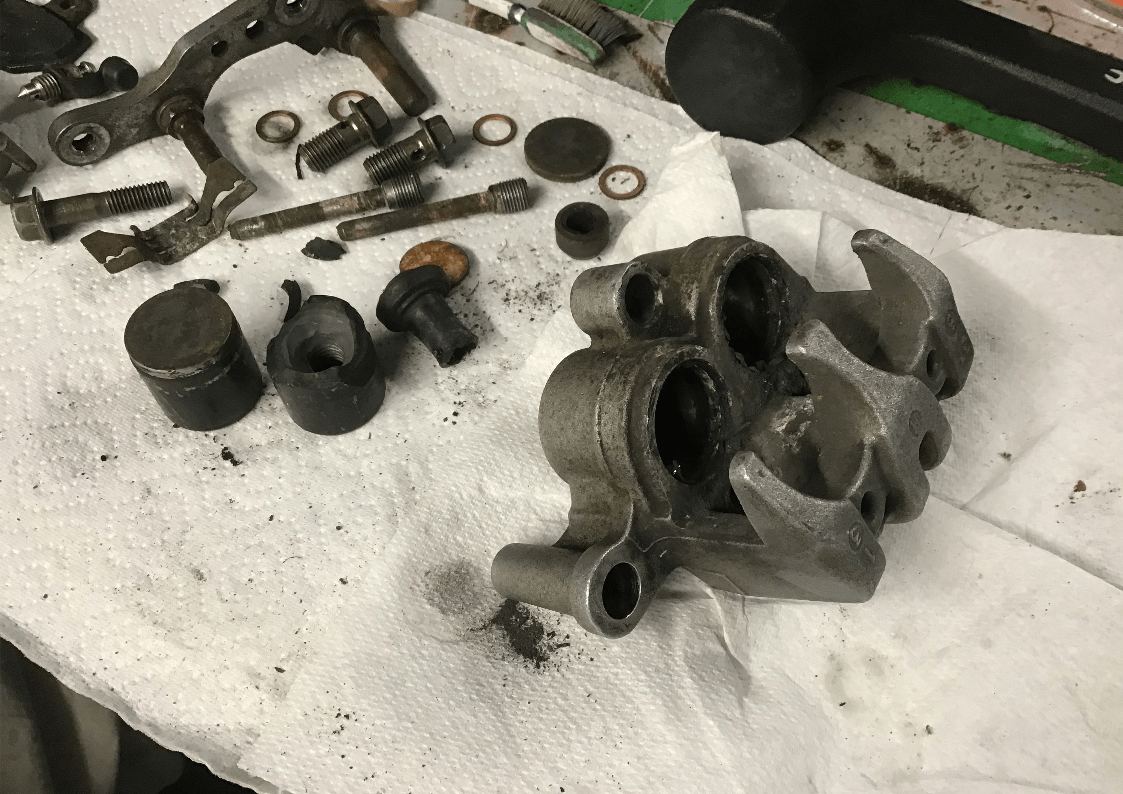
Ahh! The brakes. I knew they were going to be trouble, with the pistons refusing to yield to frantic pumping of the brake lever. So, I decided to split up caliper, master cylinder and hose and subject the caliper pistons to some violence using my brake caliper piston removal set.
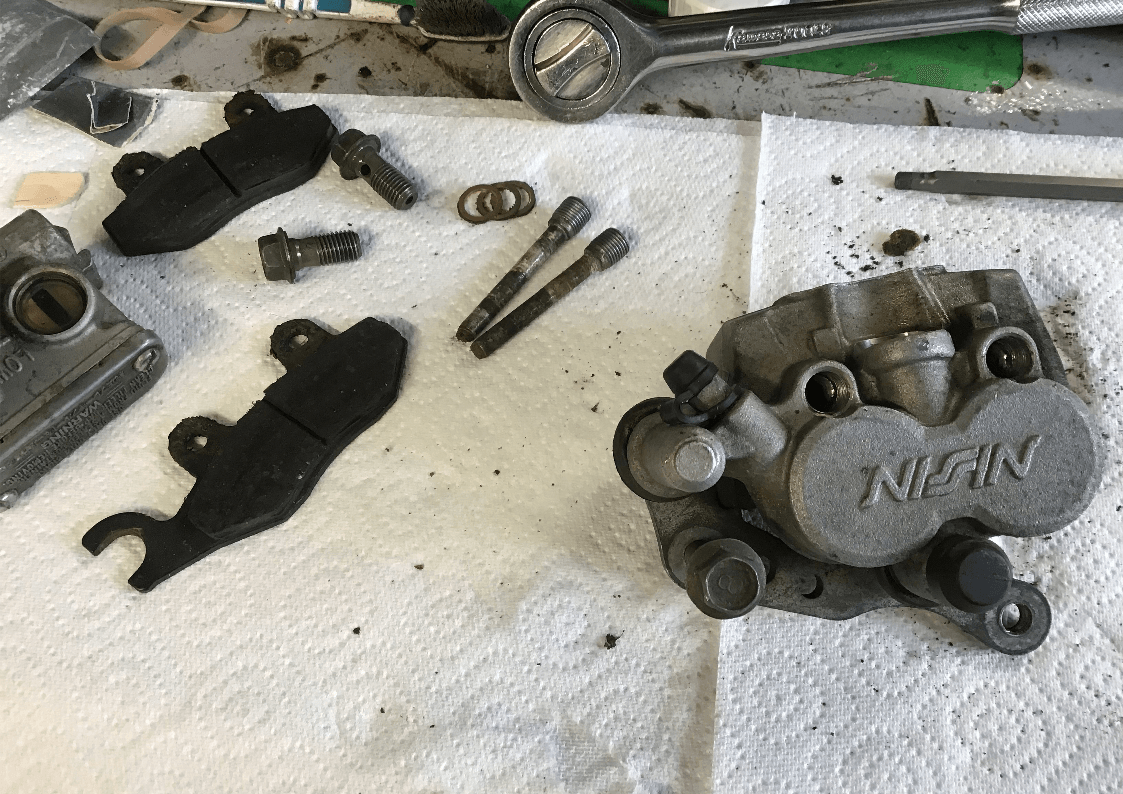
First, though, the pads needed to come out. Thankfully, the pins came out quite easily, but that’s were easy stopped as everything else then refused to budge.
The caliper should slide freely on this bracket, but the slidey pins were firmly wedged.
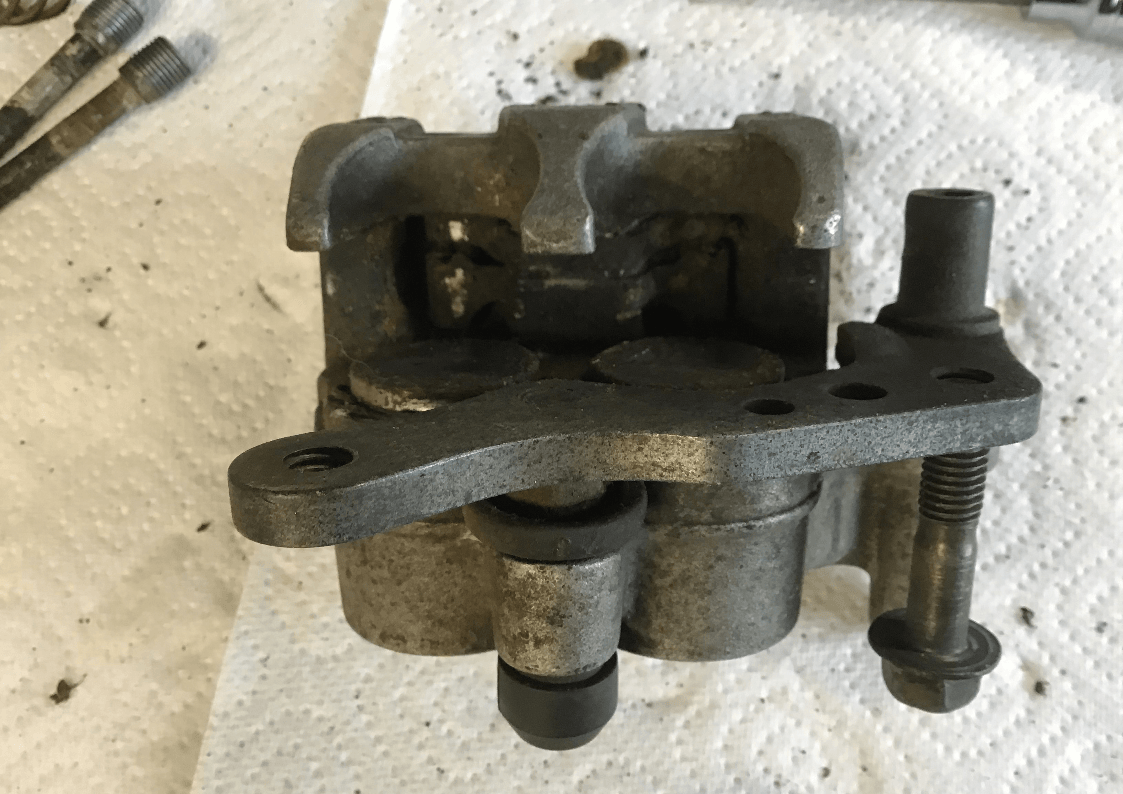
All kinds of methods were tried to hold the caliper so that the offending parts could subjected to force and persuaded to part. Eventually, repeated use of the dead blow hammer had the desired effect.
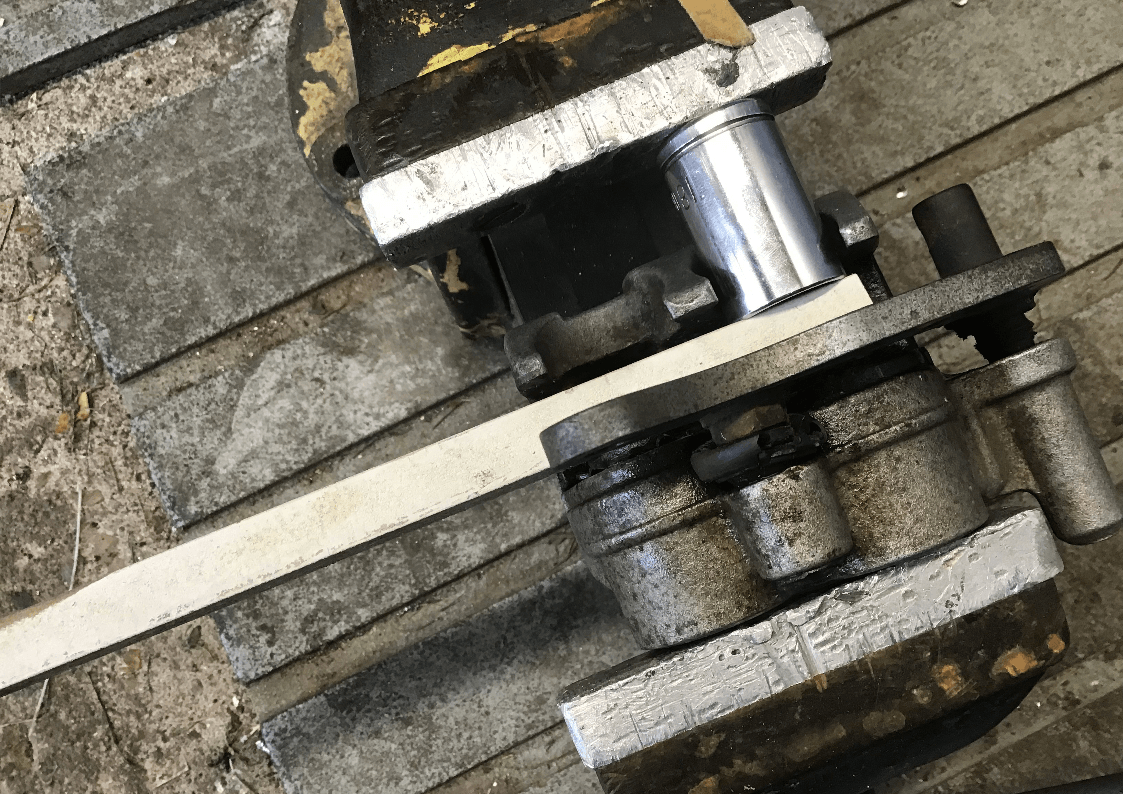
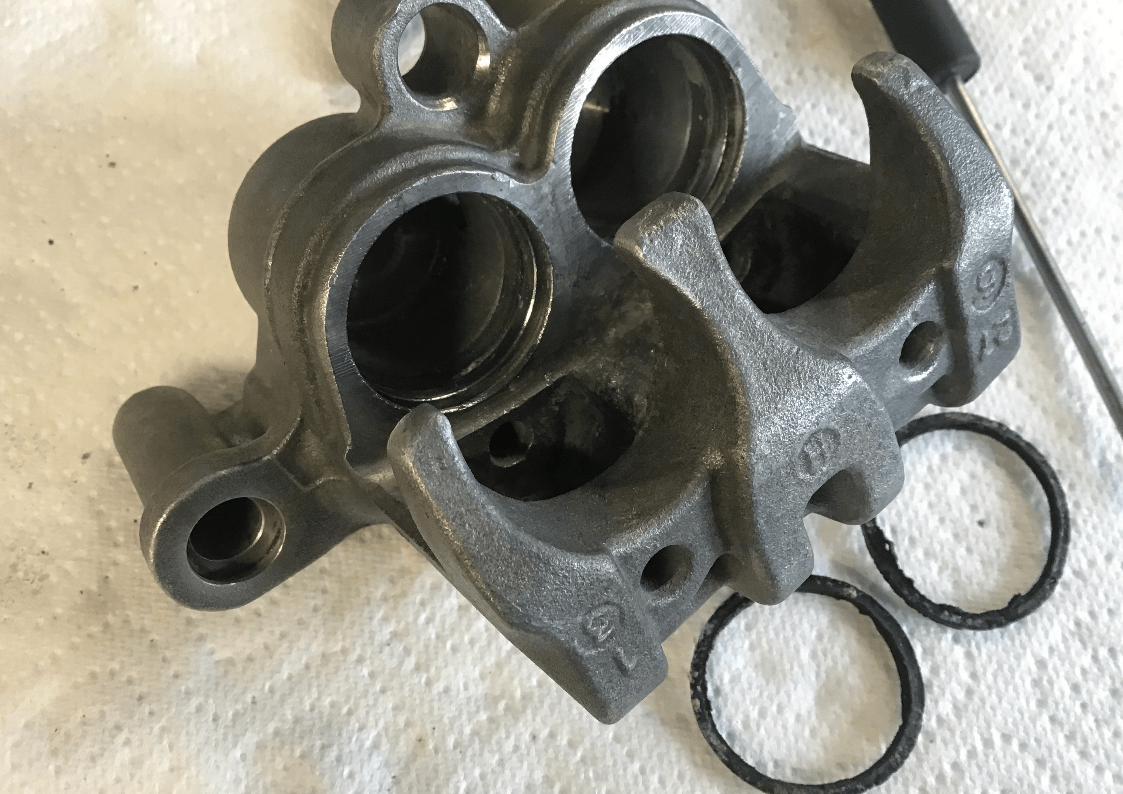
Now for the pistons. All the calipers I’ve encountered before have had steel pistons, these ones look to be a glass filled plastic of some type, with a metal cap on top. All of this means that the recesses in the pistons are tiny, far too tiny for my piston removal set to be of any use - bum!
Time for a rethink. Careful use of compressed air is often cited as a good method of piston removal, so I made a spacer to allow the main hole to be blocked up and an adapter to allow an air line to be connected to the bleed nipple hole. Looked good, but it refused to move the pistons!
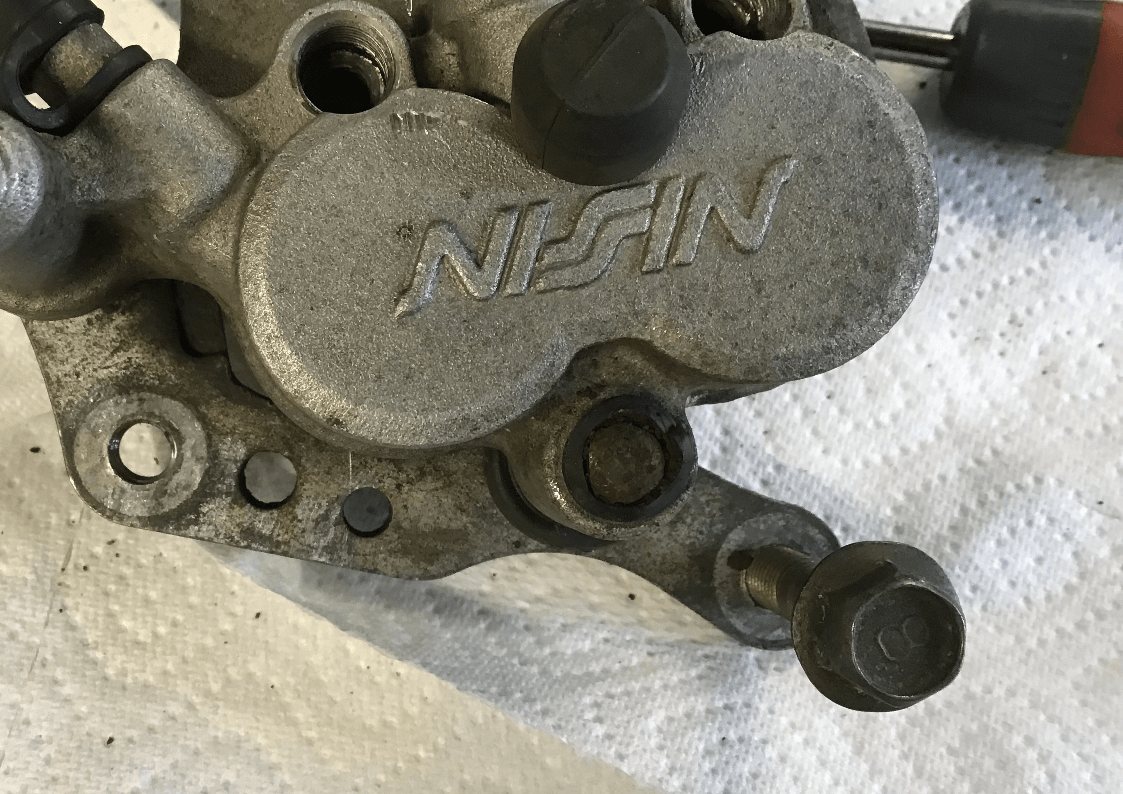
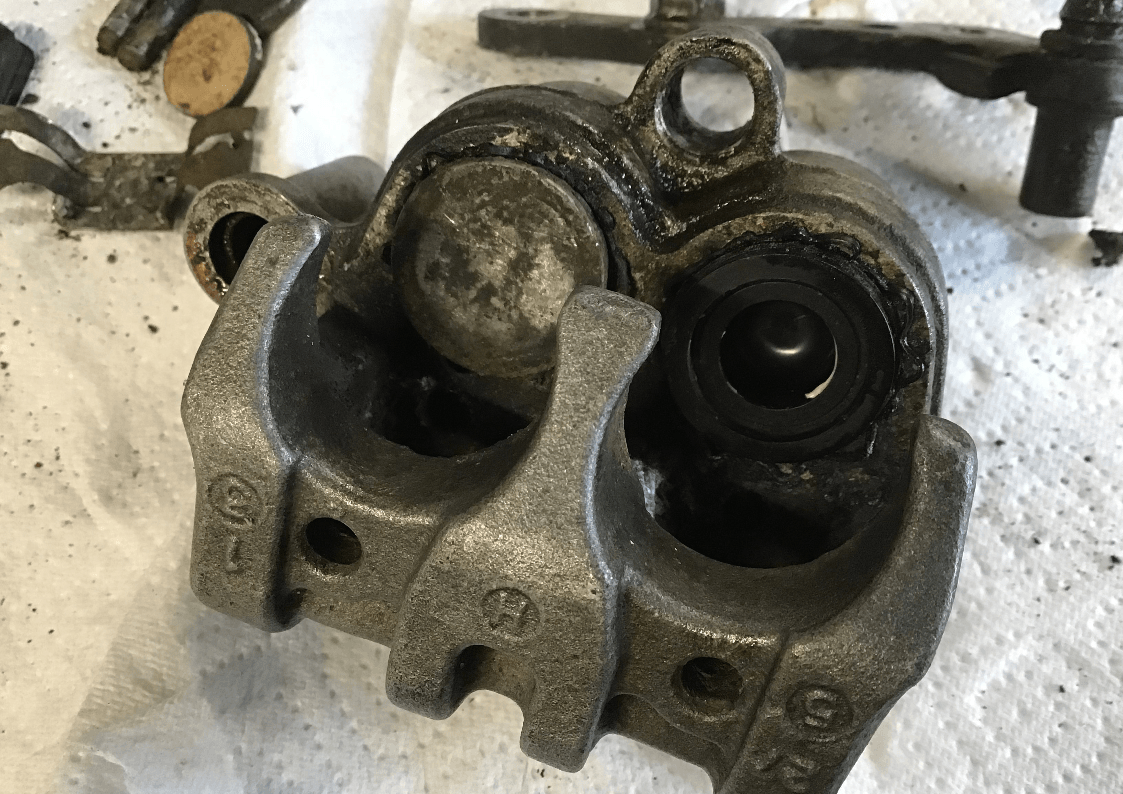
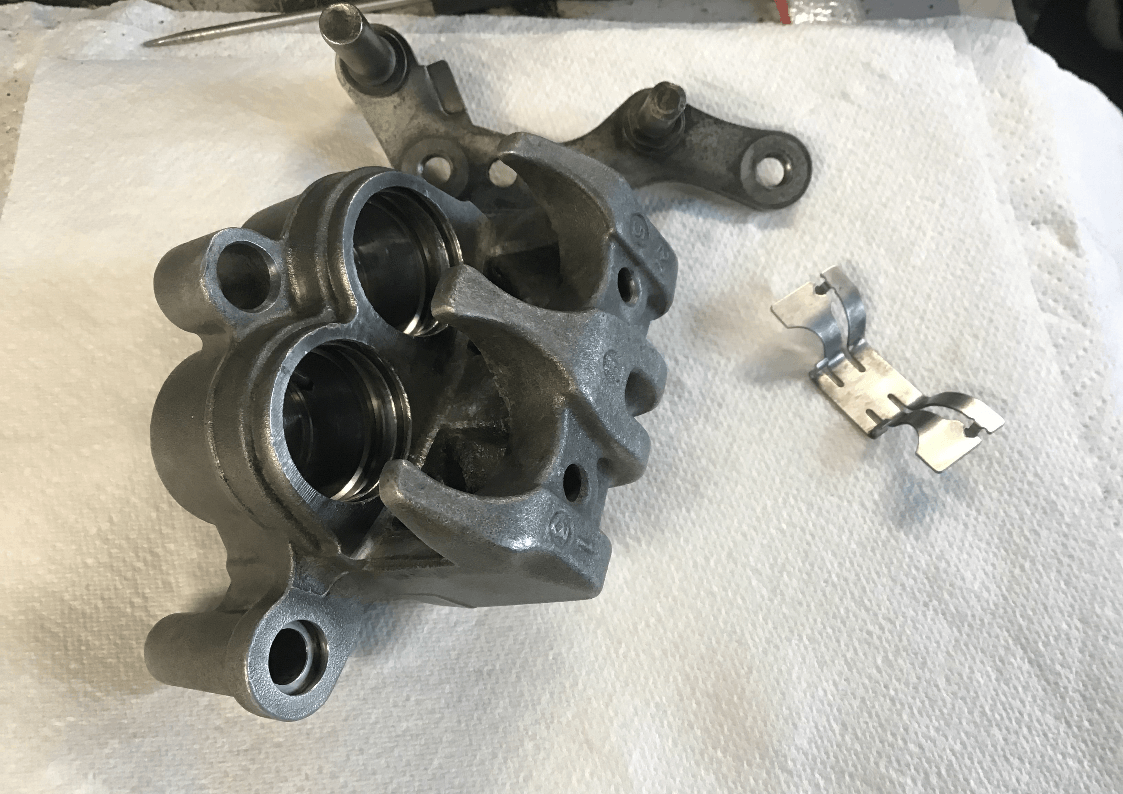
By now, major frustration is setting in! They’re coming out, but they’re probably not going to survive the ordeal! The final solution? I carefully drilled and tapped an M10 thread through the piston and then jacked them out by screwing in an appropriately sized bolt. Not, perhaps, a text book method, but it had the desired result. Finally, the caliper is stripped. Now it needs cleaning and the addition of some shiny new parts to make it good again. But before that, I have a couple of other jobs that need sorting.
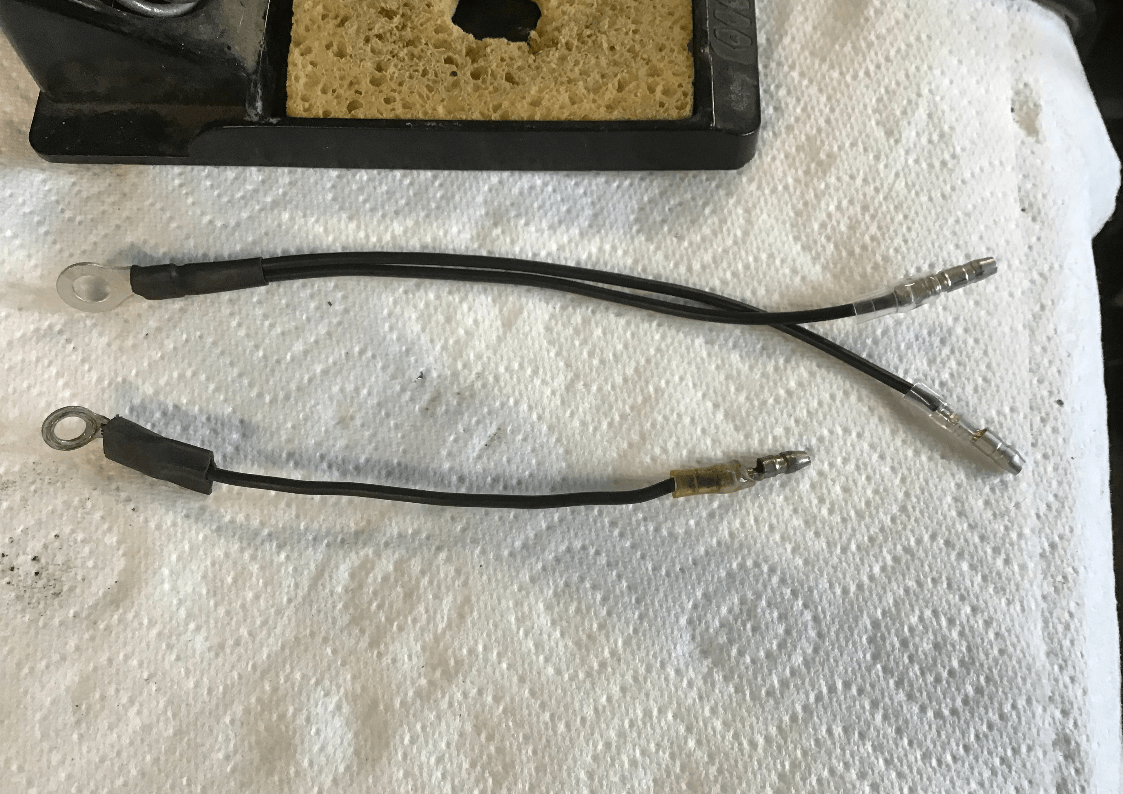
The old Yamaha has been suffering from electrical gremlins, we seem to be getting an occasional voltage spike. Bunging the multi-meter across the battery terminals shows that everything behaves itself for most of the time, but then for no apparent reason, the voltage briefly jumps up to the high teens. There seems to be no rhyme or reason to this. Internet searching brings up the possibility that a bad earth may cause such problems. As wires are cheaper than a new regulator / rectifier, that’s what I’ll try first, so I’ve replaced the earth wire to the battery (bottom of pic) the resistance of which seems to fluctuate as the wire is wiggled, with a new one. I’ve also included a spare wire which I may use for auxiliary earthing at a later date. No test run has yet been undertaken, so I don’t yet know if this is the fix that was needed.
One other job that also required attention was to disguise the remaining fairing brackets on the Suzuki that were left exposed after it became naked. These ones also hold the oil cooler hoses so they can’t be removed completely (well they could, but I’d have to fabricate some kind of replacement and I don’t have time for that at the moment) so until then, they’ve been covered with some ‘accent’ pieces courtesy of the 3D printer and in a fetching yellow colour, because that’s the colour that was in the printer. They’ll do for now.
Next time, the front caliper will cleaned and rebuilt, possibly...


With the front caliper finally stripped, it now needed a good clean before reassembly with some new bits and pieces. As is usual, cleaning everything up takes far longer than anticipated, 20+ years of accumulated crud was clinging on with all of it’s might…
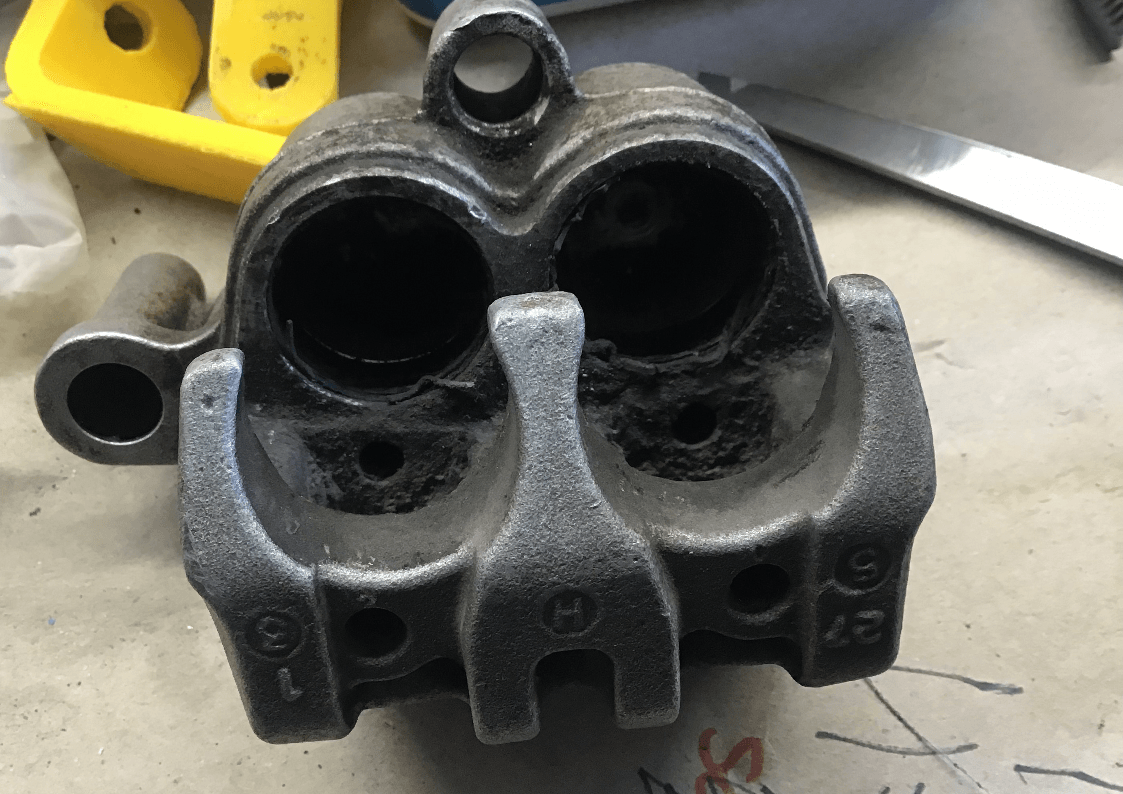
Initially, I dunked the caliper in the parts washer and gave it a good scrub. That didn’t really manage to remove much of the grime, so I attacked it with a rotary tool armed with a brass wire brush. This did the job although it’s important to use a ‘soft’ wire brush with some care to avoid damage to the aluminium of the caliper (especially the piston bores). Also wear appropriate face coverings. You don’t really want to inhale lung fulls of brake dust (even if it is asbestos free nowadays) and my cheap rotary tool brushes lost their bristles very easily, making eye protection a must.
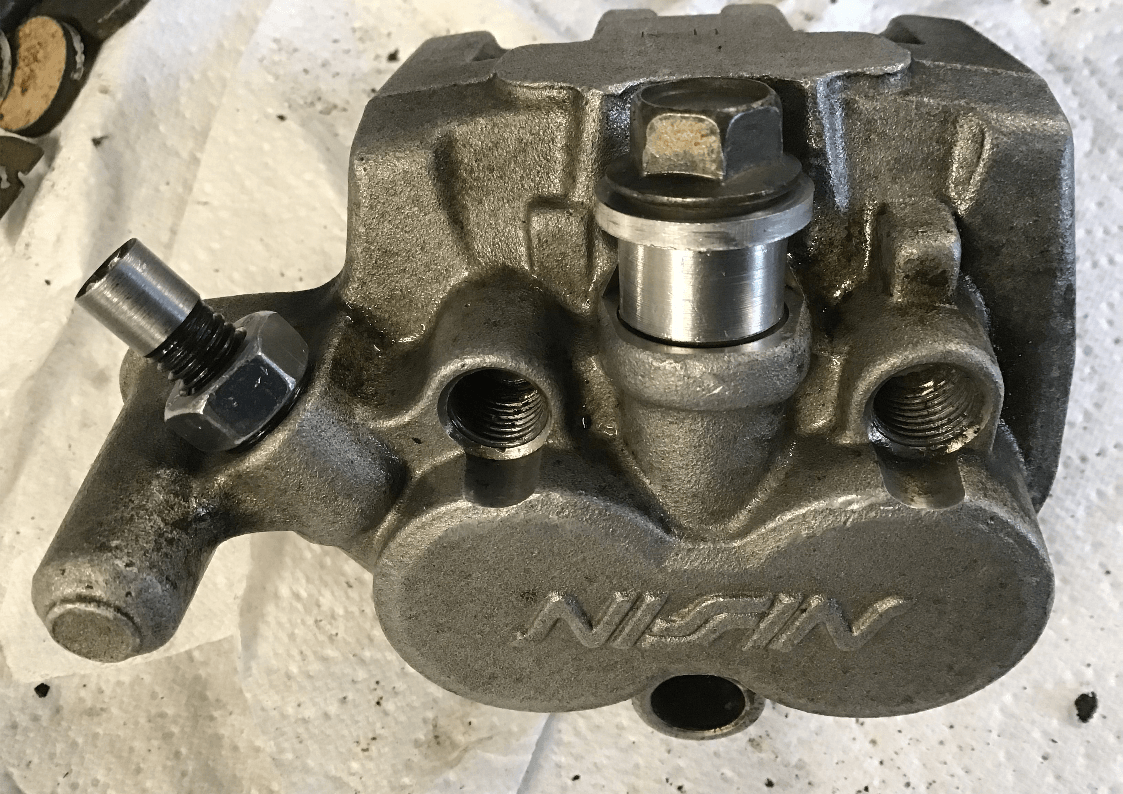
Eventually everything got the wire brush treatment, and the caliper is now clean and ready to rebuild.
But before then, I thought the master cylinder should also be treated to a good clean as well. At least this came apart easily…