Monday Articles - September 2020

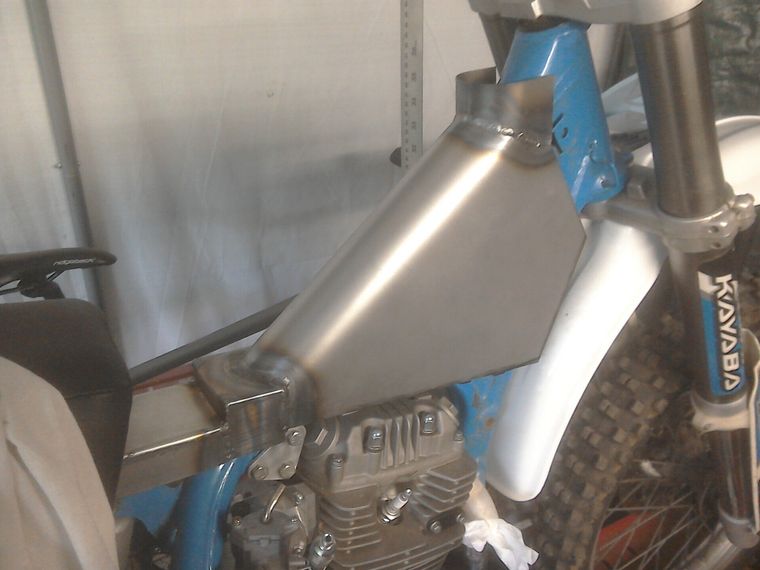
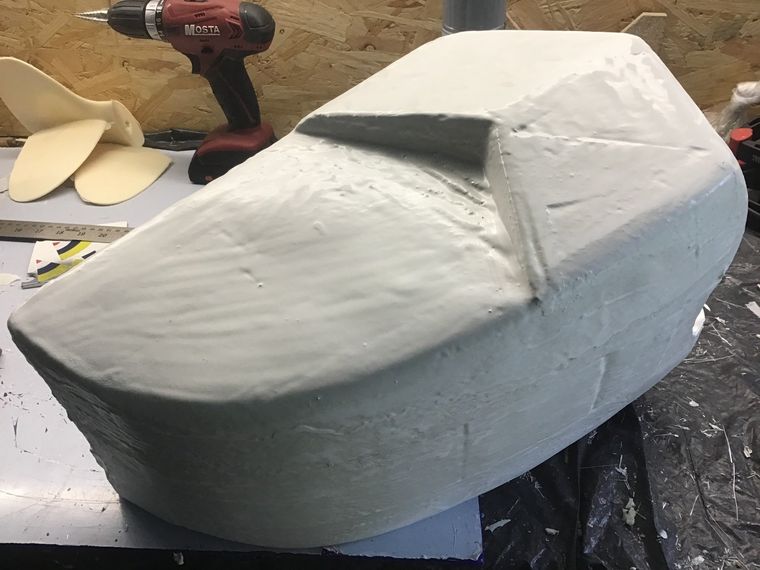
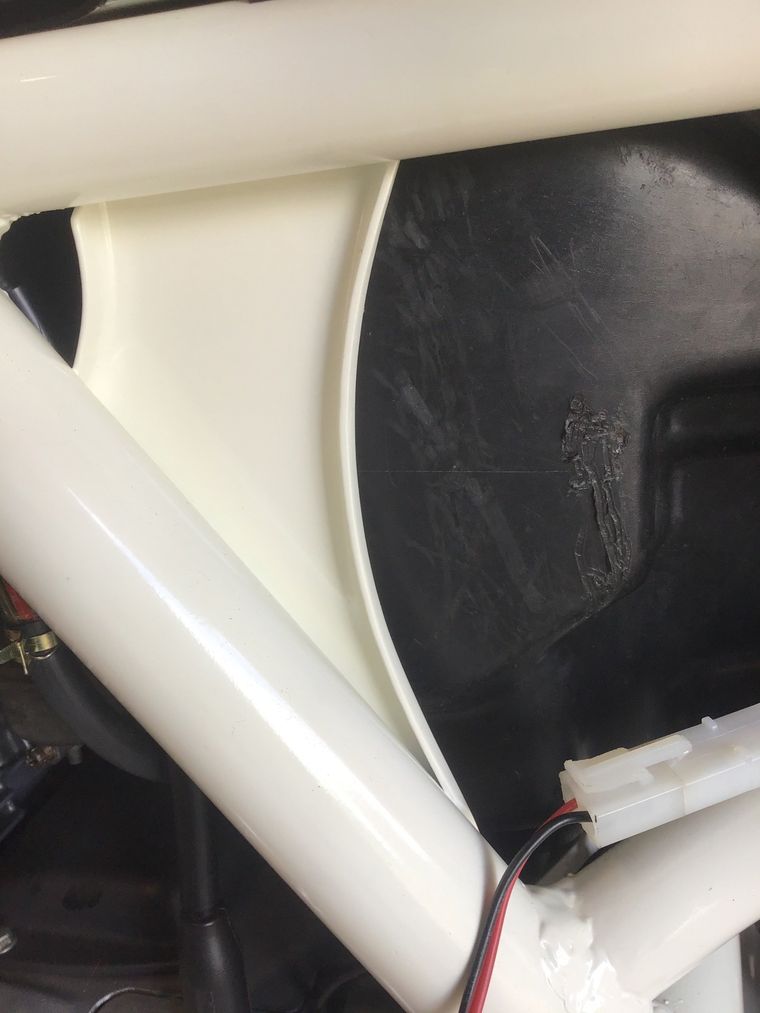
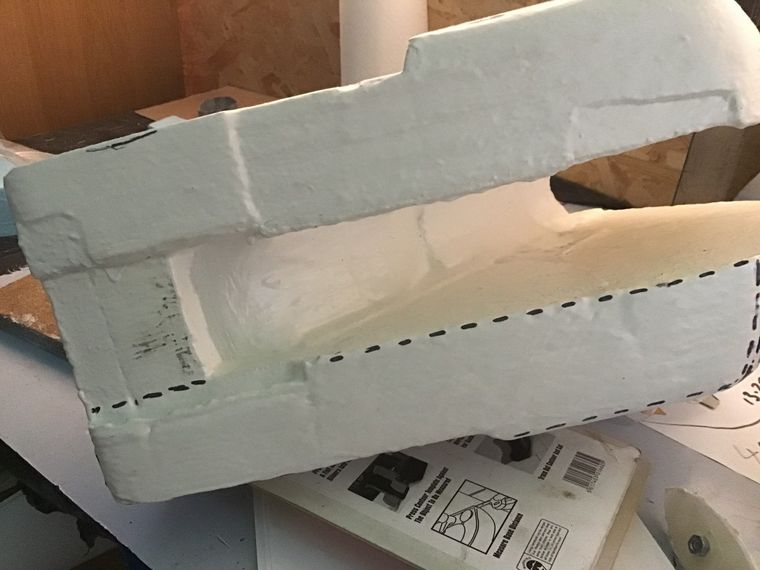
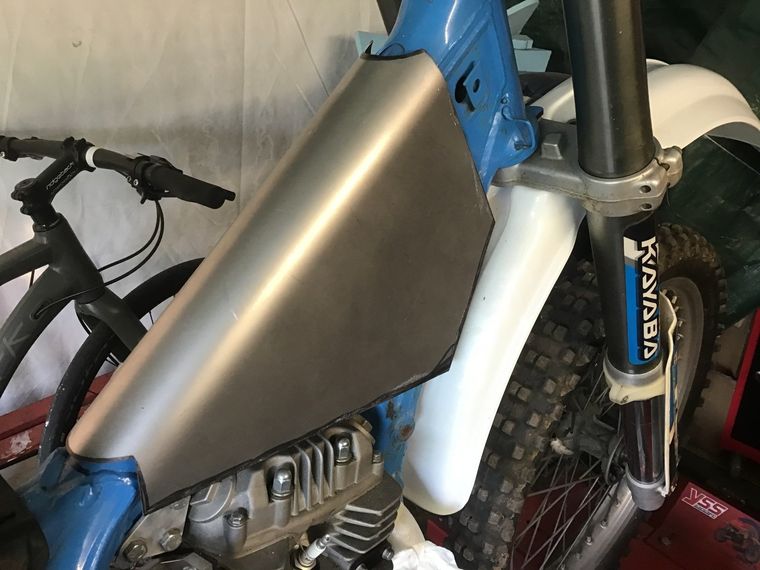
After a couple of weeks away from the garage, it's time to get down to business and build the petrol tank. This is the current dummy tank. It's made from polystyrene foam, covered in polyester resin (filled with talc to make it thicker and easier to sand). As you can see, the finish is very rough.
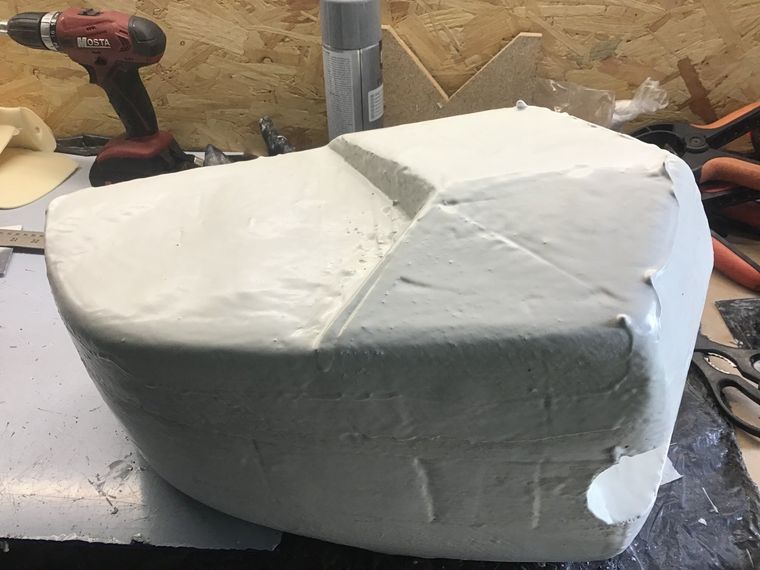
If I wanted to use this as a pattern for a fibreglass tank, I would now be busy filling and sanding this to make it nice and smooth. But I'm going to try making a steel version, so all I need to do at the moment is sand down the resin drips.
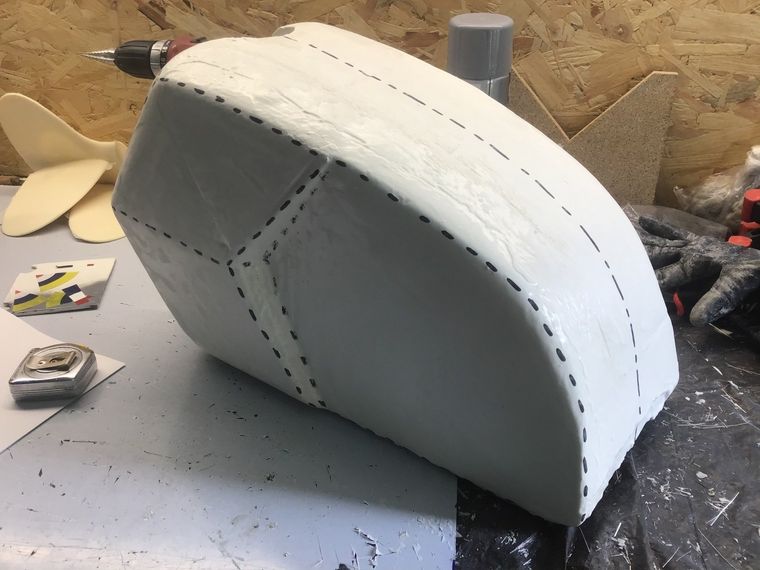
The current plan (and this may change frequently!) is to split the tank into sections, which hopefully my limited metal forming skills can reproduce. and then weld it together.
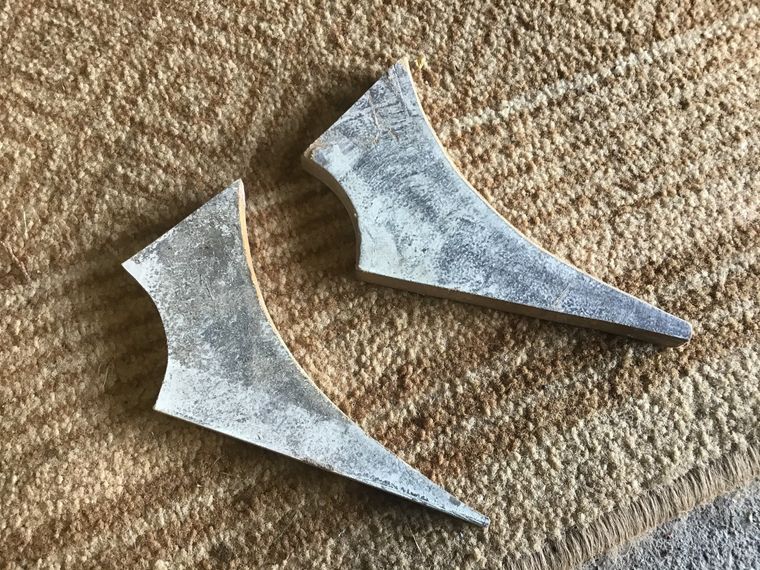
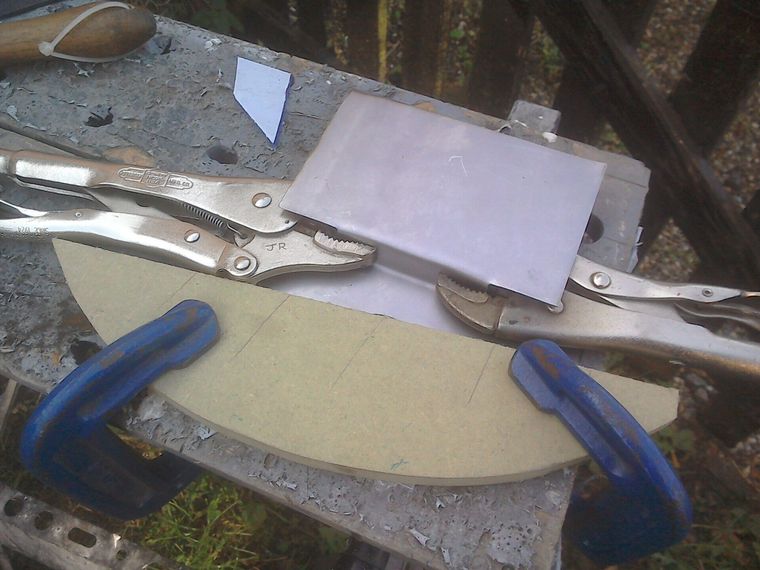
But first I have to learn how to go about bashing the metal in to shape. Previously I've only made gussets (like the one below) using the hammerform technique. Basically you make a pattern to the shape you require and then hammer the sheet metal over or into the pattern as required.
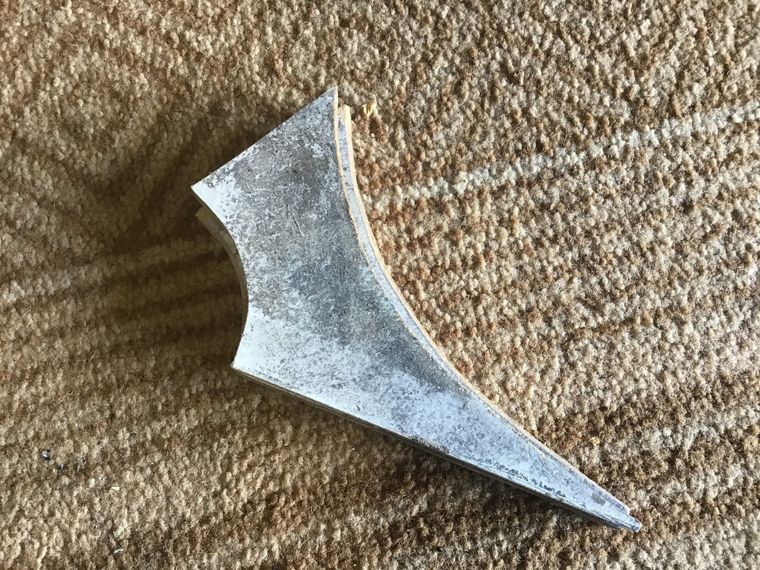
Here's the pattern that was used for the gusset. It's made from MDF which will hold up OK if you only want to make a few parts. The pattern on the right is the size and shape that the inside of the gusset needs to be and the edges where the metal needs to fold over have been radiused. The one on the left is slightly smaller and is used to make sure that the flat part of the gusset remains flat.
The sheet metal is clamped between the two MDF patterns and then hammered to shape over the bottom pattern. I could use the same process with pieces of the tank, but would need to spend quite a lot of time making the patterns. So for the moment, this is not the way I'm going to attempt the tank, but if things don't go well...
I've spent a bit of time over the last week watching DVDs and reading books about sheet metalwork - I'm now suffering from information overload. What I do know is that the experts make it look easy, and for them with their skill and experience it is. Sadly I don't yet have that skill. There's going to be lots of trial and error (and a fair bit of scrap made) but the only way to learn is to give it a go.
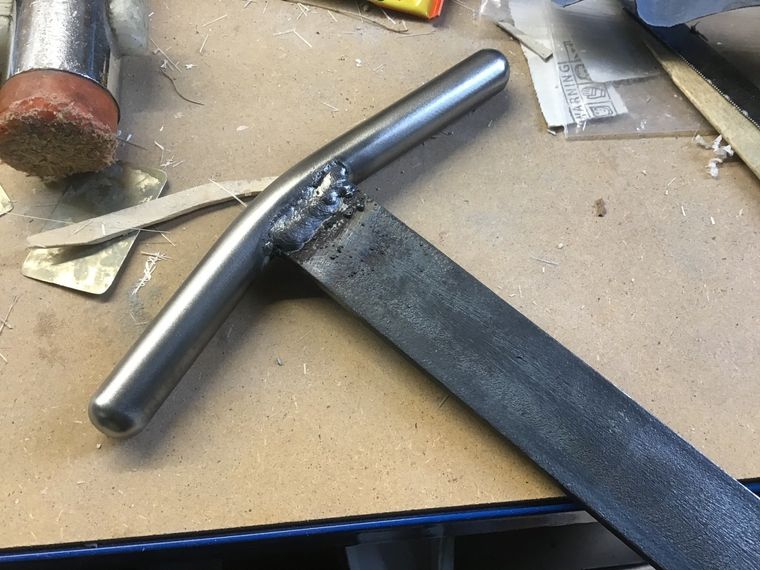
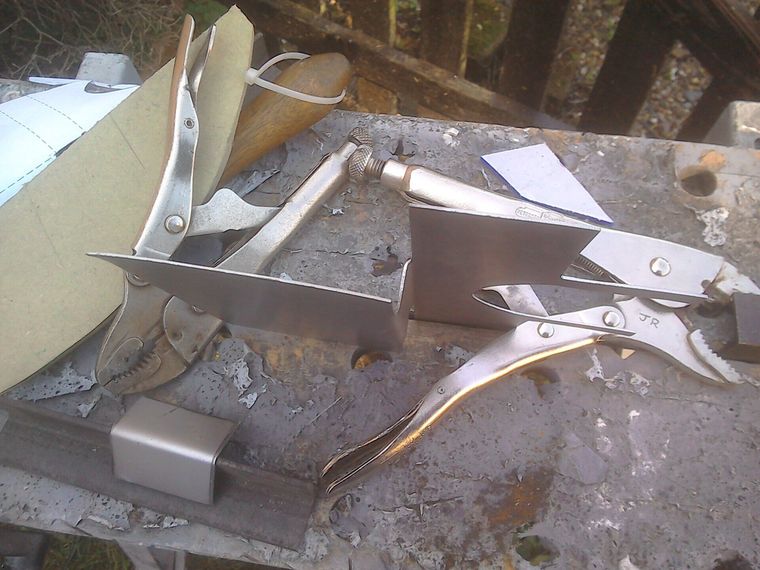
With that in mind I made up this little curved T dolly and with the aid of my trusty claw hammer I'm just going to try bashing some metal. Hopefully that'll start to give me an idea of how the metal behaves. I'll also try out a few of the other techniques shown in the books and videos, and gradually I hope to be able to produce bits of metal the right size and shape, with the foam dummy tank becoming a pattern to check the fit of the pieces that I produce.
This is the sum total of my sheet metalwork toolkit so far. I'm hoping to keep expenditure on tools to a minimum, making and improvising where required.
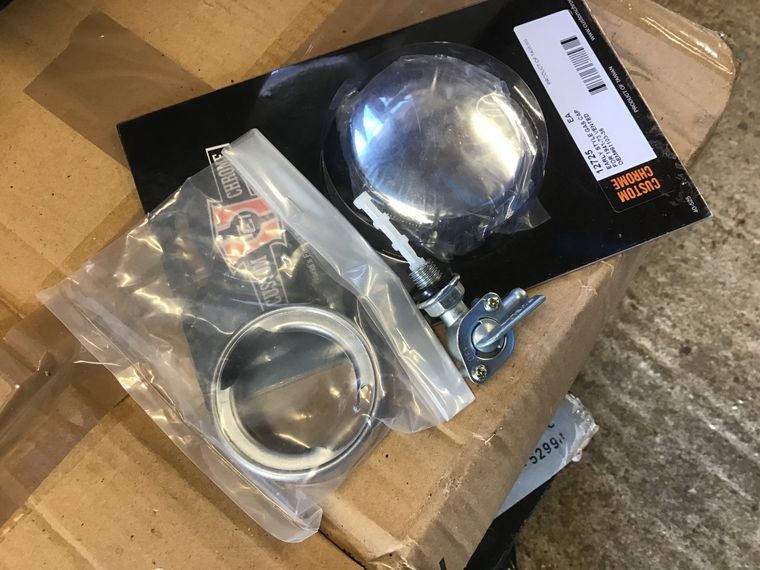
I have, however, spent some money on fittings for the tank, with the purchase of a weld in filler neck, cap, and petrol tap. I may have been getting ahead of myself...
As I expected, making a steel petrol tank is going to be a serious challenge for me. Most of the posts over the coming weeks will probably detail my latest disaster! But I'll learn from the mistakes.
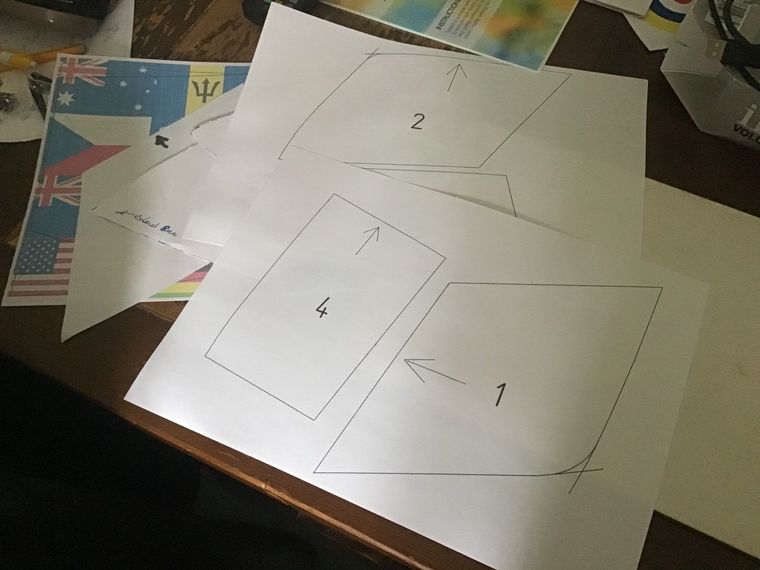
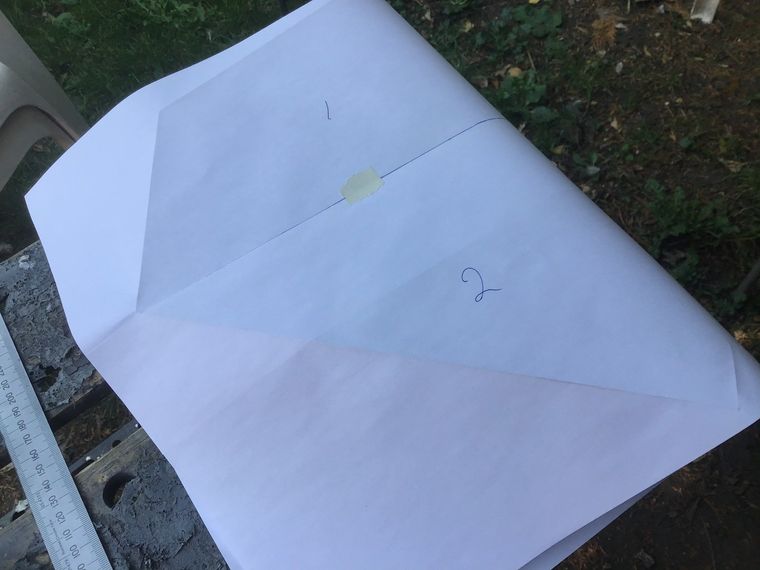
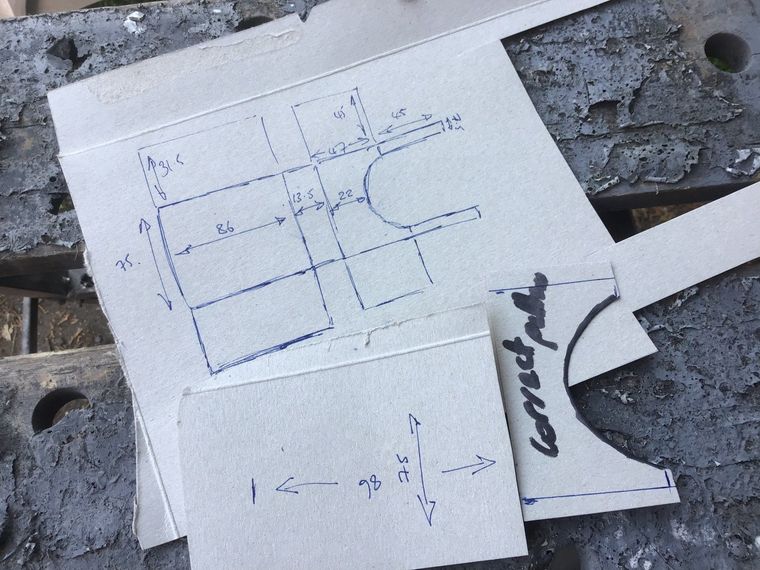
I'm not really sure how to go about it at all, so I've started by trying to make templates for some of the sections of the tank. Here they are in rough.

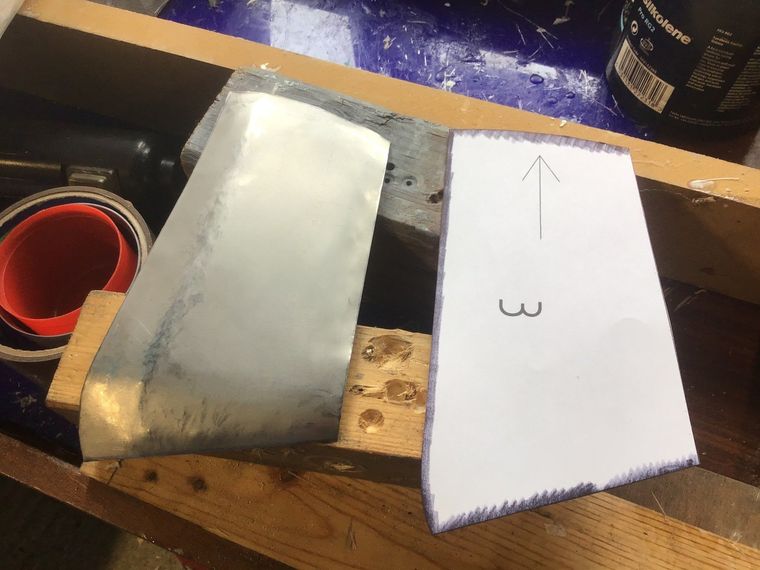
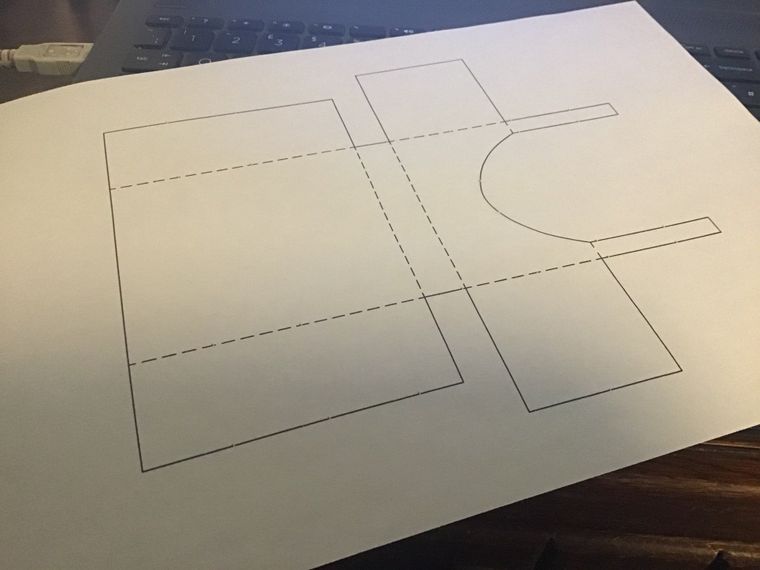
And here they after after they've been scanned and reproduced on the computer.
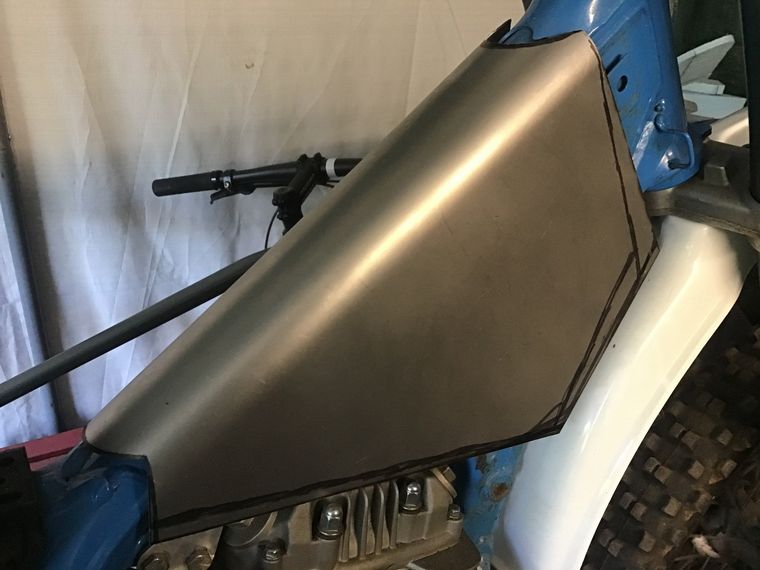
This is a first attempt at section 3. Basically I've just cut the shape out of sheet steel and hit it with a hammer! I still have no idea what I'm doing, I'm just hoping that by sheer perseverance (and after many attempts) I will eventually get the hang of the process and end up with something usable.
Here it is offered up to the dummy tank. For a first attempt it's not too bad, but hammering metal makes both my arm and my ears ache. I need to get some ear defenders before I have another go.

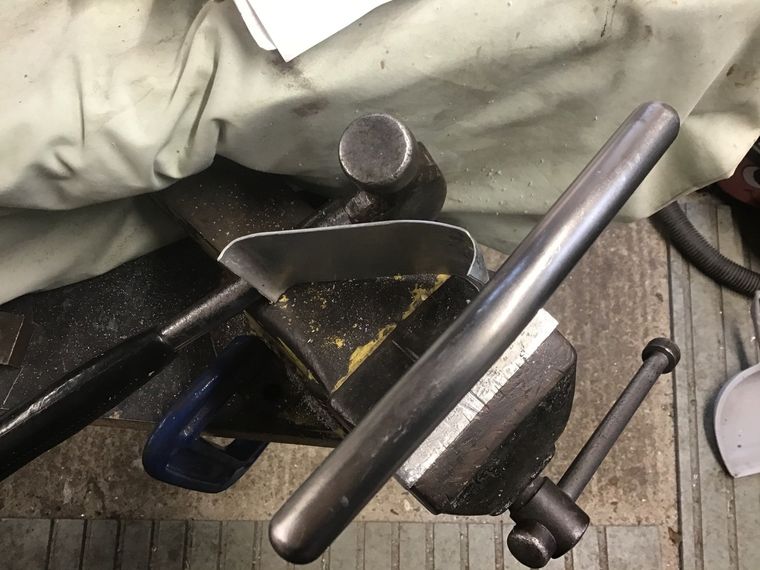
To give my arm, ears and brain a rest, I thought making the tunnel of the tank would be a slightly easier place to start, although even deciding what size and shape piece of steel I should start with for that proved difficult for my brain. Luckily, though, I did have a steel bar of the appropriate length and diameter...
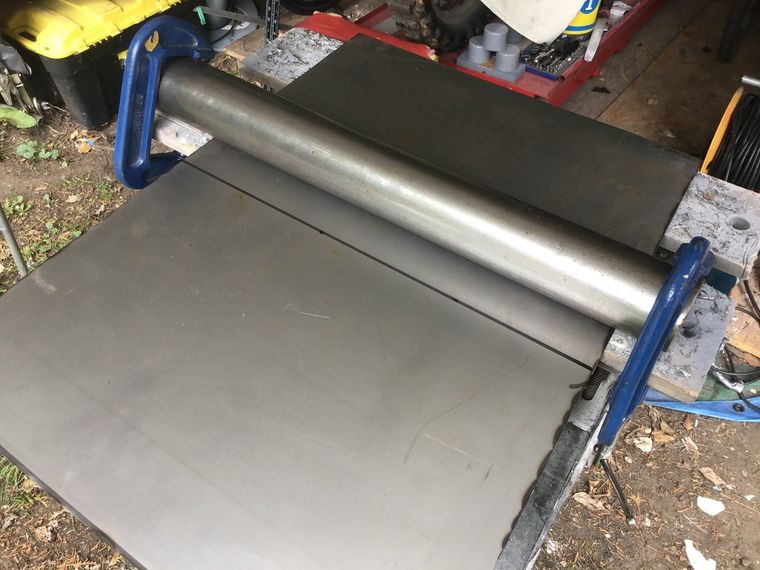
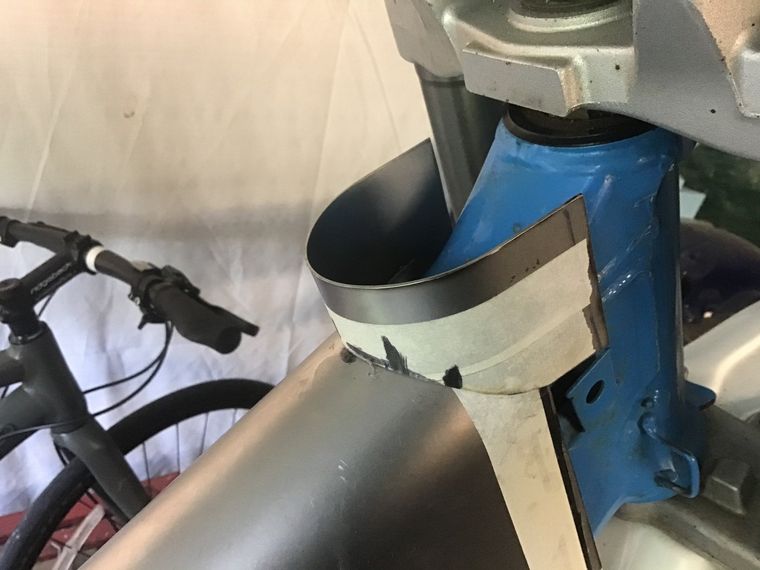
...and after flexing some muscle (it was harder to bend than I expected) the desired U shape was made.

Next job was to cut it roughly to shape, leaving some excess for any technical adjustments (cock-ups) that may occur during construction of the tank.
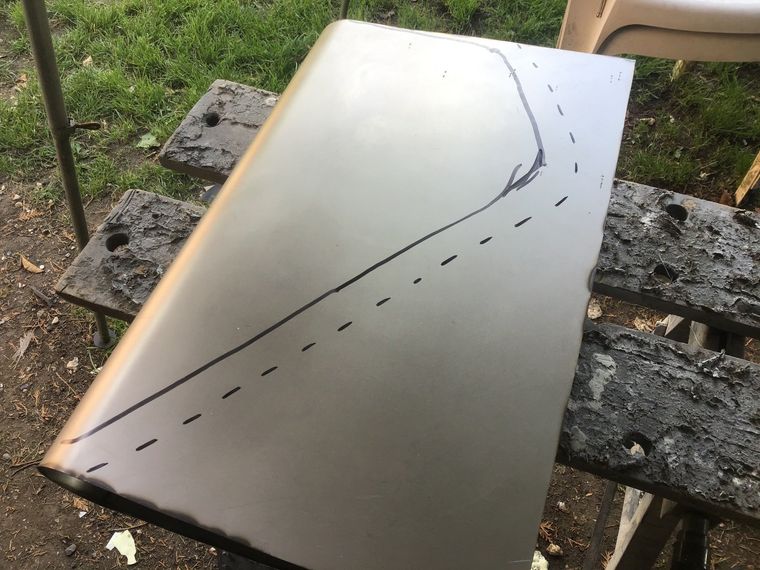
It kind of fits, but needs cut-outs at the front and rear where headstock and sub-frame meet frame top-tube.
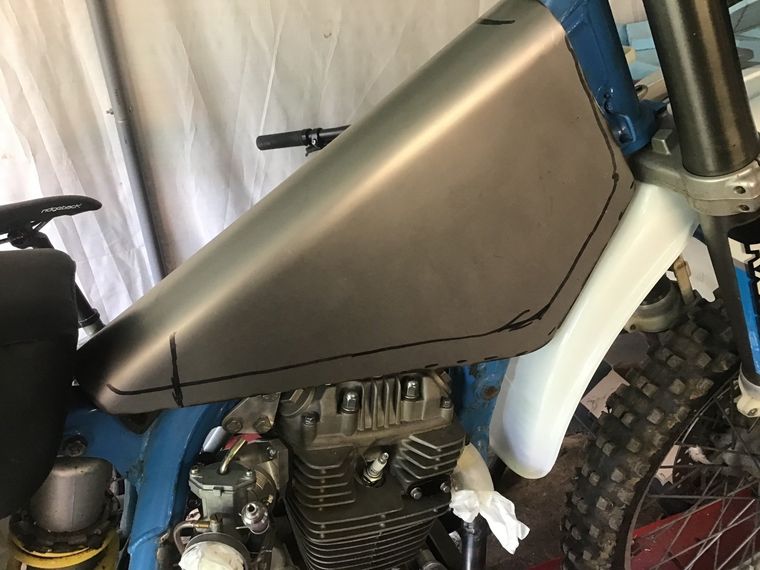
This shot of the underside of the dummy tank shows that the curved top tunnel only extends so far before it changes to a flat section to accommodate the rear sub-frame and its corresponding rubber tank mount.
Front of tunnel has now been cut away at headstock and sub-frame, so the tunnel now actually sits properly on the top tube rubbers. Next step will be to try and fabricate the flat section that fits around the subframe rubber. Then, maybe, I'll have another go at bashing bits of metal with a hammer.

Not a great deal to report this week in the terms of actual physical progress, but I have done a lot of thinking...
Tunnel has been subjected to a little more trimming, taking great pains to get both sides as symmetrical as possible.
Templates are taken of the new trimmed tunnel, using the white paper and grubby finger method. These are then scanned and then turned into a CAD drawing. Hopefully keeping a record of the templates will mean that if I really mess up this first tank, the second should be slightly quicker to make.
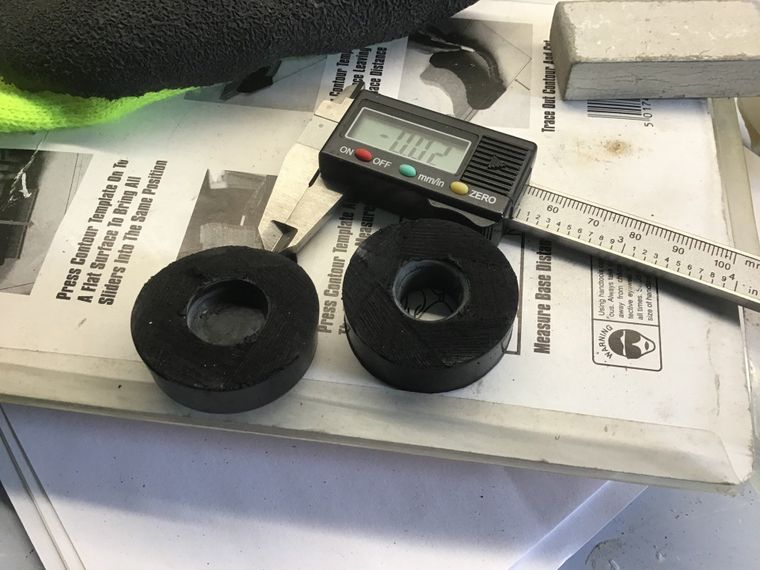
Whilst rummaging in a box of spares for one of the other bikes, I came across these rubber tank mounts that had been bought ages ago and forgotten about. They were far too thick as standard, but with the aid of a hacksaw and flap disc on the angle grinder, they were reduced to a more suitable size.
There were a couple of existing threaded holes in the frame to which some small, turned bobbins could be screwed.
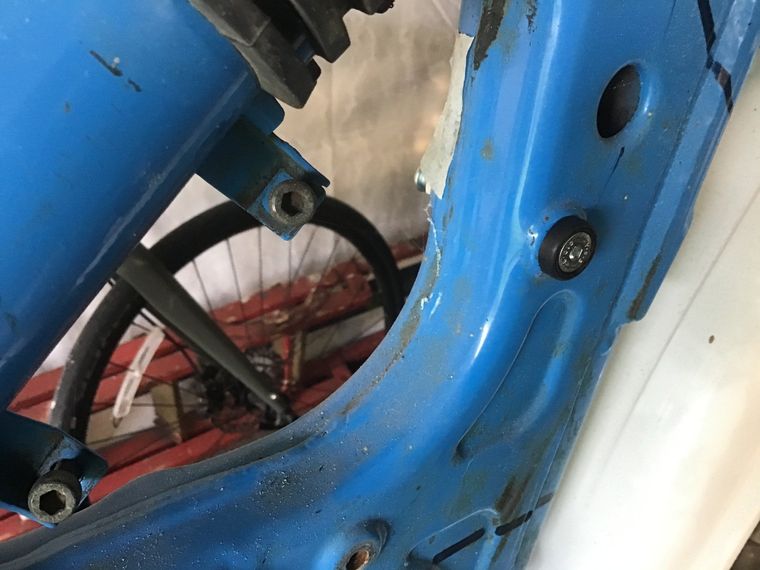
And the mounts fit snugly over the top. Eventually, the inside of the tunnel will have some C shaped cups which will fit around these and help hold the tank in place.
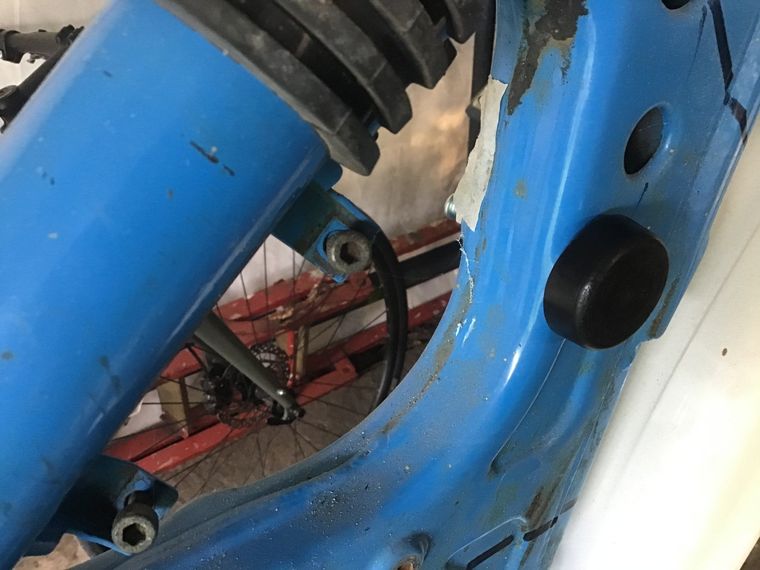
The new mounts hold the tunnel securely in place, which makes my life a whole lot easier as before it kept wanting to slide down the top tube and wibble from side to side.
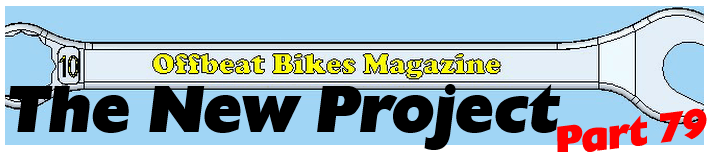
The start of the rear section of the tunnel. Some cardboard templates and scribbles were transformed into...
... a CAD drawing, which was then itself transformed into...
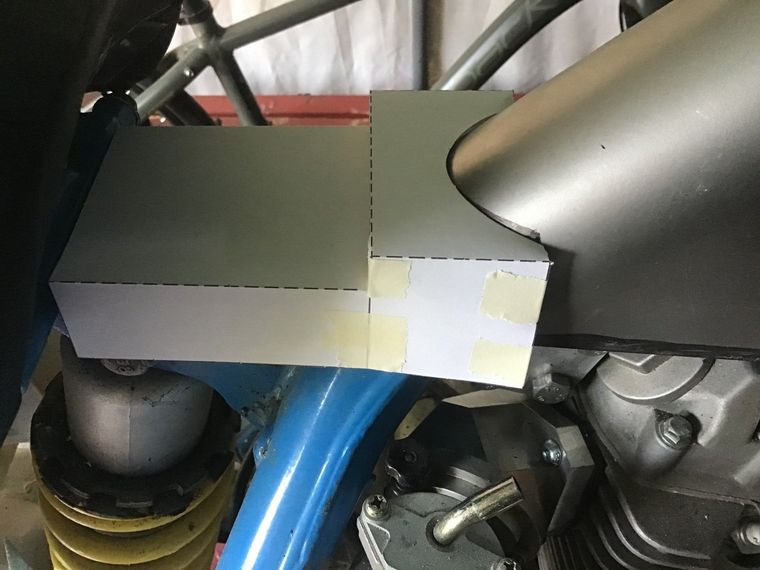
... this 3D mock-up. As a work of origami, it's pretty basic, but it helps me visualise how the bits will fit together.
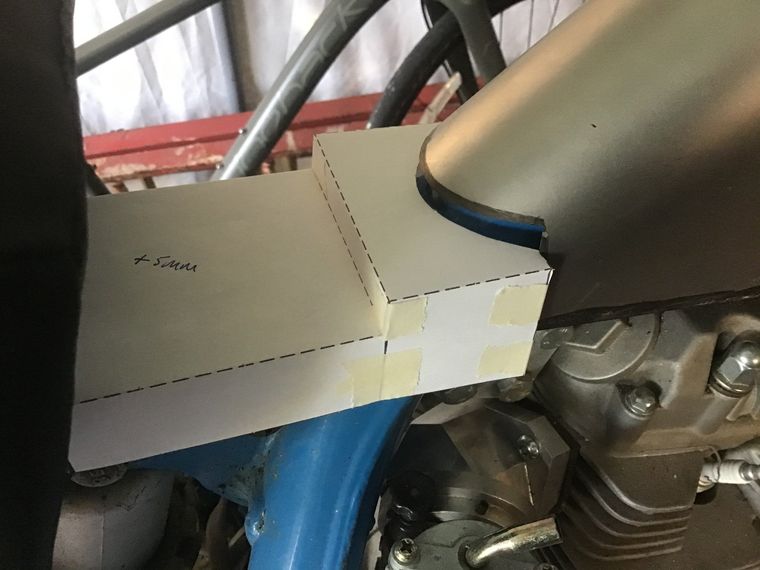
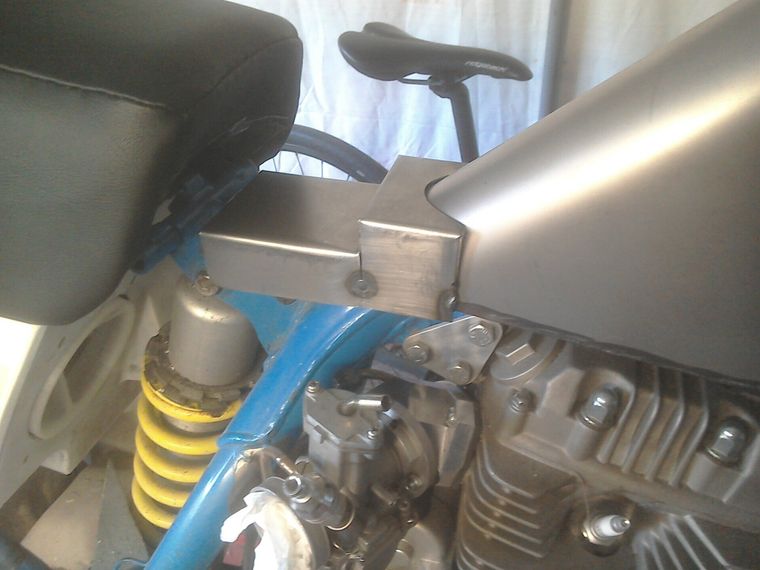
Headstock end went through a similar process, but I've actually got as far as making this one in steel.
Although it's a good job that the rear part hasn't been made yet, as after a slight rethink, I moved the tunnel up the top tube a little, which means that I need to modify the template again...
Watch out for next week's exciting installment, where maybe, just maybe, some progress might occur - maybe...
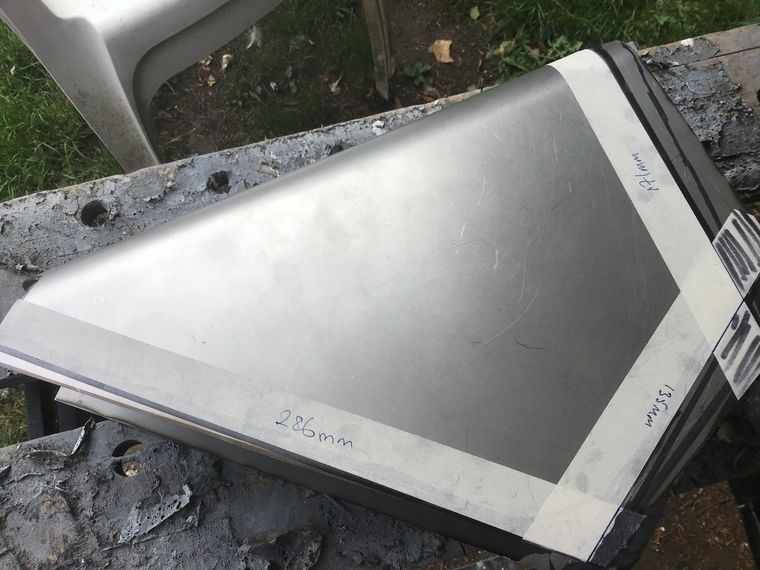
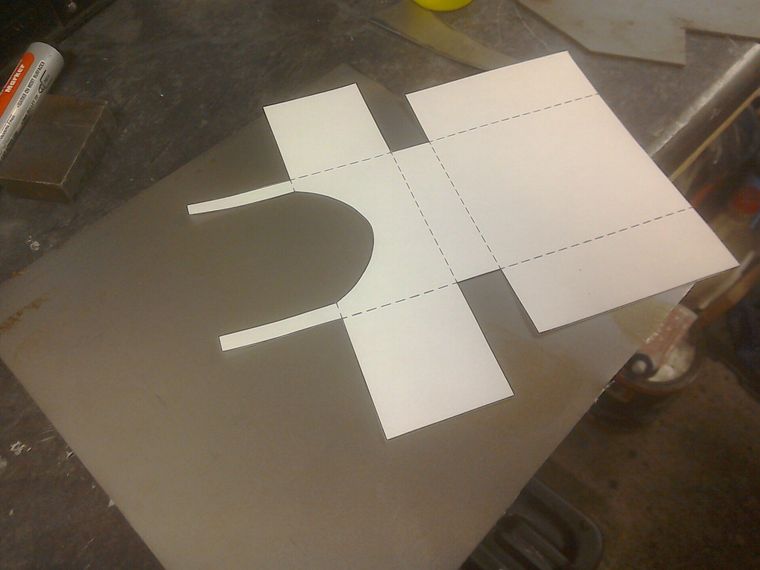
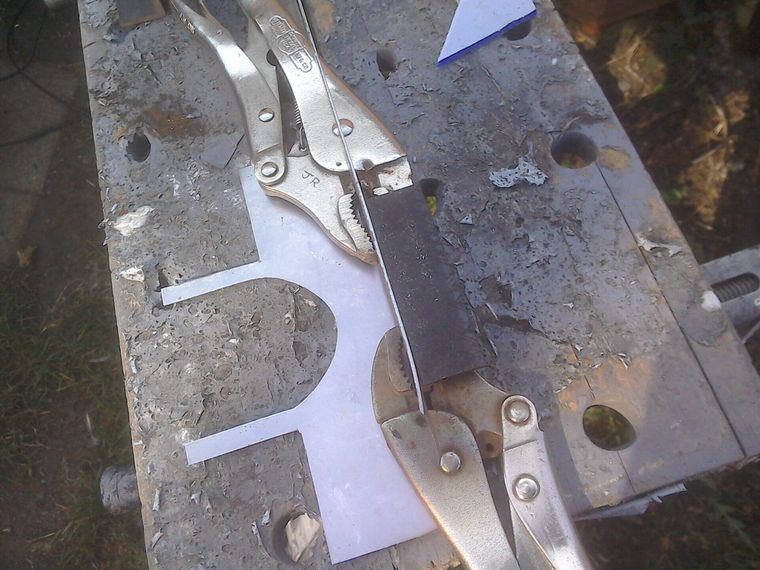
With the freshly modified template in hand, it's time to transfer it to the sheet steel. Usually I stick templates with Pritt stick which holds them in place long enough to cut around the outside. Unfortunately, this time I had another brand of glue stick - and it was useless. It did, however, hold the template in place long enough for me to draw around in with a Sharpie marker. I have a small metal shear, which makes cutting the external, straight sides easy, but the fiddly bits were finished off using a combination of cutting disc, flap disc and file.
Cutting shapes out of sheet steel always looks as if it should be a quick job, but even 1mm steel puts up quite a fight, so it'll probably take longer than you think. It certainly took me longer than I anticipated. But at last, it's done.

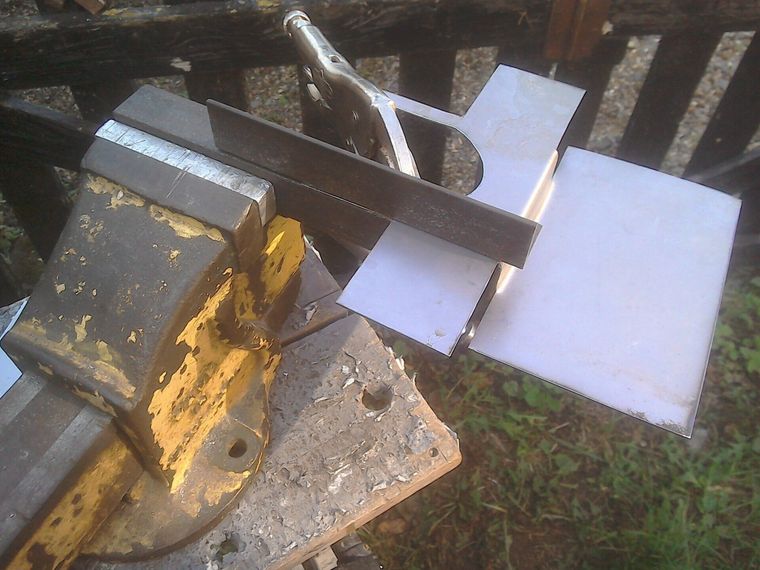
Without any special bending / folding equipment, a little creativity is needed to get the folds in the right place. With the aid of several bits of angle iron and clamps of various descriptions, it's possible to do a reasonable job.
Two bends done, and it's going OK so far...
Now to fold the sides, after double checking that they're being folded the correct way!
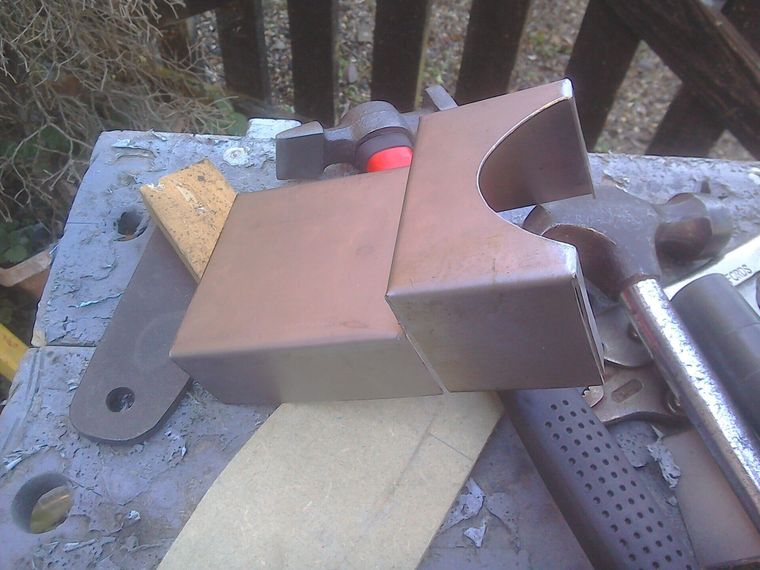
Just the little legs at the front to do...

...and after a little bit of a tickle with the hammer, it's all looking pretty good.
Checking the fit revealed that a little bit of adjustment was needed to get it to fit snugly around the curved part of the tunnel.
Once I was happy with the fit, I decided that rather than hedge my bets and just tack weld in place, I was going to fully weld it on and while I was at it I did the addition required at the head-stock end as well. Let's hope that I don't regret that in the weeks to come.